

Overview
XAMP
XAMPP stands for Cross-Platform (X), Apache (A), MySQL (M), PHP (P) and Perl (P). It is an unpretentious, frivolous Apache distribution that makes it tremendously easy for developers to create a local web server for testing purposes. All you need to set up a web server – server application (Apache), database (MySQL), and scripting language (PHP) – is included in a simple extractable file. XAMPP is also cross-platform, which means it works equally well on Linux, Mac and Windows. Since most actual web server deployments use the same components as XAMPP, it makes transitioning from a local test server to a live server is really easy as well.
What’s in XAMPP?
XAMPP has four primary components. These are:
- Apache:Apache is the actual web server application that processes and delivers web content to a computer. Apache is the most popular web server online, powering nearly 54% of all websites.
- MySQL:Every web application, howsoever simple or complicated, requires a database for storing collected data. MySQL, which is open source, is the world’s most popular database management system. It powers everything from hobbyist websites to professional platforms like WordPress.
- PHP:PHP stands for Hypertext Preprocessor. It is a server-side scripting language that powers some of the most popular websites in the world, including WordPress and Facebook. It is open source, relatively easy to learn, and works perfectly with MySQL, making it a popular choice for web developers.
- Perl: Perl is a high-level, dynamic programming language used extensively in network programming, system admin, etc. Although less popular for web development purposes, Perl has a lot of niche applications.
Different versions of XAMPP may have additional components such as phpMyAdmin, OpenSSL, etc. to create full-fledged web servers.
Application areas
An XAMPP server can be installed and used with a single executable file quickly and easily, functioning as a local test system for Linux, Windows, and Mac OS X. The software packet contains the same components that are found on common web servers. Developers have the chance to test out their projects locally and to transfer them easily to productive systems. But XAMPP isn’t suitable to use as a public server, because many safety features have been deliberately left out to simplify and speed up the system for testing.
XAMPP is an AMP stack which lets you install Apache, MySQL and PHP in your computer together with some other useful software. It has been designed to provide you an easy installation experience. It’s free and available for Windows, Mac OS and Linux.Go to XAMPP web site and download the installer based on your operating system. Installation should be similar to a normal software installation you do in your operating system. When installing, there would be an option to select whether you want to run Apache and MySQL as services. If you chose it, Apache and MySQL will start at system boot-up which may not need if your computer is tight with memory resources or if you are not doing PHP development frequently. You can change these settings after.
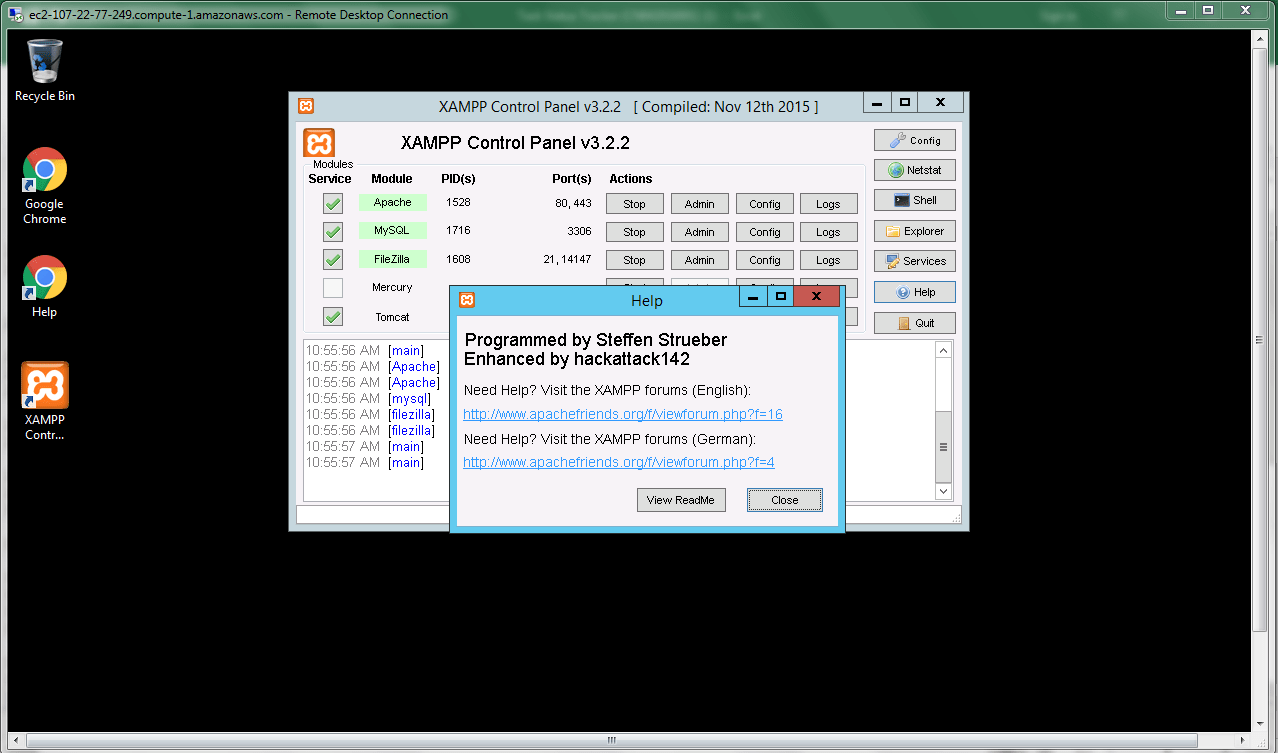
It is relaxed to practice. All the different sections are fully explained on the website and by the Help Desk. The help desk and other sites offer a great deal of assistance, particularly on technical issues, making it easier for the administrator to set up the system.
It is a good idea to use Xampp Full-Form whenever a staff member is planning to use a new computer with a new user. They want to be able to upgrade their own account as soon as possible. Before doing so they need to be able to manage all the users and install any updates that are required.Once installed, it becomes very simple to manage different users. Each user has a dedicated desktop, and there is a link to download programs and applications that are used by them. Any updates that are required can be downloaded to that user.
Xampp Full form control panel
These applications can be downloaded to all the users, for example, your employees can use programs such as Google Sheets and GIMP without having to worry about not being able to get their files on the network. They can use PowerPoint and Adobe Photoshop, without having to have an admin to access the computers that they use for work, and can install their programs on all their computers.Another advantage of using Xampp is that you can integrate them with SharePoint, allowing your people to gain access to all the best resources in the office. This means they can use the Internet, visit social networking sites and add other organizations and groups to their portfolio.You will need to configure the system so that your users can log in to their own accounts. The administrators for each user can use it at will, and they will need to use the administrator password to gain access to the users, even when they are logged out. To protect the administrator accounts the users can choose a group password and enter the password in their accounts.If a staff member gets a new desktop or laptop then they can continue to use the system. This means you don’t have to worry about changing your password every time you get a new computer. To do this, they can use the Secure Access Password feature and set up the Xampp Full-Form account to be their administrator.
Portable Xampp
The controls and features of the Xampp Full-Form make it a great way to manage different users and computers. You don’t have to worry about systems not running well, you can work on the client’s computers and get updates, without worrying about the issues affecting your business. By installing the applications on the computers, your staff can work on them, create new documents and keep track of different employees’ files.
The administrator for each of the computers can install Xampp Full-Form at any time and update the software on their own computers. They can also use it on their home computers. You will need to maintain access to the websites and help desk, however.
For added security, the website allows you to set up a combination of accounts for the different users. This way if one of the computers is lost, the user will be kept secure.
Using the Xampp Full-Form makes the administrative work easy, especially if you have more than one computer to keep track of. You don’t have to worry about your users finding a new computer, as they can download and install applications without having to have a physical space to put them.
Turn Your Website Into an Instant Blog With Xampp
Xampp is an open-source Content Management System or CMS (Content Management Suite) solution that allows businesses and individuals to quickly and easily publish, update, and manage content online. The Xampp framework provides powerful features that enable organizations to build applications without requiring a programming background. There are no programming languages or frameworks required to create a website with Xampp; the system takes care of the coding, and users are free to add features to the system. Users can even modify existing Xampp templates in order to customize their own websites with ease. This is a system for any business that needs to grow with the internet.
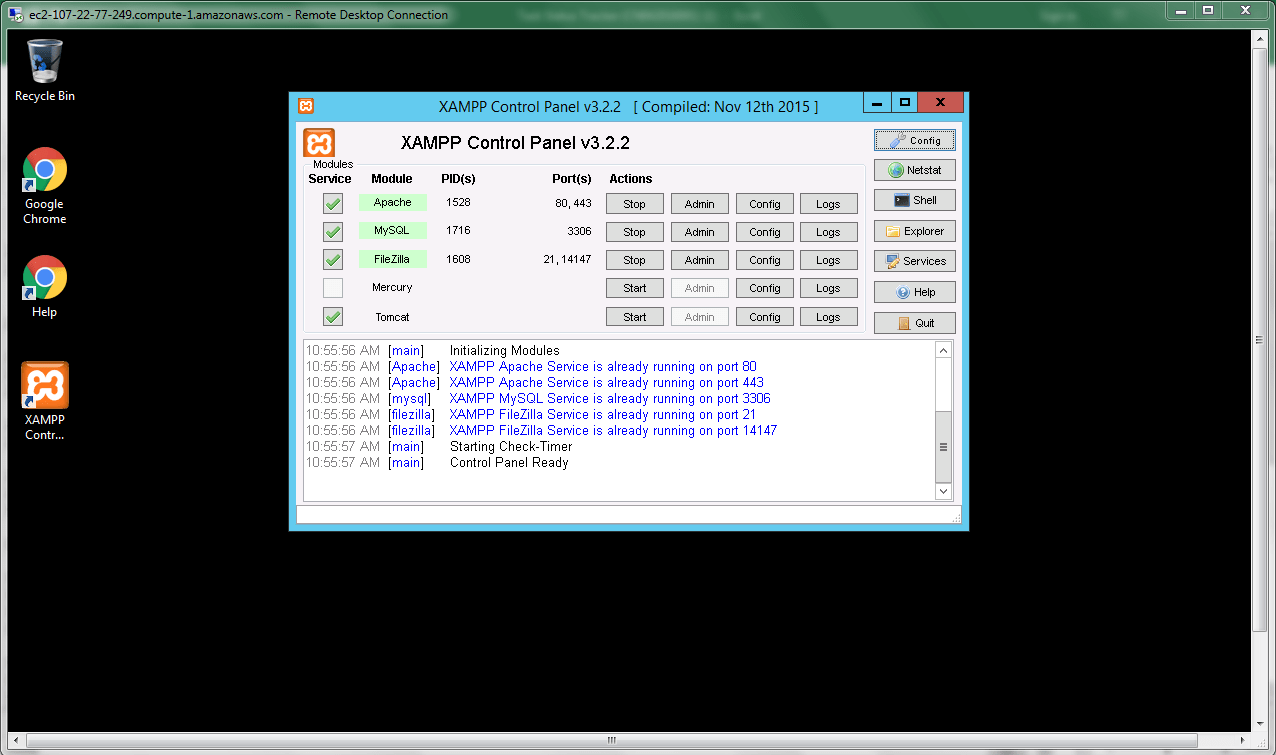
Starting Apache and MySQL
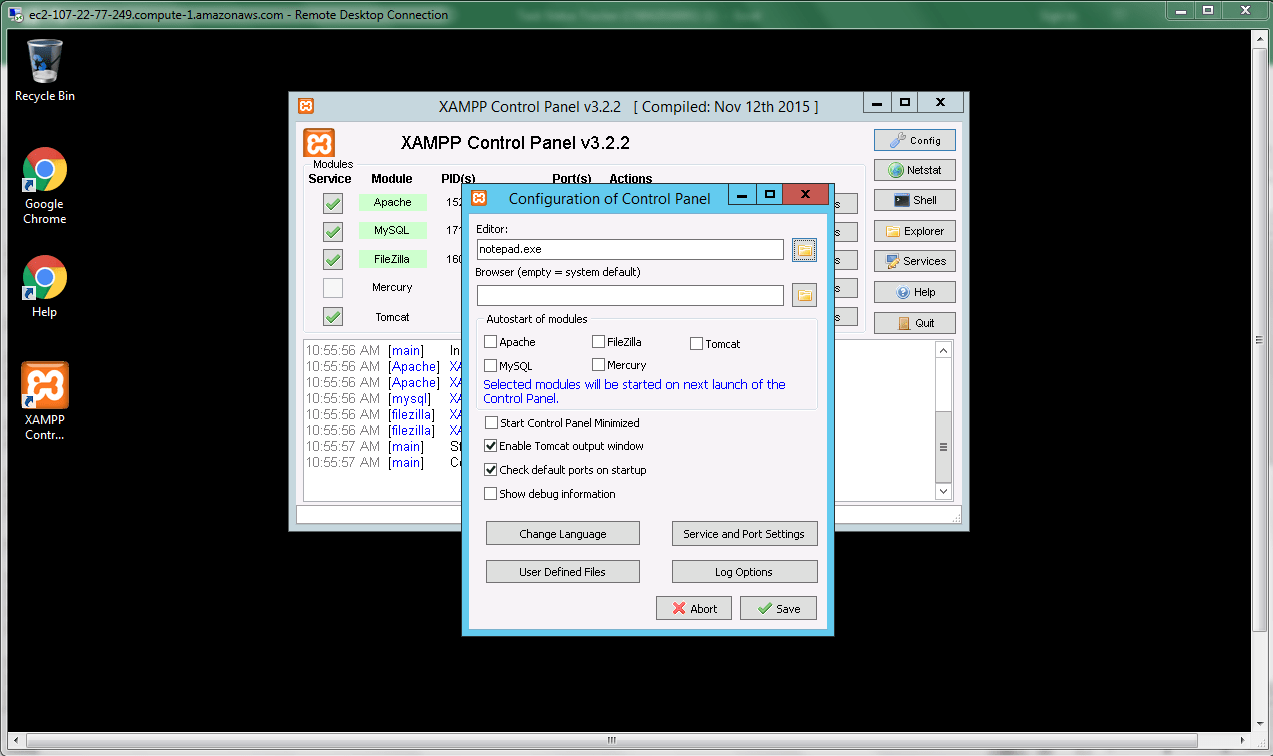
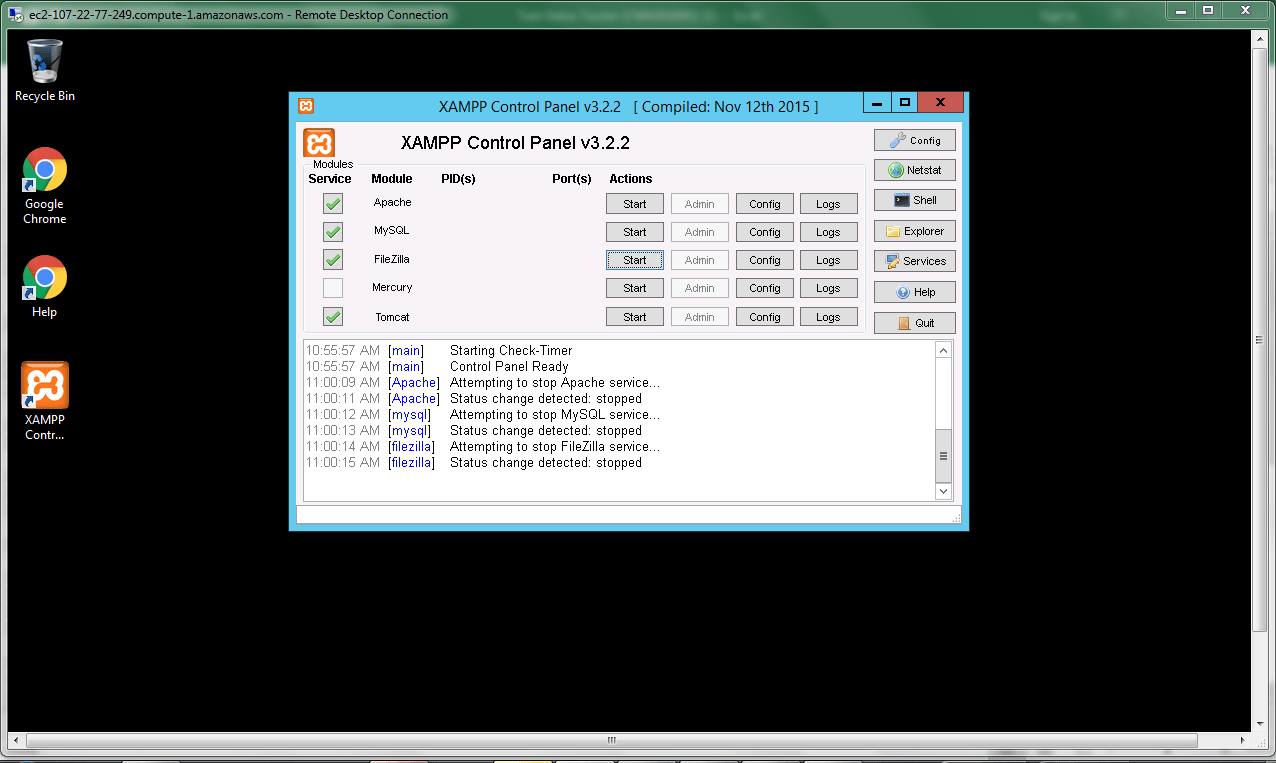
Go to the location where you installed XAMPP (usually C:\Program Files\xampp) and double click on XAMPP Control Panel (xampp-control.exe). This will bring you following screen. Click on Start buttons next to Apache and MySQL for starting them.

Once opened, you would see XAMPP icon on the right of your task bar. Clicking on that icon will show/hide XAMPP control panel. To exit from XAMPP, click on Exit button in XAMPP Control Panel.
Apache Is Not Starting Error
Sometimes user can experience that even after clicking Start button several times, Apache is not starting. This is usually because some other service is running at the port required by Apache which is 80 by default. An easy reproducible way for this error is starting Skype before starting Apache.In such a case, you would need to stop other service temporary and restart it after starting Apache. For an example, if you do so for Skype, it will find another port for working after restarting.In the installation directory, you would see a program called Port Check (xampp-portcheck.exe). Double click on it and it will show you status of required port for Apache, MySQL and other software that comes with XAMPP. If required ports are already occupied, it will show the names of services that run on those ports.
Making Requests to the Server
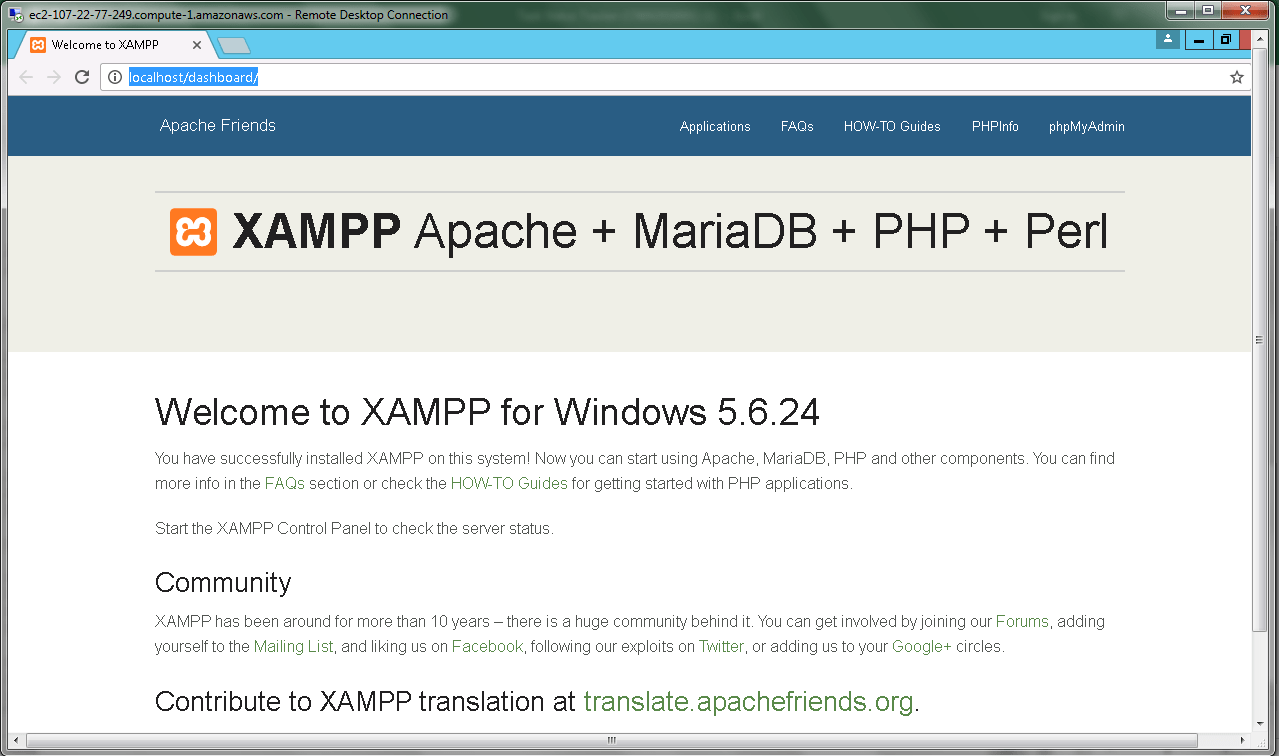
Once you started Apache in control panel, type http://localhost in your web browser. This would bring you a web page that lists XAMPP related details.
Putting Stuff in Web Folder
Under XAMPP root directory there is a folder called htdocs. That’s where you should put your web site related stuff. For each web site you create, it’s better to create a folder inside htdocs folder and then put content inside that to avoid conflicts.For an example, you can create a folder called learnphp inside htdocs folder and put welcome.php inside that. Then you can access it via the URL http://localhost/learnphp/welcome.php.
Root URL and Home Page Content
In above example, root URL of your web site is http://localhost/learnphp/ and it’s generally expected to see home page of the web site once root URL is typed in the web browser.Usually web servers have been configured to look for an index file (can be index.htm, index.html, index.php etc) in the root of the web site folder and show its content for the home page of the site. So, if you had a file called index.php inside learnphp, you would see its output once you typed http://localhost/learnphp/.Make sure you have only one index file in your web site to avoid conflicts. If you have more than one (say index.html, index.php), required file will be chosen based on the order defined in your web server’s configuration settings.
Locations of Configuration Files
Based on your requirements, sometimes you would need to change default settings of your web and database servers. Usually this is done by altering their configuration files. In XAMPP, Apache, PHP and MySQL configurations files are located in following locations (This assumes XAMPP installation directory as C:\Program Files\xampp).
Apache Conf File (httpd.conf): C:\Program Files\xampp\apache\conf\httpd.conf
PHP Conf File (php.ini): C:\Program Files\xampp\apache\bin\php.ini
MySQL Conf File (my.cnf): C:\Program Files\xampp\mysql\bin\my.cnf
In XAMPP, some Apache configuration settings have been moved to sub configuration files under xampp\apache\conf\extra.
To open my.cnf, double clicking on it may not work sometimes. In that case, open Notepad and then locate my.cnf file by setting Files of Type to All Files as below.

Restarting Apache and MySQL
To take effect any configuration change, it’s required to restart Apache and/or MySQL. In XAMPP, if these two are already running, stop them and start again in the Control Panel.
Configuring XAMPP on Windows
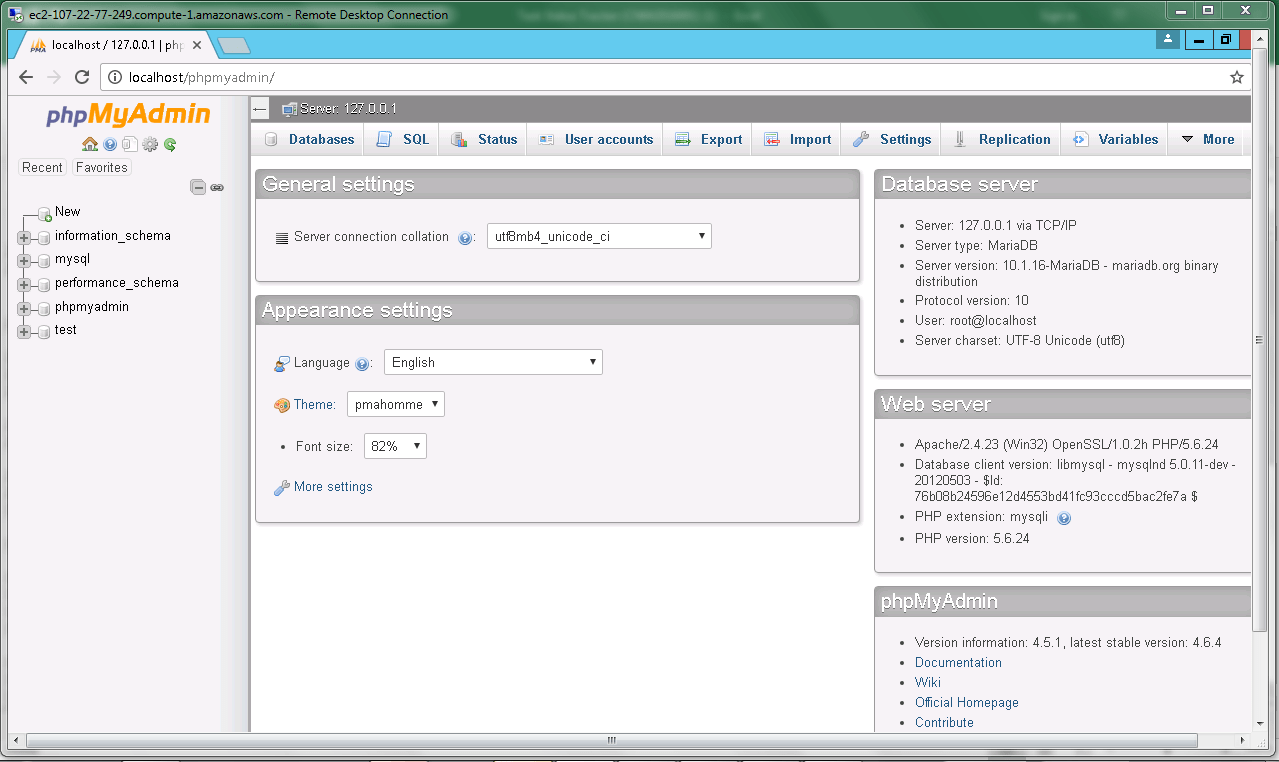
XAMPP for Windows makes setting up a local test server on your computer relatively easy. It provides the (W)AMP stack – Apache, MySQL, and PHP. It also includes PHPMyAdmin which is very useful for dealing with your MySQL databases.The following instructions describe XAMPP configuration in some detail.
Creating virtual hosts
If you do not want to keep your files in the xampp/htdocs directory and type in a long URL for every page load, you can create virtual hosts for each of your sites instead. For example, you may like to keep all your sites in your My Documents folder for easy backup. Or you could create a root directory on your hard drive such as C:/sites/example/ which will make using shell commands easier. Wherever you choose to store your sites, you can always easily move them at a later date.
With XAMPP you set up virtual hosts in the following file:
/xampp/apache/conf/extra/httpd-vhost.conf
Open up that document in your text editor and append the following information to the bottom:
NameVirtualHost 127.0.0.1:80

<VirtualHost 127.0.0.1:80>
  DocumentRoot "C:/xampp/htdocs/"
  ServerName localhost
</VirtualHost>
The above only needs to be added once and you don’t need to change any details to the above.
The next step, however, needs to be carried out for each site. Copy the code below and add it to the bottom of the file.
<VirtualHost example.local>
  DocumentRoot "C:/path/to/your/site"
  ServerName example.local

  CustomLog "C:/path/to/your/site/logs/example.local.access.log" combined
  ErrorLog "C:/path/to/your/site/logs/example.local.error.log"

  <Directory "C:/path/to/your/site">
    Options Indexes FollowSymLinks
    AllowOverride All
    Order allow,deny
    Allow from all
  </Directory>
</VirtualHost>
You will need to make some alterations to your personal setup. Check that you have used only forward slashes.
Where it says example.local put the URL you would like to type into your browser to find your site. You can call this what you like, but make sure it relates to the site you are creating and is not a real URL that you may like to access on the Internet otherwise you will get a namespace clash. Using the production site’s URL but replacing .com or whatever with .local works well.
Where it says "C:/path/to/your/site" add the directory where your site is going to be stored on your local drive. Note that you should NOT include a slash on the end of the path. You can also set up a place to keep error and access logs for these sites. You will need to create the directory structure for these manually, but not the individual files (i.e. create the directory structure C:/path/to/your/site/logs but Apache will create the example.local.error.log file for you).
If you are using a portable installation of XAMPP, you may like to try adding this instead:
<VirtualHost 127.0.0.1:80>
  DocumentRoot "/path/to/your/site"
  ServerName example.local
...
...
</VirtualHost>
Finally, you must include the domain names in your Windows host file. This file can be found at:
C:/WINDOWS/system32/drivers/etc/hosts
open this file in your text editor and add:
127.0.0.1 example.local
You can repeat this procedure for as many sites as you wish.
Optionally, you can use the freeware program called ‘Hostsman’ that provides a user interface to manage your hosts file. Please make sure that you have administrator rights on your Windows machine.
When you are done, restart Apache.
Clean URLs
You will also probably want to enable clean URLs. To do this in XAMPP, open up xampp\apache\conf\httpd.conf and find this line:
#LoadModule rewrite_module modules/mod_rewrite.so
and uncomment it by deleting the hash (#) so that it reads:
LoadModule rewrite_module modules/mod_rewrite.so
Restart Apache and test that clean URLs work on your site
—
XAMPP is a free and open source cross-platform web server solution stack package developed by Apache Friends, consisting mainly of the Apache HTTP Server, MariaDB database, and interpreters for scripts written in the PHP and Perl programming languages.
XAMPP stands for Cross-Platform (X), Apache (A), MySQL (M), PHP (P) and Perl (P). It is a simple, lightweight Apache distribution that makes it extremely easy for developers to create a local web server for testing purposes.
XAMPP is a very easy to install Apache Distribution for Linux, Solaris, Windows, and Mac OS X. The package includes the Apache web server, MySQL, PHP, Perl, a FTP server and phpMyAdmin.
XAMPP on cloud For AWS
Features
Features of XAMPP
XAMPP requires only one zip, tar, 7z, or exe file to be downloaded and run, and little or no
configuration of the various components that make up the web server is required. XAMPP is
regularly updated to incorporate the latest releases of Apache, MySQL, PHP and Perl. It also
comes with a number of other modules including OpenSSL and phpMyAdmin.Self-contained, multiple instances of XAMPP can exist on a single computer, and any given instance can be copied from one computer to another.
It is offered in both a full, standard version and a smaller version.
Major Features of XAMPP
AWS
Installation Instructions For Windows
Note: How to find PublicDNS in AWS
Step 1) RDP Connection: To connect to the deployed instance, Please follow Instructions to Connect to Windows instance on AWS Cloud
1) Connect to the virtual machine using following RDP credentials:
- Hostname: PublicDNS / IP of machine
- Port : 3389
Username: To connect to the operating system, use RDP and the username is Administrator.
Password: Please Click here to know how to get password .
Step 2) Click the Windows “Start” button and select “All Programs” and then point to XAMPP.
Step 3) Other Information:
1.Default installation path: will be in your root folder “C:\xampp”
2.Default ports:
- Windows Machines: RDP Port – 3389
- Http: 80
- Https: 443
Note: Click on Desktop icon – Press start then App will open in browser.
Configure custom inbound and outbound rules using this link
[/inw_shortcode_divider]Installation Step by Step Screenshots
Videos
External embedded media removed for production hardening.
