1-click AWS Deployment 1-click Azure Deployment
Overview
ONVIF Device Manager is a Network Video Client (NVC) to manage Network Video Transmitters (NVT), Network Video Storage (NVS) and Network Video Analytics (NVA) devices. Implements Discovery, Device, Media, Imaging, Analytics, Events and PTZ services. Written in C# and uses ffmpeg for media decoding.
ONVIF (the Open Network Video Interface Forum) is a global and open industry forum with the goal of facilitating the development and use of a global open standard for the interface of physical IP-based security products. ONVIF creates a standard for how IP products within video surveillance and other physical security areas can communicate with each other. ONVIF is an organization started in 2008 by Axis Communications, Bosch Security Systems and Sony.
It was officially incorporated as a non-profit, 501(c)6 Delaware corporation on November 25, 2008. ONVIF membership is open to manufacturers, software developers, consultants, system integrators, end users and other interest groups that wish to participate in the activities of ONVIF. The ONVIF specification aims to achieve interoperability between network video products regardless of manufacturer.
The cornerstones of ONVIF are:
- Standardization of communication between IP-based physical security products
- Interoperability regardless of the brand
- Open to all companies and organizations
ONVIF Device Manager is a software application used to administrate network video servers and cameras within CCTV systems. The User Guide describes the product installation, video encoder, network and analytics configuration, the software update and troubleshooting. Thus, the document is intended for the personnel responsible for administrating CCTV systems and separate network
video surveillance devices with the help of ONVIF Device Manager.
Onvif Device Manager is a software made by the Onvif community, used to discover all cameras in the local network that supports the Onvif standards.
Because the Verifire supports Onvif standards, so we can use this software to discover the camera.
The default network setting of the Verifire camera is DHCP, short for Dynamic Host Configuration Protocol, means that it will receive an IP address when you connect the camera to a router, and then it won’t use the 192.168.0.212 address.
You can lose track of the camera if you don’t know the correct IP address of the camera.
That’s why we use Onvif Device Manager to identify the IP addresses of the cameras.
Highlights
- You can download Onvif Device Manager from the following site: https://sourceforge.net/projects/onvifdm/
- Before launching the software, make sure your computer is only connected to the network in which the camera is connected to.
- For laptop users, make sure you are not connected to a different wifi network.
How to configure and connect an ONVIF IP Security Camera (our TP-Series)
Instructions
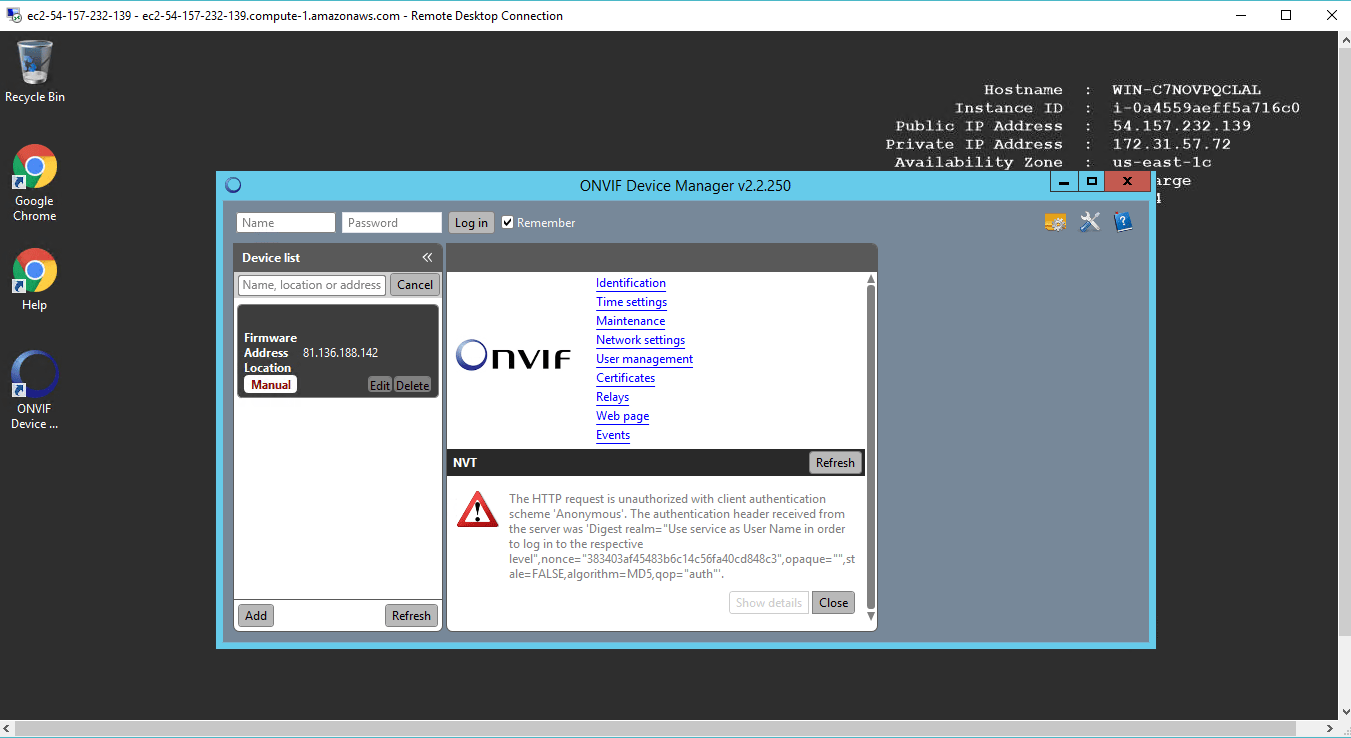
- After launching the software, all Onvif compatible devices will show up in the Device list.

- Click on the “Live video” button and you can view the camera, this can be useful if you have multIPle cameras installed, so you can identify which IP is for which camera.

- The camera’s IP address is shown in the camera button in device list, or in portion of the link located under the live video window.

ONVIF Device Manager is owned by ONVIF(https://www.onvif.org/) and they own all related trademarks and IP rights for this software.
ONVIF Device Manager is a FREE software used to test and manage network video transmitters such as IP cameras, DVRs, NVRs and Encoders which are compliant with the ONVIF protocol. It was developed by the company Synesis located in Moscow, Russia and it’s distributed under the GNU General Public License.
Download the ONVIF Device Manager
The last version of the ONVIF Device Manager is the 2.2.5.
At least this is the last official version I could find available for downloading (just in case you have a newer version, please leave a comment below this article).
Just click the link below to download the ONVIF Device Manager 2.2.5.
The ONVIF Device Manager Interface
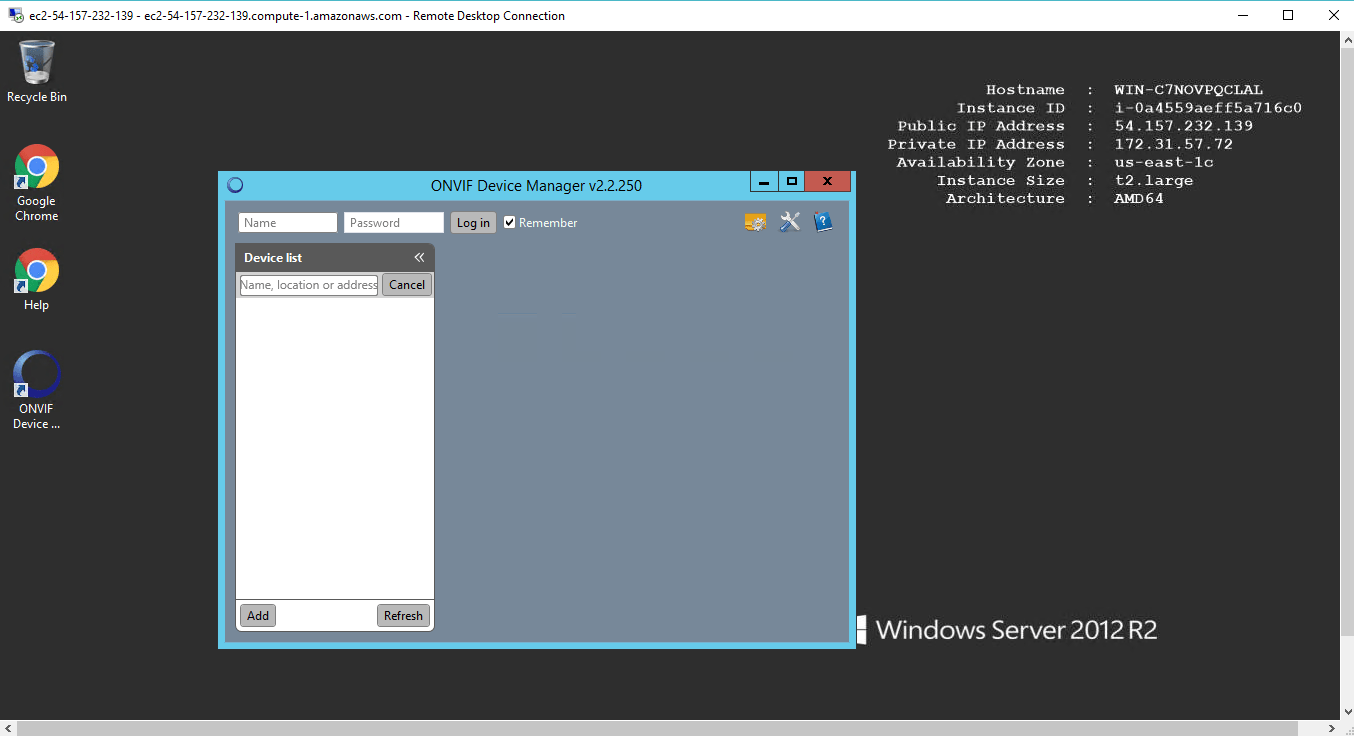
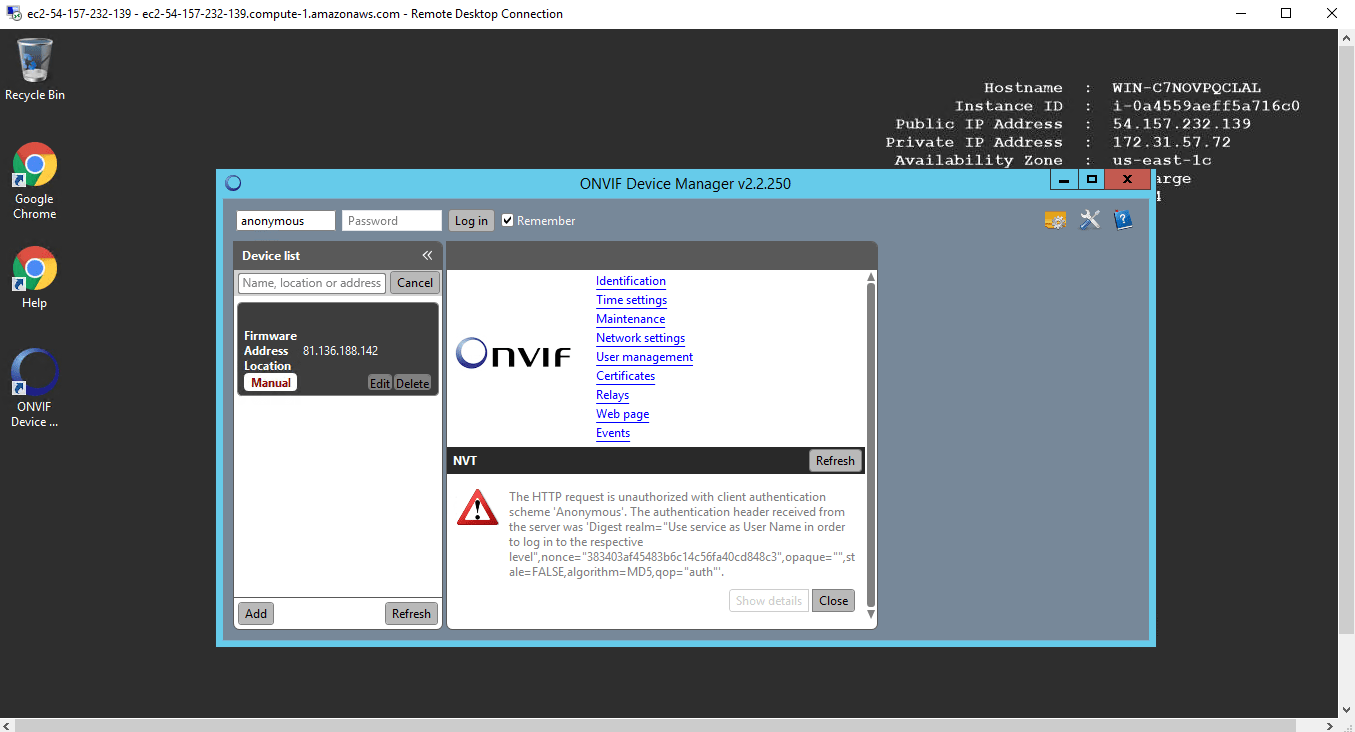
The interface of the software is very basic. On the left side, there are boxes to input the username and password the software should use when trying to connect to the camera and the basic information about the IP camera that was found.
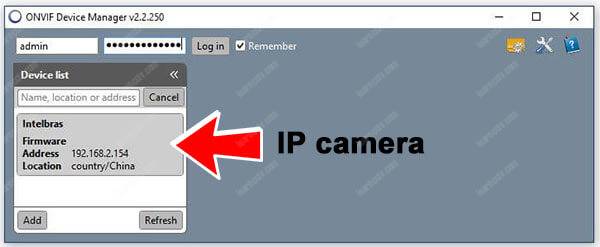
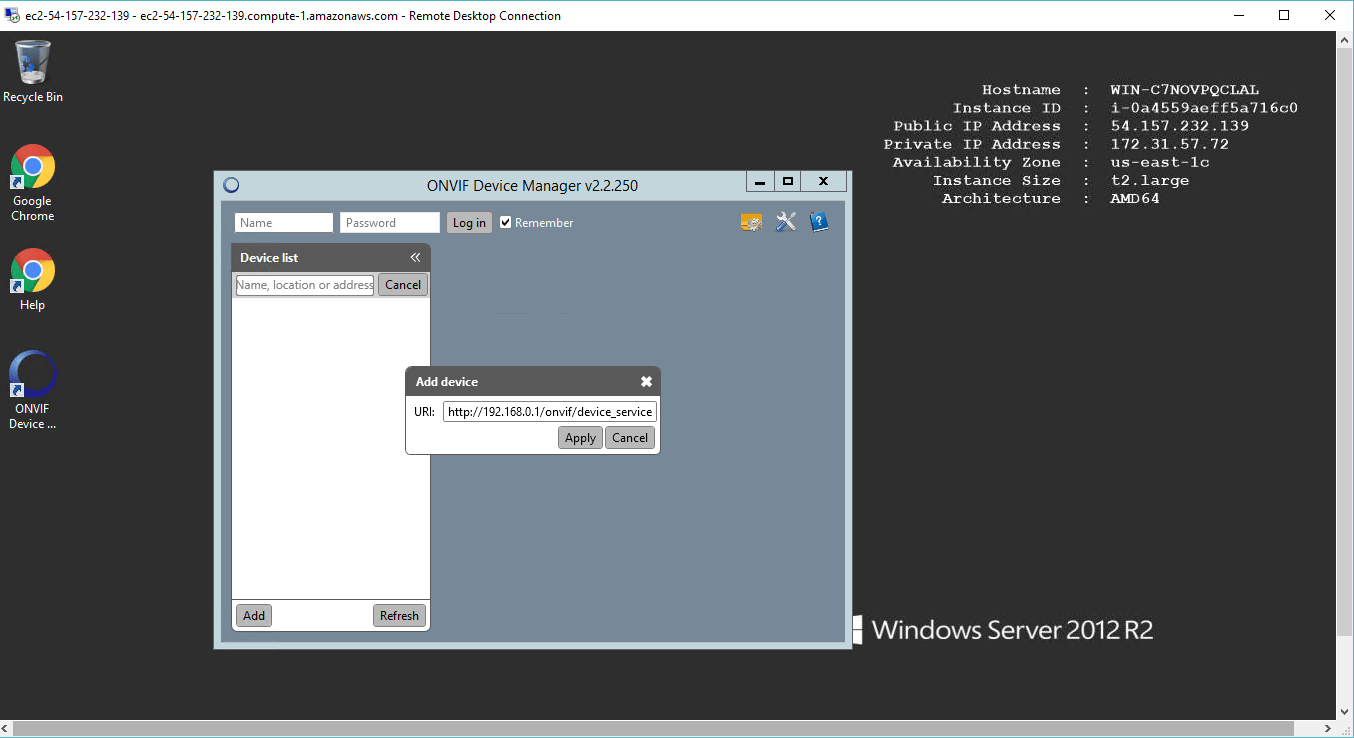
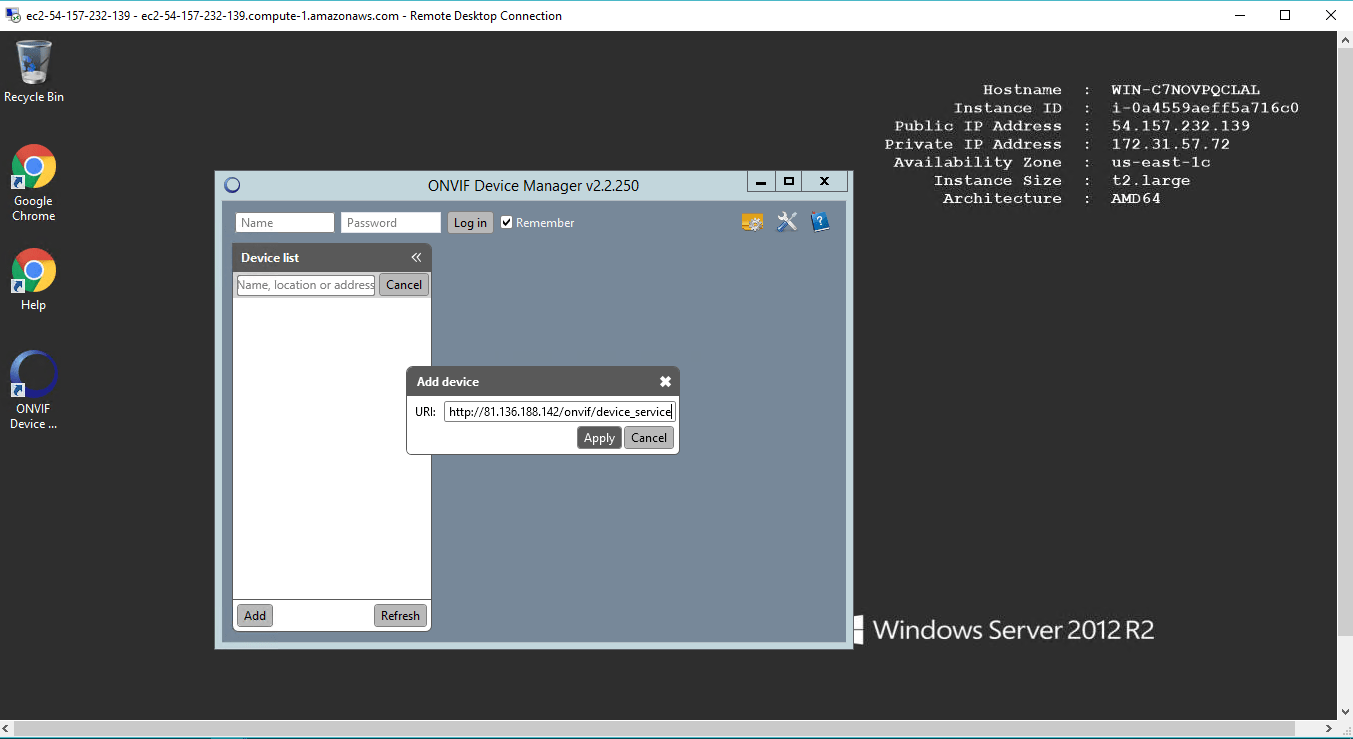
Note the “Add” button on the bottom left side which allows you to input the camera IP manually in case the software didn’t find the camera automatically.
After pressing this button a new window pops up to let you input the information.

Just replace the IP address and don’t change the rest of the information that is there. As you can see in the picture, I just input the IP 192.168.2.180 so the ONVIF Device Manager can find my IP camera in the network.
If your IP camera uses another ONVIF port other than the 80, just input the port number after the IP Address and use a colon (:) to separate the information:
eg: http://192.168.2.180:8899/onvif/device_service

Note: In most cases, you don’t need to change the port number, however sometimes the IP camera comes with a different ONVIF port setup. Just check the camera manual or the network menu to make sure you have the correct info.
ONVIF Device Manager Camera Info
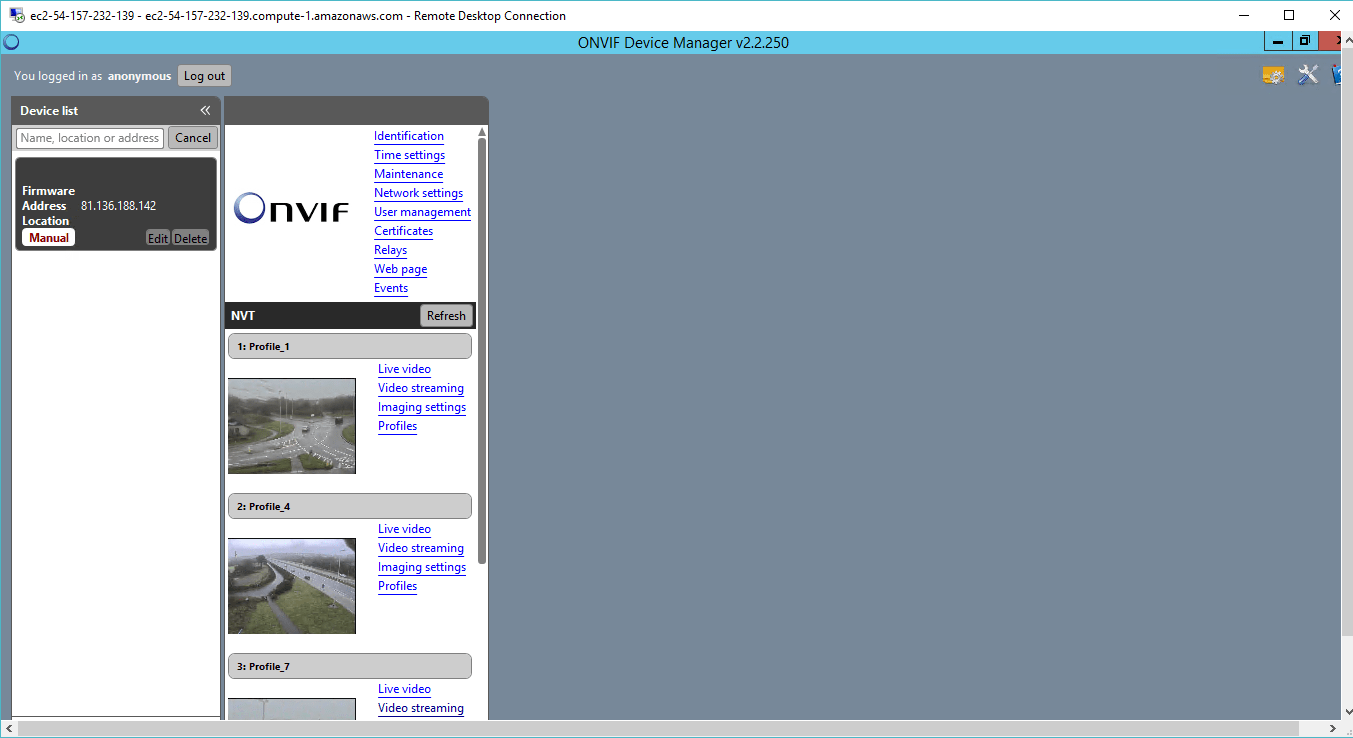
After adding the IP camera to the software, you can select the camera on the left side and see the information on the right side of the software.
There’s a menu on the right top and a live video preview at the bottom right.
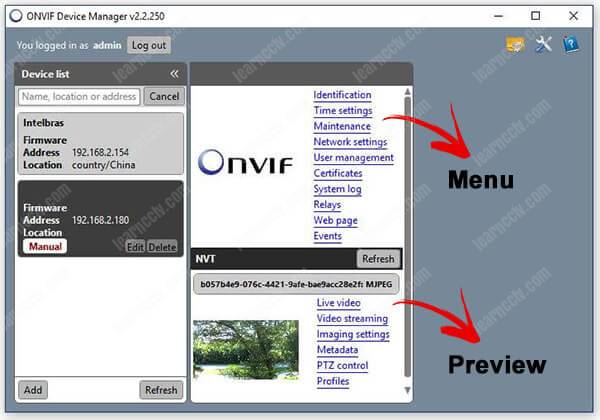
Now it’s easy, you just to navigate through the menus to check the information you need and also see the live video stream and profiles available in the camera.
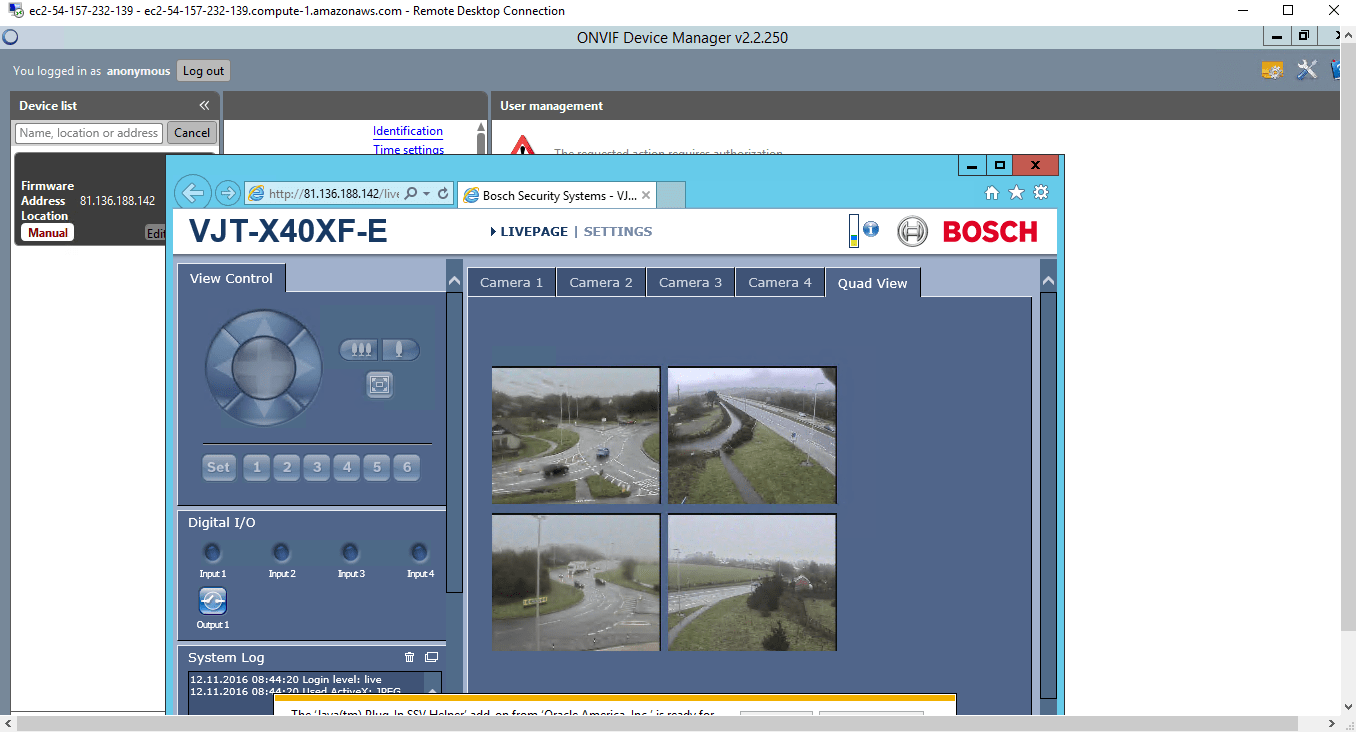
Camera live view
Just click the “live view” menu to watch the live video streaming from your IP camera. That is the proof your camera works with the ONVIF protocol.
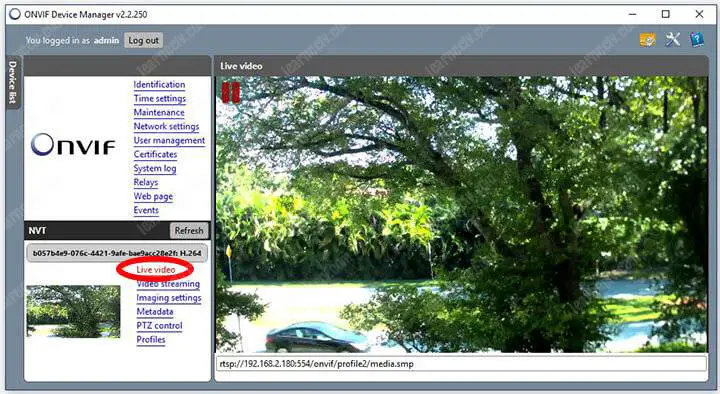
The ONVIF Device Manager can pull different videos streaming from the IP camera with different resolution, frame rate, and compression. All depends on the configuration that is available in the camera profiles.
If you see a low-quality or choppy video stream, don’t worry because that could be related to the profile the software is pulling the video from. You just need to go the camera menu and adjust the profiles accordingly or test other profiles by just selecting them in the ONVIF Device Manager interface (more on that later).
IP camera profiles
The number of video profiles available in the IP camera depends on the make and model your using. Professional security cameras use to have a higher number of profiles available ( usually in the more expensive models).
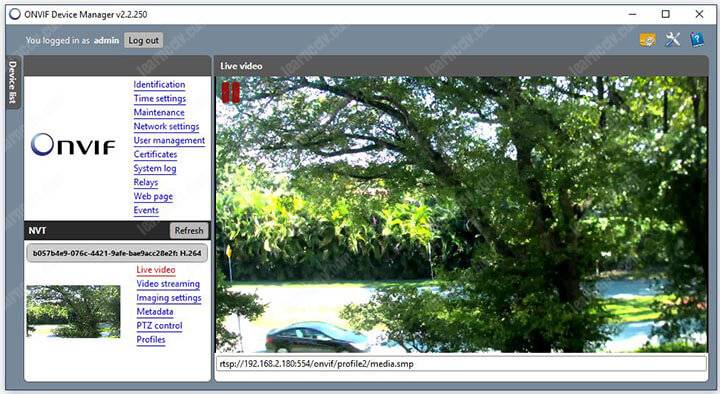
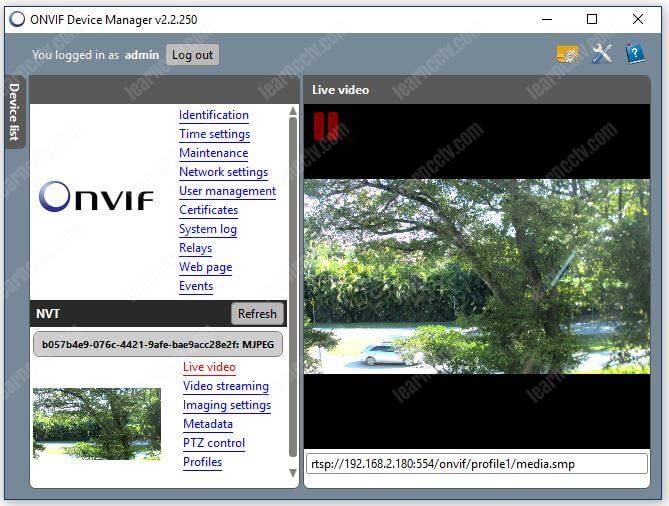
The ONVIF Device Manager can show you which profile is being pulled from the camera and what is the RTSP command used to stream the video.
See the picture below for details.
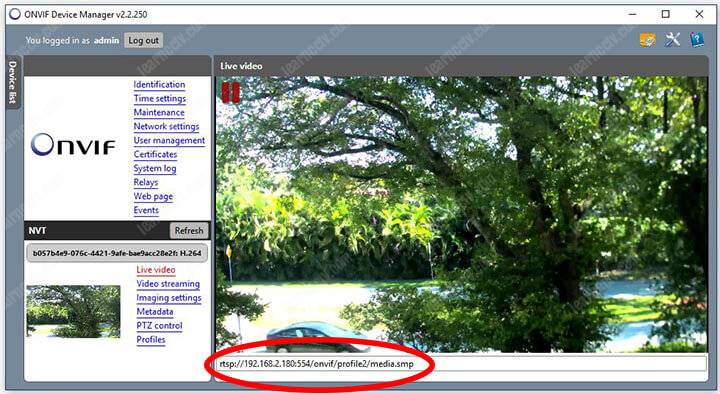
Can you see there’s a text string at the bottom of the image ?
This one shows rtsp://192.168.2.180:554/onvif/profile2/media.smp.
That’s the RTSP command used to stream the video and you can see it contains the profile2 information, which means the software is pulling the 2nd camera profile. The video quality depends on this camera profile configuration.
ONVIF Device Manager Menus
See the information provided by the ONVIF Device Manager
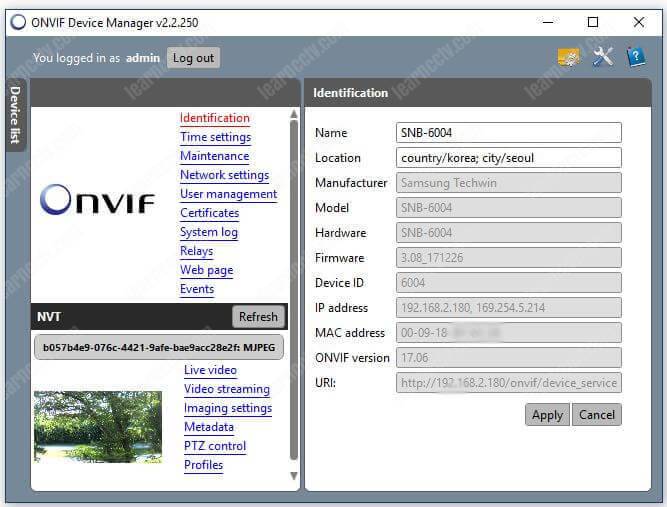
Identification: All the camera details such as Name, Location, Manufacturer, Hardware, Model, Firmware, Device ID, IP, MAC, and ONVIF Version.
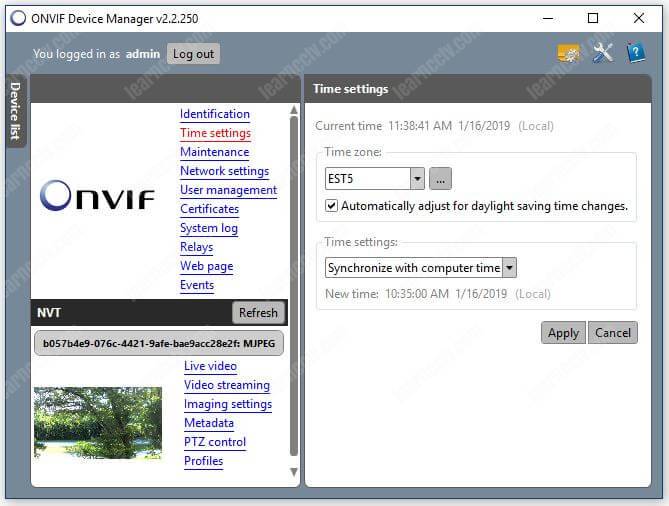
Time settings: It’s very important to keep the correct date and time in your devices, so they can work correctly. You can check this information here.
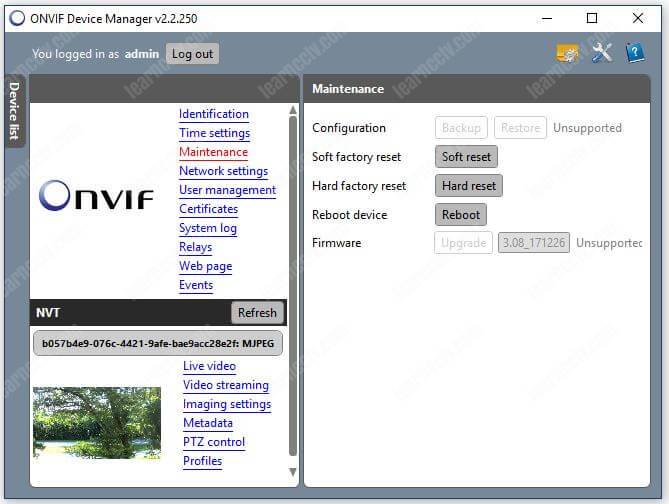
Maintenance: It’s possible to reset the device just by sending ONVIF commands to it. This menu shows the options for Soft Reset, Hard Reset, and Reboot.
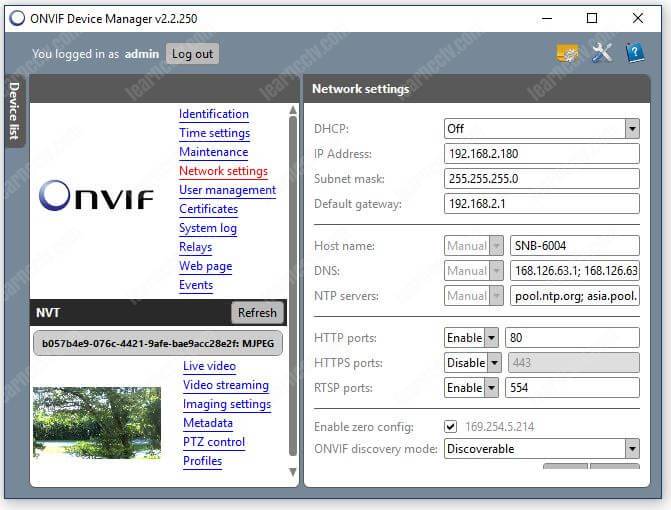
Network settings: This menu shows everything related to the device network such as IP address, DHCP, ports, and DNS configuration.
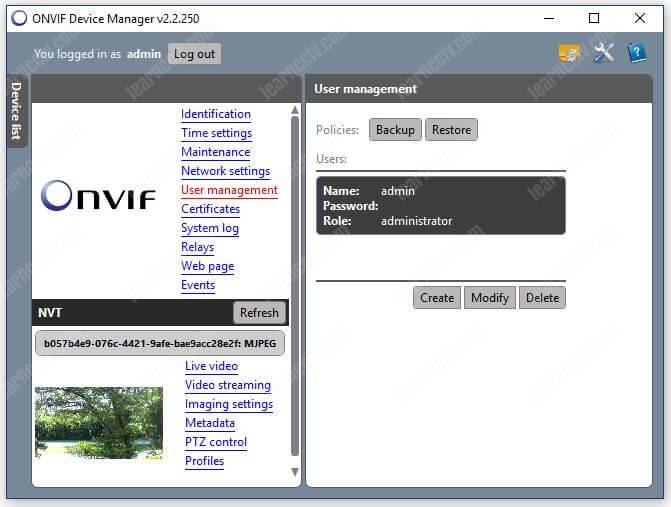
User management: You can manage the device users from this menu, It’s possible to create, modify, delete and even backup and restore policies.
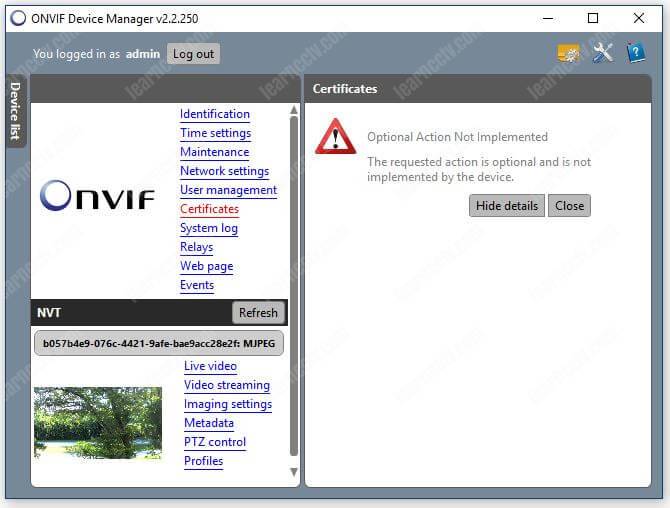
Certificates: If your device is using a secure version of the http protocol, you can manage the certificates from this menu.
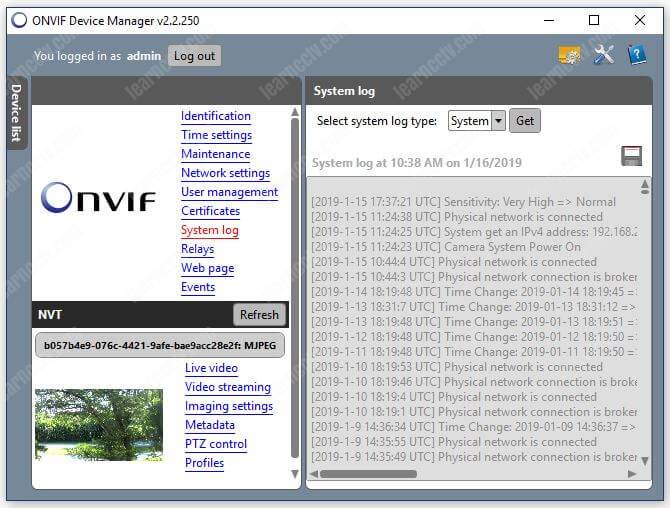
System log: Check the log directly from this menu.
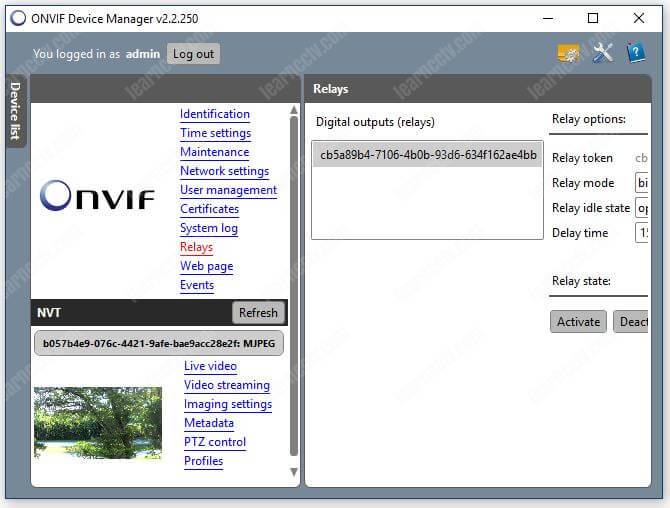
Relays: If your IP camera or device has I/O inputs you can see them here.
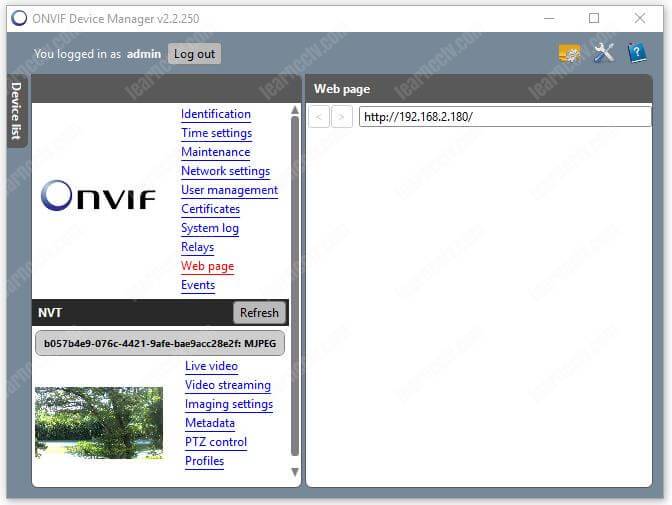
Webpage: This menu just allows you to check the camera via a web browser, a separated browser is opened to let you login and manage the camera.
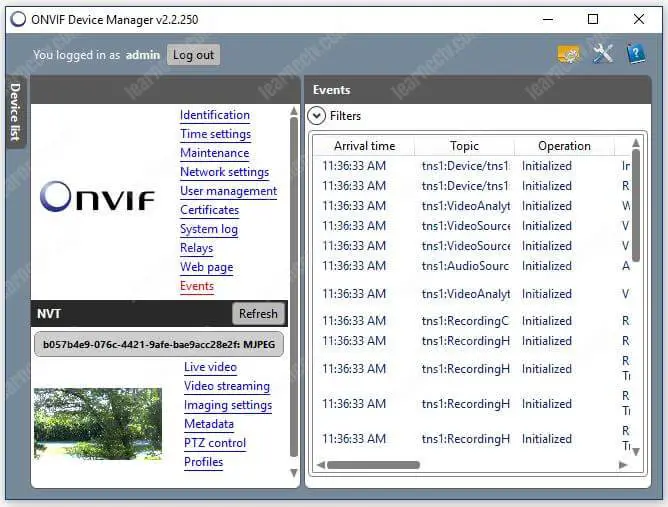
Events: You can see everything is happening in the device just by looking at this menu which shows Device initialization, recording, etc.
Live Video: This screen basically shows the live video stream and the RTSP and profile information ( as explained earlier).
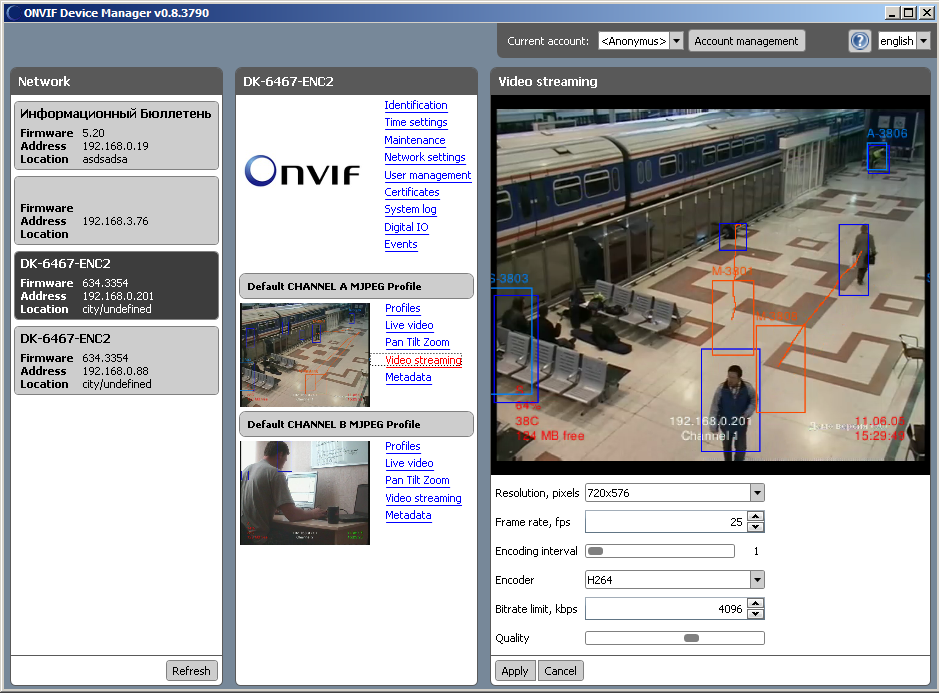
Video Streaming: You can change the video settings such as resolution, frame rate, compression, GOV (Group of Vectors), quality and encoding interval.
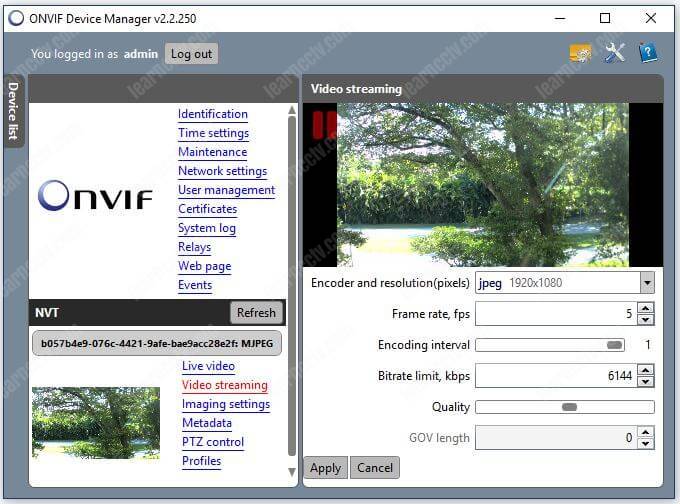
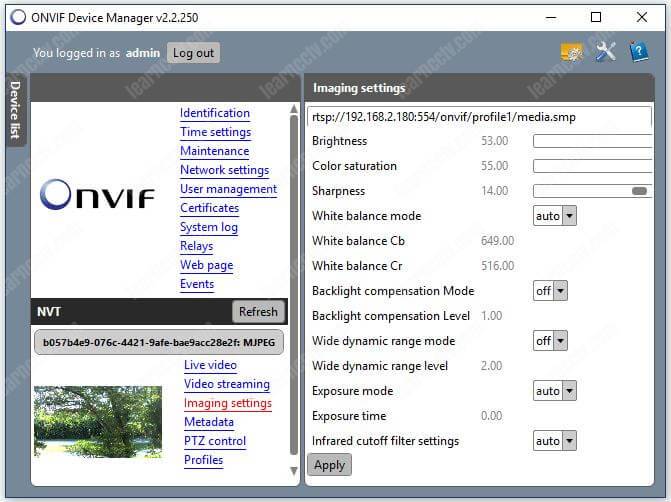
Image settings: This menu allows the configuration related to the camera image quality, such as brightness, color saturation, white balance, exposure, etc.
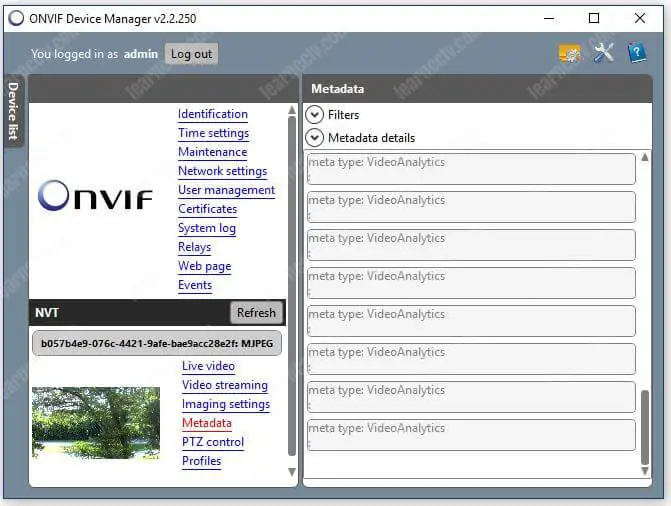
Camera metadata: Metadata about the events such as video analytics is shown here. The camera or device must have such features.
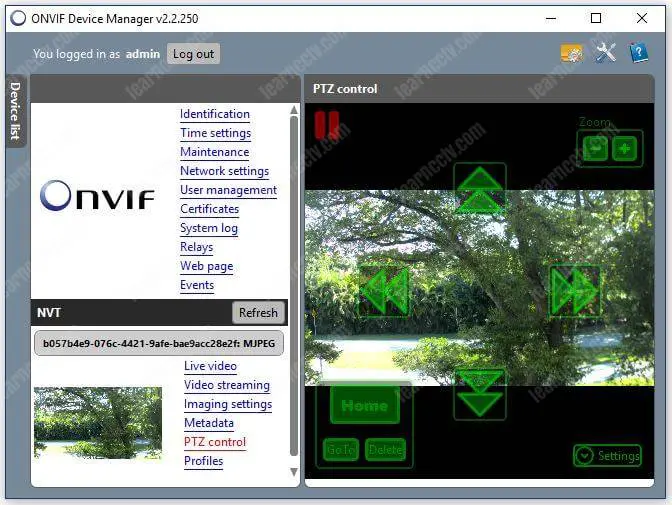
PTZ control: If you are using a PTZ camera, it’s possible to control it from this menu by sending ONVIF compliant commands.
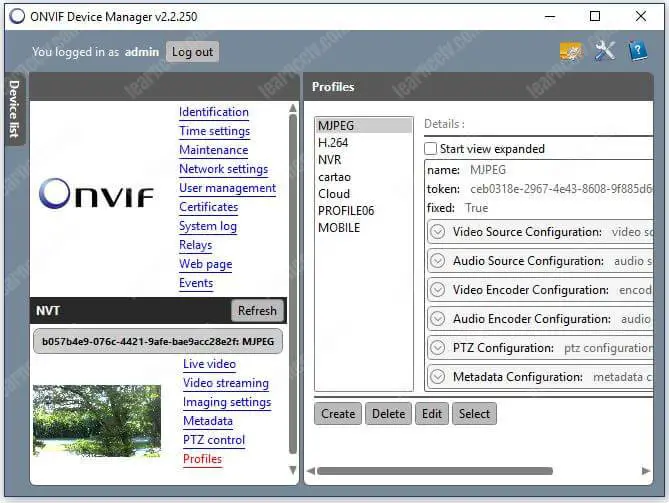
Profiles: Here you can see the profiles available in the camera, the image below show an example with 7 of them (this camera allows to have up to 10 profiles).
New version of ONVIF Device Manager
ONVIF Device Manager on cloud For AWS
Features
Major Features of ONVIF Device Manager
-
- Device discovery
- Live monitoring
- Service configuration
- Event handling
- Video analytics calibration
- Firmware update
- Configuration backup and recovery
- Interoperability – products from various manufacturers can be used in the same systems and “speak the same language”.
- Flexibility – end-users and integrators are not locked within proprietary solutions based on technology choices of individual manufacturers.
- Future-proof – standards ensure that there are interoperable products on the market, no matter what happens to individual companies.
- Quality – when a product conforms to a standard, the market knows what to expect from that product.
AWS
Installation Instructions For Windows
Note: How to find PublicDNS in AWS
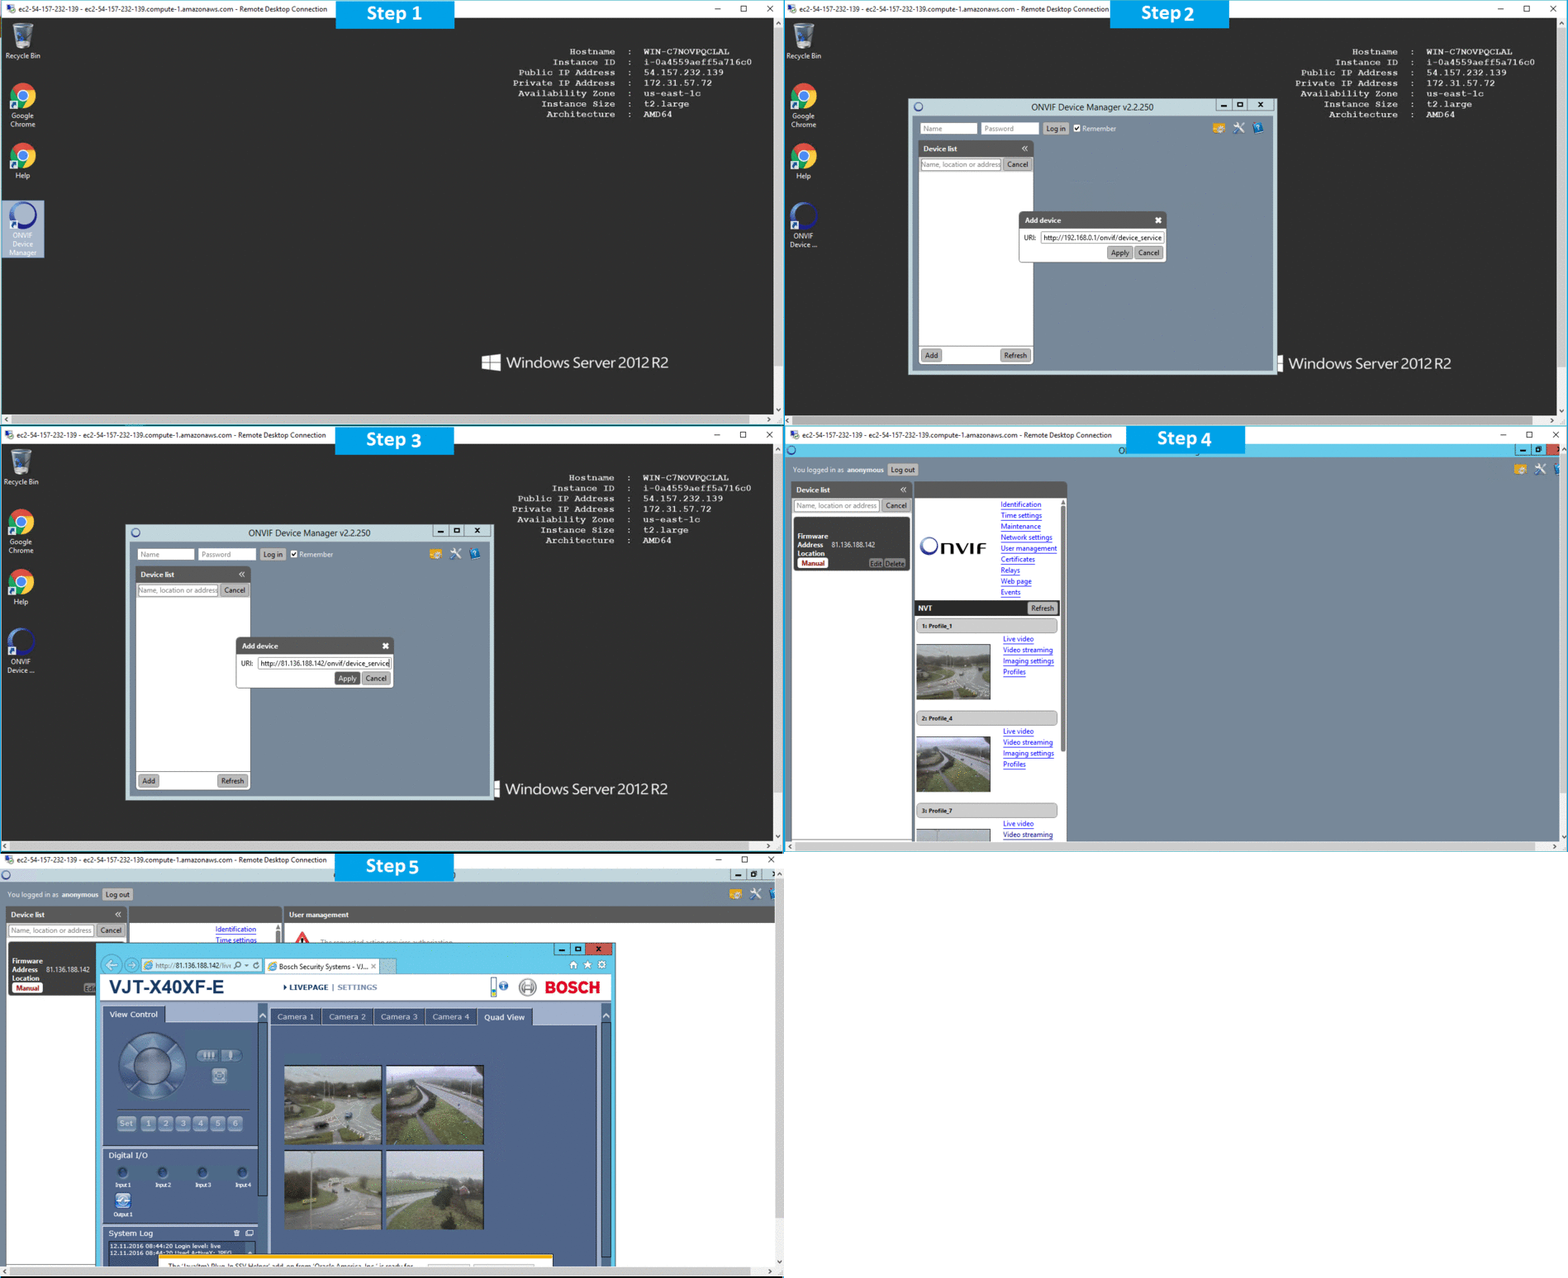
Step 1) RDP Connection: To connect to the deployed instance, Please follow Instructions to Connect to Windows instance on AWS Cloud
1) Connect to the virtual machine using following RDP credentials:
- Hostname: PublicDNS / IP of machine
- Port : 3389
Username: To connect to the operating system, use RDP and the username is Administrator.
Password: Please Click here to know how to get password .
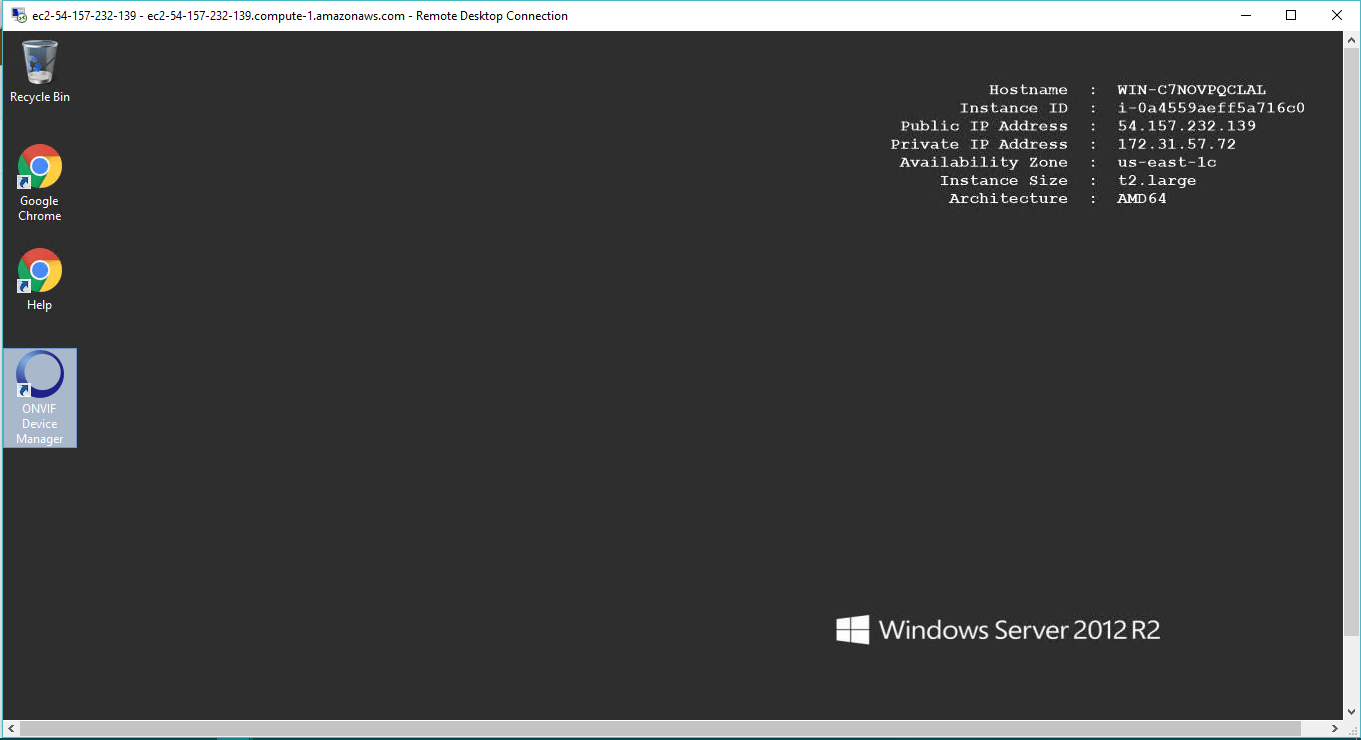
Step 2) Click the Windows “Start” button and select “All Programs” and then point to ONVIF Device Manager.
Step 3) Other Information:
1.Default installation path: will be in your root folder “C:\Program Files (x86)\Synesis\ONVIF Device Manager\”
2.Default ports:
- Windows Machines: RDP Port – 3389
- Http: 80
- Https: 443
D) Note: Click on Desktop icon – Press start then App will open in browser.
Configure custom inbound and outbound rules using this link
Installation Step by Step Screenshot
