1-click AWS Deployment 1-click Azure Deployment 1-click Google Deployment
Overview
Trac is an enhanced wiki and issue tracking system for software development projects. Trac uses a minimalistic approach to web-based software project management. It helps developers write great software while staying out of the way.
It provides an interface to Subversion as well as other version control systems, an integrated Wiki and convenient reporting facilities.
Trac allows wiki markup in issue descriptions and commit messages, creating links and seamless references between bugs, tasks, changesets, files and wiki pages. A timeline shows all current and past project events in order, making the acquisition of an overview of the project and tracking progress very easy. The roadmap shows the road ahead, listing the upcoming milestones.
Cognosys provides hardened and ready to run images of Trac on all public cloud ( AWS marketplace and Azure).
Trac is owned by Trac (https://trac.edgewall.org/) and they own all related trademarks and IP rights for this software.
Deploy your Trac securely on cloud i.e. AWS marketplace and Azure with reliable services offered by Cognosys at one-click with easy written and video tutorials.
Trac on cloud for Azure
Ubuntu
Features
Major Features of Trac
- Trac allows hyperlinking information between a bug database, revision control and wiki content. It also serves as a Web interface to the following revision control systems: Subversion, Git, Mercurial, Bazaar, Perforce and Darcs.
- Ticket system (bug tracking, tasks etc.)
- Search engine for tickets
- Email notifications
- Fine-grained permissions
- Timeline of all recent activity
- Wiki (syntax similar to MoinMoin)
- Customized reporting Support for plugins
- Blog Plugin
- Discussion/Forum plugin
- Guestbook plugin
Azure
Installation Instructions For Ubuntu
Note : How to find PublicDNS in Azure
Step 1) SSH Connection: To connect to the deployed instance, Please follow Instructions to Connect to Ubuntu instance on Azure Cloud
1) Download Putty.
2) Connect to virtual machine using following SSH credentials:
- Hostname: PublicDNS / IP of machine
- Port : 22
Username: Your chosen username when you created the machine ( For example: Azureuser)
Password : Your Chosen Password when you created the machine ( How to reset the password if you do not remember)
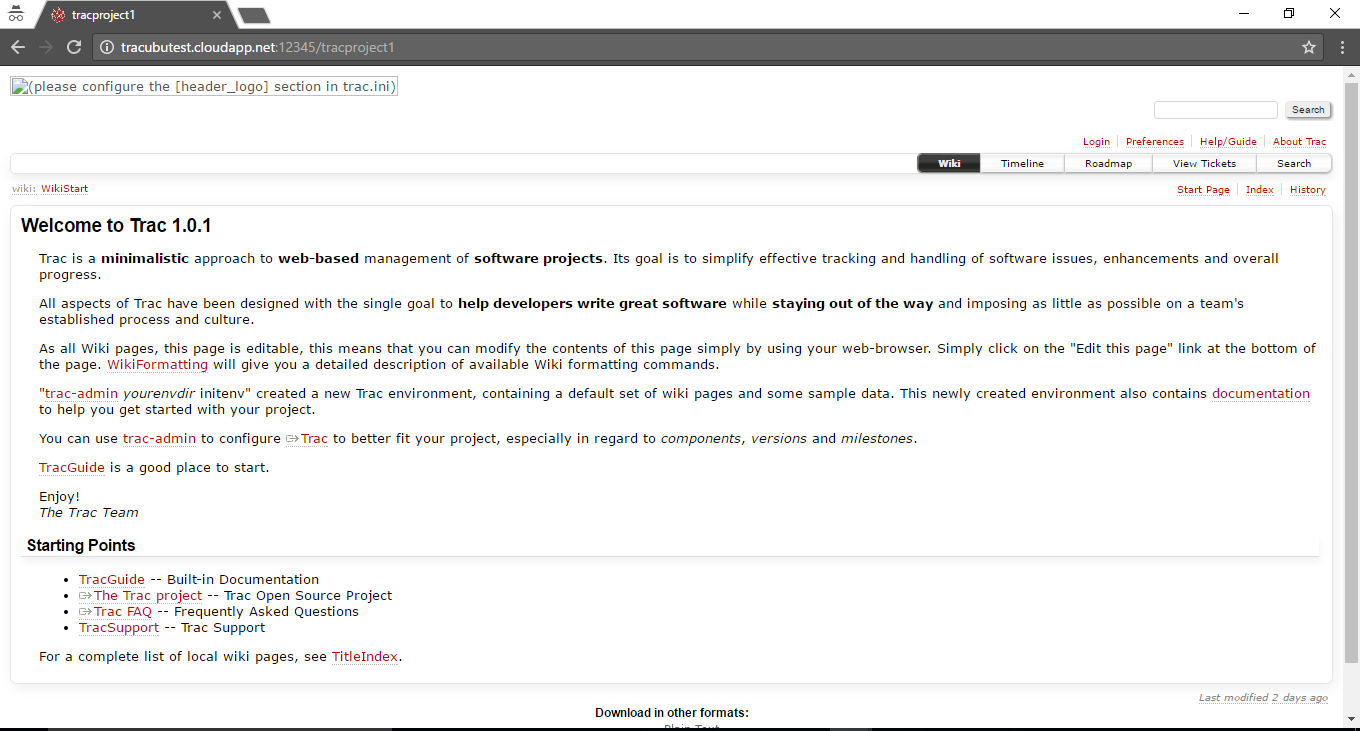
Step 2) Application URL: Access the application via a browser at http://ip:12345/tracproject1
- Username : azureuser (Please create new user and delete this user)
- Password : Passw@rd123
Step 3) Other Information:
1. Default installation path: will be in your web root folder “/var/lib/trac/trac”.
2. Default ports:
- Linux Machines: SSH Port – 22
- Http: 80
- Https: 443
Configure custom inbound and outbound rules using this link
3. To access Webmin interface for management please follow this link
Installation Instructions For Centos
Note: How to find PublicDNS in Azure
Step 1) RDP Connection: To connect to the deployed instance, Please follow Instructions to Connect to Windows instance on Azure Cloud
Connect to virtual machine using following RDP credentials:
- Hostname: PublicDNS / IP of machine
- Port : 3389
Username: Your chosen username when you created the machine ( For example: Azureuser)
Password : Your Chosen Password when you created the machine ( How to reset the password if you do not remember)
Step 2) Application URL: Access the application via a browser at http://ip:12345/tracproject1.
- Username : azureuser (Please create new user and delete this user)
- Password : Passw@rd123
Step 3) Other Information:
1. Default installation path: will be on your web root folder “/var/lib/trac/trac” ( Please see above Note for stack name)
2. Default ports:
- Linux Machines: SSH Port – 22
- Http: 80 or 8080
- Https: 443
Configure custom inbound and outbound rules using this link
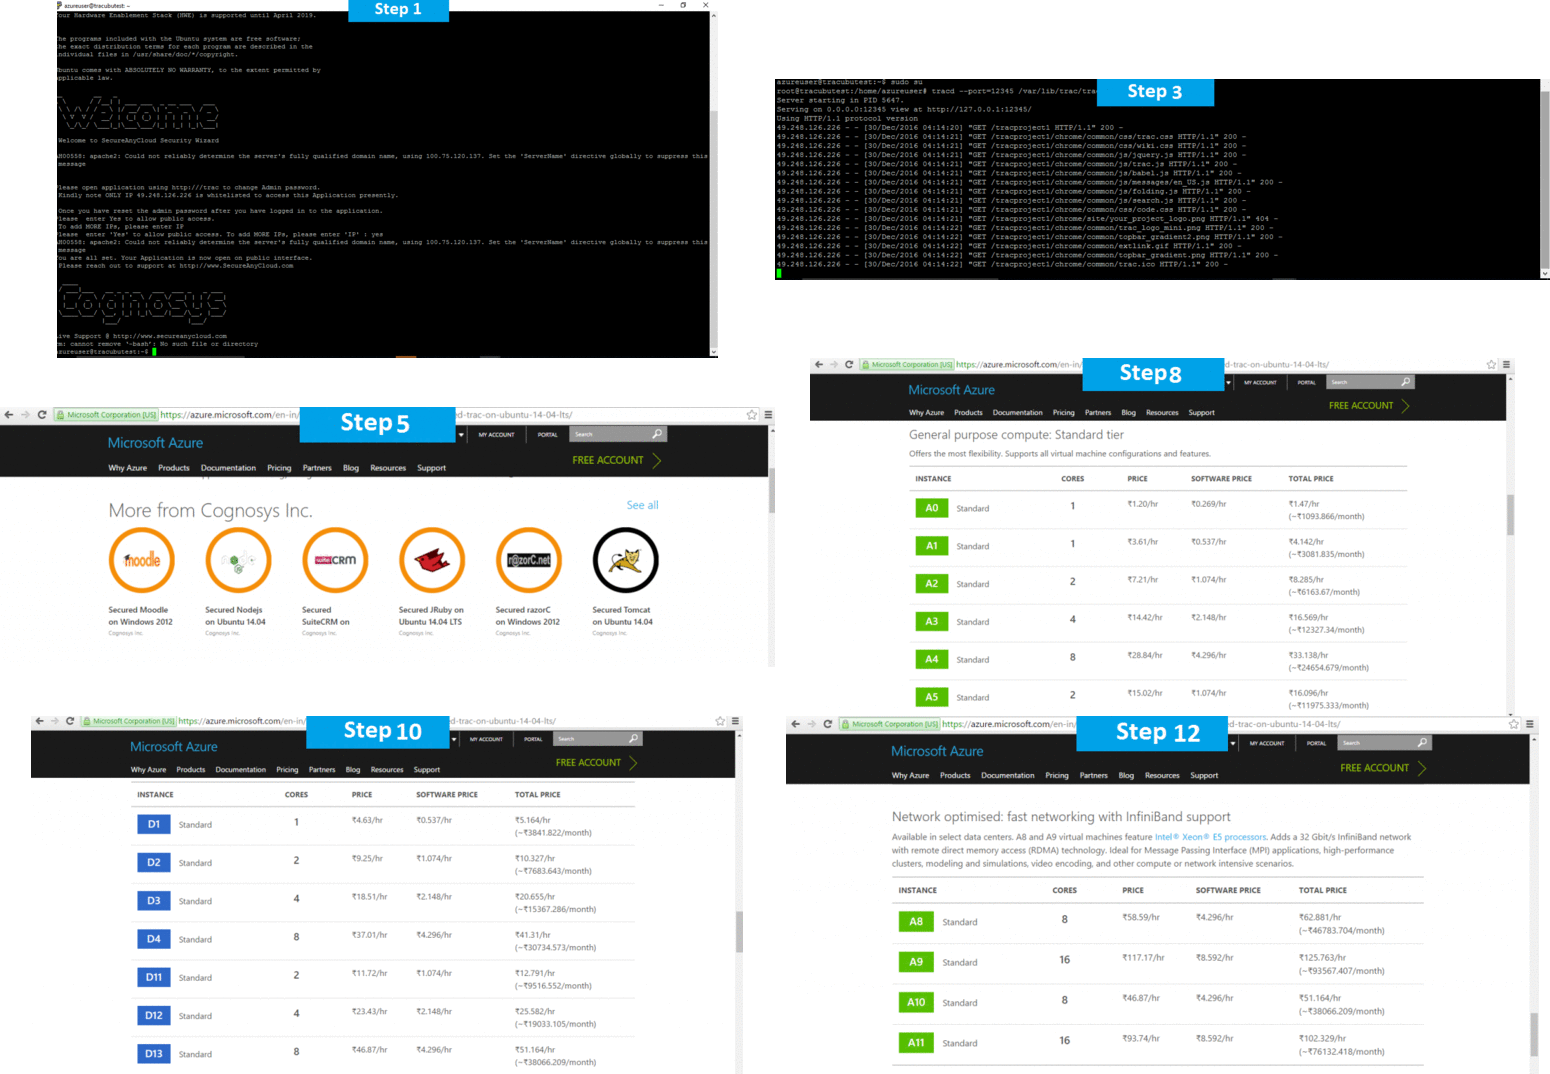
Azure Step by Step Screenshots for Ubuntu 14.04 LTS
Installation Instructions For Ubuntu
Installation Instructions for Ubuntu
Step 1) VM Creation:
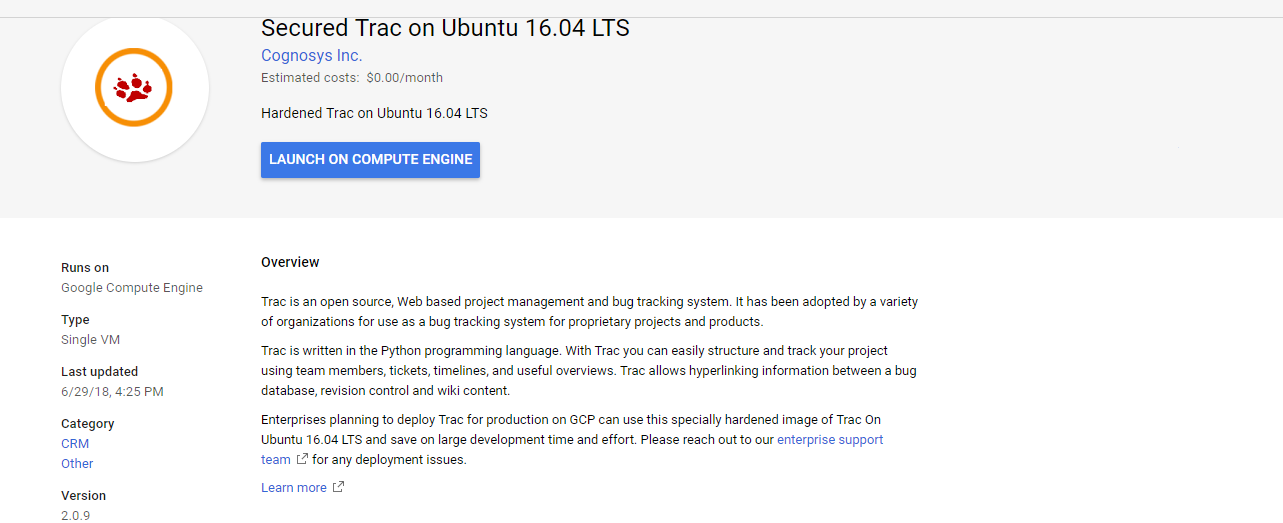
- Click the Launch on Compute Engine button to choose the hardware and network settings.

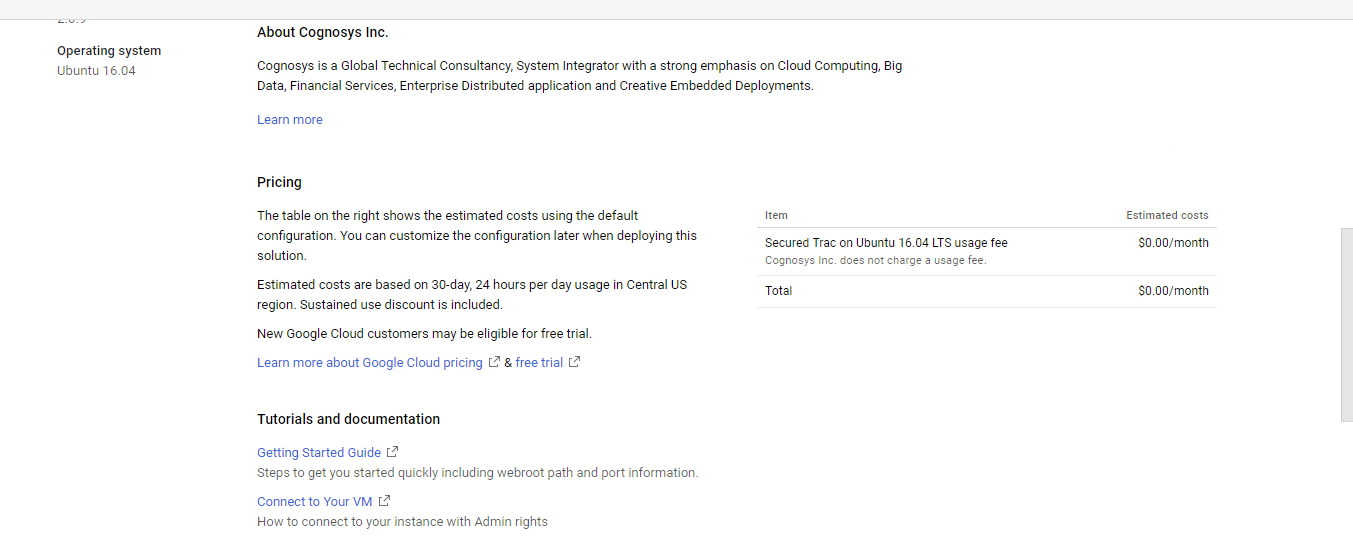
- You can see at this page, an overview of Cognosys Image as well as estimated cost of running the instance.

- In the settings page, you can choose the number of CPUs and amount of RAM, the disk size and type etc.
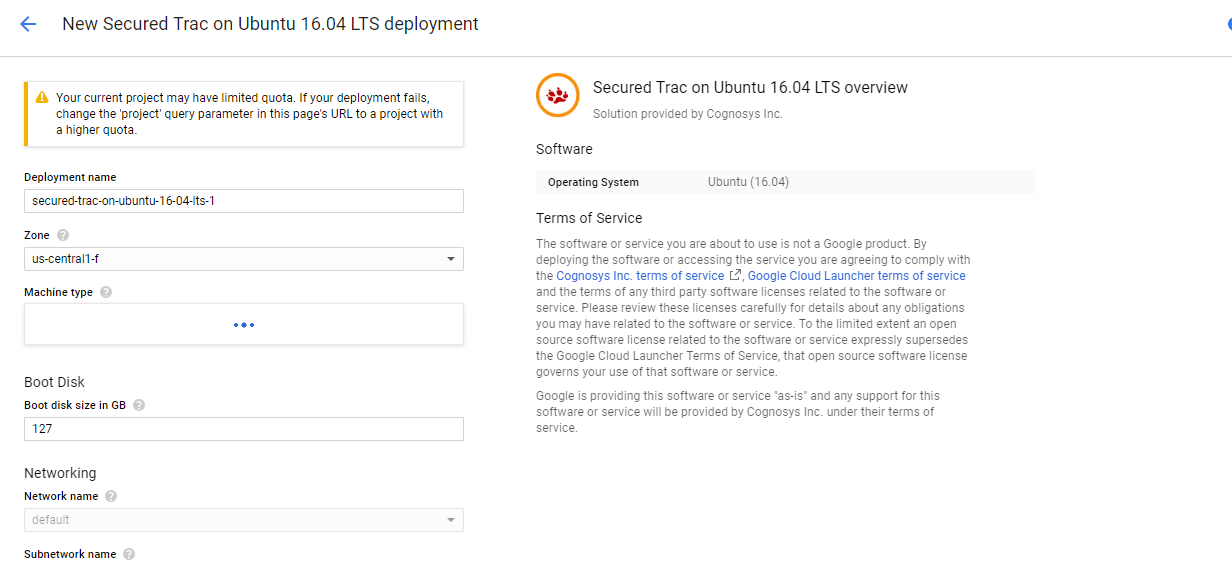
Step 2) SSH Connection:To initialize the DB Server connect to the deployed instance, Please follow Instructions to Connect to Ubuntu instance on Google Cloud
Step 3) Database Login Details:
The below screen appears after successful deployment of the image.

For local MySQL root password, please use the temporary password generated automatically during image creation as shown above.
i) Please connect to Remote Desktop as given in step 2 to ensure stack is properly configured and DB is initialized.
ii) You can use MySQL server instance as localhost, username root and password as shown above.
If you have closed the deployment page you can also get the MySQL root password from VM Details “Custom metadata” Section.
Step 2) Application URL: Access the application via a browser at http://ip:12345/tracproject1
Step 3) Other Information:
1. Default installation path: will be in your web root folder “/var/lib/trac/trac”.
- Linux Machines: SSH Port – 22 or 2222
- Http: 80 or 8080
- Https: 443
- Sql or Mysql ports: By default these are not open on Public Endpoints. Internally Sql server: 1433. Mysql :3306
Videos
Trac Tutorial -02 Creating Tickets


