1-click AWS Deployment 1-click Azure Deployment
Overview
Wiki asp.net (also known as a wiki engine or wiki application asp.net ) is collaborative open source software that runs a wiki, i.e., a website that allows users to create and collaboratively edit web pages via a web browser. A wiki system is usually a web application that runs on one or more web servers.
The ASP.NET MVC is a web application framework developed by Microsoft, which implements the model–view–controller (MVC) pattern. It is open-source software, apart from the ASP.NET Web Forms component which is proprietary.
In the later versions of ASP.NET, ASP.NET MVC, ASP.NET Web API and ASP.NET Web Pages (a platform using only Razor pages) will merge into a unified MVC 6. The project was initially called ASP.NET vNext and was later renamed to ASP.NET Core.
How to install ASP.NET to use the Active Server Pages (ASP) features in Expression Web :
You must install Microsoft ASP.NET to use the Microsoft Active Server Pages (ASP) features in Microsoft Expression Web. This article describes how to install ASP.NET in Microsoft Windows Server 2003, in Microsoft Windows XP Professional, and in Microsoft Windows 2000.
Note ASP.NET is supported in the following operating systems:
- Microsoft Windows Server 2003
- Microsoft Windows XP Professional
- Microsoft Windows 2000 Professional
- Microsoft Windows 2000 Server
- Microsoft Windows 2000 Advanced Server
How to install ASP.NET
Windows Server 2003
On a computer that is running Windows Server 2003, ASP.NET is installed as a role on the operating system. To enable ASP.NET, use one of the following methods.
Method 1: Use the Configure Your Server Wizard
Click Start, and then click
Manage Your Server.
In the Manage Your Server window, click
Add or remove a role.
In the Configure Your Server Wizard, click Next.
Click the Application server (IIS, ASP.NET) server role, and then click
Next.
Click to select the Enable ASP.NET check box, and then click Next.
Click Next again.
If you are prompted, insert the Windows Server 2003 CD into the CD drive, and then click Next.
When the installation is complete, click
Finish.
Method 2: Use Add or Remove Programs :
Click Start, point to
Control Panel, and then click Add or Remove Programs.
Click Add/Remove Windows Components.
In the Windows Components Wizard, click to select the Application Server check box under
Components, and then click
Details.
Under Application server, click to clear the check boxes for the subcomponents that you do not require, click OK, and then click Next.
If you are prompted, insert the Windows Server 2003 CD into the CD drive or into the DVD drive, and then click
Next.
When the Windows Components Wizard has finished configuring Windows Server 2003, click Finish.
Method 3: Use IIS Manager
Click Start, click
Run, type inetmgr, and then click OK.
In IIS Manager, expand the local computer, and then click Web Service Extensions.
In the right pane, right-click
ASP.NET, and then click Allow. The status of ASP.NET changes to “Allowed”.
Windows XP Professional or Windows 2000 :
On a computer that is running Windows XP Professional or Windows 2000, ASP.NET is installed with the Microsoft .NET Framework. To use ASP.NET on a computer that is running Windows XP Professional or Windows 2000, you must first install the .NET Framework.
Note Before you install the .NET Framework, Microsoft Internet Information Services (IIS) must be installed on the computer.
How to install IIS :
To install IIS in Windows XP Professional, follow these steps:
Click Start, and then click
Control Panel.
Double-click Add or Remove Programs.
Click Add/Remove Windows Components.
In the Windows Components Wizard, click to select the Internet Information Services (IIS) check box in the Components box, and then click
Details.
Click to clear the check boxes for the IIS subcomponents that you do not require, click
OK, and then click Next.
If you are prompted, insert the Windows XP CD into the CD drive or into the DVD drive, and then click Next.
When the Windows Components Wizard has finished configuring Windows XP, click Finish.
To install IIS in Windows 2000, follow these steps:
Click Start, point to
Settings, and then click Control Panel.
Double-click Add/Remove Programs.
Click Add/Remove Windows Components.
In the Windows Components Wizard, click to select the Internet Information Services (IIS) check box in the Components box, and then click
Details.
Click to clear the check boxes for the IIS subcomponents that you do not require, click
OK, and then click Next.
If you are prompted, insert the Windows 2000 CD into the CD drive or into the DVD drive, and then click Next.
When the Windows Components Wizard has finished configuring Windows 2000, click Finish.
Wiki asp.net on Cloud runs on Amazon Web Services (AWS) and Azure and is built to web development to produce dynamic web pages.
Cognosys provides hardened images of Wiki asp.net on all public cloud i.e. AWS marketplace and Azure.
Wiki asp.net on cloud for AWS
Wiki asp.net on cloud for Azure
Features
Major Features of Wiki asp.net :
- database-less
- multi domain
- correlated words (word > link, auto replace)
- Dinamic sitemap (automatic sitemap)
- Dinamic feed rss (automatic feed)
- Include a good wysiwyg html editor by http://wysiwygnet.com/
AWS
Installation Instructions For Windows
Note: How to find PublicDNS in AWS
Step 1) RDP Connection: To connect to the deployed instance, Please follow Instructions to Connect to Windows instance on AWS Cloud
Connect to the virtual machine using following RDP credentials:
- Hostname: PublicDNS / IP of machine
- Port : 3389
Username: To connect to the operating system, use RDP and the username is Administrator.
Password: Please Click here to know how to get password .
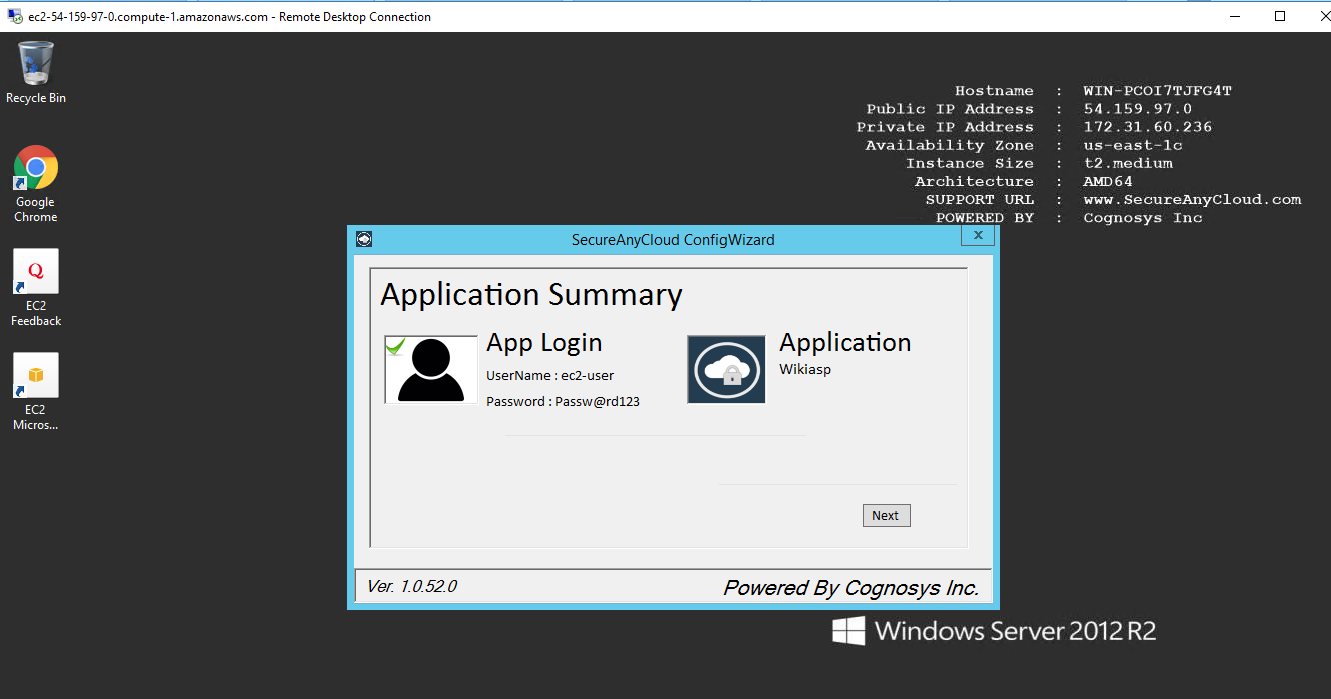
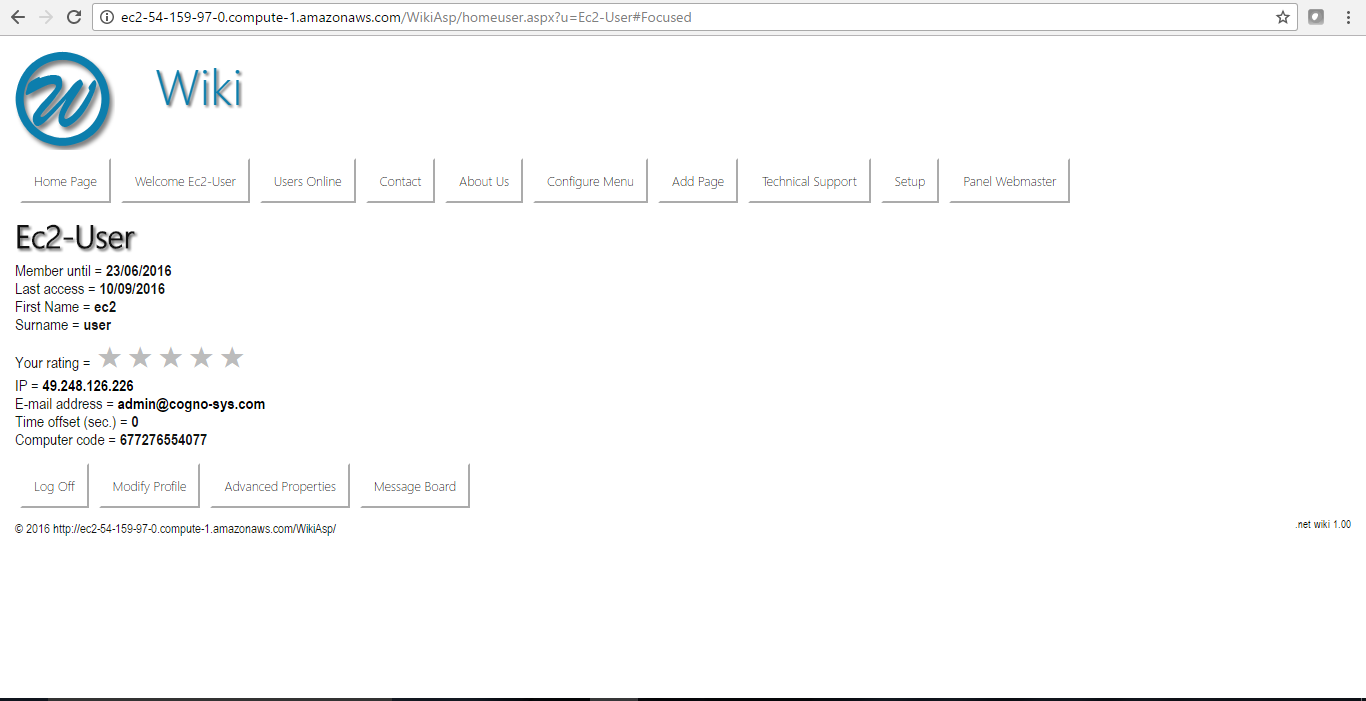
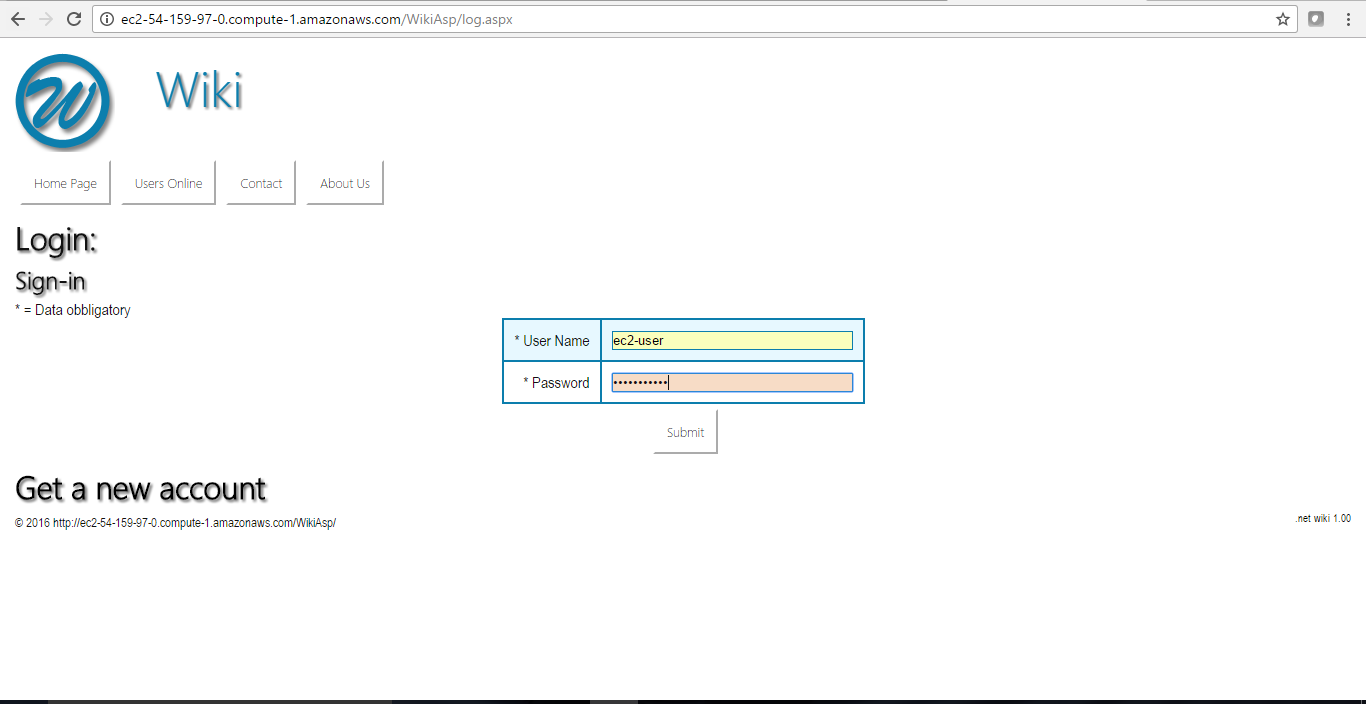
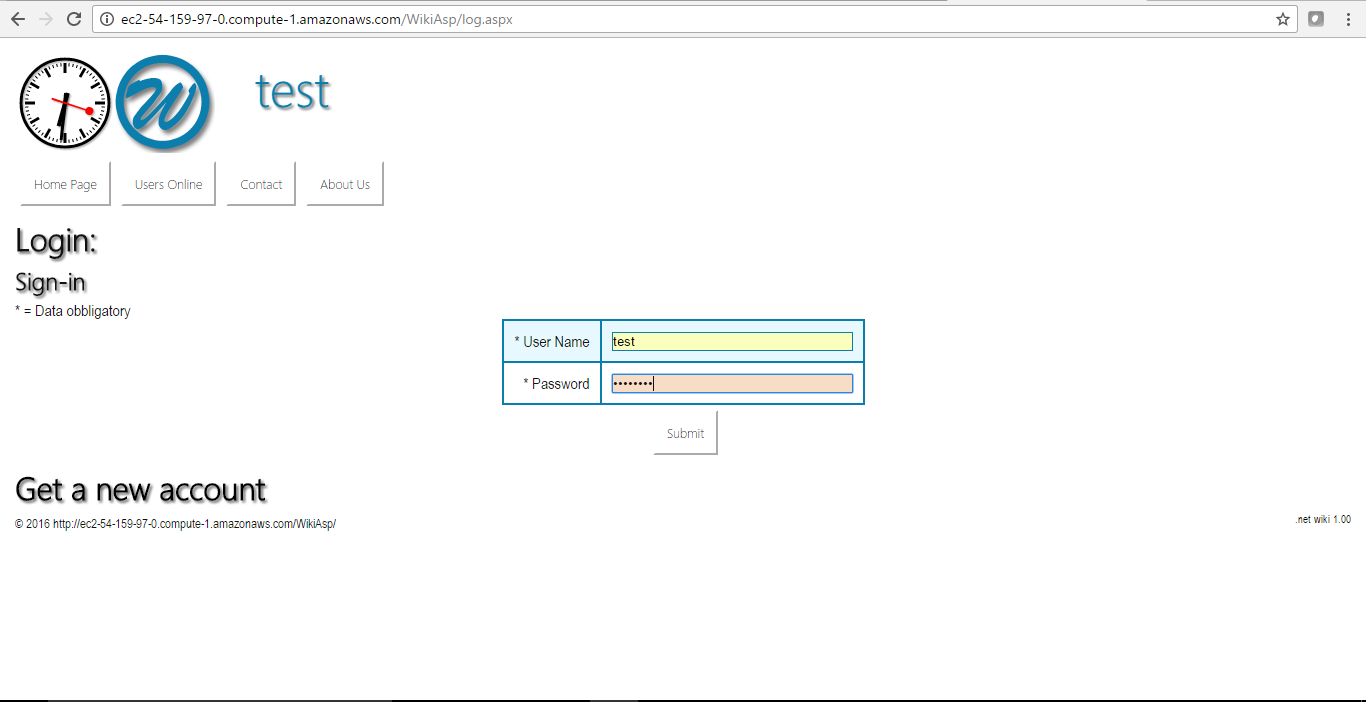
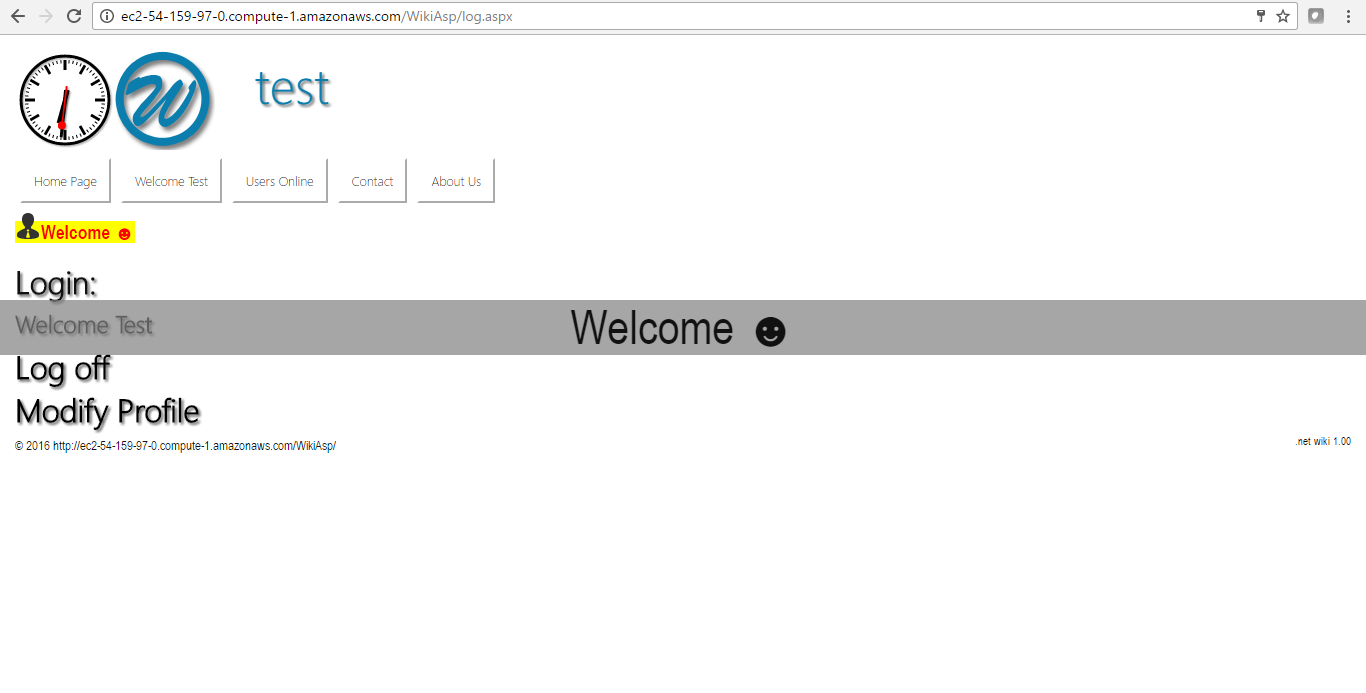
Step 2) Application URL: Access the application via a browser at http://PublicDNS/wikiasp
- User Name: ec2-user
- Password: Passw@rd123
Step 3) Other Information:
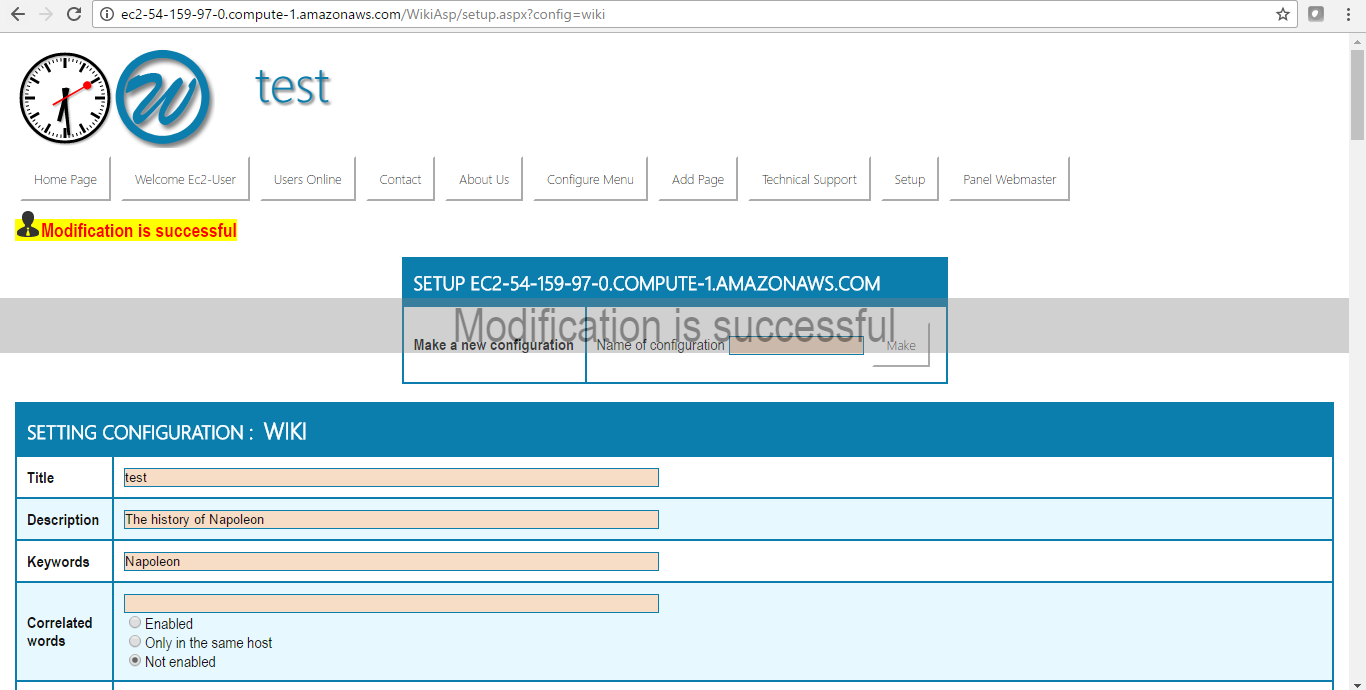
1.Default installation path: will be in your web root folder “C:\inetpub\wwwroot\wiki”.
2.Default ports:
- RDP Port – 3389
- Http: 80
- Https: 443
Configure custom inbound and outbound rules using this link.
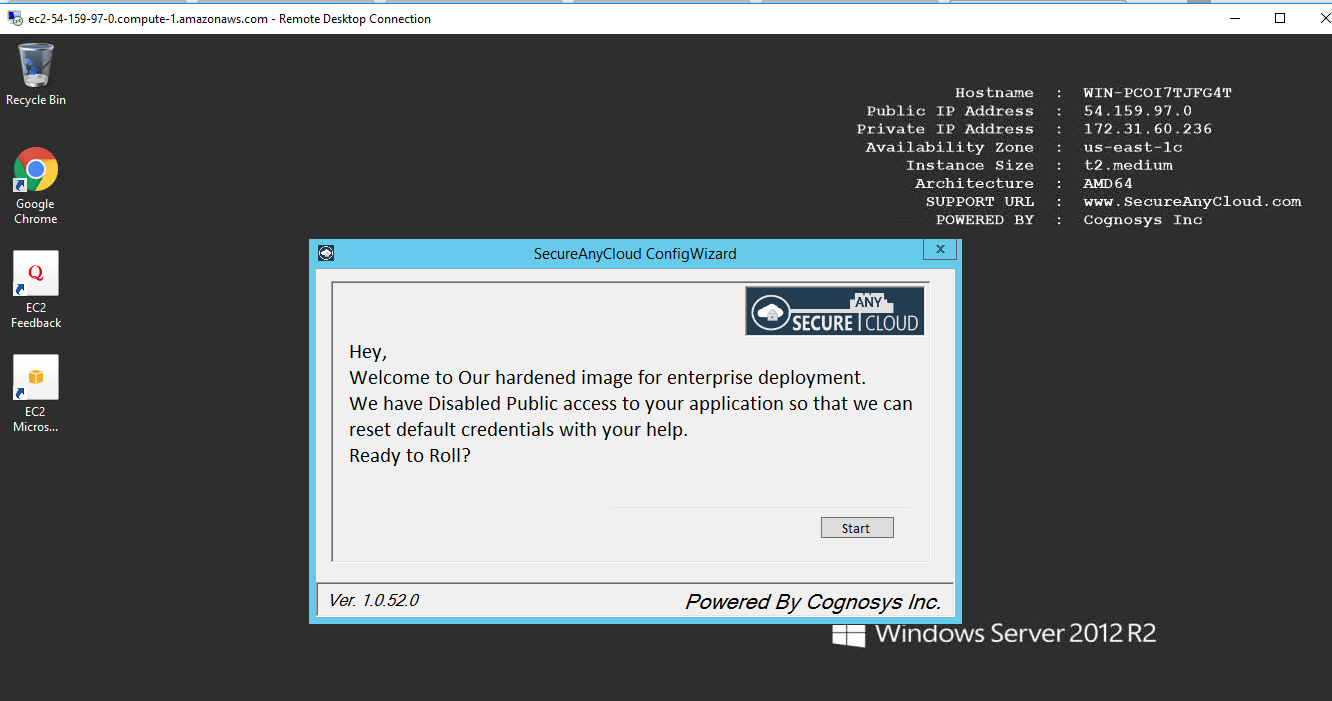
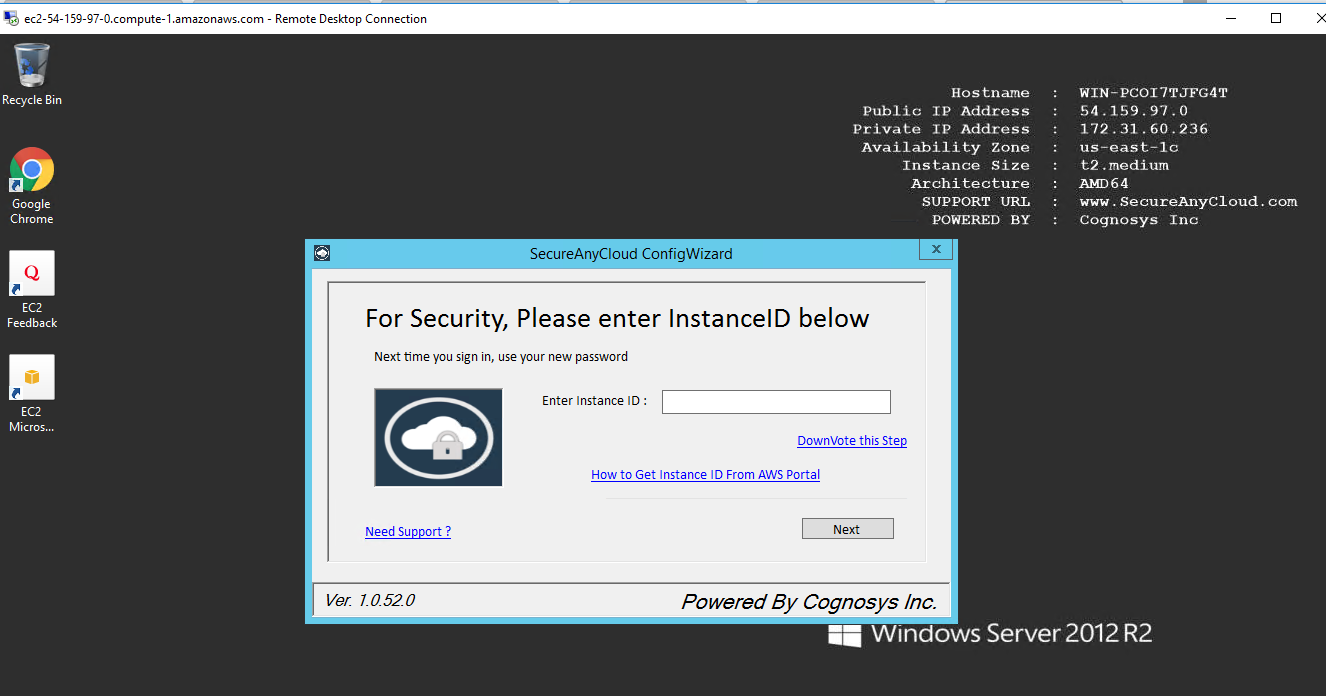
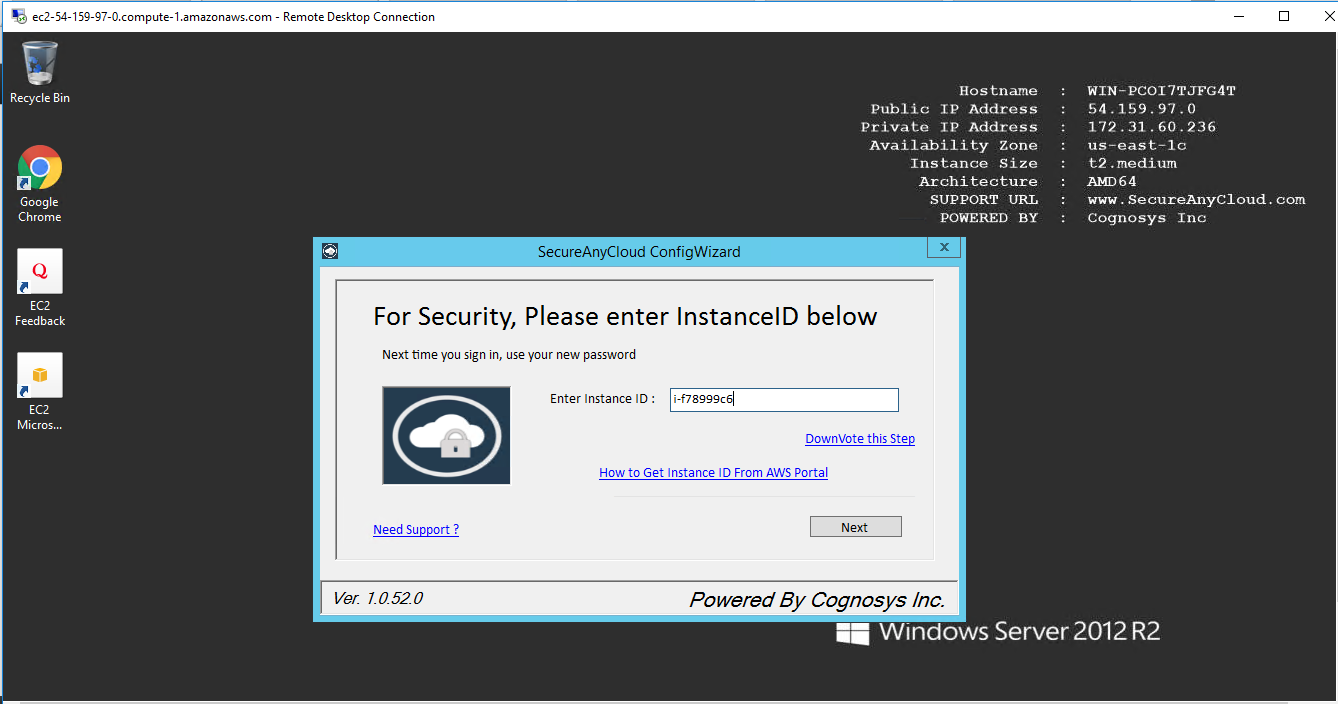
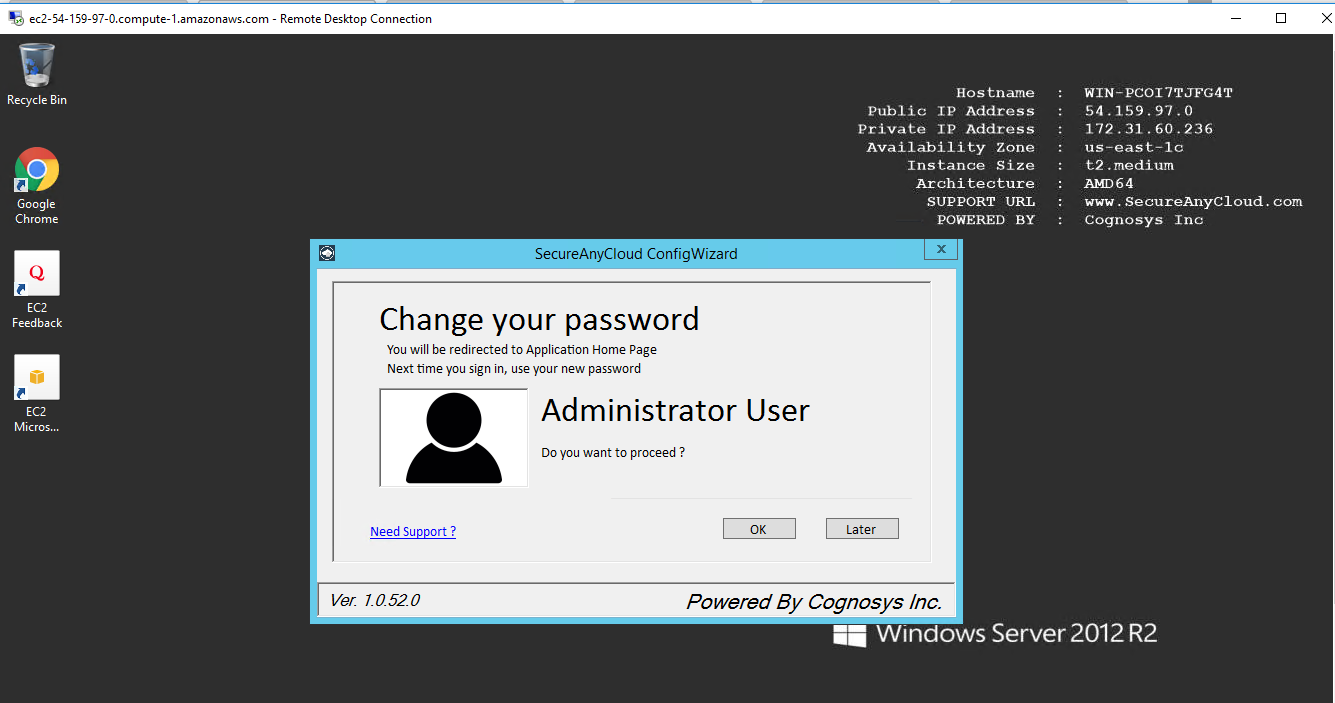
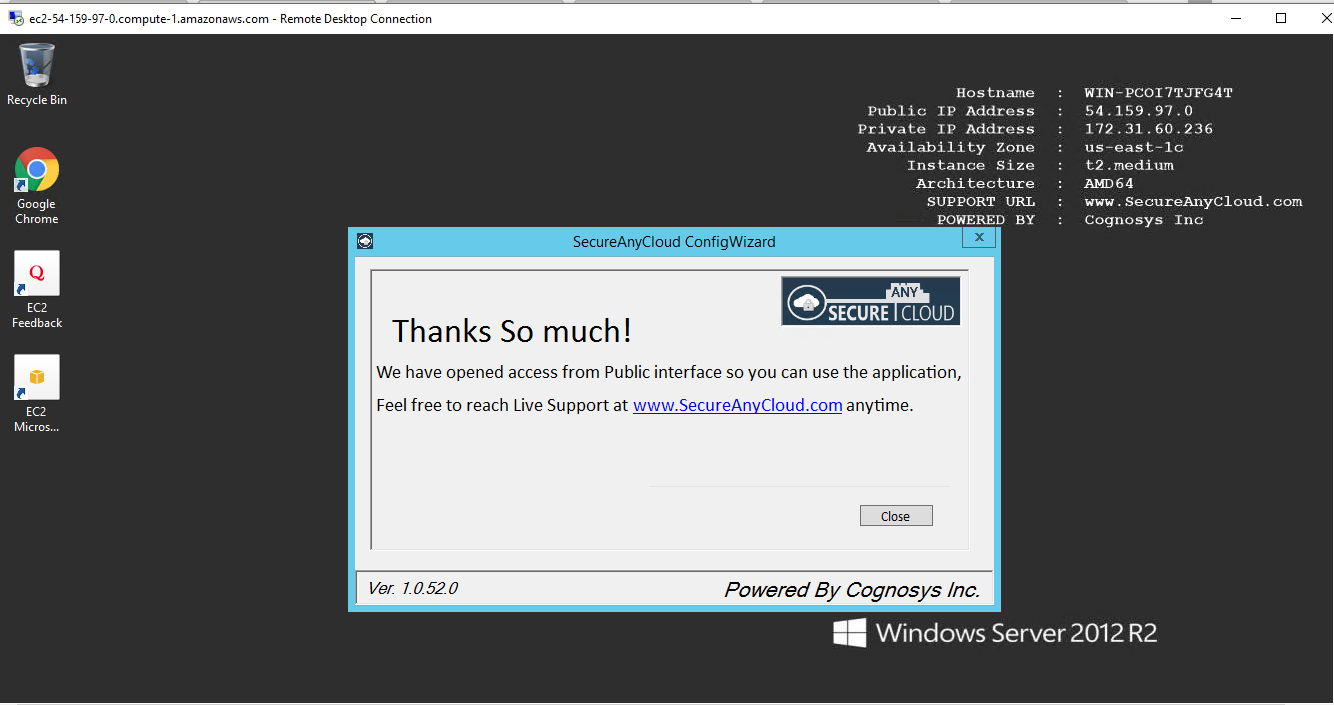
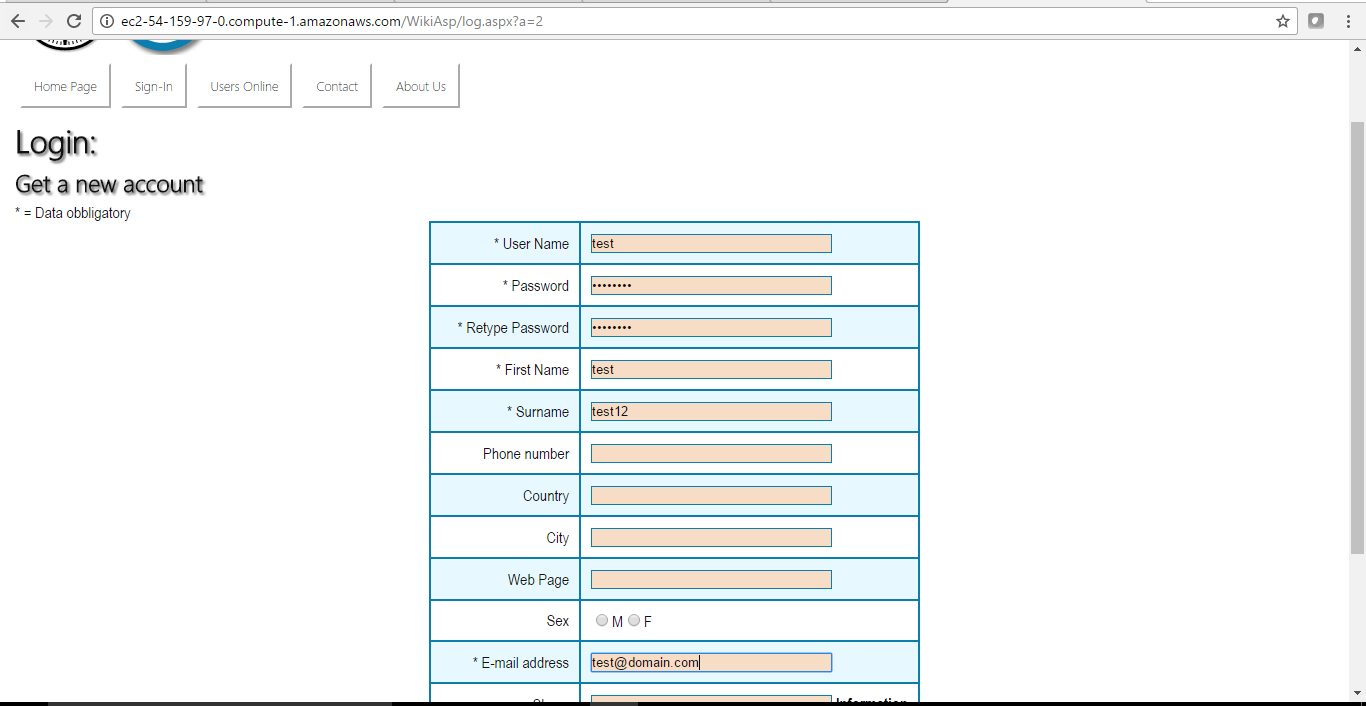
AWS Step by Step Screenshots
Azure
Installation Instructions for Windows
Note: How to find PublicDNS in Azure
Step1 ) RDP Connection: To connect to the deployed instance, Please follow Instructions to Connect to Windows instance on Azure Cloud
Connect to virtual machine using following RDP credentials:
- Hostname: PublicDNS / IP of machine
- Port : 3389
Username: Your chosen username when you created the machine ( For example: Azureuser)
Password : Your Chosen Password when you created the machine ( How to reset the password if you do not remember)
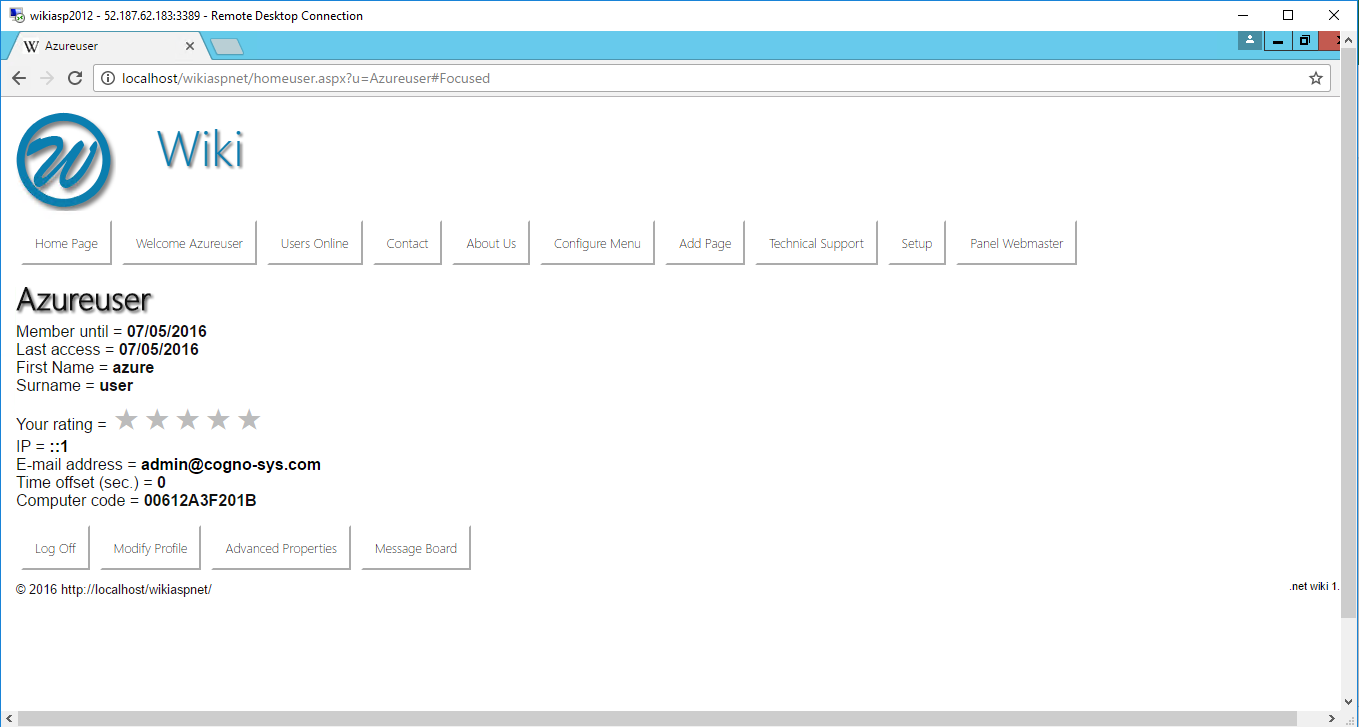
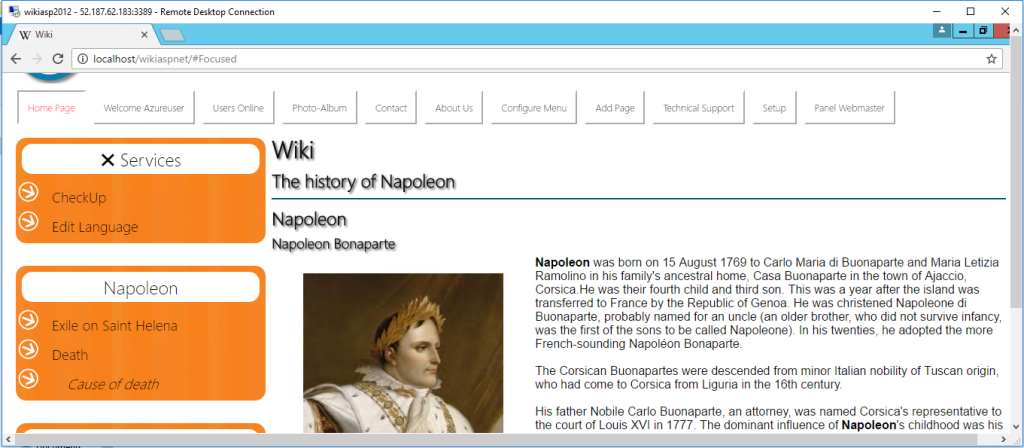
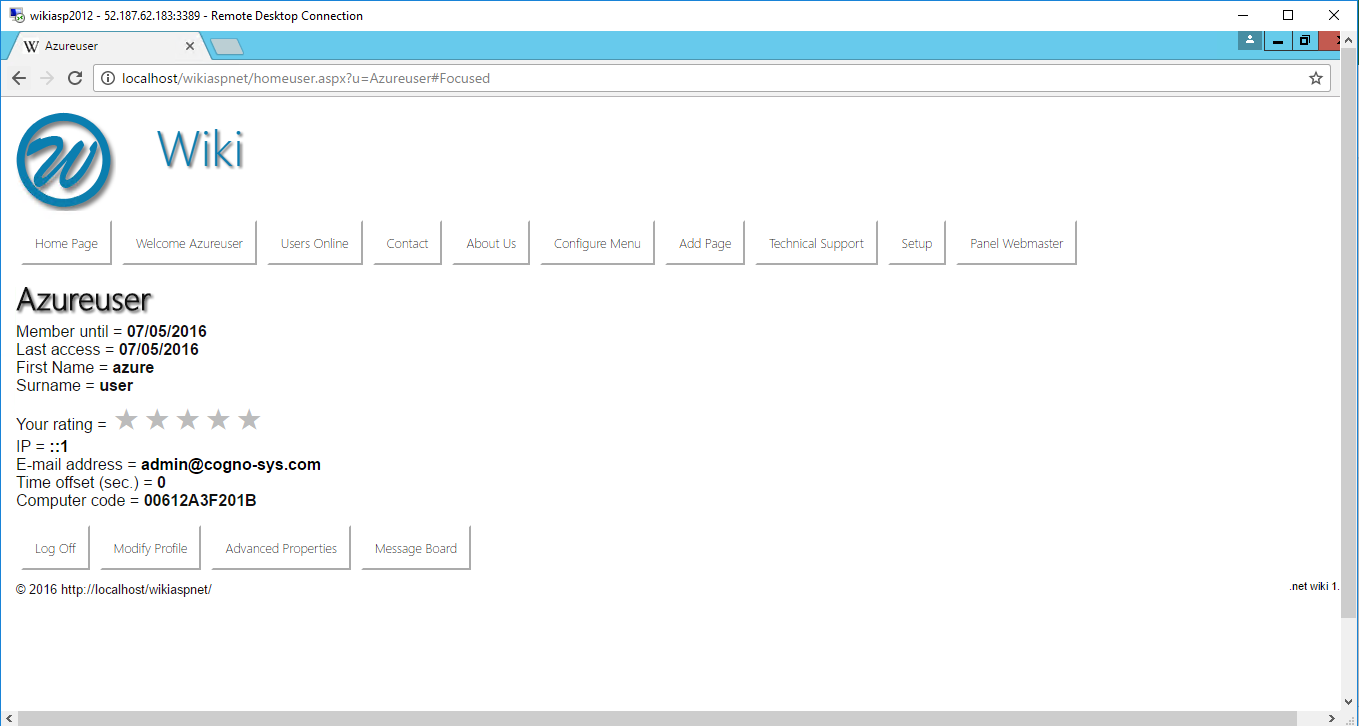
Step 2)Application URL: Access the application via a browser at http://PublicDNS/wikiaspnet
- User Name: azureuser
- Password: Passw@rd123
Step 3) Other Information:
1.Default installation path: will be in your web root folder “C:\inetpub\wwwroot\wikiaspnet”
2.Default ports:
- RDP Port – 3389
- Http: 80
- Https: 443
Configure custom inbound and outbound rules using this link
For a list of installation instructions customized for your platform Wiki asp.net .
Azure Step by Step Screenshots
Videos
Adding an image to the content page
ASP.NET MVC


