Exchange 2013 RBAC Manager on Cloud

1-click AWS Deployment    1-click Azure Deployment


Overview

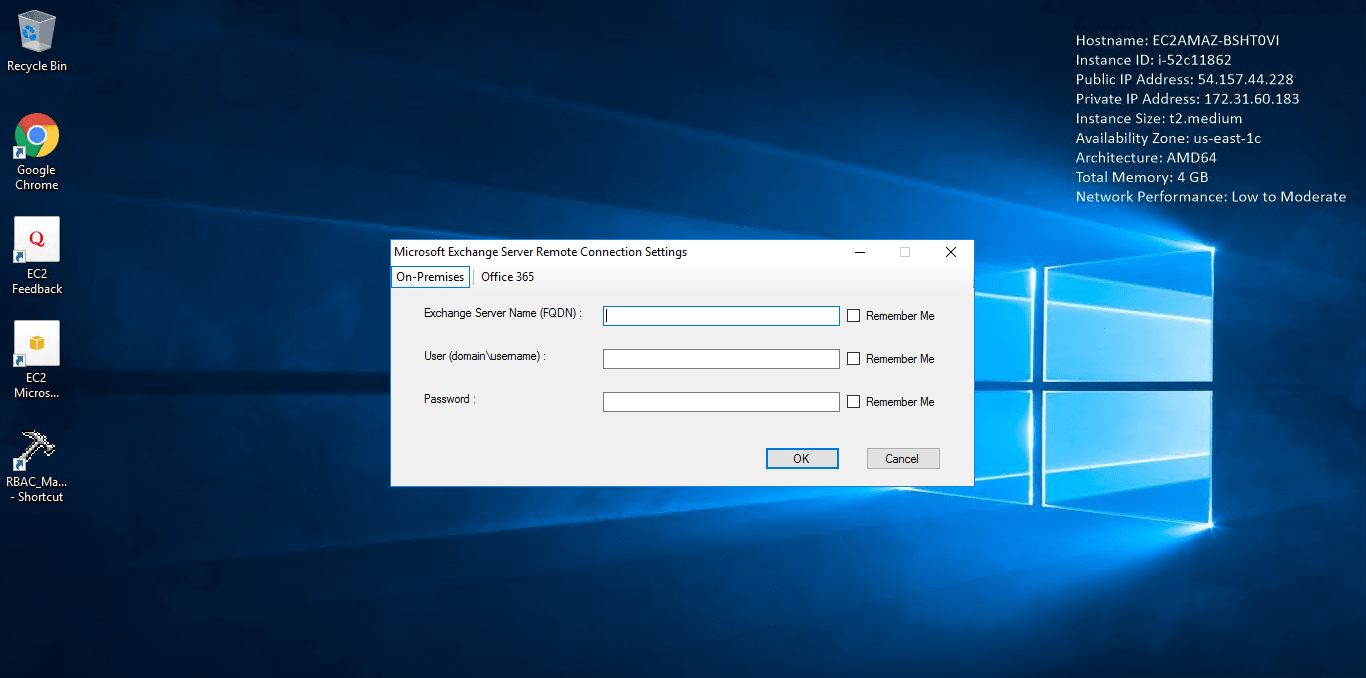
Exchange 2013 RBAC Manager is a great tool for admins working with role-based access control and Exchange. RABC Manager helps overcome the lack of a GUI tool to work with the new role-based administration side to Exchange. It enables admins to connect whether or not you’re a PowerShell master. The tool is written in C#  and uses PowerShell behind the scenes that allows you to create and manage roles in your Exchange 2013 environment.

RBAC Manager puts all efforts to simplify the RBAC administration. Basically it provides the missing GUI to edit RBAC settings on Exchange 2010 systems; including adding/removing cmdlets, cmdlet properties, assignments etc. RBAC tool is written in C# and using Powershell behind the scenes.

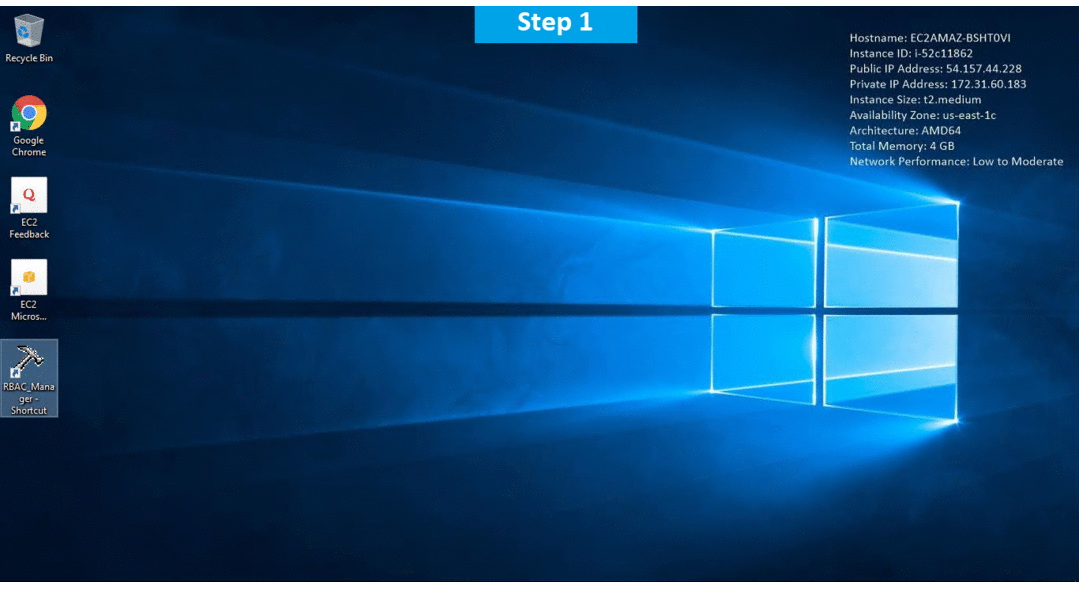
RBAC Manager on Cloud runs on Amazon Web Services (AWS) and Azure is built to manage authorizations and to set permissions for any system object throughout BMC Server Automation.

Cognosys provides hardened images of RBAC Manager on all public cloud i.e. AWS marketplace and Azure.


Exchange 2013 RBAC Manager on Cloud For AWS

Features

Major Features Of RBAC Manager

  • Role management permissions
  • Messaging policy and compliance permissions
  • Anti-spam and anti-malware permissions
  • Mail flow permissions
  • Recipients Permissions
  • Email address and address book permissions
  • Sharing and collaboration permissions
  • Clients and mobile devices permissions
  • Unified Messaging permissions
  • High availability and site resilience permissions
  • Exchange and Shell infrastructure permissions
  • Server health and performance permissions


AWS

Installation Instructions For Windows

Note: How to find PublicDNS in AWS

Step 1) RDP  Connection: To connect to the deployed instance, Please follow Instructions to Connect to Windows  instance on AWS Cloud

1) Connect to the virtual machine using following RDP credentials:

  • Hostname: PublicDNS  / IP of machine
  • Port : 3389

Username: To connect to the operating system, use RDP and the username is Administrator.
Password: Please Click here to know how to get password .

Step 2) Click the Windows “Start” button and select “All Programs” and then point to RBAC Manager.

Step 3) Other Information:

1.Default installation path: will be in your root folder “C:\RBAC_Manager_1.5.5.1
2.Default ports:

  • Windows Machines:  RDP Port – 3389
  • Http: 80
  • Https: 443

Configure custom inbound and outbound rules using this link

Installation Step by Step Screenshots


Videos


Exchange 2013 RBAC Manager on Cloud

Related Posts