1-click AWS Deployment 1-click Azure Deployment
Overview
Android is an open source and Linux-based Operating System for mobile devices such as smartphones and tablet computers. Android was developed by the Open Handset Alliance, led by Google, and other companies. Android offers a unified approach to application development for mobile devices which means developers need only develop for Android, and their applications should be able to run on different devices powered by Android.
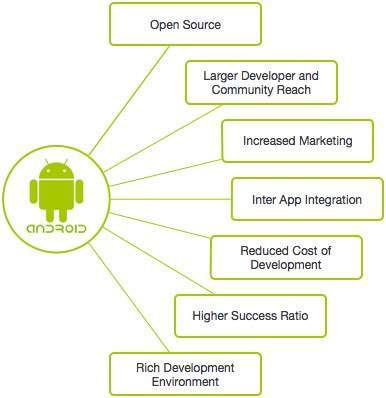
Why Android?
Categories of Android applications
There are many android applications in the market. The top categories are −

History of Android
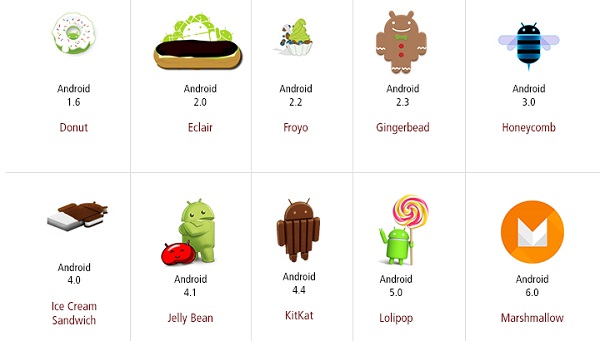
The code names of android ranges from A to N currently, such as Aestro, Blender, Cupcake, Donut, Eclair, Froyo, Gingerbread, Honeycomb, Ice Cream Sandwitch, Jelly Bean, KitKat, Lollipop and Marshmallow. Let’s understand the android history in a sequence.
 .
.
Android operating system is a stack of software components which is roughly divided into five sections and four main layers as shown below in the architecture diagram.

Linux kernel
At the bottom of the layers is Linux – Linux 3.6 with approximately 115 patches. This provides a level of abstraction between the device hardware and it contains all the essential hardware drivers like camera, keypad, display etc. Also, the kernel handles all the things that Linux is really good at such as networking and a vast array of device drivers, which take the pain out of interfacing to peripheral hardware.
Libraries
On top of Linux kernel there is a set of libraries including open-source Web browser engine WebKit, well known library libc, SQLite database which is a useful repository for storage and sharing of application data, libraries to play and record audio and video, SSL libraries responsible for Internet security etc.
Android Libraries
This category encompasses those Java-based libraries that are specific to Android development. Examples of libraries in this category include the application framework libraries in addition to those that facilitate user interface building, graphics drawing and database access. A summary of some key core Android libraries available to the Android developer is as follows −
android.app − Provides access to the application model and is the cornerstone of all Android applications.
android.content − Facilitates content access, publishing and messaging between applications and application components.
android.database − Used to access data published by content providers and includes SQLite database management classes.
android.opengl − A Java interface to the OpenGL ES 3D graphics rendering API.
android.os − Provides applications with access to standard operating system services including messages, system services and inter-process communication.
android.text − Used to render and manipulate text on a device display.
android.view − The fundamental building blocks of application user interfaces.
android.widget − A rich collection of pre-built user interface components such as buttons, labels, list views, layout managers, radio buttons etc.
android.webkit − A set of classes intended to allow web-browsing capabilities to be built into applications.
Having covered the Java-based core libraries in the Android runtime, it is now time to turn our attention to the C/C++ based libraries contained in this layer of the Android software stack.
Android Runtime
This is the third section of the architecture and available on the second layer from the bottom. This section provides a key component called Dalvik Virtual Machine which is a kind of Java Virtual Machine specially designed and optimized for Android.
The Dalvik VM makes use of Linux core features like memory management and multi-threading, which is intrinsic in the Java language. The Dalvik VM enables every Android application to run in its own process, with its own instance of the Dalvik virtual machine.
The Android runtime also provides a set of core libraries which enable Android application developers to write Android applications using standard Java programming language.
Application Framework
The Application Framework layer provides many higher-level services to applications in the form of Java classes. Application developers are allowed to make use of these services in their applications.
The Android framework includes the following key services −
Activity Manager − Controls all aspects of the application lifecycle and activity stack.
Content Providers − Allows applications to publish and share data with other applications.
Resource Manager − Provides access to non-code embedded resources such as strings, color settings and user interface layouts.
Notifications Manager − Allows applications to display alerts and notifications to the user.
View System − An extensible set of views used to create application user interfaces.
Applications
You will find all the Android application at the top layer. You will write your application to be installed on this layer only. Examples of such applications are Contacts Books, Browser, Games etc.
Writing your first Android Studio application
By default, Android Studio provides you a number of templates that you can use while making your very first Android Studio project.
By default, Android Studio provides you a number of templates that you can use while making your very first Android Studio project.
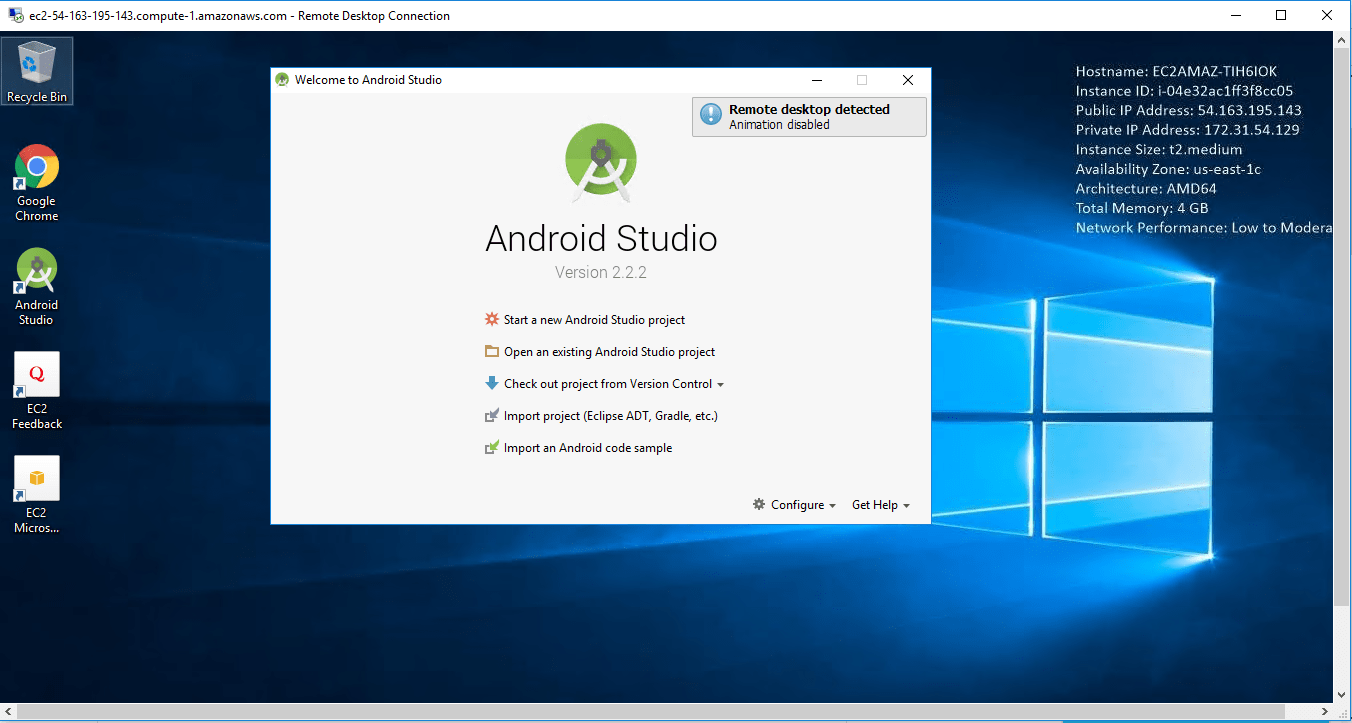
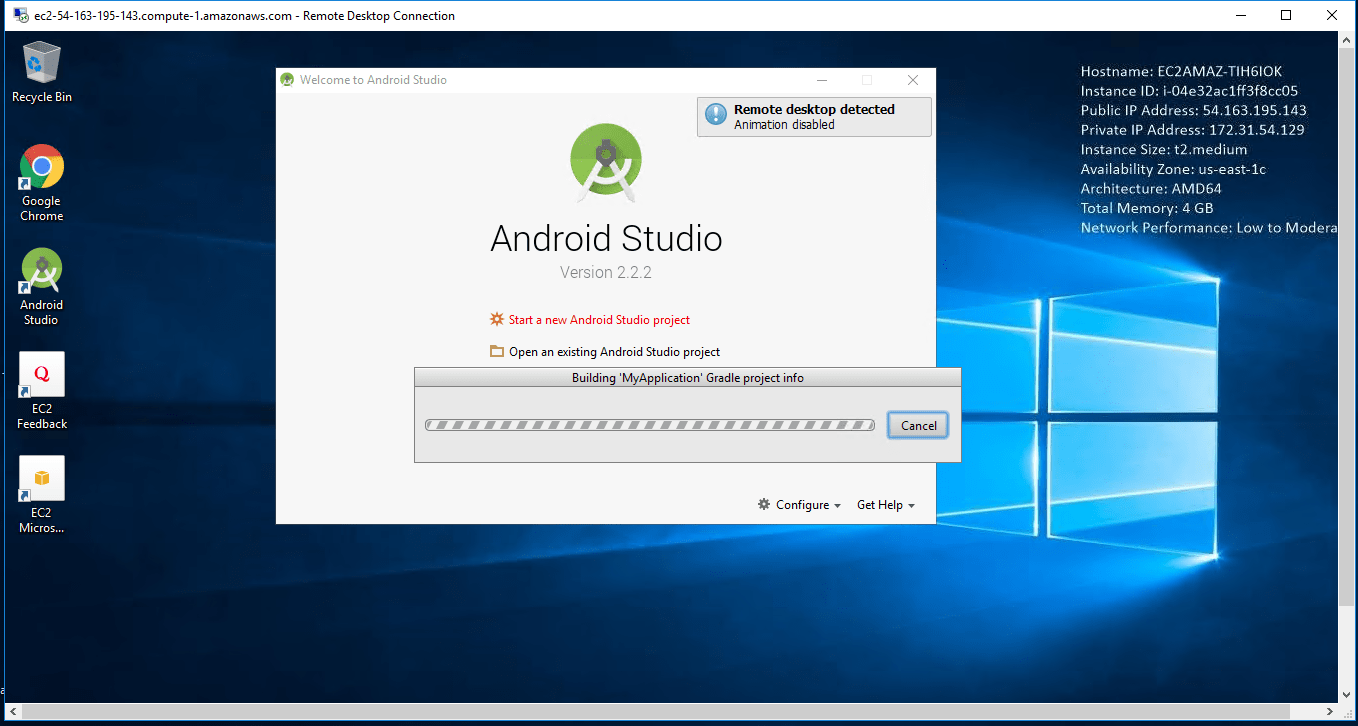
To create a new project in Android Studio, click on Start a new Android Studio project:

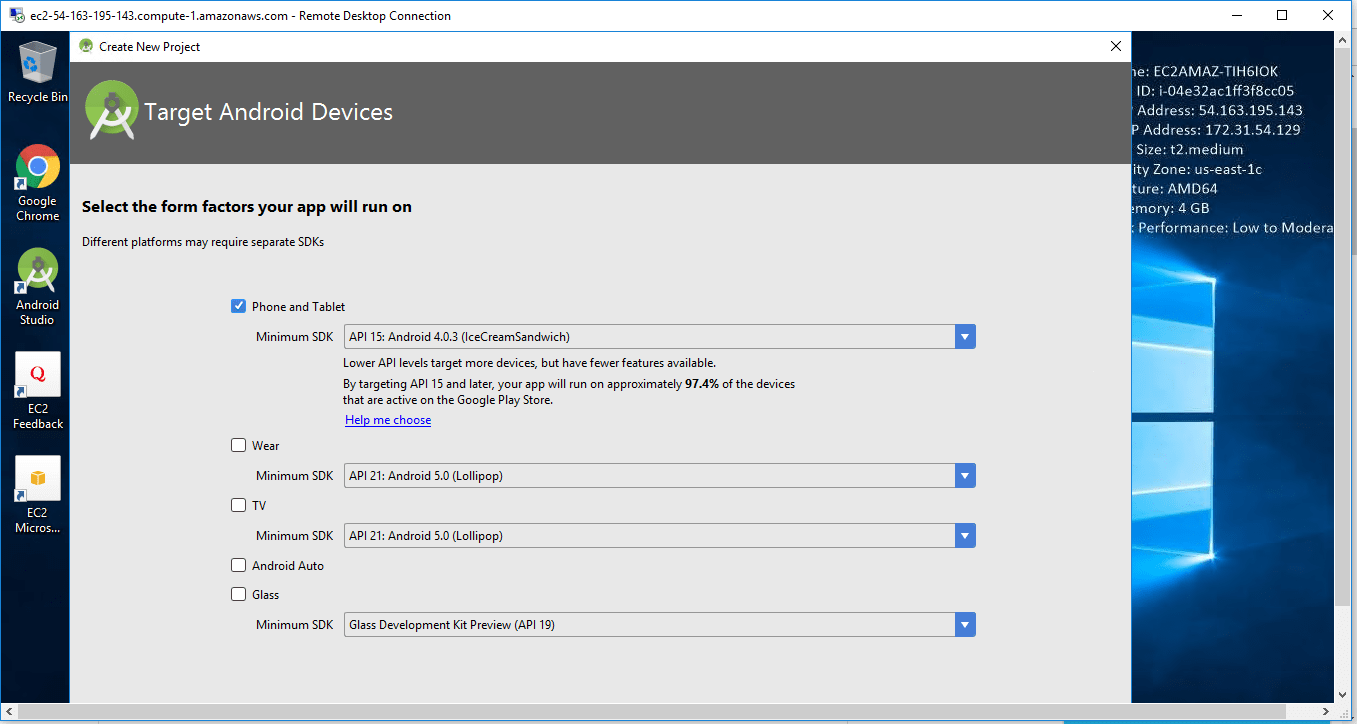
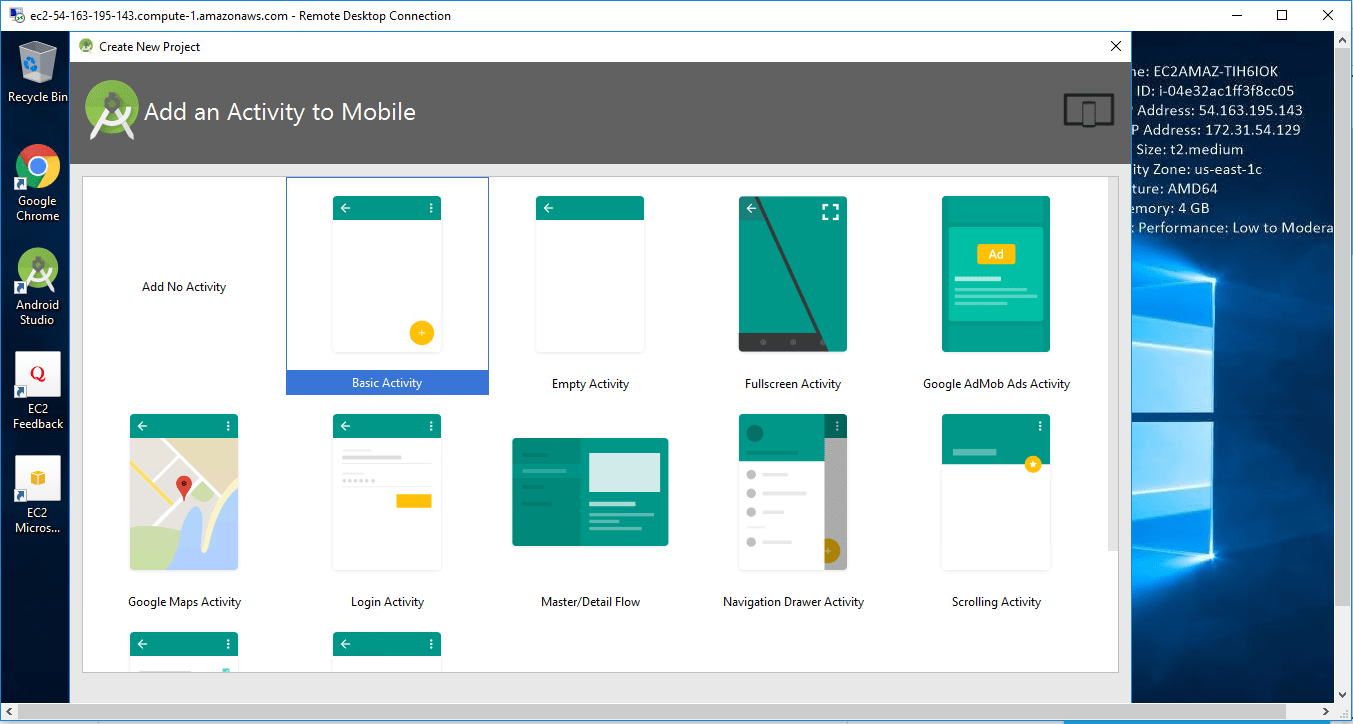
After that, select from the number of predefined templates that you can use in your project without coding for the same. If the desired template is not present then you can select Basic or Empty Activity template.

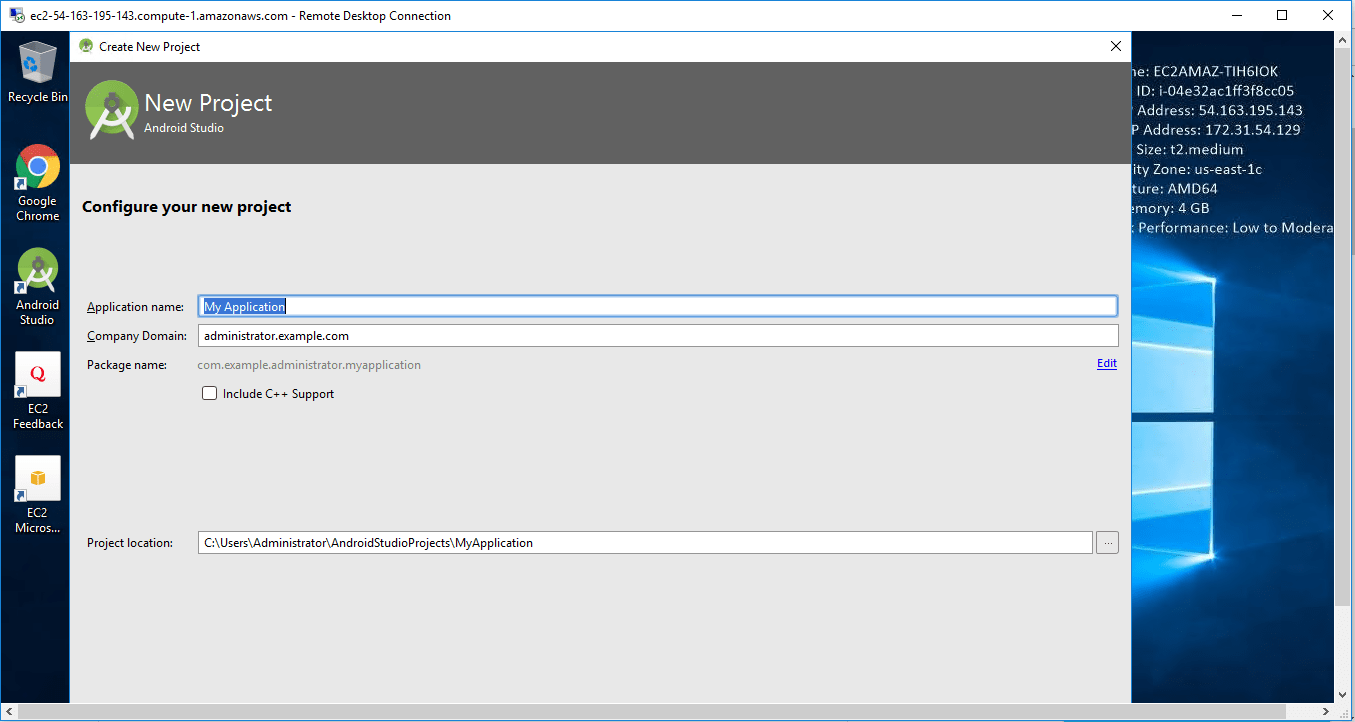
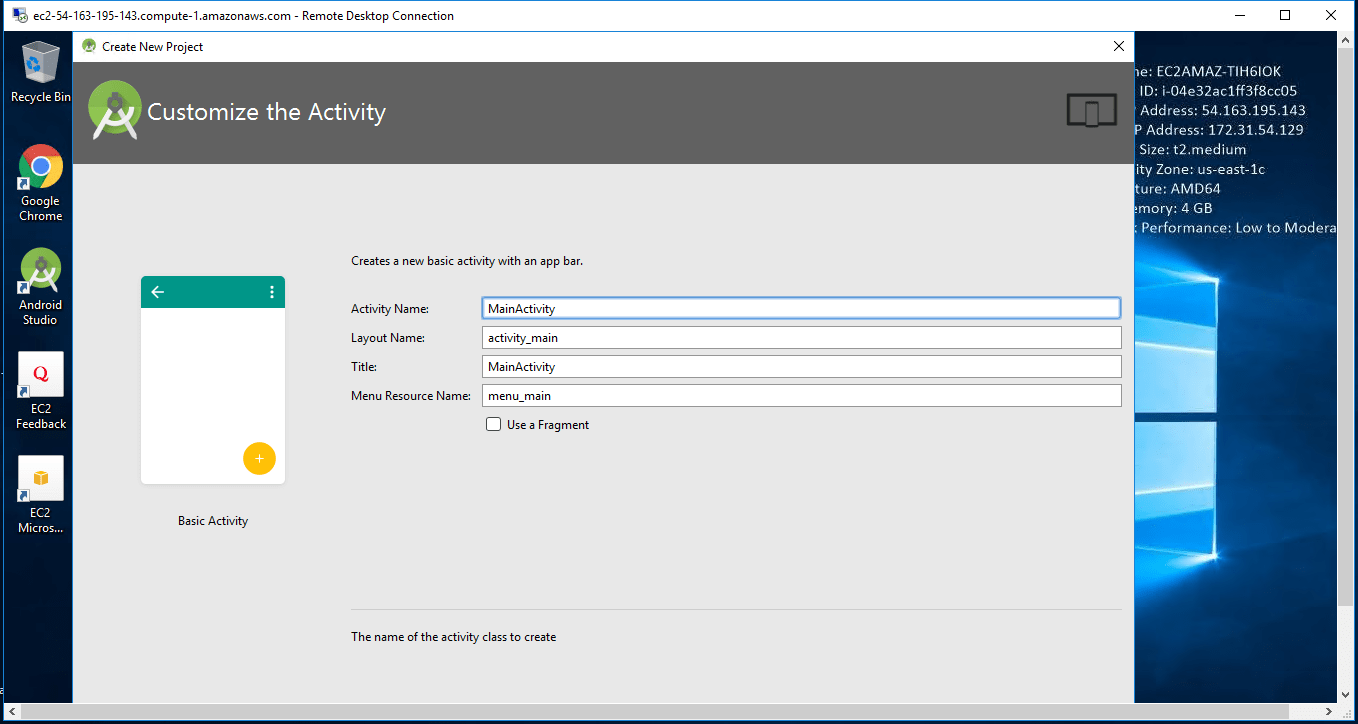
After selecting the desired template, click on next and then enter the name of the application, package name of the application, save location, language and minimum API level (this is the minimum API level supported by your app). After selecting these, click on Finish.

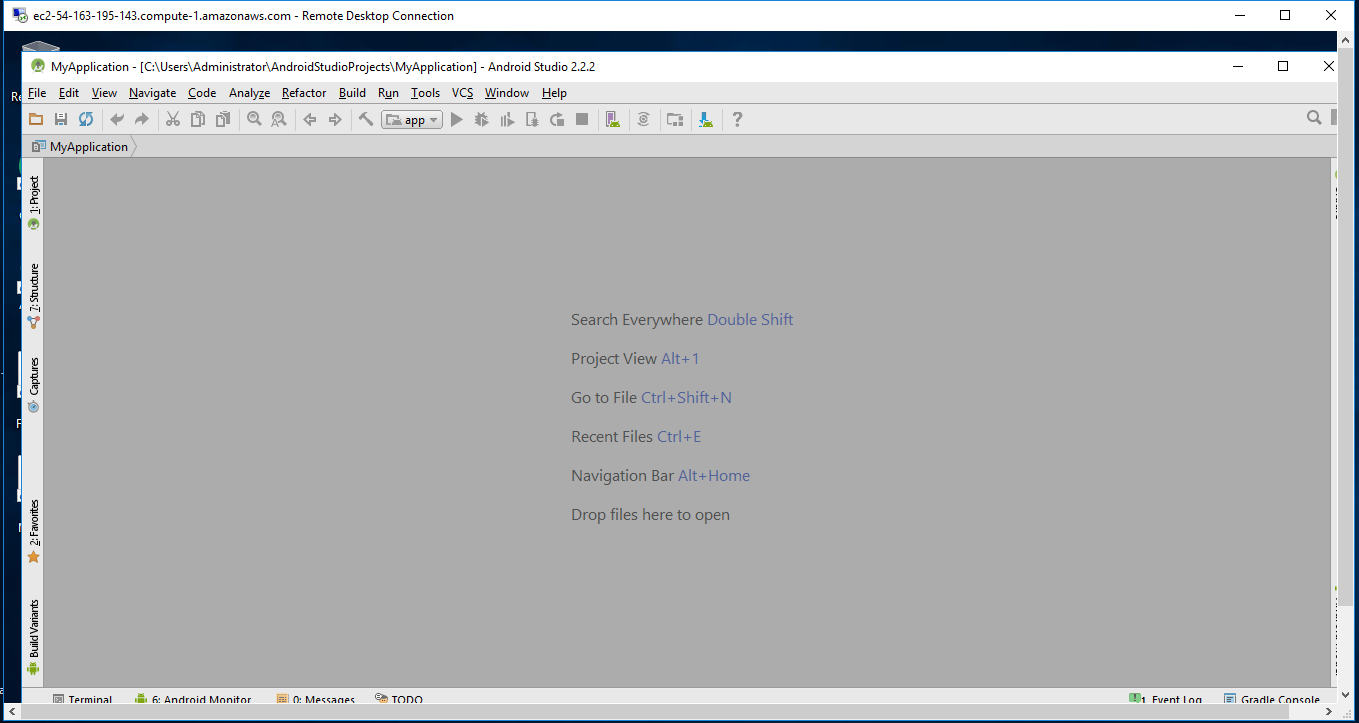
Now the first Android Studio project is ready. You can run your project on your device by connecting the device with USB and then run your Hello World application 🙂 But, before that, get familiar with the Android Studio. Below screen will be opened whenever you create a project in Android Studio:

To understand in a better way, we can divide the Android Studio screen into four parts:
Menu part: Here, you will get various options like creating a new project, opening a project, running your project on the desired device, build your project and many other options.
Coding area: This is the area where you can actually write code for your .kt or .java or .xml file. You can open a number of files at a time in different tabs, but the editing can be done in only one at a particular instant of time.
Project structure: This is the part from where you can access all your files present in your project. There are various views of the project structure in Android Studio. You can use the below views:

Current execution part: This part is the most important part of the Android Studio. Here, you can see the currently executing process or activity. You can detect the error if any in your Android application. Here, you will get all your build outputs and actions, logcat results, todos and also, you can use terminal here in your Android Studio.
Understanding the Designing part
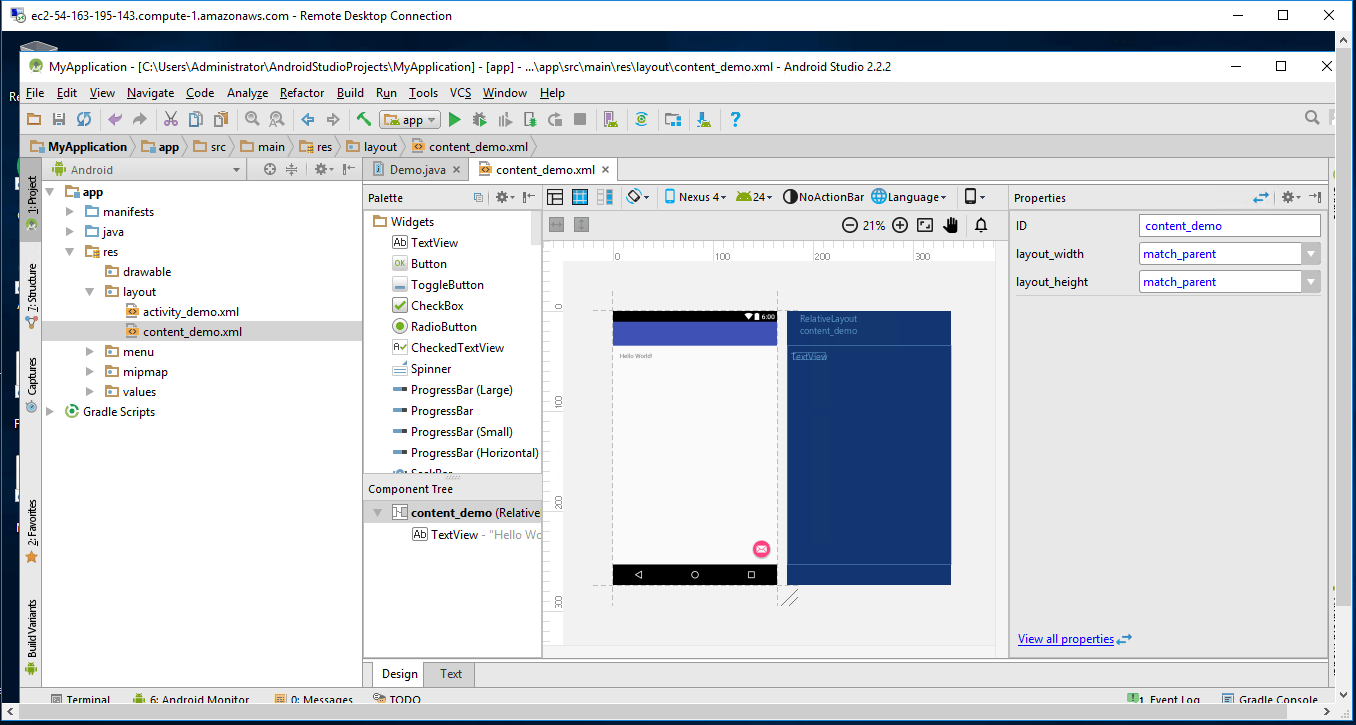
You can create the UI of your Android application by writing codes in your .xml file. You can find your .xml from in the res/layout directory. Here, you will be having two options of designing the UI for your application i.e. the Text way or the Design way.
In the Text way, you can write the xml code for your Android application and at the same time, you can see the preview on some mobile device. Below is a representation of the Text way of writing the UI:

Android Studio, provides a way to drag and drop various widgets and use it in your application. You will be having a list of Palette and you can use any of them in your application. Following is the view of the design part of the Android studio:

Run your app
In Android Studio, you can run your application in two ways, either you can use your mobile device to run the app or you can create a virtual device called emulator and run the app on it. The virtual device will perform the same as that of a normal device but it will require some RAM and storage.
To run an app on your device, follow the below steps:
Use a USB cable to connect your device with your PC.
Then open the Settings of your device.
(Only on Android 8.0 or higher) Select System.
Scroll to the bottom and select About phone.
Scroll to the bottom and tap Build number 7 times.
Return to the previous screen to find Developer options near the bottom.
Open Developer options, and then scroll down to find and enable USB debugging.
After that, in your Android Studio, click on Run to run your application by selecting the connected device
To run your app on Emulator, follow the below steps:
In Android Studio, click on Run
In the Select Deployment Target window, click on Create New Virtual Device.
In the Select Hardware screen, select a phone device from a list of Phones and click on Next.
In the System Image screen, select the version with the highest API level and click Next.
On the Android Virtual Device (AVD) screen, leave all the settings alone and click Finish.
Back in the Select Deployment Target dialog, select the device you just created and click OK.
Keyboard Shortcuts
You can use keyboard shortcuts in Android Studio to perform number of operations in a faster way. Some of these shortcuts are:
Find: ctrl + F in Windows/Linux and cmd + F in Mac
Replace: ctrl + R in Windows/Linux and cmd + R in Mac
Find class: ctrl + N in Windows/Linux and cmd + O in Mac
Find file: ctrl + shift+ N in Windows/Linux and cmd + shift+ N in Mac
Zoom in/out: ctrl + plus/minus in Windows/Linux and cmd + plus/minus in Mac
Fit to screen: ctrl + 0 in Windows/Linux and cmd + 0 in Mac
Go to xml: ctrl + B in Windows/Linux and cmd + B in Mac
Toggle device: D in Windows/Linux and D in Mac
Override methods: ctrl + O in Windows/Linux and cmd + O in Mac
Implement methods: ctrl + I in Windows/Linux and cmd + I in Mac
Generate code: alt + ins in Windows/Linux and cmd + N in Mac
Start new line: shift + enter in Windows/Linux and shift + enter in Mac
Debug: shift + F9 in Windows/Linux and ctrl + D in Mac
Copy: F5 in Windows/Linux and F5 in Mac
Commit project in VCS: ctrl + K in Windows/Linux and cmd + K in Mac
You can find some more shortcuts of Android Studio form here.
Some Tips and Tricks
There are some tips and tricks that can be used to master Android development using Android Studio. These tips and tricks are:
Setting the theme
Changing color of Logcat
Fast Searching
Split Screen
Distraction free mode
Code completion
Multi cursor feature and many more
Android – Custom Components
Android offers a great list of pre-built widgets like Button, TextView, EditText, ListView, CheckBox, RadioButton, Gallery, Spinner, AutoCompleteTextView etc. which you can use directly in your Android application development, but there may be a situation when you are not satisfied with existing functionality of any of the available widgets. Android provides you with means of creating your own custom components which you can customized to suit your needs.If you only need to make small adjustments to an existing widget or layout, you can simply subclass the widget or layout and override its methods which will give you precise control over the appearance and function of a screen element.
Android – UI Controls
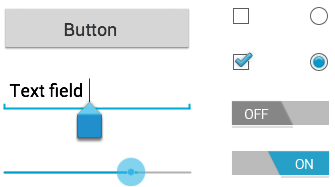
Input controls are the interactive components in your app’s user interface. Android provides a wide variety of controls you can use in your UI, such as buttons, text fields, seek bars, check box, zoom buttons, toggle buttons, and many more.
A View is an object that draws something on the screen that the user can interact with and a ViewGroup is an object that holds other View (and ViewGroup) objects in order to define the layout of the user interface.
Android – UI Layouts
The basic building block for user interface is a View object which is created from the View class and occupies a rectangular area on the screen and is responsible for drawing and event handling. View is the base class for widgets, which are used to create interactive UI components like buttons, text fields, etc.The ViewGroup is a subclass of View and provides invisible container that hold other Views or other ViewGroups and define their layout properties.At third level we have different layouts which are subclasses of ViewGroup class and a typical layout defines the visual structure for an Android user interface and can be created either at run time using View/ViewGroup objects or you can declare your layout using simple XML file main_layout.xml which is located in the res/layout folder of your project.

Android – Fragments
A Fragment is a piece of an activity which enable more modular activity design. It will not be wrong if we say, a fragment is a kind of sub-activity.
Following are important points about fragment −
A fragment has its own layout and its own behaviour with its own life cycle callbacks.
You can add or remove fragments in an activity while the activity is running.
You can combine multiple fragments in a single activity to build a multi-pane UI.
A fragment can be used in multiple activities.
Fragment life cycle is closely related to the life cycle of its host activity which means when the activity is paused, all the fragments available in the activity will also be stopped.
A fragment can implement a behaviour that has no user interface component.
Fragments were added to the Android API in Honeycomb version of Android which API version 11.
You create fragments by extending Fragment class and You can insert a fragment into your activity layout by declaring the fragment in the activity’s layout file, as a <fragment> element.
Prior to fragment introduction, we had a limitation because we can show only a single activity on the screen at one given point in time. So we were not able to divide device screen and control different parts separately. But with the introduction of fragment we got more flexibility and removed the limitation of having a single activity on the screen at a time. Now we can have a single activity but each activity can comprise of multiple fragments which will have their own layout, events and complete life cycle.
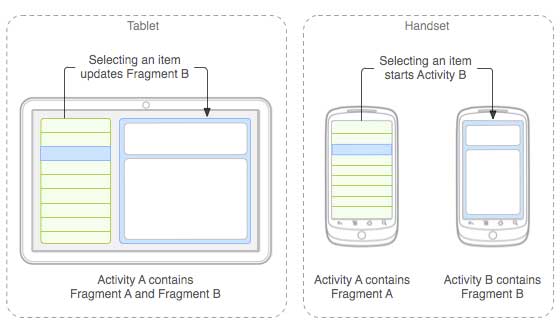
Following is a typical example of how two UI modules defined by fragments can be combined into one activity for a tablet design, but separated for a handset design.
Android Fragment
The application can embed two fragments in Activity A, when running on a tablet-sized device. However, on a handset-sized screen, there’s not enough room for both fragments, so Activity A includes only the fragment for the list of articles, and when the user selects an article, it starts Activity B, which includes the second fragment to read the article.
Fragment Life Cycle
Android fragments have their own life cycle very similar to an android activity. This section briefs different stages of its life cycle
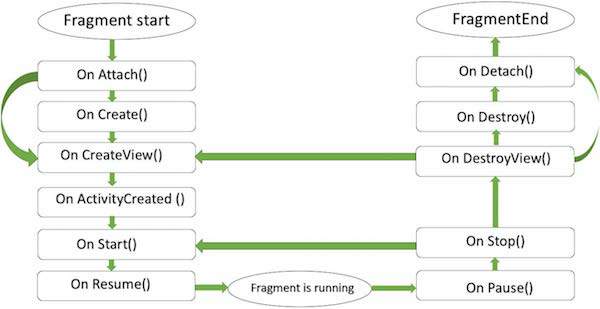
Here is the list of methods which you can to override in your fragment class −
onAttach()The fragment instance is associated with an activity instance.The fragment and the activity is not fully initialized. Typically you get in this method a reference to the activity which uses the fragment for further initialization work.
onCreate() The system calls this method when creating the fragment. You should initialize essential components of the fragment that you want to retain when the fragment is paused or stopped, then resumed.
onCreateView() The system calls this callback when it’s time for the fragment to draw its user interface for the first time. To draw a UI for your fragment, you must return a View component from this method that is the root of your fragment’s layout. You can return null if the fragment does not provide a UI.
onActivityCreated()The onActivityCreated() is called after the onCreateView() method when the host activity is created. Activity and fragment instance have been created as well as the view hierarchy of the activity. At this point, view can be accessed with the findViewById() method. example. In this method you can instantiate objects which require a Context object
onStart()The onStart() method is called once the fragment gets visible.
onResume()Fragment becomes active.
onPause() The system calls this method as the first indication that the user is leaving the fragment. This is usually where you should commit any changes that should be persisted beyond the current user session.
onStop()Fragment going to be stopped by calling onStop()
onDestroyView()Fragment view will destroy after call this method
onDestroy()onDestroy() called to do final clean up of the fragment’s state but Not guaranteed to be called by the Android platform.
How to use Fragments?
This involves number of simple steps to create Fragments.
First of all decide how many fragments you want to use in an activity. For example let’s we want to use two fragments to handle landscape and portrait modes of the device.
Next based on number of fragments, create classes which will extend the Fragment class. The Fragment class has above mentioned callback functions. You can override any of the functions based on your requirements.
Corresponding to each fragment, you will need to create layout files in XML file. These files will have layout for the defined fragments.
Finally modify activity file to define the actual logic of replacing fragments based on your requirement.
Types of Fragments
Basically fragments are divided as three stages as shown below.
Single frame fragments − Single frame fragments are using for hand hold devices like mobiles, here we can show only one fragment as a view.
List fragments − fragments having special list view is called as list fragment
Fragments transaction − Using with fragment transaction. we can move one fragment to another fragment.
Android Studio provides the fastest tools for building apps on every type of Android device.
World-class code editing, debugging, performance tooling, a flexible build system, and an instant build/deploy system all allow you to focus on building unique and high quality apps.
Android Studio is the official Integrated Development Environment (IDE) for Android app development, based on IntelliJ IDEA . On top of IntelliJ’s powerful code editor and developer tools, Android Studio offers even more features that enhance your productivity when building Android apps
Android Studio on Cloud for AWS
Features
Features of Android Studio:
1. Instant App Run
It is an advanced technology in which it cleverly understands the transmutations done in the applications and deliver it instantly without taking time to rebuild the apk and installations make. So, quick that you can see the changes in app immediately. This is done by launching the URL on Android application installing the native libraries with Android Instant apps. Instant App sometimes is known as ” New Module Wizard”.
2. Visual Layout Editor
Layout editor helps to build the layout quickly by adding different attributes either by hard-code or drag and drop. The preview of the codes can be seen easily on the visual editor screen and changes can be made accordingly by resizing it dynamically. This will make testing the application process more facile and more exhaustive.
3. Fast Emulator
Android has a great feature of Emulator which is exactly like the android phones to test how the application looks like in physical devices. It gives real-time experience to the Android applications. It allows you to test your applications faster and on different-different configuration devices like tablet, android phone etc. It helps you to make your application development life cycle shorter and more efficient.
4. Intelligence Code Editor
Android Studio provides you with the intelligent and quick code editor. This will help you and guide you with the accurate code. It helps you to complete code in advance and analyse your code in advance before building. Android studio has the special feature of the development of code by the drop-down list with suggesting the code you can integrate.
5. Addition of New Activity as a Code Template
Android also has the feature of templates built-in. If you know to build that accordingly that makes your task easier. it has both pros and cons, you don’t find every template in Android Studio. It’s an additional feature which helps the developer to build an application efficiently and effectively which provide effective solutions.
6. Help to Build Up App for All Devices
Android studio builds applications for every screen size, for wear and gear devices etc. It also can stimulate the various type of features which a hardware has like GPS location tracker, multi-touch.
7. Help to Connect with Firebase
Android Studio helps to give real-time experience with IOT based project development with dynamic upgrades in the application.Firebase connectivity help to create direct updates and provide databases connectivity. To build high-quality applications we must use Firebase connectivity it helps to build the scalable infrastructure for building the application. You can create chat applications by using firebase connectivity it helps you to do happy chat experience.
8. Support KOTLIN
Kotlin the official language can be considered for Android. It is a language without having any new restrictions and has various advantages in it. The great feature of Kotlin is it run without any disturbances in older android versions as well that means no issues of specific android versions. It runs fast and equivalent to Java. Java developers can easily hands-on Kotlin with no-issues because it based on automated Java only.
9. Colour Previews
Android studio helps to see the code XML part in a preview to know that how perfectly we are designing the application according to the need before launching the application. It provides powerful functionality and enhanced features of drag and drops or resizes the application. It contains drag and drop features but not support for every function, that’s why be careful while doing that.
10. Maven Repository
In Android Studio, Maven integration of its repository can be done, within SDK manager support libraries of IDE is used. It’s a kind of a repository which is a directory in which various jar files like project jars, Plugin are stored.
Android is an Open Handset Association which anyone can learn and give incredible development to the IT Industries. Android Studio is a platform, which helps to build an innovative and fully developed applications with latest features. Android is always getting upgraded with the latest technologies with very often new versions. Android is a fastest growing and developing language at present.
Major Features of Android Studio
- A flexible Gradle-based build system
- A fast and feature-rich emulator
- A unified environment where you can develop for all Android devices
- Instant Run to push changes to your running app without building a new APK
- Code templates and GitHub integration to help you build common app features and import sample code
- Extensive testing tools and frameworks
- Lint tools to catch performance, usability, version compatibility, and other problems
- C++ and NDK support
- Built-in support for Google Cloud Platform, making it easy to integrate Google Cloud Messaging and App Engine
AWS
Installation Instructions for Windows
Note: How to find PublicDNS in AWS
Step 1) RDP Connection: To connect to the deployed instance, Please follow Instructions to Connect to Windows instance on AWS Cloud
1) Connect to the virtual machine using following RDP credentials:
- Hostname: PublicDNS / IP of machine
- Port : 3389
Username: To connect to the operating system, use RDP and the username is Administrator.
Password: Please Click here to know how to get password .
Step 2) SQL Connection: Click the Windows “Start” button and select “All Programs” and then point to Android Studio.
Step 3) Other Information:
1.Default installation path: will be in your root folder “C:\Program Files\Android\Android Studio”
2.Default ports:
- Windows Machines: RDP Port – 3389
- Http: 80
- Https: 443
Configure custom inbound and outbound rules using this link
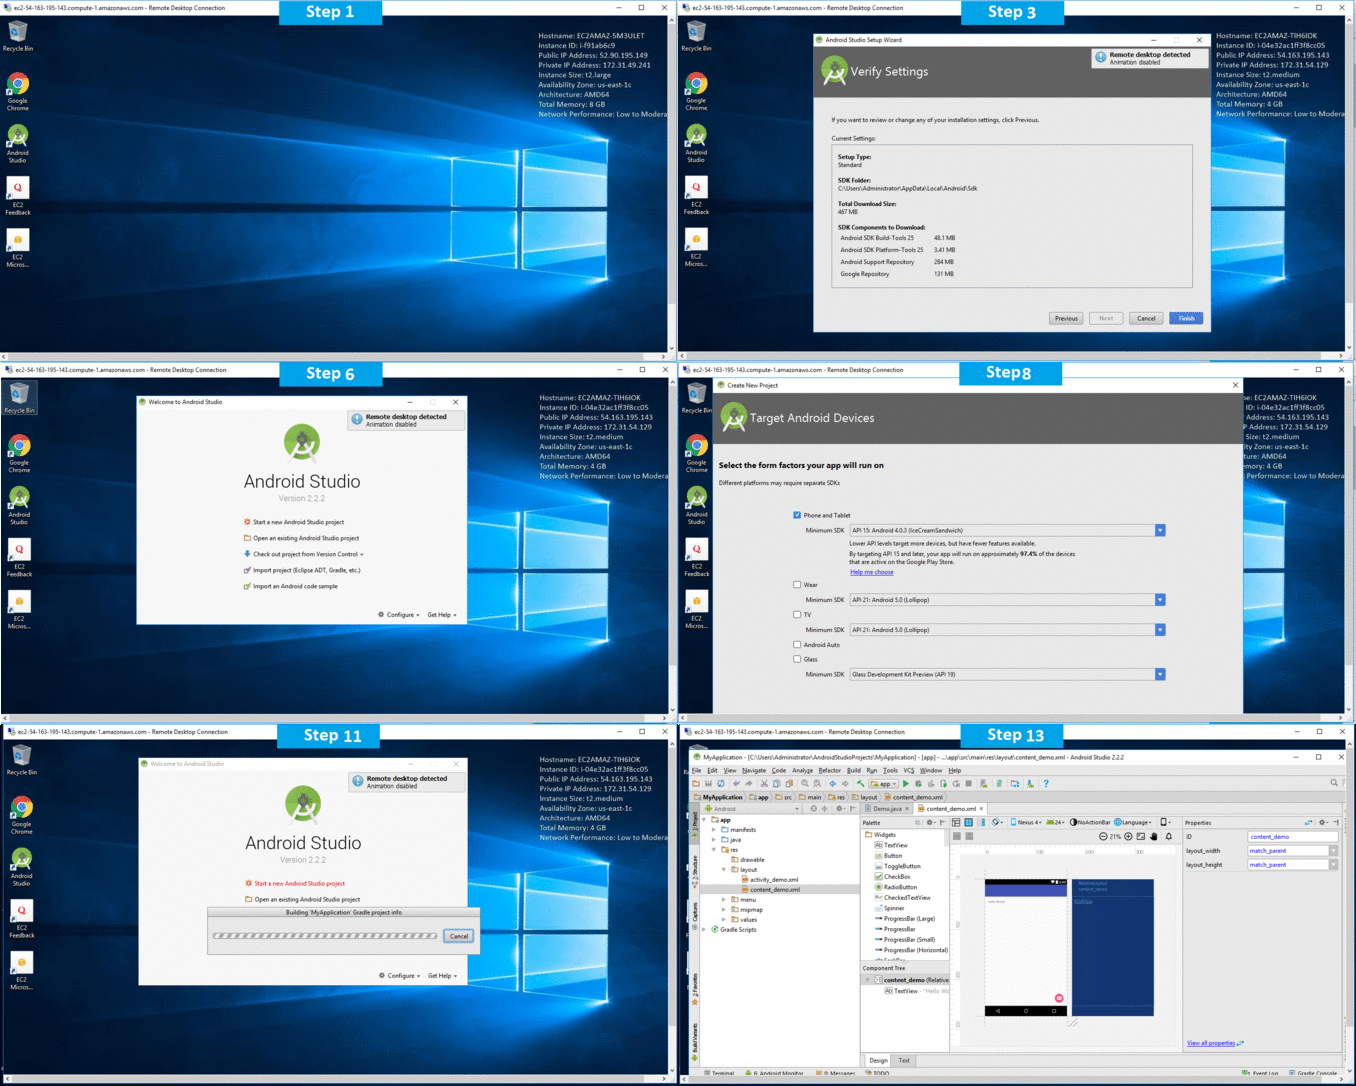
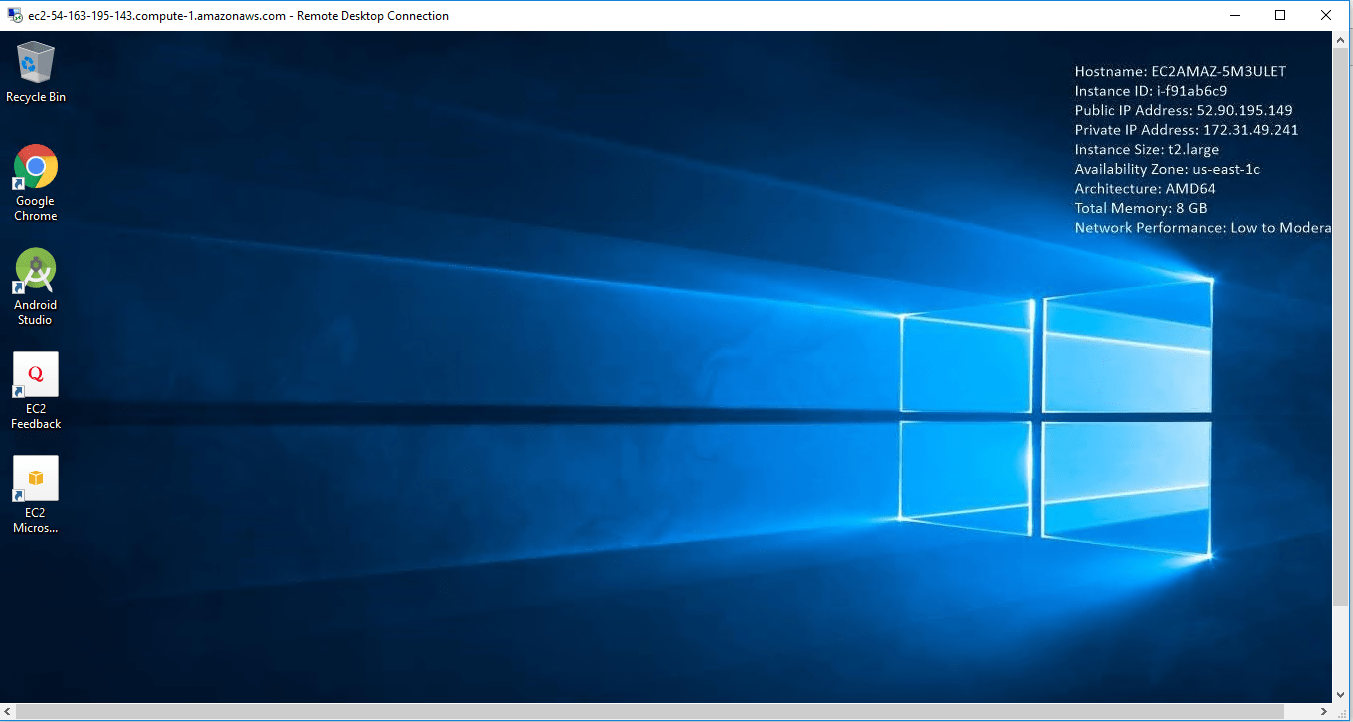
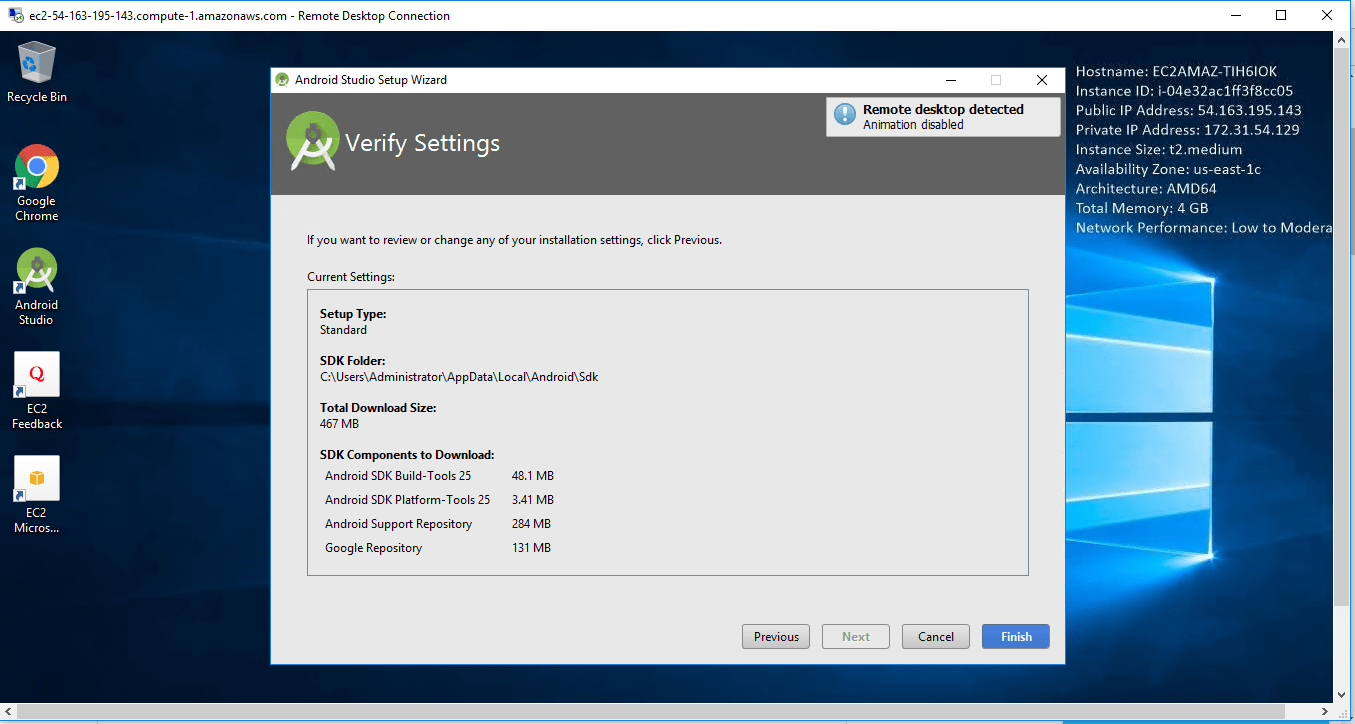
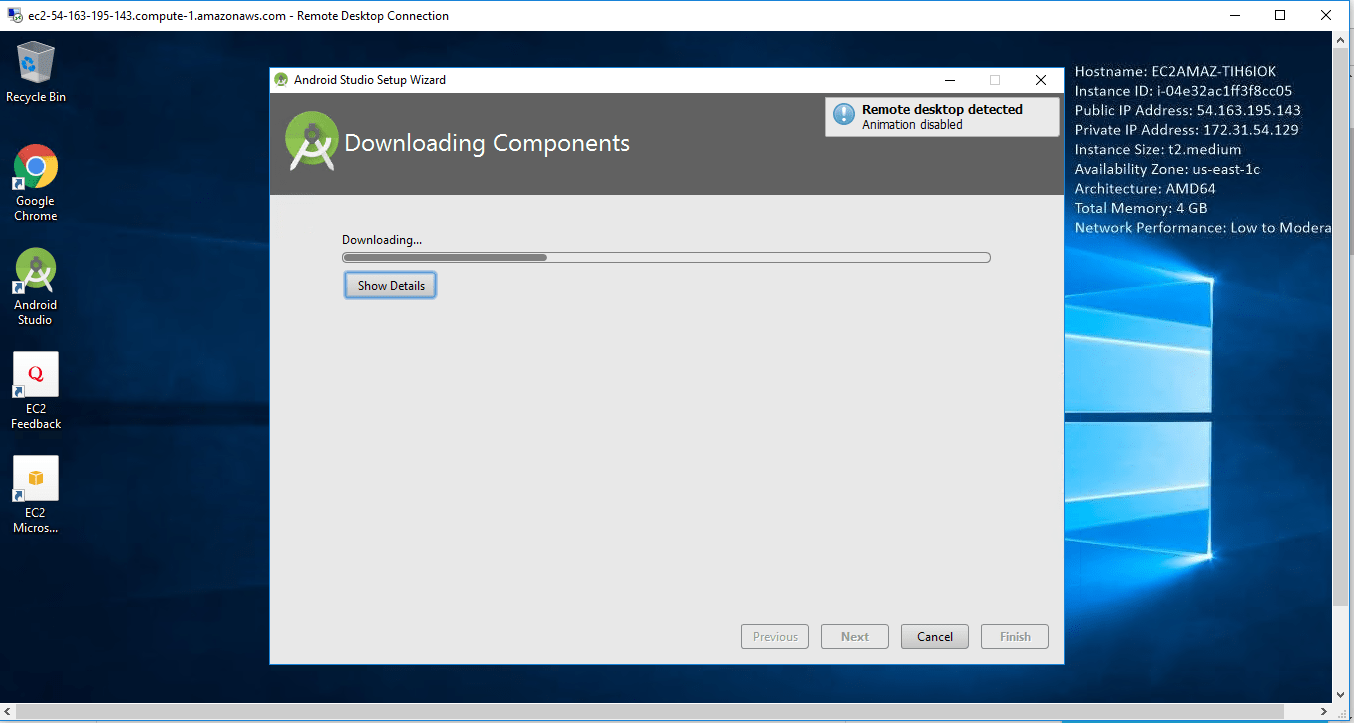
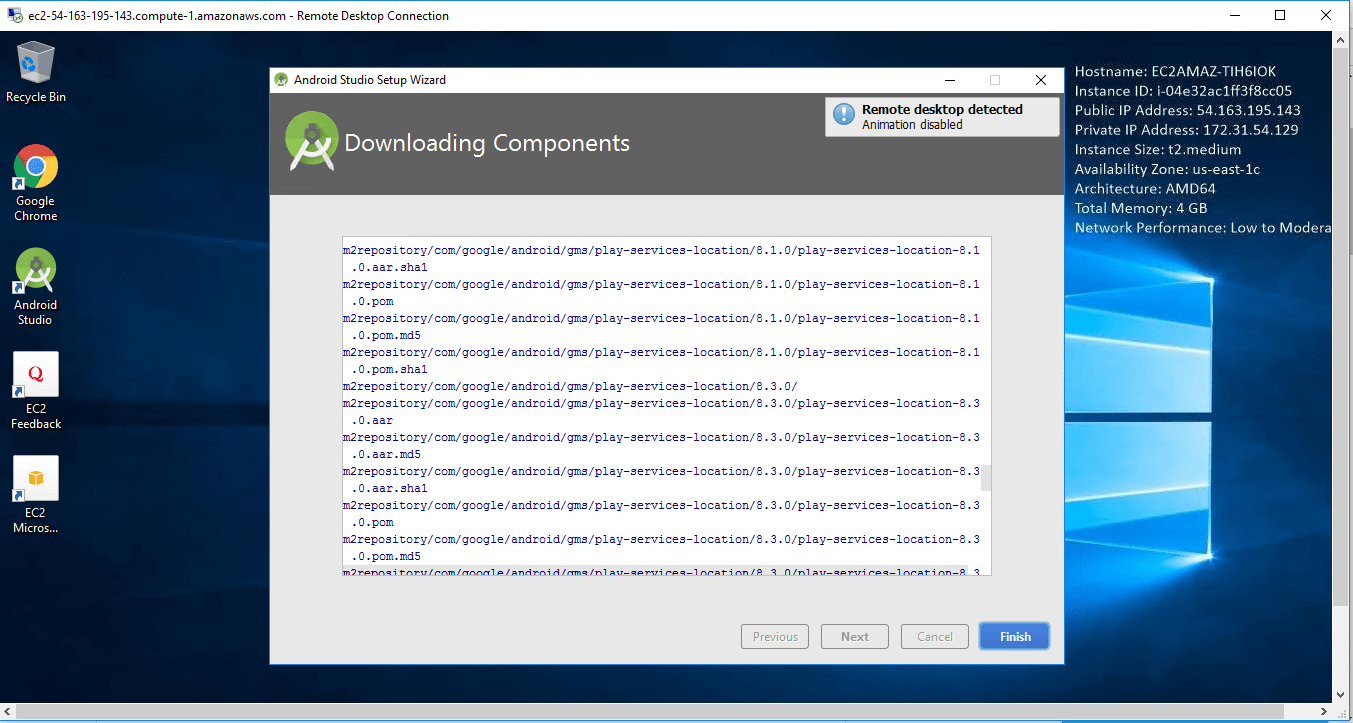
Installation Step by Step Screenshots


