1-click AWS Deployment 1-click Azure Deployment 1-click Google Deployment
Overview
Inkscape is a commanding, open source desktop application for making two-dimensional scalable vector graphics. Though it’s mainly an illustration tool, Inkscape is used for a wide range of computer graphic tasks. The diversity of what can be done with Inkscape is vast and sometimes astonishing. It is used to make diagrams, logos, programmatic marketing materials, web graphics, and even for paper scrapbooking. We can also draw game sprites, produce banners, posters, and brochures. Others uses of Inkscape is to draft web design mockups, detail layouts for printed circuit boards, or produce outline files to send to laser cutting equipment. No matter how advanced or novice of an Inkscape user you may be, the basics are absolutely essential.
Highlights of Inkscape
Inkscape has an impressive tool and feature set, including:
- Clear and user-friendly interface
- Learning curve could be shallow or relatively steep depending on the user’s requirements
- 3D Boxes tool allows quick drawing and editing of boxes with perspective
- Bezier Curves tool allows the drawing of complex shapes
- Powerful path options to allow the production of complex shapes through combining paths
- Layer transparency effects
- Apply Gaussian Blur to objects
- Save files in several important formats including the open SVG standard, EPS, PDF and PostScript
- Effects menu to automatically produce useful and unusual elements to use in designs
Why Use Inkscape?
While it may appear that GIMP is an all-around tool that does Inkscape’s job and more, there is a key difference between the two applications. GIMP is a pixel-based editor and Inkscape is vector-based.Vector-based image editors, like Inkscape, produce graphics that can be resized infinitely without any loss of image quality. For example, a company logo may need to be used on a business card and the side of a truck and Inkscape can produce a graphic that can be scaled and used for both purposes without loss of image quality.if you were to use GIMP to produce a similar logo for a business card, that same graphic couldn’t then be used on the truck as it would appear pixelated when increased significantly in size. A new graphic would need to be produced specifically for the new purpose.
As mentioned earlier, Inkscape does suffer from a couple of significant limitations, though these should only really affect those working professionally in graphic design. While a powerful application, it doesn’t match the full range of tools of Illustrator, with some features, such as the Gradient Mesh tool, having no comparative tool in Inkscape. Also, there is no inbuilt support for PMS colors which may make life a little more complicated for designers producing spot color work. In most cases, these points shouldn’t detract from your usage and enjoyment of Inkscape.
System Requirements
Inkscape is available for Windows, Mac OS X or Linux. The Inkscape site doesn’t publish minimum system resources required, but earlier versions were reported to run successfully on systems with 1 GHz processors and 256 MB RAM, though obviously, the software will run more smoothly on more powerful systems.
Inkscape has a Wiki site set up to offer a range of information and advice for Inkscape users. There is also the unofficial Inkscape Forum which is an excellent place to ask questions and find more information. Lastly, you can type ‘Inkscape tutorials’ into your favorite search engine to find all sorts of interesting websites, such as inkscapetutorials.wordpress.com which has a wide range of tutorials for new users to get started with Inkscape.
Basic Tools and Methods
There’s plenty of tools and methods to become overwhelming, so these are the tutorials you’ll want to take a look at for learning the foundation of Inkscape.

Fun Tricks With Inkscape’s Polygon Tool
The Polygon tool in Inkscape has a slight learning curve, but can be an excellent way to speed up the creation of complex shapes. In this quick tip, we’ll go over some neat tricks to make the Polygon tool more useful with your designs.

The first time you open Inkscape, it may take a while to finally discover gradients. When you do, they can be rather overwhelming and confusing at first. Check out this quick tip to learn some tricks with Inkscape’s gradients, Gradient Editor, and Gradient Tool. While I’m using linear gradients in this tutorial, the same principals apply to radial gradients.

Group/Ungroup vs. Combine/Break Apart in Inkscape
The fact that Group/Ungroup and Combine/Break Apart are two sets of complete synonyms, you might not think that Inkscape would have these as separate functions. While these are pretty similar at first, I’ll show you just how different they actually are.

Tips and Tricks For Working With Inkscape’s Nodes
There are so many things to learn when it comes to nodes, but this quick tip should get you on the right track to properly using and manipulating your nodes, and ultimately, your artwork in Inkscape. Let’s check out some neat tips and tricks with nodes!

How to Export Your Artwork in Inkscape
So you’ve spent hours on end drawing a magnificent design in Inkscape and now you want to publish it once and for all! Thankfully, Inkscape has a ton of options to export your artwork to more friendly and compatible file types. We’ll also go over a couple of neat tricks you might not have known.

Helpful Align and Distribute Tips When Using Inkscape
When you begin doing some serious work in Inkscape, you’re going to want to keep your work properly aligned. Let’s go over a few cool things with Inkscape’s Align and Distribute to make your designs as professional as they can get!

Shadows, Blurs, and Other Useful Filters in Inkscape
As soon as you open the filters menu in Inkscape, you’ll notice that there’s a ton of them! When filters are introduced, they present a lot of quick and easy ways to make advanced drawings. Let’s learn about a few useful filters, the filter editor, and check out some cool design ideas.

Tips on Using Inkscape’s Fill and Stroke Options
Fill and Stroke is the heart and soul of Inkscape – it’s all just lines and nodes until some style is applied. In this quick tip, we’ll check out some of the best stuff Fill and Stroke has to offer!

How to Create Tapered Lines in Inkscape
I love tapered lines in Inkscape because you can make them as simple as you want, or as complicated as you need them. This quick tip will go over the basics of tapered lines, using the Path Effect Editor, and a neat drawing comprised of tapered lines entirely.

What are Clipping and Masking in Inkscape?
Clipping and Masking are fantastic little operations that can make your complicated objects conform to another element of your design by changing their entire shape quickly and easily. Let’s go over the differences, benefits, and some neat tricks in this quick tip.

Using and Modifying Brush Strokes in Inkscape
There’s a lot that goes into brush strokes in Inkscape, but it pays off with beautiful results. Let’s break down the many options available for brush strokes in Inkscape and also go over a few tricks that are sure to keep brush strokes part of your designing.

Using Layers and Blend Modes in Inkscape
Once you start creating more elaborate designs in Inkscape, you’ll probably find yourself struggling to click certain things without selecting something else. This is where Layers come in. Let’s go over this simple menu and how to use it (along with a couple tricks).

Duplicate, Clone, or Copy and Paste?
These three ways of creating identical artwork may sound similar, but they all have completely different uses. Let’s go over duplicate, clone, and copy and paste in Inkscape to see which ones fits best in each situation.

Repeating Patterns Made Easy in Inkscape
In this quick tip, we’re going to go over a tool called Create Tiled Clones. It’s a very useful menu with tons of options for creating large amounts of identical, yet dynamic objects, such as patterns. It can be used for so many things, but let’s just dive right in!

Connect the Dots With Visualize Path in Inkscape
Before you think Inkscape doesn’t have something, check the Extensions menu. You’ll be surprised to see that there are a bunch of these additional dialog menus – and they’re pretty helpful most of the time. Let’s look at Visualize Path in this Inkscape quick tip.

Fun With Objects to Marker in Inkscape
In this Inkscape quick tip, we’re going to go over a neat object menu option called Objects to Marker. It’s a really neat way to use custom designs if the prepacked ones just don’t cut it. Let’s jump right in!

Kerning, Spacing, and Other Text Tricks in Inkscape
Inkscape has a lot of nice built-in features for quickly editing text and font. We’ll go over these as well as a few neat tricks to really get the most from your text.

Warping and Sculpting Fun in Inkscape
There are a ton of ways to draw in Inkscape, but sometimes you need to bring in reinforcements to really get that special shape. Sure, you could probably freehand it just fine, but we’re going to go over a tool that allows a controlled the controlled use of warping and sculpting.

How to Optimize Inkscape with Zoom and View
If you’ve worked with advanced drawing in Inkscape before, you may have noticed that Inkscape starts to seriously slow down. In this quick tip, we’ll go over a few ways to get your document back up to speed.

—
Inkscape is an open-source vector graphics editor similar to Adobe Illustrator, Corel Draw, Freehand, or Xara X. What sets Inkscape apart is its use of Scalable Vector Graphics (SVG), an open XML-based W3C standard, as the native format.
For Designers of all Kinds : The design process may begin by doodles on a napkin, a sketched mindmap, a photo of a memorable object, or a mockup in software which really wouldn’t work to complete the project. Inkscape can take you from this stage to a final, professional-grade design format which is ready for publication on the web or in physical form.
Professional Publishing : All Inkscape projects may be exported in formats friendly to web browsers or commercial printer rooms. It is cross-platform, which means it is easy to run on Windows, Mac OS X and Linux distributions.
Free Community: Inkscape is free! By this, we mean it is free of cost, free to use and distribute and open to peek into the source code. The Download page lists released builds as well as some developmental and source code links.
The software development of Inkscape adheres to opensource standards and is intended to provide the user community with a solid, usable product. The process is an open, community-oriented development which focuses on a small core and extensibility.
Inkscape on Cloud runs on Amazon Web Services (AWS) and Azure is built to create or edit vector graphics such as illustrations, diagrams, line arts, charts, logos and complex paintings.
Cognosys provides hardened images of Inkscape on all public cloud i.e. AWS marketplace and Azure.
INKSCAPE on cloud for AWS
Features
Inkscape has now come up with variety of new features in 2017.Few of them are mentioned below:
1. Mesh Gradients
An example of in-progress work towards collaboration with the W3C SVG Standards Committee is 0.92’s new Mesh Gradients feature, one of the features Adobe Illustrator converts have long pined for; the Inkscape team is hoping for the feature to be adopted into the SVG specification. Inkscape’s gradient tool has long had the ability to create multi-point linear and radial gradients. The addition of Mesh Gradients means the control points for an object’s fill are in a grid (“mesh”), and individual control points can be given different values. This provides a lot more artistic control over the appearance of the fill and can make it much easier to achieve photorealistic coloring and shading in Inkscape illustrations. Mesh Gradients that shows you how to create an illustration of a realistic-looking mangosteen,
2. Conical Gradients
Speaking of gradients, Inkscape’s Mesh Gradient feature offers a Conical Gradient function You Can Easily Create Conical Gradients with Inkscape or watch his video:
Live Path Effects (Envelope/Perspective, Lattice, Mirror/Rotate)
The Live Path Effects (LPEs) system is a powerful, non-destructive tool for applying live and interactive effects on the vector paths you draw in Inkscape. The effects can be composed together in any order you choose for a wide range of possibilities. Inkscape 0.92 has introduced a large family of LPEs; let’s take a look at several of them.
3. Envelope and Perspective
These effects allow you to deform a path using four control points that Inkscape provides around the object. Envelope stretches and squashes the shape on a flat plane as you modify the control points; Perspective maps the object to match the perspective of the plane created by your manipulation of the control points.
This video focuses on using the Envelope effect to create warped text.
The second demonstrates both the Envelope and Perspective effects using an early, unstable version of the tool.
4. Lattice
Similar to how the Mesh Gradient control gives you finer control of the colors and shades in a gradient by introducing more control points in a grid, the Lattice LPE allows you greater creative control than the four points of the Envelope LPE via a grid of deformation control points. This video demonstration shows the basics of using the tool:
5. Rotate Copies and Mirror Symmetry
The Rotate Copies and Mirror Symmetry LPEs take the goodness of the Tiled Clones feature of Inkscape and make it less clunky and confusing as well as allow for the interactive adjustment of the resulting compositions.
The Rotate Copies LPE is similar to the Mirror Symmetry LPE; rather than creating mirror-image copies, it creates multiple copies rotated around a point, and you can customize the various parameters of this rotation to create cool effects. Here’s a demonstration from Jabiertxof Foxteibaj on using this tool to create kaleidoscope designs:
The Mirror Symmetry LPE creates a copy of an object and mirrors it across lines. You can also control where the copies overlap, how they connect, and merge (“fuse”) them together. Here is a demonstration, from Jabiertxof Foxtreibaj, of this tool and the Rotate Copies tool:
6. B-splines
Inkscape 0.47 introduced Spiro Splines, a new mode for the pen tool that brought spirograph-style functionality to drawing vector paths. B-splines (“Basis Splines”) are another new-to-Inkscape pen tool mode that is an alternative to traditional bezier paths. One of the main differences between B-spline paths and bezier paths is that B-spline paths are one continuous path with multiple control points; bezier paths are compositions of multiple individual and connected line segments. To modify a bezier path, you can select and move the nodes between line segments and use the handles attached to each node to control the curve. To modify a B-spline path, you can move or modify the control points and adjust how tightly the curve hugs the control point segments. This is a bit hard to grok using words, so check out this demonstration video from Jabiertxof Foxtreibaj:
7. Selection sets
The new Selection Sets dialog (in the main menu: Objects > Selection Sets) makes housekeeping and organization of your Inkscape files much easier. It enables you to select multiple objects as you would normally, then save that selection, give it a name, and recall it later as needed, rather than having to manually select everything again. For example, say you have an illustration of a birthday cake with 10 candles; this tool would allow you to make a Selection Set of just the flames on each of the candles, a separate Selection Set for the candle sticks, and yet another Selection Set for all candle components for each candle, and be able to easily recall each selection. Check out this Selection Sets tutorial by James Auble for his HueDroid channel:
Major Features Of INKSCAPE
Object creation
- Drawing: pencil tool (freehand drawing with simple paths), pen tool (creating Bézier curves and straight lines), calligraphy tool (freehand drawing using filled paths representing calligraphic strokes)
- Shape tools: rectangles (may have rounded corners), ellipses (includes circles, arcs, segments), stars/polygons (can be rounded and/or randomized), spirals
- Text tool (multi-line text, full on-canvas editing)
- Embedded bitmaps (with a command to create and embed bitmaps of selected objects)
- Clones (“live” linked copies of objects), including a tool to create patterns and arrangements of clones
Object manipulation
- Transformations (moving, scaling, rotating, skewing), both interactively and by specifying exact numeric values
- Z-order operations (raising and lowering)
- Grouping objects (“select in group” without ungrouping, or “enter the group” making it a temporary layer)
- Layers (lock and/or hide individual layers, rearrange them etc; layers can form a hierarchical tree)
- Alignment and distribution commands
Fill and stroke
- Color selector (RGB, HSL, CMYK, color wheel, CMS)
- Color picker tool
- Copy/paste style
- A gradient editor capable of multi-stop gradients
- Pattern fills (bitmap/vectors)
- Dashed strokes, with many predefined dash patterns
- Path markers (ending, middle and/or beginning marks, e.g. arrowheads)
Operations on paths
- Node editing: moving nodes and Bezier handles, node alignment and distribution etc.
- Converting to path (for text objects or shapes), including converting stroke to path
- Boolean operations
- Path simplification, with variable threshold
- Path insetting and outsetting, including dynamic and linked offset objects
- Bitmap tracing (both color and monochrome paths)
Text support
- Multi-line text
- Uses any installed outline fonts, including right-to-left scripts
- Kerning, letterspacing, linespacing adjustments
- Text on path (both text and path remain editable)
- Text in shape (fill shape following stroke)
Rendering
- Fully anti-aliased display
- Alpha transparency support for display and PNG export
- Complete “as you drag” rendering of objects during interactive transformations
File formats
- Perfectly compliant SVG format file generation and editing
- Live watching and editing the document tree in the XML editor
- PNG, OpenDocument Drawing, DXF, sk1, PDF, EPS and PostScript export formats and more
- Command line options for export and conversions
AWS
Installation Instructions For Windows
Note: How to find PublicDNS in AWS
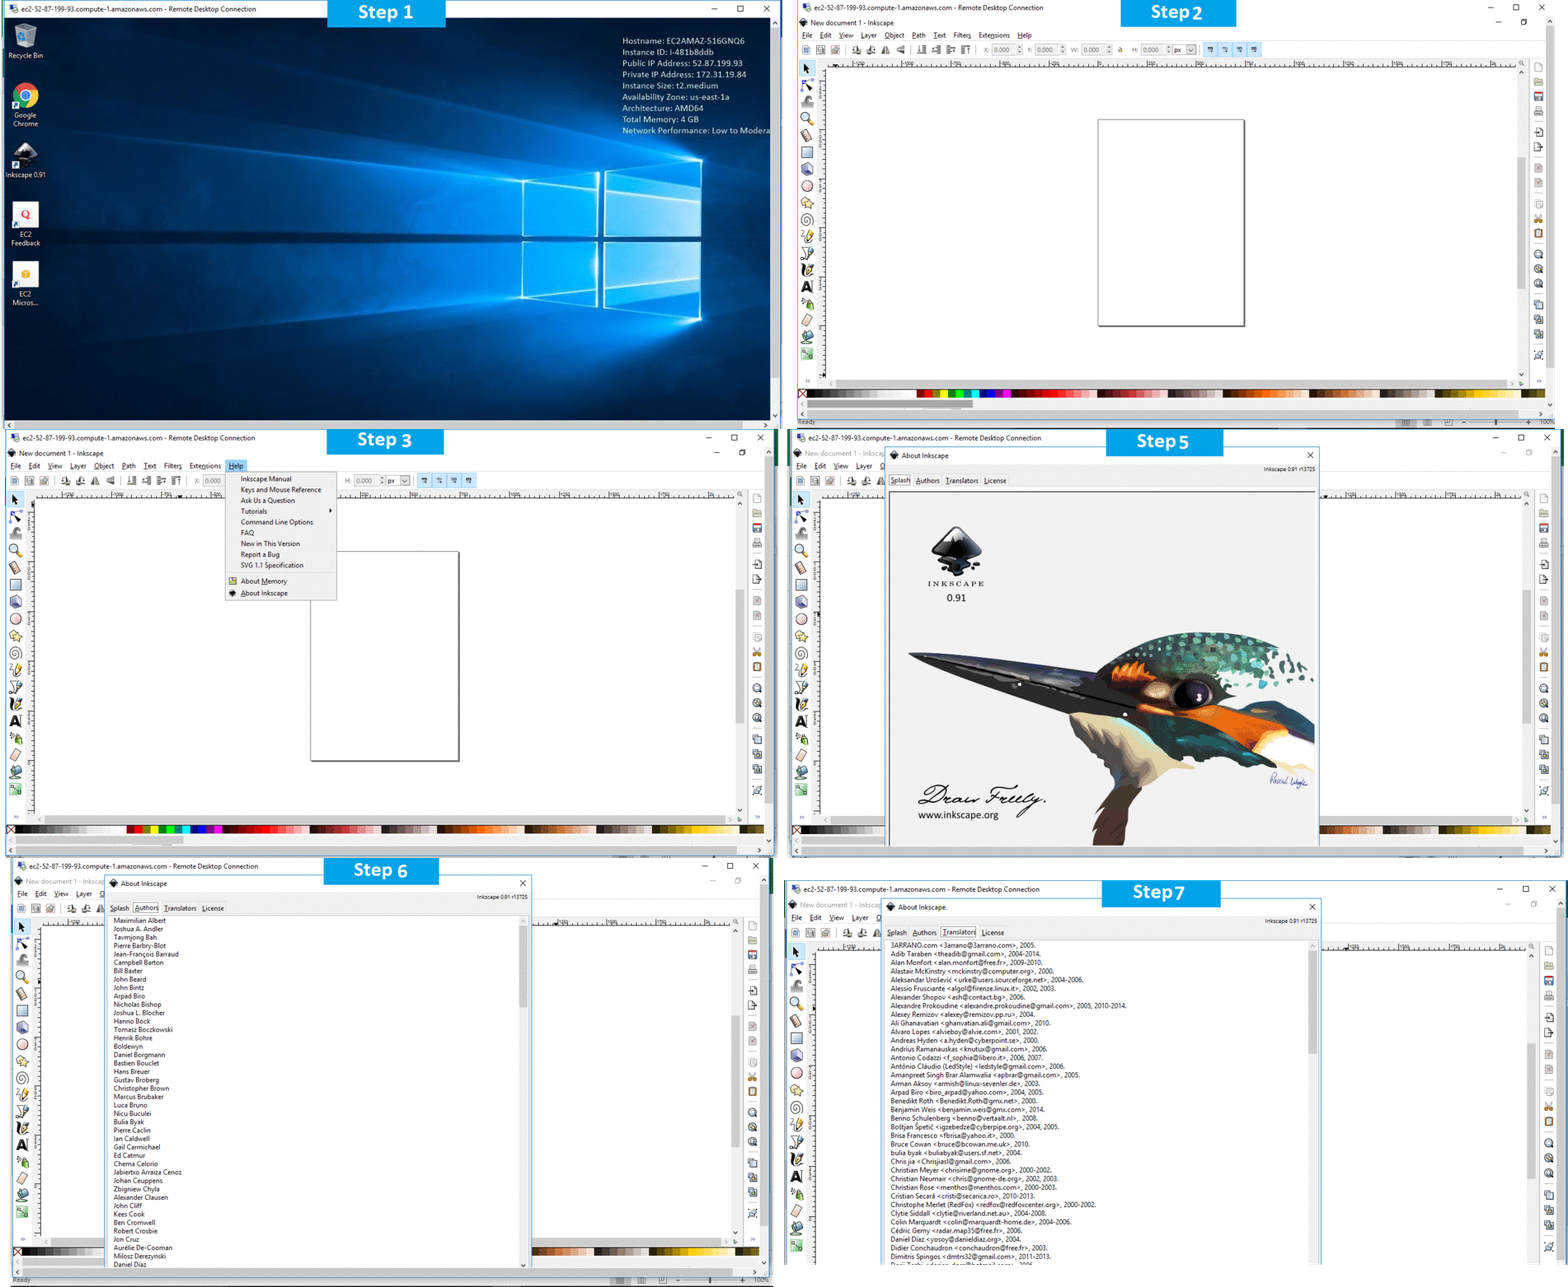
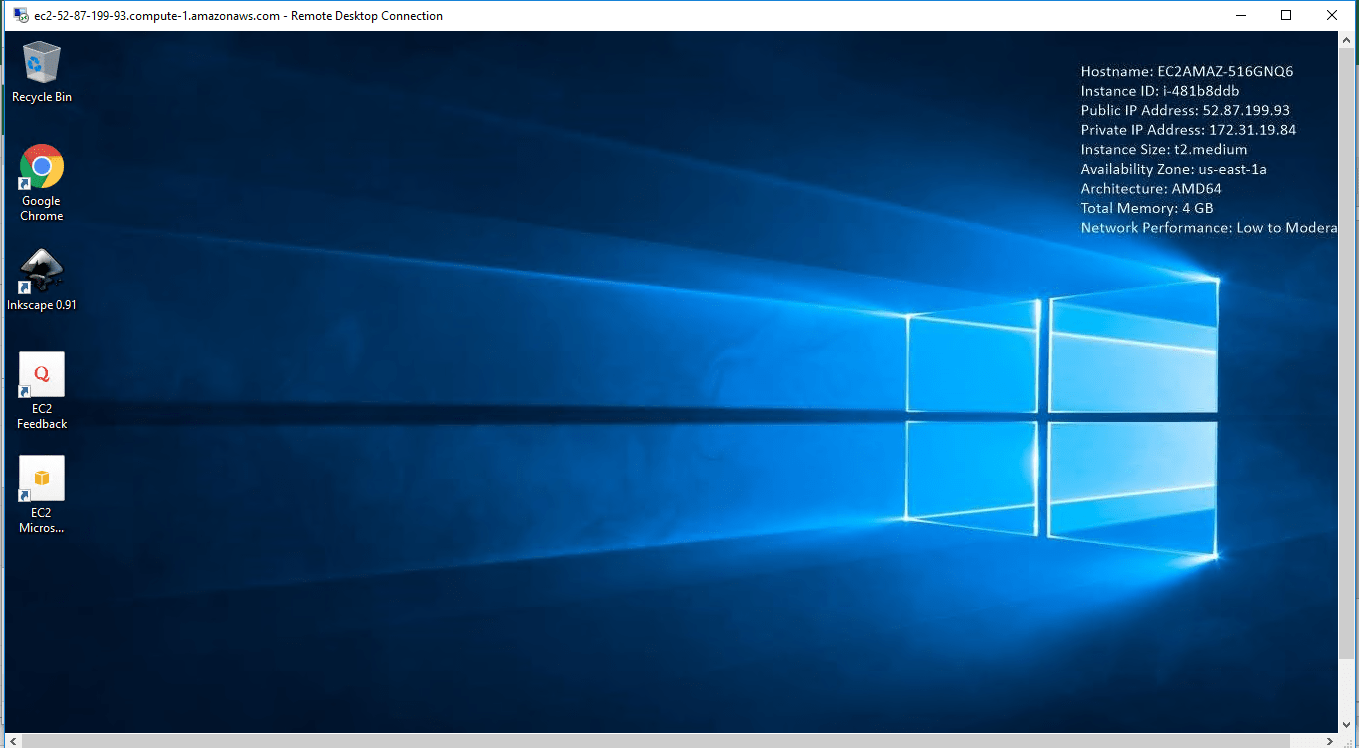
Step 1) RDP Connection: To connect to the deployed instance, Please follow Instructions to Connect to Windows instance on AWS Cloud
1) Connect to the virtual machine using following RDP credentials:
- Hostname: PublicDNS / IP of machine
- Port : 3389
Username: To connect to the operating system, use RDP and the username is Administrator.
Password: Please Click here to know how to get password .
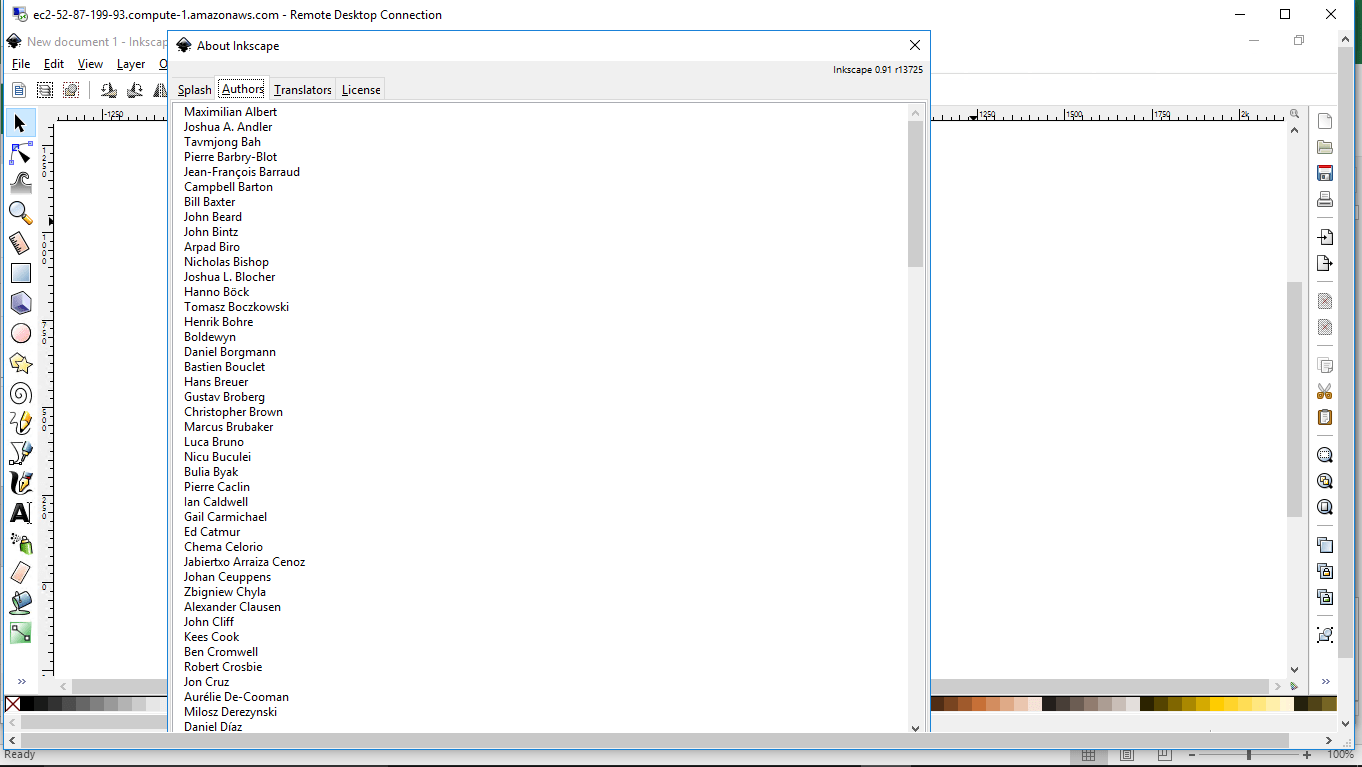
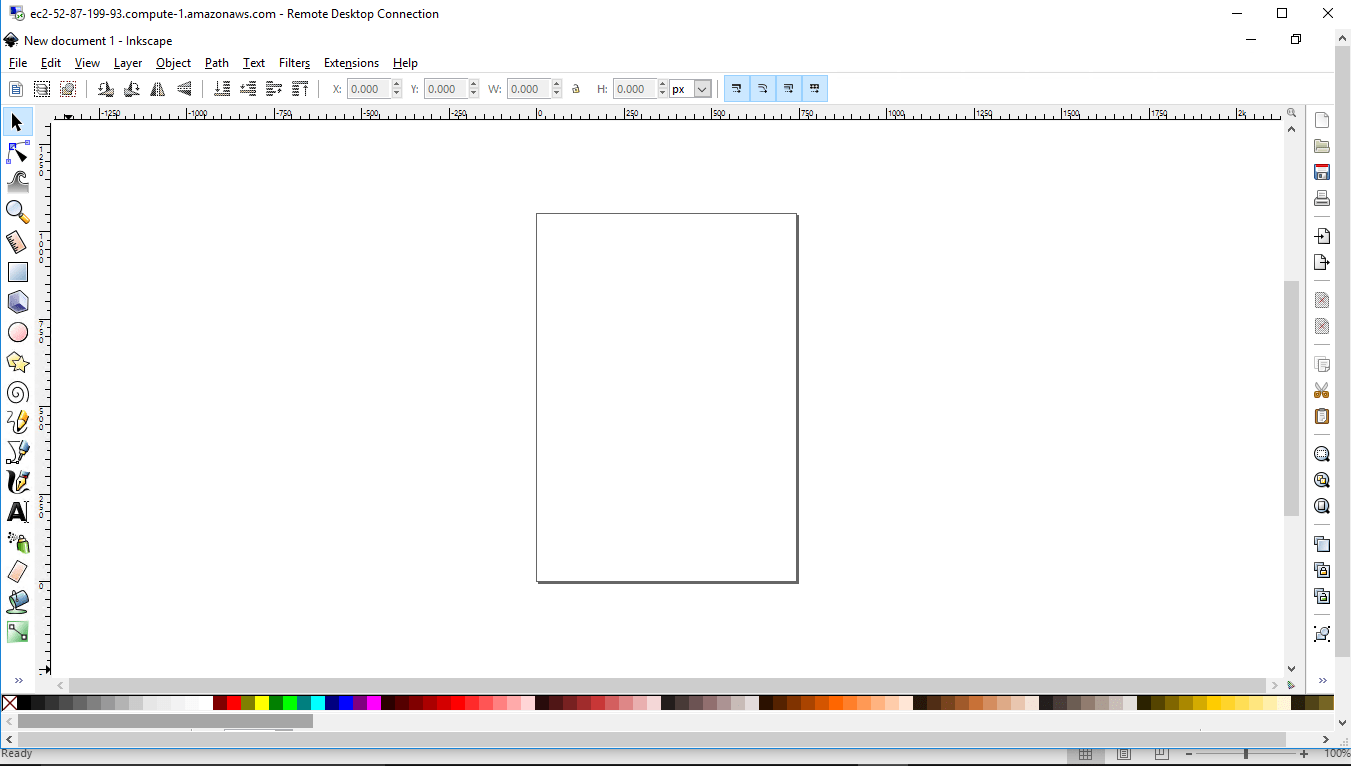
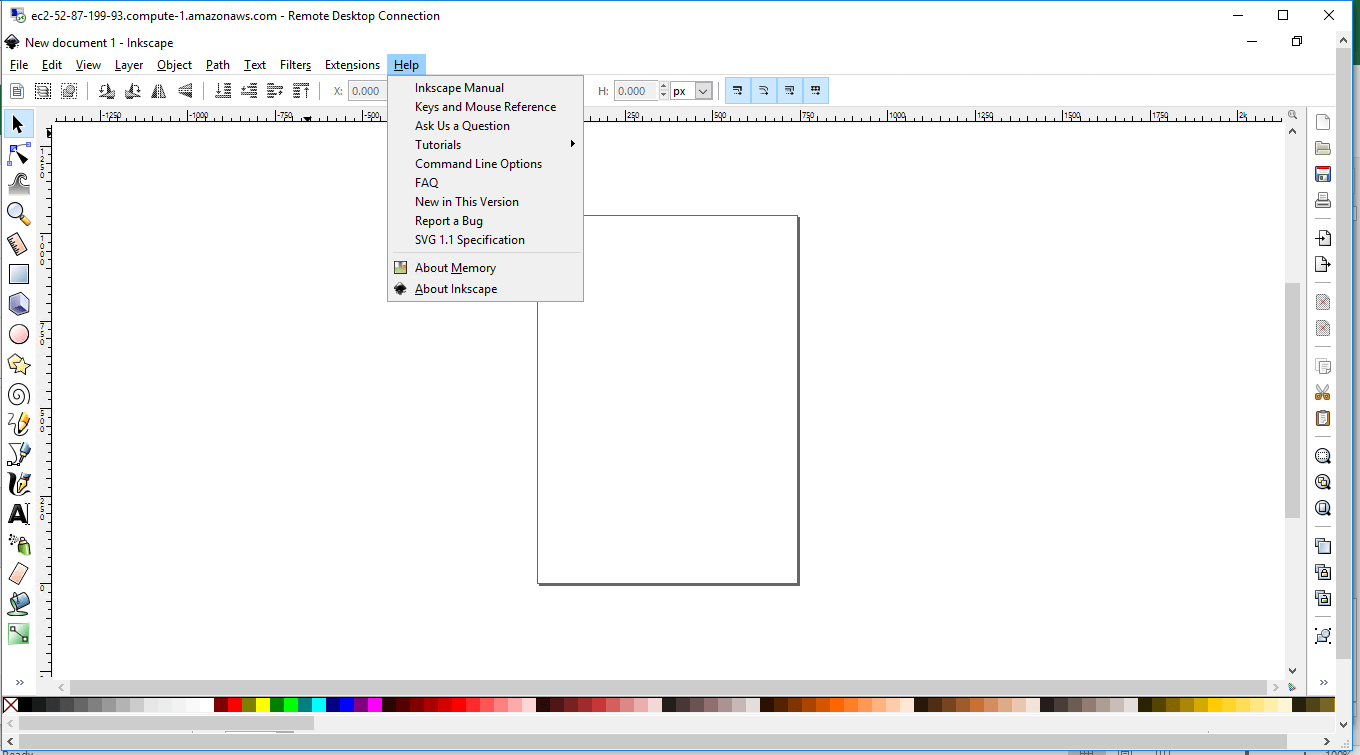
Step 2) Click the Windows “Start” button and select “All Programs” and then point to Inkscape.
Step 3) Other Information:
1.Default installation path: will be in your root folder “C:\Program Files\Inkscape “
2.Default ports:
- Windows Machines: RDP Port – 3389
- Http: 80
- Https: 443
Configure custom inbound and outbound rules using this link
Installation Step by Step Screenshots
Installation Instructions For Windows
Installation Instructions for Windows
Step 1) VM Creation:
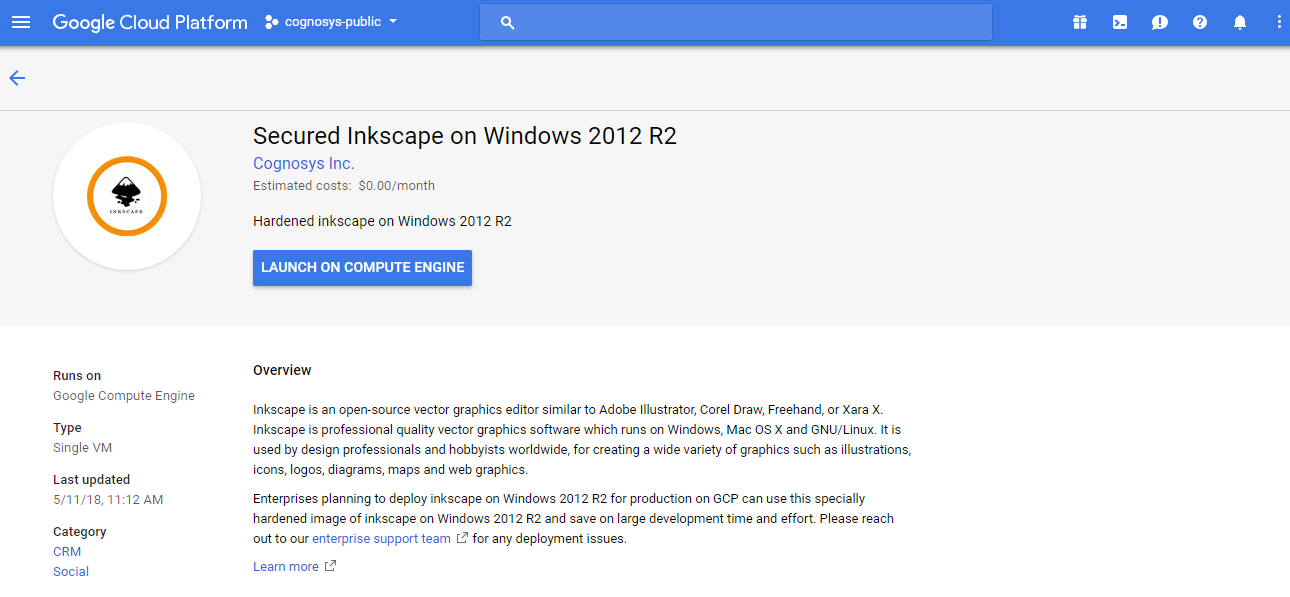
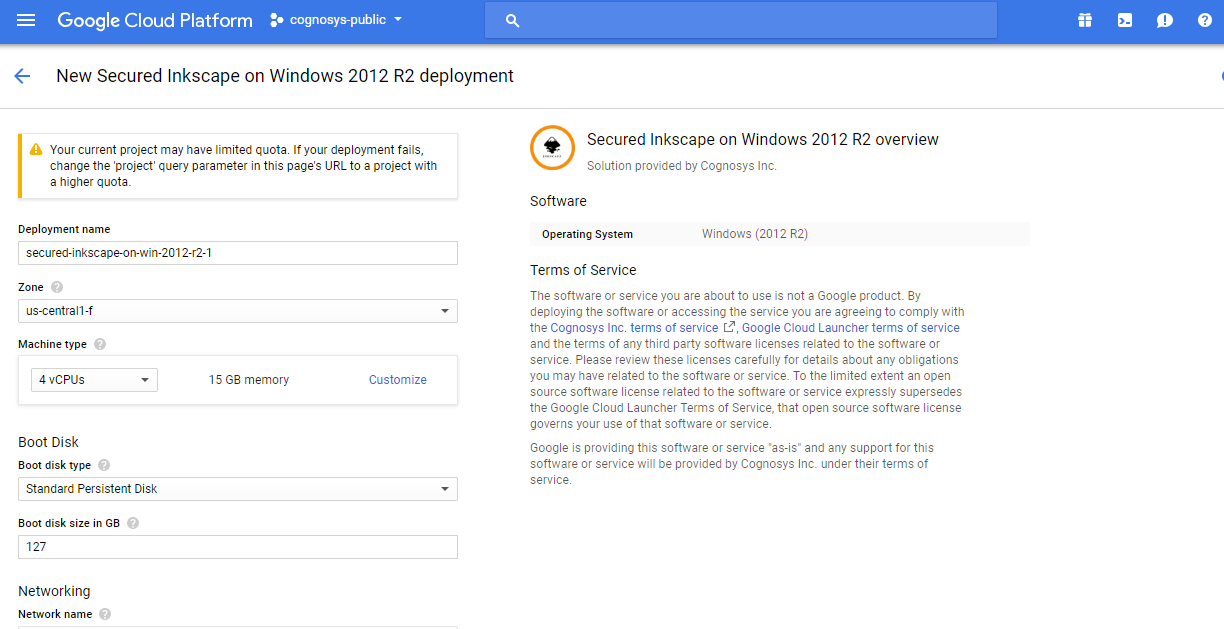
- Click the Launch on Compute Engine button to choose the hardware and network settings.

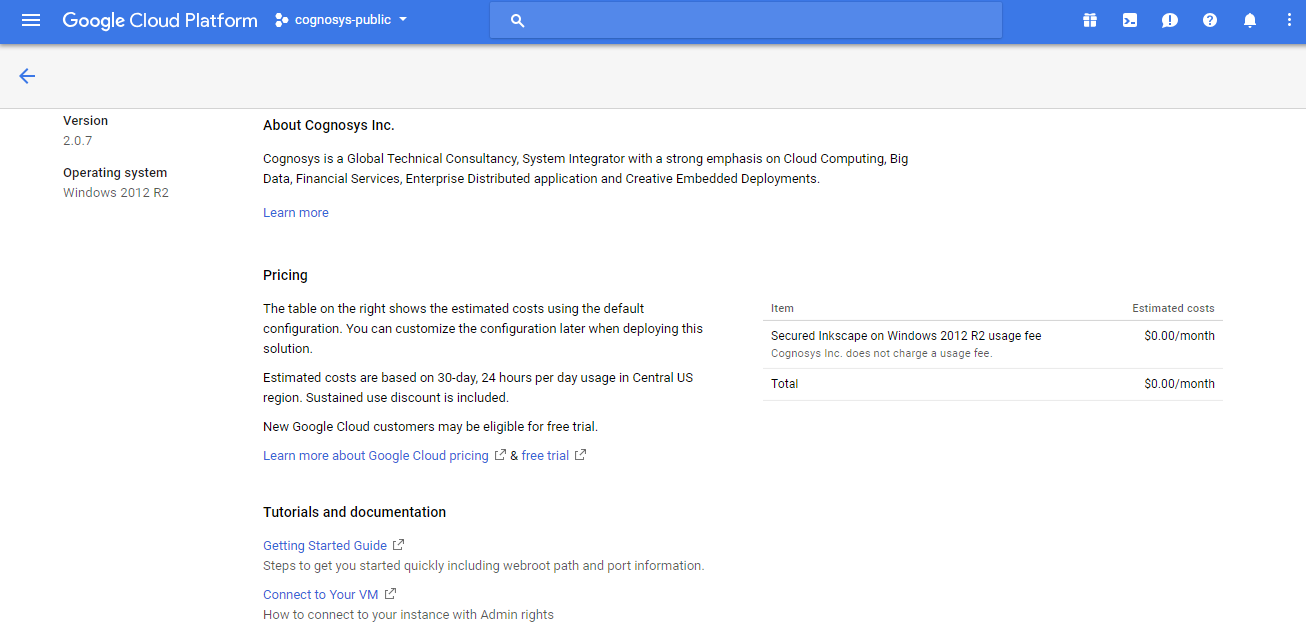
- You can see at this page, an overview of Cognosys Image as well as estimated cost of running the instance.

- In the settings page, you can choose the number of CPUs and amount of RAM, the disk size and type etc.

Step 2) RDP Connection: To initialize the DB Server connect to the deployed instance, Please follow Instructions to Connect to Windows instance on Google Cloud
Step 3) Click the Windows “Start” button and select “All Programs” and then point to Inkscape.
Step 4) Other Information:
1.Default installation path: will be in your root folder “C:\Program Files\Inkscape “
2.Default ports:
- Windows Machines: RDP Port – 3389
- Http: 80
- Https: 443
Videos

