1-click AWS Deployment 1-click Azure Deployment
Overview
DbVisualizer is a feature rich, multi-database tool for developers and database administrators, providing a single powerful interface across a wide variety of operating systems. With its easy-to-use and clean interface, DbVisualizer has proven to be one of the most cost effective database tools available, yet to mention that it runs on all major operating systems and supports all major RDBMS that are available. Users only need to learn and master one application. DbVisualizer integrates transparently with the operating system being used.
DBVisualizer is a slick database client that creates a schema diagram of your database. It’s written in Java, so runs on just about any platform, and it’s dead easy to set up and use. In this post I’ll show you how to install DBVisualizer and use it to produce beautiful schema diagrams of your MySQL database.
To demonstrate how to create your schema diagram:
You’re able to connect to a MySQL database–either locally or on your production server.You have a Java Runtime Virtual Machine installed on your local machine. You can either download and install one manually or choose a version of the DBVisualizer installer that includes it.
You already have a schema in your database of which you wish to create a diagram.
You’re using the InnoDB engine for your tables. You can still create a schema diagram if you’re using MyISAM, but it won’t reflect any foreign key constraints, as these are ignored by MyISAM. If you don’t know, you’re probably using MyISAM.
Follow these instructions:
Download
There are a few versions of DBVisualizer. DBVisualizer Free performs all of the visualization coolness, but contains limited features (such as only being able to perform one SQL query at a time–possibly enough to make you want to upgrade to a personal license if you get addicted to the other stuff). The version at the time of writing is 5.1.1.
Install
Installing DBVisualizer is as simple as it gets. Whether you’re running Windows, Mac, Linux or a general Unix platform, you have the choice of a wizard-style installer or just unpacking a compressed archive to the folder of your choice. That’s it!
Configure
DBVisualizer doesn’t come with a MySQL driver out of the box, but adding one is easy. Download the MySQL JDBC driver, and unzip the archive to a folder of your choice (there’ll be a jar file in there somewhere, which is what we’re after).
Then launch DBVisualizer and select Driver Manager from the Tools menu.
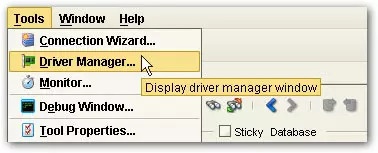
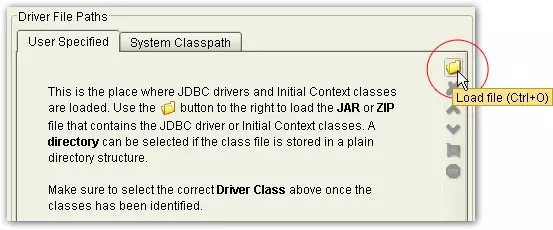
On the left, select MySQL, and in the User Specified tab of the Driver File Paths form, click the Browse icon and choose the jar file that we extracted earlier.
Connect
To connect to your database, choose Database > Create Database Connection. You can either follow the built-in connection wizard to establish your connection, or enter it manually. There’s not really much to it; all you need is:
The server name (usually just localhost) and port number that your database runs on (usually 3306 for MySQL)
your database username and password
To enter this information manually, set Database Type to MySQL, select MySQL from the Driver (JDBC) dropdown, and enter your Database URL and username/password.
Visualize
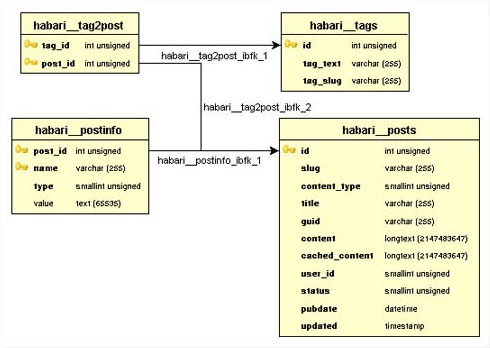
Now that you’re connected, double-click on the schema you wish to explore, select Tables and then click on the References tab to view your schema diagram (complete with pretty animations). You have some control over what gets included in the diagram, including being able to view the schema using a variety of layouts, zoom in and out, and include or exclude things like column details and foreign key names.
An application like DBVisualizer can certainly make your database design, development and maintenance a heck of a lot easier.Whether you’re trying to flesh out a schema for an application of your own design, or trying to understand an existing application in order to write a plugin or fix a bug.
Installing DBVisualizer
1.Click this link to go toDBVis Software download page.
2.Download the executable that is compatible with your Operating System. Make sure to pick the one with the with 3.Java VM to avoid incompatibilities or installation issues.
4.Once the file has downloaded, go ahead and run the executable.
5.Follow installation settings. During the installation steps, you will see a prompt to use the Connection Wizard. For now, click cancel. We will cover the connection wizard in the following steps on connecting to a database.
6.DBVisualizer comes with a nifty DB Driver Finder tool. Go ahead and click start and let it search your system for valid JDBC drivers. When finished, click Close.
7.That’s it your now installed and ready to use DBVisualizer
How to connect DBVisualizer to your PI system:
Download and install the DBVisualizer tool.The tool can be downloaded from the DBVisualizer page.
Download and relevant database driver.
Once the DBVisualizer tool is downloaded and installed, you next need to determine which database your PI system is using. To check this log onto your PI system (ABAP stack) and check System -> Status.

You can then see which database your PI system is using. In this example its Oracle 10.2.0.4.0.

The next item is to determine which JDK version your PI system is using. This can be determined using the following steps:
1)Transaction SXMB_IFR – Start Integration Builder
2)Administration

Now you know the database version and the JDK version, your ready to download the relevant driver from the database vendor. In this example the driver is downloaded from Oracle.
JDBC Drivers
Oracle Database 10g Release 2 (10.2.0.5), (10.2.0.4), (10.2.0.3), (10.2.0.2), (10.2.0.1.0) drivers
Oracle Database 10g Release 2 (10.2.0.4) JDBC Drivers
ojdbc14.jar (1,555,682 bytes) – classes for use with JDK 1.4 and 1.5
Install relevant database driver.
Start DBVisualzier tool using the shortcut on your desktop.

Once DBVisualzier is open, click on the create new database connection icon.

Enter in the name of the new connection.

Select the driver type (in this example Oracle) and load the driver you previously downloaded from the database vendor.


Enter in the PI database connection details.

he oracle listening port is found in the listener.ora file. for example:
D:\oracle\<SID>\102\NETWORK\ADMIN\listener.ora
(ADDRESS =
(COMMUNITY = SAP.WORLD)
(PROTOCOL = TCP)
(HOST = hostName)
(PORT = 1527) <<<< Here >>>>
The rest of the parameters (Database userid, Password,…) will be known by your Oracle database administrator.
Connect the DBVisualizer tool to the PI database and execute a sample SQL statement.


Using DbVisualizer and NuoDB
DbVisualizer fully supports NuoDB databases right out of the box. This documentation is not meant to be a full user guide for DbVisualizer. It is designed to help you get started with NuoDB. See http://www.dbvis.com for more information about DbVisualizer. The examples below use the SQL QuickStart database running on an Amazon EC2 instance.
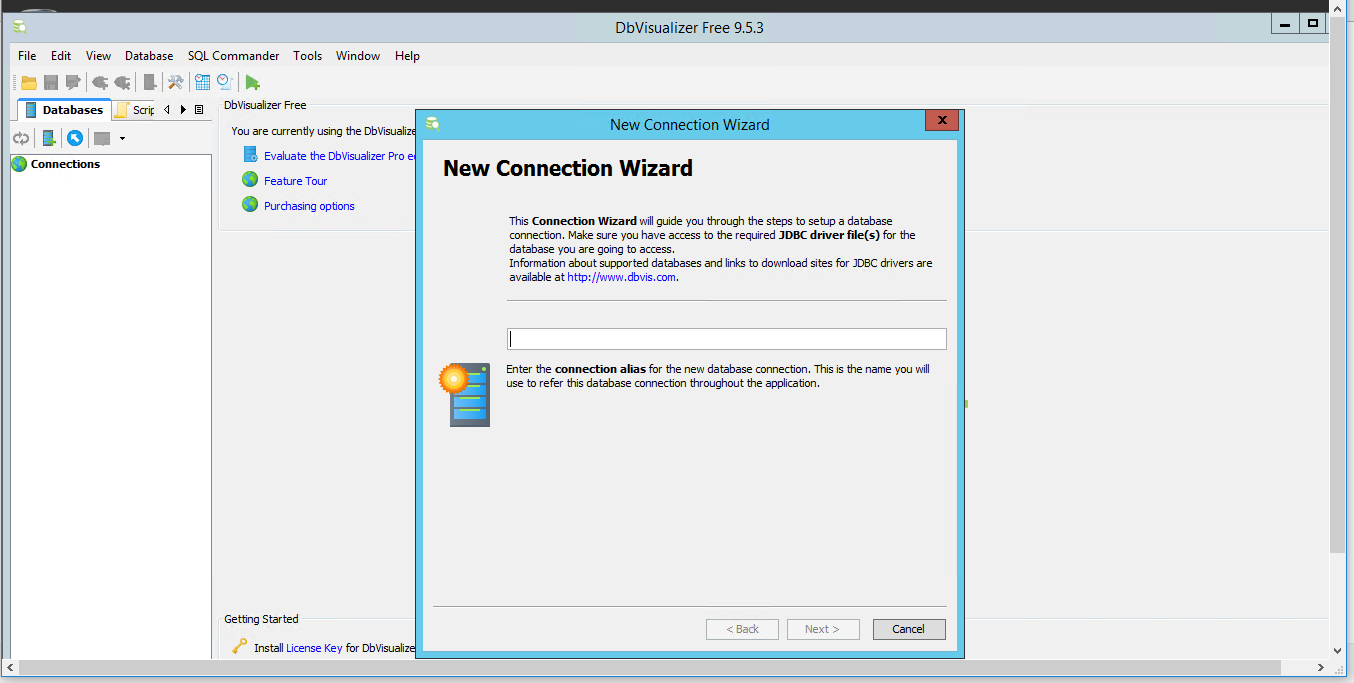
- Create a NuoDB database connection in DbVisualizer by bringing up the New Connection Wizard


2.Click Next. Choose NuoDB from the pulldown list of DbVisualizer available drivers:
3)Click Next. Enter NuoDB connection parameters.

4)Click Ping Server if you’d like to check your connection

5.Click OK and Finish. That’s it, navigate to the HOCKEY table for example, as you would do with any other database in DbVisualizer.

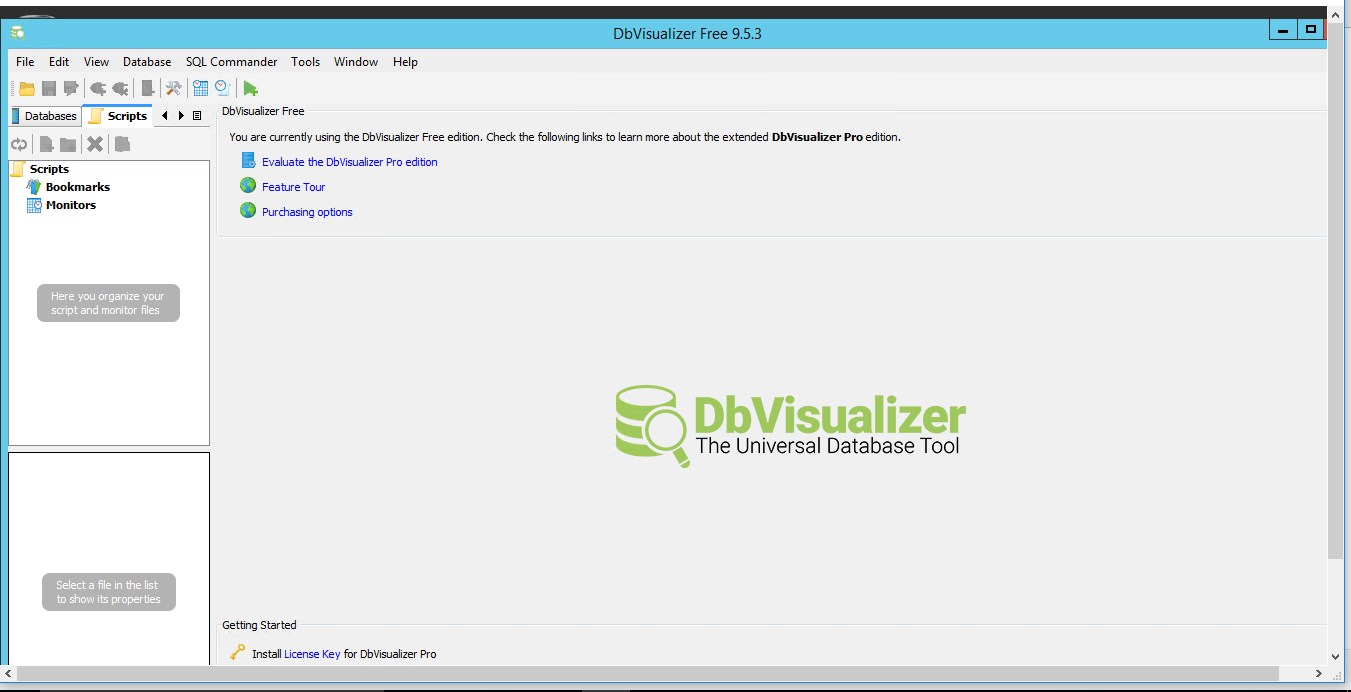
DbVisualizer Free is a universal database tool that allows you to manage a wide range of databases including Oracle, Sybase, SQL Server, PostgreSQL, DB2, MySQL, Informix, H2, and SQLite. Features include a database browser to navigate through database objects, visual support for creating and editing database objects, the ability to import data from a file, a SQL Editor with auto-complete and visual query building support and database admin features like managing database storage and security. DbVisualizer Free runs on Windows, Mac OSX and Linux.
DbVisualizer is owned by DbVisualizer(https://www.dbvis.com/) and they own all related trademarks and IP rights for this software.
DbVisualizer Free on Cloud runs on Amazon Web Services (AWS) and Azure and DbVisualizer is a database tool for developers and database administrators, helping you with both the development and maintenance of your databases.
Cognosys provides hardened images of DbVisualizer Free on all public cloud i.e. AWS marketplace and Azure.
DBVisualizer Free on Cloud for AWS
Features
Key Features
Multi-database and cross-platform Database Management Tool
✔ Work with multiple database brands and perform many development and administration tasks from a single tool
✔ Easily explore your databases
✔ Automatic graphs of primary/foreign-key constraints
Visually create and manage the database
✔ Construct and manage database objects with ease
✔ Multiple object action execution
✔ Create, Compile and Run functions and procedures
✔ Object scripting
✔ Graphical object editors (create, drop, modify)
✔ Powerful data editing
Write and execute SQL scripts
✔ SQL IDE with syntax highlighting
✔ Auto completion
✔ Parameterized SQL execution
✔ Chart any result set in nice diagrams
✔ Tune your queries with integrated explain
✔ Query builder using drag and drop
✔ Visually compare SQL scripts Data and database transfer
✔ Export table data in CSV, SQL, HTML, XML, XLS/XLSX, JSON, Text
✔ Export all objects in the database including table data or all objects for a specific type
✔ Import table data from CSV and XLS/XLSX files
General productivity
✔ Tasks are executed in background allowing for parallel operations
✔ Auto save of the workspace
✔ Resume where you left off with editors preserved between sessions
✔ Flexible workspace based on a tabbed interface supporting customized layout that is saved between sessions
✔ Tag DB objects and SQL script files as favorites for instant loads
✔ Includes a dark them, Darcula Security
✔ Access databases through SSH
✔ Strong Master Password security
Major Features Of DbVisualizer Free
DbVisualizer is tested with the major databases and JDBC drivers. For databases more commonly used in the industry we have added support for database specific features. Some of these features are:
- Management of database specific objects
- Visual actions for CREATE, ALTER, DROP, RENAME and so on
- Create, Edit and Compile procedures, functions and triggers
- Explain plan support
- Schema Export
- Compare of editors and result sets
AWS
Installation Instructions For Windows
Note: How to find PublicDNS in AWS
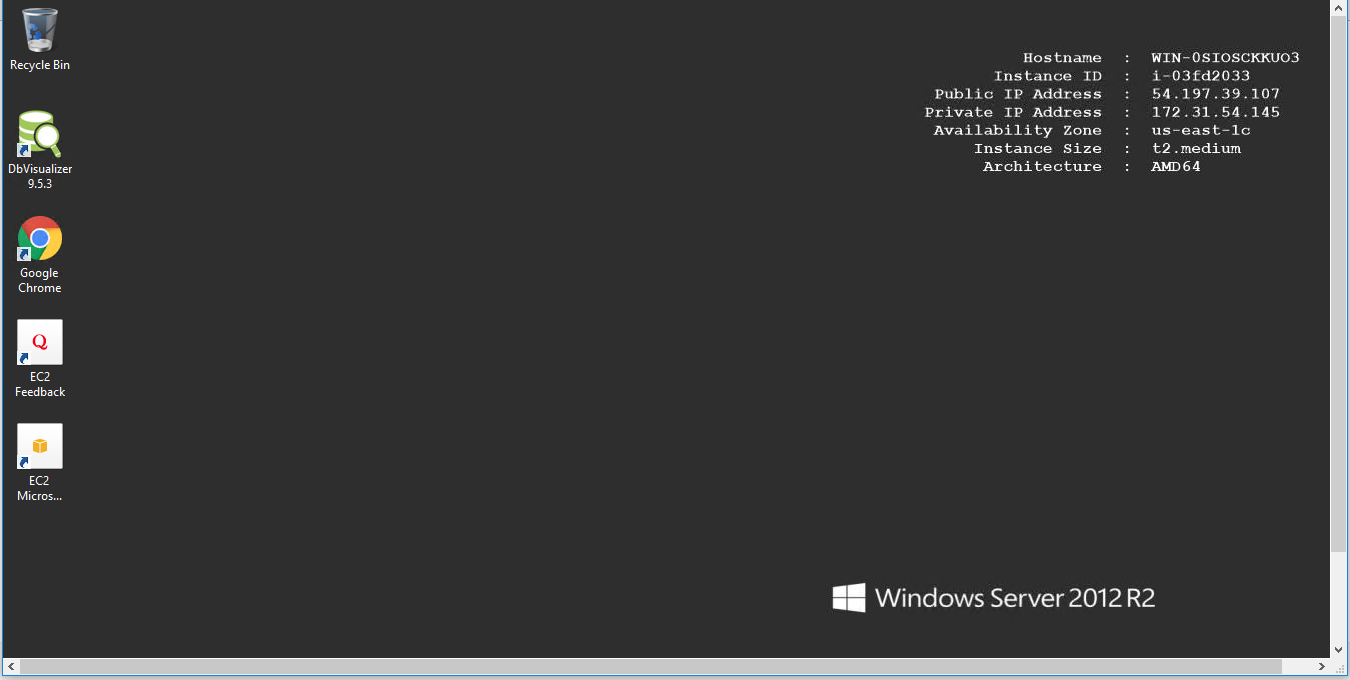
Step 1) RDP Connection: To connect to the deployed instance, Please follow Instructions to Connect to Windows instance on AWS Cloud
1) Connect to the virtual machine using following RDP credentials:
- Hostname: PublicDNS / IP of machine
- Port : 3389
Username: To connect to the operating system, use RDP and the username is Administrator.
Password: Please Click here to know how to get password .
Step 2) Click the Windows “Start” button and select “All Programs” and then point to DbVisualizer Free
Step 3) Other Information:
1.Default installation path: will be in your root folder “C:\Program Files\DbVisualizer”
2.Default ports:
- Windows Machines: RDP Port – 3389
- Http: 80
- Https: 443
Note: Please reregister the software as this shall expire after 30 days.
Configure custom inbound and outbound rules using this link
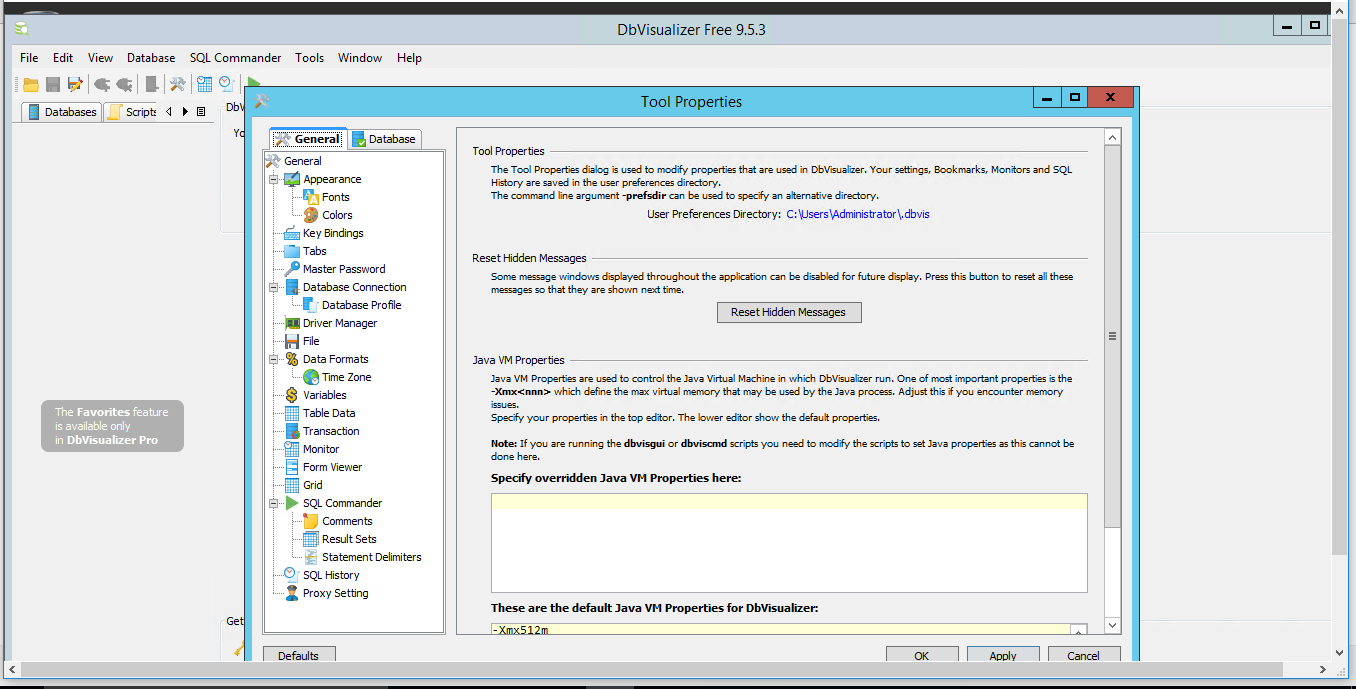
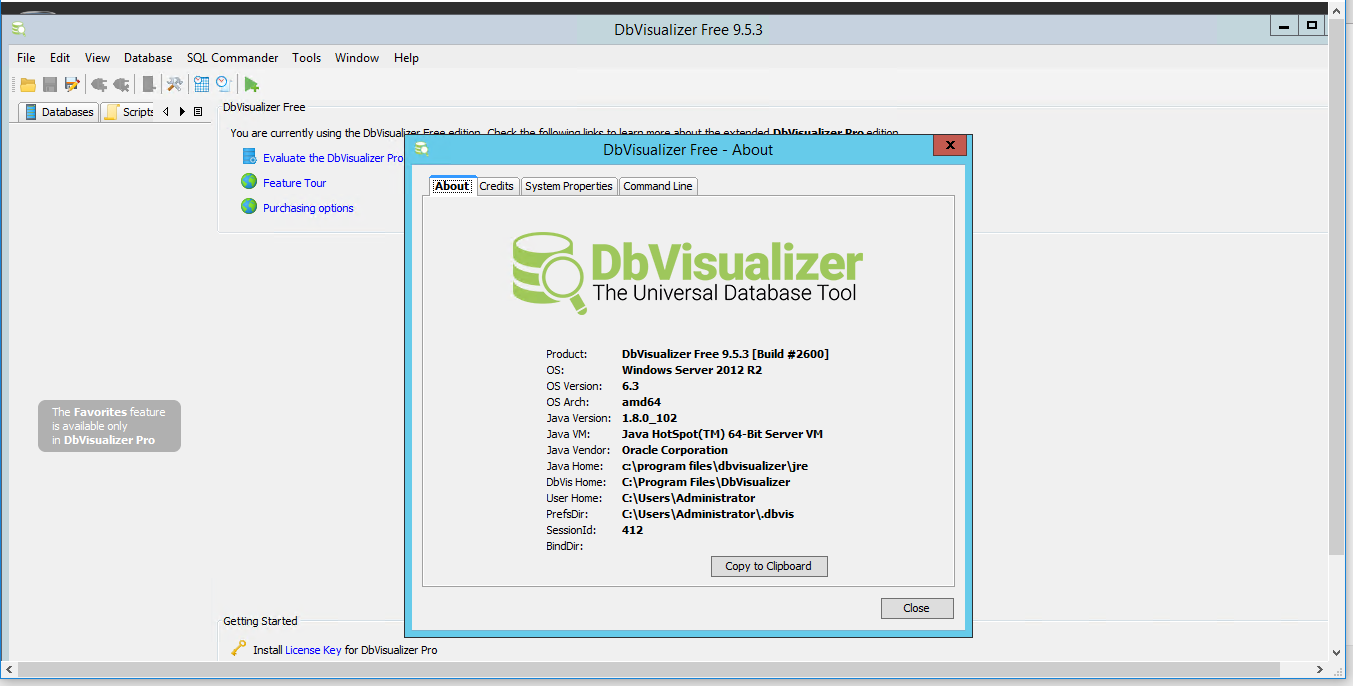
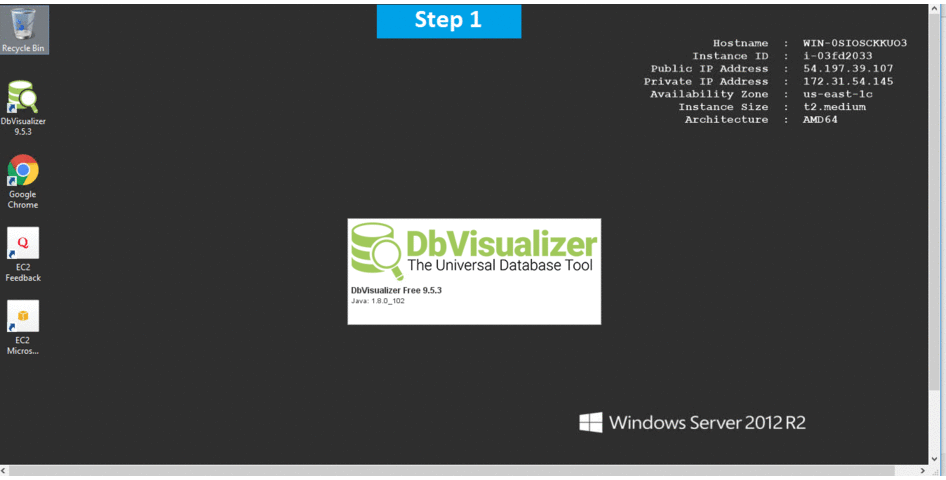
Installation Step by Step Screenshots