

Overview
WebAD Is a web based Active directory user and group management application. Developed in ASP.net. This makes administrative task easier to manage users, reset their passwords, activate or deactivate accounts. Manage groups, Manage group members. etc. This also works as password self service tool for the users. When user with administrative privileges logins to the application he can manage complete Active directory. When regular users logins to the portal they can manage only their properties and reset their passwords. You can Manage as many AD Servers from the application. and it works cross forest too.. This is very helpful tool when you don’t want user to login to the ADMT to mess up with other settings.
WebAD on Cloud runs on Amazon Web Services (AWS) and Azure and is built to manage as many AD Servers from the application.
Cognosys provides hardened images of WebAD on all public cloud i.e. AWS marketplace and Azure.
WEB AD on cloud for AWS
Features
Major Features of WEB AD
- Single and Bulk User Management
- Group / Computer Management
- Help Desk Delegation
- Office 365 Management & Reporting
- Active Directory Automation
- Active Directory Cleanup
- Active Directory Reports
- Real Last Logon reports
- Exchange Management
AWS
Installation Instructions For Windows
Note: How to find PublicDNS in AWS
Step 1) RDP Connection: To connect to the deployed instance, Please follow Instructions to Connect to Windows instance on AWS Cloud
Connect to the virtual machine using following RDP credentials:
- Hostname: PublicDNS / IP of machine
- Port : 3389
Username: To connect to the operating system, use RDP and the username is Administrator.
Password: Please Click here to know how to get password .
Step 2) Database Login Details:
Username : sa|| Password : Passw@rd123
Please change the password immediately after the first login.
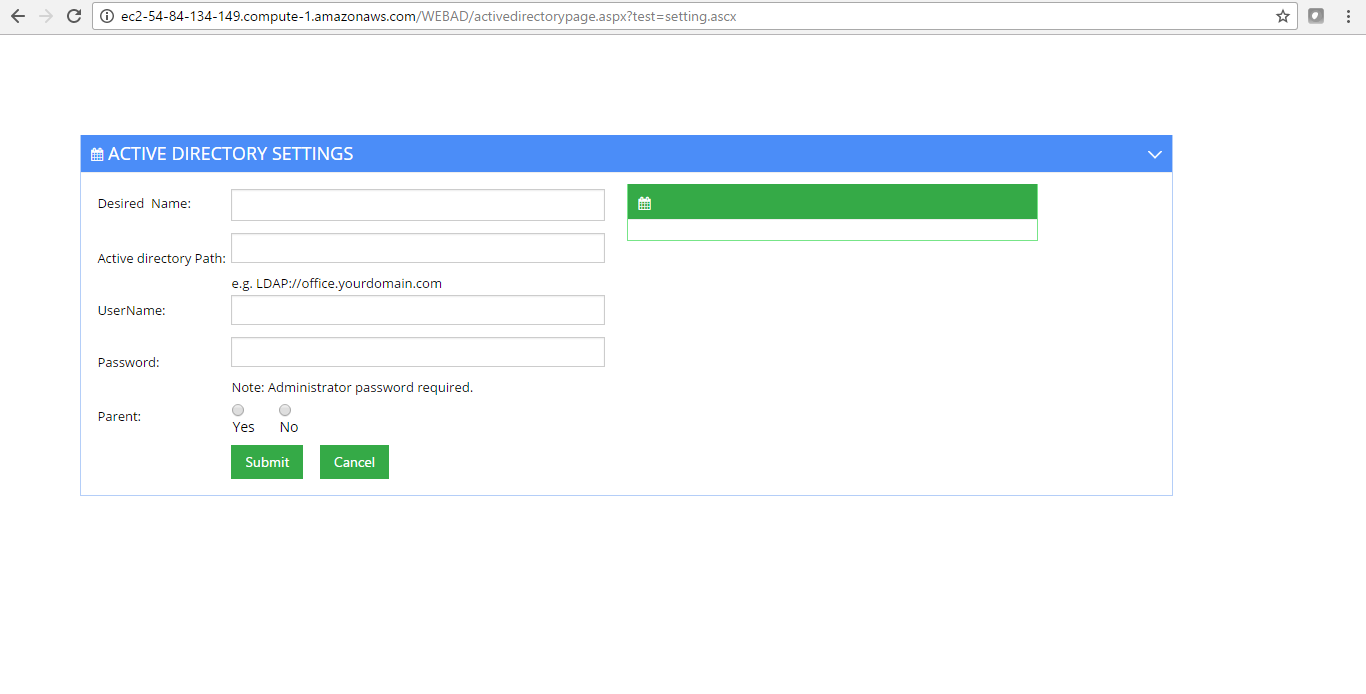
Step 3) Application URL: Access the application via a browser at http://PublicDNS/webad
Step 4) Other Information:
1. Default installation path: will be on your web root folder “C:\inetpub\wwwroot\webad”
2. Default ports:
- RDP Port – 3389
- Http: 80
- Https: 443
- Sql ports: By default these are not open on Public Endpoints. Internally Sql server: 1433.
Configure custom inbound and outbound rules using this link.
AWS Step by Step Screenshots
Azure
Installation Instructions For Windows
Note: How to find PublicDNS in Azure
Step1 ) RDP Connection: To connect to the deployed instance, Please follow Instructions to Connect to Windows instance on Azure Cloud
Connect to virtual machine using following RDP credentials:
- Hostname: PublicDNS / IP of machine
- Port : 3389
Username: Your chosen username when you created the machine ( For example: Azureuser)
Password : Your Chosen Password when you created the machine ( How to reset the password if you do not remember)
Step 2) Database Login Details:
Username : sa|| Password : Passw@rd123
Please change the password immediately after the first login.
Note: Please create new database for configuration of WEB AD
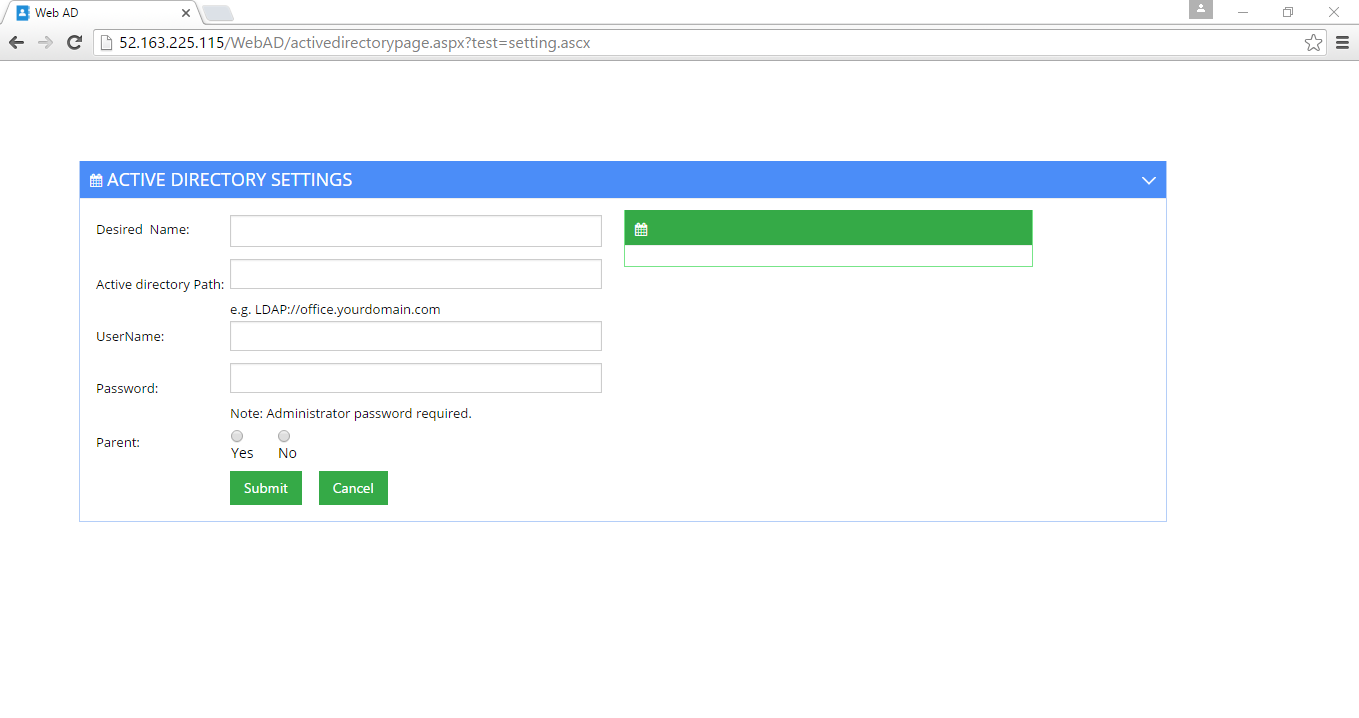
Step 3) Application URL: Access the application via a browser at http://PublicDNS/webad
Step 4) Other Information:
1. Default installation path: will be on your web root folder “C:\inetpub\wwwroot\webad”
2. Default ports:
- RDP Port – 3389
- Http: 80
- Https: 443
- Sql ports: By default these are not open on Public Endpoints. Internally Sql server: 1433.
Configure custom inbound and outbound rules using this link
Wed AD id Available Free. you will be directed to respective website for installation instructions.
Azure Step by Step Screenshots
Videos
Web Active Directory’s PeopleUpdate/PeopleSearch: What’s New in 4.7.1
