

Overview
Ticket System .NET Open Source software based on “.NET CMS”, (also ITS, Issue tracking system, trouble ticket system, support ticket or incident ticket system). is a software application that is used to provide customers with technical information on a product or service, while also supplying them with a connection to a support representative.
The goal of this software is to increase a company’s efficiency and their productivity when using technology by providing workers and clients with timely answers to their questions and pertinent information that can aid them in solving their problems. Ticket System Help Desk Software Open Source, allows you to easily manage an ever-increasing volume of tickets.
Cognosys provides hardened and ready to run images of Ticket System on all public cloud ( AWS marketplace and Azure).
Deploy your Ticket System securely on cloud i.e. AWS marketplace and Azure with reliable services offered by Cognosys at one-click with easy written and video tutorials.
Ticket System on Cloud for AWS -Windows
Ticket System on Cloud for Azure-Windows
Features
Major Features of Ticket System
- Fully Customizable
- Scalable and Secure
- Venue Management
- Broker Management
- Seating Map Manager
- Event Manager
- Ticket Class Manager
- Ticket Items with flexible Tax options and reporting (Sales Tax, LET Tax, Local, County Tax)
- Agent Box Office (POS and Barcode Scanning)
- Comprehensive Reporting
- Promo Systems
AWS
Installation Instructions For Windows
Note: How to find PublicDNS in AWS
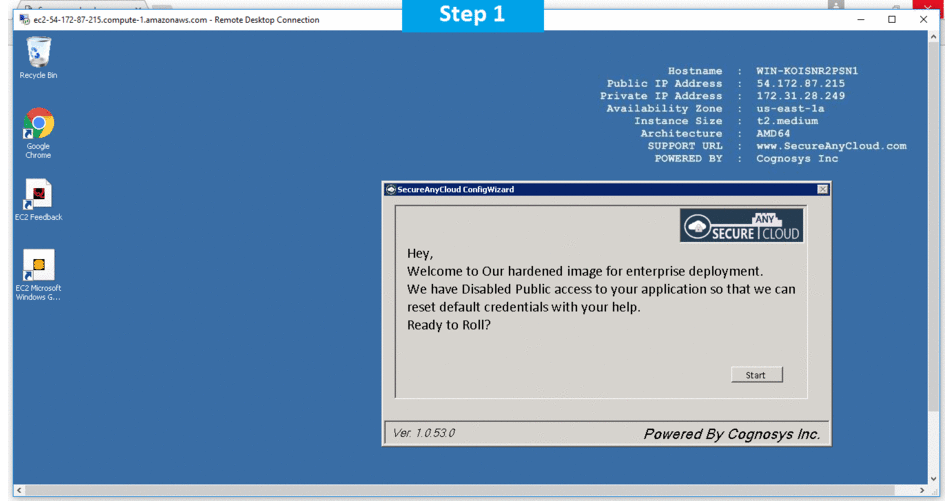
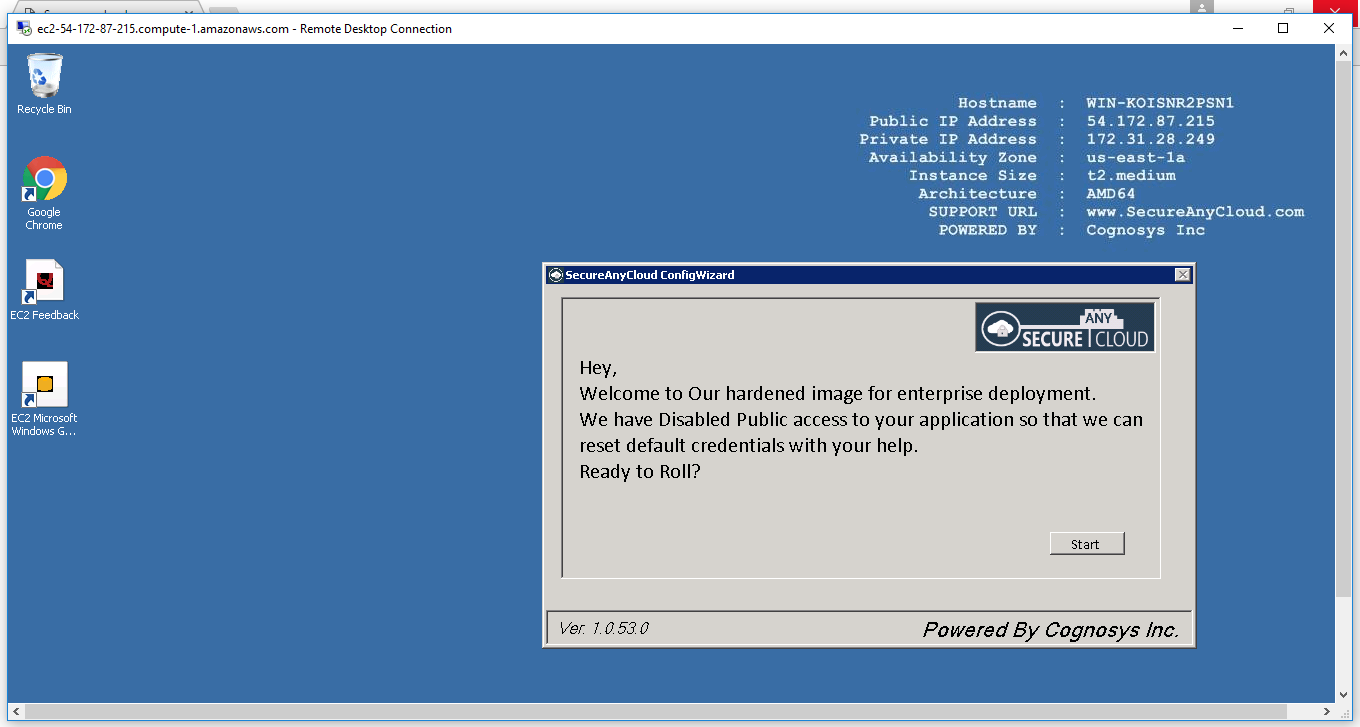
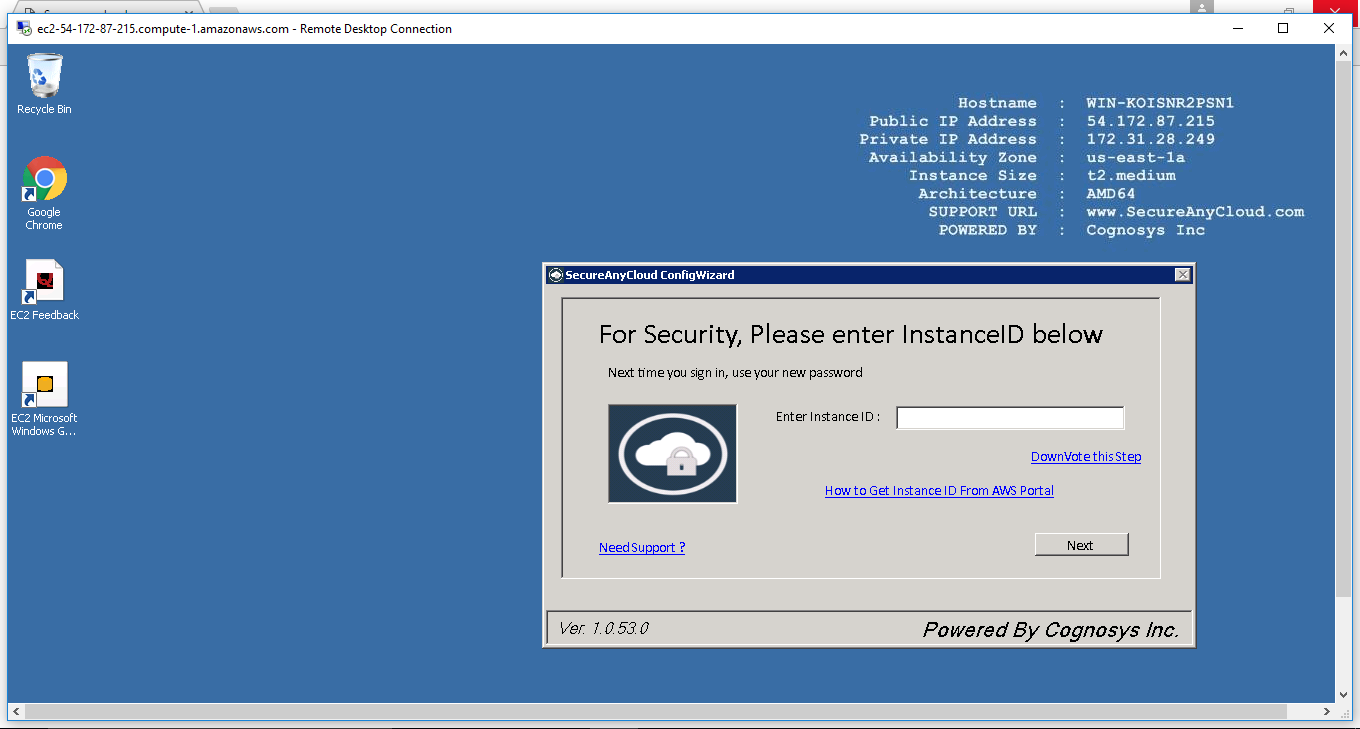
Step 1) RDP Connection: To connect to the deployed instance, Please follow Instructions to Connect to Windows instance on AWS Cloud
Connect to the virtual machine using following RDP credentials:
- Hostname: PublicDNS / IP of machine
- Port : 3389
Username: To connect to the operating system, use RDP and the username is Administrator.
Password: Please Click here to know how to get password .
Step 2) Other Information:
1.Default installation path: will be in your web root folder “C:\inetpub\wwwroot\ticketsystem”
2.Default ports:
- Windows Machines: RDP Port – 3389
- Http: 80
- Https: 443
Configure custom inbound and outbound rules using this link.
Ticket System id Available Free. you will be directed to respective website for installation instructions.
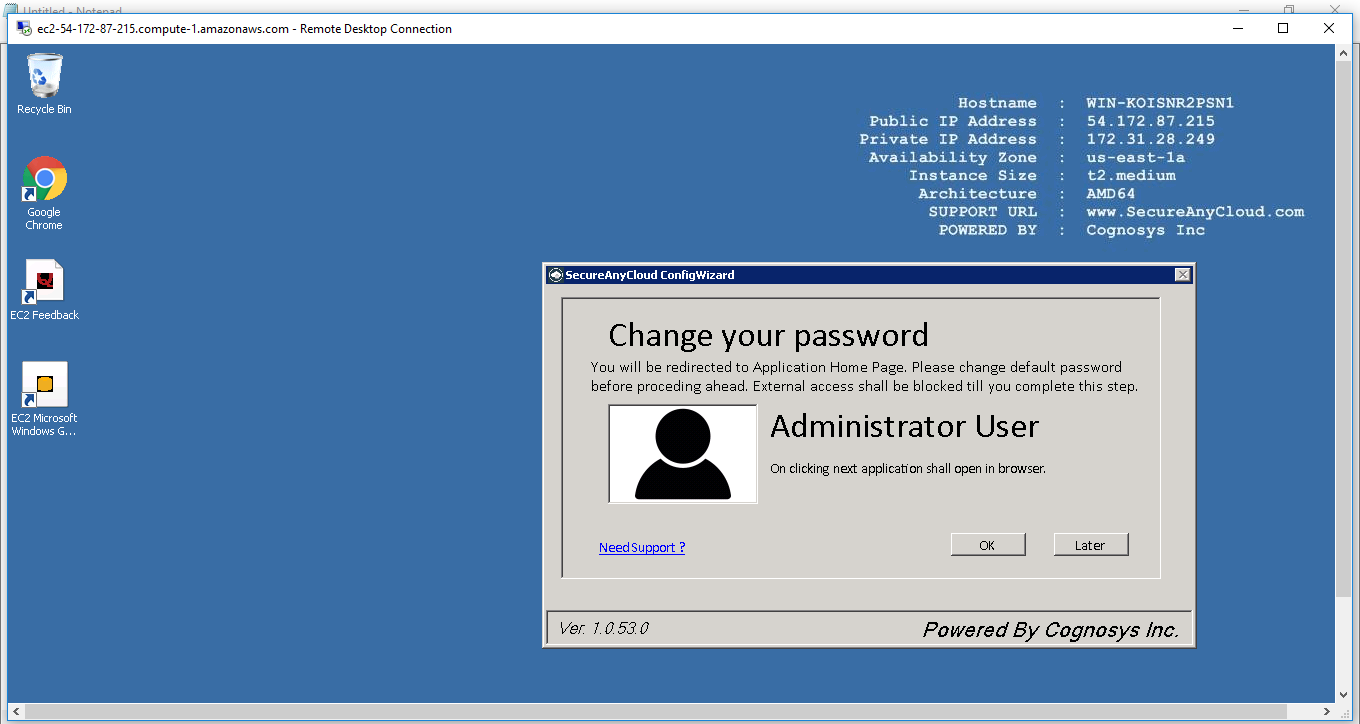
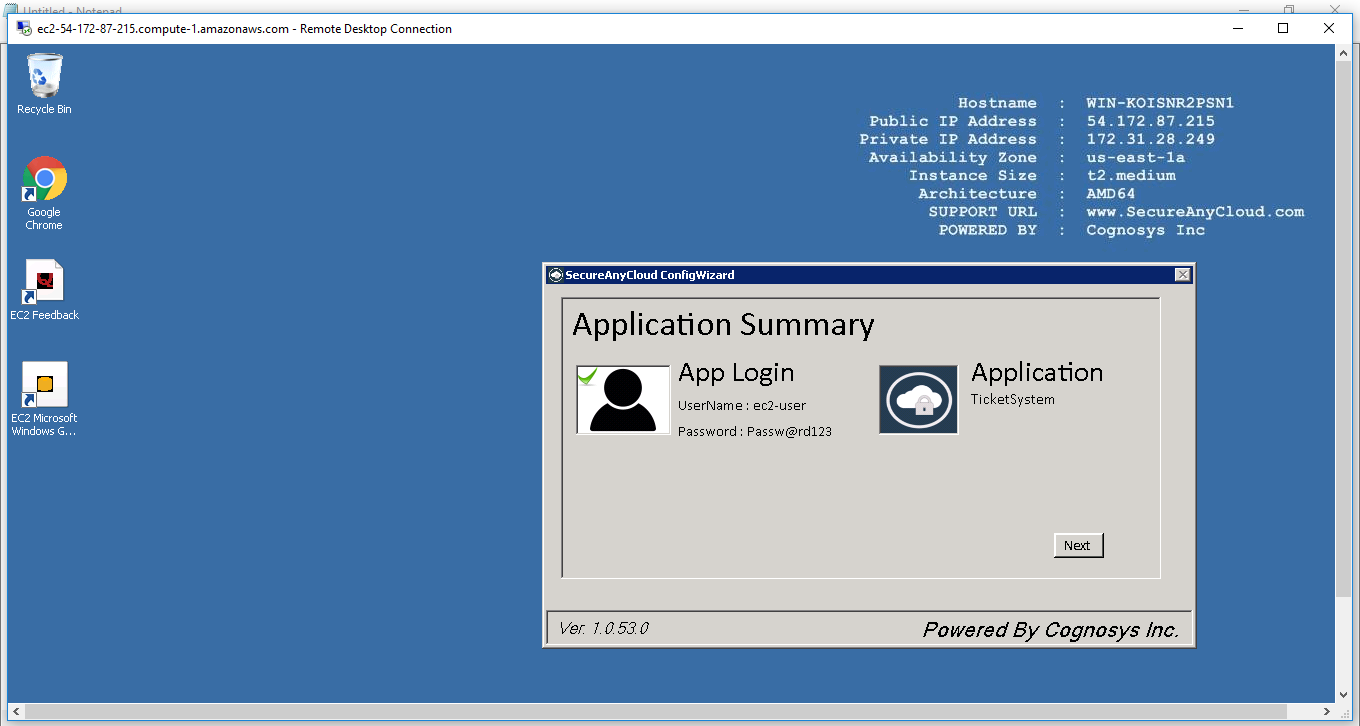
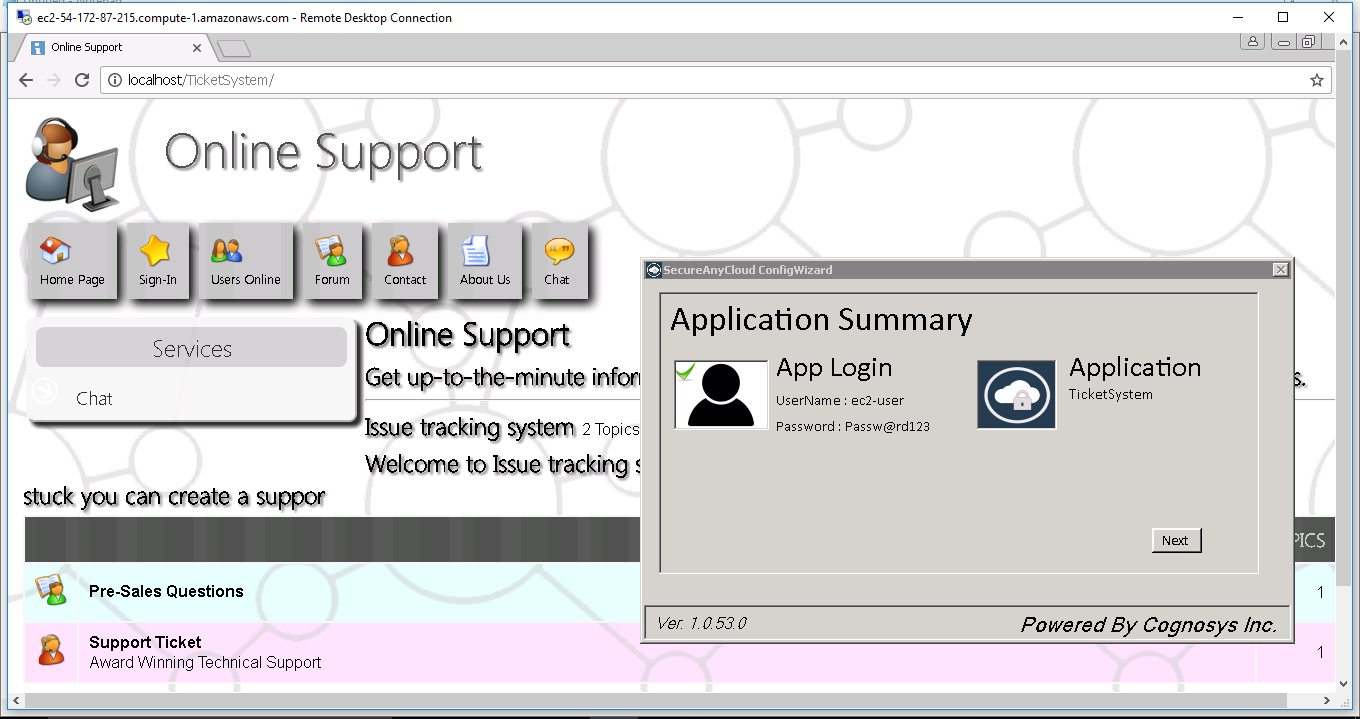
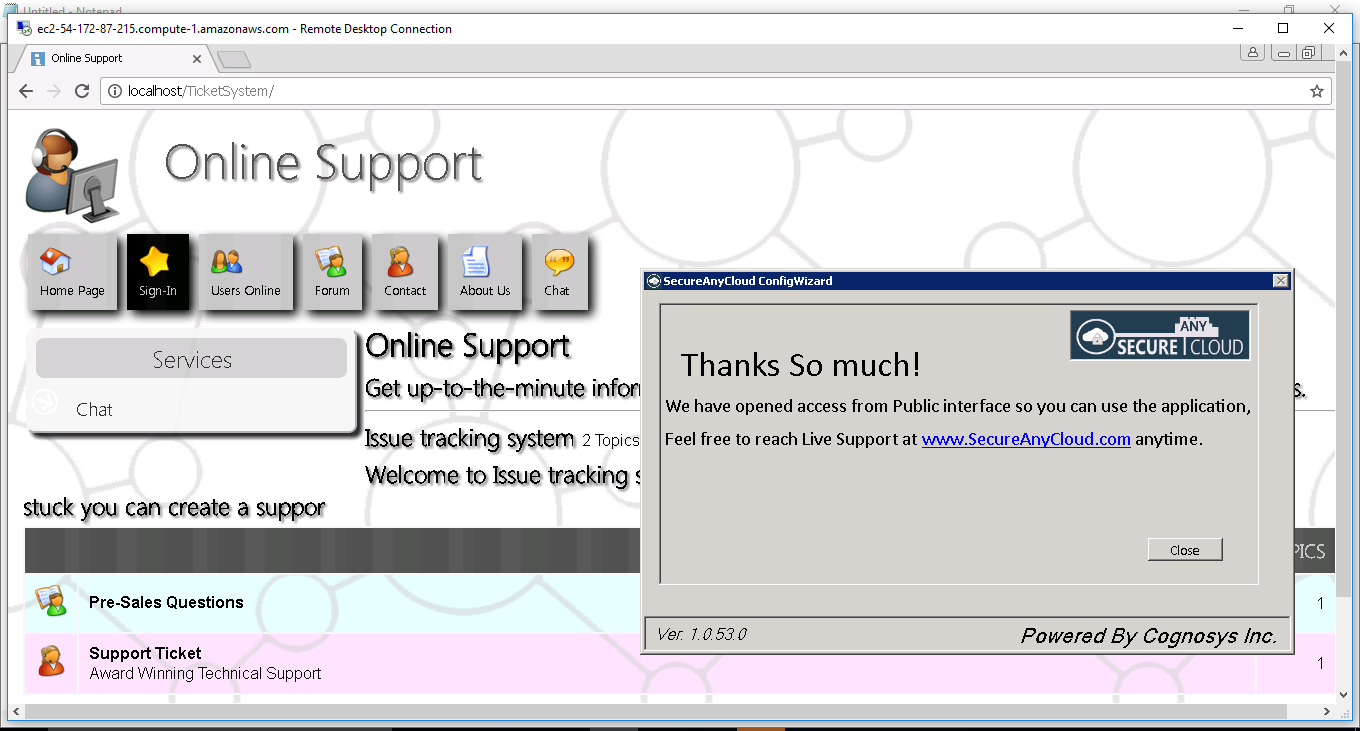
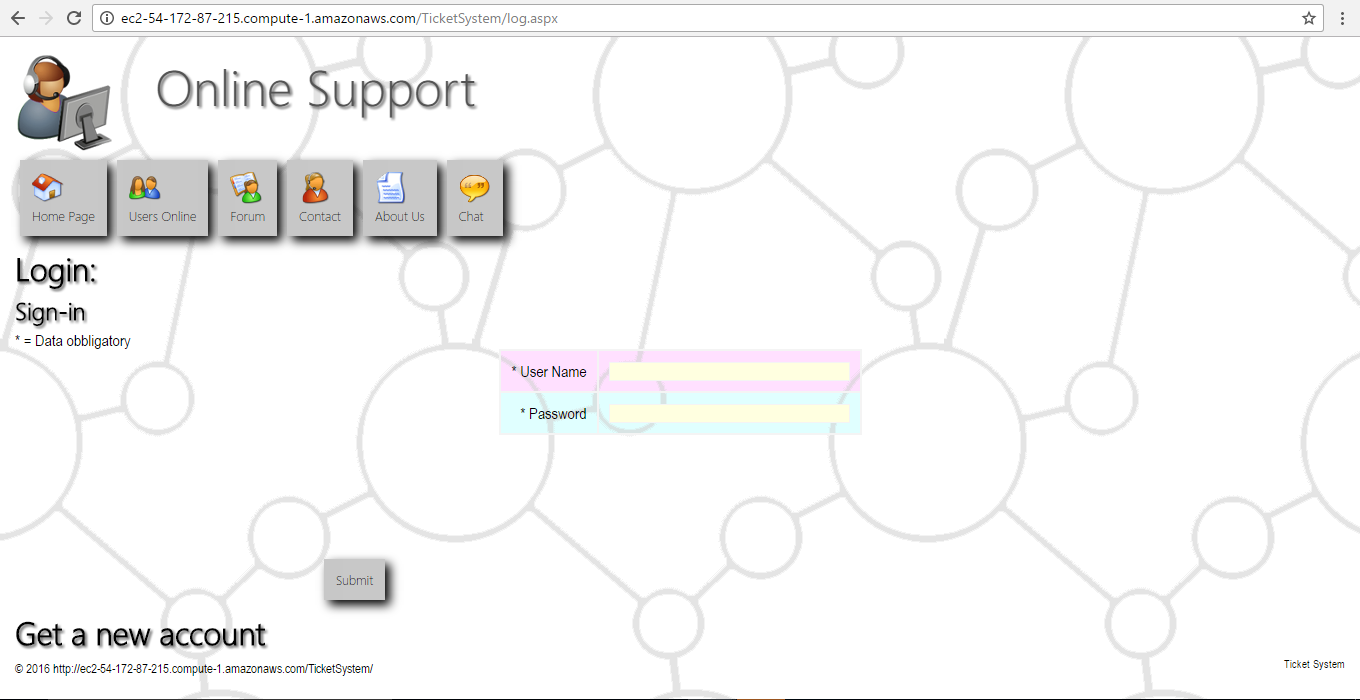
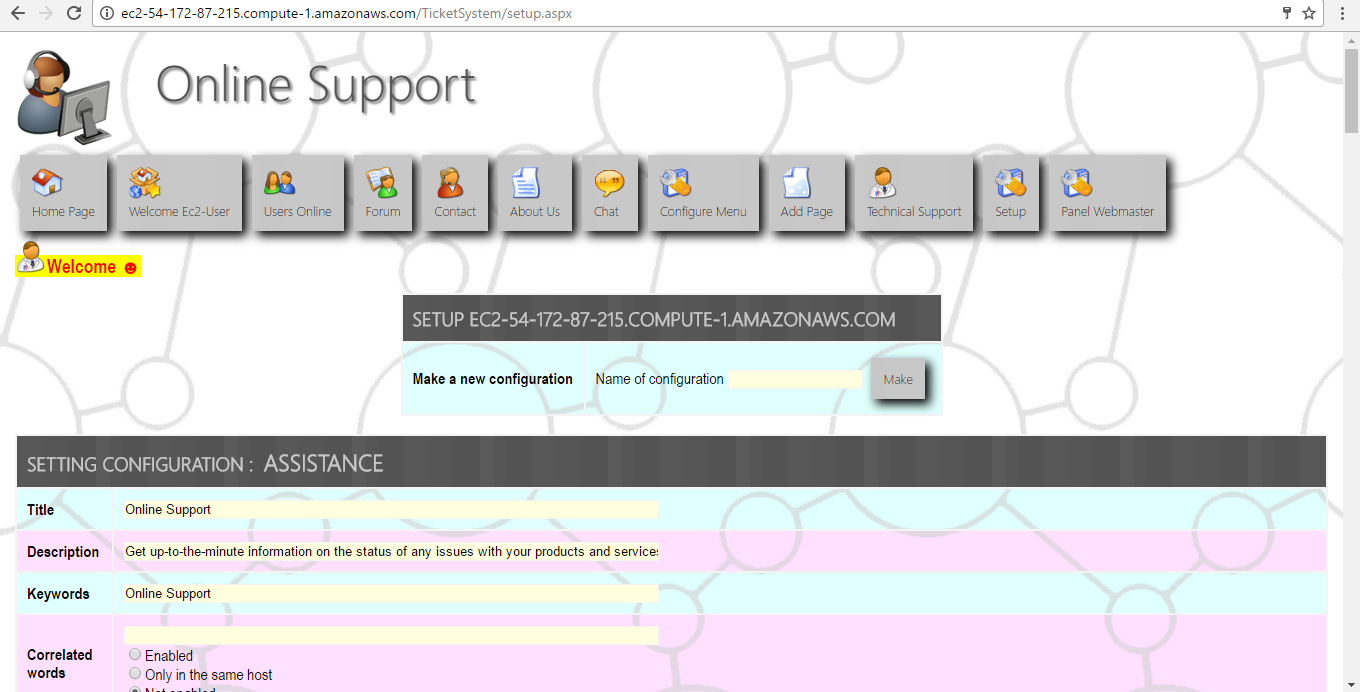
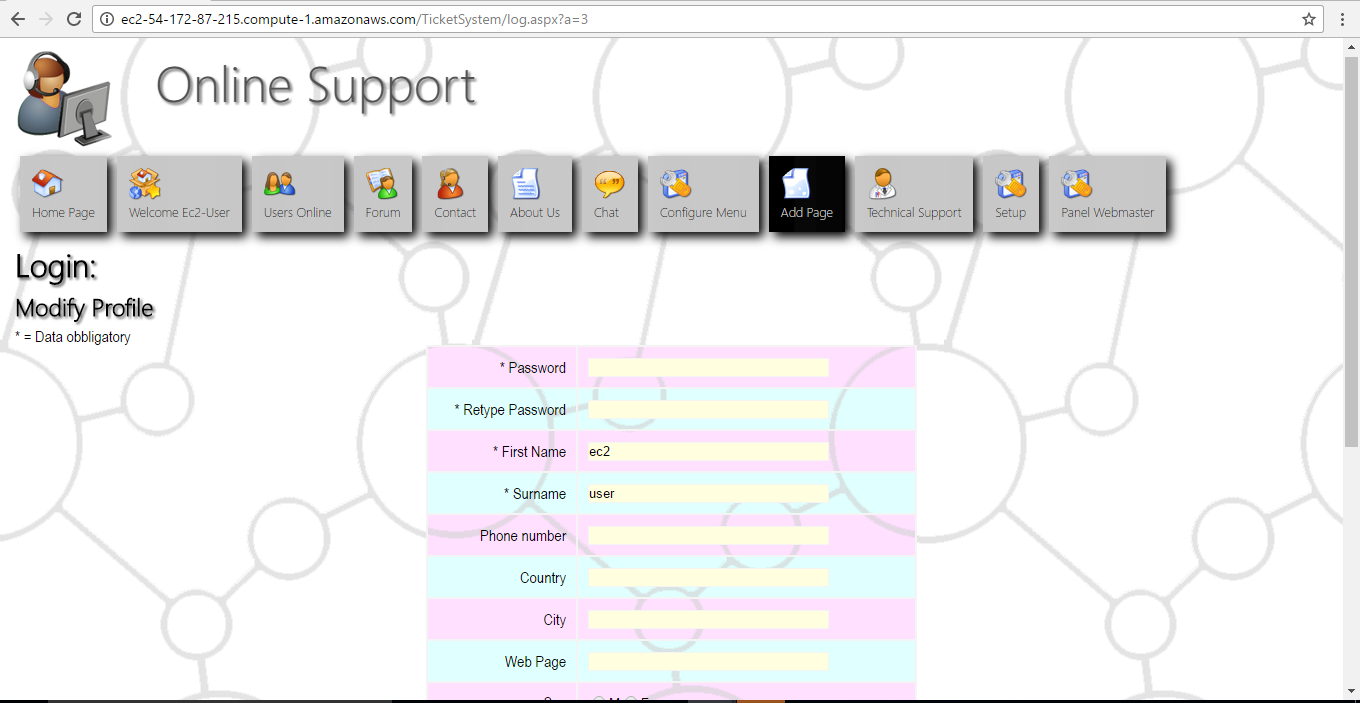
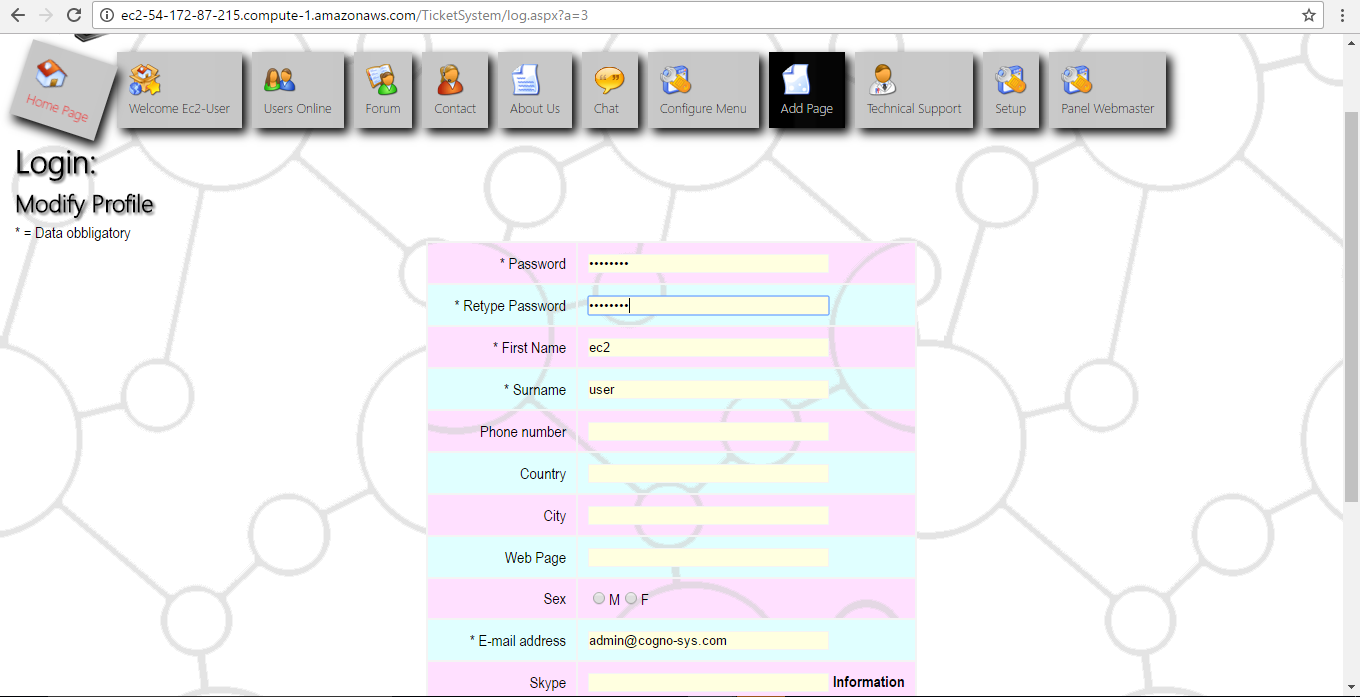
AWS Step By Step Screenshots


Azure
Installation Instructions for Windows
Note: How to find PublicDNS in Azure
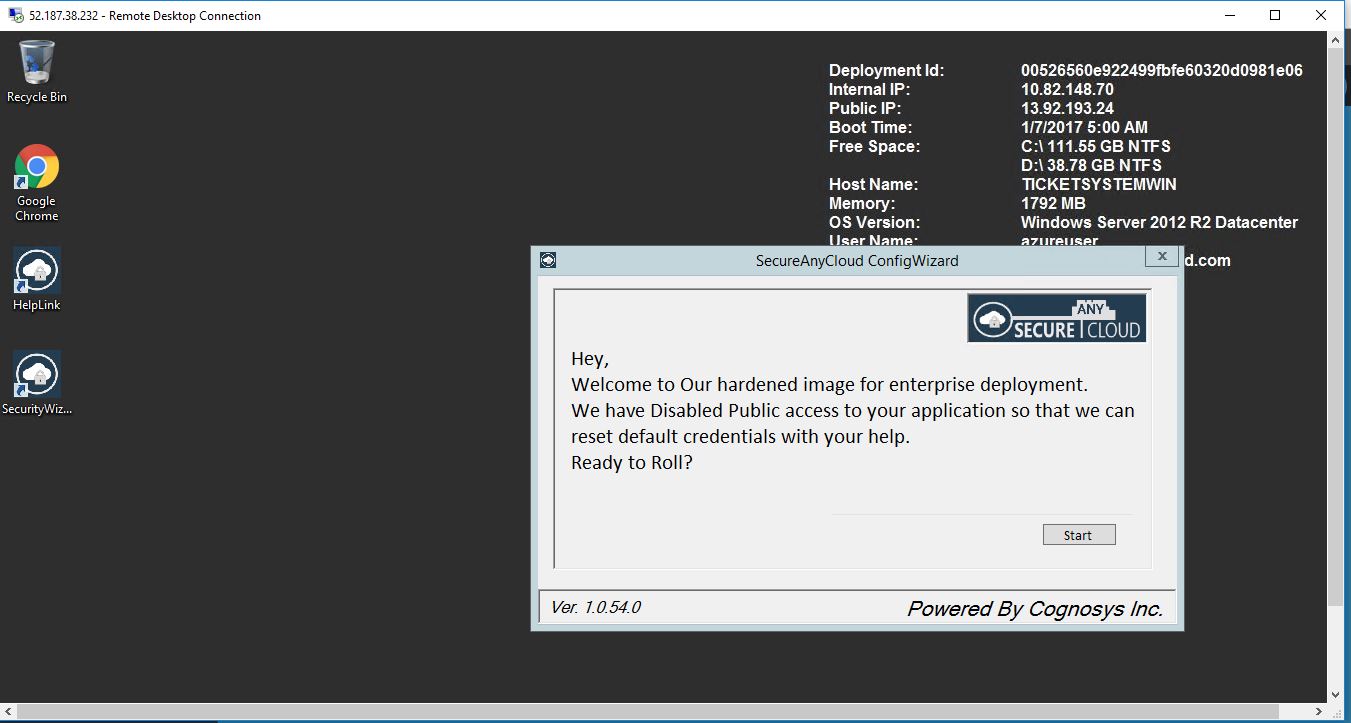
Step 1) RDP Connection: To connect to the deployed instance, Please follow Instructions to Connect to Windows instance on Azure Cloud
Connect to virtual machine using following RDP credentials:
- Hostname: PublicDNS / IP of machine
- Port: 3389
Username: Your chosen username when you created the machine ( For example: Azureuser)
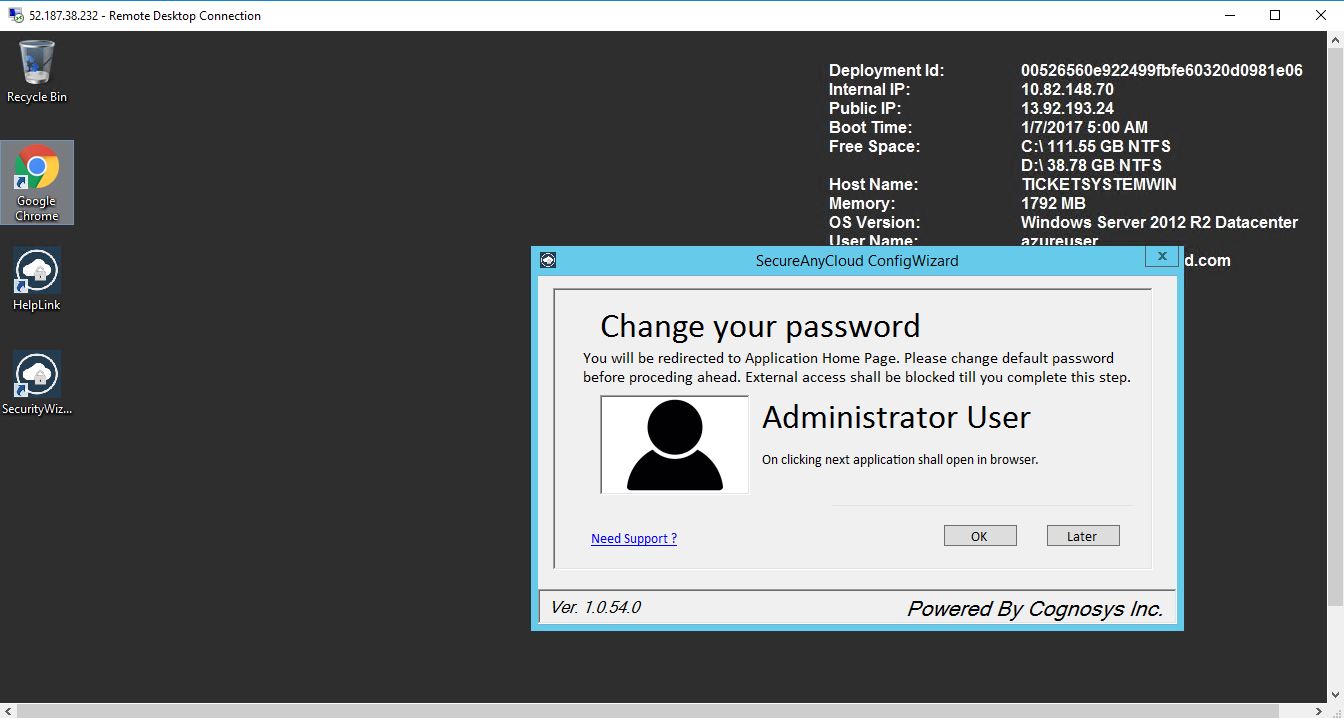
Password: Your Chosen Password when you created the machine ( How to reset the password if you do not remember)
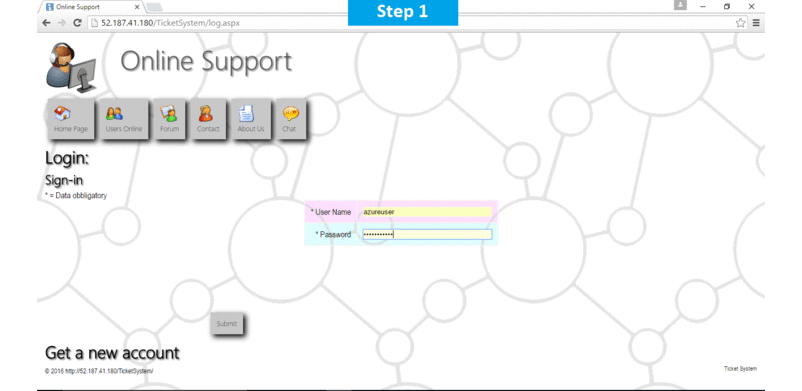
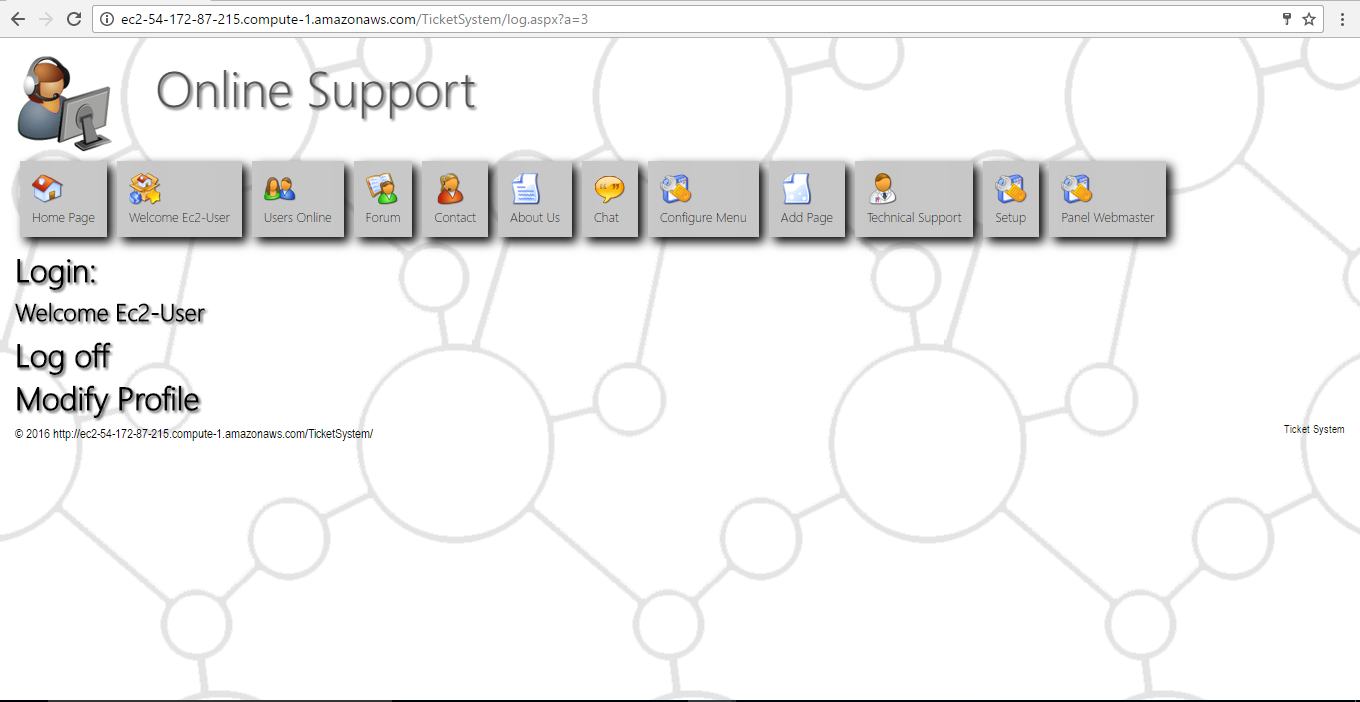
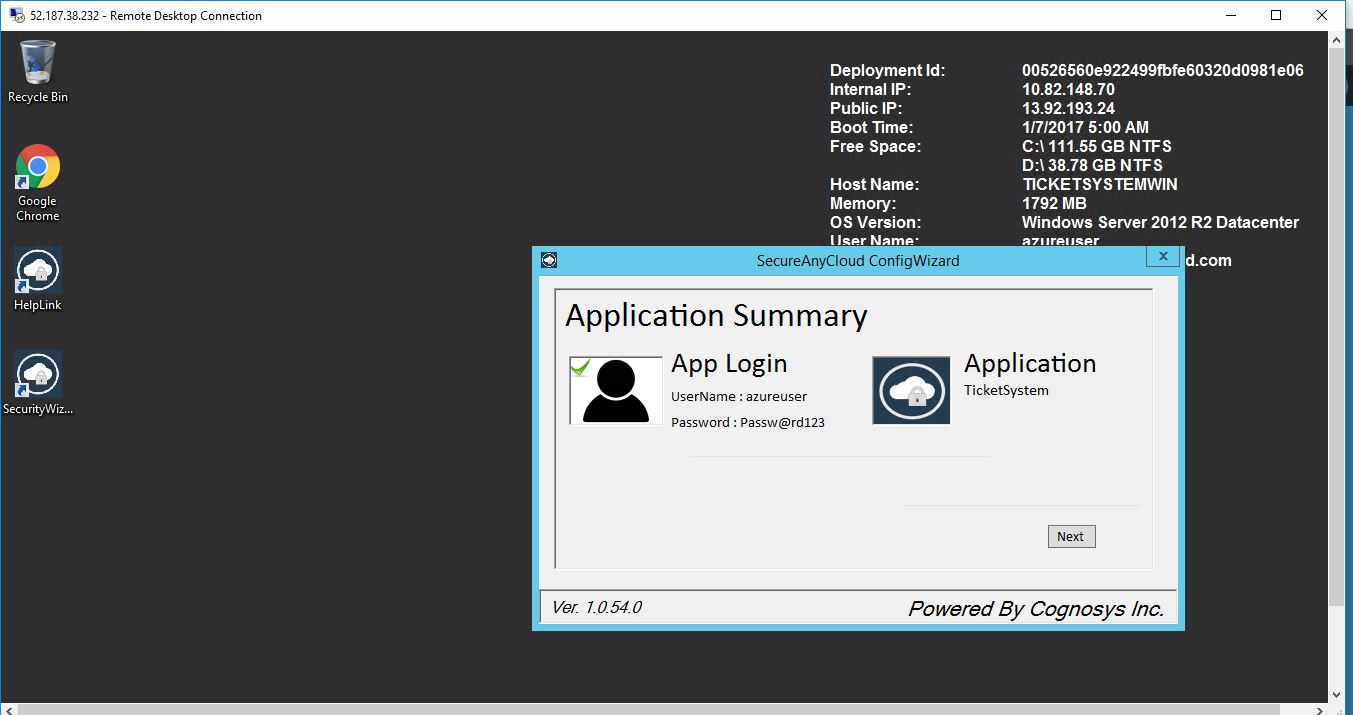
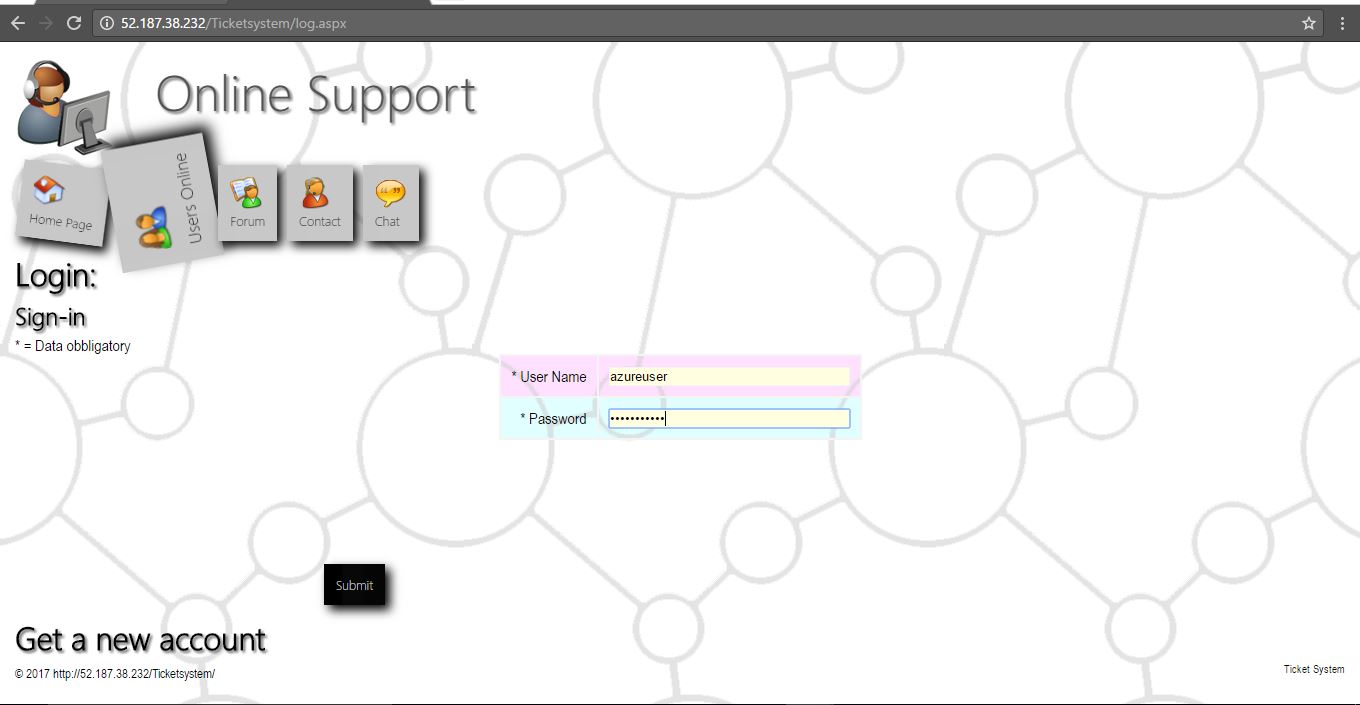
Step 2) Application URL: Access the application via a browser at http://PublicDNS/ticketsystem
- User Name: azureuser
- Password: Passw@rd123
Step 3) Other Information:
1.Default installation path: will be on your web root folder “C:\inetpub\wwwroot\ticketsystem”
2.Default ports:
- Windows Machines: RDP Port – 3389
- Http: 80
- Https: 443
Configure custom inbound and outbound rules using this link
Ticket System id Available Free. you will be directed to respective website for installation instructions.
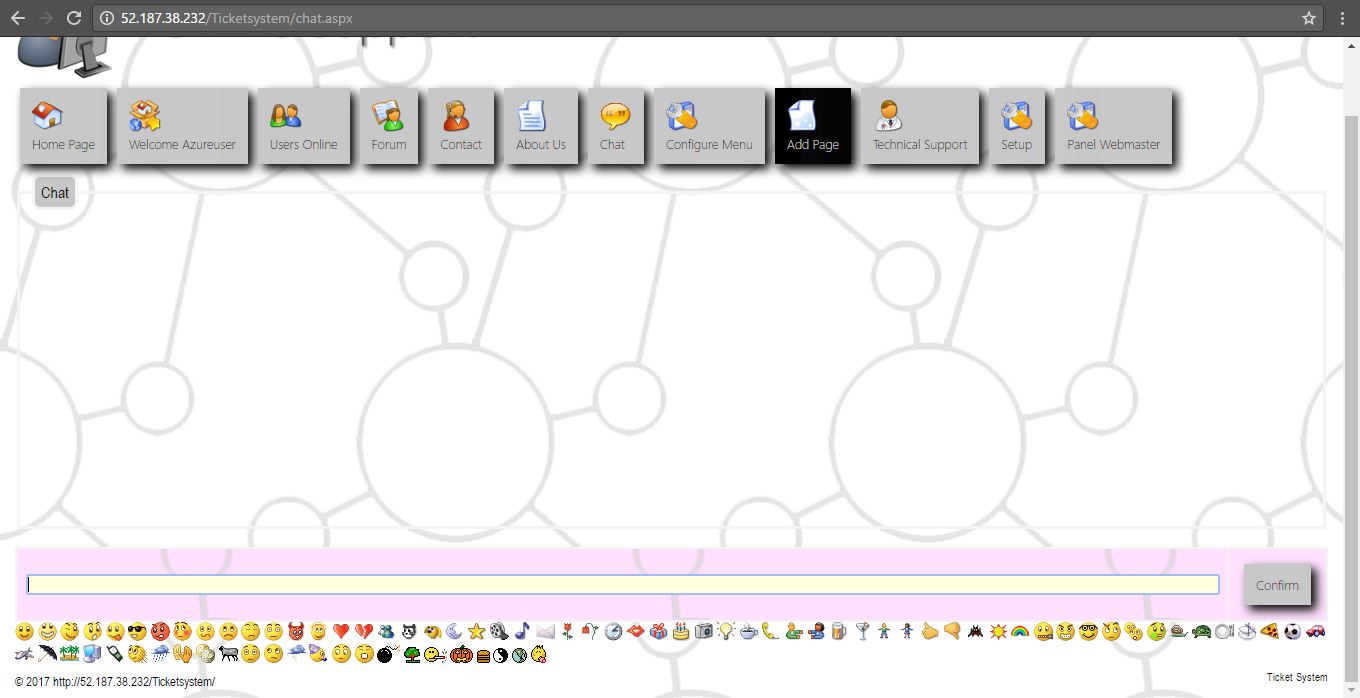
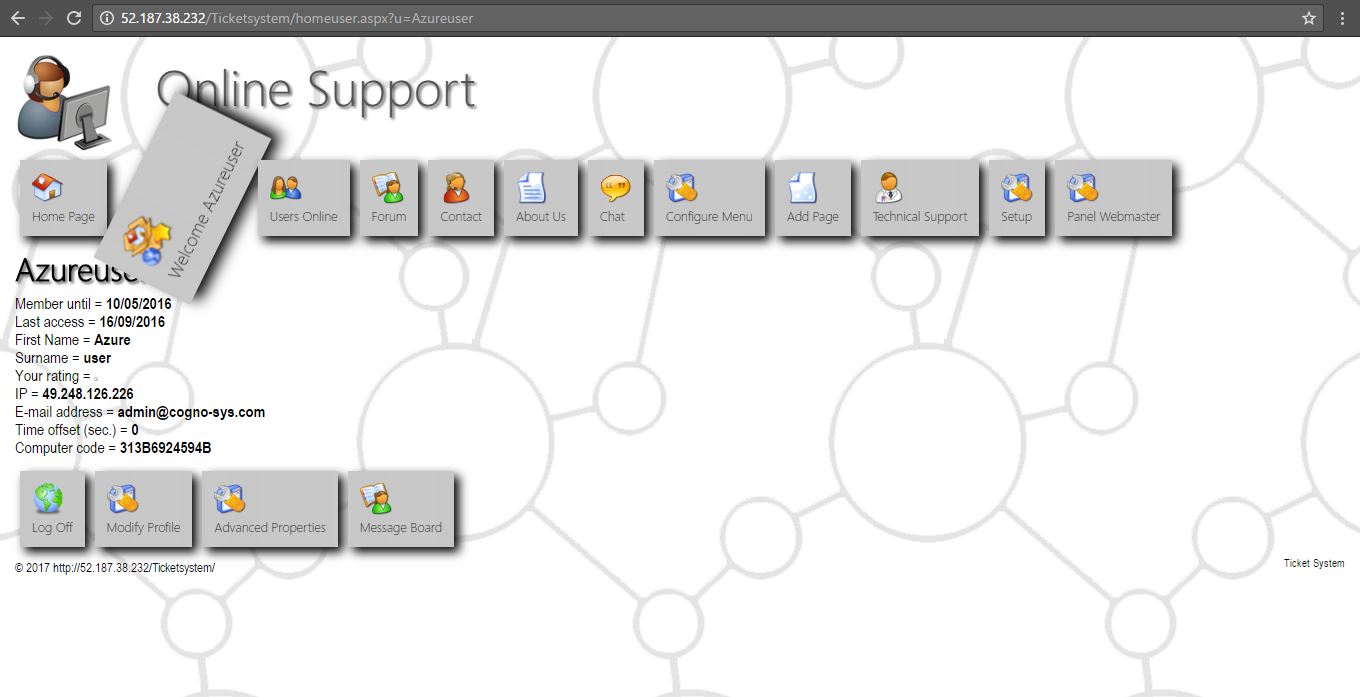
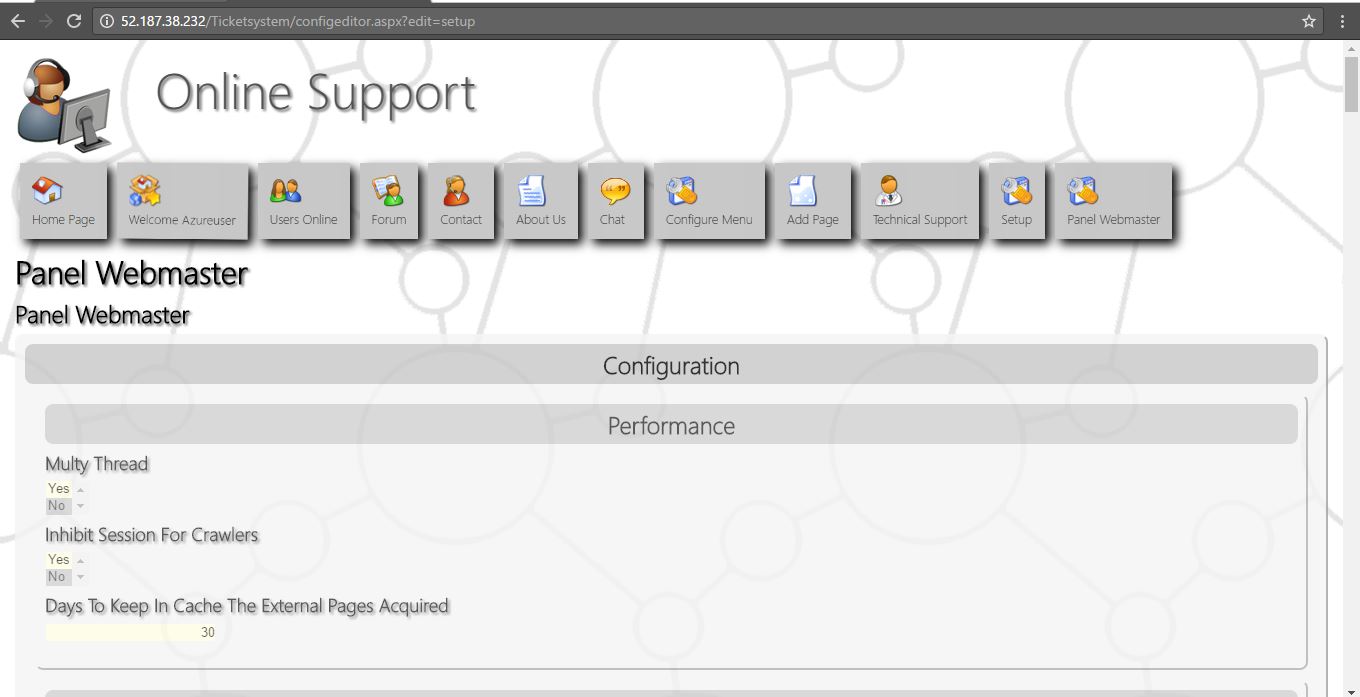
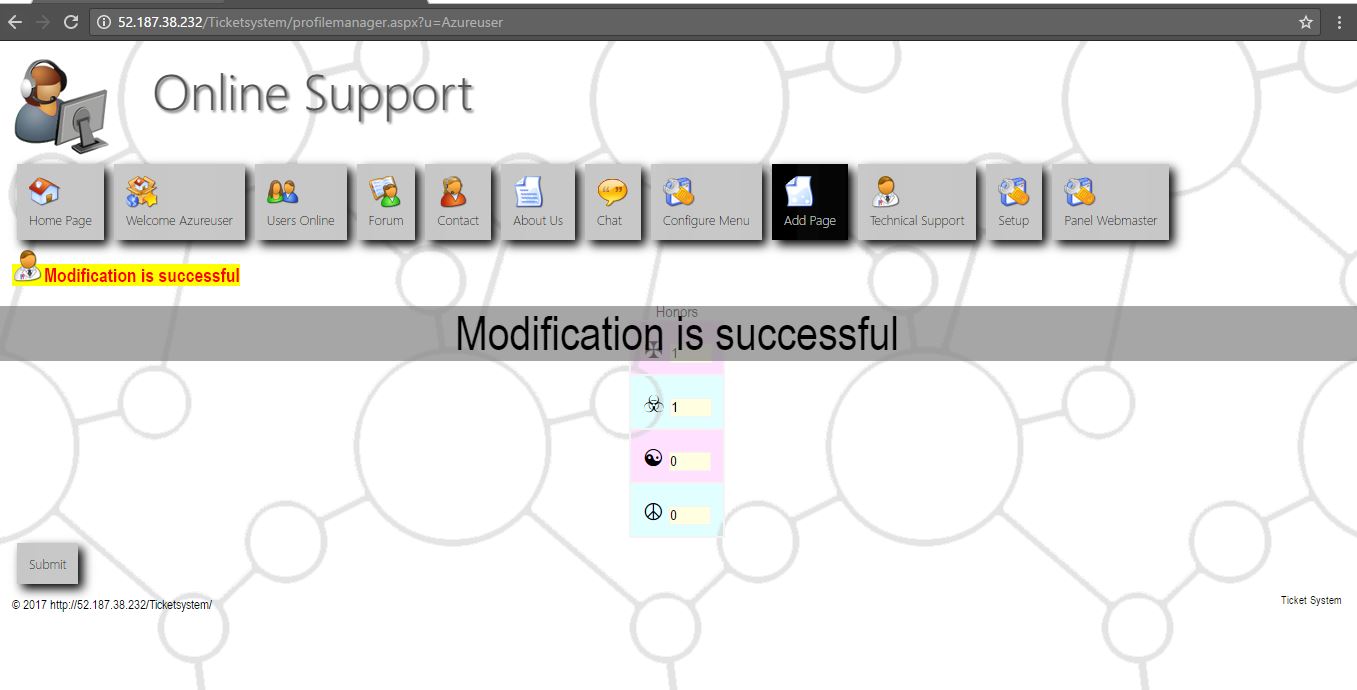
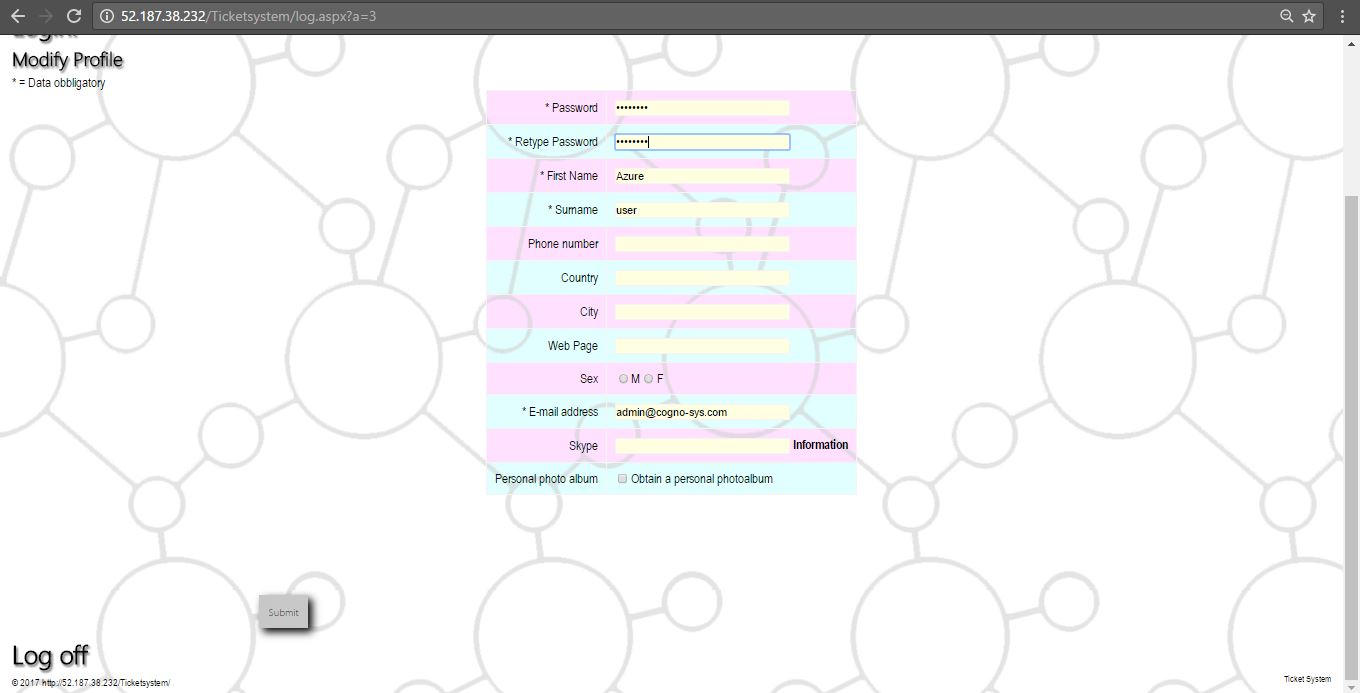
Azure Step by Step Screenshots


Videos
Help Desk ticket system training
External embedded media removed for production hardening.
