1-click AWS Deployment 1-click Azure Deployment
Overview
UltraDefrag is a disk defragmentation utility for Microsoft Windows. Prior to version 8.0.0 it was released under the GNU General Public License. The only other Windows-based defragmentation utility licensed under the GNU GPL was JkDefrag, discontinued in 2008. In 2018, UltraDefrag sources have been relicensed to Green Gate Systems. Their enhanced 8.0.0 version, released under a proprietary license, features automatic defragmentation and is said to have much faster disk processing algorithms. UltraDefrag uses the defragmentation part of Windows API and works on Windows NT 4.0 and later. It supports FAT12, FAT16, FAT32, exFAT, and NTFS file systems.
How to improve system performance
First of all, we recommend to disable the Windows paging file. It expands RAM, but works much slower. If you need more memory than physically installed, buy more for the best performance.
Then, it’s a good idea to keep system files as close as possible to the beginning of the disk because of higher speed of that area. The best way to do it is to repartition the disk once and use the first partition for system files and the second one for backups, videos, music and other stuff more tolerant for slower access.
How frequently to defragment
Defragment files whenever you believe their fragmentation slows down your system. It really does make sense to defragment the system drive from time to time and optimize it after massive updates. On the other hand, data drives rarely benefit from defragmentation, especially when they are filled by music and videos.
In case of highly fragmented drives, no matter what is fragmented, files or free space, we recommend to run the full optimization instead of regular defragmentation as it usually leads to better results. If neither defragmentation nor optimization are able to reduce fragmentation significantly in most cases it simply means you haven’t enough free space on the disk, so it’s time for a cleanup.
The best environment for UltraDefrag
The program shows the best performance being launched at Windows boot where no concurrent processes are running. Nothing interrupts its flow and no applications are locking files preventing their movements.
On the other hand, when your system is in use, some files, being locked by running applications, drop down UltraDefrag performance. Due to this reason we recommend to optimize entire disks at Windows boot rather than on a fully running system. Slightly better results can be achieved in Windows safe mode, but at boot they’re always the best.
Hardware
Flash and SSD drives
Defragmentation of flash memory and solid state drives (SSD) is usually not necessary as those drives don’t rely on physical movements of mechanical parts anyway. However, in case of heavily fragmented files defragmentation still does make sense as it improves performance of the file system itself. Also defragmentation can help to make files more recoverable.
Floppy drives
Floppy drives defragmentation is not recommended, because it always reduces lifespan of the floppies.
Checking the file system
Freshly used drives can be defragmented immediately; any drive, which has been in use for a long time without maintenance, should be checked for consistency first. Open a command prompt and type one of the following commands there:
Parallel processing
Simultaneous defragmentation of multiple hard disks can save time.
For instance:
- Hard disk 1 contains partitions C: and D:
- Hard disk 2 contains partitions G: and H:
Start two UltraDefrag sessions simultaneously – one for partitions C: and D: and another one for G: and H: to save up to 50% of time (compared to the case when all four partitions are processed one by one). On the other hand, don’t try to defragment partitions C: and D: simultaneously – they belong to the same physical disk, so their parallel processing will be pretty slow
Installation :
The latest version of the program can be found at UltraDefrag Website. Both installers and portable packages are available. The latter require no installation, thus can be used directly from USB sticks. They include all the components except of the boot time defragmenter.
All the binaries are available for three processor architectures: x86, AMD64 and IA64. The first one is for 32-bit editions of Windows. The next one is for 64-bit editions. The last one is for Intel Itanium driven computers running Itanium editions of Windows.
For example, if you need UltraDefrag for Windows XP 32-bit edition download the x86 installer. If you need it for Windows 7 64-bit edition, download the AMD64 installer regardless of the processor you have.
Silent mode
UltraDefrag can be installed silently (without graphical dialogs) using additional command line switches:
/S
Install the program silently.
/FULL=1
Install all the components.
/MICRO=1
Install the console and boot time interfaces only.
/GUI=(1|0)
Install or remove the graphical interface.
/CONSOLE=(1|0)
Install or remove the console interface.
/BOOT=(1|0)
Install or remove the boot time interface.
/HELP=(1|0)
Install or remove this handbook.
/SHELLEXTENSION=(1|0)
Install or remove the Explorer’s context menu handler.
/ICONS=(1|0)
Install or remove all the shortcut icons.
/STARTMENUICON=(1|0)
Install or remove the start menu icon.
/DESKTOPICON=(1|0)
Install or remove the desktop icon.
/QUICKLAUNCHICON=(1|0)
Install or remove the quick launch icon.
/DISABLE_USAGE_TRACKING=(1|0)
Enable or disable the usage tracking mentioned above.
/D={Installation Folder}
Set the installation folder. It must be the last parameter used in the command line and must not contain any quotes, even if the path contains spaces. Only absolute paths are supported. The destination folder must be empty or contain a previous UltraDefrag installation.
The following samples illustrate use of the command line switches:
UltraDefrag is an open source disk defragmenter for Windows. It can quickly defragment everything including files which are usually locked by Windows. For instance, UltraDefrag can re-join paging and hibernation files.
It eliminates the file fragmentation problem speeding up the computers which need less mechanical work to read continuous data from disks. UltraDefrag can fix almost everything including files which are usually locked – it launches inside of the Windows boot process when most of the files are still not in use.
UltraDefrag is owned by UltraDefrag(https://ultradefrag.net/) and they own all related trademarks and IP rights for this software.
UltraDefrag can be used on Windows XP, Windows Server 2003, Windows Vista, Windows Server 2008, Windows 7 and Windows 8. Elder versions of the program (prior to v7) can be used on Windows NT 4.0 and Windows 2000 as well, with some limitations
UltraDefrag on Cloud for AWS

Features
Features :
- Automatic defragmentation
- Defragmentation of individual files and folders
- Defragmentation of locked system files
- Defragmentation of NTFS metafiles (including MFT) and streams
- Exclusion of files by path, size and number of fragments
- Optimization of disks
- Disk processing time limit
- Defragmentation of disks having a certain fragmentation level
- Automatic hibernation or shutdown after the job completion
- Multilingual graphical interface (over 60 languages available)
- One click defragmentation via Windows Explorer‘s context menu
- Command line interface
- Portable edition
- Full support of 64-bit editions of Windows.
Faster computer
UltraDefrag 9 optimizes your disks so the operating system, applications and games perform much better.
Easy to use graphical interface
UltraDefrag 9 features an intuitive graphical interface. Now everything can be done with just a few clicks.
Defragmentation of individual files and folders
UltraDefrag 9 features a one click defragmentation of individual files and folders. Just select objects in Windows Explorer, click the right mouse button and select Defragment with UltraDefrag to quickly defragment them all.
Defragmentation of locked files
Sometimes Windows and applications lock files preventing their defragmentation. UltraDefrag 9 runs in a special mode when Windows boots to defragment all the locked files. Now you can defragment them all with just a few clicks.
Easy configuration
UltraDefrag 9 features an easy to use preferences dialog. Now everything can be configured with just a few clicks, there is no need to edit scripts anymore.
Automatic defragmentation
UltraDefrag 9 defragments your disks automatically when your computer is idle, so you always have your computer optimized.
Command line interface
UltraDefrag 9 includes a powerful command line interface which can be easily used to automate complex defragmentation tasks.
Portable edition
UltraDefrag 9 includes an easy to use portable edition which can be written to a USB stick and then used from there without installation.
Major Features Of UltraDefrag:
- simple but efficient defragmentation algorithms
- safe environment preventing files corruption
- defragmentation of locked paging and hibernation files
- defragmentation of NTFS metafiles (including MFT) and streams
- flexible filters allowing exclusion of files by various criteria
- defragmentation of disks having specified fragmentation level
- one click defragmentation via Windows Explorer context menu
- multilingual graphical interface (over 60 languages available)
- powerful command line interface
- scheduled defragmentation (using Windows Task Scheduler)
- automatic termination when specified time interval elapses
- automatic hibernation or shutdown after the job completion
- small size of installers (about 2 MB)
- availability of portable packages requiring no installation
- full support of 64-bit editions of Windows
- granted permission to freely use and redistribute the program
AWS
Installation Instructions For Windows
Note: How to find PublicDNS in AWS
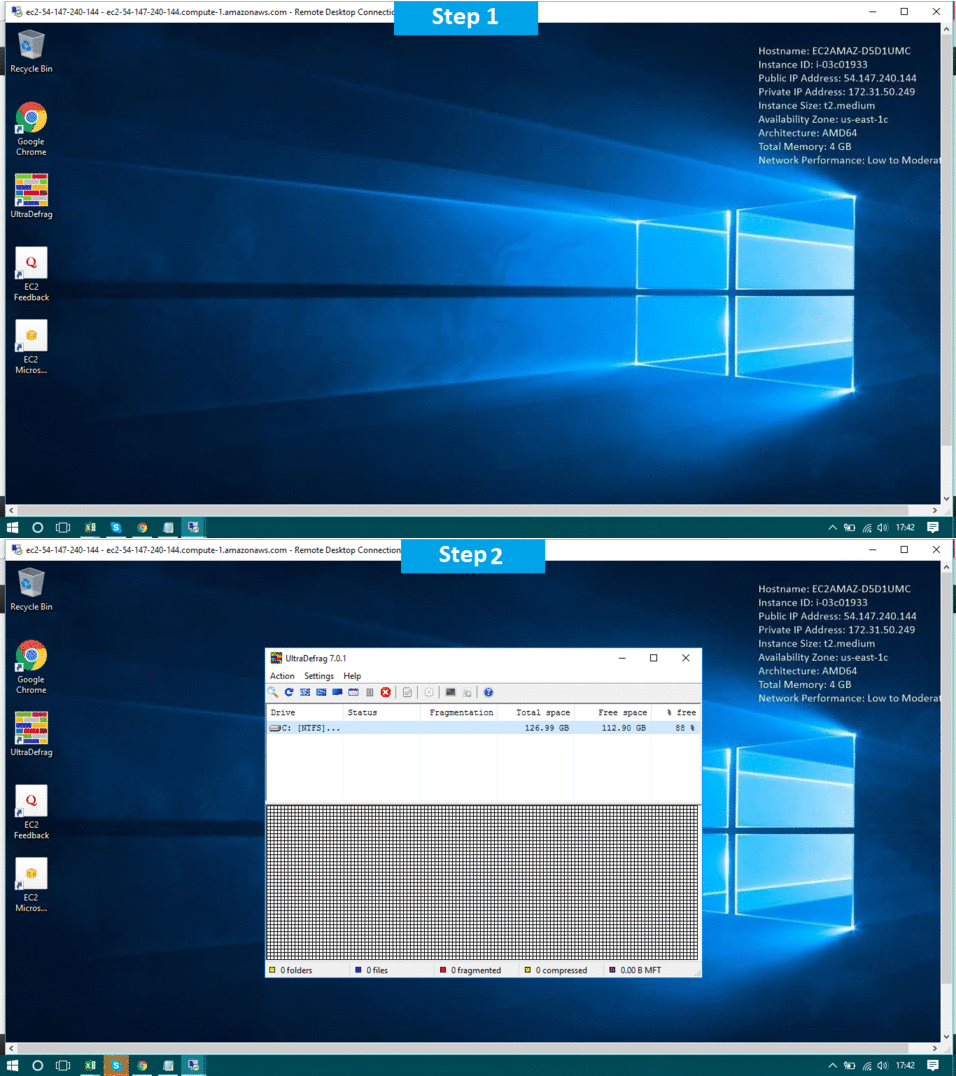
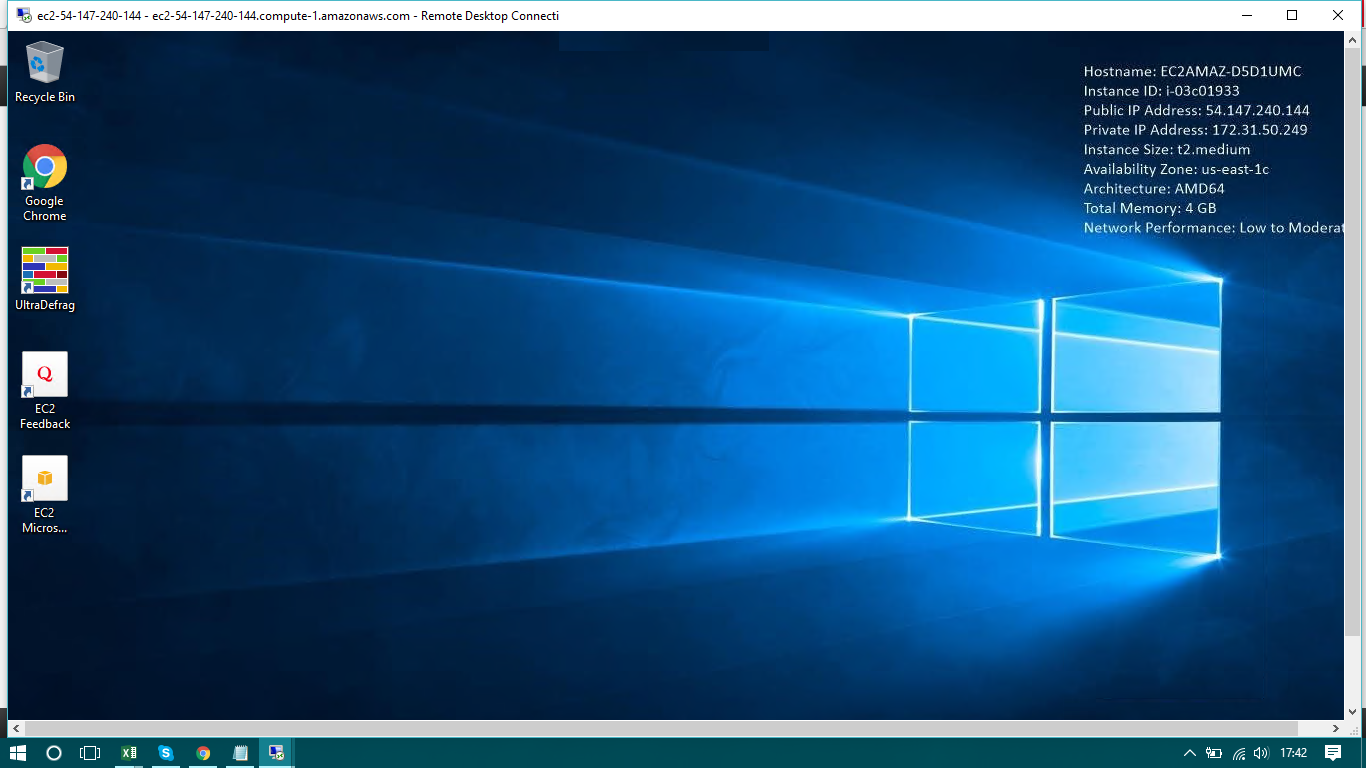
Step 1) RDP Connection: To connect to the deployed instance, Please follow Instructions to Connect to Windows instance on AWS Cloud
1) Connect to the virtual machine using following RDP credentials:
- Hostname: PublicDNS / IP of machine
- Port : 3389
Username: To connect to the operating system, use RDP and the username is Administrator.
Password: Please Click here to know how to get password .
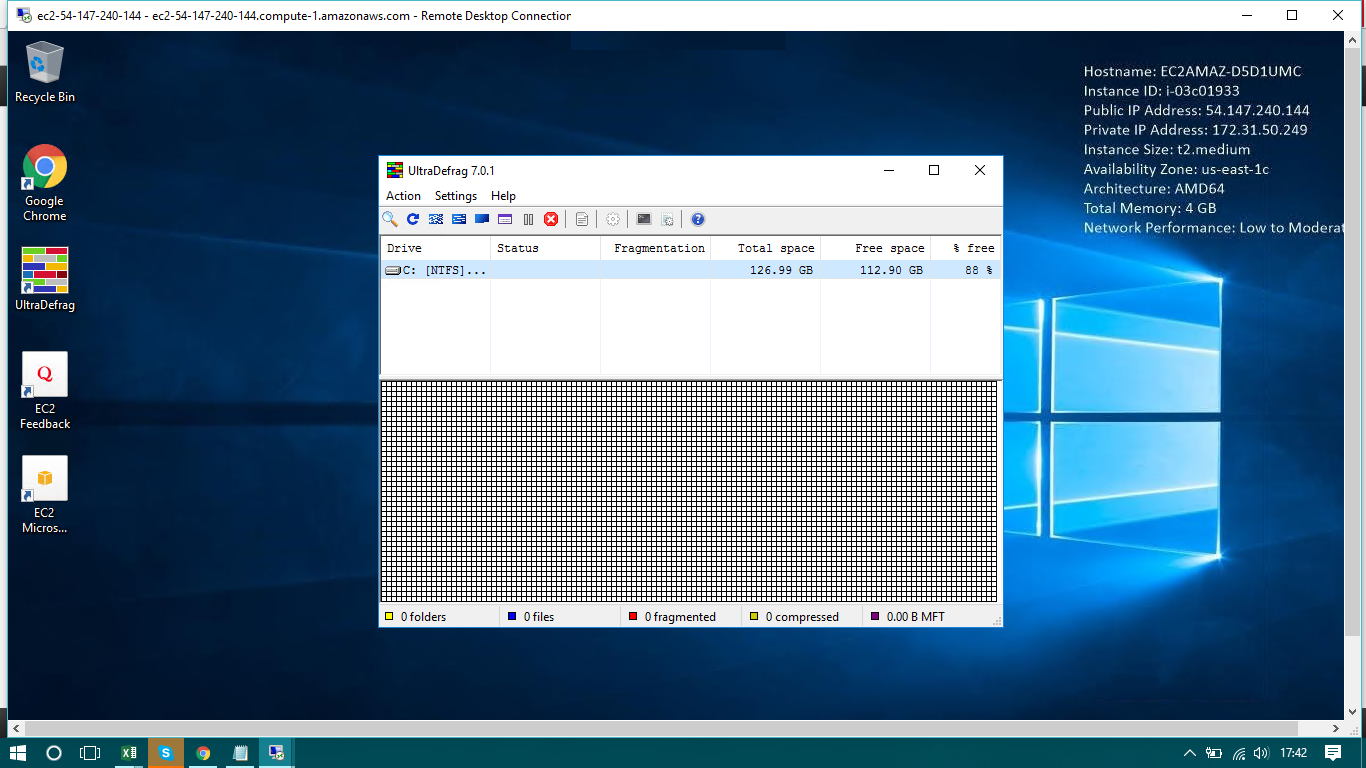
Step 2) Click the Windows “Start” button and select “All Programs” and then point to UltraDefrag.
Step 3) Other Information:
1.Default installation path: will be in your root folder “C:\Program Files\UltraDefrag“
2.Default ports:
- Windows Machines: RDP Port – 3389
- Http: 80
- Https: 443
Configure custom inbound and outbound rules using this link
Installation Step by Step Screenshots


