
1-click AWS Deployment 1-click Azure Deployment 1-click Google Deployment
Overview
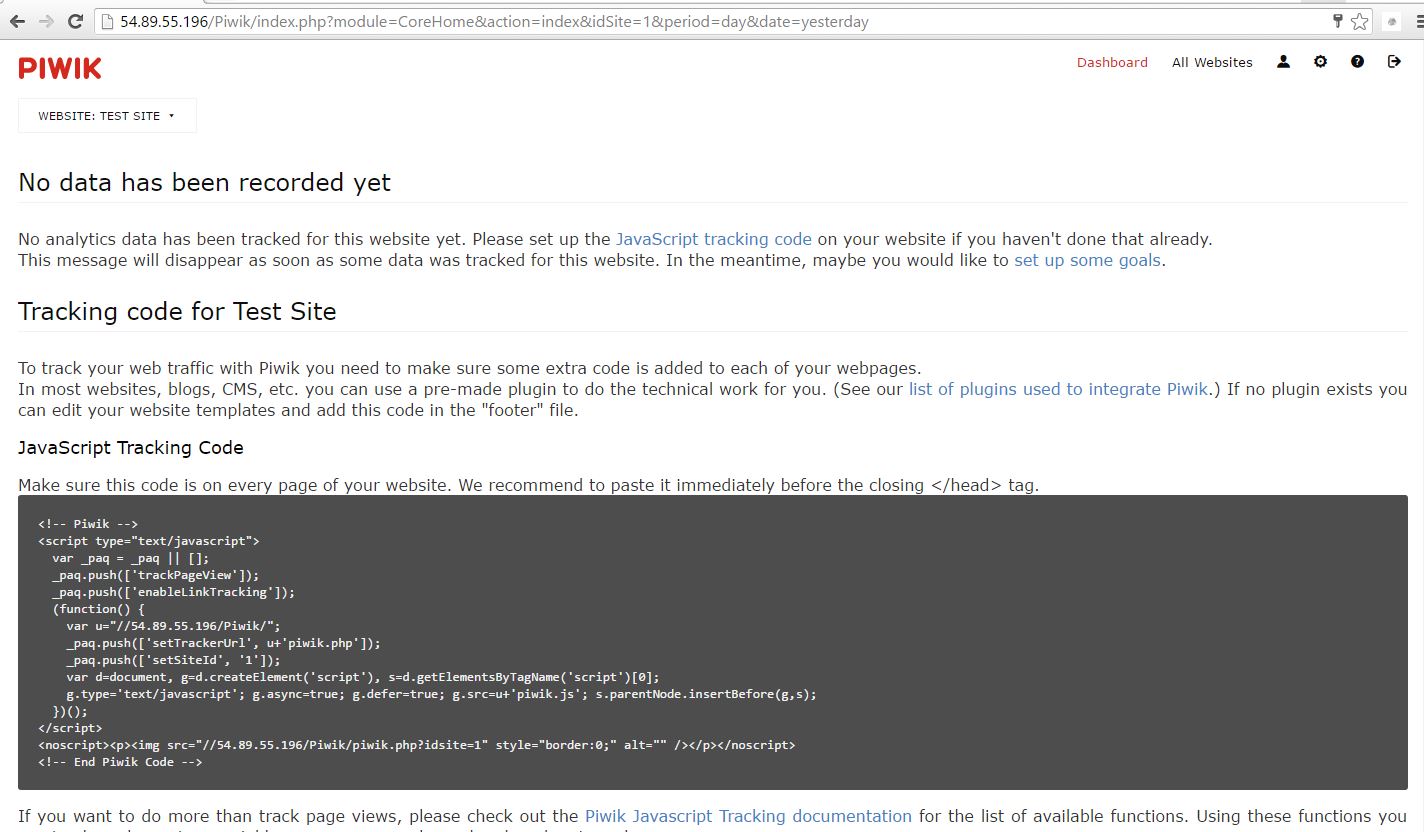
Piwik is a downloadable, open source (GPL licensed) web analytics software program. It provides you with detailed real time reports on your website visitors: the search engines and keywords they used, the language they speak, your popular pages and so much more.
Piwik aims to be an open source alternative to Google Analytics. Piwik is a PHP MySQL software program that you download and install on your own webserver. At the end of the five minute installation process you will be given a JavaScript tag. Simply copy and paste this tag on websites you wish to track (or use an existing plugin to do it automatically for you).
Piwik is owned by Piwik (https://piwik.com/) and they own all related trademarks and IP rights for this software.
Cognosys provides hardened and ready to run images of Piwik on all public cloud ( AWS marketplace, Azure and Google Cloud Platform ).
Deploy your Piwik securely on cloud i.e. AWS marketplace, Azure and Google Cloud Platform with reliable services offered by Cognosys at one-click with easy written and video tutorials.
Secured Piwik on Windows 2012 R2
Embedded media removed during static cleanup.
Piwik on Cloud for AWS-Windows
Piwik on Cloud for Azure-Ubuntu

Windows

Features
Major Features of Piwik
- A clean and user-friendly interface to present data and to aid in data analysis.
- Clear and concise graphics presenting important information in an easy-to-understand format.
- Free: phpMyVisites is completely free. A logo may be added if desired.
- Security: Because security is a critical software element, phpMyVisites has maximum protection against intrusions and external attacks.
- Multiple Web Sites: Multiple web sites may be added. Each site will have precise and distinct statistics.
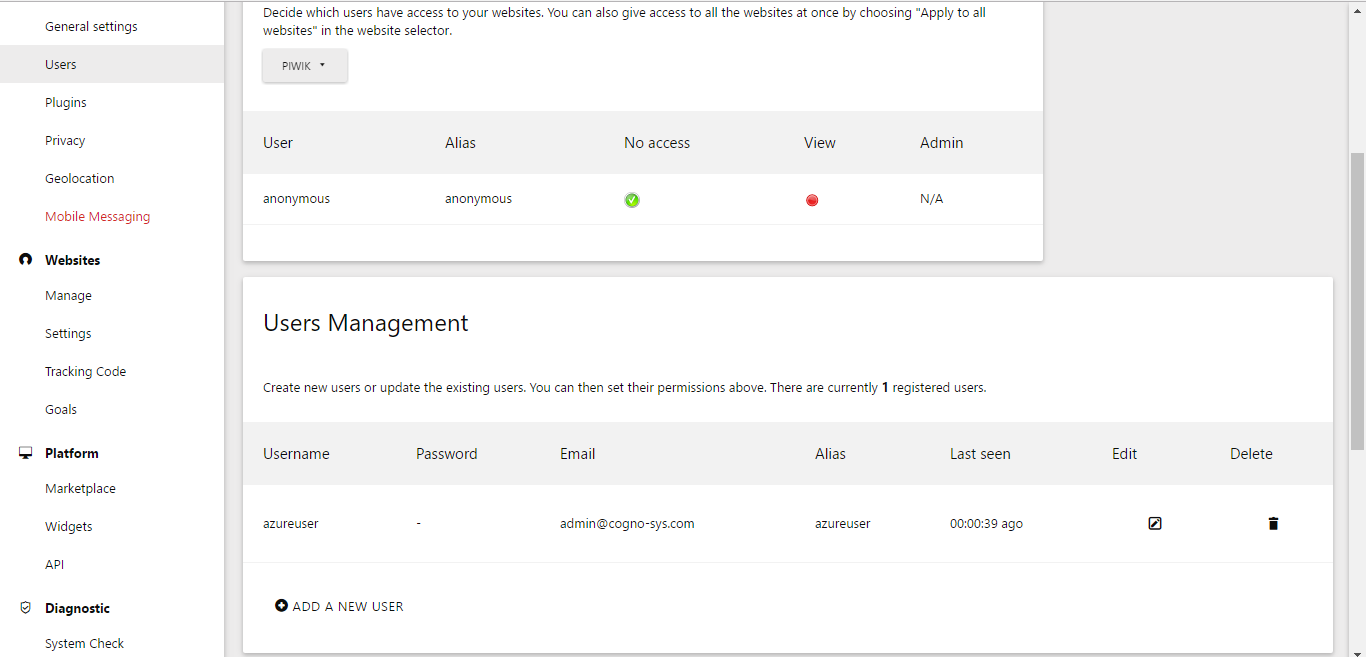
- Multi Users: Add an infinite number of users and manage permissions for each user (viewing and/or administration rights for certain sites).
- International: phpMyVisites is available in more than 30 languages.
- Open source, Free: The source code is readily available and you are welcome to participate in the project (create new modules, personalize the interface etc.).
- Precise visitor statistics over a period of time (day/week/month/year).
- Visitor Frequency: new visitors, regular (known) visitors and how often visitors view the web site.
- Management of web site statistics and all file types (PDF, Image etc.).
- Web site page classification available (by groups, by subgroups etc.).
- Visitor Analysis: Statistics for pages where visitors leave the web site and for pages where the visitors enter the web site.
- Geographical Statistics: Classification by continent/country (interactive world map).
- Technical Configuration Statistics: Web browsers, resolution, managed plug-in etc.).
- Complete and clear statistics about web site discovery: How do visitors come to the web site?
- Five Clearly Defined Web Site Discovery Tools: Search Engines, Web Sites, Partner Sites, Newsletters and Direct Access
- Able to detect more than 300 internationally-used search engines and keyword associations.
- Define web sites as partners and add an unlimited number of newsletters.
- Multiple Web Site Overview, a summary of important web site statistics for all managed web sites.
- Receive web site statistics everyday by e-mail, by RSS feed etc.
AWS
Installation Instructions for Windows
Note : How to find PublicDNS in AWS
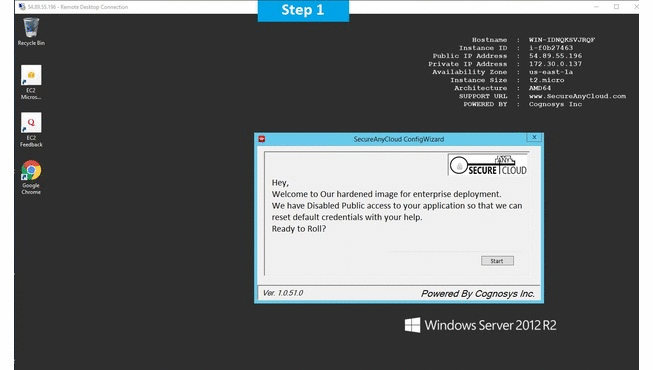
Step 1) RDP Connection: To connect to the deployed instance, Please follow Instructions to Connect to Windows instance on AWS Cloud
1) Connect to the virtual machine using following RDP credentials:
- Hostname: PublicDNS / IP of machine
- Port : 3389
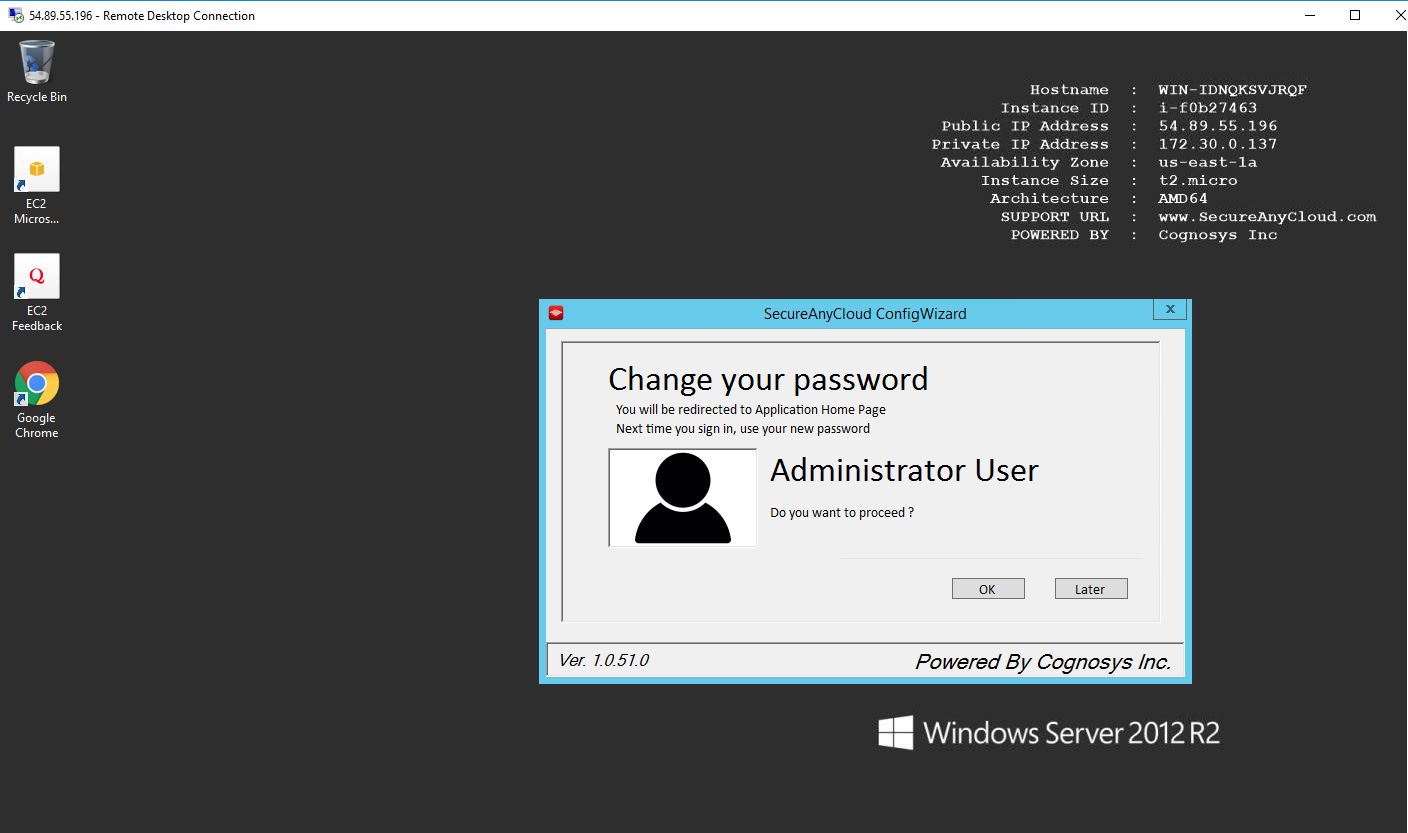
Username: To connect to the operating system, use RDP and the username is Administrator.
Password: Please Click here to know how to get password .
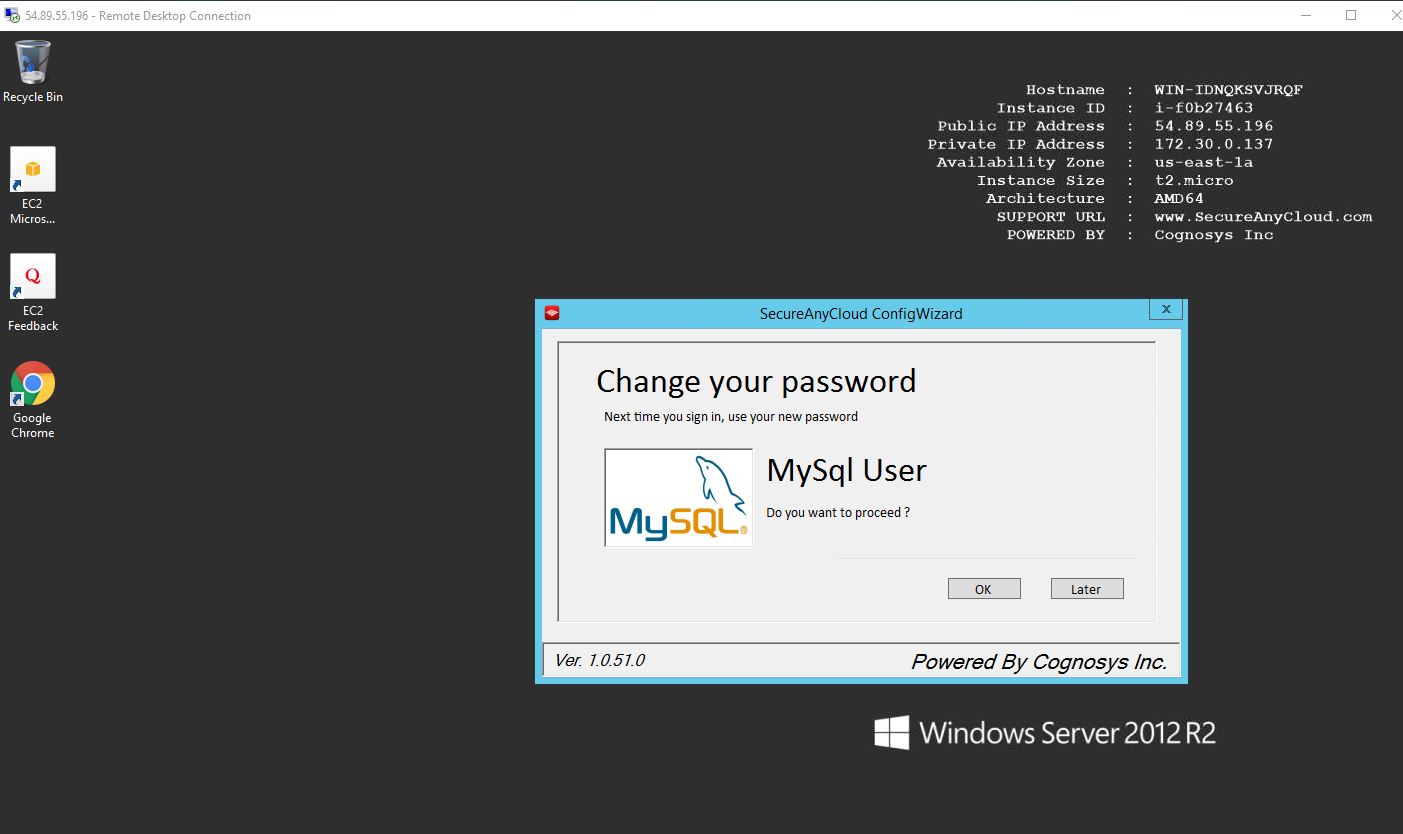
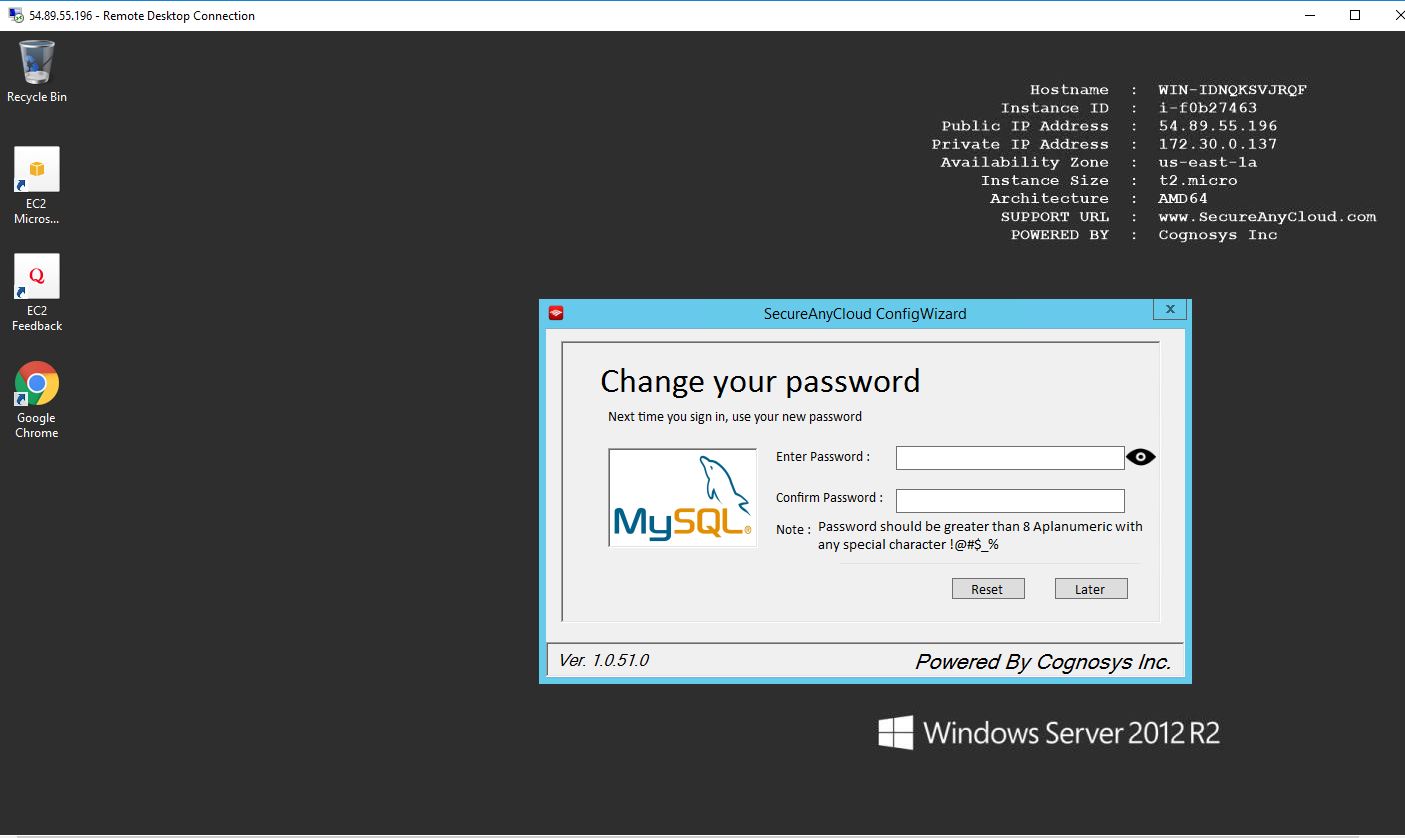
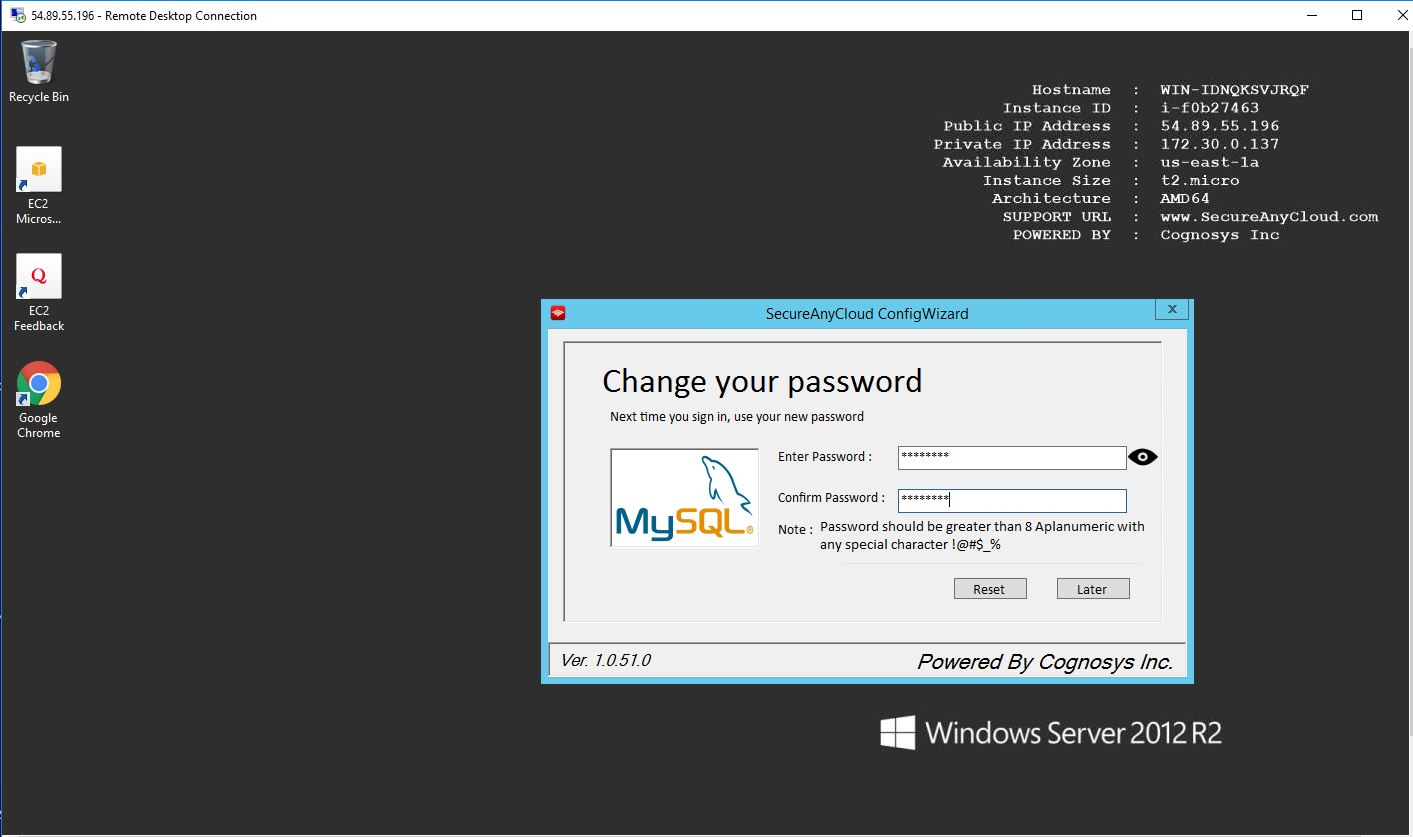
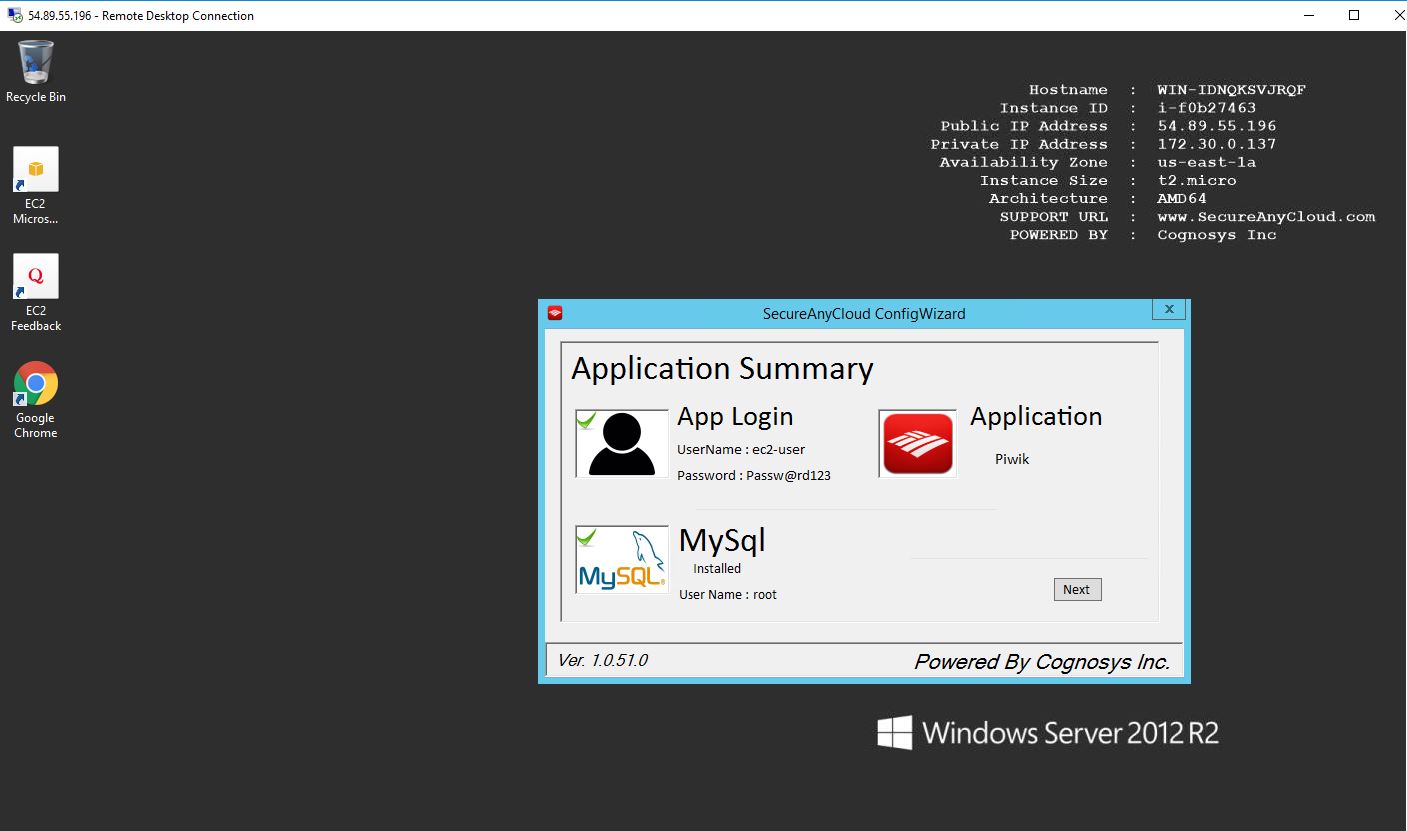
Step 2) Database Login Details :
- MYSQL Username : root
- MYSQL Password : Passw@rd123
Configure custom inbound and outbound rules using this link.
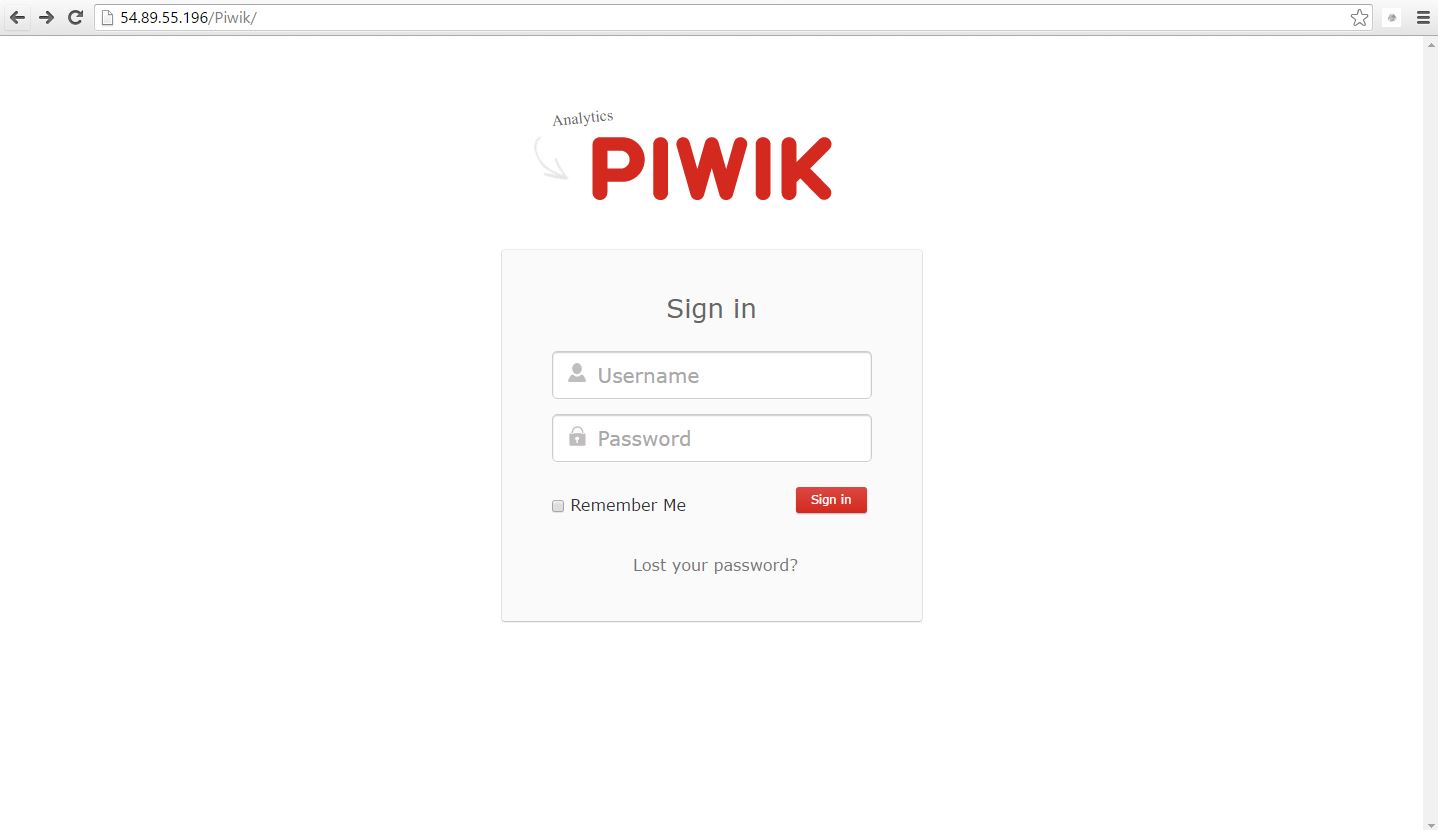
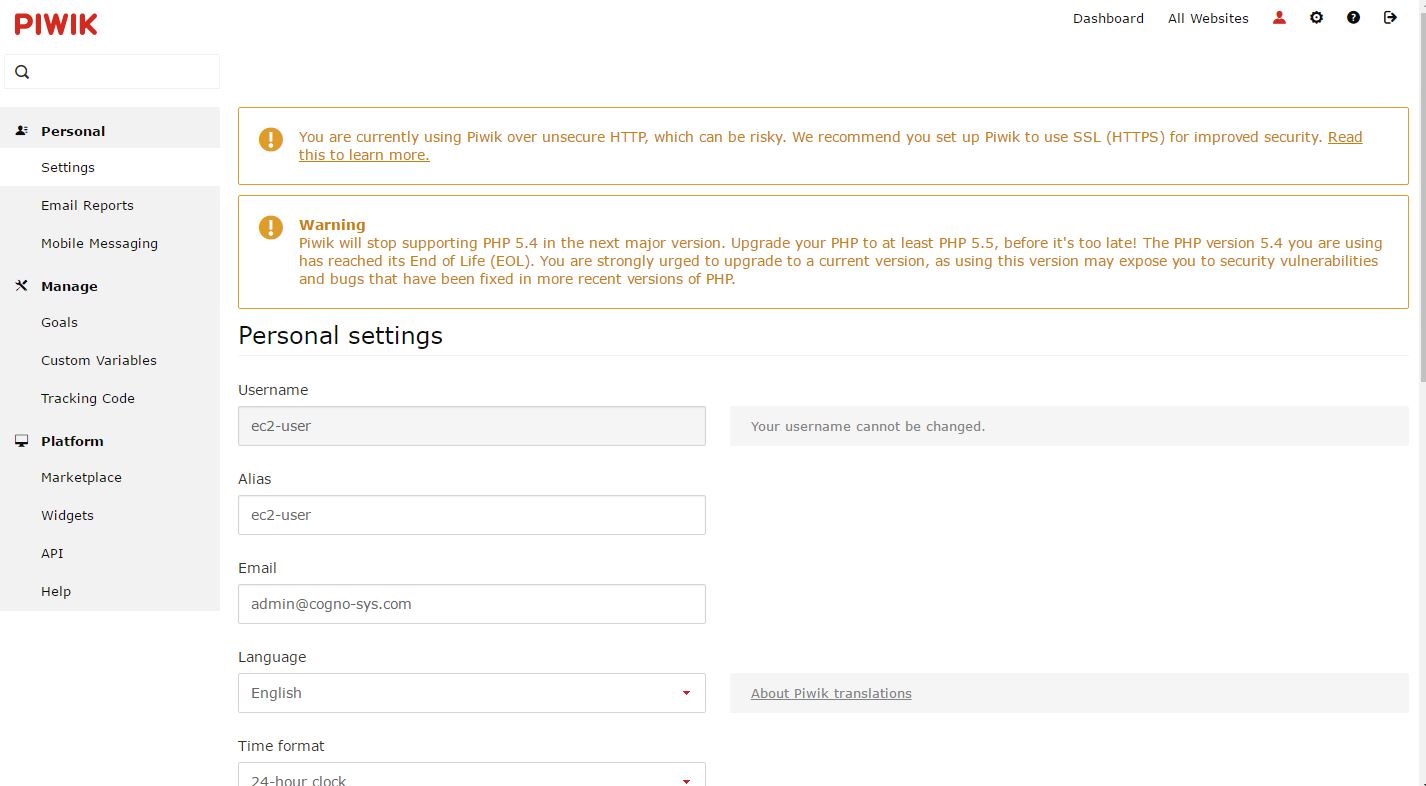
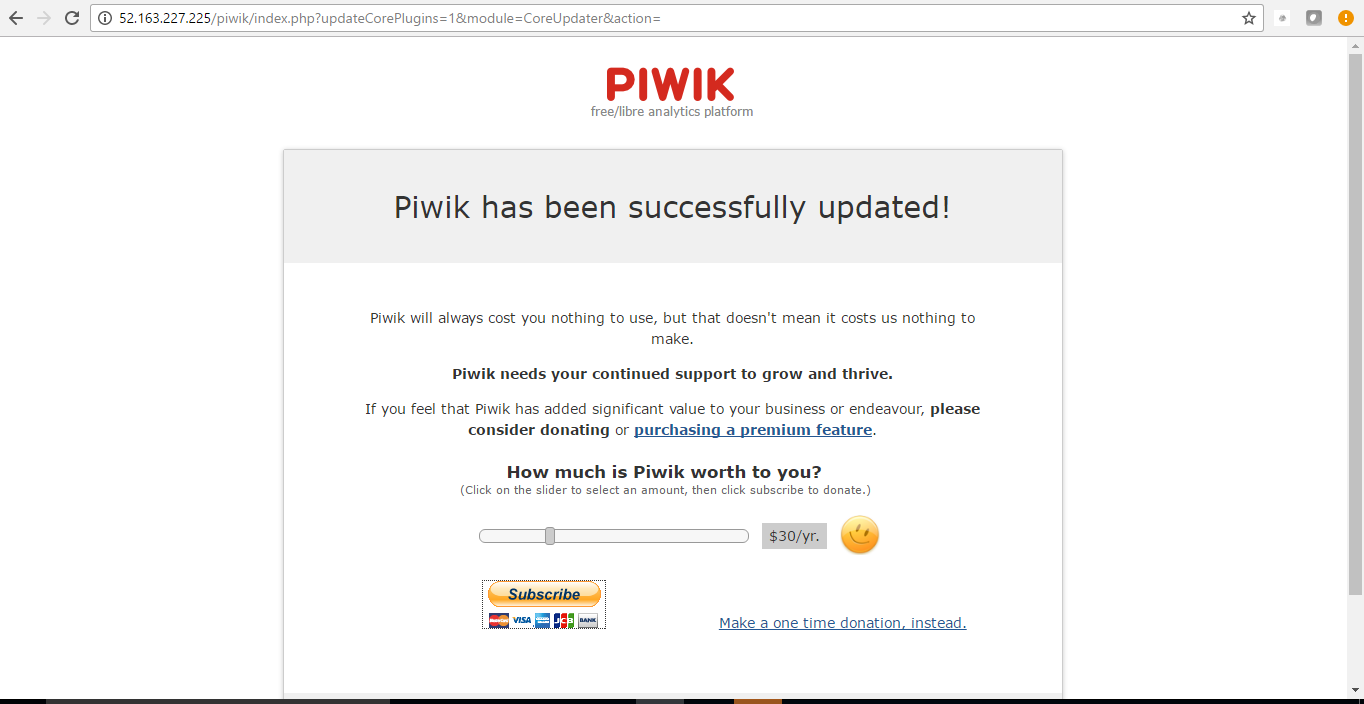
Step 3) Application URL: Access the application via a browser at http://PublicDNS/piwik
- User Name: ec2-user
- Password: Passw@rd123
Step 4) Other Information:
1.Default installation path: will be in your web root folder “C:\inetpub\wwwroot\piwik”
2.Default ports:
- Windows Machines: RDP Port – 3389
- Http: 80
- Https: 443
- Mysql ports: By default these are not open on Public Endpoints. Internally Mysql :3306
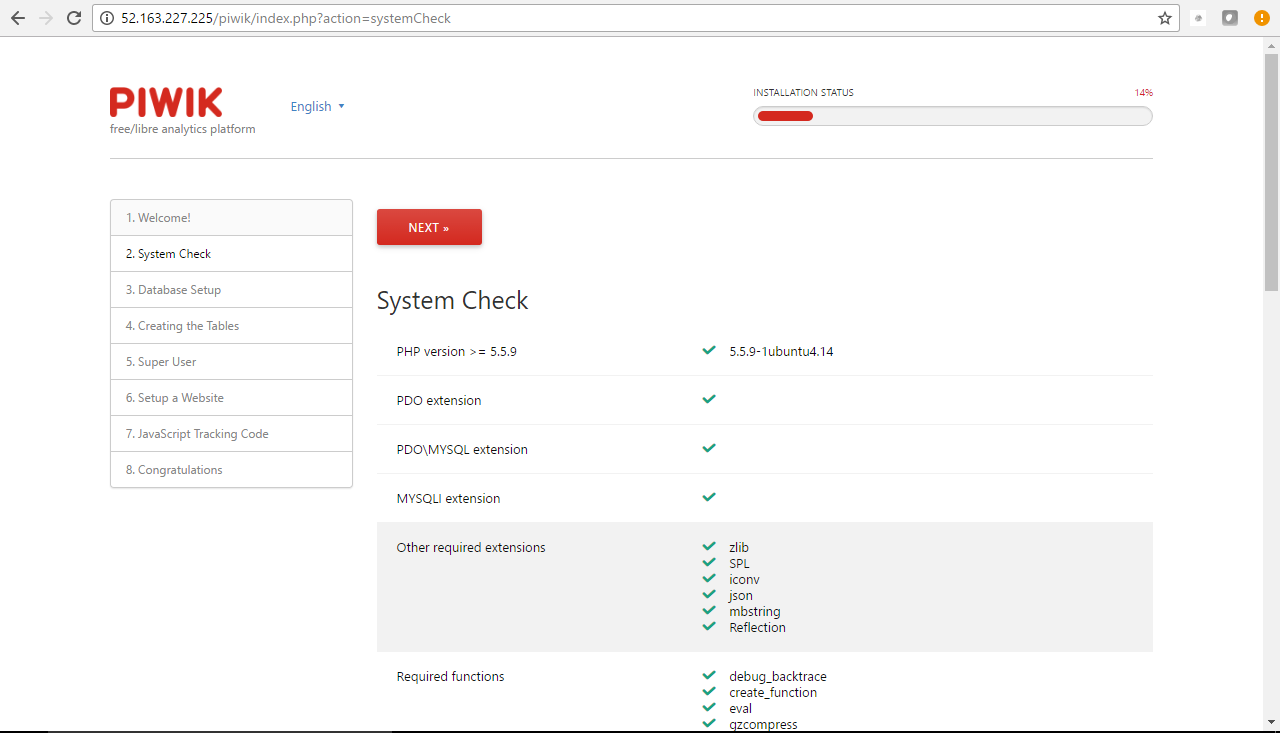
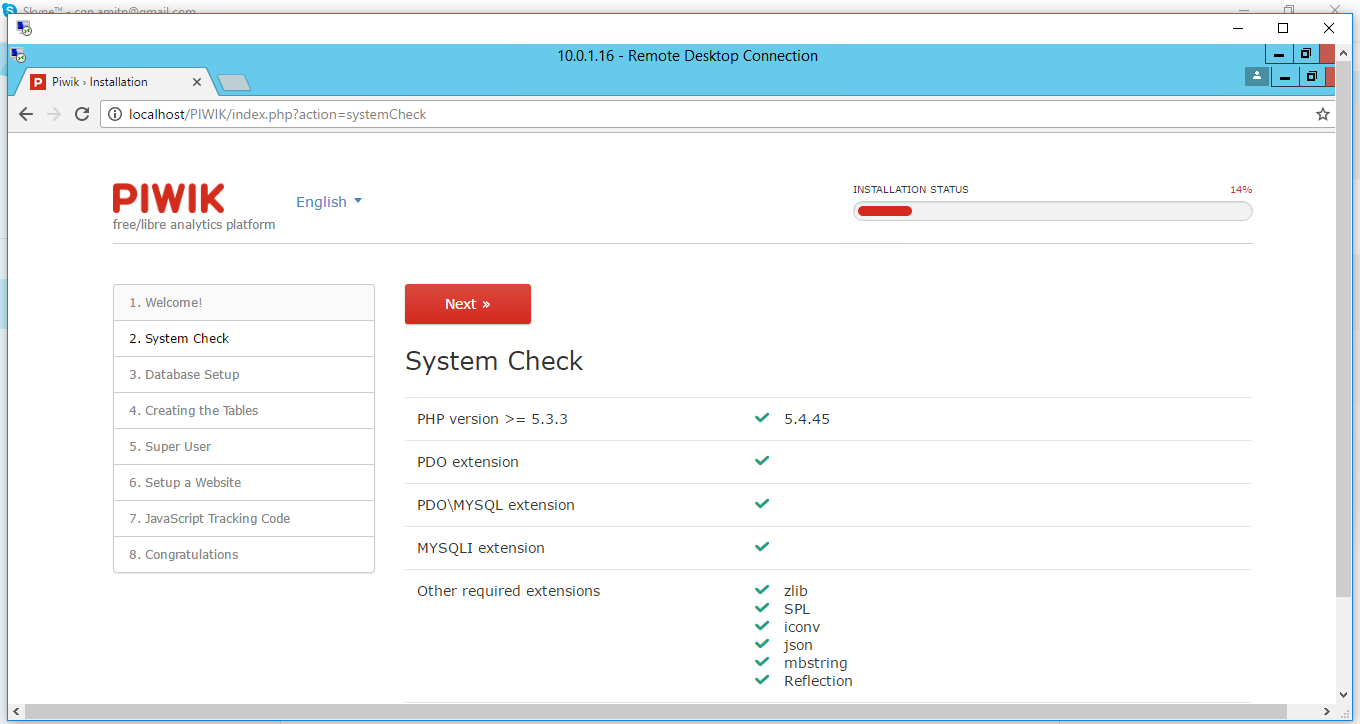
AWS Step by Step Screenshots


Azure
Installation Instructions For Ubuntu
Note : How to find PublicDNS in Azure
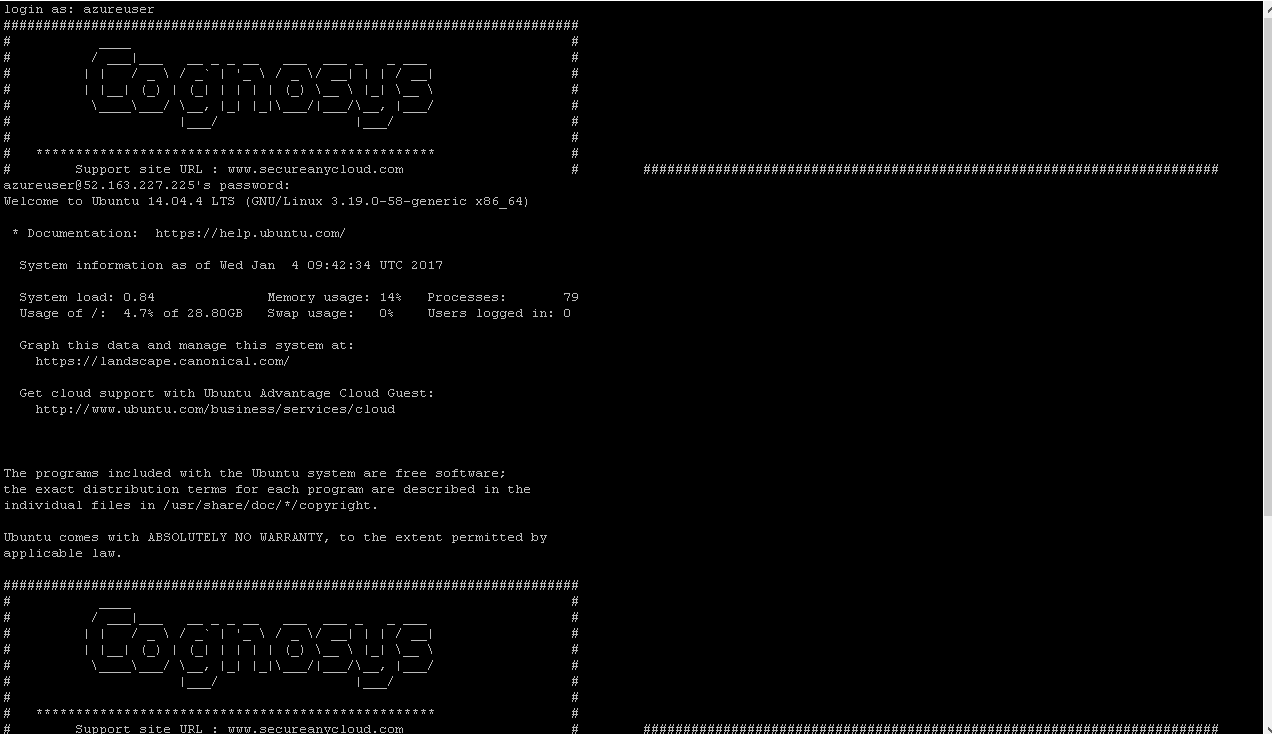
Step 1) SSH Connection: To connect to the deployed instance, Please follow Instructions to Connect to Ubuntu instance on Azure Cloud
1) Download Putty.
2) Connect to the virtual machine using following SSH credentials:
- Hostname: PublicDNS / IP of machine
- Port : 22
Username: Your chosen username when you created the machine ( For example Azureuser)
Password: Your Chosen Password when you created the machine ( How to reset the password if you do not remember)
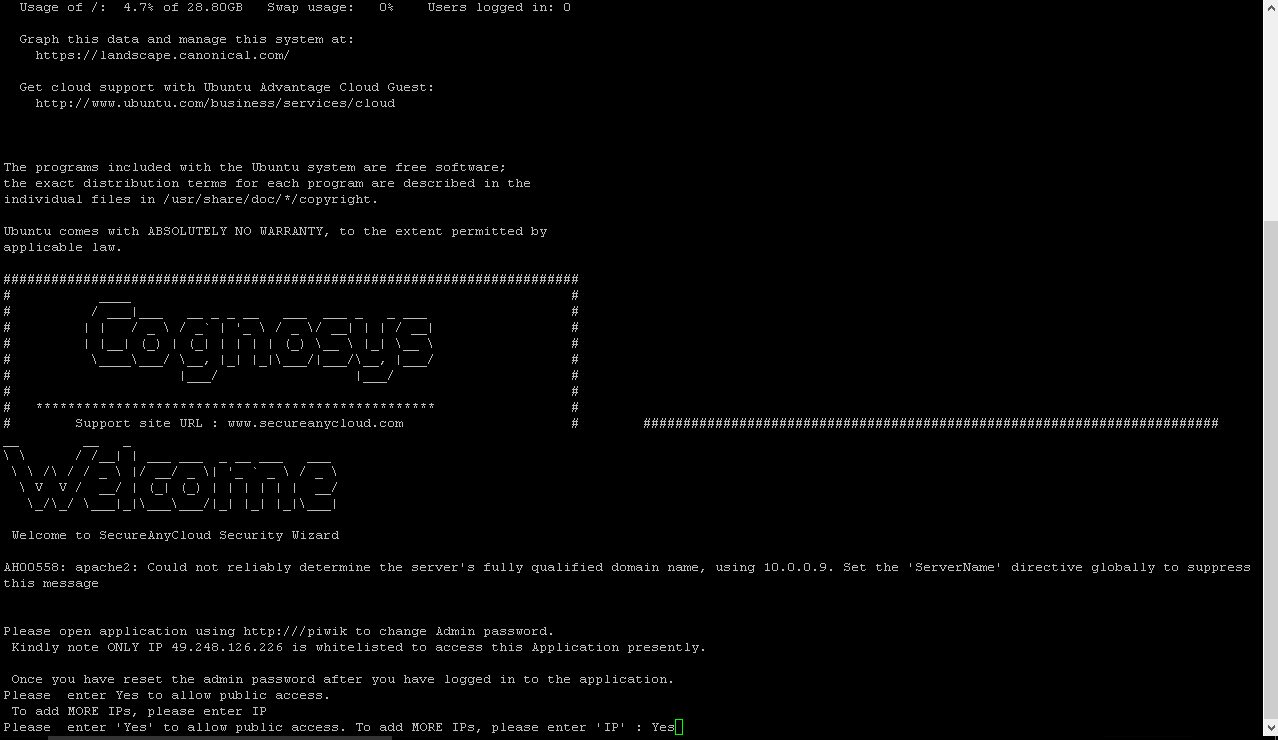
Step 2) Database Login Details:
- MYSQL Username: root
- MYSQL Password: Passw@rd123
Configure custom inbound and outbound rules using this link
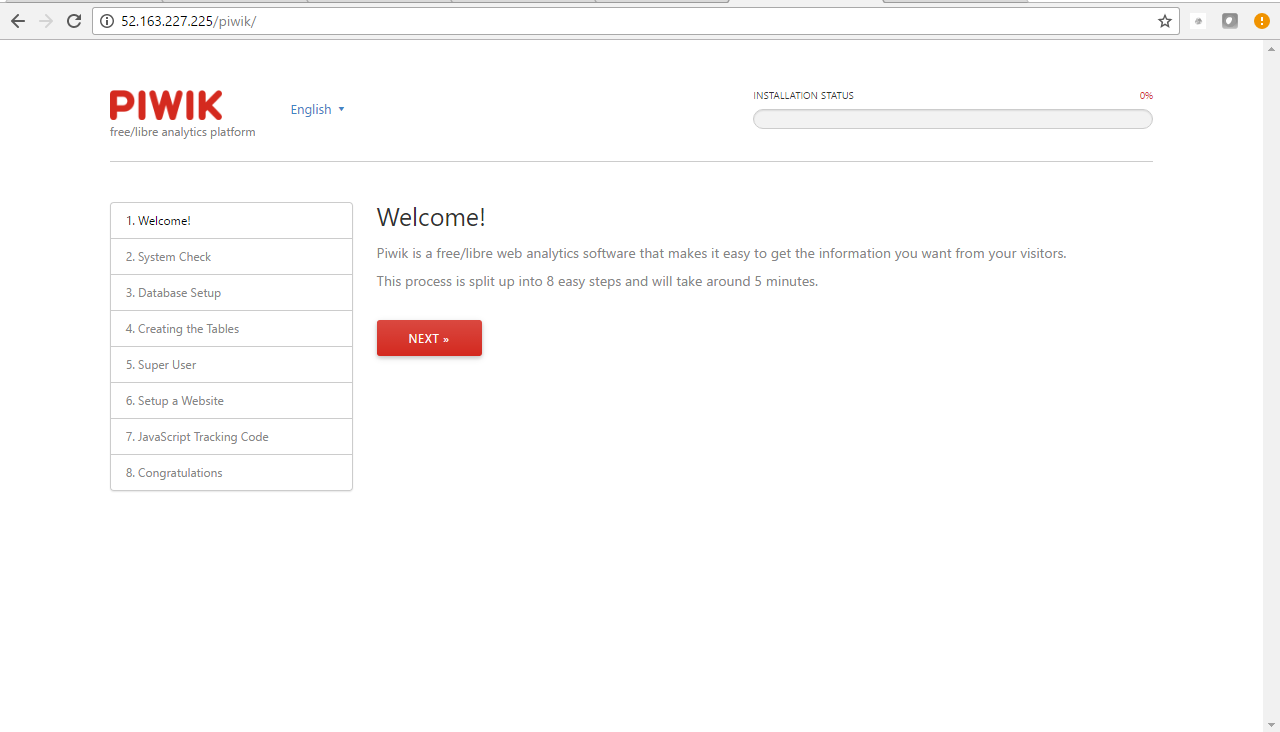
Step 3) Application URL: Access the application via a browser at http://PublicDNS/piwik
- User Name: azureuser
- Password: Passw@rd123
Step 4) Other Information:
1.Default installation path: will be in your web root folder “/var/www/html/piwik”
2.Default ports:
- Linux Machines: SSH Port – 22
- Http: 80
- Https: 443
- Mysql ports: By default, these are not open on Public Endpoints. Internally Mysql :3306
Installation Instructions for Windows
Note : How to find PublicDNS in Azure
Step1 ) RDP Connection: To connect to the deployed instance, Please follow Instructions to Connect to Windows instance on Azure Cloud
1) Connect to virtual machine using following RDP credentials:
- Hostname: PublicDNS / IP of machine
- Port : 3389
Username: Your chosen username when you created the machine ( For example: Azureuser)
Password : Your Chosen Password when you created the machine ( How to reset the password if you do not remember)
Step 2) Database Login Details :
- MYSQL Username : root
- MYSQL Password : Passw@rd123
Note: For Stack Database MySQL DB piwik with user piwikuser and password Passw@rd123 has already been created.Please use this MySQL database for you Stack Configuration.
Step 3) Application URL: Access the application via a browser at http://PublicDNS/piwik
- User Name: azureuser
- Password: Passw@rd123
Step 4) Other Information:
1.Default installation path: will be on your web root folder “C:\inetpub\wwwroot\piwik”
2.Default ports:
- Windows Machines: RDP Port – 3389
- Http: 80
- Https: 443
- Mysql ports: By default these are not open on Public Endpoints. Internally Mysql :3306
Configure custom inbound and outbound rules using this link
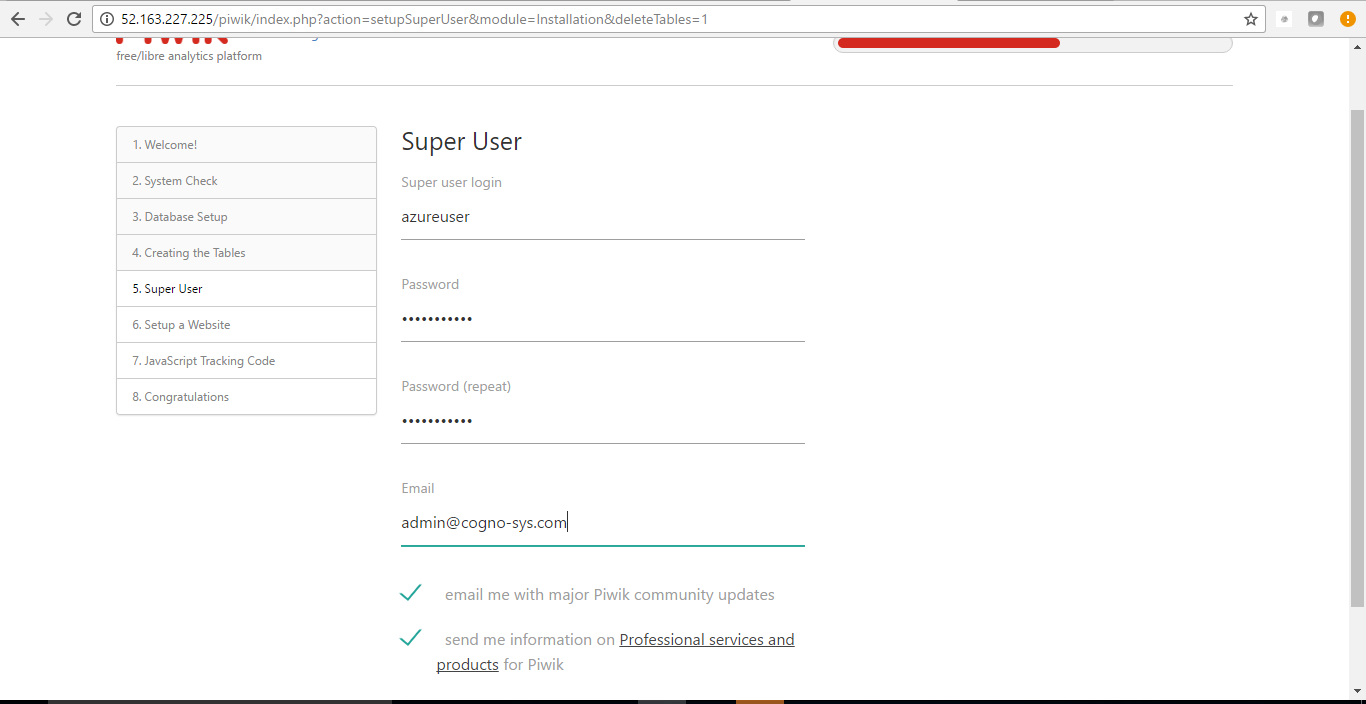
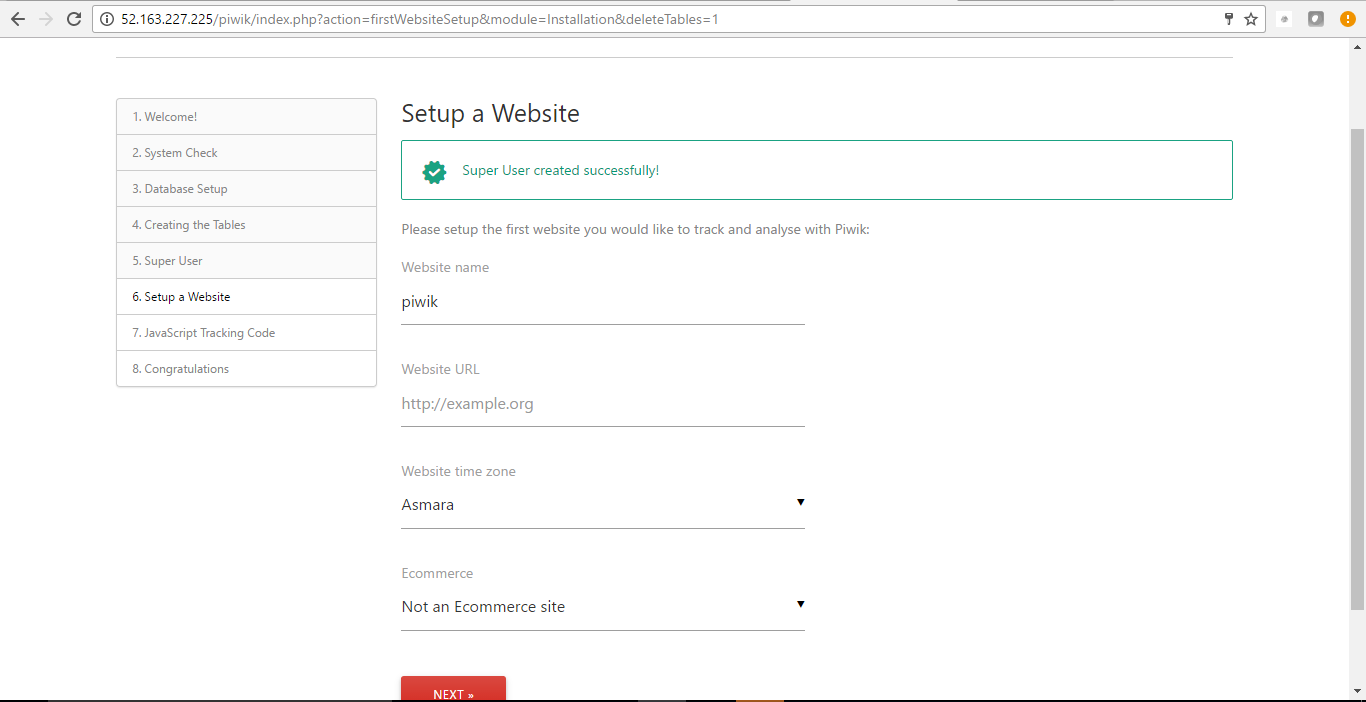
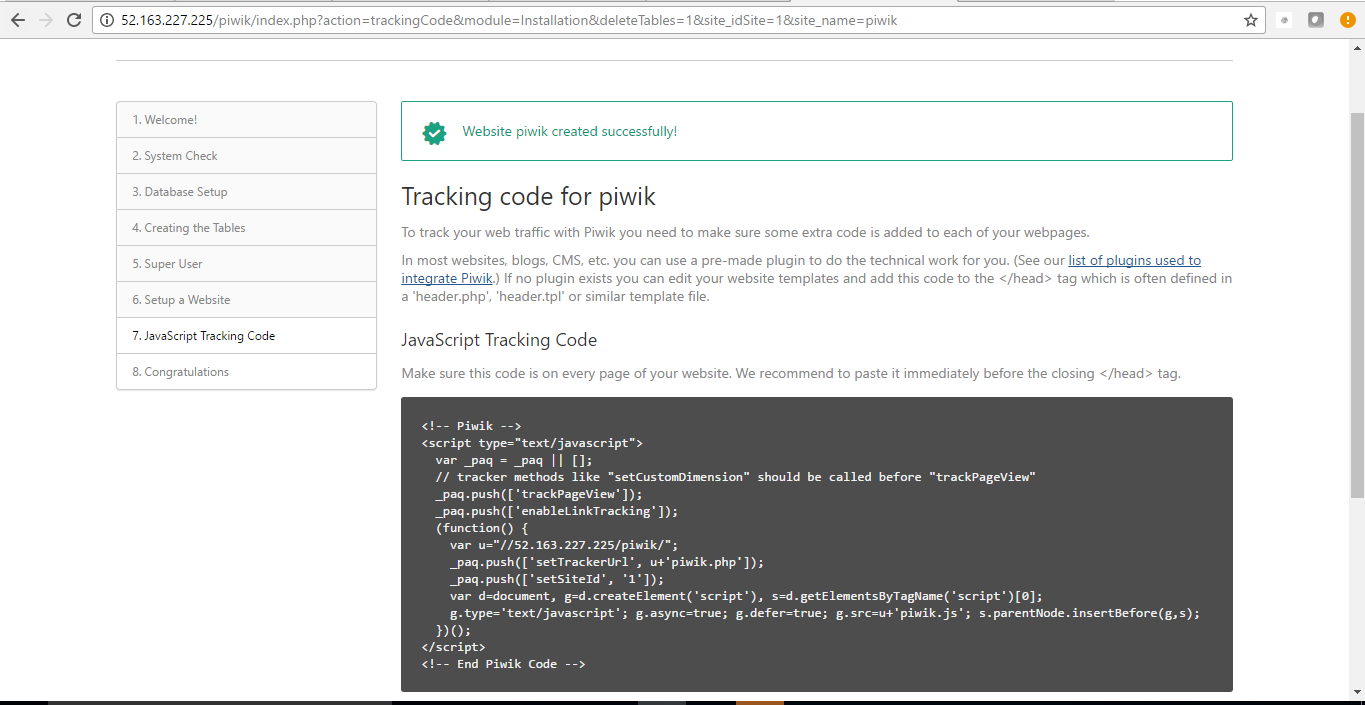
Azure Step by Step Screenshots for Ubuntu 14.04 LTS


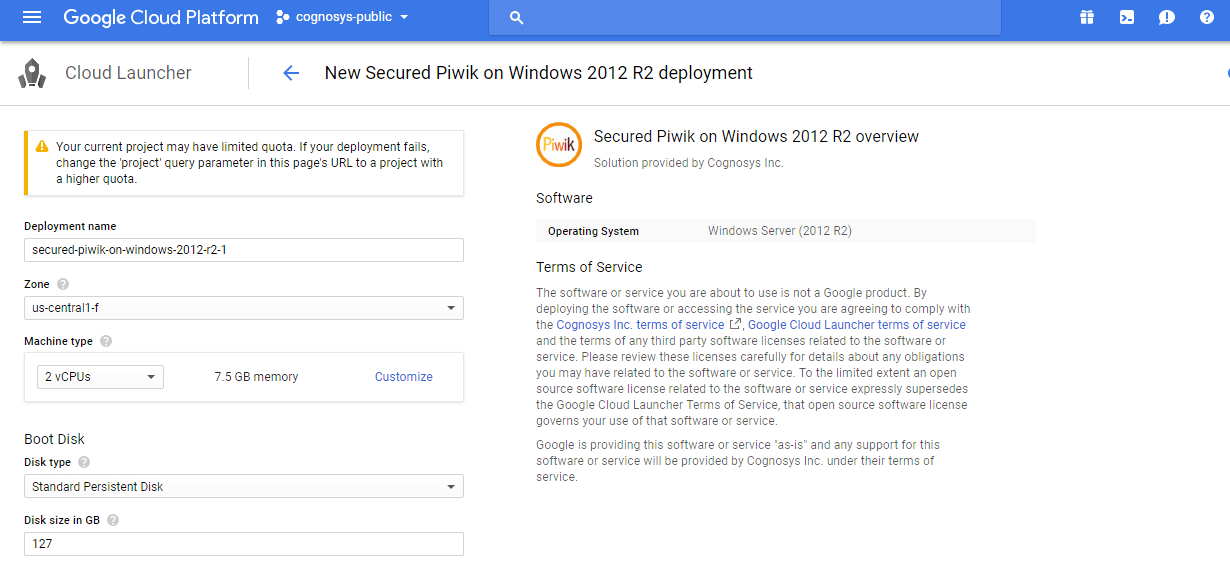
Installation Instructions for Windows
Step 1) VM Creation:
- Click the Launch on Compute Engine button to choose the hardware and network settings.
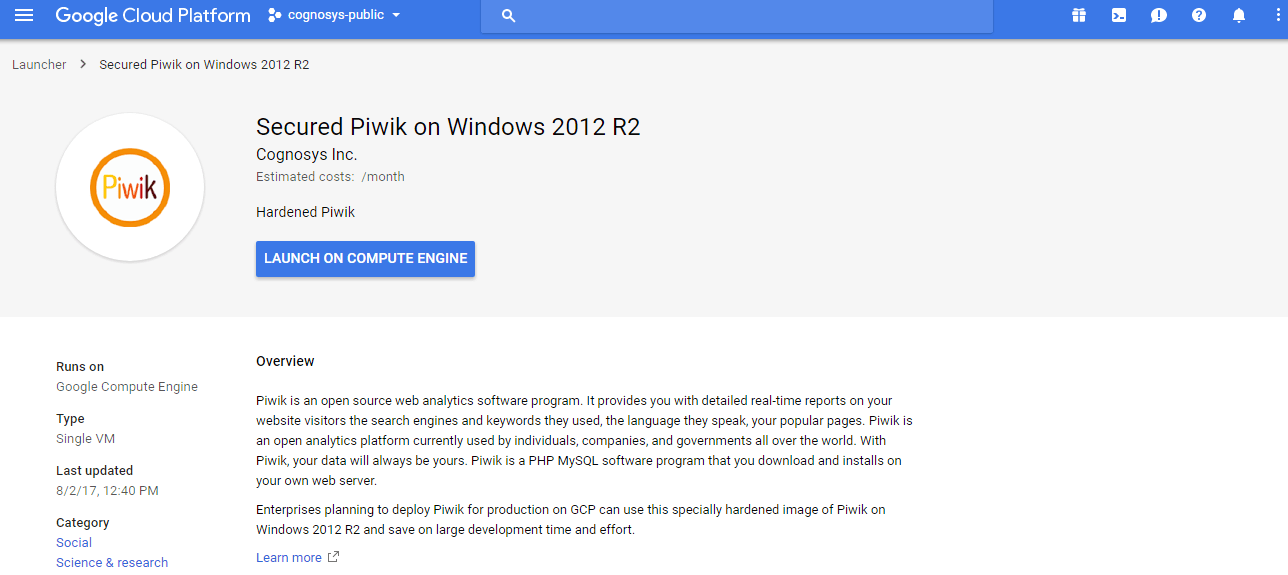
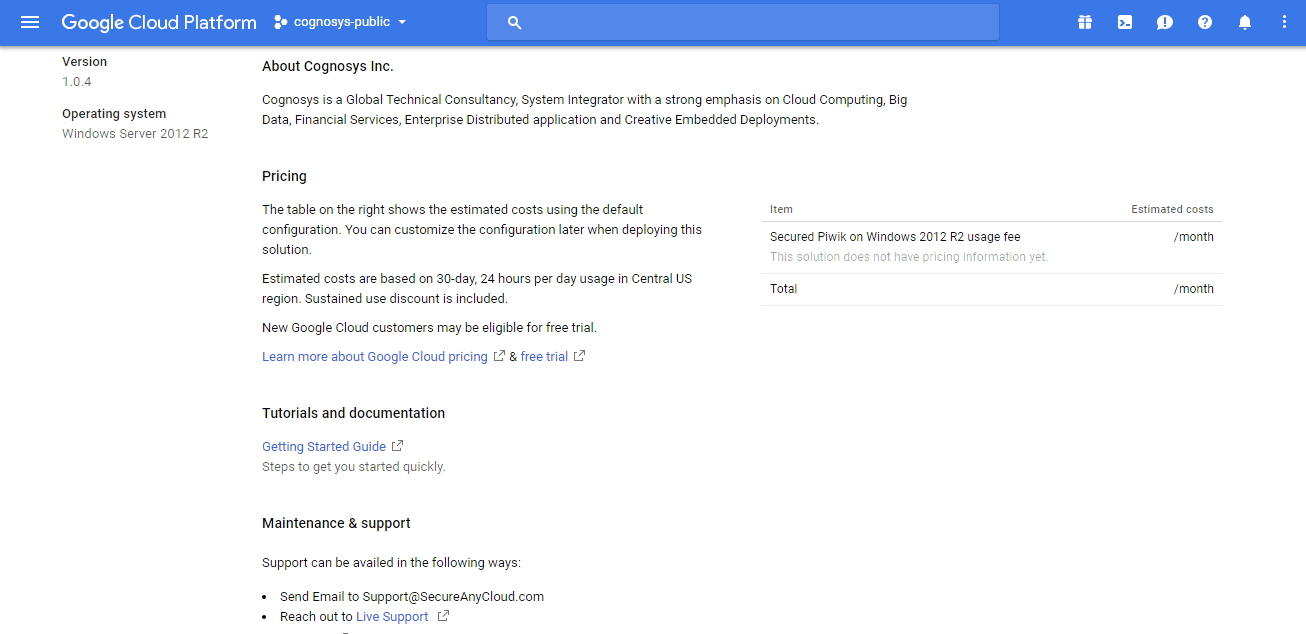
2.You can see at this page, an overview of Cognosys Image as well as estimated cost of running the instance.
3.In the settings page, you can choose the number of CPUs and amount of RAM, the disk size and type etc.
 Step 2) RDP Connection: To initialize the DB connect to the deployed instance, Please follow Instructions to Connect to Windows instance on Google Cloud
Step 3) Database Login Details:
The below screen appears after successful deployment of the image.
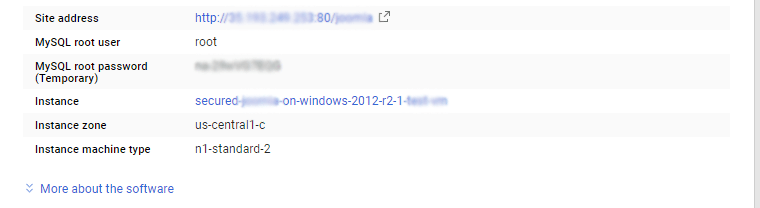
For local MySQL root password, please use the temporary password generated automatically during image creation as shown above.
i) Please connect to Remote Desktop as given in step 2 to ensure stack is properly configured and DB is initialized.
ii) You can use MySQL server instance as localhost, username root and password as shown above.
If you have closed the deployment page you can also get the MySQL root password from VM Details “Custom metadata” Section.
Step 4) Application URL: Access the application via a browser at http://PublicDNS/piwik


Step 4) Other Information:
1.Default installation path: will be in your web root folder “C:\inetpub\wwwroot\piwik”
2.Default ports:
- Windows Machines: RDP Port – 3389
- Http: 80
- Https: 443
- Mysql ports: By default, these are not open on Public Endpoints. Internally Mysql :3306
Videos
Secured Piwik on Windows 2012 R2
Embedded media removed during static cleanup.
How to Install Piwik Analytics
Embedded media removed during static cleanup.
