

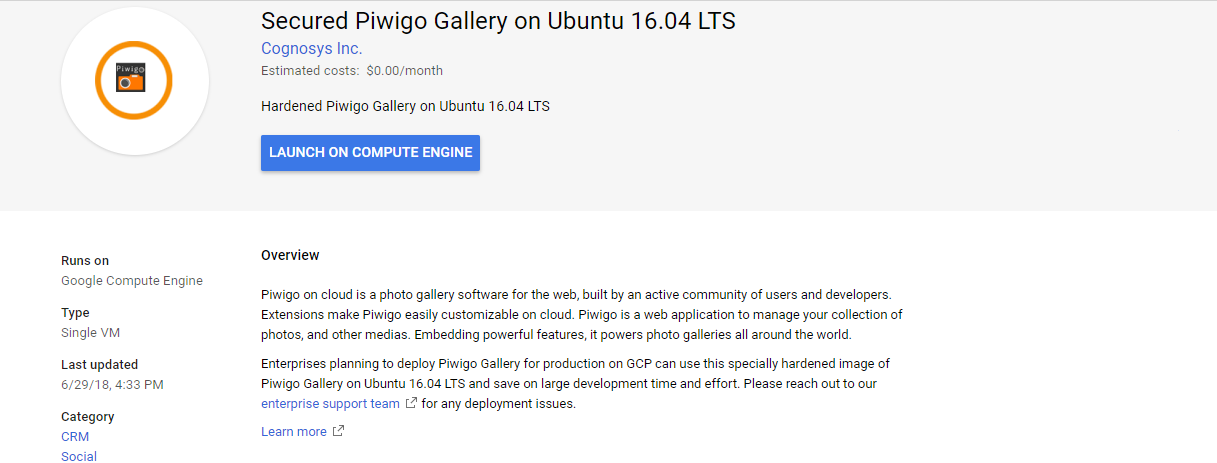
Overview
Piwigo on cloud is a photo gallery software for the web, built by an active community of users and developers. Extensions make Piwigo easily customizable on cloud. Icing on the cake, Piwigo is free and open source.
Piwigo Gallery can be deployed using various methods on public cloud ( Piwigo Gallery on AWS or Piwigo on Azure ) in a hosting environment. Users download the current version of Piwigo from Piwigo.org. Either they download the full archive and upload the source code to their hosting environment or they download the NetInstall (a single PHP file), upload Piwigo on AWS marketplace and Azure i.e. to their hosting environment and let it download the full archive automatically.
Piwigo is owned by Piwigo (https://piwigo.org/) and they own all related trademarks and IP rights for this software.
Cognosys provides hardened images of Piwigo on all public cloud ( AWS marketplace and Azure).
Piwigo Gallery on Ubuntu 14.04 LTS
Secured Piwigo Gallery on CentOS 7.3
Features
Major Features Of Piwigo
- Upload your photos – You can add photos with the web form, any FTP client or a desktop application like digiKam, Shotwell, Lightroom, iPhoto, Aperture. iPhone/Android applications.
- Organize with Albums- Distribute your photos among your own albums. The album tree has unlimited depth. Each photo can belong to several album.
- Describe with Tags- Offer your visitors another way to browse your photos, starting from the tags cloud and using multiple related tags to reduce the selection.
- Browse by Dates- Digital cameras store the date in the photo and Piwigo uses this date to display your photo collection in a calendar and let you browse from day to day.
- Privacy on your Photos- Make your photos private and decide who can see each of them. You can set permissions on albums and photos, for groups or individual users.
- Themes and Plugins- Change appearance with themes. Add features with plugins. Extensions require just a few clicks to get installed. 350 extensions available and growing!
- A Great Place For Your Visitors- Your visitors can post comments, give ratings, mark photos as favorite, perform searches and get notified of news by email or RSS feed.
- Piwigo in your Language- Piwigo is available in 45 languages. In a single gallery, you can describe photos in several languages. Translators are also collaborating with plugin creators.
- Statistics and Management Tools- You can add photos with the web form, any FTP client or a desktop application like digiKam, Shotwell, Lightroom, iPhoto, Aperture. iPhone/Android applications.
- And also…
- automatic slideshow
- use of EXIF/IPTC metadata to fill photo properties such as title and tags
- browse photos in a map with RV Maps & Earth plugin
- a web API to perform actions from other applications, such as display thumbnails in a WordPress blog with PiwigoPress
- meaningful URLs including tag/category/photo names for Search Engine Optimization (SEO)
- predefined photo sets such as best rated, most seen, random or most recent
- ability to combine browsing methods: display all photos tagged “James” + “Carol” taken in September 2010
- ability to add HTML pages with Additional Pages plugin
- easy installation and upgrades
- advanced techniques to filter SPAM
- many configuration settings to make Piwigo fit your own needs
Azure
Installation Instructions For Ubuntu
Note : How to find PublicDNS in Azure
Step 1) SSH Connection: To connect to the deployed instance, Please follow Instructions to Connect to Ubuntu instance on Azure Cloud
1) Download Putty.
2) Connect to virtual machine using following SSH credentials:
- Hostname: PublicDNS / IP of machine
- Port : 22
Username: Your chosen username when you created the machine ( For example: Azureuser)
Password : Your Chosen Password when you created the machine ( How to reset the password if you do not remember)
Step 2) Database Login Details:
Username : root || Password : Passw@rd123
Note: Please change the password immediately after the first login.
For Stack Database: Below Database has already been created
MySQL DB piwigo with user piwigouser and password Passw@rd123
Please use this MySQL database for your Stack Configuration.
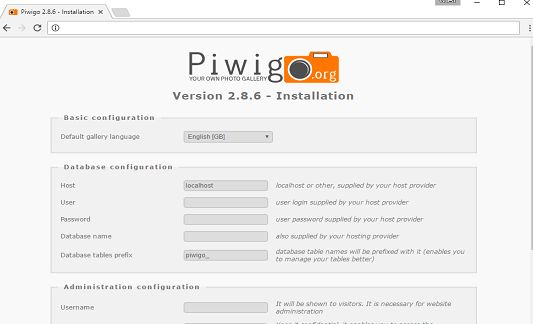
Step 3) Application URL: Access the application via a browser at “http://PublicDNS/”
Step 4) Other Information:
Note: Please do the initial Piwigo setup with http://YourIP/
1. Default installation path: will be in your web root folder “/var/www/html/”
2. Default ports:
- Linux Machines: SSH Port – 22
- MYSQL ports: By default, these are not open on Public Endpoints. MYSQL: 3306
Configure custom inbound and outbound rules using this link
Webmin has been installed to facilitate management.
Open 10000 port to access webmin interface: http://<YourIP>:10000/

Installation Instructions For CentOS
Note : How to find PublicDNS in Azure
Step 1) SSH Connection: To connect to the deployed instance, Please follow Instructions to Connect to Centos instance on Azure Cloud
1) Download Putty.
2) Connect to virtual machine using following SSH credentials:
- Hostname: PublicDNS / IP of machine
- Port : 22
Username: Your chosen username when you created the machine ( For example: Azureuser)
Password : Your Chosen Password when you created the machine ( How to reset the password if you do not remember)
Step 2) Database Login Details:
Username : root || Password : Passw@rd123
Note: Please change the password immediately after the first login.
For Stack Database: Below Database has already been created
MySQL DB piwigo with user piwigouser and password Passw@rd123
Please use this MySQL database for your Stack Configuration.
Step 3 ) Application URL: Access the application via a browser at “http://PublicDNS/”
Step 4) Other Information:
Note: Please do the initial Piwigo setup with http://YourIP/
1. Default installation path: will be in your web root folder “/var/www/html/”
2. Default ports:
- Linux Machines: SSH Port – 22
- MYSQL ports: By default, these are not open on Public Endpoints. MYSQL: 3306
Webmin has been installed to facilitate management.
Open 10000 port to access webmin interface: http://<YourIP>:10000/
Configure custom inbound and outbound rules using this link
Installation Instructions For Windows
Step 1) VM Creation:
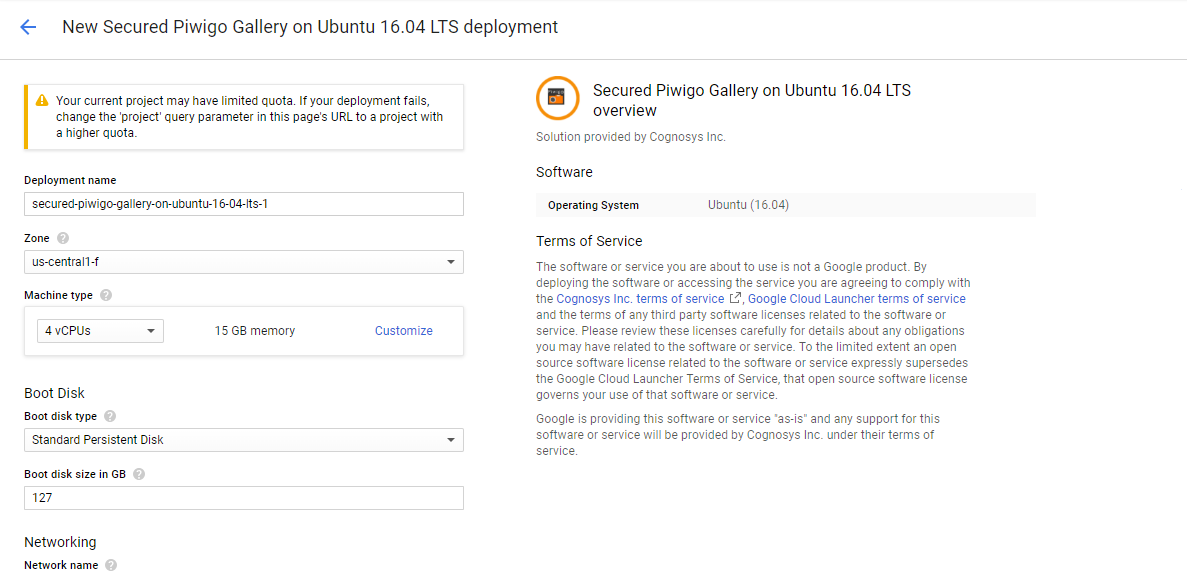
1.Click the Launch on Compute Engine button to choose the hardware and network settings.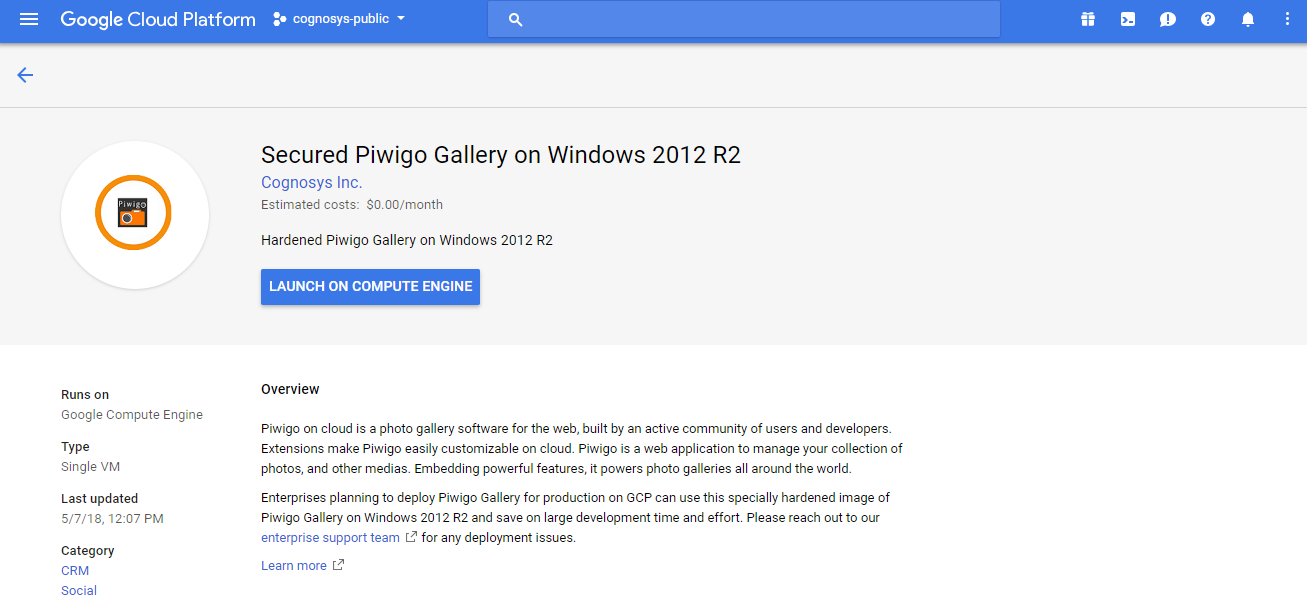
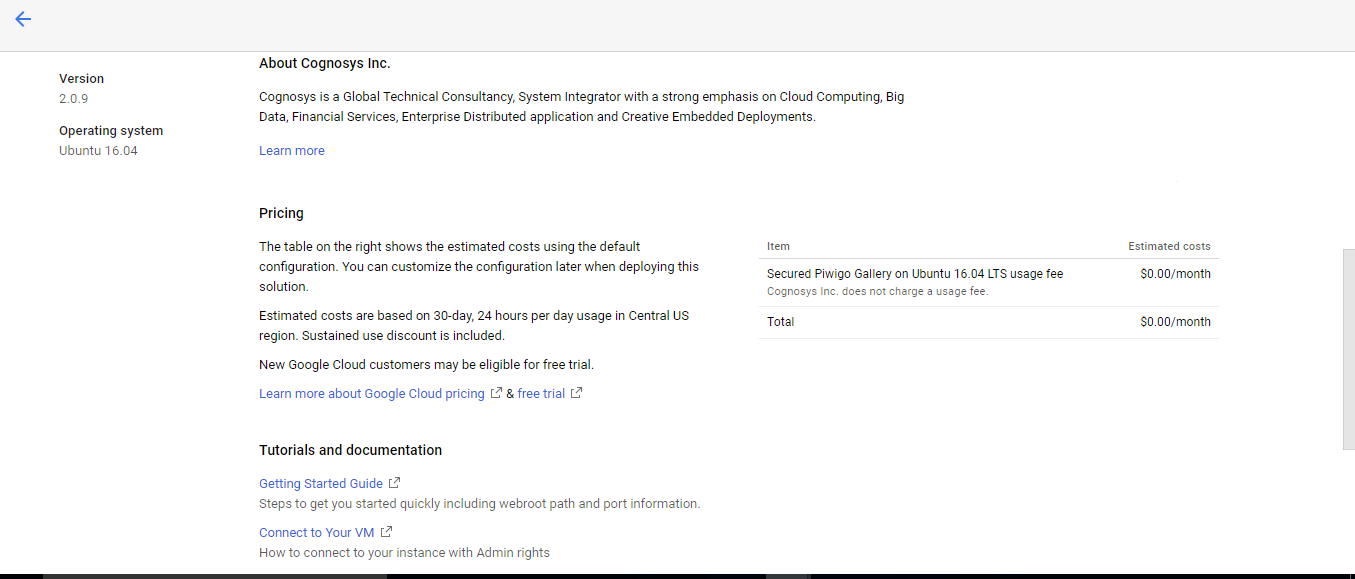
2.You can see at this page, an overview of Cognosys Image as well as some estimated costs of VM.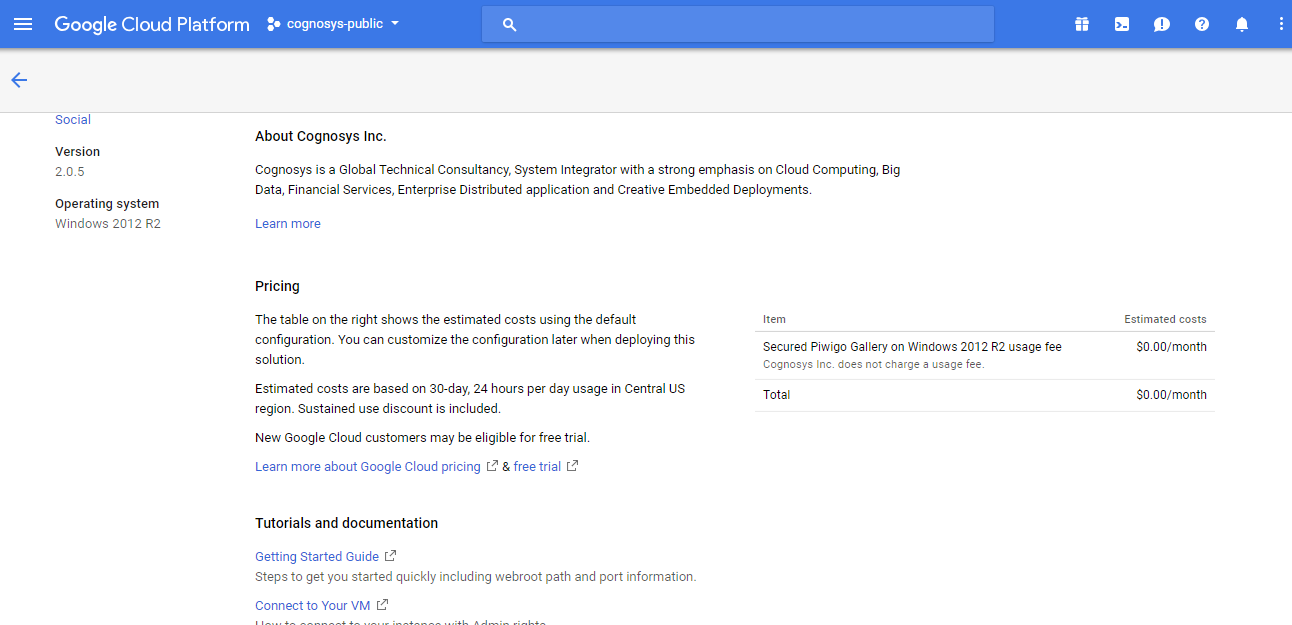
3.In the settings page, you can choose the number of CPUs and amount of RAM, the disk size and type etc.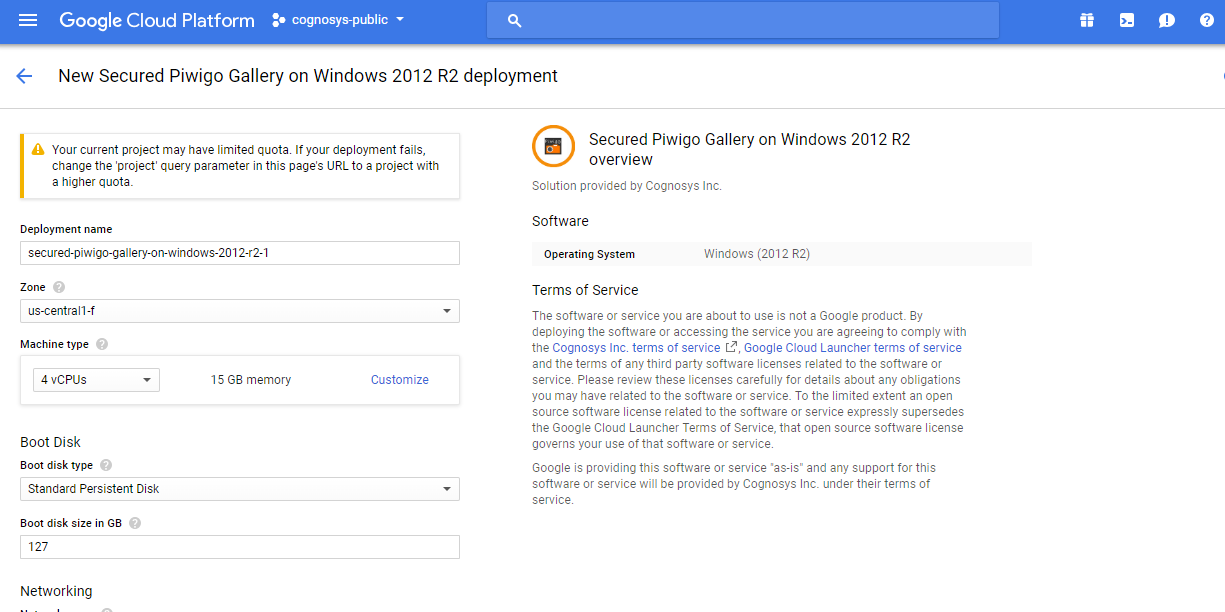
Step 2) RDP Connection: To initialize the DB Server connect to the deployed instance, Please follow Instructions to Connect to Windows instance on Google Cloud
Step 3) Database Login Details:
The below screen appears after successful deployment of the image.

For local MySQL root password, please use the temporary password generated automatically during image creation as shown above.
i) Please connect to Remote Desktop as given in step 2 to ensure stack is properly configured and DB is initialized.
ii) You can use MySQL server instance as localhost, username root and password as shown above.
If you have closed the deployment page you can also get the MySQL root password from VM Details “Custom metadata” Section
Step 3) Application URL: Access the application via a browser at “http://PublicDNS/”
Step 4) Other Information:
Note: Please do the initial Piwigo setup with http://YourIP/
1. Default installation path: will be in your web root folder “/var/www/html/”
2.Default ports:
- Windows Machines: RDP Port – 3389
- Http: 80
- Https: 443
Configure custom inbound and outbound rules using this link
- MYSQL ports: By default, these are not open on Public Endpoints. MYSQL: 3306
Installation Instructions for Ubuntu
Step 1) VM Creation:
- Click the Launch on Compute Engine button to choose the hardware and network settings.
2. You can see at this page, an overview of Cognosys Image as well as estimated cost of running the instance.
3. In the settings page, you can choose the number of CPUs and amount of RAM, the disk size and type etc.
Step 2) SSH Connection:To initialize the DB Server connect to the deployed instance, Please follow Instructions to Connect to Ubuntu instance on Google Cloud
1) Download Putty.
2) Connect to the virtual machine using SSH key
- Hostname: PublicDNS / IP of machine
- Port : 22
Step 3) Database Login Details:
The below screen appears after successful deployment of the image.
For local MySQL root password, please use the temporary password generated automatically during image creation as shown above.
i) Please connect to Remote Desktop as given in step 2 to ensure stack is properly configured and DB is initialized.
ii) You can use MySQL server instance as localhost, username root and password as shown above.
If you have closed the deployment page you can also get the MySQL root password from VM Details “Custom metadata” Section.
Step 4) Application URL: Access the application via a browser at “http://PublicDNS/”
Step 5) Other Information:
Note: Please do the initial Piwigo setup with http://YourIP/
1. Default installation path: will be in your web root folder “/var/www/html/”
2.Default ports:
- Linux Machines: SSH Port – 22 or 2222
- Http: 80 or 8080
- Https: 443
- Sql or Mysql ports: By default these are not open on Public Endpoints. Internally Sql server: 1433. Mysql :3306
