
1-click AWS Deployment 1-click Azure Deployment 1-click Google Deployment
Overview
nService provides a state machine workflow engine with states, actions and action forms. A team sets up a service. Users request it. Technicians take a series of actions on the request by filling out a series of forms. The actions move a request from start to finish through multiple states.
nService is an easy to use and powerful help desk and enterprise service management software product. It runs on Windows and Windows Azure as a website. End users come to the site to submit service requests and check their status. Service technicians use the site to list, assign, respond to, resolve and close service requests. nService provides a state machine workflow engine. You can define states and actions that move requests among the states. You can use the form designer to build clean and focused forms for different actions. These capabilities enable all departments in your organization, including IT, customer support, facility management etc., to offer their services and track their work assignments on a nService website. In addition to the powerful workflow engine, nService provides email integration, report builder, knowledge base, asset management, service billing, service level agreement, Active Directory integration and more. This free edition allows one concurrent technician and unlimited end users. Technicians are users who can respond to service requests. There is no limit on the number of users or technicians that you can create and store in the database.
Cognosys provides hardened and ready to run images of nService on all public cloud ( AWS marketplace and Azure).
Deploy your nService securely on cloud i.e. AWS marketplace and Azure with Reliable Services offered by Cognosys at one-click with easy written and video tutorials.
Secured nService on Windows 2012 R2
nService on Cloud for Aws-windows

nService on Cloud for Azure-windows
Features
Major Features of nService
1. Requests are centralized. Content and knowledge can be shared with the group and requesters. Requests are structured. There are many fields such as assigned to, status, resolution due. They can be used to search and display requests more easily.
2. Easy to use and rich in features. Provides true workflow capability. Users take actions to move request between states. Different services can have different workflow with different forms and actions.
3. All departments, including IT, customer service, professional service, development, facility management, accounting and HR, can publish their services on the same website, presenting a unified website to not only the employees but also to the external customers. Management can see what is being worked on throughout the entire enterprise
More Features
- Self-help portal for end users to submit service requests / work orders and check their status
- Website for technicians and managers to list, assign and record work done on the service requests
- Integration with your email system for importing emails and sending notification emails
- Service billing, service level agreements (SLA) and contract management
- Support for multiple services with different users, technicians, forms, workflow and notification rules
- Asset management and linking service requests to assets to keep track of asset service history
- Group based security and integration with Active Directory
- Knowledge base, forums and product catalog management
- Powerful reporting tool for building tabular, matrix and chart reports
- Can be installed on Windows or Windows Azure
AWS
Installation Instructions for Windows
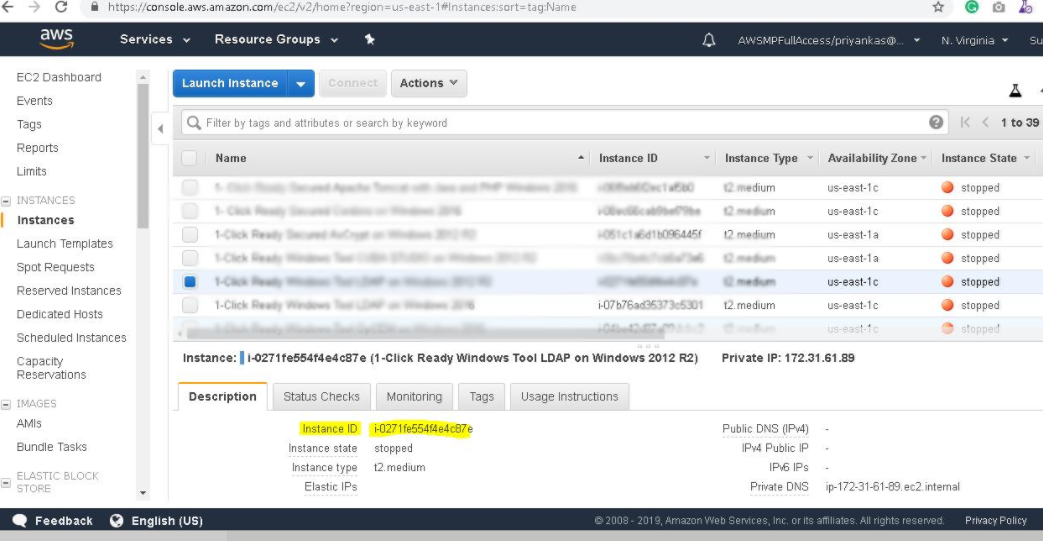
Note: How to find PublicDNS in AWS
Step 1) RDP Connection: To connect to the deployed instance, Please follow Instructions to Connect to Windows instance on AWS Cloud
Connect to the virtual machine using following RDP credentials:
- Hostname: PublicDNS / IP of machine
- Port : 3389
Username: To connect to the operating system, use RDP and the username is Administrator.
Password: Please Click here to know how to get password .
Step 2) Database Login Details:
Username : sa || Password : Passw@rd123
Note: Please change the password immediately after the first login.
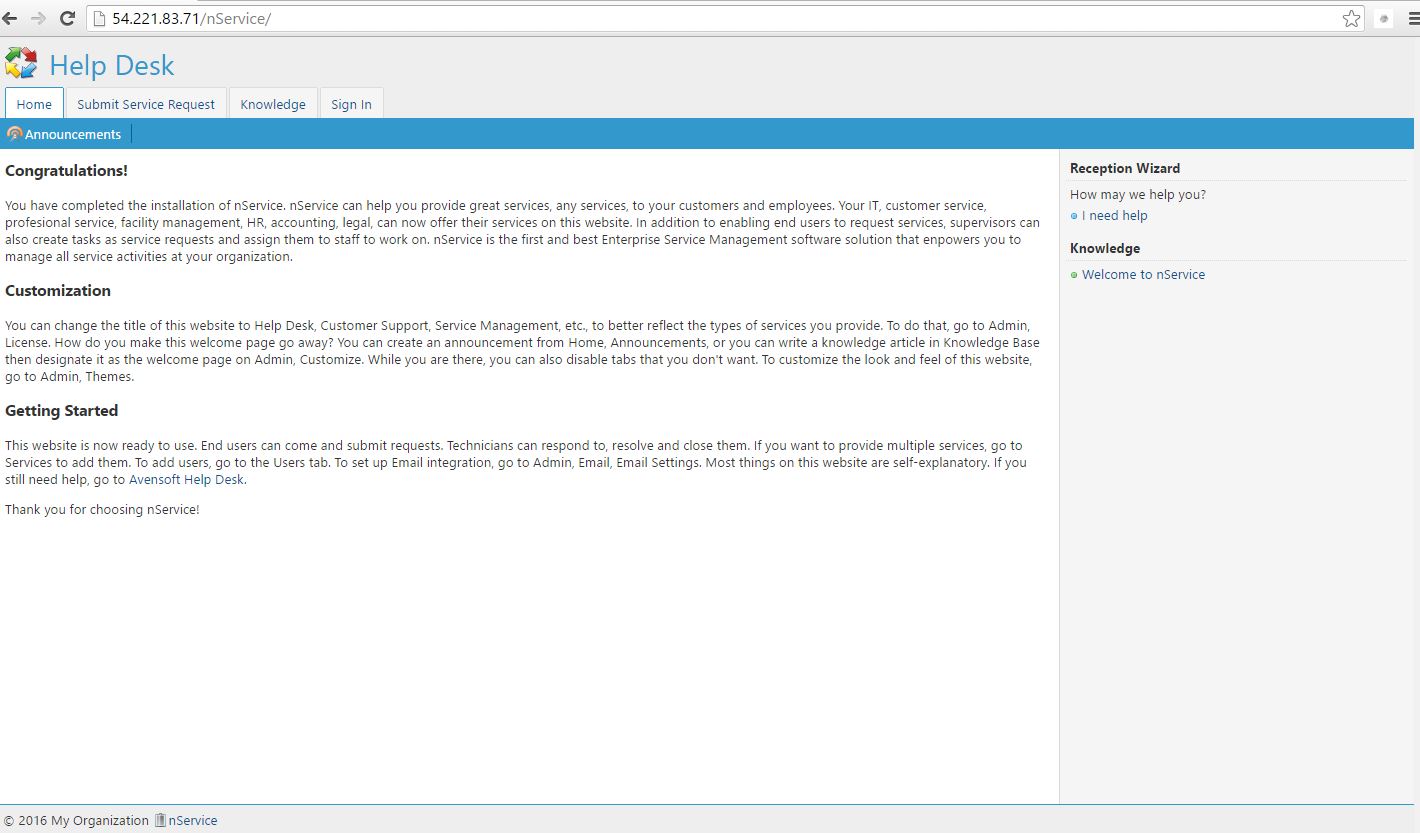
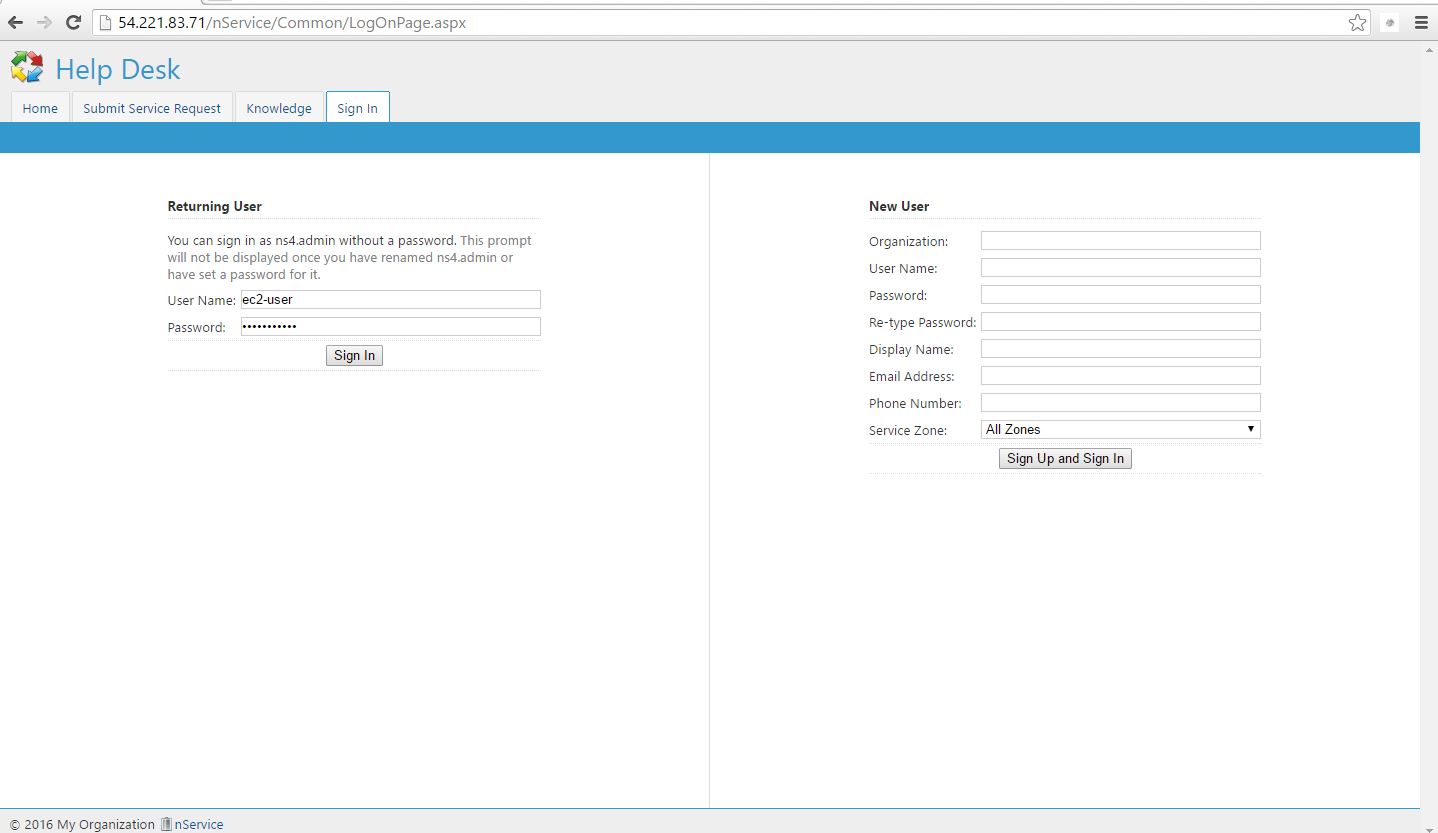
Step 3) Application URL: Access the application via a browser at http://PublicDNS/nservice
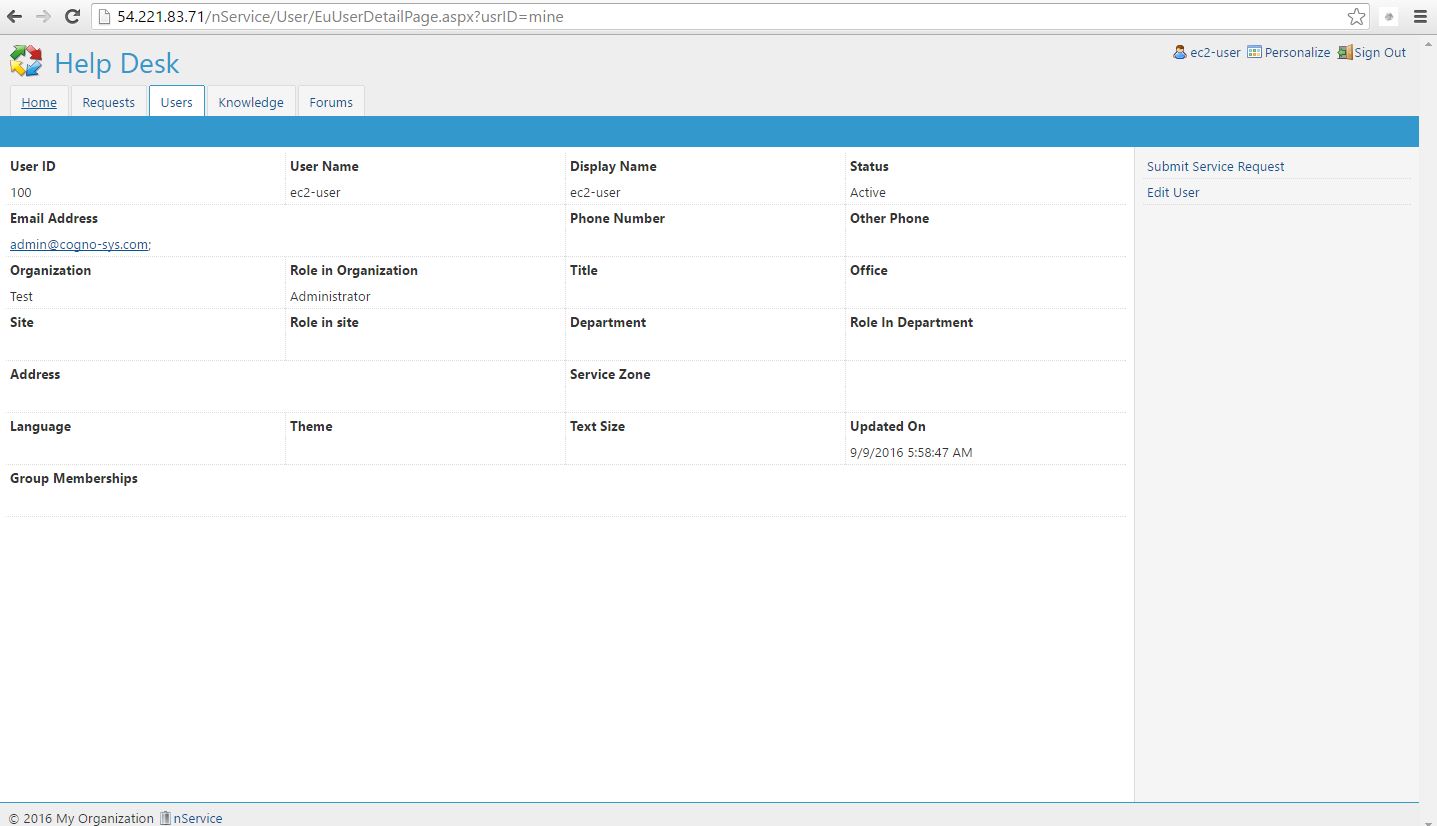
- User Name: ec2-user
- Password: Passw@rd123
Step 4) Other Information:
1.Default installation path: will be in your web root folder “C:\inetpub\wwwroot\nservice”
2.Default ports:
- Windows Machines: RDP Port – 3389
- Http: 80
- Https: 443
- Sql ports: By default these are not open on Public Endpoints. Internally Sql server: 1433.
Configure custom inbound and outbound rules using this link.
AWS Step by Step Screenshots

Azure
Installation Instructions for Windows
Note: How to find PublicDNS in Azure
Step1 ) RDP Connection: To connect to the deployed instance, Please follow Instructions to Connect to Windows instance on Azure Cloud
Connect to virtual machine using following RDP credentials:
- Hostname: PublicDNS / IP of machine
- Port : 3389
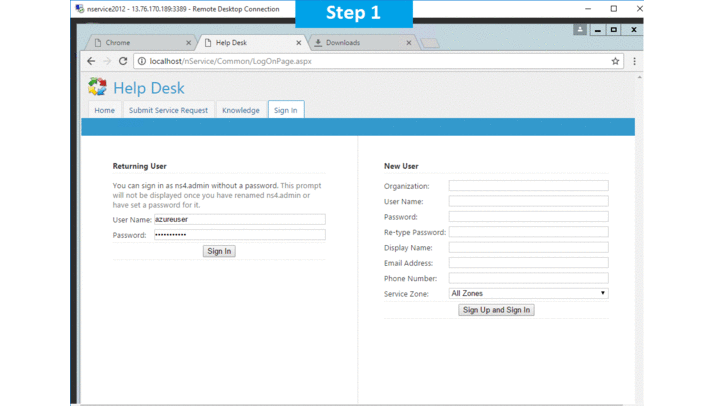
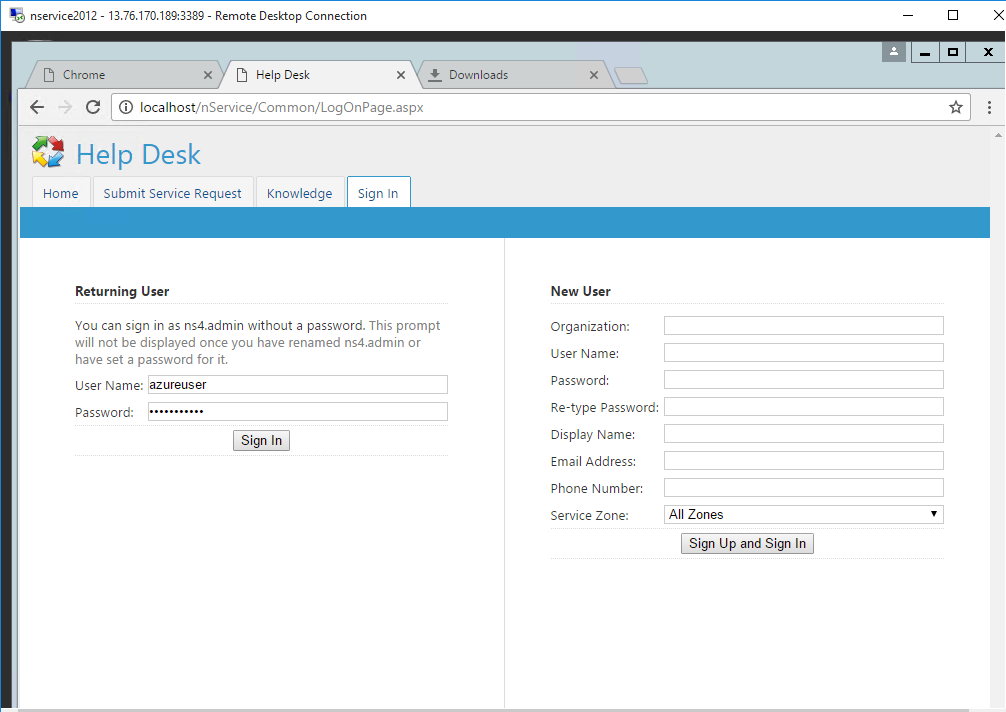
Username: Your chosen username when you created the machine ( For example: Azureuser)
Password : Your Chosen Password when you created the machine ( How to reset the password if you do not remember)
Step 2) Database Login Details:
Username : sa || Password : Passw@rd123
Note: Please change the password immediately after the first login.
Step 3) Application URL: Access the application via a browser at http://PublicDNS/nservice
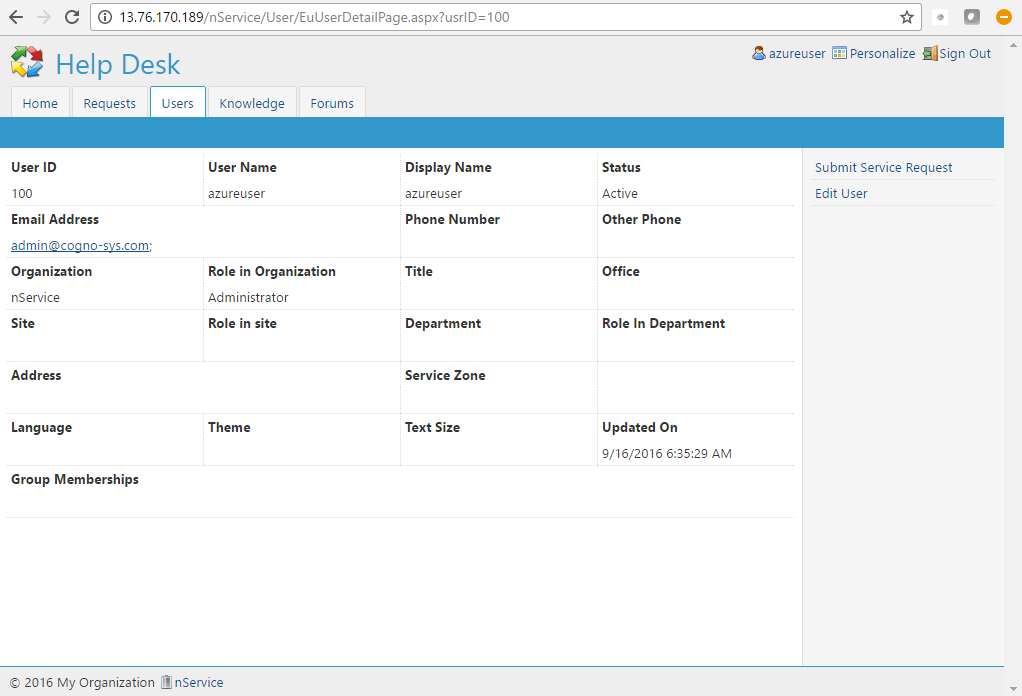
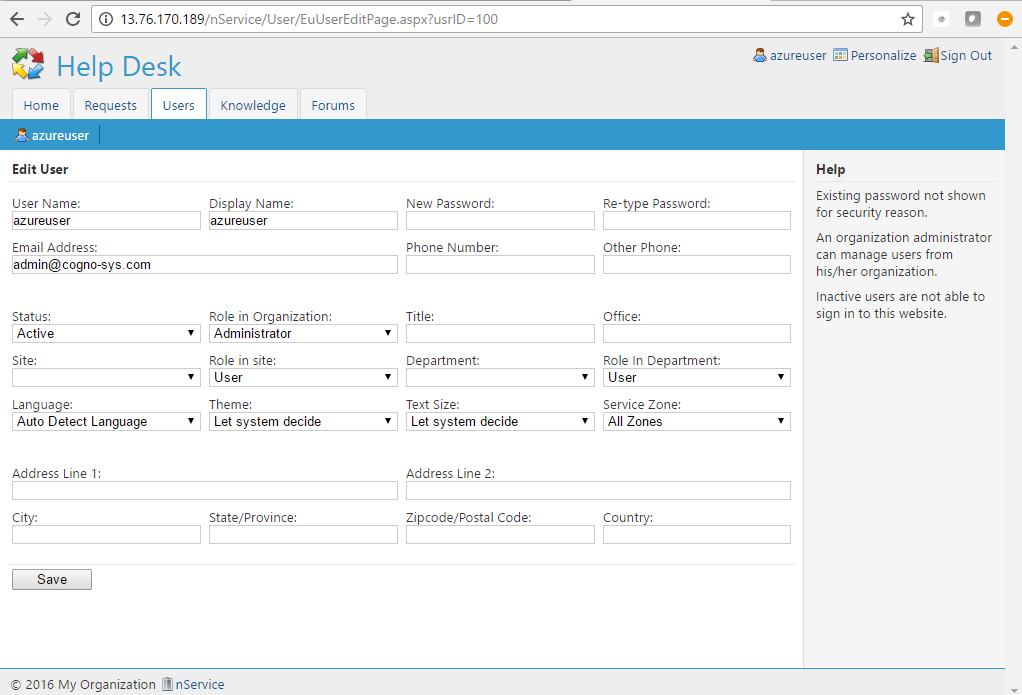
- User Name: Azureuser
- Password: Passw@rd123
Step 4) Other Information:
1.Default installation path: will be in your web root folder “C:\inetpub\wwwroot\nservice”
2.Default ports:
- Windows Machines: RDP Port – 3389
- Http: 80
- Https: 443
- Sql ports: By default these are not open on Public Endpoints. Internally Sql server: 1433.
Configure custom inbound and outbound rules using this link
Azure Step by Step Screenshots

Installation Instructions For Windows
Installation Instructions for Windows
Step 1) VM Creation:
- Click the Launch on Compute Engine button to choose the hardware and network settings.
- You can see at this page, an overview of Cognosys Image as well as estimated cost of running the instance.
- In the settings page, you can choose the number of CPUs and amount of RAM, the disk size and type etc.
Step 2) RDP Connection: To initialize the DB Server connect to the deployed instance, Please follow Instructions to Connect to Windows instance on Google Cloud
Step 3) Database Login Details:
The below screen appears after successful deployment of the image.

For local MySQL root password, please use the temporary password generated automatically during image creation as shown above.
i) Please connect to Remote Desktop as given in step 2 to ensure stack is properly configured and DB is initialized.
ii) You can use MySQL server instance as localhost, username root and password as shown above.
If you have closed the deployment page you can also get the MySQL root password from VM Details “Custom metadata” Section.
Step 3) Application URL: Access the application via a browser at http://PublicDNS/nservice
- User Name: Azureuser
- Password: Passw@rd123
Step 4) Other Information:
1.Default ports:
- Linux Machines: SSH Port – 22
2. To access Webmin interface for management please follow this link
Videos
Secured nService on Windows 2012 R2
Introduction to NService
