1-click AWS Deployment 1-click Azure Deployment 1-click Google Deployment
Overview
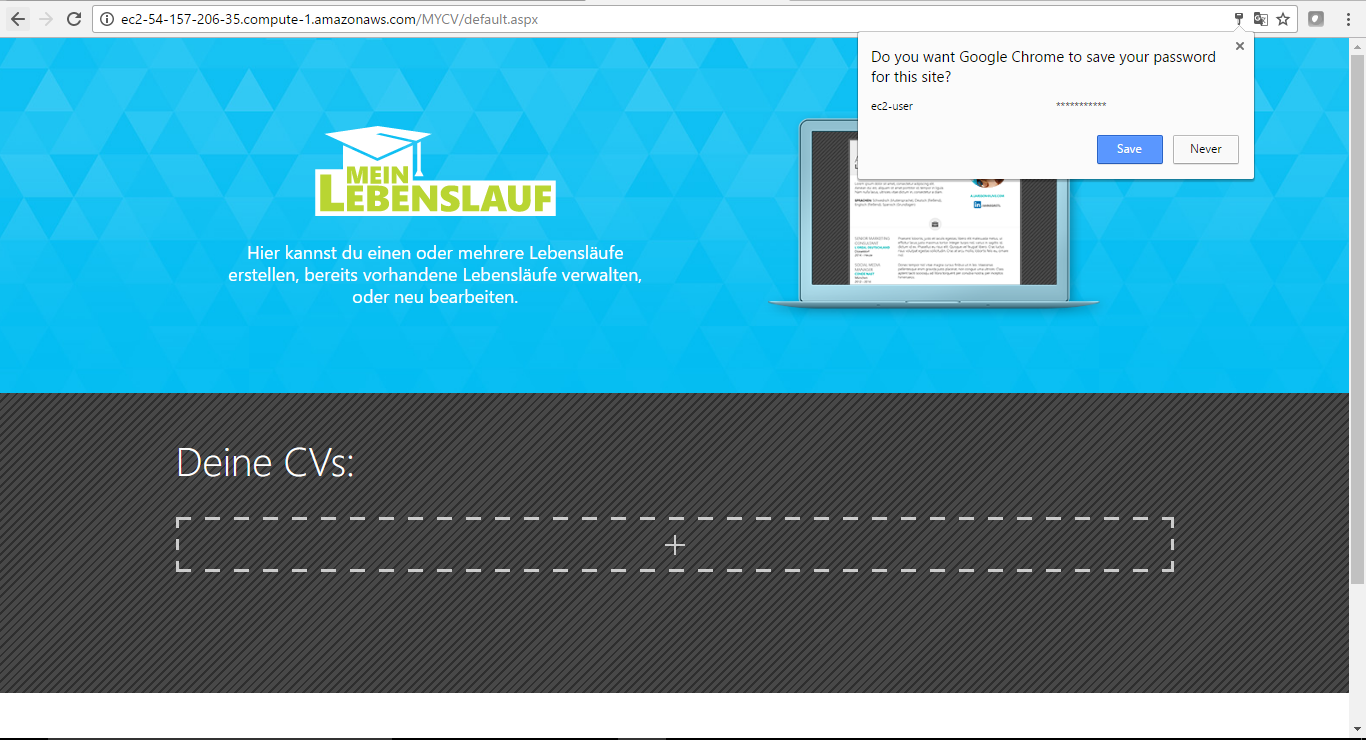
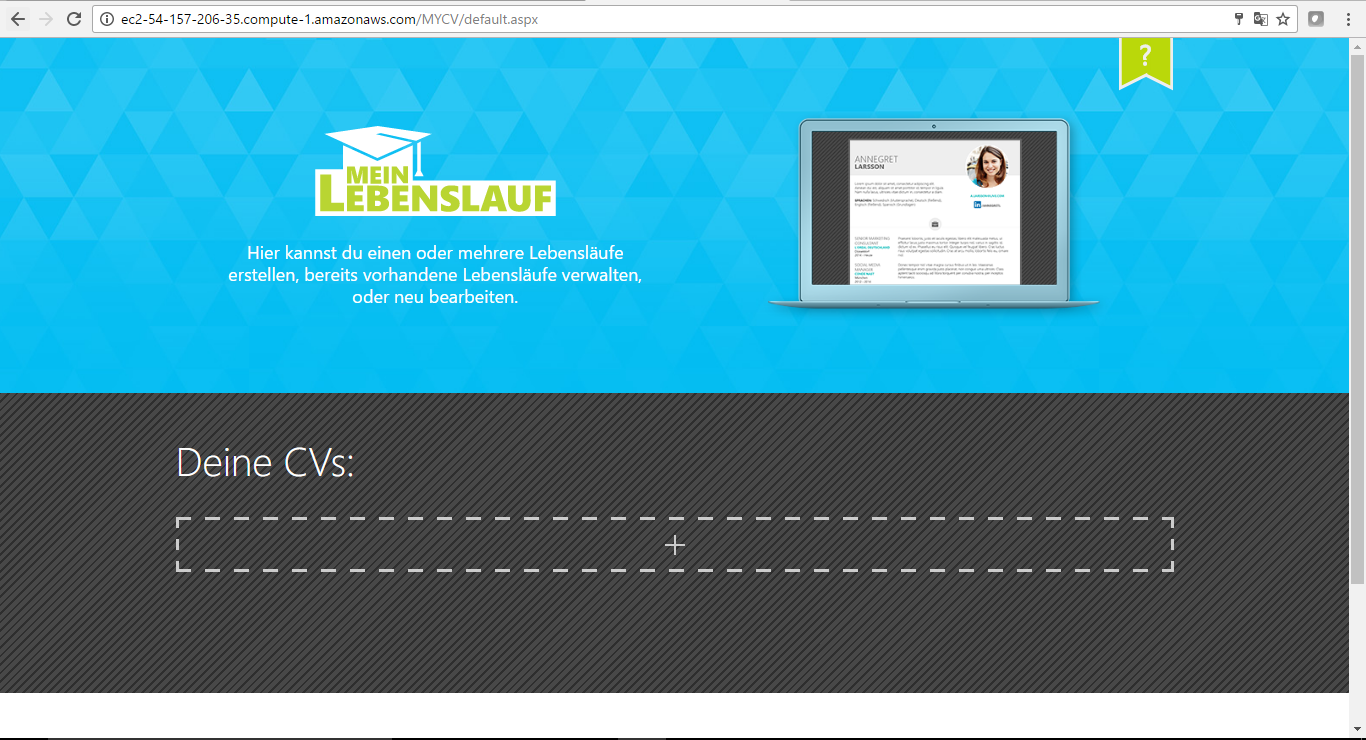
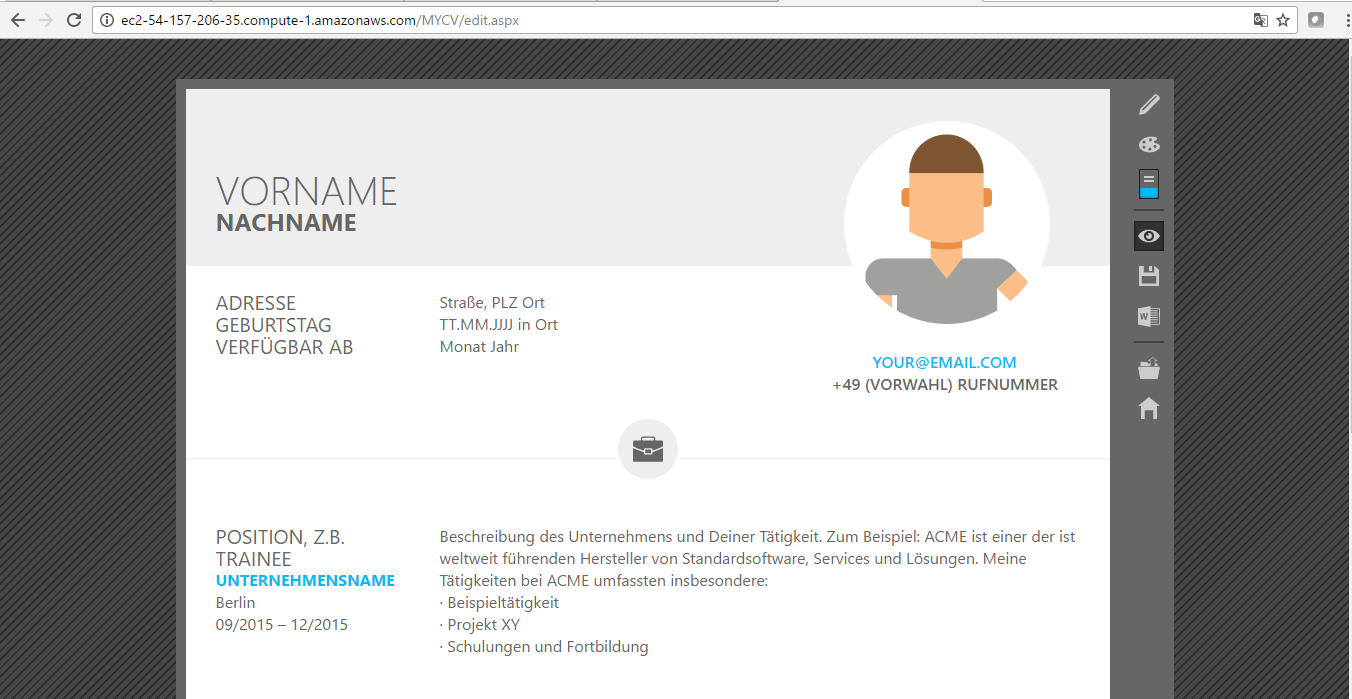
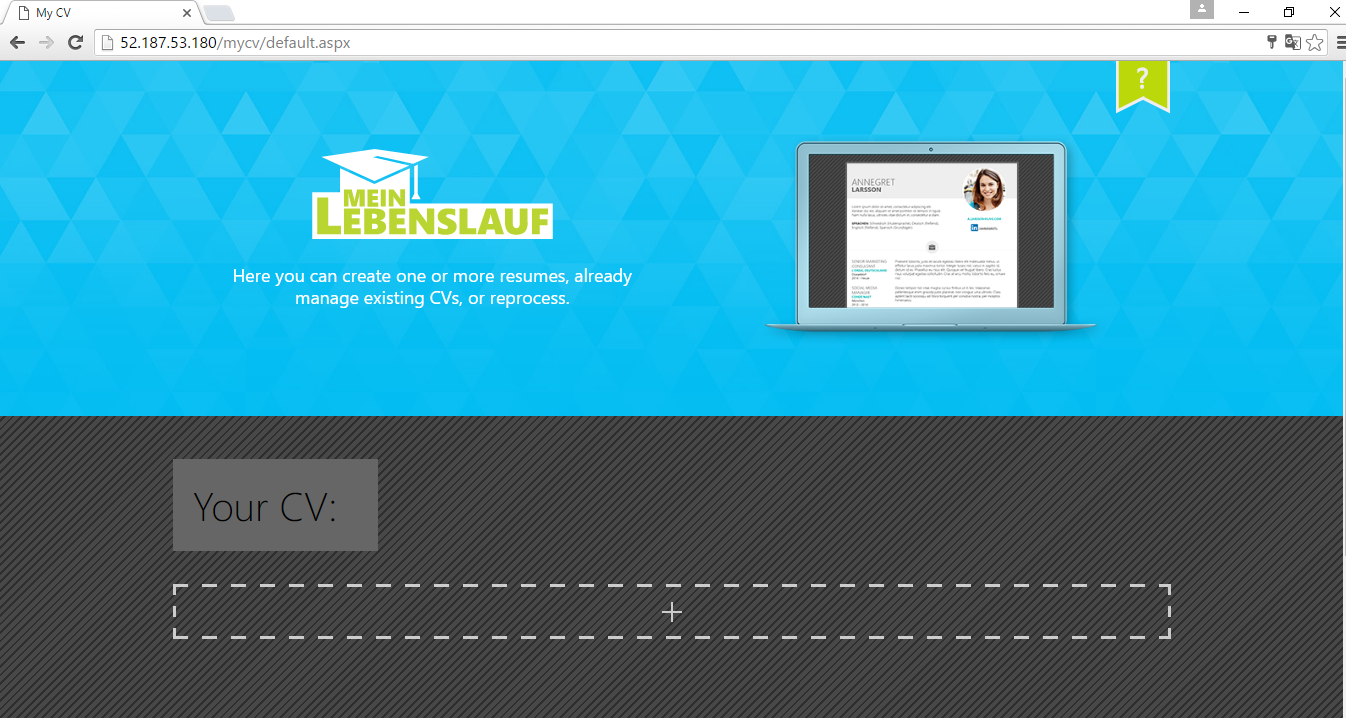
Create standout CVs for you and your friends and family in minutes, share your CVs online or export to a word document. All on your own domain or web space of your choice.
MyCV is owned by MyCV(http://mycv.com/) and they own all related trademarks and IP rights for this software.
Cognosys provides secured services to store CV’s on all public cloud ( AWS marketplace and Azure).
Upload your CV securely on cloud i.e. AWS marketplace and Azure with Reliable Services offered by Cognosys at one-click with easy written and video tutorials.
Secured MyCV on Windows 2012 R2
Embedded media removed during static cleanup.
MyCV on Cloud for AWS-Windows
MyCV on Cloud for Azure-Windows

Features
Major Features Of My CV
1) Communication skills:Communication skills are hugely important for anyone dealing with people on a daily basis. Speaking to IT guys can be drastically different to speaking with HR.
2) Openness:This means openness to new ideas, new processes, new people and so on. As corporations are ever changing entities, your ability to change with it is crucial.
3) Creativity:This is your ability to engage in non-linear thinking or thinking outside the box to use a nice cliché. An employer needs people that not only point out what is wrong in a process for instance, but can also come up with a better way of doing things.
4) Cultural Experience:Denotes what experiences you have had with people from other countries and cultures. You will want to include any language you speak, any time you have spent in a foreign country, any connections you have abroad etc.
5) Positivity:Everyone wants a force of positivity on their team. It’s difficult to include this on a resume but you can do your best by using upbeat language and dropping hints of what a happy camper you are in the office.
6) Commitment:This is your chance to show how you get involved in the corporate culture and really try to live and breathe what your company is all about
7) Enthusiasm:This is all about what lengths you go to in order to further your career. Extra-curricular activities can benefit your potential new employer.
AWS
Installation Instructions For Windows
Note: How to find PublicDNS in AWS
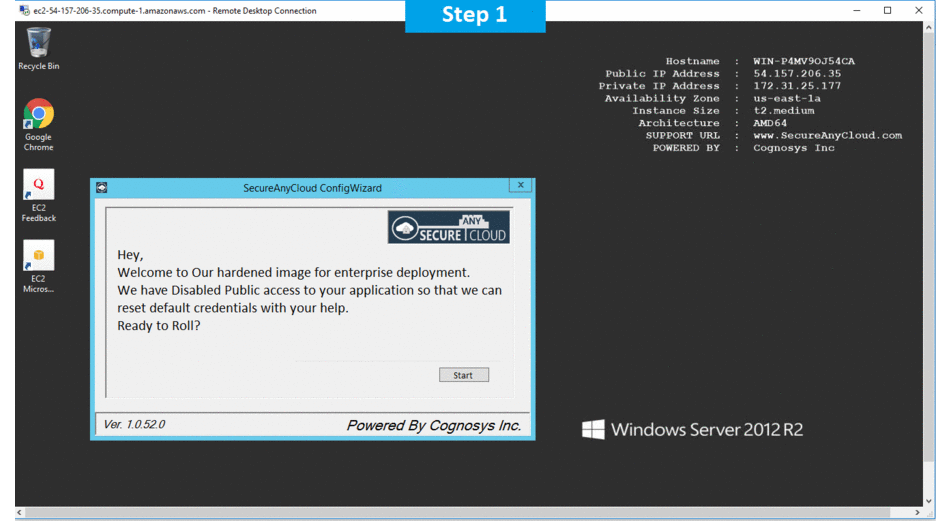
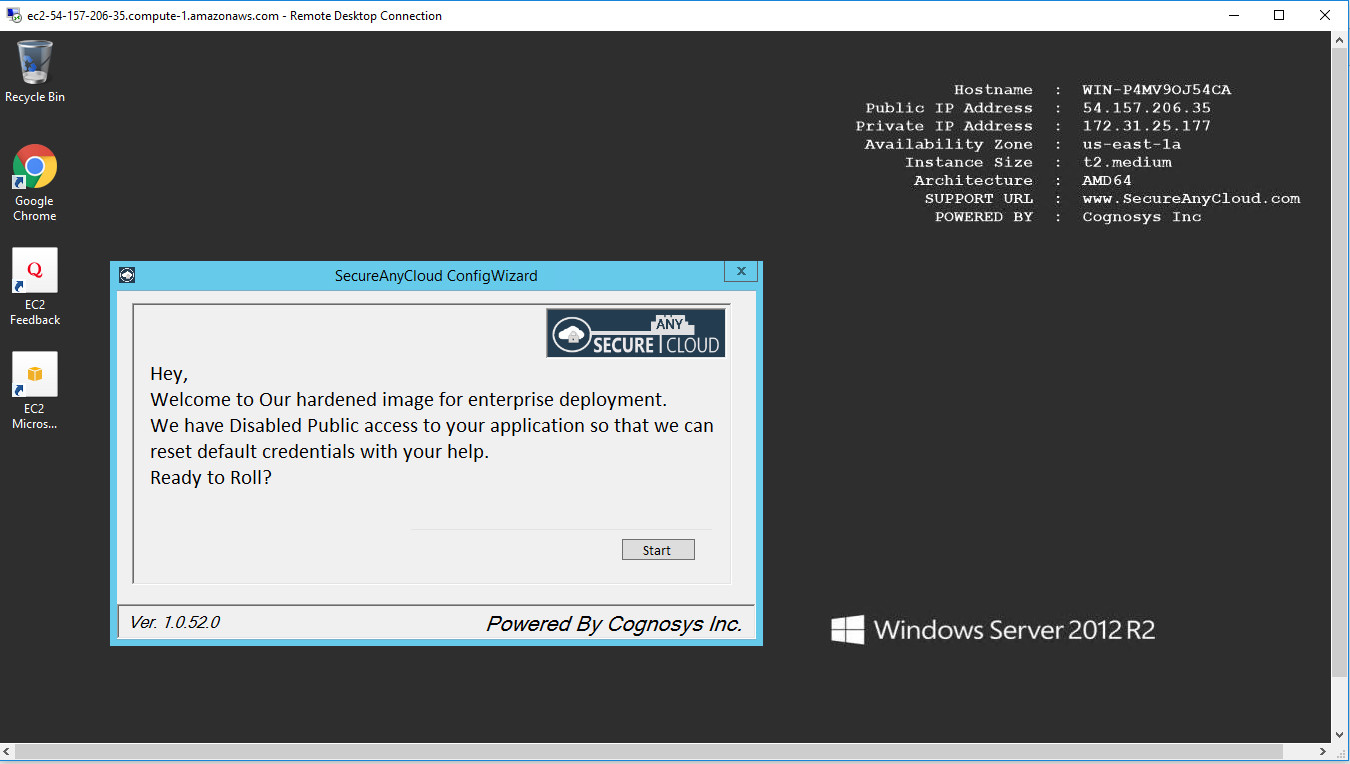
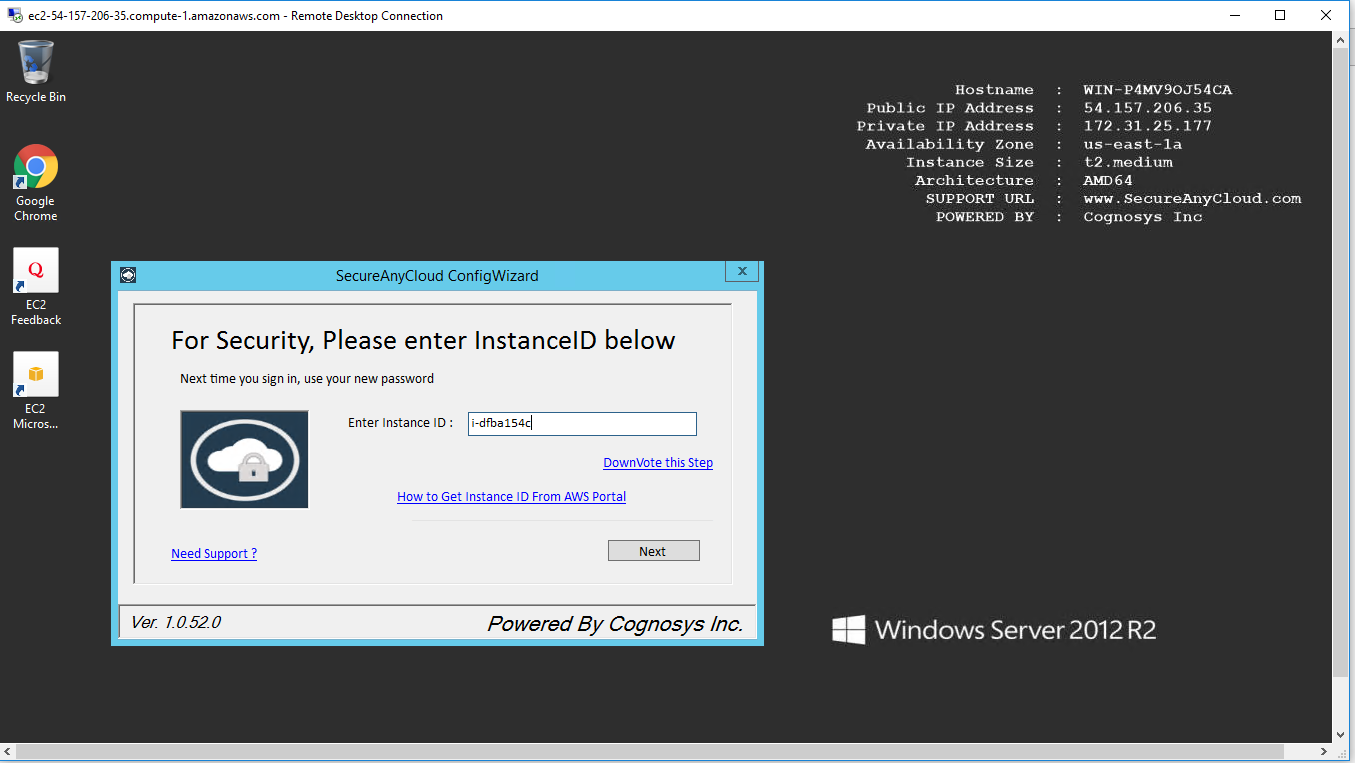
Step 1) RDP Connection: To connect to the deployed instance, Please follow Instructions to Connect to Windows instance on AWS Cloud
Connect to the virtual machine using following RDP credentials:
- Hostname: PublicDNS / IP of machine
- Port : 3389
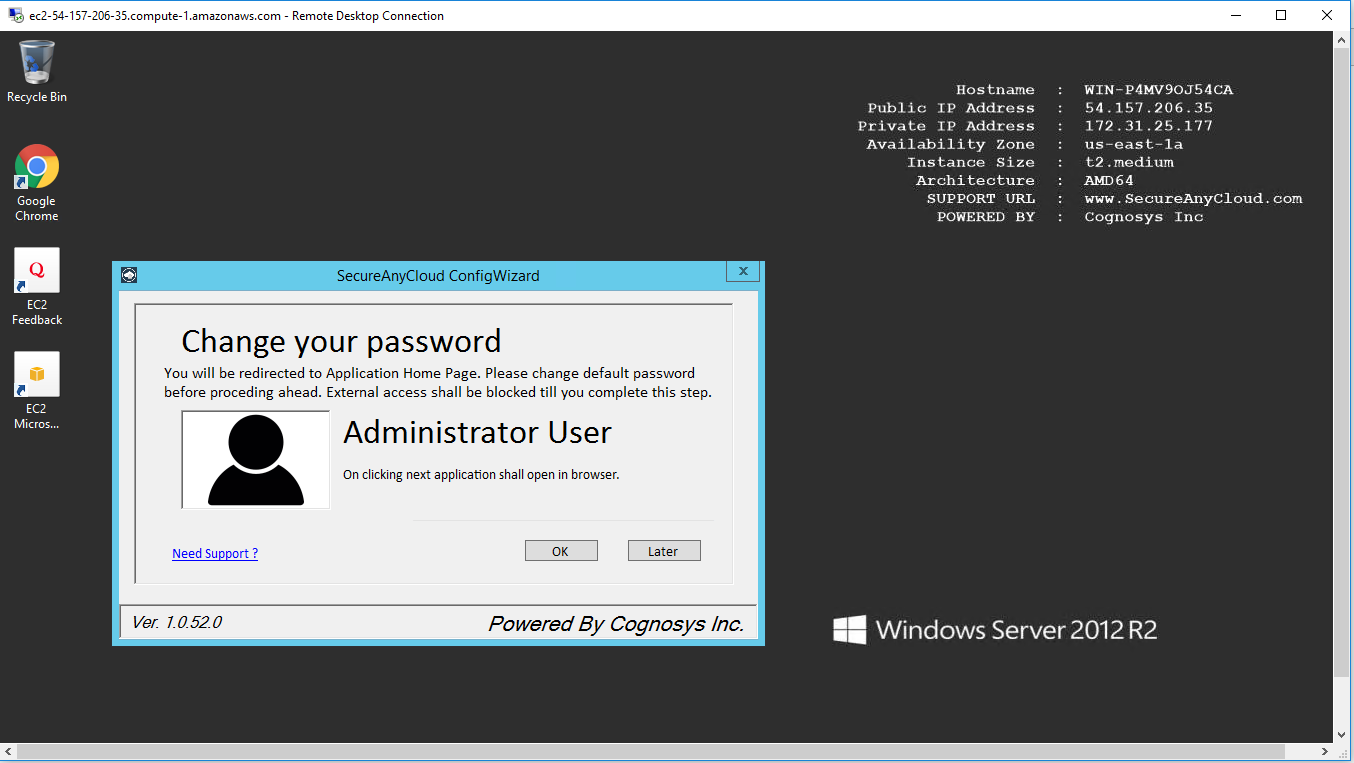
Username: To connect to the operating system, use RDP and the username is Administrator.
Password: Please Click here to know how to get password .
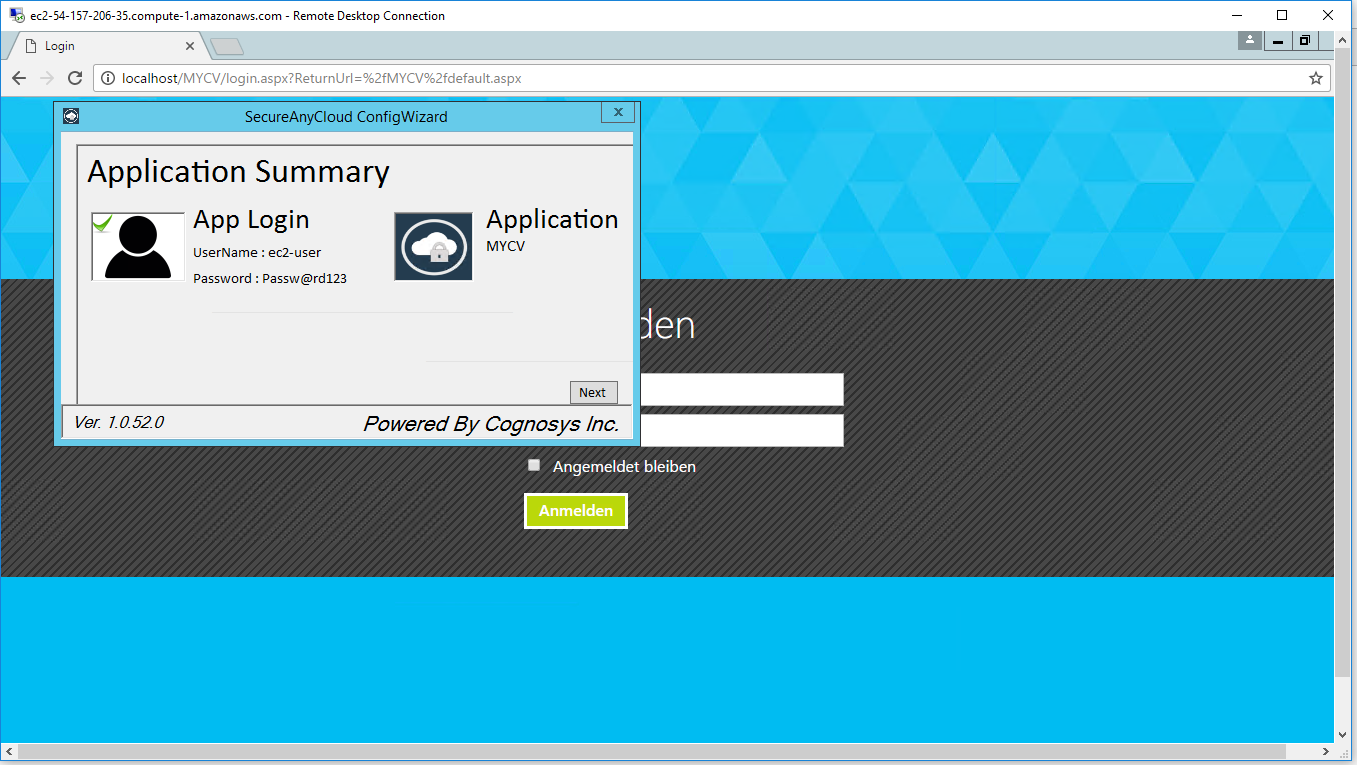
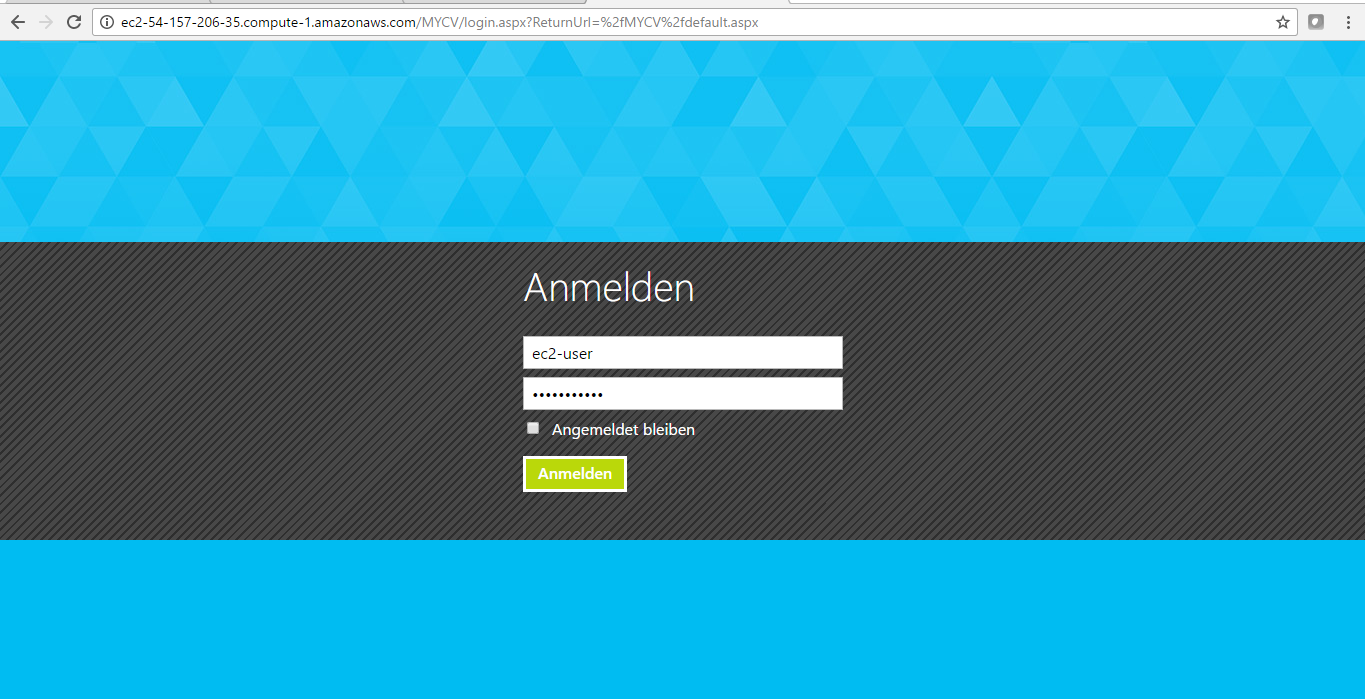
Step 2) Application URL: Access the application via a browser at http://PublicDNS/mycv
- User Name: ec2-user
- Password: Passw@rd123
Step 3) Other Information:
1.Default installation path: will be in your web root folder “C:\inetpub\wwwroot\mycv”
2.Default ports:
- Windows Machines: RDP Port – 3389
- Http: 80
- Https: 443
Configure custom inbound and outbound rules using this link.
AWS Step by Step Screenshots


Azure
Installation Instructions for Windows
Note: How to find PublicDNS in Azure
Step1 ) RDP Connection: To connect to the deployed instance, Please follow Instructions to Connect to Windows instance on Azure Cloud
Connect to virtual machine using following RDP credentials:
- Hostname: PublicDNS / IP of machine
- Port : 3389
Username: Your chosen username when you created the machine ( For example: Azureuser)
Password : Your Chosen Password when you created the machine ( How to reset the password if you do not remember)
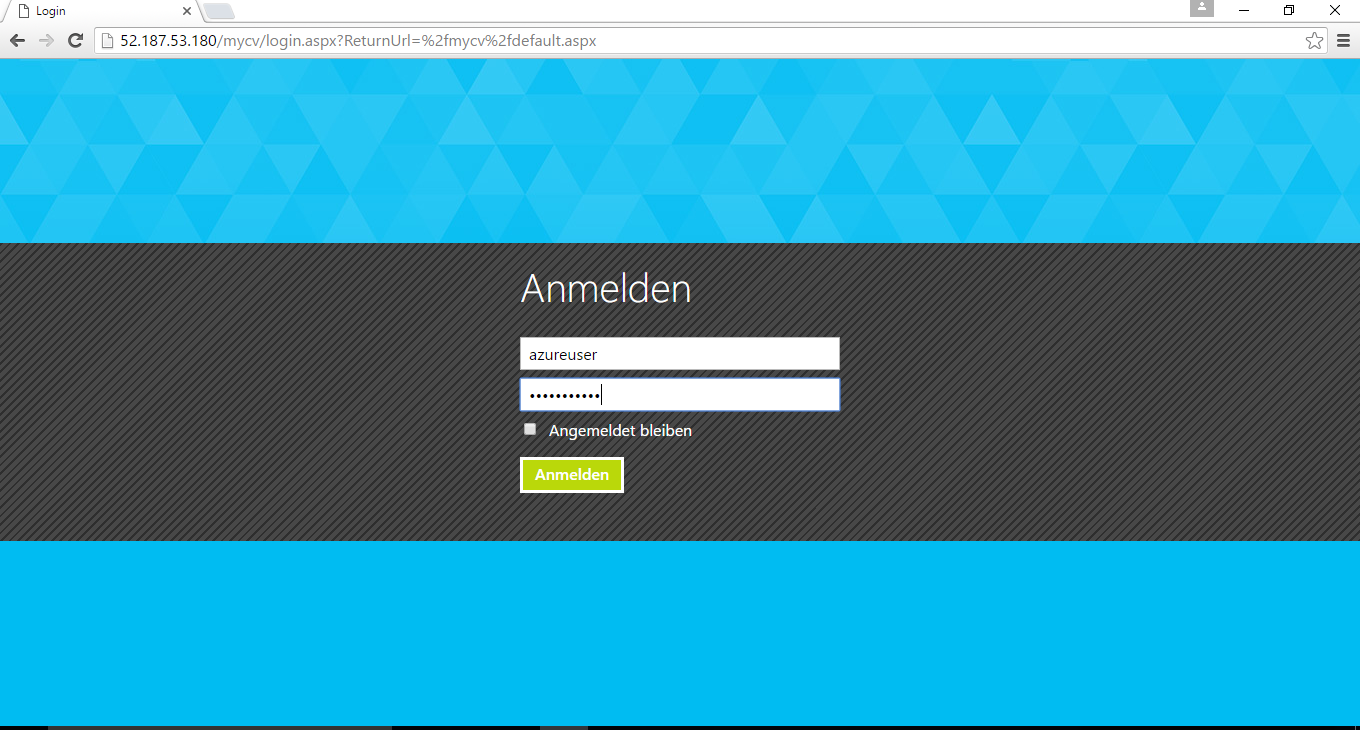
Step 2) Application URL: Access the application via a browser at http://PublicDNS/mycv
- User Name: azureuser
- Password: Passw@rd123
Step 3) Other Information:
1.Default installation path: will be in your web root folder “C:\inetpub\wwwroot\mycv”
2.Default ports:
- Windows Machines: RDP Port – 3389
- Http: 80
- Https: 443
Configure custom inbound and outbound rules using this link
Azure Step by Step Screenshots

- Installation Instructions For Windows
- Installation Instructions For Ubuntu
- Installation Instructions For Redhat
Installation Instructions for Windows
Step 1) VM Creation:
- Click the Launch on Compute Engine button to choose the hardware and network settings.
2.You can see at this page, an overview of Cognosys Image as well as estimated cost of running the instance.
3.In the settings page, you can choose the number of CPUs and amount of RAM, the disk size and type etc.
Step 2) RDP Connection: To initialize the DB Server connect to the deployed instance, Please follow Instructions to Connect to Windows instance on Google Cloud
Step 3) Database Login Details:
The below screen appears after successful deployment of the image.

For local MySQL root password, please use the temporary password generated automatically during image creation as shown above.
i) Please connect to Remote Desktop as given in step 2 to ensure stack is properly configured and DB is initialized.
ii) You can use MySQL server instance as localhost, username root and password as shown above.
If you have closed the deployment page you can also get the MySQL root password from VM Details “Custom metadata” Section.
Step 3) Application URL:
Step 4) Other Information:
1.Default ports:
- Linux Machines: SSH Port – 22
2. To access Webmin interface for management please follow this link
Installation Instructions For Redhat
Step 1) VM Creation:
1.Click the Launch on Compute Engine button to choose the hardware and network settings.
2.You can see at this page, an overview of Cognosys Image as well as some estimated costs of VM.
3.In the settings page, you can choose the number of CPUs and amount of RAM, the disk size and type etc.
Step 2) SSH Connection: To connect to the deployed instance, Please follow Instructions to Connect to Redhat instance on Google Cloud
1) Download Putty.
2) Connect to the virtual machine using SSH key
- Hostname: PublicDNS / IP of machine
- Port : 22
Step 3) Database Login Details:
The below screen appears after successful deployment of the image.

For local MySQL root password, please use the temporary password generated automatically during image creation as shown above.
i) Please connect to Remote Desktop as given in step 2 to ensure stack is properly configured and DB is initialized.
ii) You can use MySQL server instance as localhost, username root and password as shown above.
If you have closed the deployment page you can also get the MySQL root password from VM Details “Custom metadata” Section
Step 4)Application URL:
Steps to configure the stack:
Step 5 ) Other Information:
1.Default installation path: will be in your web root folder
2.Default ports:
Windows Machines: RDP Port – 3389
Http: 80
Https: 443
Mysql ports: By default, these are not open on Public Endpoints. Mysql :3306
videos
Secured MyCV on Windows 2012 R2
Embedded media removed during static cleanup.
Embedded media removed during static cleanup.
Embedded media removed during static cleanup.
