1-click AWS Deployment 1-click Azure Deployment 1-click Google Deployment
Overview
mRemoteNG is a fork of mRemote: an open source, tabbed, multi-protocol, remote connections manager. mRemoteNG adds bug fixes and new features to mRemote.
It allows you to view all of your remote connections in a simple yet powerful tabbed interface.
mRemoteNG supports the following protocols:
- RDP (Remote Desktop/Terminal Server)
- VNC (Virutal Network Computing)
- ICA (Citrix Independent Computing Architecture)
- SSH (Secure Shell)
- Telnet (TELecommunication NETwork)
- HTTP/HTTPS (Hypertext Transfer Protocol)
- rlogin
- Raw Socket Connections
mRemote is a multi-protocol remote connections manager.
As of Version 1.00 it supports the RDP, VNC, ICA, SSH, Telnet, RAW, Rlogin and HTTP/S protocols.
The main goal is to minimize window clutter and to provide a easy gui for managing all your remote connections.
mRemote on cloud for AWS
Features
Major Features Of mRemote
- Free and Open Source, released under the GPL
- Panels and tabs allow to group certain connections together, dock them to any side of the window or completely undock them and move them to another screen for example
- Multiple supported protocols (RDP, VNC, ICA, SSH, Telnet, RAW, Rlogin and HTTP/S)
- Easy to organize and maintain list of connections
- Inheritance makes it possible to store properties on folder basis and let the underlying connections inherit this info
- Support for importing connections from Active Directory
- Allows creating nested containers (folders) to categorize connections
- “Quick Connect” feature to quickly open a connection without creating an entry
- “Quick Search” feature to quickly find a connection while typing
- Support for SCP/SFTP (SSH) file transfers
- Assign icons to connections to easily identify purpose
- Screenshot manager allows to collect multiple screenshots and save them all together or copy them to the clipboard
- View remote session info and log off sessions (RDP)
- Portable (with the use of command line switches)
AWS
Installation Instructions For Windows
Note: How to find PublicDNS in AWS
Step 1) RDP Connection: To connect to the deployed instance, Please follow Instructions to Connect to Windows instance on AWS Cloud
1) Connect to the virtual machine using following RDP credentials:
- Hostname: PublicDNS / IP of machine
- Port : 3389
Username: To connect to the operating system, use RDP and the username is Administrator.
Password: Please Click here to know how to get password .
Step 2) Click the Windows “Start” button and select “All Programs” and then point to mRemote.
Step 3) Other Information:
1.Default installation path: will be in your root folder “C:\Program Files (x86)\mRemoteNG”
2.Default ports:
- Windows Machines: RDP Port – 3389
- Http: 80
- Https: 443
Configure custom inbound and outbound rules using this link
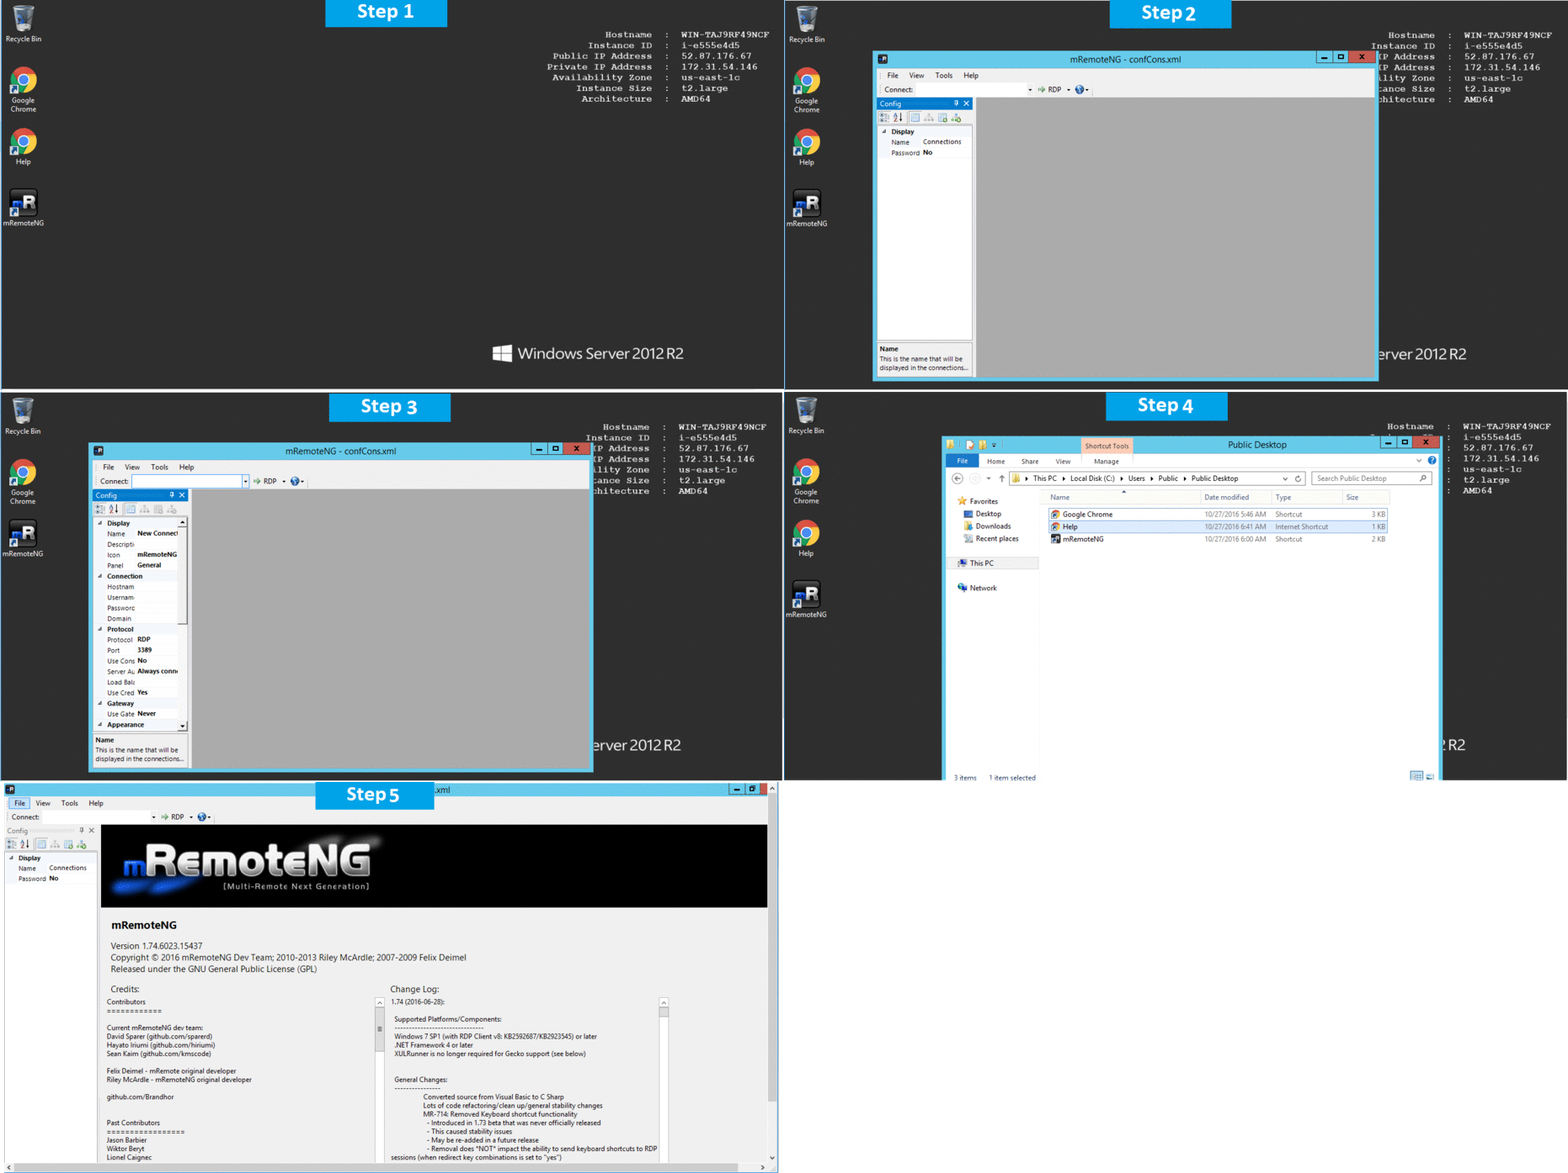
Installation Step by Step Screenshots
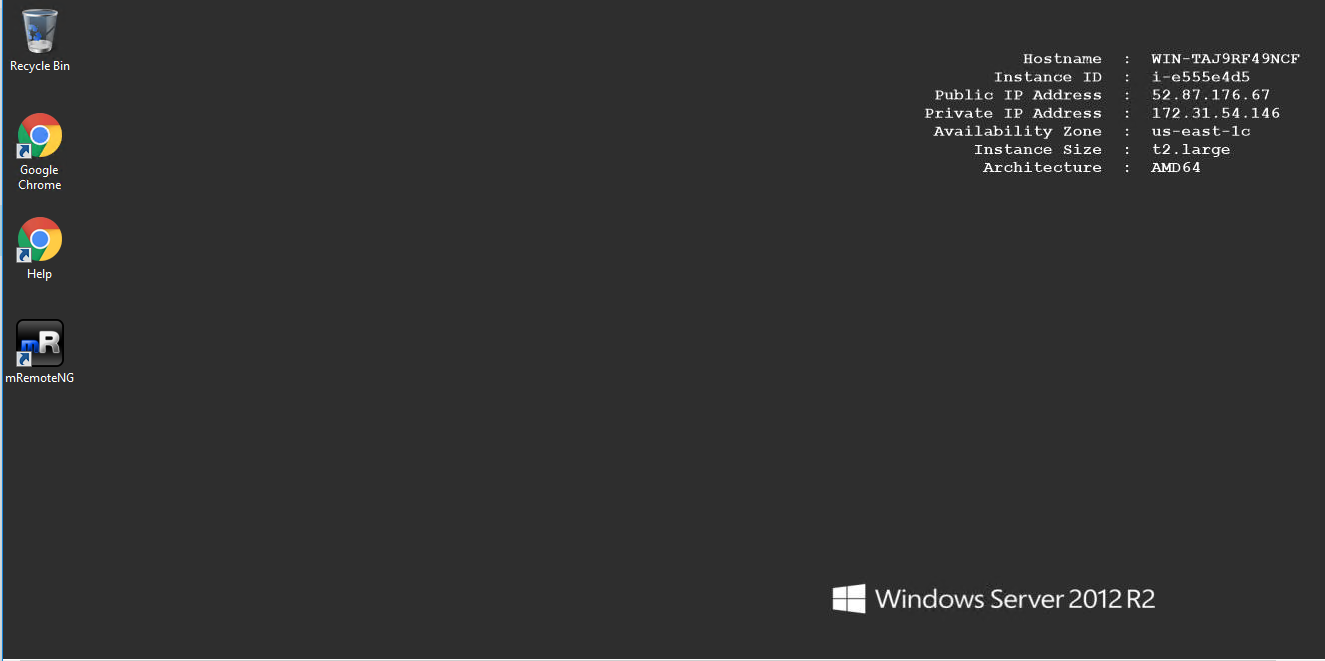
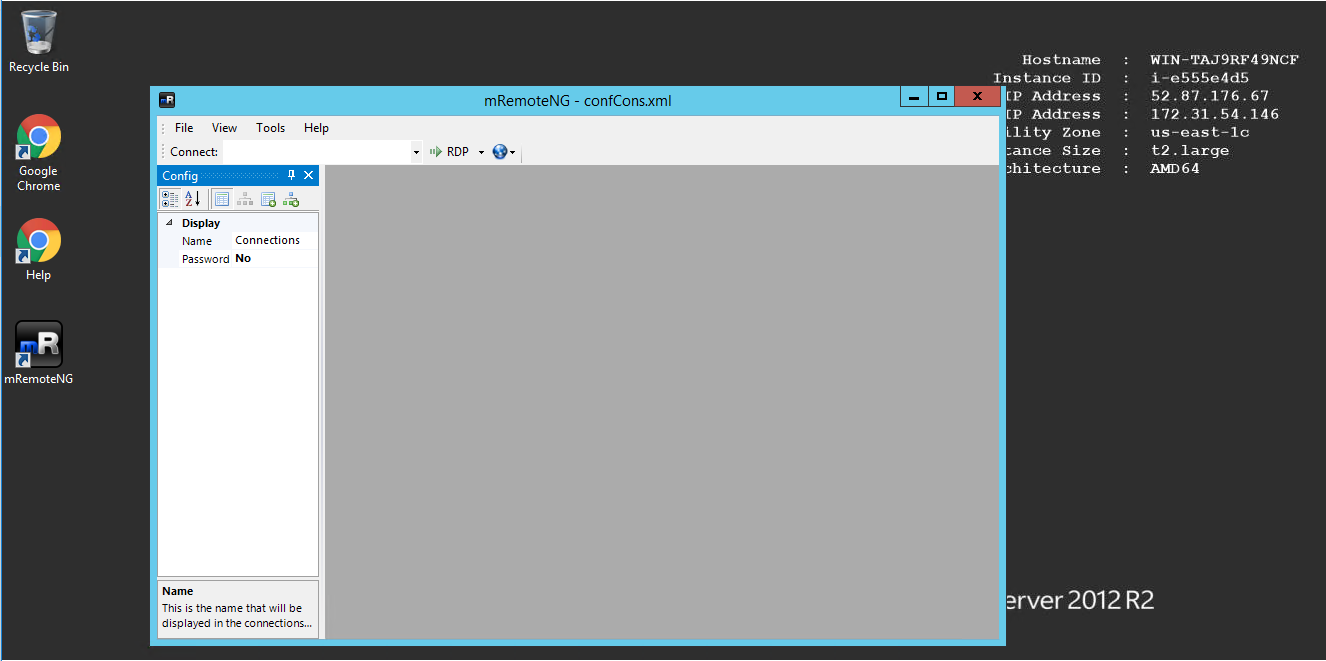
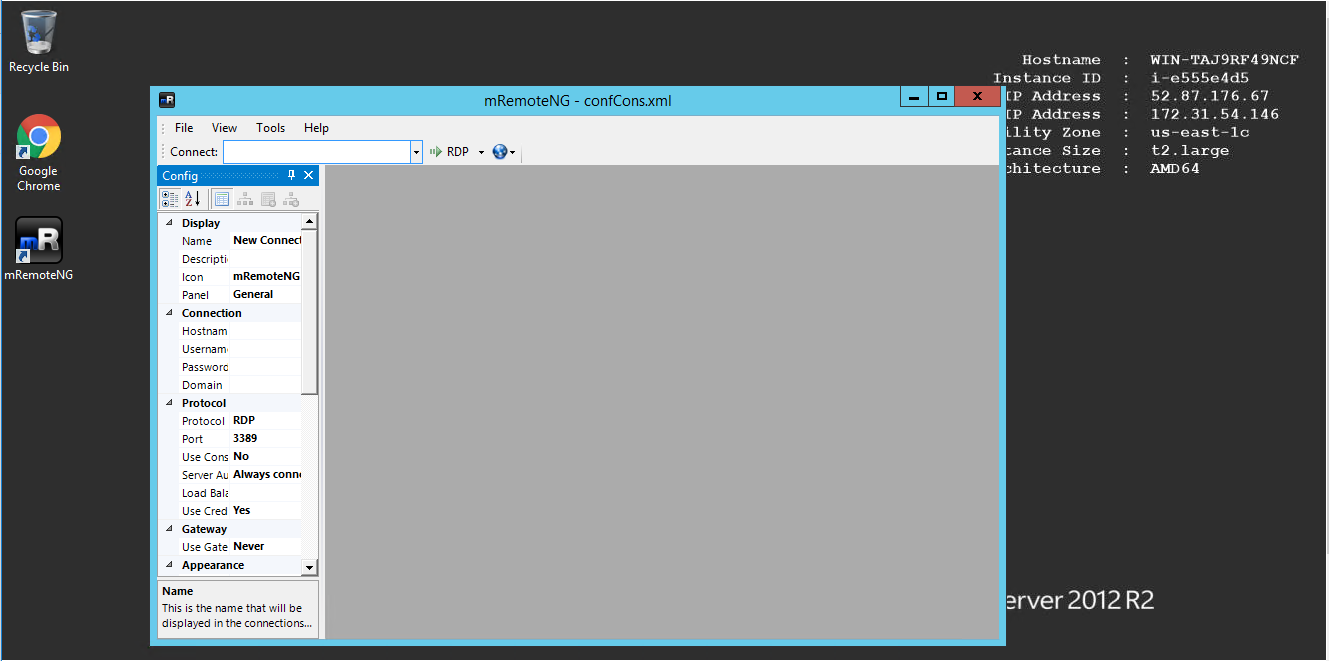
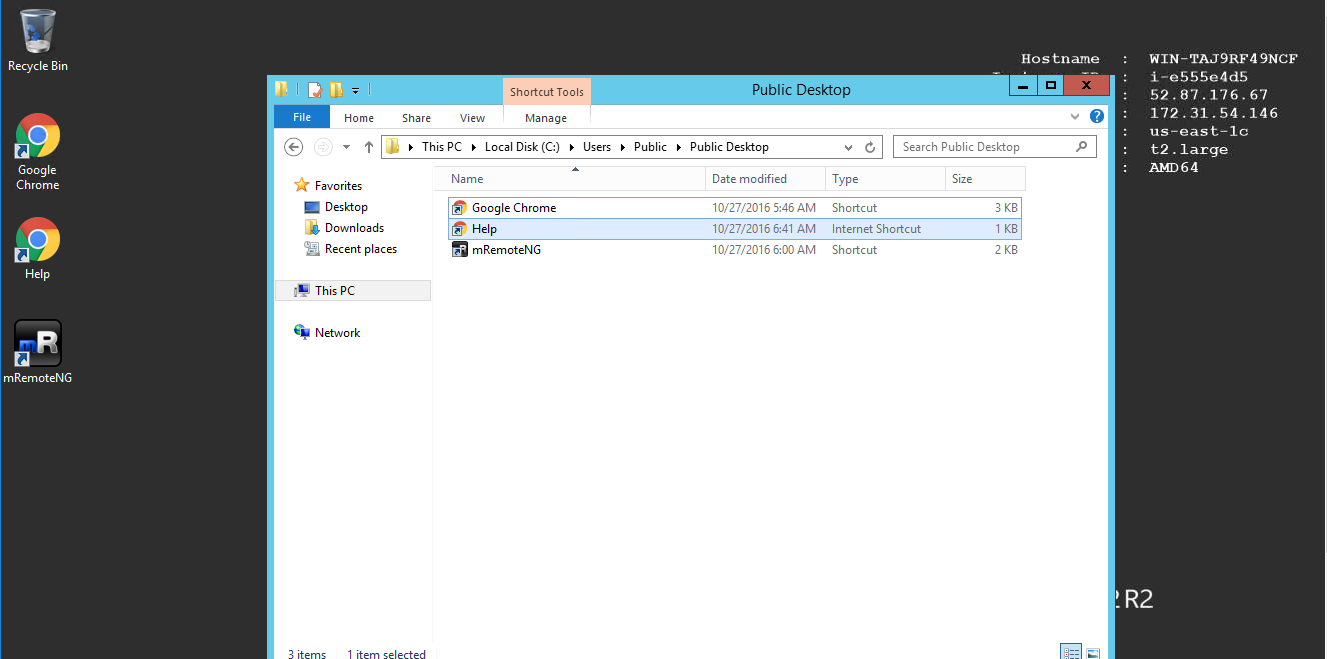
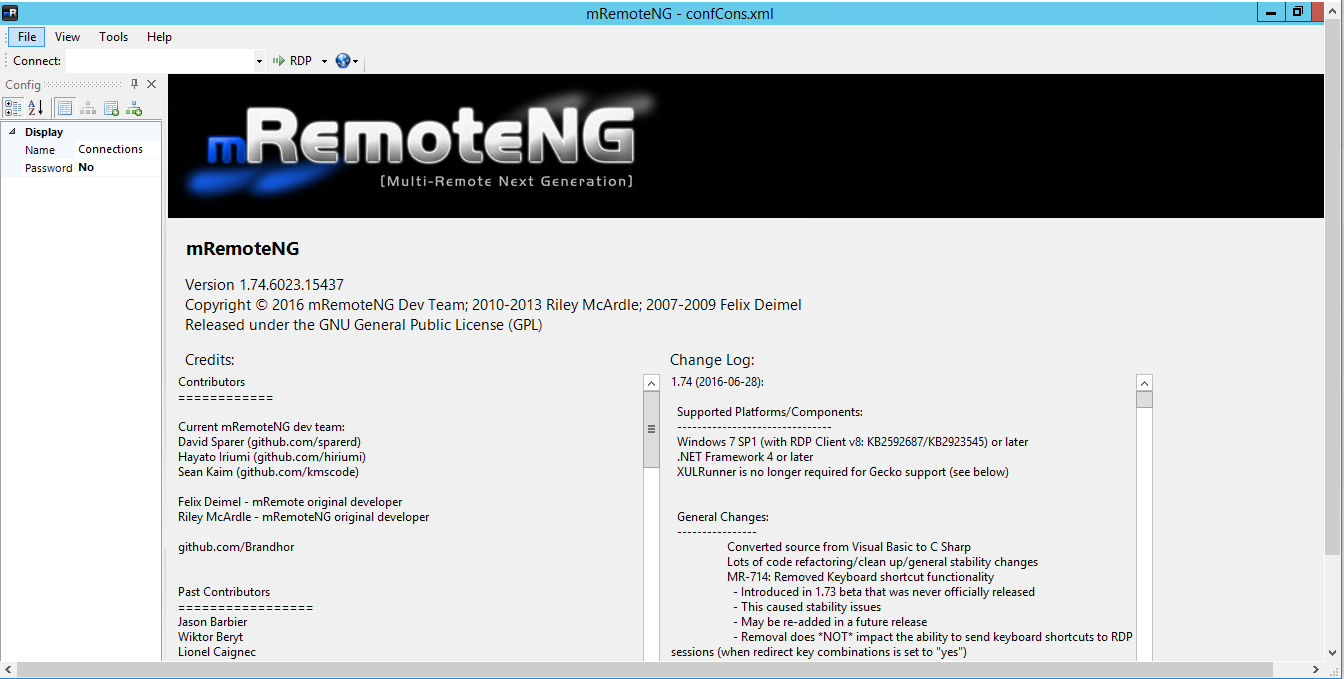
Installation Instructions For Windows
Installation Instructions for Windows
Step 1) VM Creation:
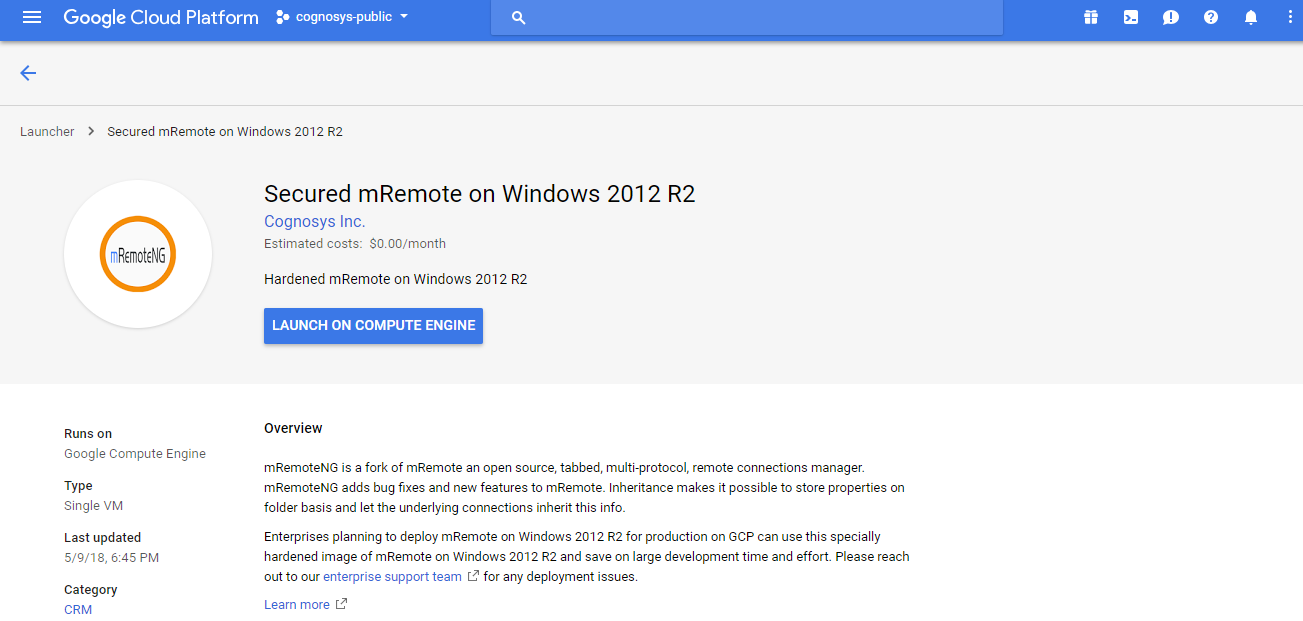
- Click the Launch on Compute Engine button to choose the hardware and network settings.

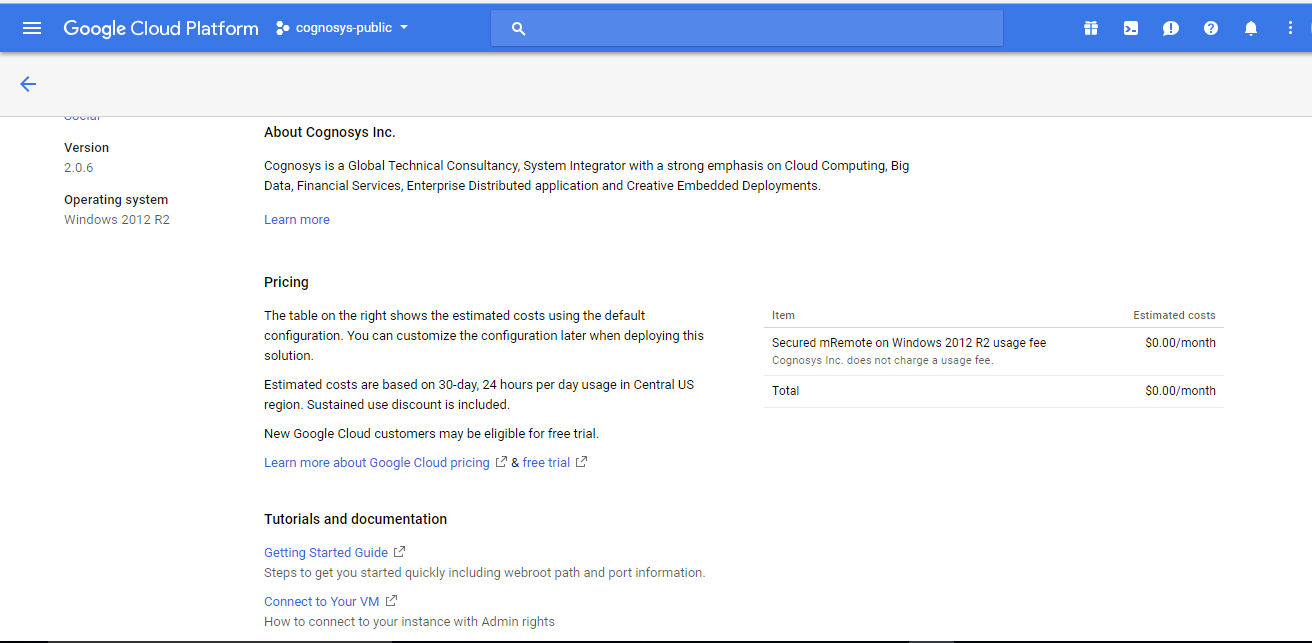
- You can see at this page, an overview of Cognosys Image as well as estimated cost of running the instance.

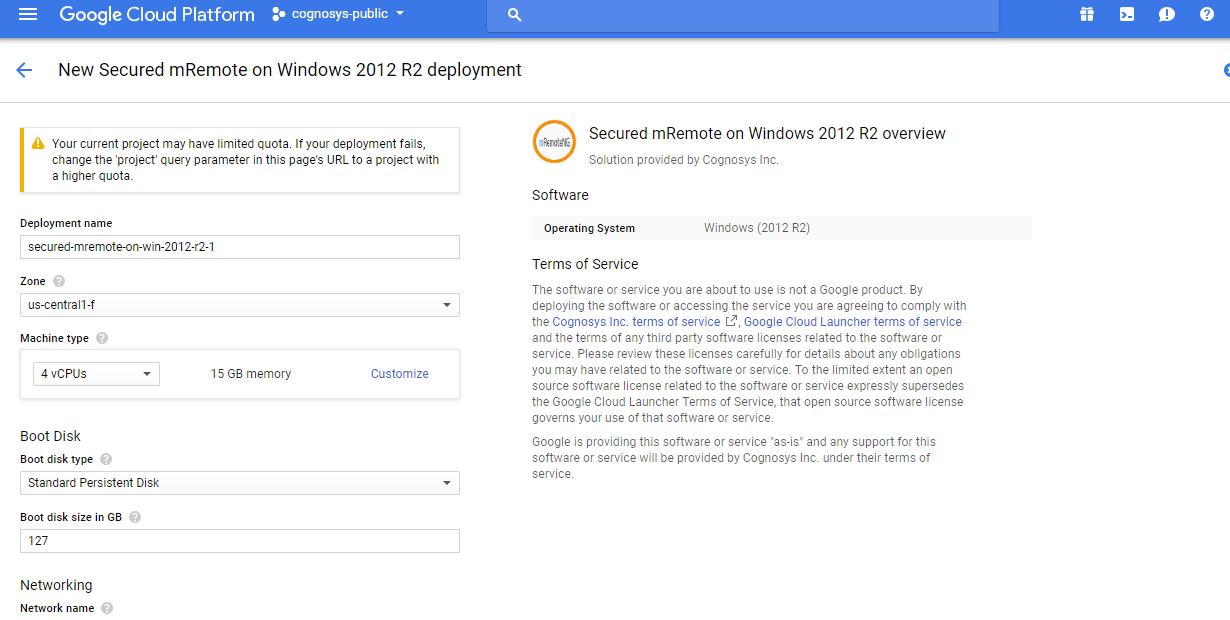
- In the settings page, you can choose the number of CPUs and amount of RAM, the disk size and type etc.

Step 2) RDP Connection: To initialize the DB Server connect to the deployed instance, Please follow Instructions to Connect to Windows instance on Google Cloud
Step 2) Click the Windows “Start” button and select “All Programs” and then point to mRemote.
Step 3) Other Information:
1.Default installation path: will be in your root folder “C:\Program Files (x86)\mRemoteNG”
2.Default ports:
- Windows Machines: RDP Port – 3389
- Http: 80
- Https: 443
Configure custom inbound and outbound rules using this link
Installation Step by Step Screenshots


