
Overview
Mayando on cloud is a fully-featured themeable photo blogging application written in ASP.NET MVC that allow you to showcase your photos online. it give you a rich and interactive web platform where user can showcase their photos directly from an external site such as Flickr which help you to saves your cost in hosting disk space and download limits while providing a seamlessly integrated experience to your visitors.
You only need a web server that supports .NET Framework 3.5 SP1 as the runtime and SQL Server 2005 or higher as a database engine. It supports photos with tags and comments, photo galleries, slideshows, static pages, syndication feeds, a contact form, comment spam protection and the possibility to use different visual themes.
Secured Mayando on Windows 2012 R2
External embedded media removed for production hardening.
Mayando on Cloud for AWS
Mayando on Cloud for Azure
Features
Major Features Of Mayando
1.Photos
Obviously, you can display photos. Again, these are hosted on an external website and merely displayed through your photo blog. But you can have as many photos as you want, and the user can navigate through them in lots of different ways. For example: by date taken, by date published, by tag, by title, or simply by searching anywhere in the photo’s title, tags, description and comments). You can also start a slideshow to display these photos.
2.Pages
You can also configure pages to show richly formatted text to the visitor, such as contact information, how they can order prints or what your artistic vision is.
3.Contact Form
Your visitors can leave you messages through a contact form. Your email address is never shown to them, but their message will be sent to you behind the scenes. You can also configure pages to show the contact form instead of having a separate page just for that.
4.Comments
Your visitors can leave comments on your photos and pages (if you allow so). If you wish, you can get notified by email if new comments are posted.
5.Tags
Photos can have tags associated with them, which makes it easier to search and group photos. Users can also navigate photos by tags.
6.Galleries
Based on these tags, you can create galleries that automatically display all photos with a given set of tags (e.g. a gallery for Portraits or Landscapes). You can even group galleries into a hierarchy to make them easier to navigate.
7.Syndication Feeds
Mayando exposes RSS and Atom feeds with the latest photos and the latest comments. This way, you and your visitors can use an RSS Reader to automatically be notified when new photos are added or when new comments are posted.
8.Photo Providers
The photos that should be displayed in your website are synchronized with the external website through a photo provider. This is a flexible model that allows many online services to work with Mayando. Most providers should be able to synchronize not only the photos themselves and their titles and descriptions, but also their tags and comments.
9.Anti-Spam Providers
To minimze or even eliminate the amount of comment spam on your website, you can also configure an anti-spam provider to verify any comment or contact form message before posting it. Likewise as with hosting photos, the problem of attacking spam has already been solved by a number of existing websites, so Mayando will connect to a configurable provider to check for spam.
10.Crisp And Clean
The URL’s in Mayando are always very simple and clean so they can easily be memorized and you can navigate to any item directly. It’s pretty clear where the following URL’s lead, don’t you agree?
/photos/tagged/portrait
/photos/published/2009/7/18
/galleries/titled/portraits
The default themes are also very lightweight, simple and clean. There are no fancy effects or complicated user interfaces, instead we tried to aim for the simplest effective solution that makes the photos themselves stand out most – without any distractions from the surrounding site itself.
11.Multi-Language
Mayando automatically detects the visitor’s preferred language (as sent by the browser) and translates all static content (not photo titles, descriptions, comments, …) if the language is supported. Currently, English and Dutch are supported but it is fairly easy to support other languages.
AWS
Installation Instructions for Windows
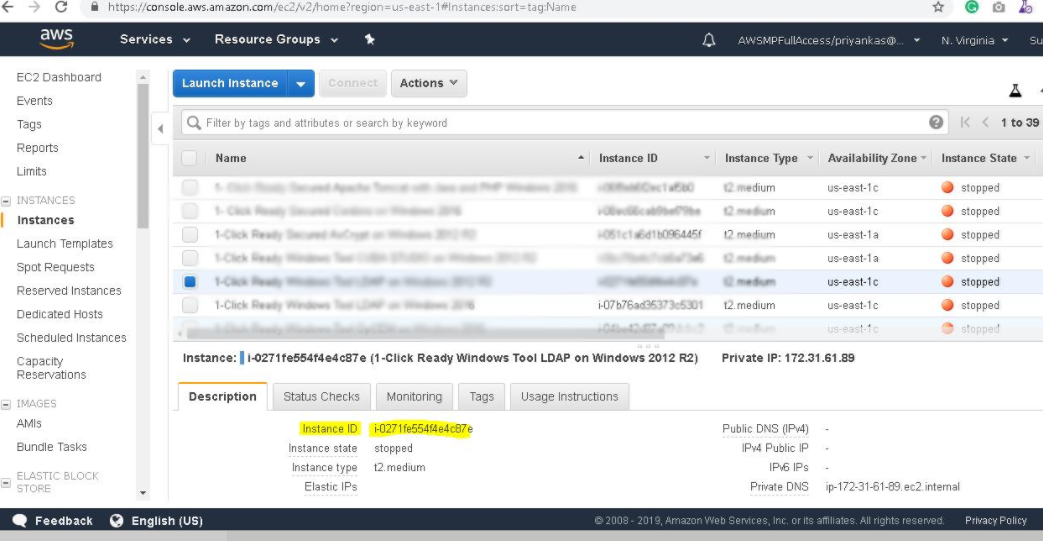
Note: How to find PublicDNS in AWS
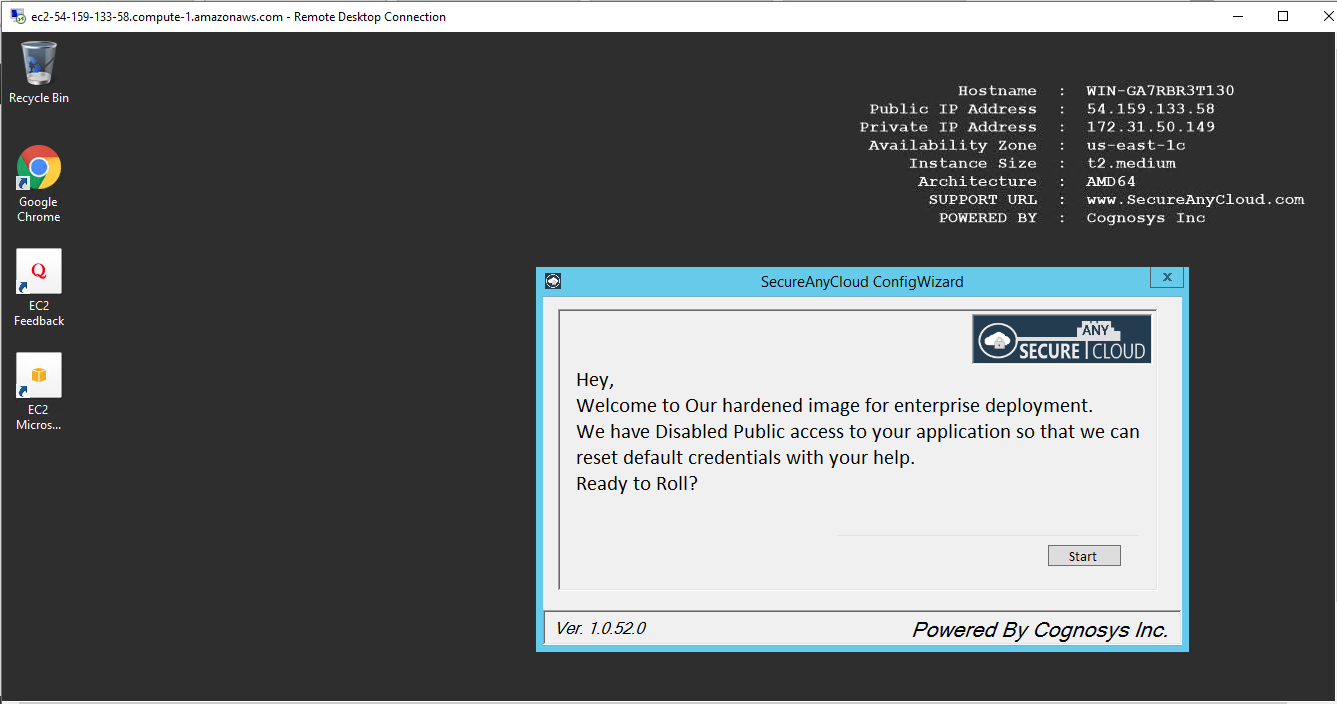
Step 1) RDP Connection: To connect to the deployed instance, Please follow Instructions to Connect to Windows instance on AWS Cloud
1) Connect to virtual machine using following RDP credentials:
- Hostname: PublicDNS / IP of machine
- Port : 3389
Username: To connect to the operating system, use RDP and the username is Administrator.
Password : Please Click here to know how to get password .
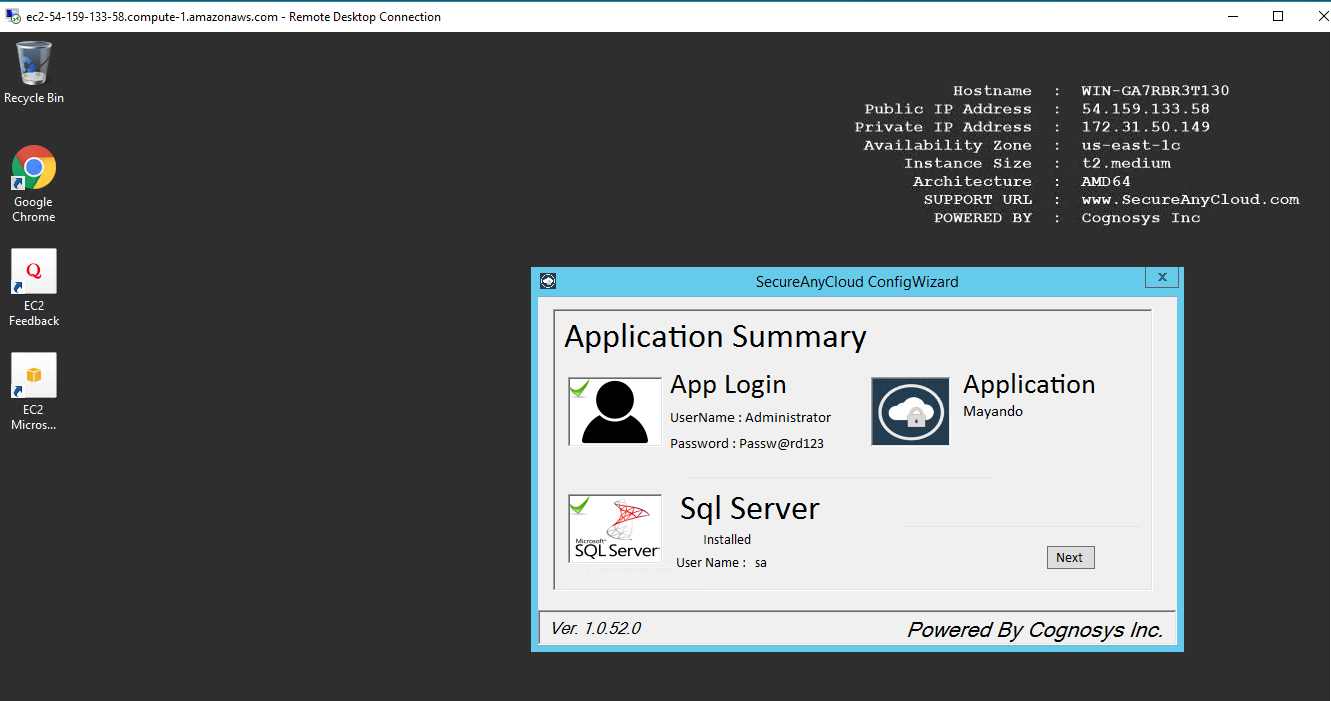
Step 2)Database Login Details :
- SQL Username : sa
- SQL Password : Passw@rd123
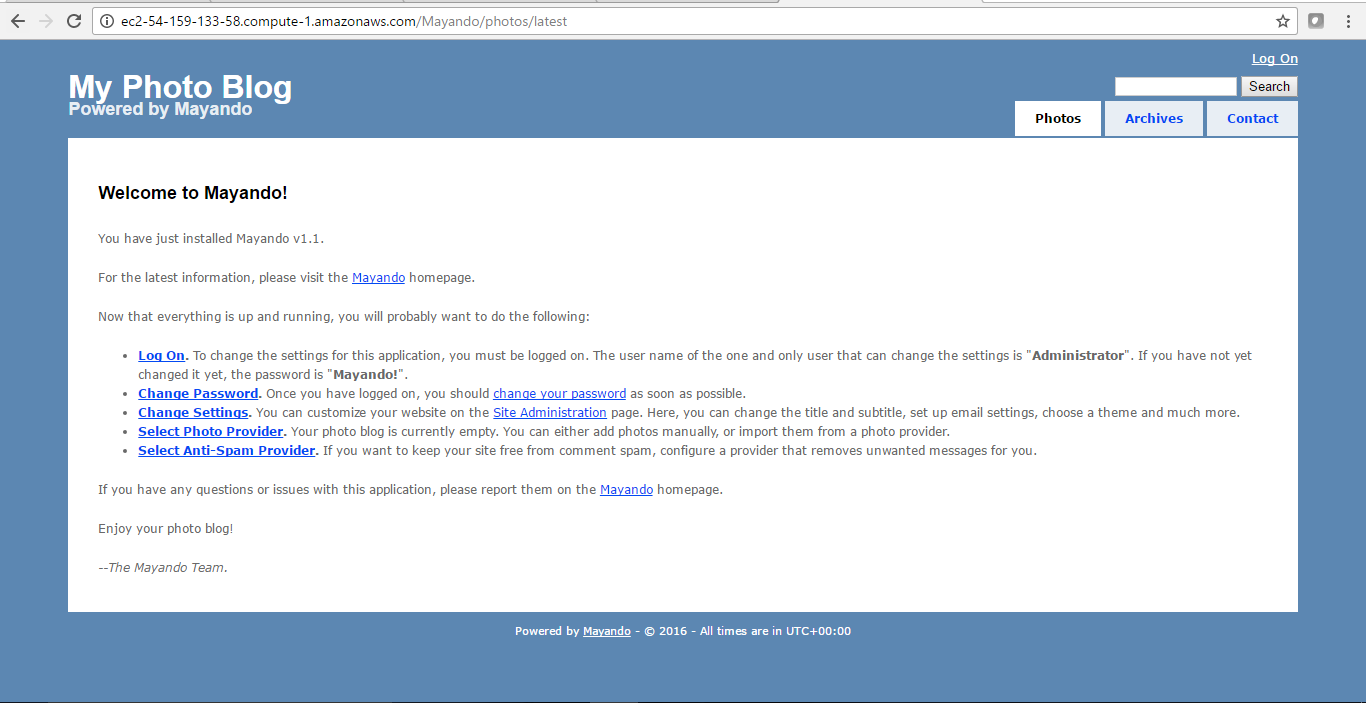
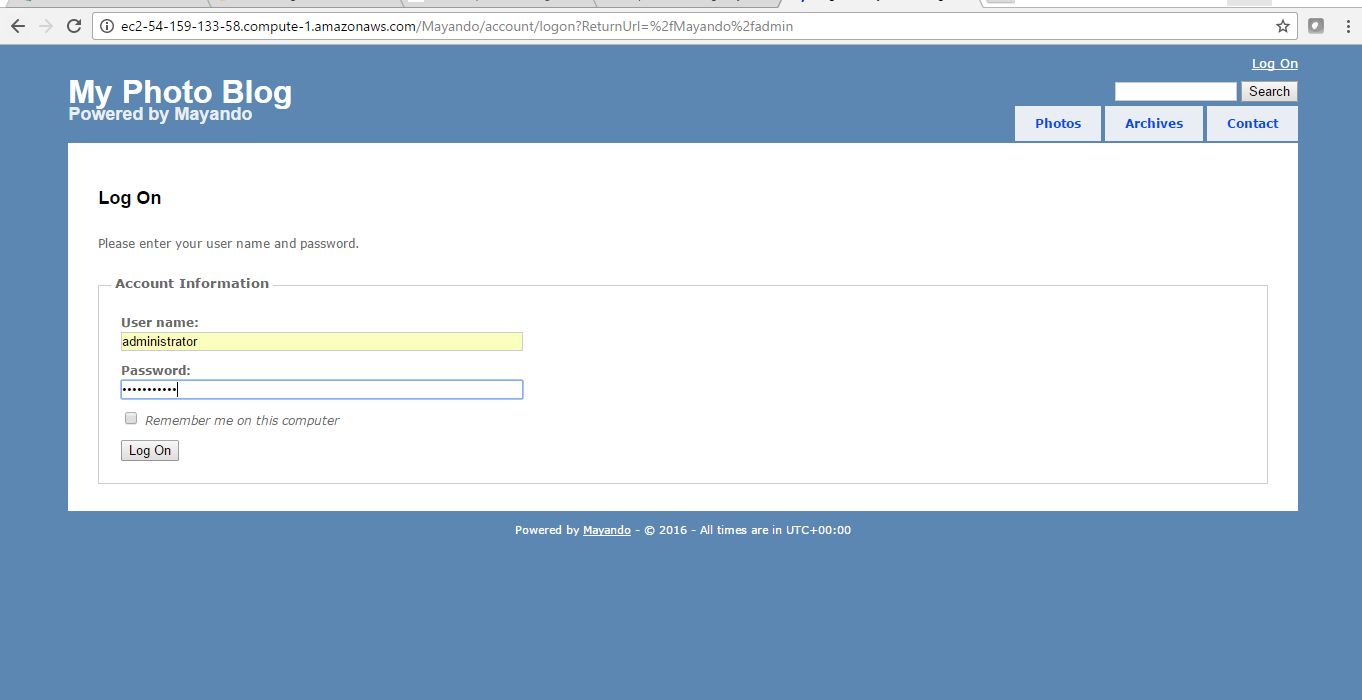
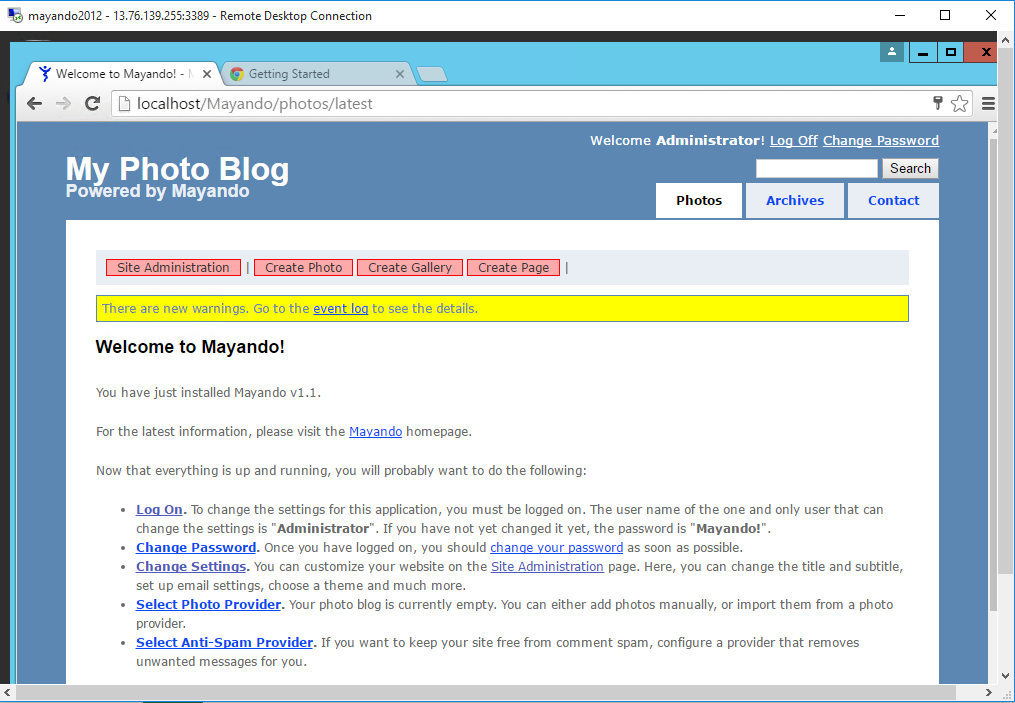
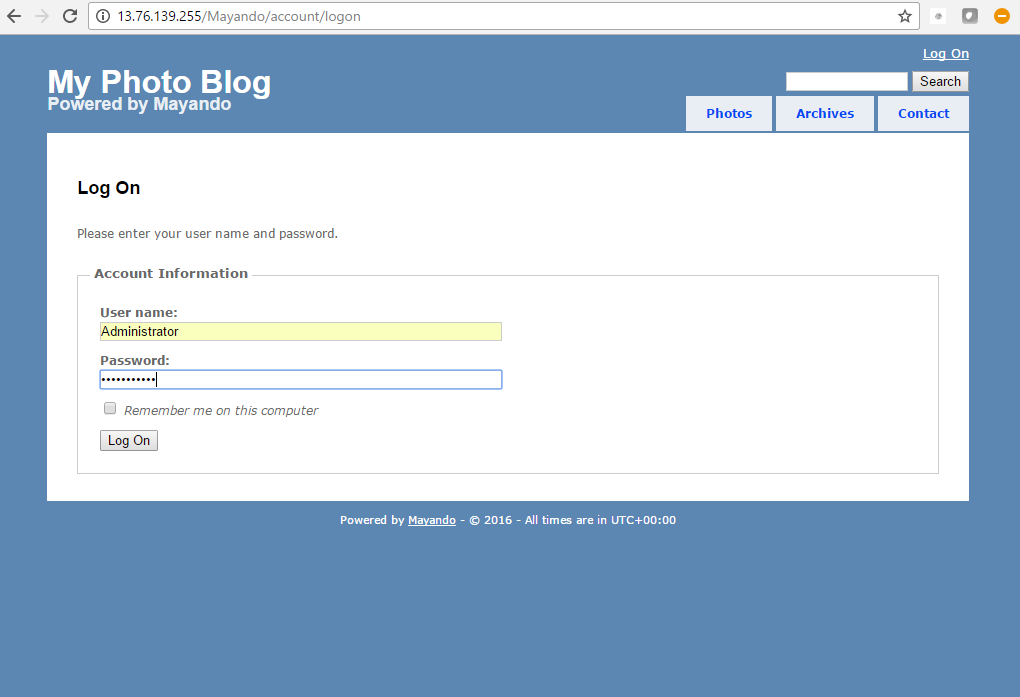
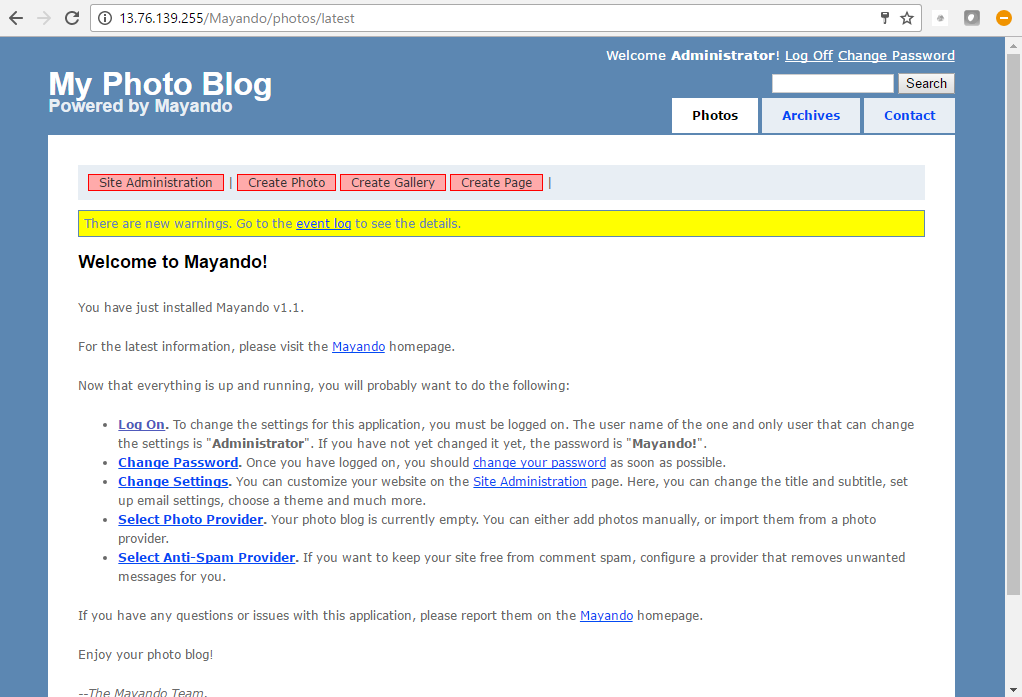
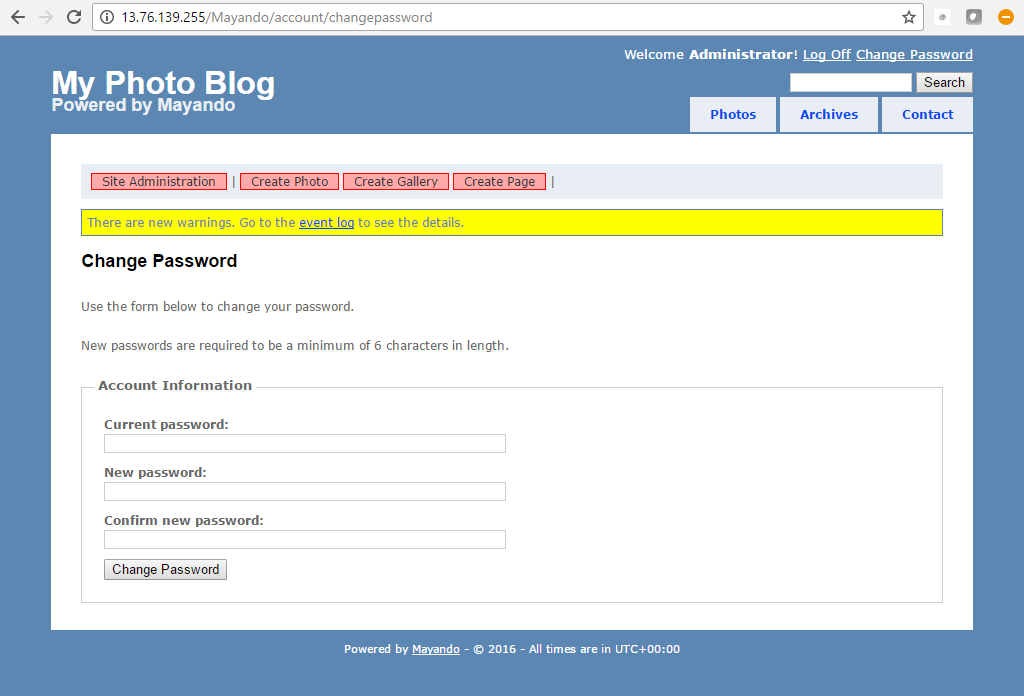
Step 3) Application URL: Access the application via a browser at http://PublicDNS/mayando
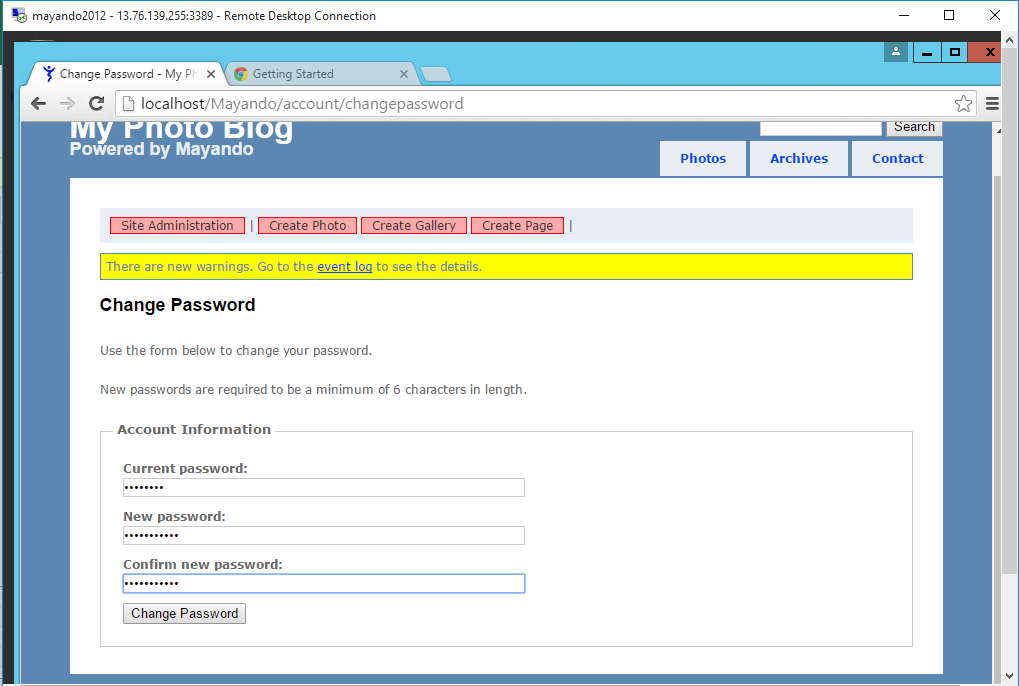
- Username : Administrator
- Password : Passw@rd123
Step 4) Other Information:
1.Default installation path: will be in your web root folder “C:\inetpub\wwwroot\mayando”
2.Default ports:
- Windows Machines: RDP Port – 3389
- Http: 80
- Https: 443
- Sql ports: By default these are not open on Public Endpoints. Internally Sql server: 1433.
Configure custom inbound and outbound rules using this link
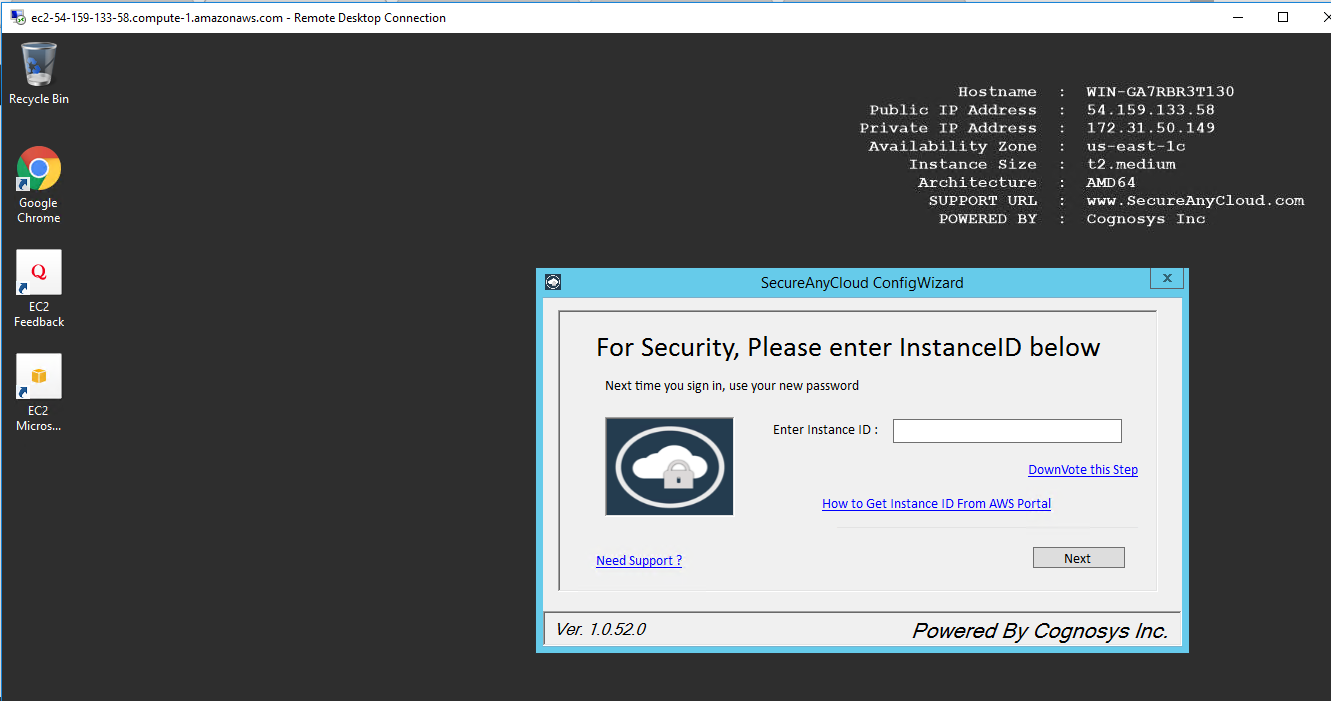
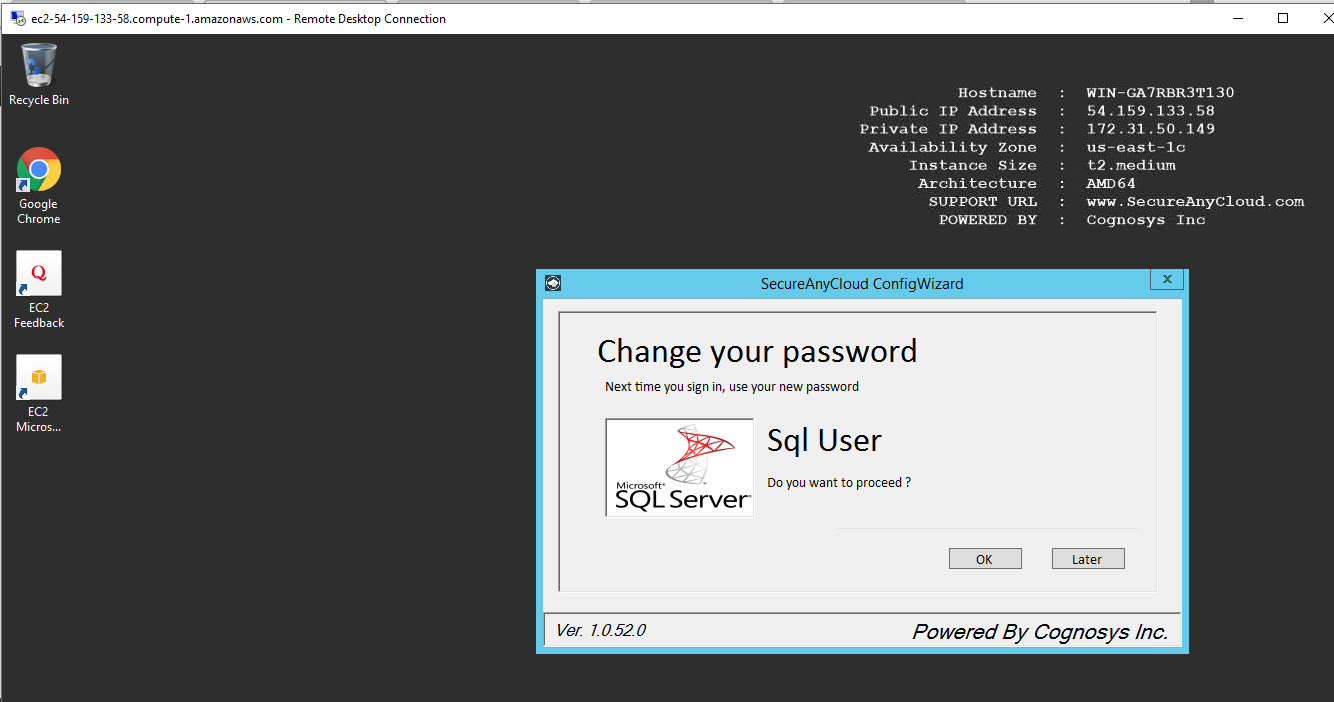
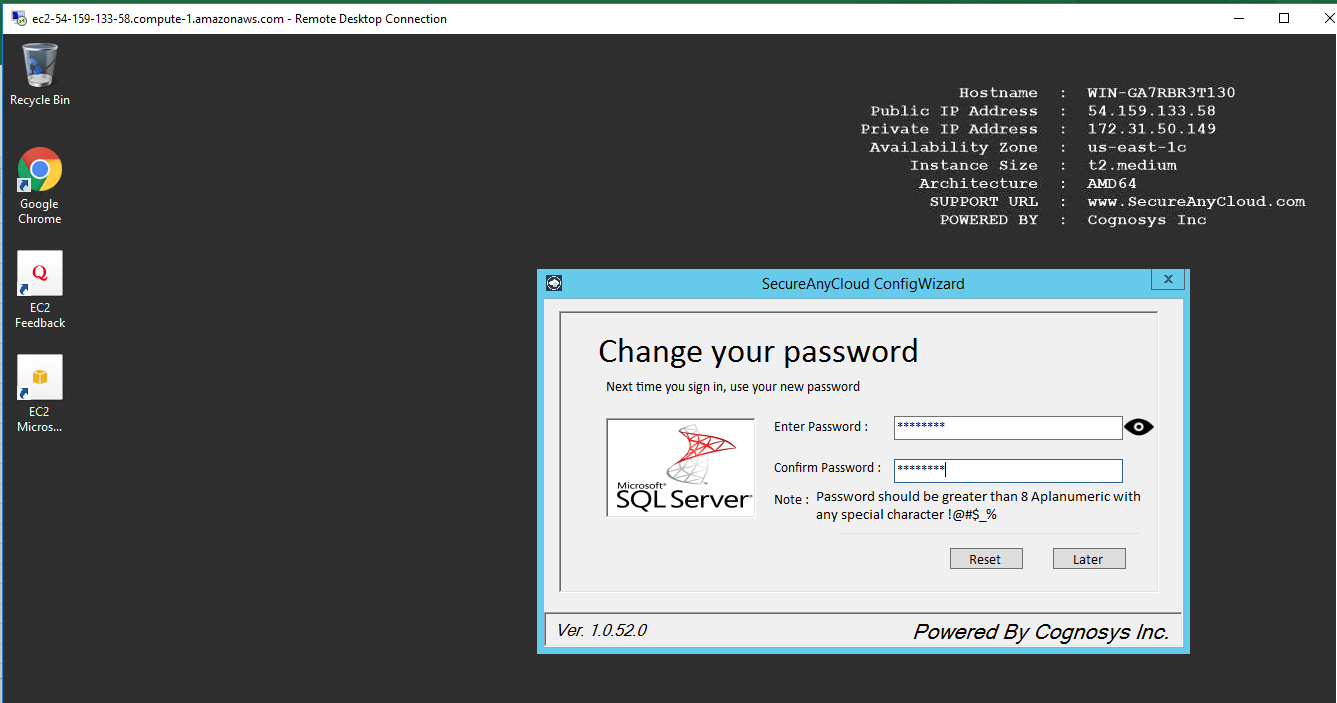
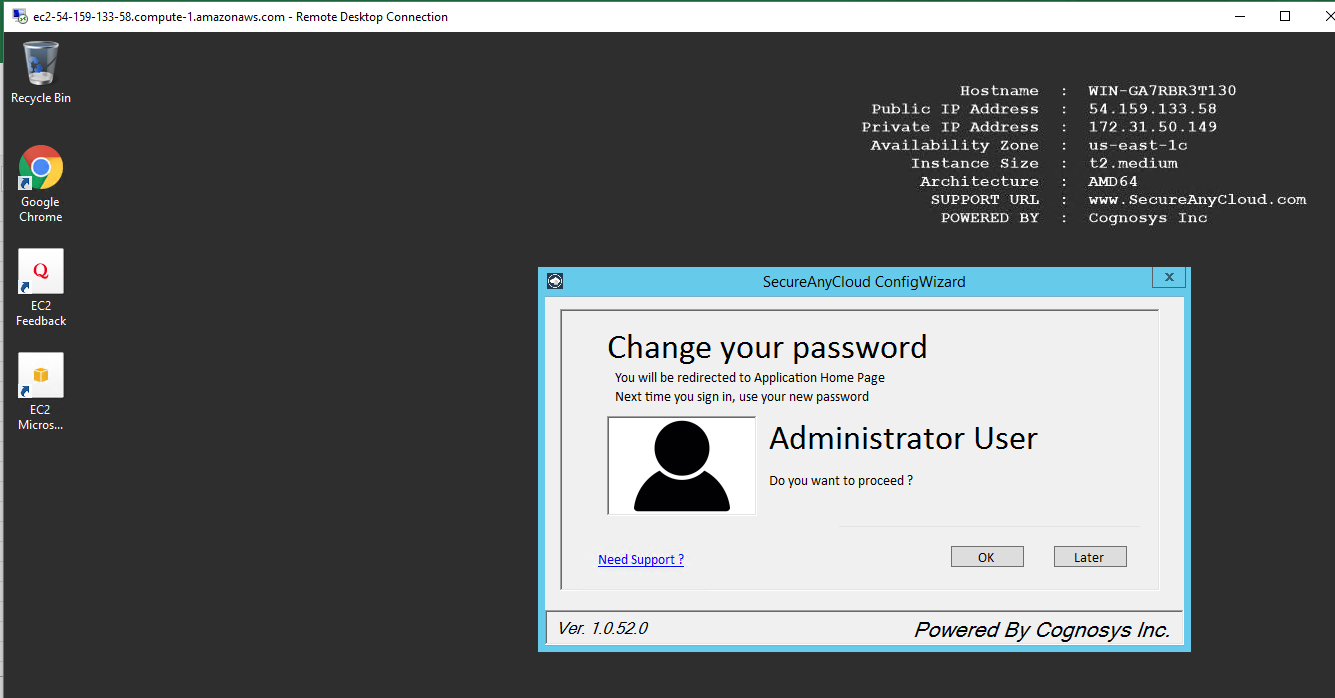
AWS Step by Step Screenshots


Azure
Installation Instructions for Windows
Note: How to find PublicDNS in Azure
Step 1) RDP Connection: To connect to the deployed instance, Please follow Instructions to Connect to Windows instance on Azure Cloud
Connect to virtual machine using following RDP credentials :
- Hostname: PublicDNS / IP of machine
- Port : 3389
Username: Your chosen username when you created the machine ( For example: Azureuser)
Password : Your Chosen Password when you created the machine ( How to reset the password if you do not remember)
Step 2) Database Login Details :
- SQL Username : sa
- SQL Password : Passw@rd123
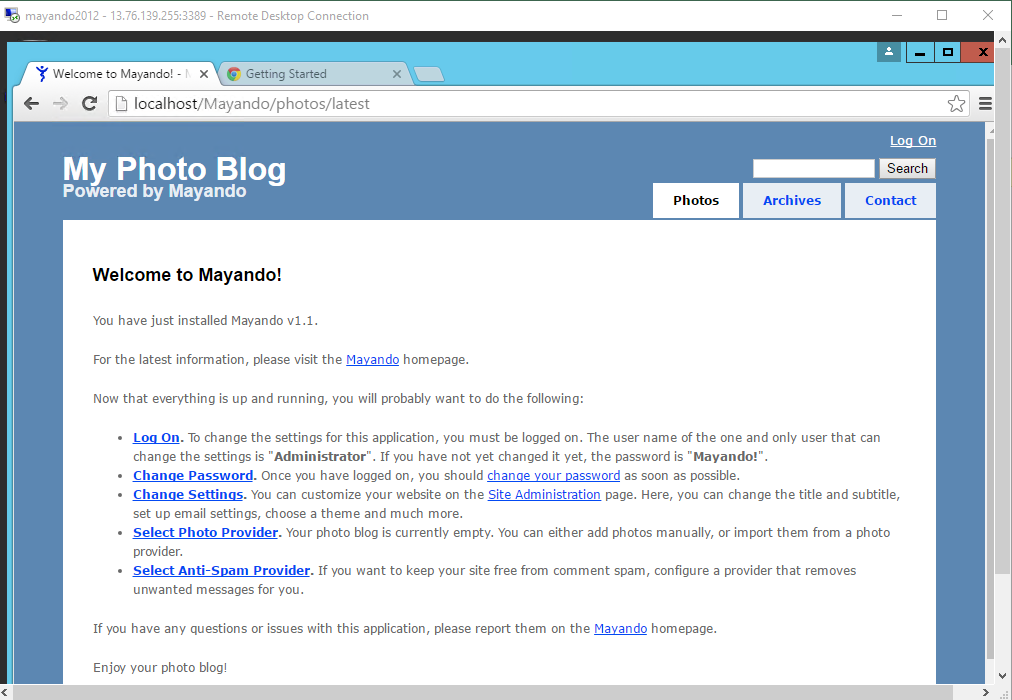
Step 3) Application URL: Access the application via a browser at http://PublicDNS/mayando
- Username : Administrator
- Password : Passw@rd123
Step 4) Other Information:
1.Default installation path: will be in your web root folder “C:\inetpub\wwwroot\mayando”
2.Default ports:
- Windows Machines: RDP Port – 3389
- Http: 80
- Https: 443
- Sql ports: By default these are not open on Public Endpoints. Internally Sql server: 1433.
Configure custom inbound and outbound rules using this link
Azure Step by Step Screenshots

Installation Instructions For Windows
Step 1) VM Creation:
1.Click the Launch on Compute Engine button to choose the hardware and network settings.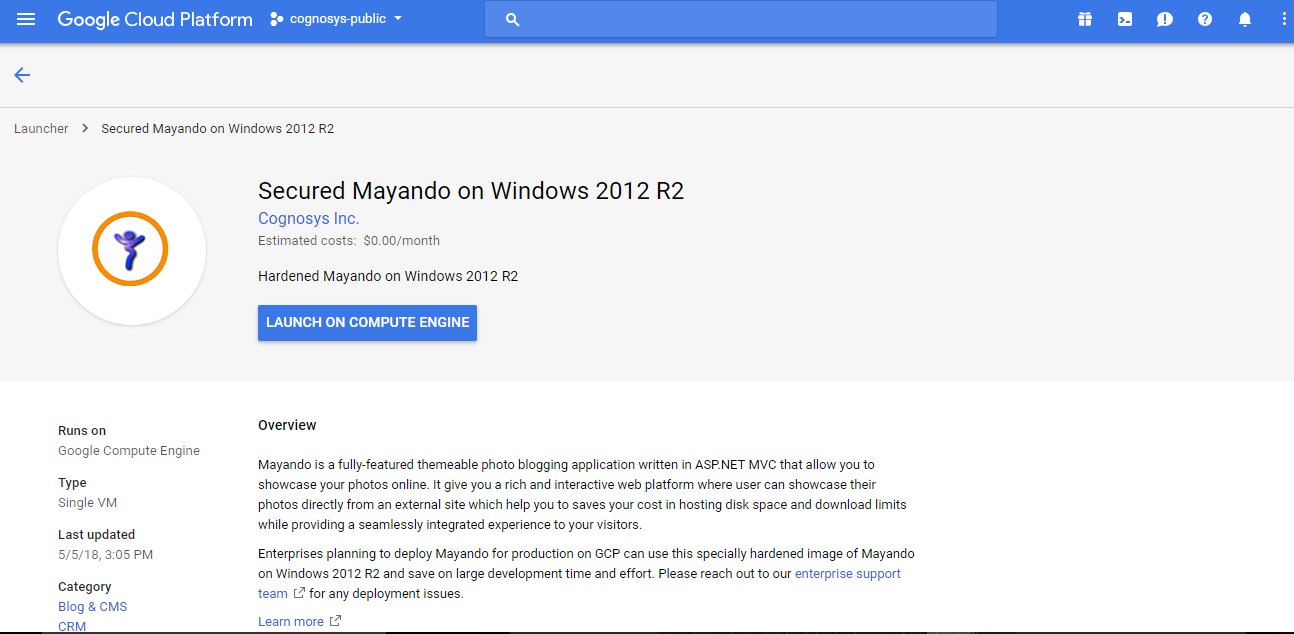
2.You can see at this page, an overview of Cognosys Image as well as some estimated costs of VM.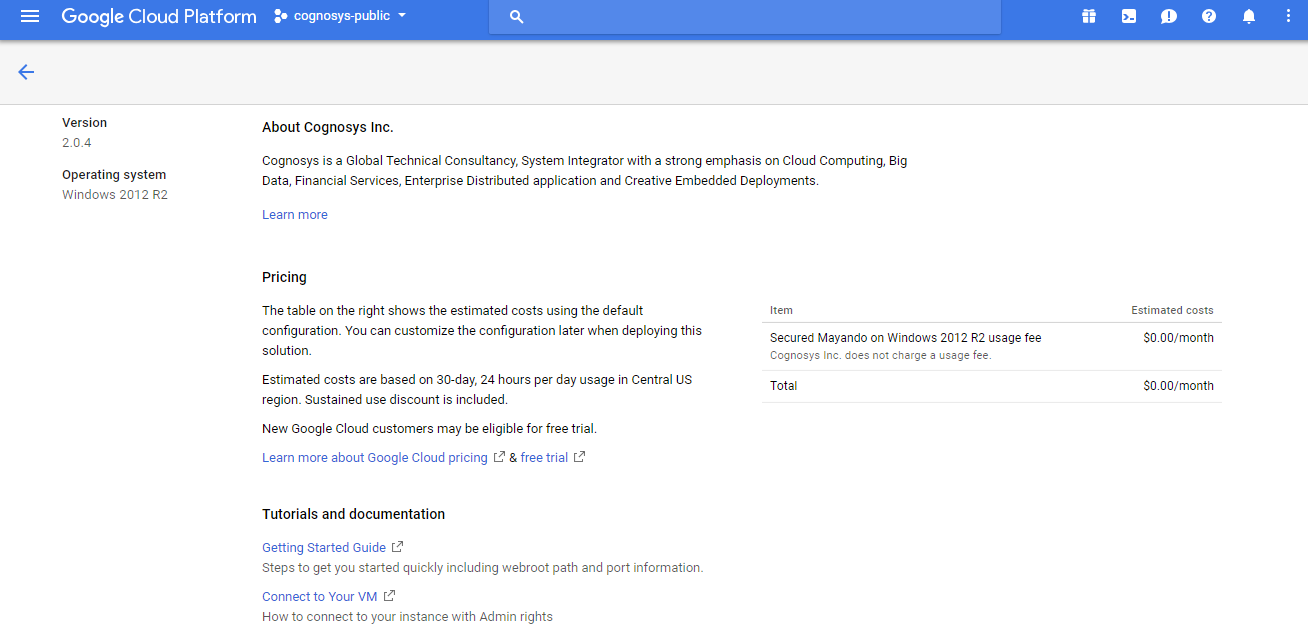
3.In the settings page, you can choose the number of CPUs and amount of RAM, the disk size and type etc.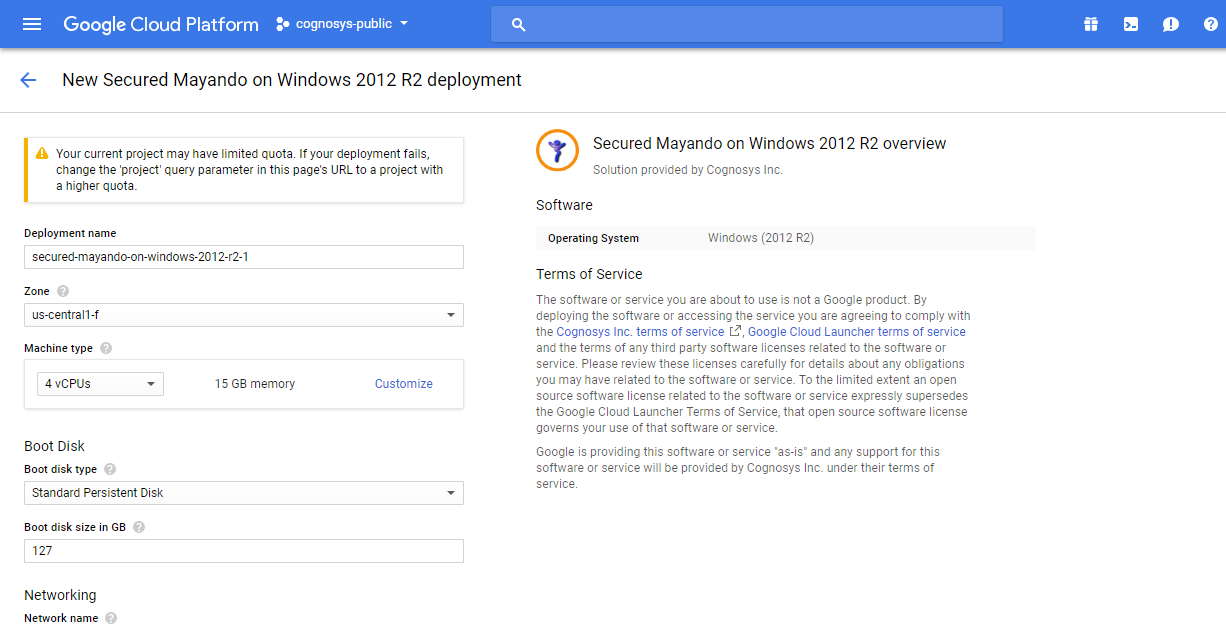
Step 2) RDP Connection: To initialize the DB Server connect to the deployed instance, Please follow Instructions to Connect to Windows instance on Google Cloud
Step 3) Database Login Details:
The below screen appears after successful deployment of the image.

For local MySQL root password, please use the temporary password generated automatically during image creation as shown above.
i) Please connect to Remote Desktop as given in step 2 to ensure stack is properly configured and DB is initialized.
ii) You can use MySQL server instance as localhost, username root and password as shown above.
If you have closed the deployment page you can also get the MySQL root password from VM Details “Custom metadata” Section
videos
Secured Mayando on Windows 2012 R2
External embedded media removed for production hardening.
External embedded media removed for production hardening.
