1-click AWS Deployment 1-click Azure Deployment
Overview
DotNetAge is a web content management system (CMS) and RAD platform that focus on aesthetics ,ease-of-use and Web Standards.She offers an intuitive interface allows non-technical users to easily create new sites or extend the functionality and features of their existing web site when used as a web CMS.
DotNetAge 3.1 upgraded the Event Monitoring service to new web event mode. It’s easy to trigger and handle an event in MVC application or class library.
DotNetAge 3.1 provides a multi-threaded and time trigger task mechanism. Using the Task and Schedule mechanism developed automatic data backup, automated report generation and reporting and regular inventory detection, regular mail features such as unattended background service functions.
Cognosys provides hardened and ready to run images of DotNetAge 3.1 on all public cloud ( AWS marketplace and Azure).
Deploy your DotNetAge 3.1 websites and applications securely on cloud i.e. AWS marketplace and Azure with Reliable Services offered by Cognosys at one-click with easy written and video tutorials.
Secured DotNetAge on Windows 2012 R2
DotNetAge on Cloud AWS -Windows
DotNetAge on Cloud Azure -Windows
Features
Major Features of DotNetAge
- User friendly : Intuitive drag & drop UI , Awesome interactive experience, Naturally search engine friendly,Powerful management tools and All-in-one solution and you will be love it.
- Mobile friendly : Build-in responsive web design that can turn your website to the real mobile internet. Now you should not to create the “mobile-version” for your website any more!
- Data friendly : Define and custom the data that the way you wants. Build awesome blogs, product lists, get polls,publish events ,track your jobs, write articles and anything you wants without IT,DBA and DEV supports!
- Social friendly : Establish your social website and integrate other social service make your content, products faster and more widely spread among peoples.
AWS
Installation Instructions For Windows
Note: How to find PublicDNS in AWS
Step 1) RDP Connection: To connect to the deployed instance, Please follow Instructions to Connect to Windows instance on AWS Cloud
1) Connect to virtual machine using following RDP credentials :
- Hostname: PublicDNS / IP of machine
- Port : 3389
Username: To connect to the operating system, use RDP and the username is Administrator.
Password : Please Click here to know how to get password .
Step 2) Database Login Details :
- SQL Username : sa
- SQL Password : Passw@rd123
Note :-Please change password immediately after first login.
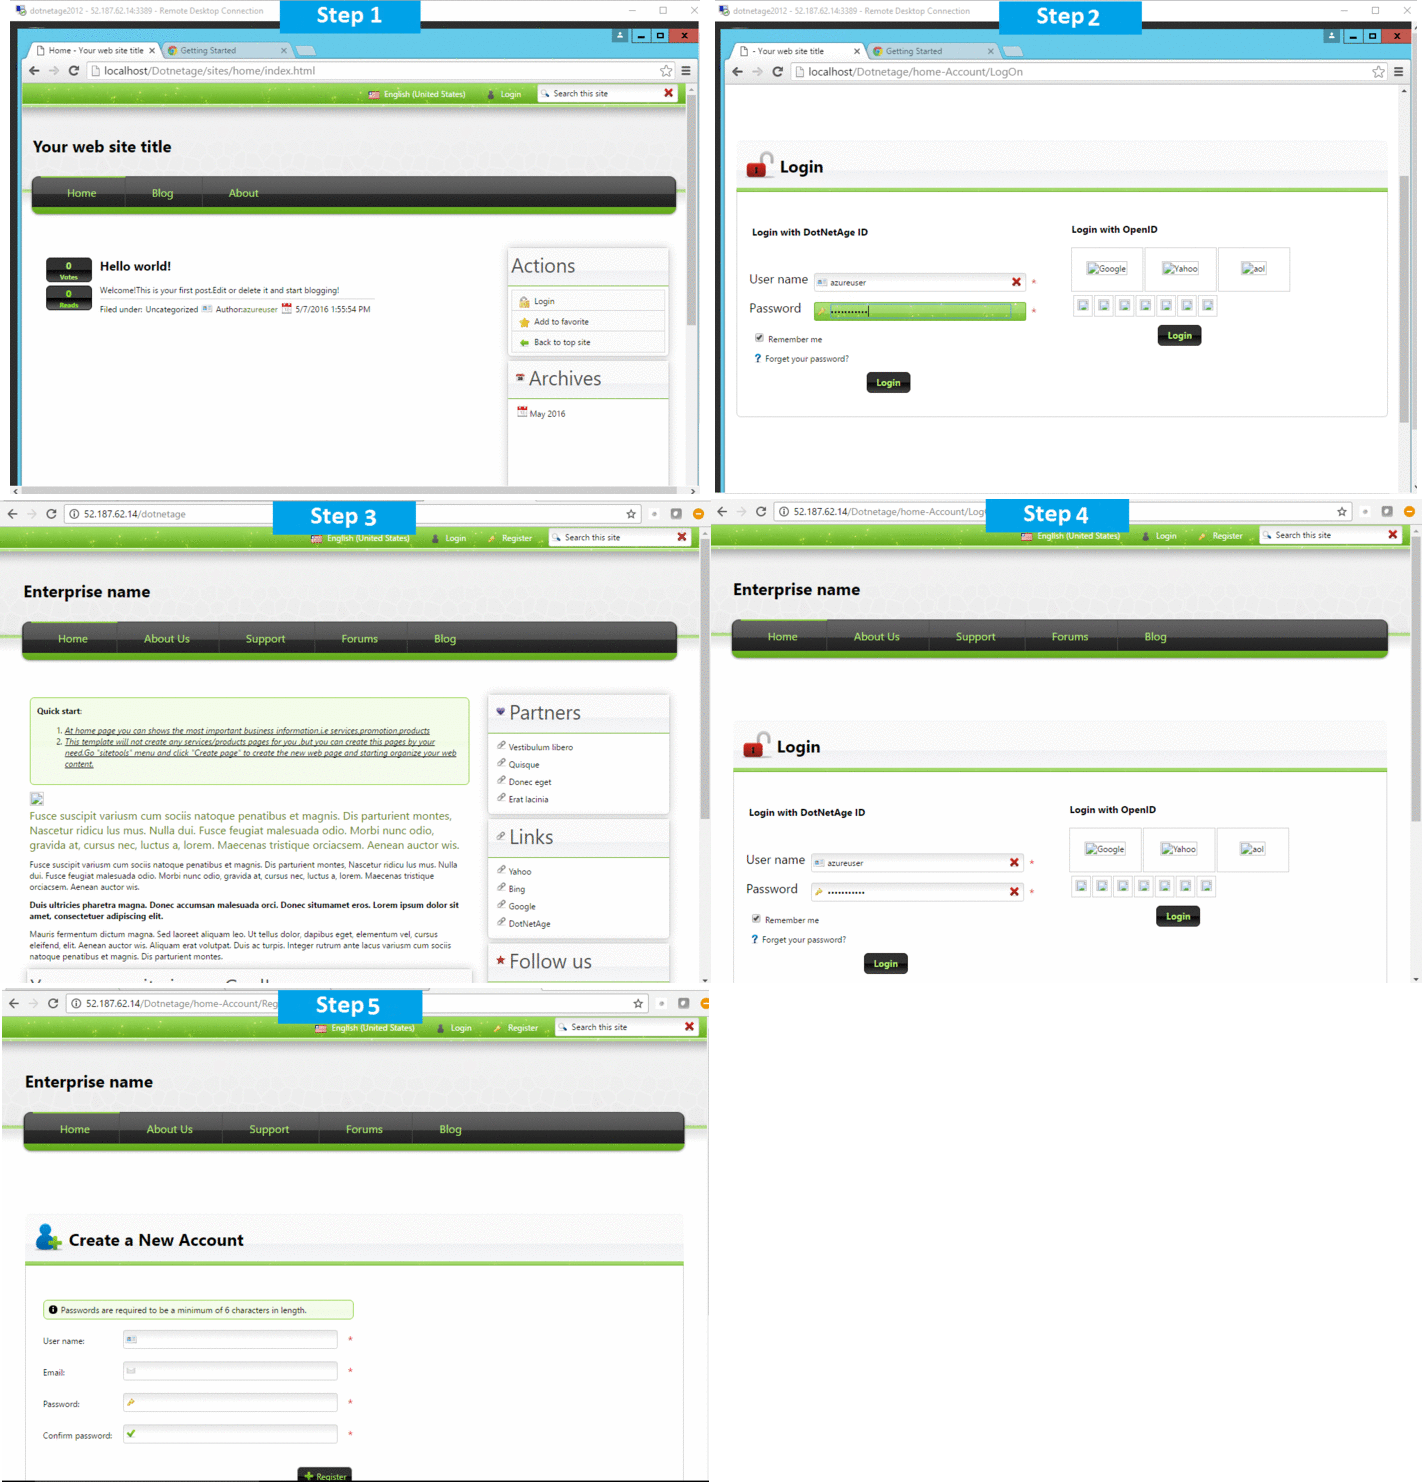
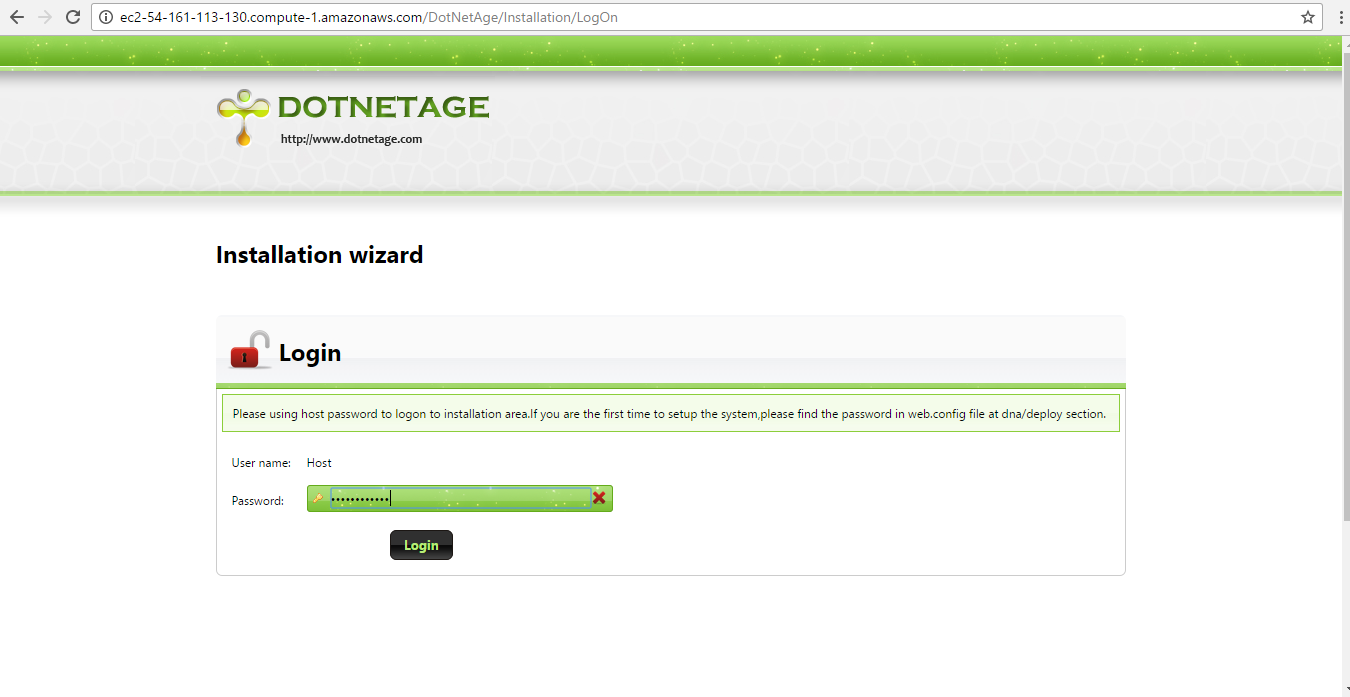
Step 3) Application URL: Access the application via a browser at http://PublicDNS/DotNetAge/Installation/Logon
- User Name: Host
- Password: Passw@rd123
Step 4) After installation of your chosen web template, user can create a new user account with your username and password click here.
Note: How to find PublicDNS in AWS
Step 5) Other Information:
1.Default installation path: will be in your web root folder “C:\inetpub\wwwroot\dotnetage”
2.Default ports:
- Windows Machines: RDP Port – 3389
- Http: 80
- Https: 443
- Sql ports: By default, these are not open on Public Endpoints. Internally Sql server: 1433.
Configure custom inbound and outbound rules using this link
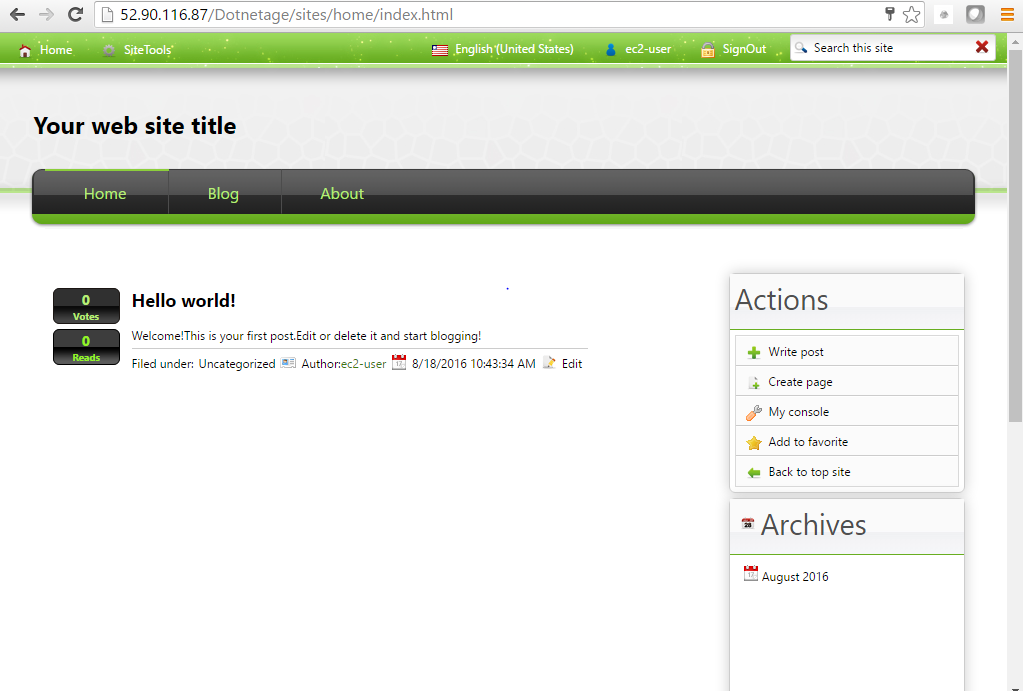
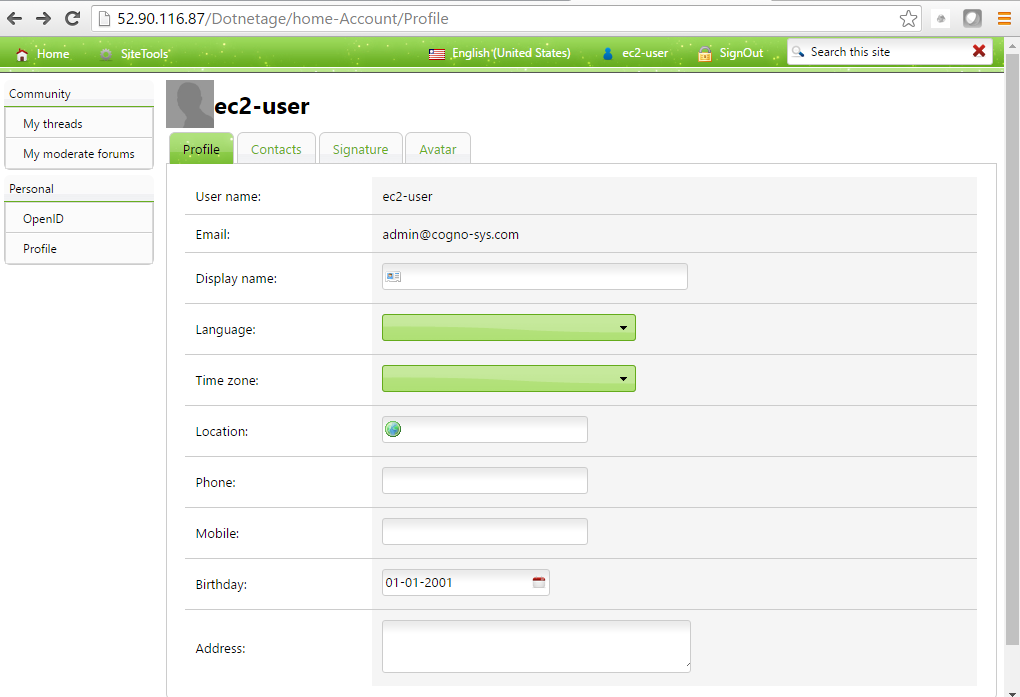
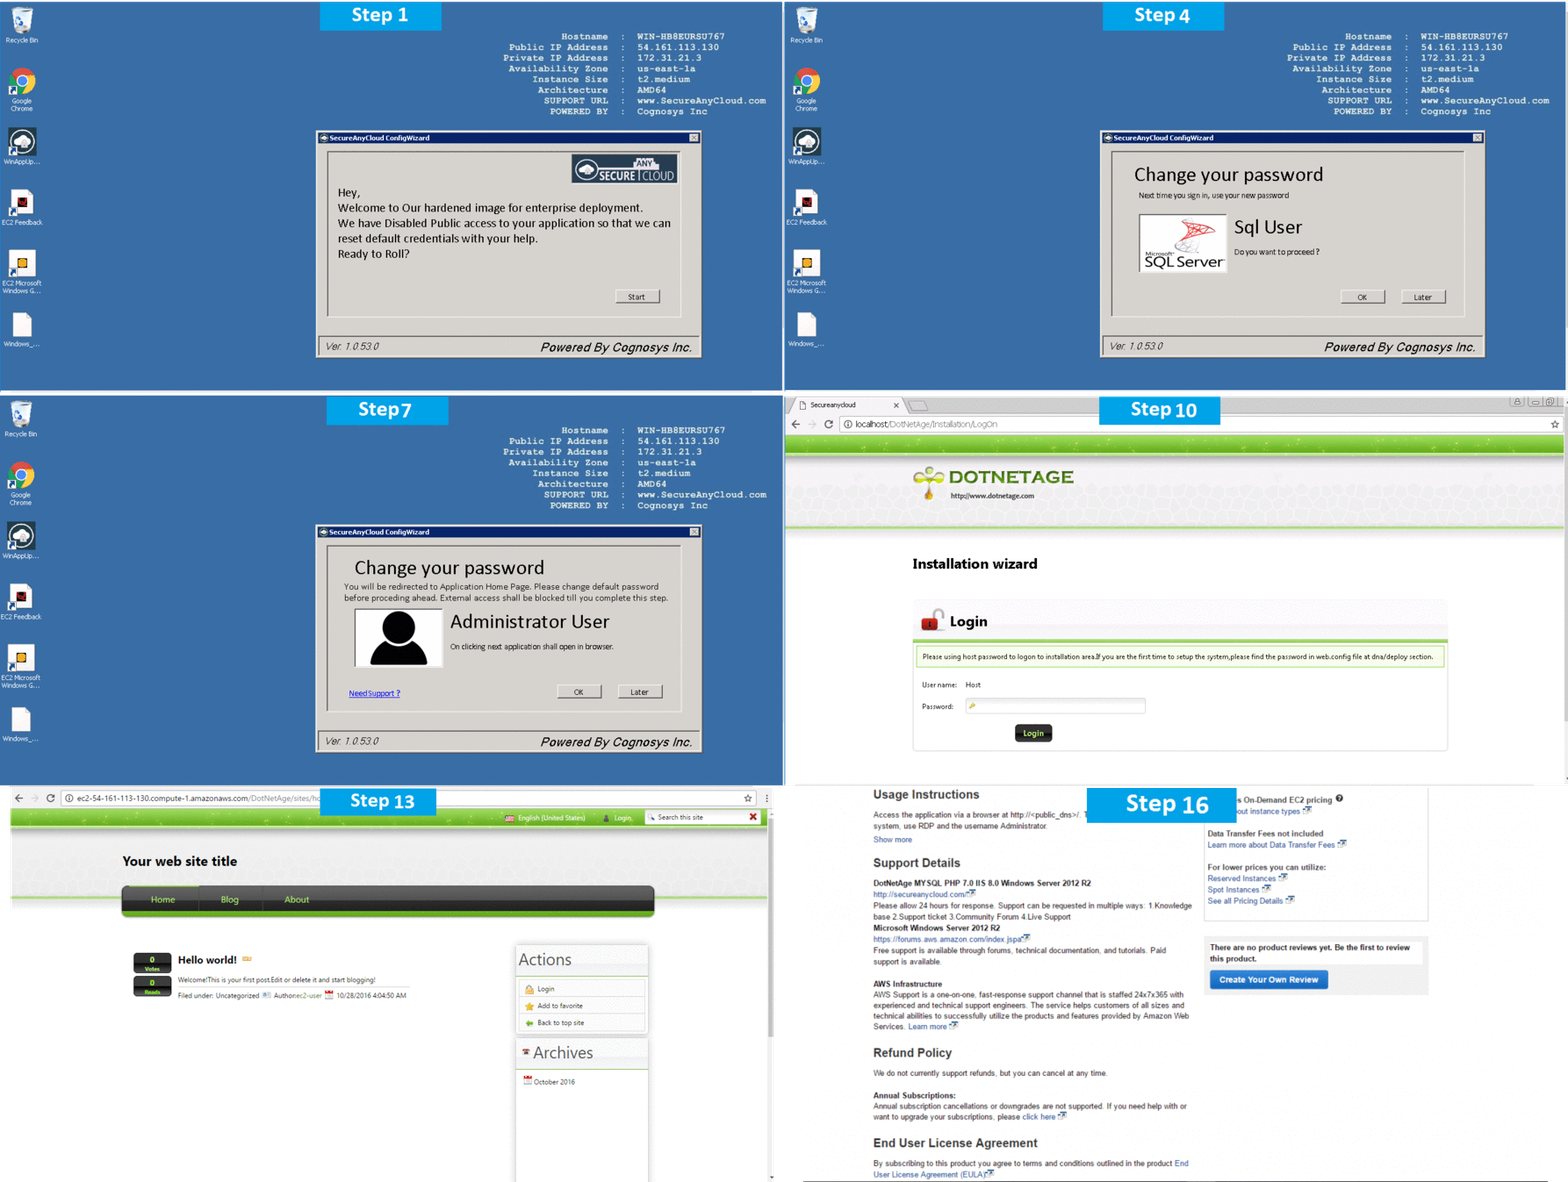
AWS Step By Step Screenshots
Azure
Installation Instructions For Windows
Note: How to find PublicDNS in Azure
Step 1) RDP Connection: To connect to the deployed instance, Please follow Instructions to Connect to Windows instance on Azure Cloud
1) Connect to virtual machine using following RDP credentials :
- Hostname: PublicDNS / IP of machine
- Port : 3389
Username: Your chosen username when you created the machine ( For example: Azureuser)
Password : Your Chosen Password when you created the machine ( How to reset the password if you do not remember)
Step 2) Database Login Details :
- SQL Username : sa
- SQL Password : Passw@rd123
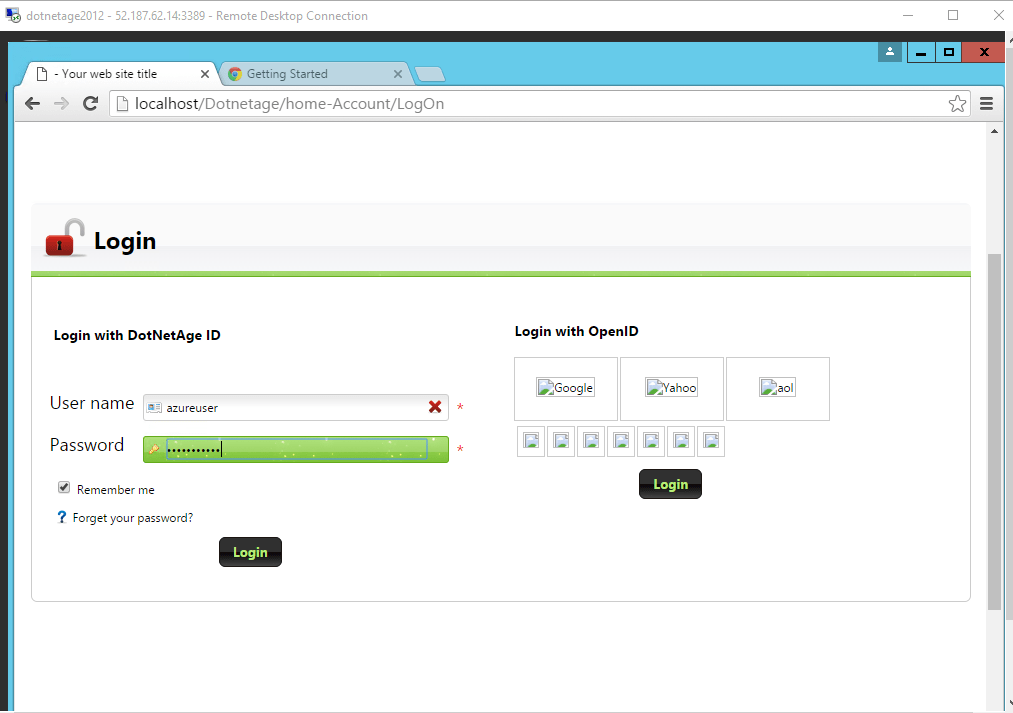
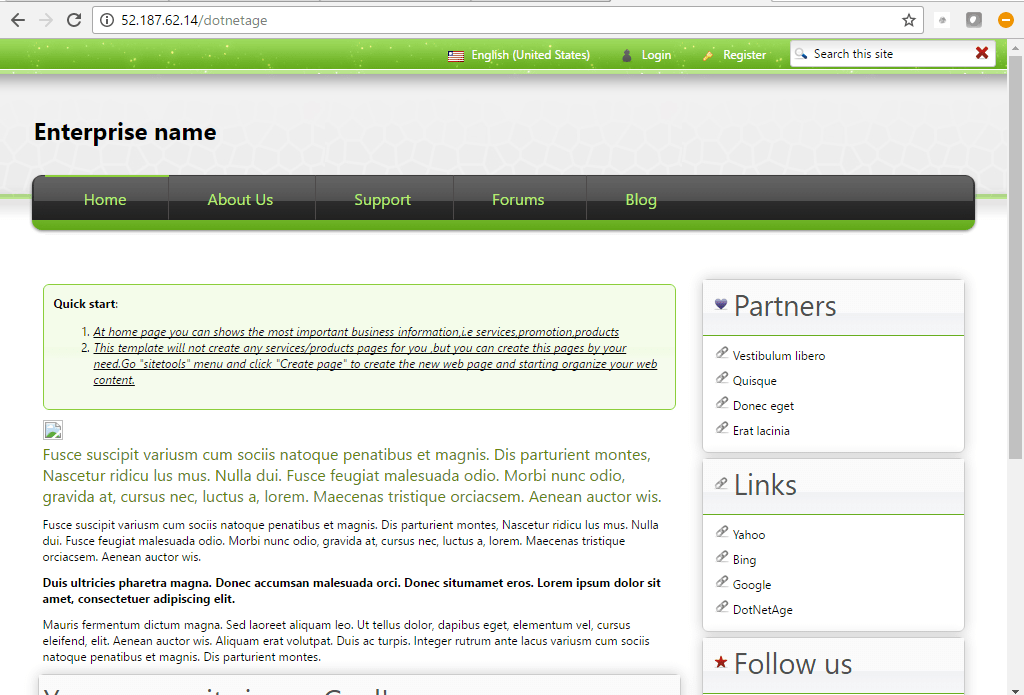
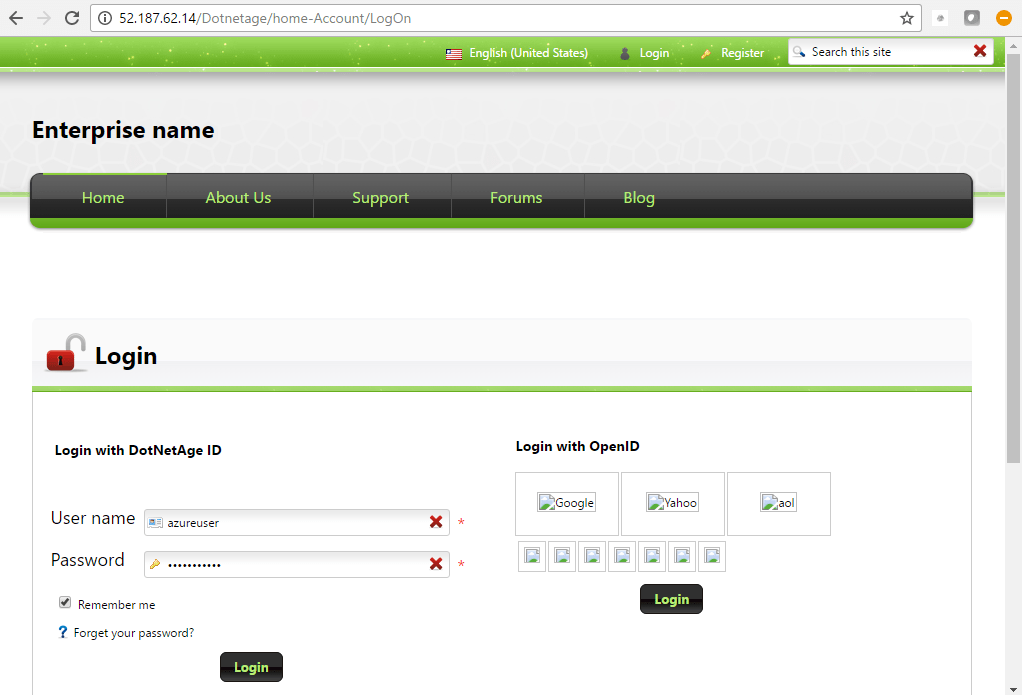
Step 3) Application URL: Access the application via a browser at http://PublicDNS/DotNetAge/Installation/Logon
- User Name: Azureuser
- Password: Passw@rd123
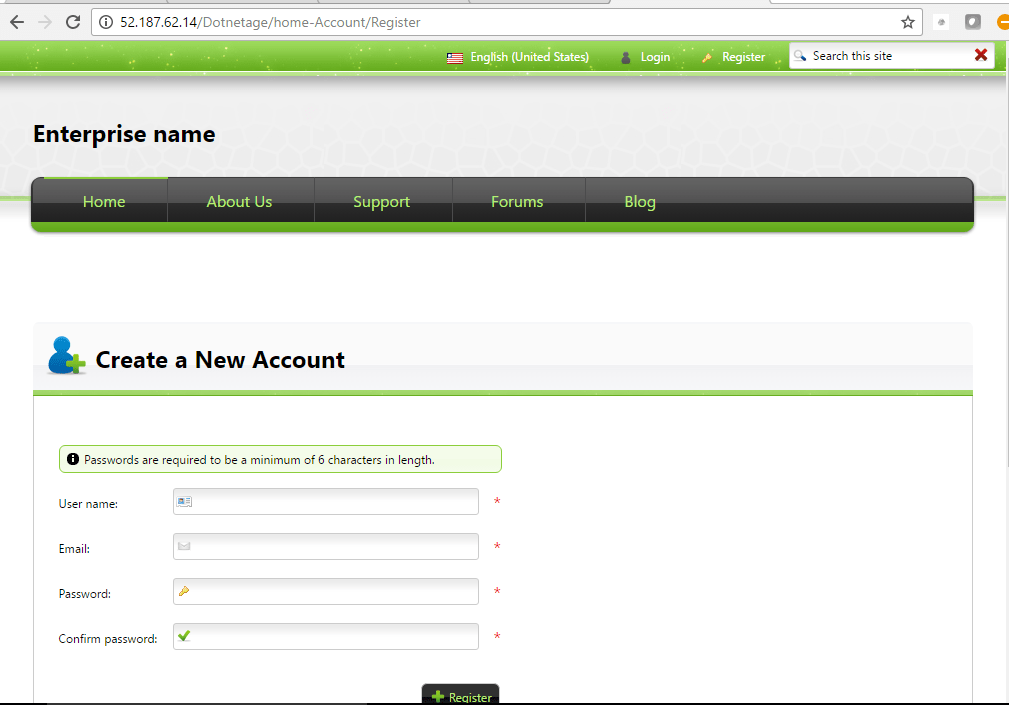
Note: After installation of your chosen web template, user can create a new user account with your username and password.
Step 4) Other Information:
1.Default installation path: will be in your web root folder “C:\inetpub\wwwroot\dotnetage”
2.Default ports:
- Windows Machines: RDP Port – 3389
- Http: 80
- Https: 443
- Sql ports: By default these are not open on Public Endpoints. Internally Sql server: 1433.
Configure custom inbound and outbound rules using this link
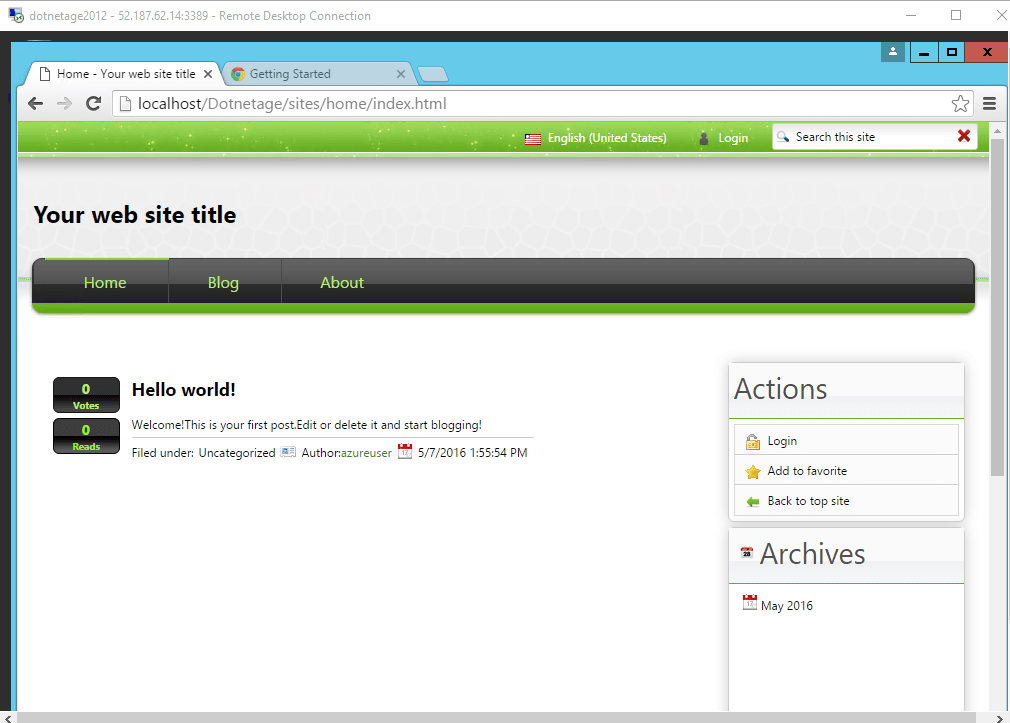
Azure Step by Step Screenshots
Videos
Secured DotNetAge on Windows 2012 R2
Create your first widget
Install DotNetAge3


