1-click AWS Deployment 1-click Azure Deployment
Overview
A database editor, suitable as front-end for all your relational databases. Connects to Oracle, DB2, MySQL and many other databases. Used to easily query, update and administer your database, create reports and synchronize data.
DBEdit is owned by DBEdit(http://dbedit2.sourceforge.net/) and they own all related trademarks and IP rights for this software.
Cognosys provides hardened images of DBEdit on all public cloud i.e. AWS marketplace and Azure.
DBEdit on cloud For AWS
Features
Major Features of DBEdit
-
- Tested on Oracle, DB2, MySQL, SQLite, HSQLDB, H2, Apache Derby and SQL Server but should work with any database.
-
- Tested on Windows, Linux, Solaris and Mac OS X, but should run on any configuration.
-
- Syntax highlighting
-
- SQL reformatting
-
- Update records by directly editing the result grid.
-
- Insert, edit, delete and duplicate records.
-
- Open, export and import BLOB’s and CLOB’s.
-
- Export results to Excel, PDF or flat file.
-
- Copy and paste BLOB’s and CLOB’s.
-
- Export results to insert statements.
- Consult the database structure in the schema browser.
AWS
Installation Instructions For Windows
Note: How to find PublicDNS in AWS
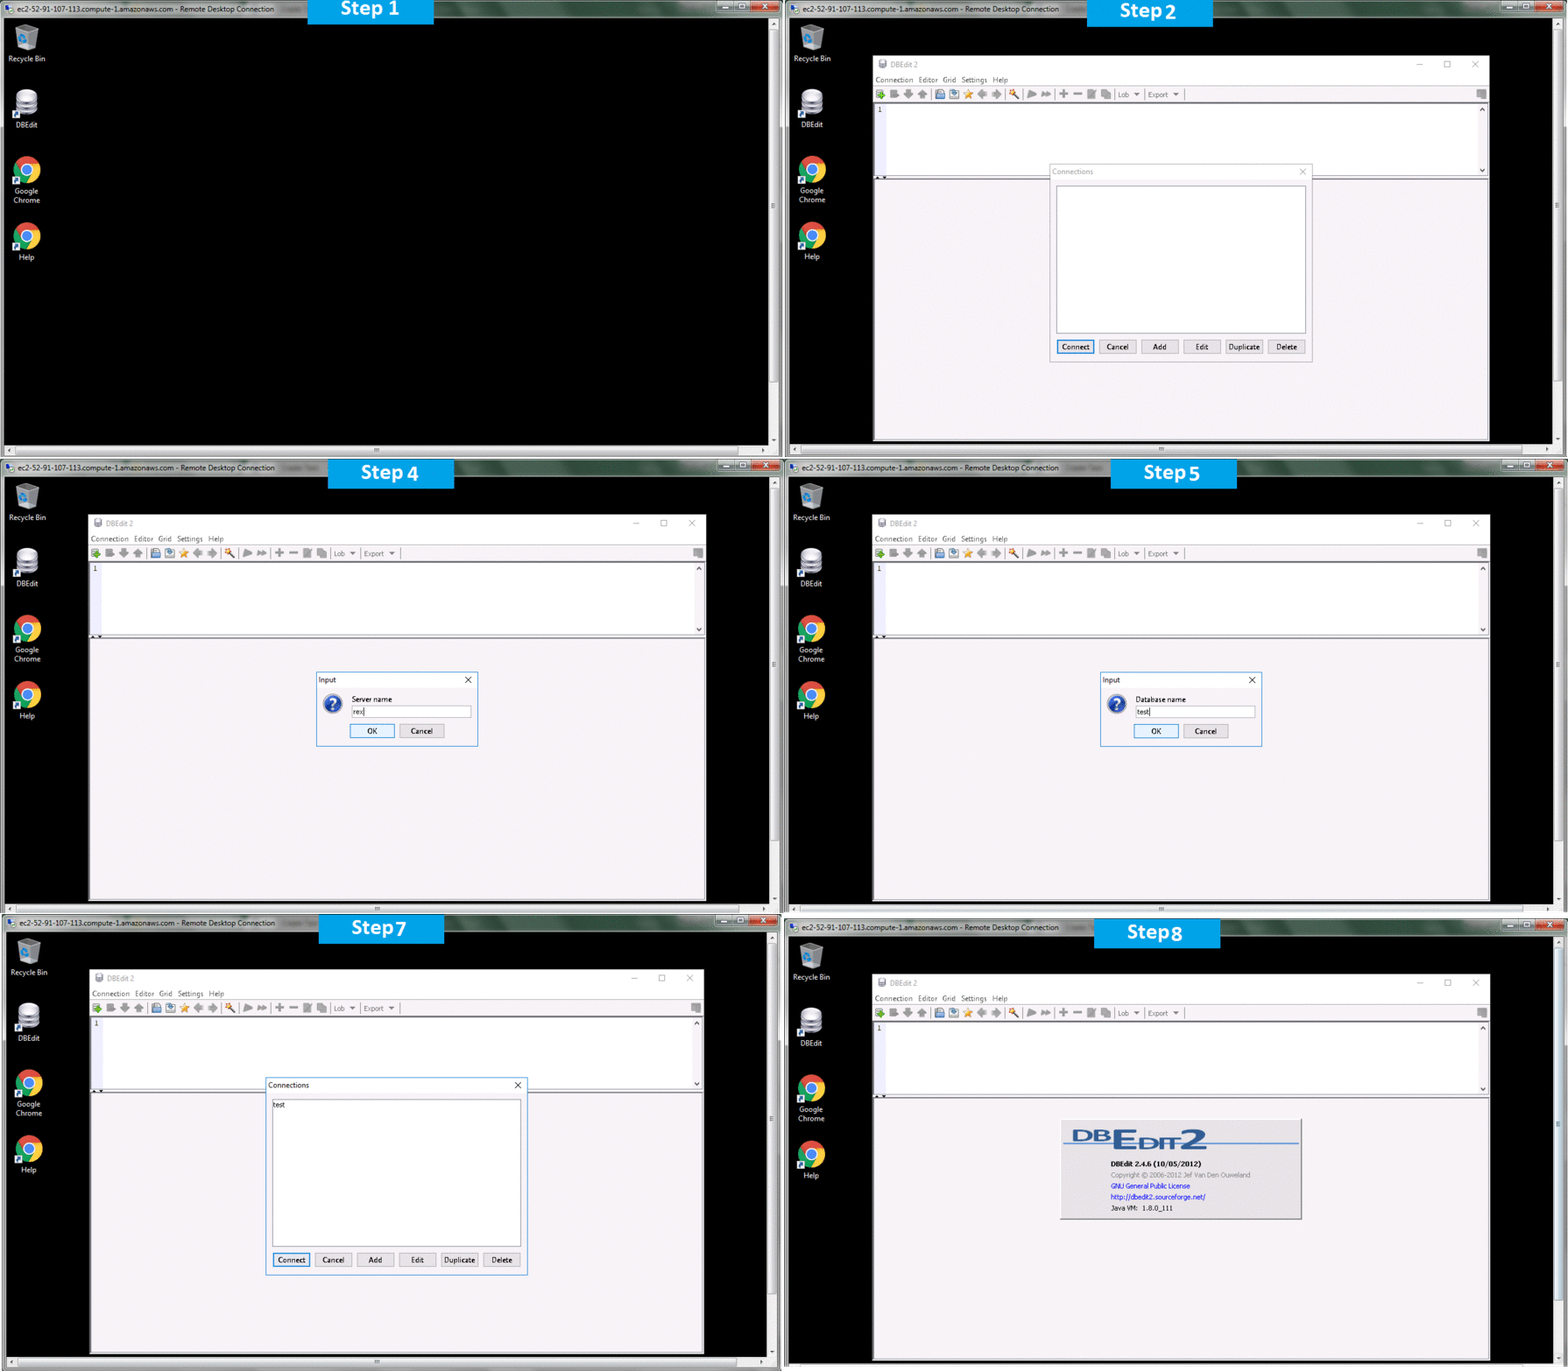
Step 1) RDP Connection: To connect to the deployed instance, Please follow Instructions to Connect to Windows instance on AWS Cloud
1) Connect to the virtual machine using following RDP credentials:
- Hostname: PublicDNS / IP of machine
- Port : 3389
Username: To connect to the operating system, use RDP and the username is Administrator.
Password: Please Click here to know how to get password .
Step 2) Click the Windows “Start” button and select “All Programs” and then point to DBEdit.
Step 3) Other Information:
1.Default installation path: will be in your root folder “C:\Program Files (x86)\DBEdit 2”
2.Default ports:
- Windows Machines: RDP Port – 3389
- Http: 80
- Https: 443
Notes: You need to install Any Database software to use DBEdit.
Configure custom inbound and outbound rules using this link
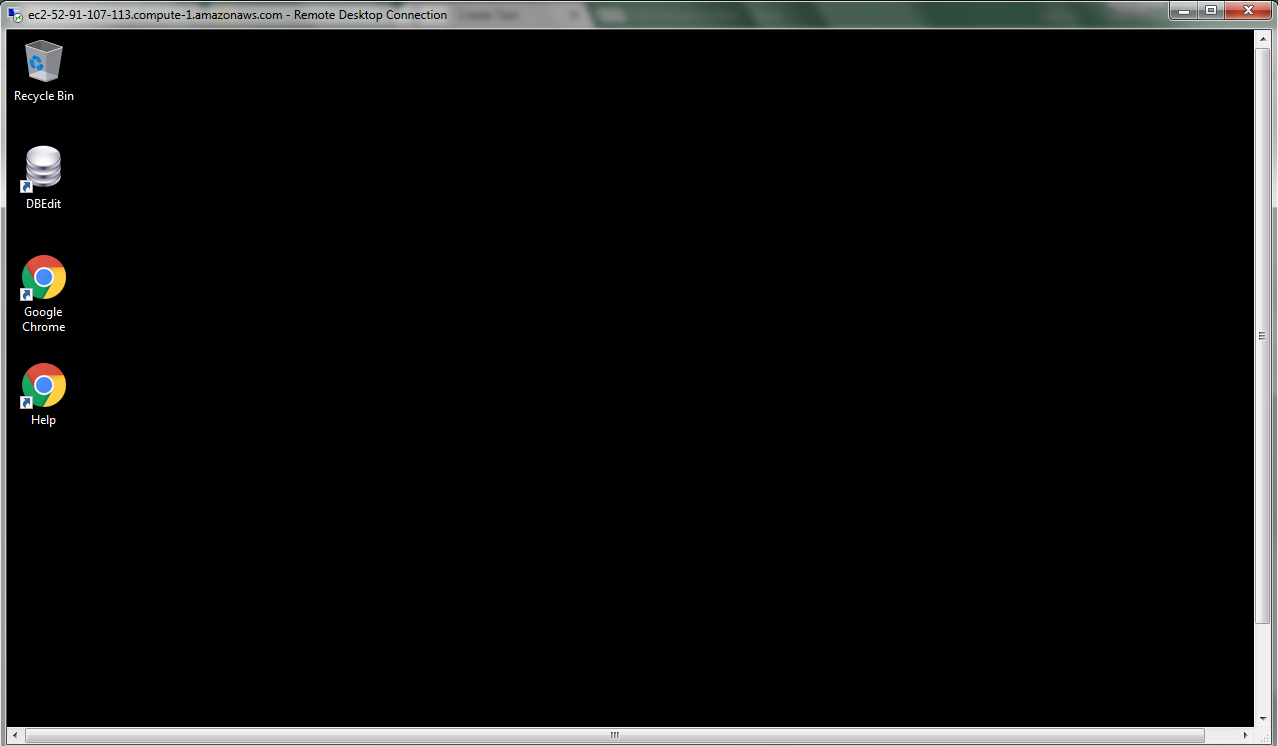
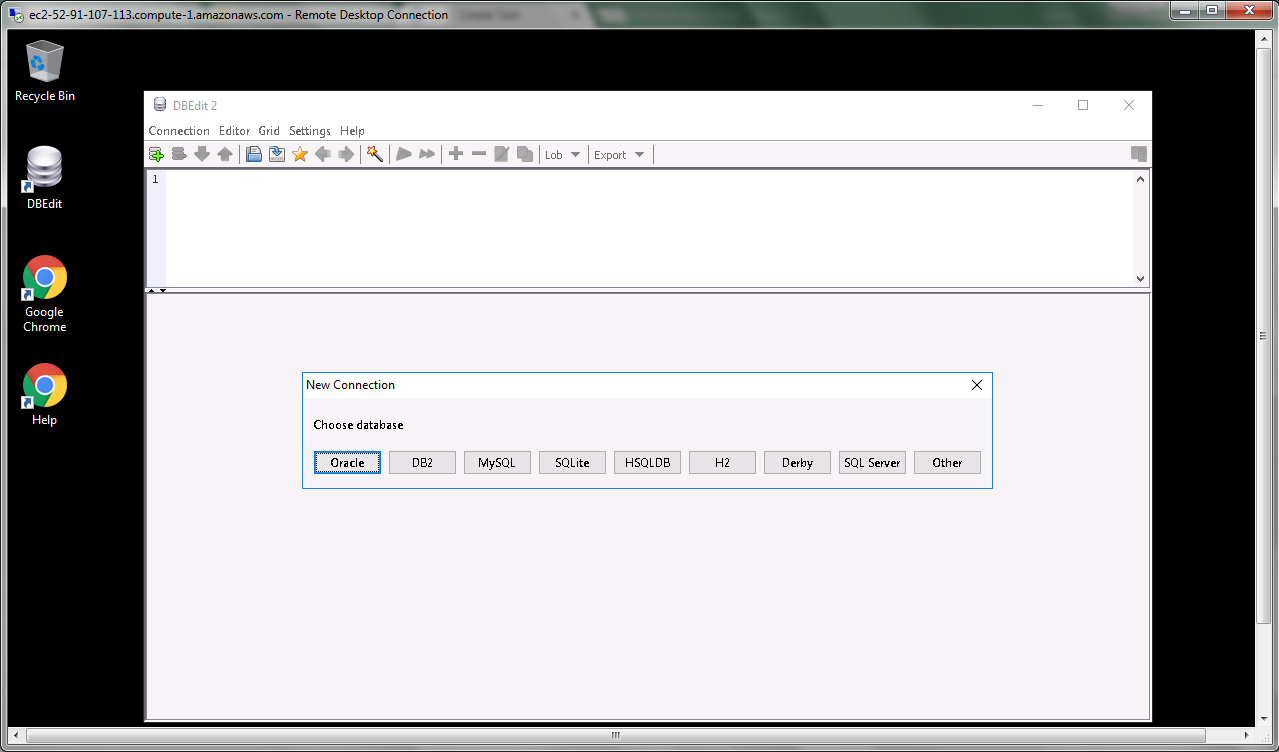
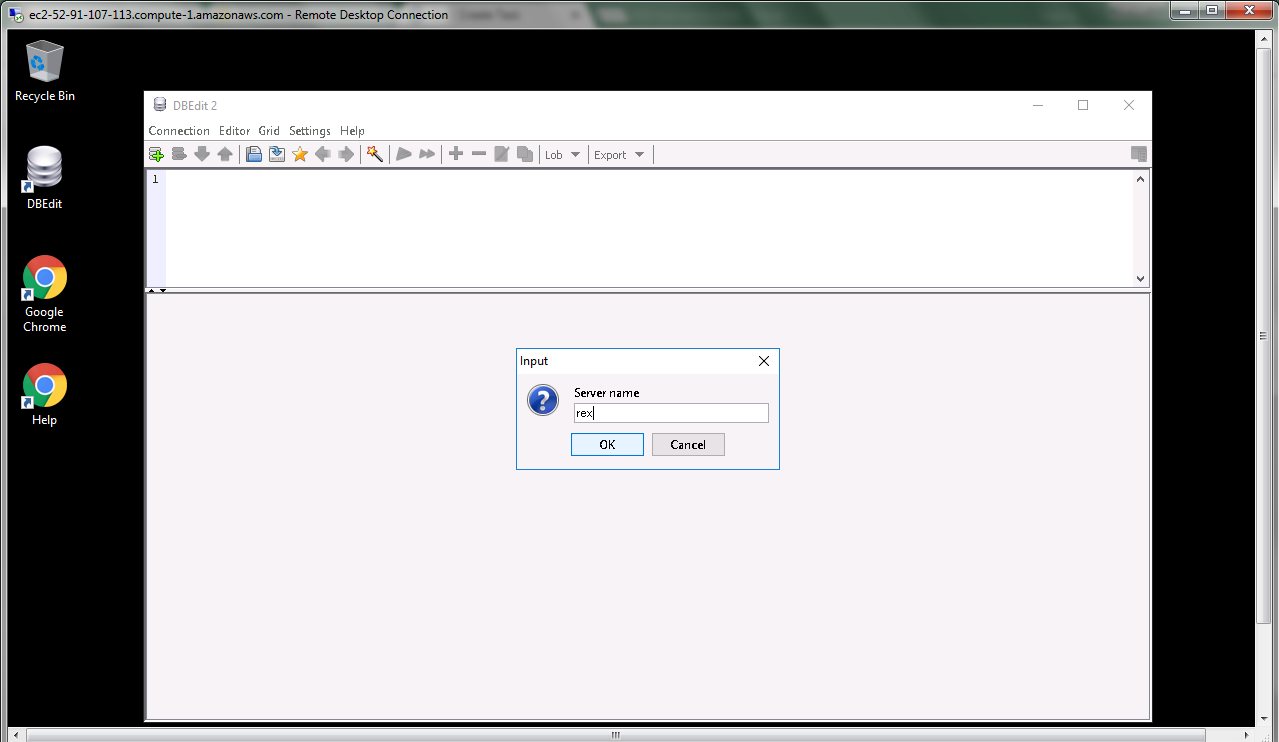
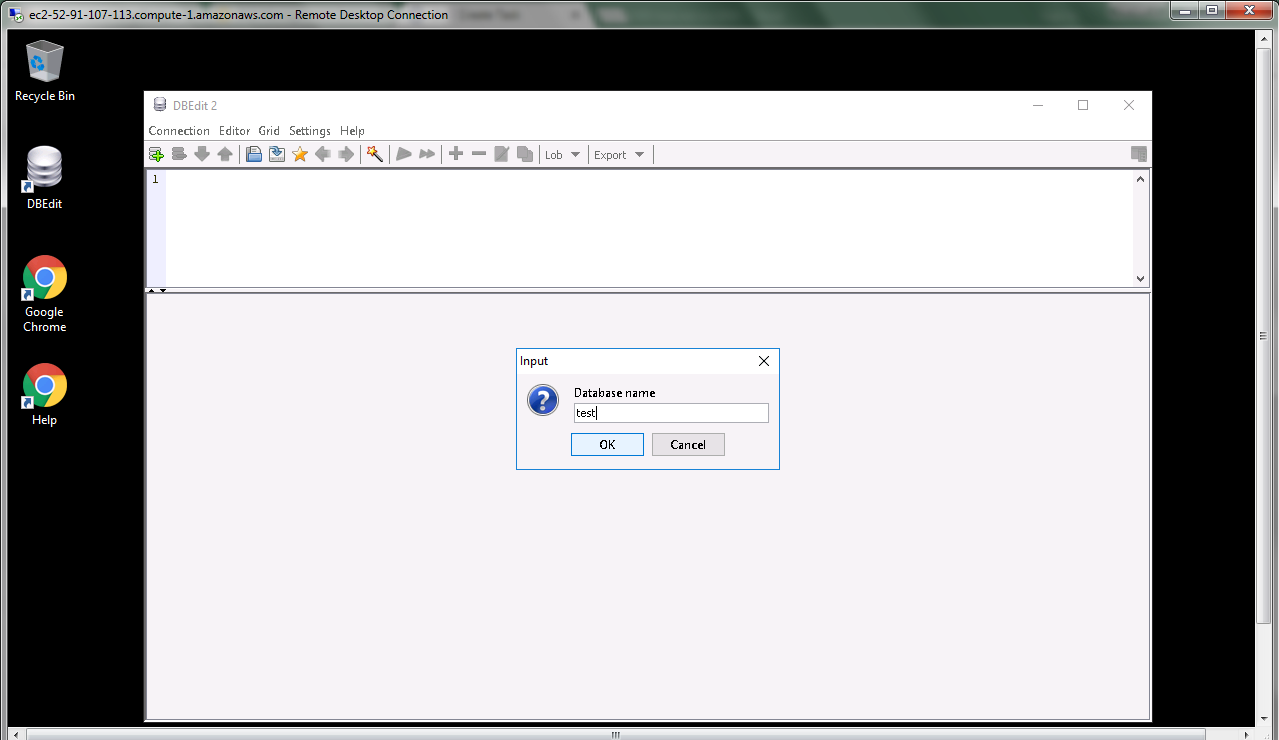
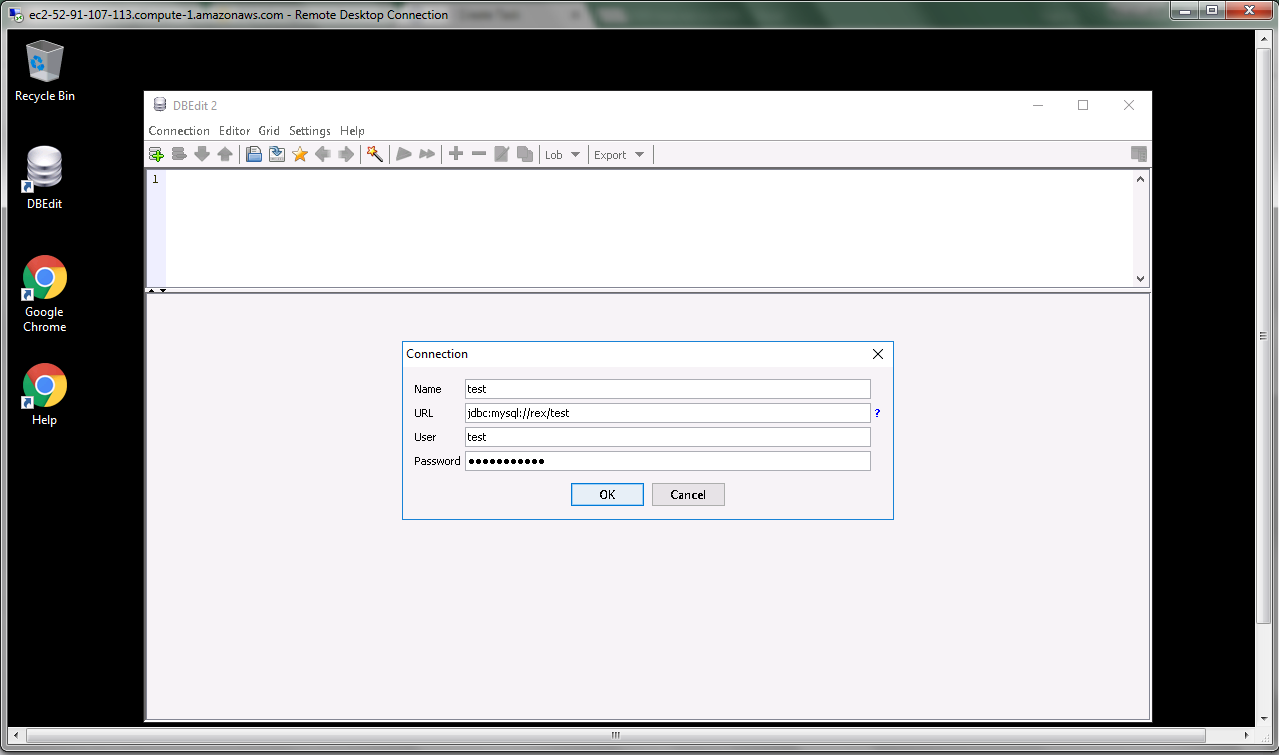
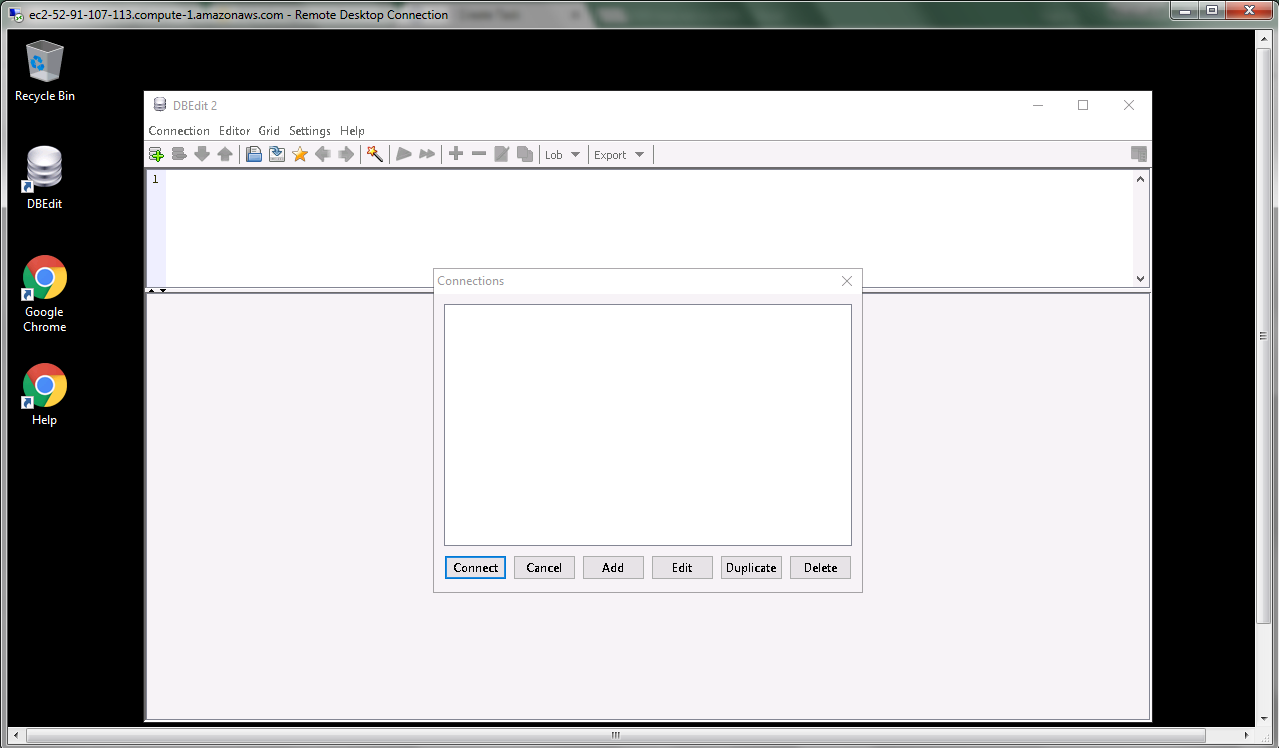
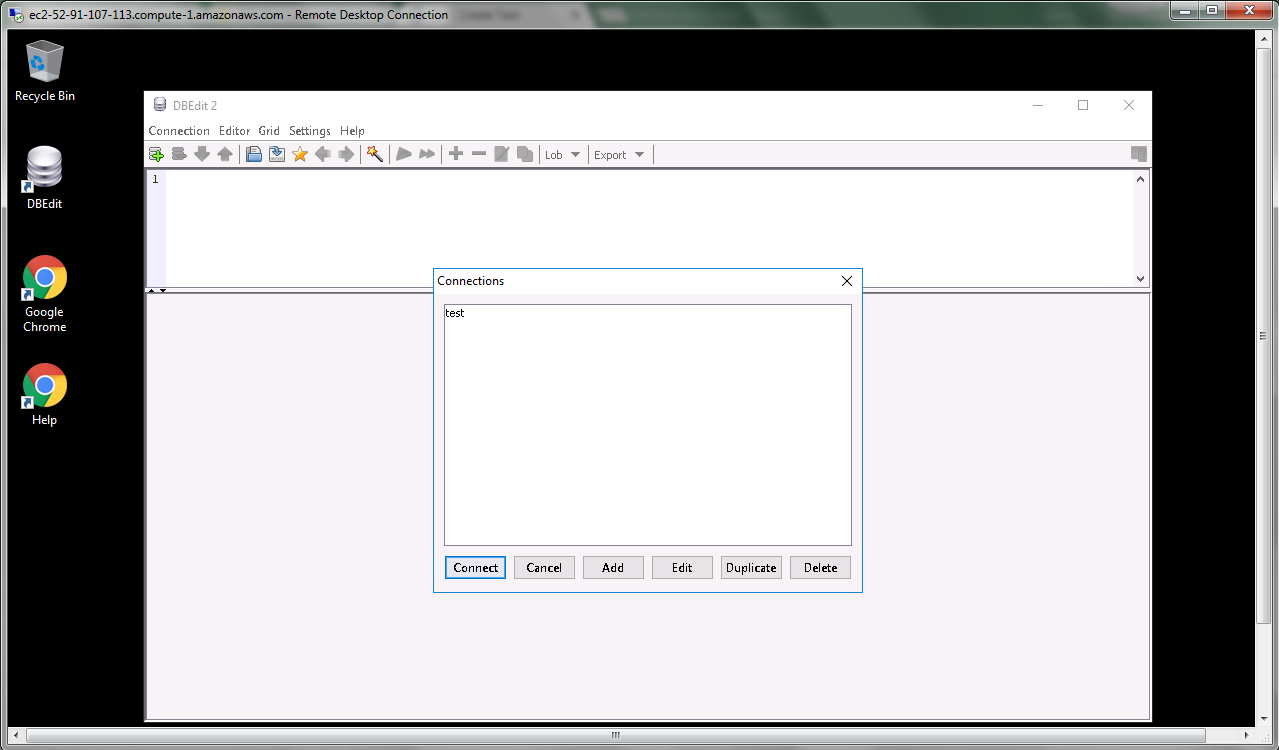
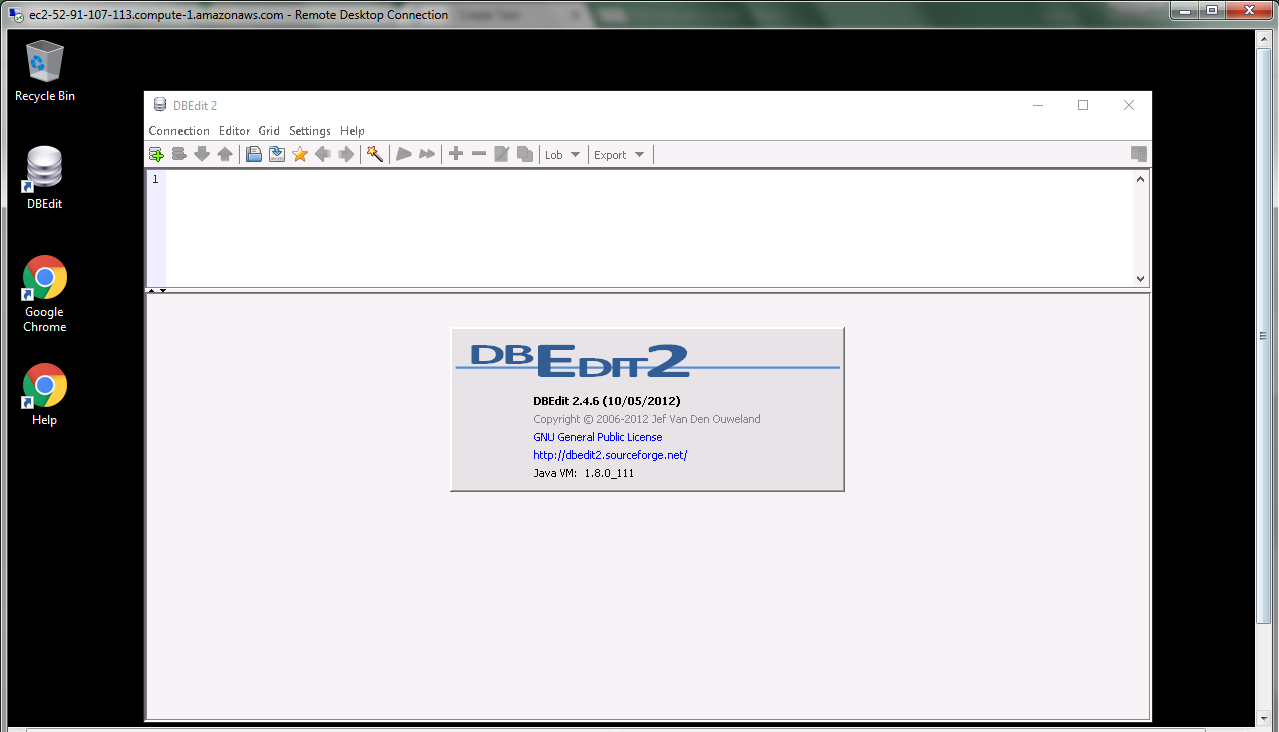
Installation Step by Step Screenshots
