

Overview
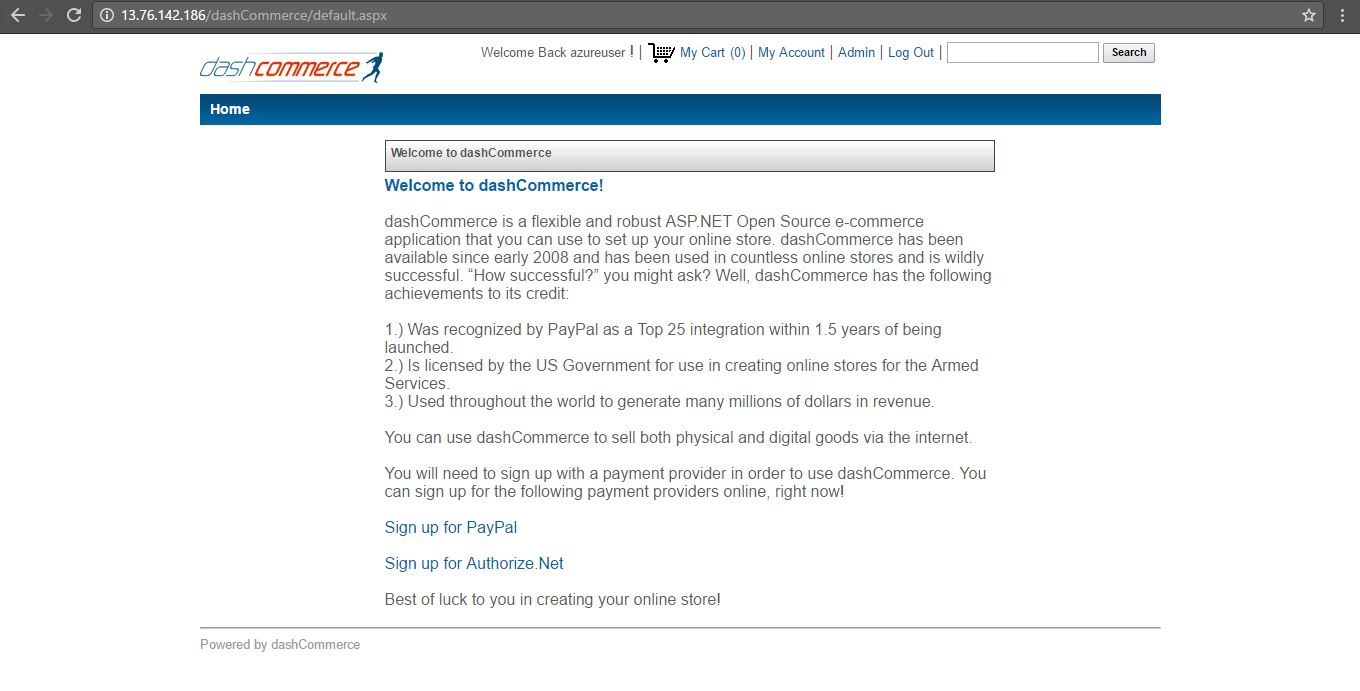
DashCommerce is a flexible and robust ASP.NET Open Source e-commerce application that you can use to set up your online store. dashCommerce has been available since early 2008 and has been used in countless online stores and is wildly successful. “How successful?” you might ask? Well, dashCommerce has the following achievements to its credit:
- Was recognized by PayPal as a Top 25 integration within 1.5 years of being launched.
- Is licensed by the US Government for use in creating online stores for the Armed Services.
- Used throughout the world to generate many millions of dollars in revenue
DashCommerce is owned by DashCommerce (http://dashcommerce.org/) and they own all related trademarks and IP rights for this software.
Cognosys provides hardened images of DashCommerce on all public cloud ( AWS marketplace and Azure).
Deploy your DashCommerce securely on cloud i.e. AWS marketplace and Azure with Reliable Services offered by Cognosys at one-click with easy written and video tutorials.
You can use dashCommerce to sell both physical and digital goods via the internet.
Secured DashCommerce on Windows 2012 R2
External embedded media removed for production hardening.
Dash Commerce on Cloud for AWS
Dash Commerce on Cloud for Azure
Features
Major Features of dashCommerce
- Hosted solution
- Installs within minutes. Administer from your web browser
- Add your own products, images and pricing information
- Price adjustments based on product attributes
- Bundle products
- Real-time UPS and USPS shipping rates
- Includes a fully functioning shopping cart with built-in shipping and tax calculators.
- Display ads and ad content
- ASP.Net compatible
AWS
Installation Instructions For Windows
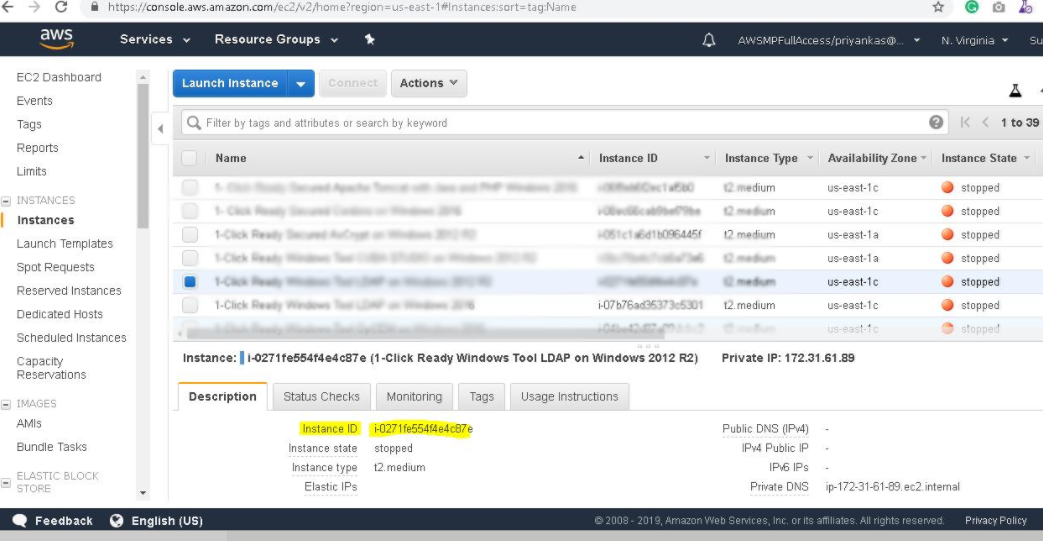
Note: How to find PublicDNS in AWS
Step 1) RDP Connection: To connect to the deployed instance, Please follow Instructions to Connect to Windows instance on AWS Cloud
1) Connect to virtual machine using following RDP credentials :
- Hostname: PublicDNS / IP of machine
- Port : 3389
Username: To connect to the operating system, use RDP and the username is Administrator.
Password : Please Click here to know how to get password .
Step 2) Database Login Details :
- SQL Username : sa
- SQL Password : Passw@rd123
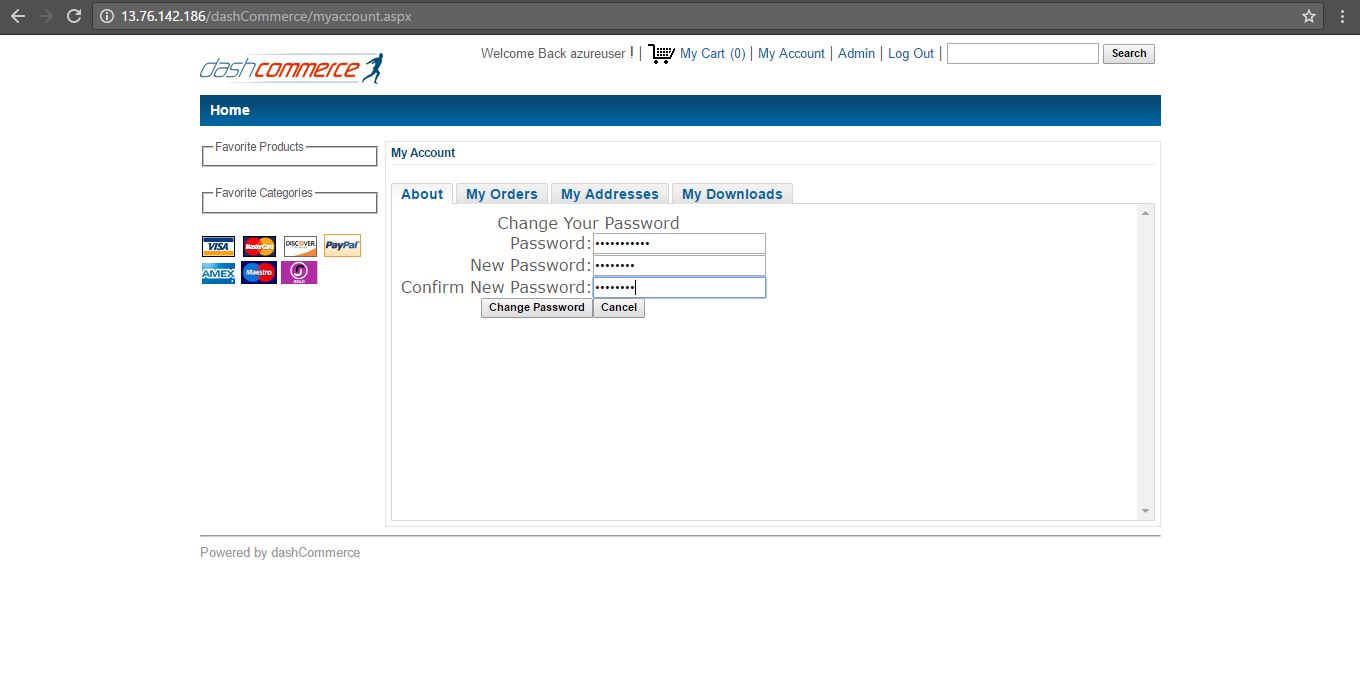
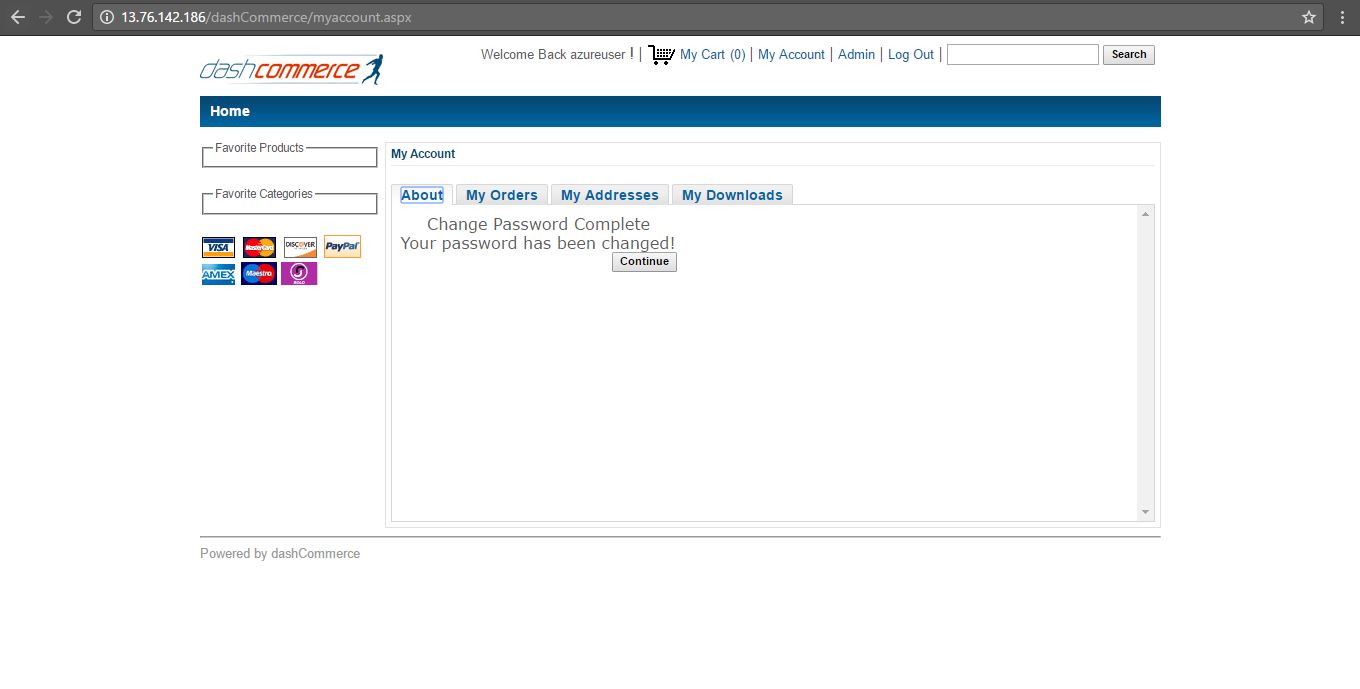
Note :-Please change password immediately after first login.
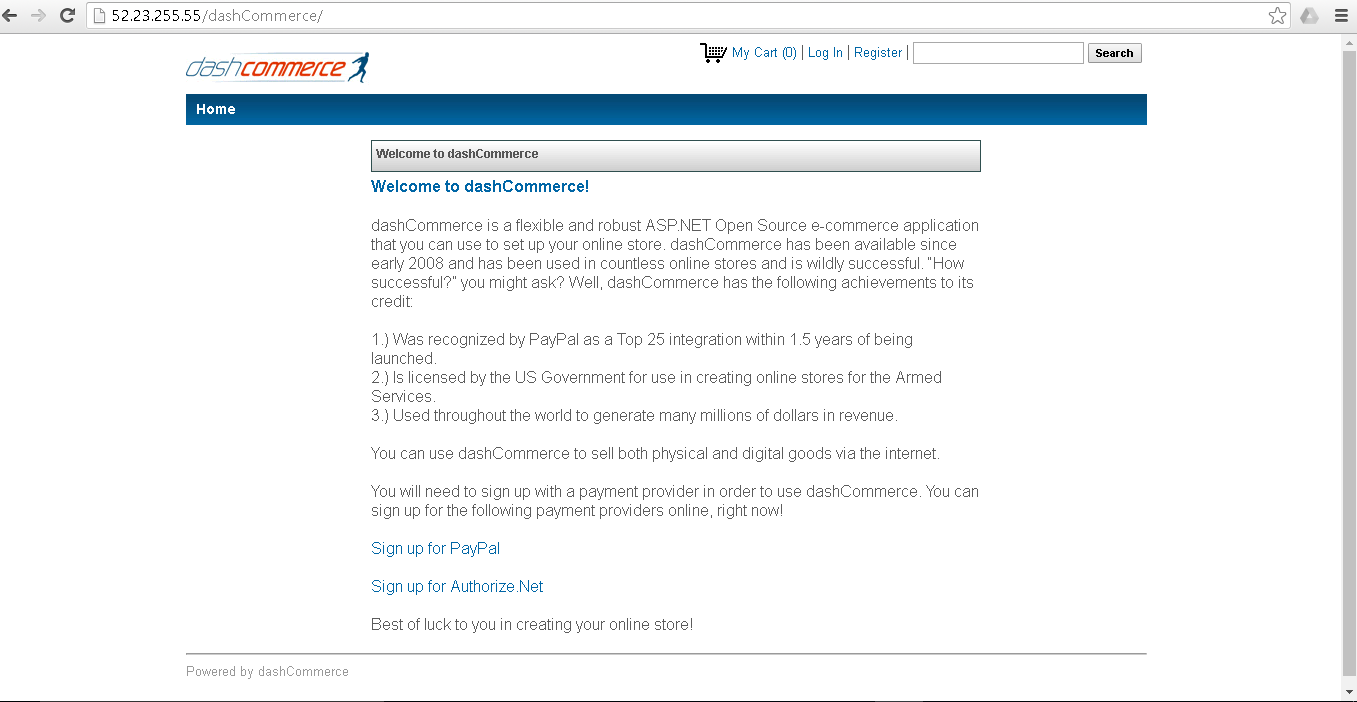
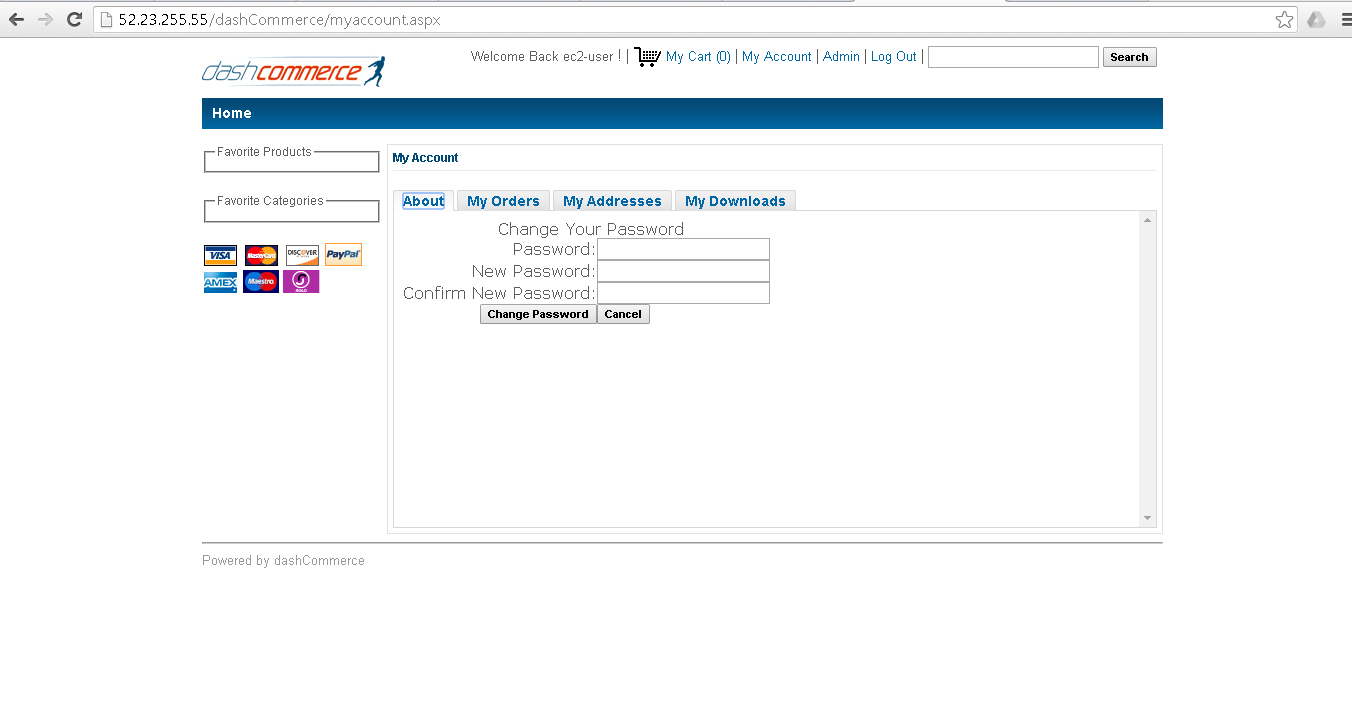
Step 3) Application URL: Access the application via a browser at http://PublicDNS/dashcommerce
- Username : ec2-user
- Password : Passw@rd123
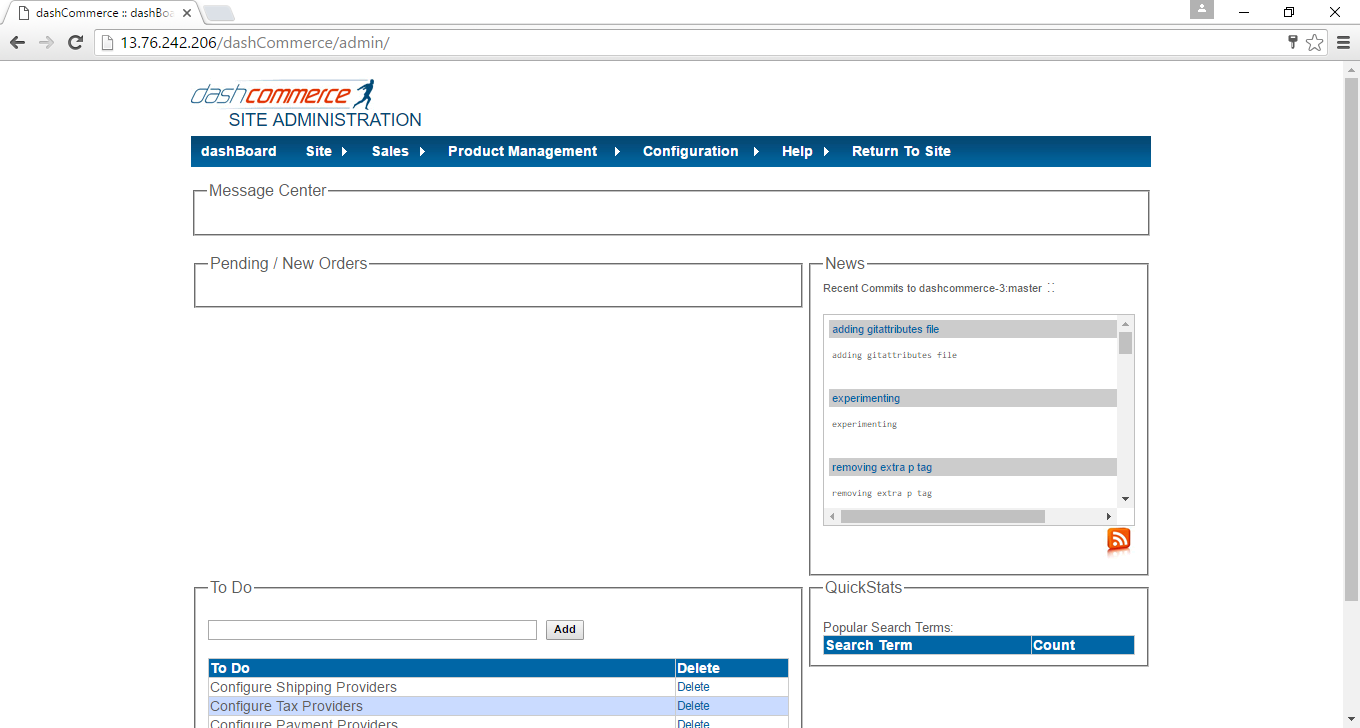
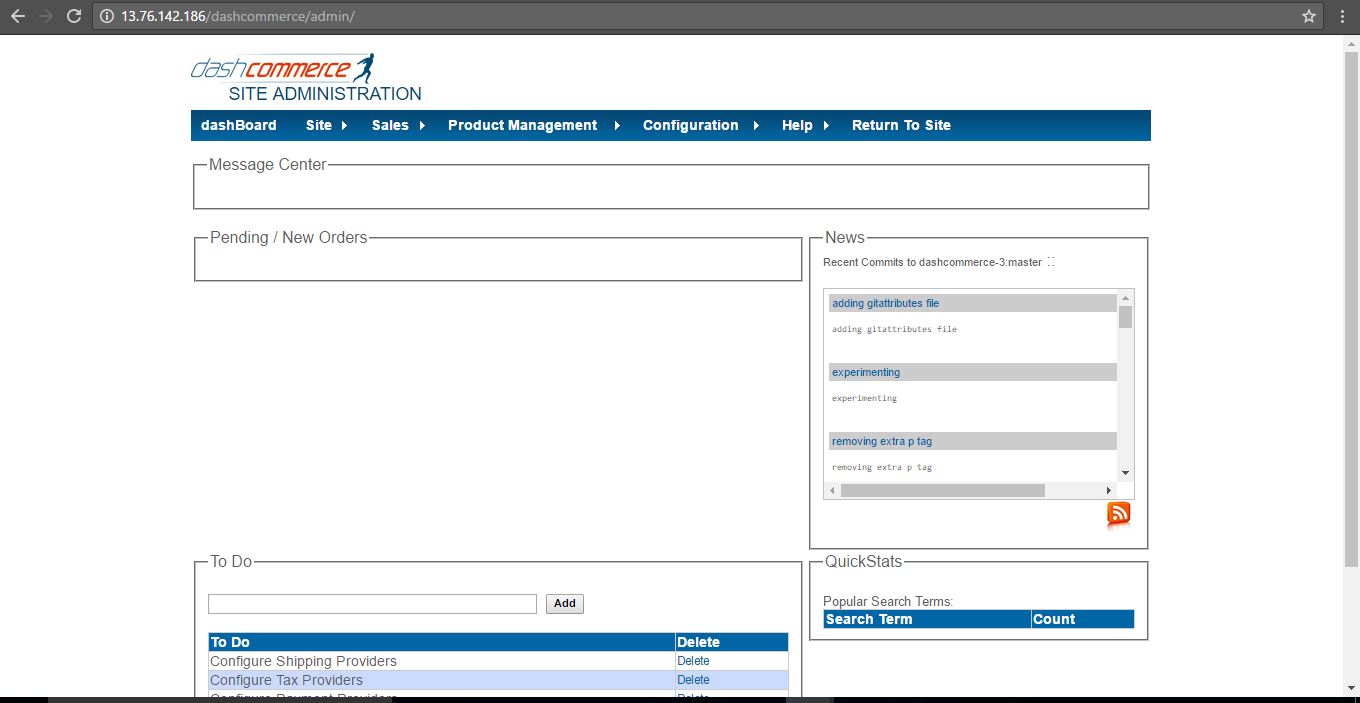
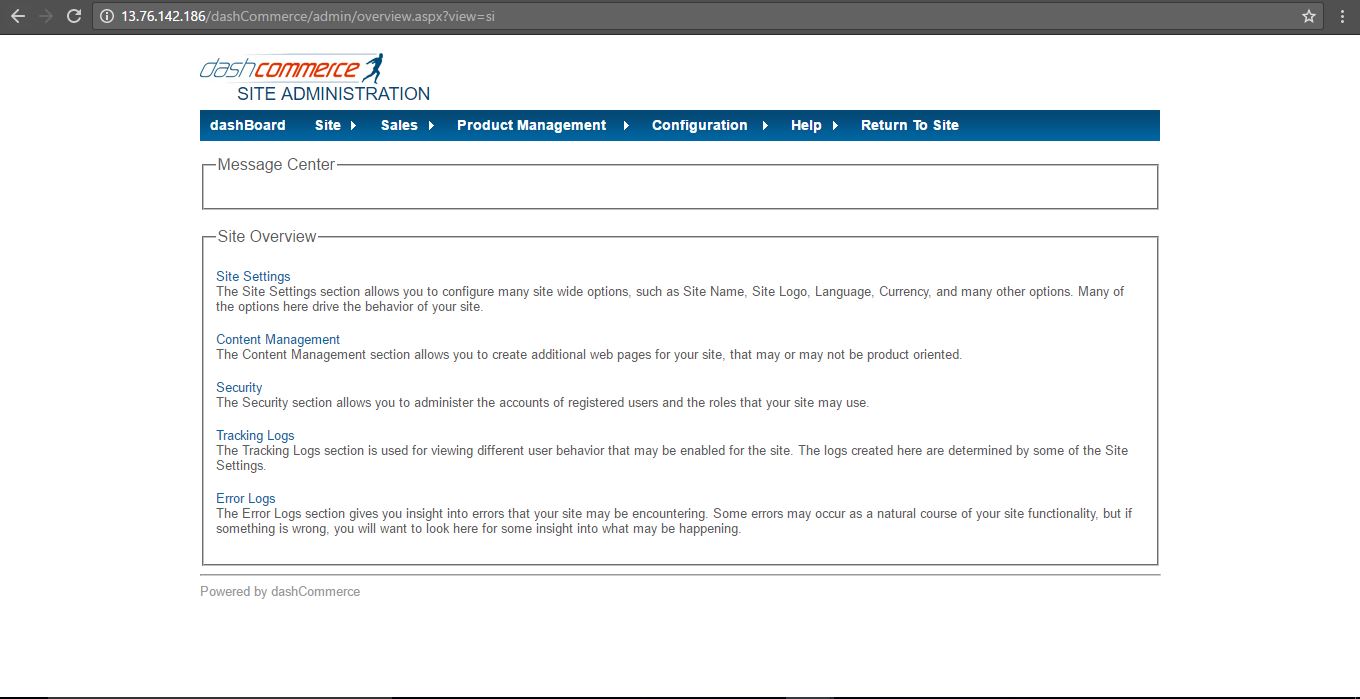
Step 4) Steps to access the Admin Panel:
- To login to dashcommerce Administrative Panel, you need
to open your browser and navigate to http://PublicDNS/dashcommerce/admin - Enter username and password in the given fields and click on the “Login”button to access the Admin Panel.
- After successful login to the Admin Panel, you will get access to dashcommerce Dashboard.
Step 5) Other Information:
1.Default installation path: will be in your web root folder “C:\inetpub\wwwroot\dashcommerce”
2.Default ports:
- Windows Machines: RDP Port – 3389
- Http: 80
- Https: 443
- Sql ports: By default these are not open on Public Endpoints. Internally Sql server: 1433
Configure custom inbound and outbound rules using this link
AWS Step By Step Screenshots

Azure
Installation Instructions for Windows
Note: How to find PublicDNS in Azure
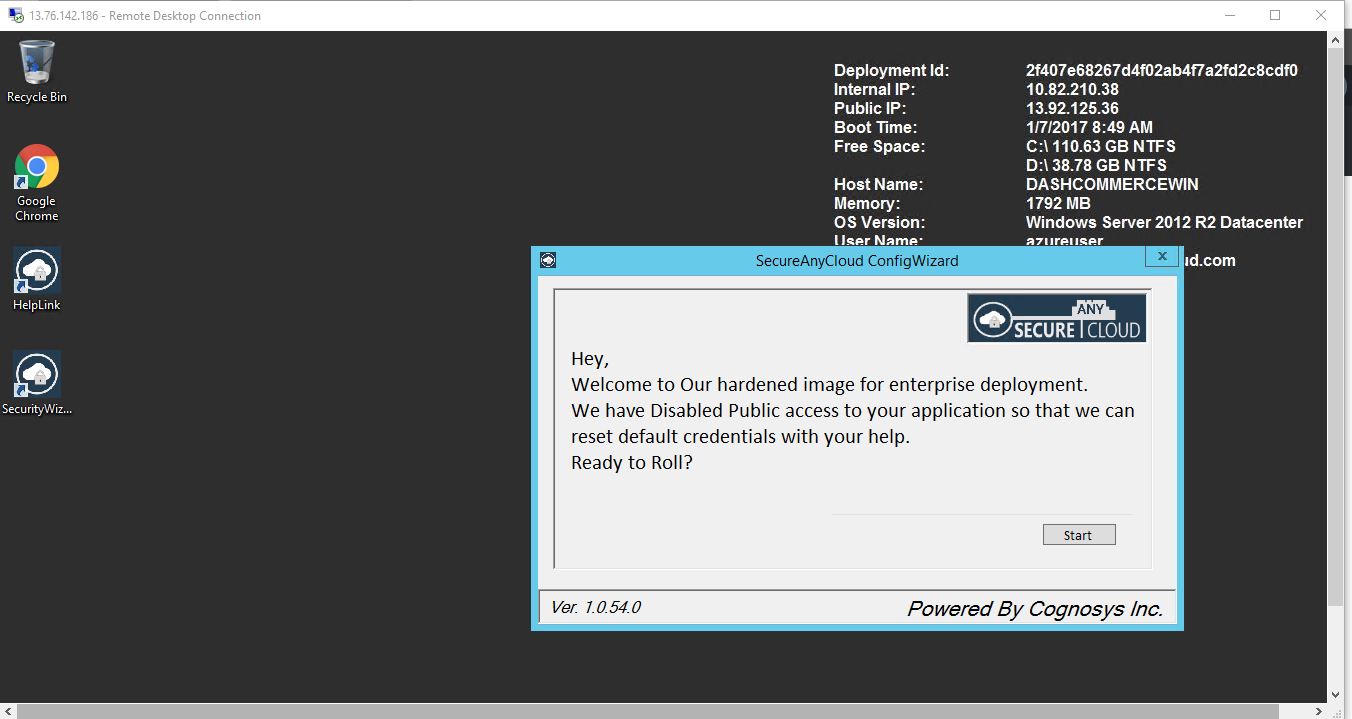
Step1 ) RDP Connection: To connect to the deployed instance, Please follow Instructions to Connect to Windows instance on Azure Cloud
1) Connect to virtual machine using following RDP credentials :
- Hostname: PublicDNS / IP of machine
- Port : 3389
Username: Your chosen username when you created the machine ( For example Azureuser)
Password : Your Chosen Password when you created the machine ( How to reset the password if you do not remember)
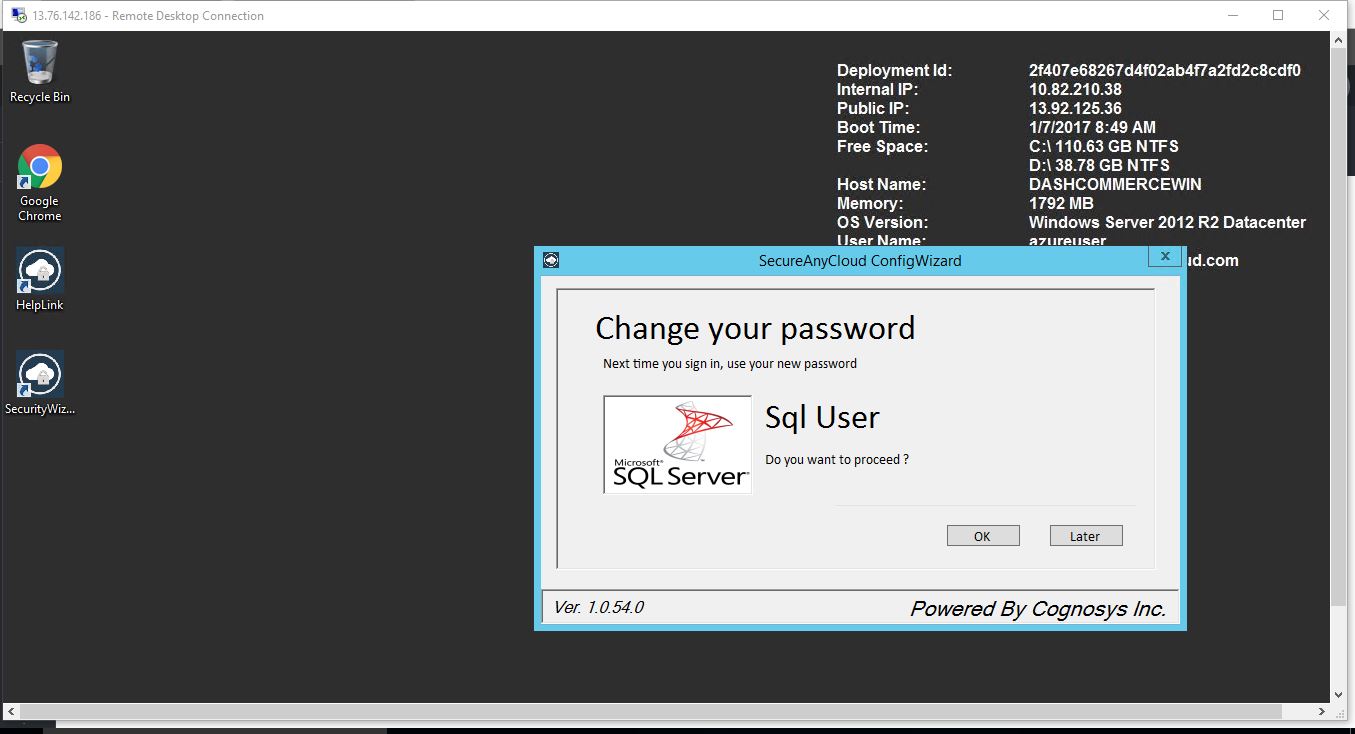
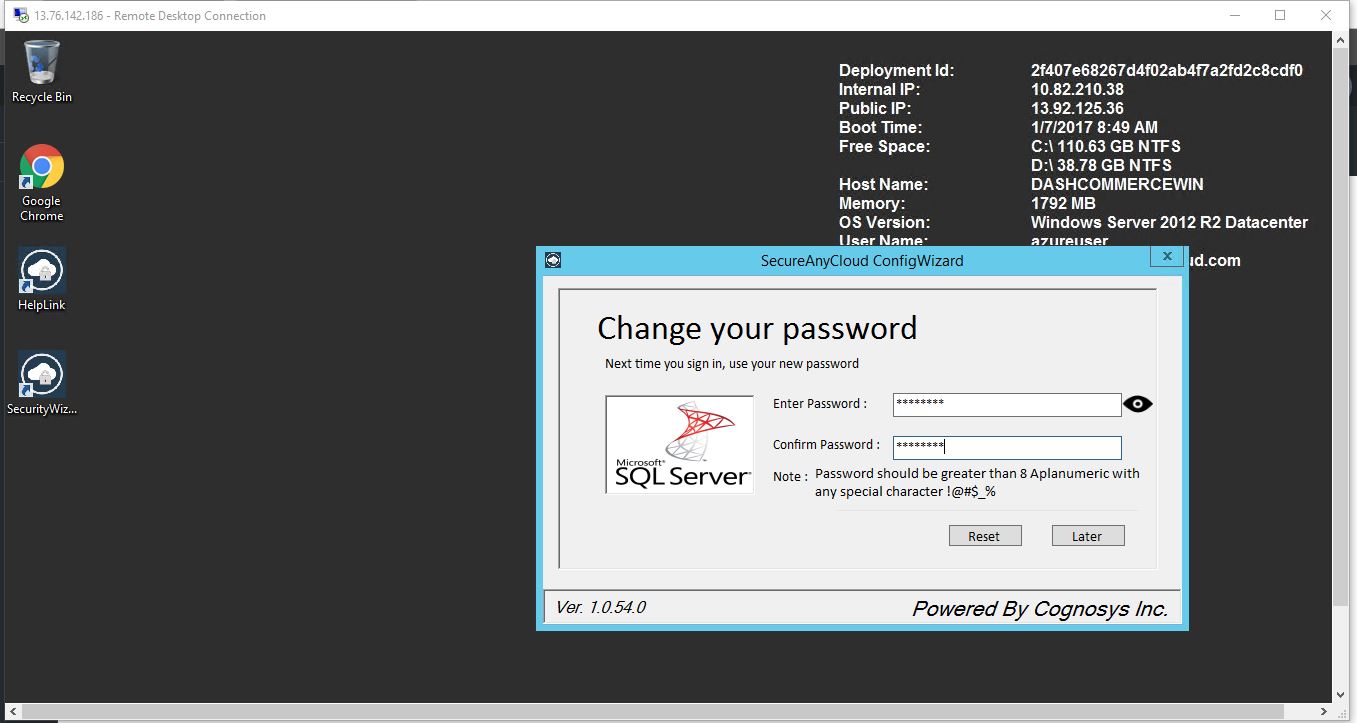
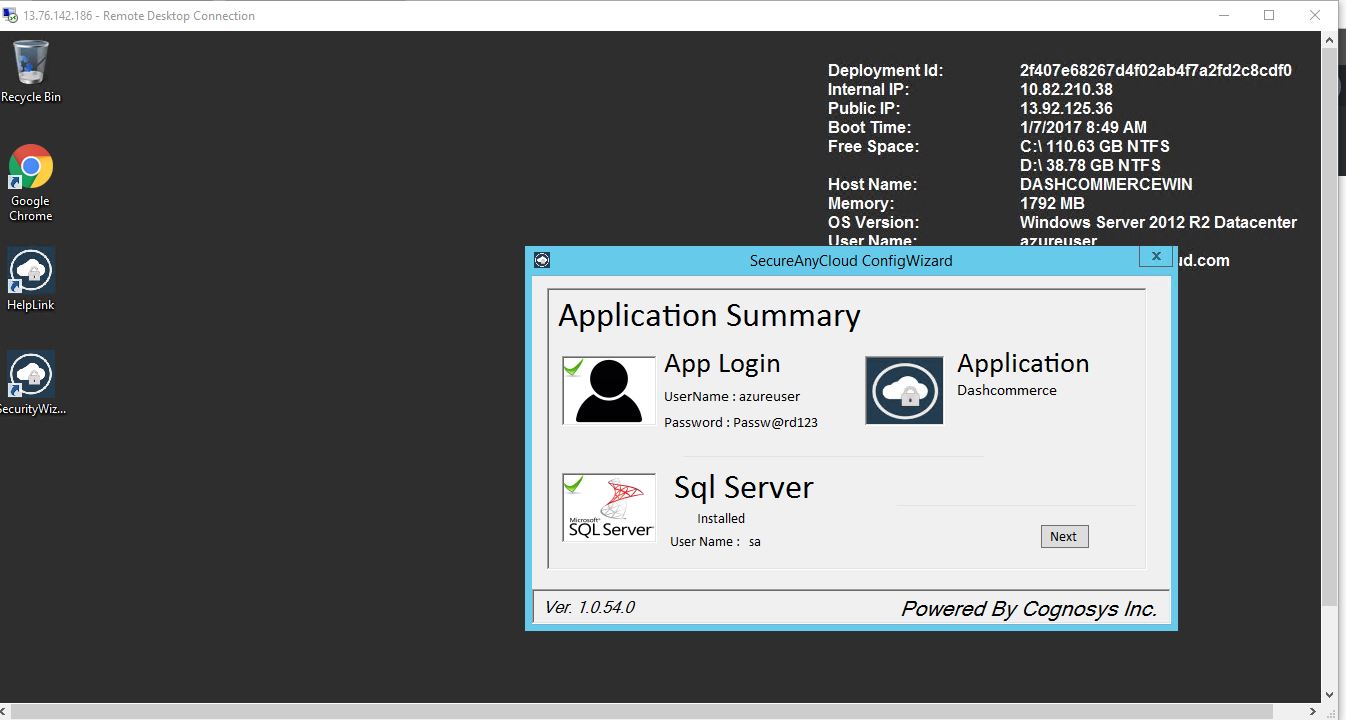
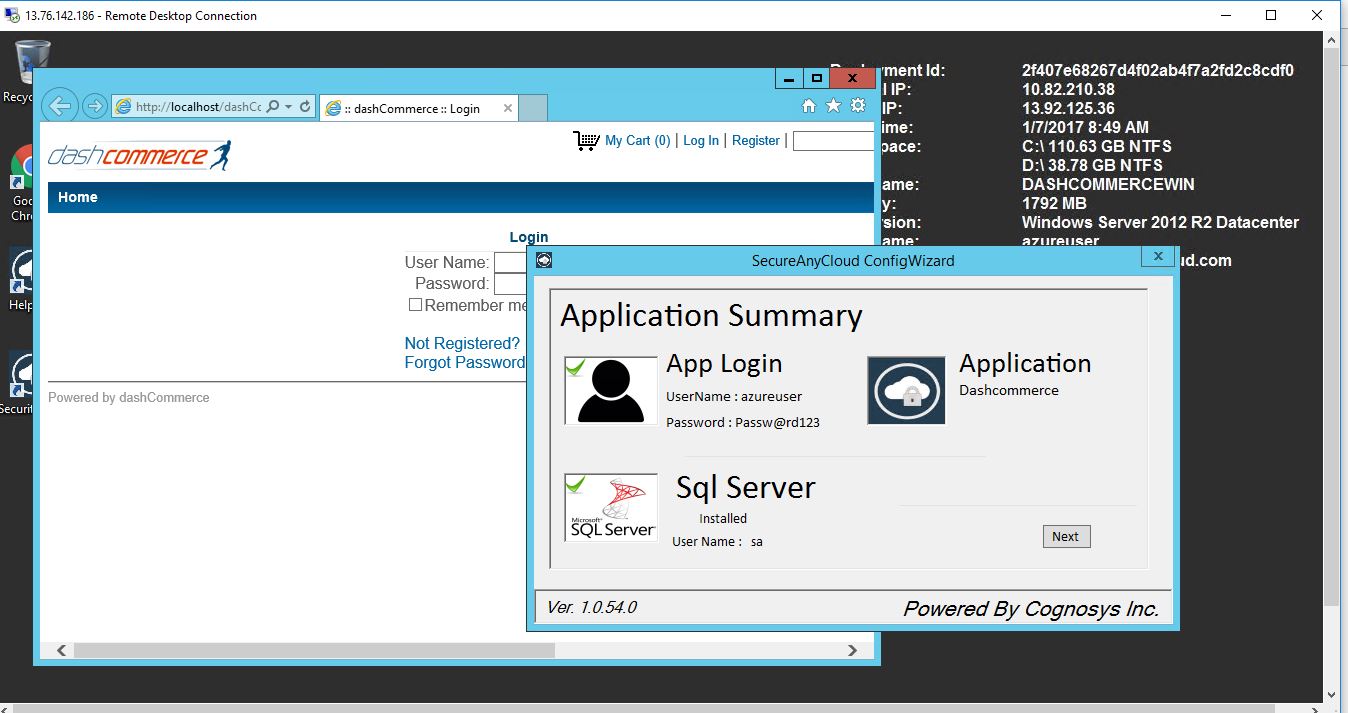
Step 2) Database Login Details :
- SQL Username : sa
- SQL Password : Passw@rd123
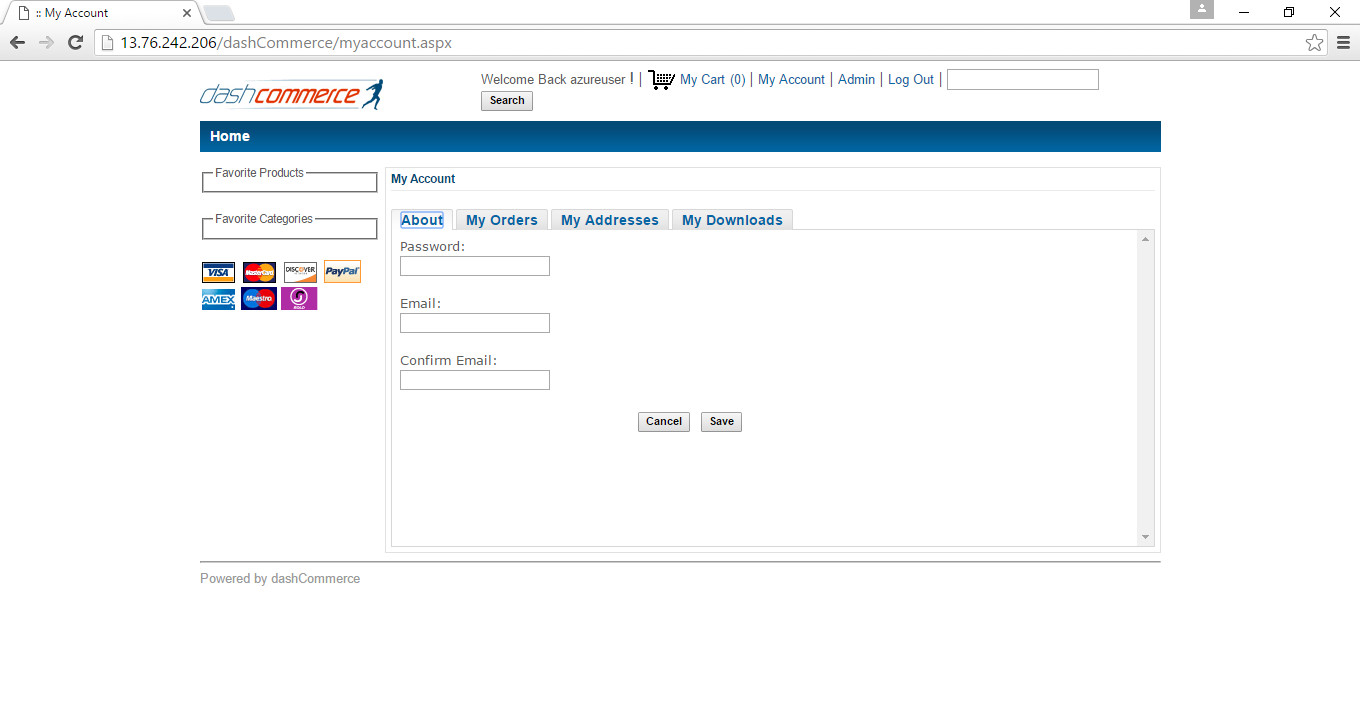
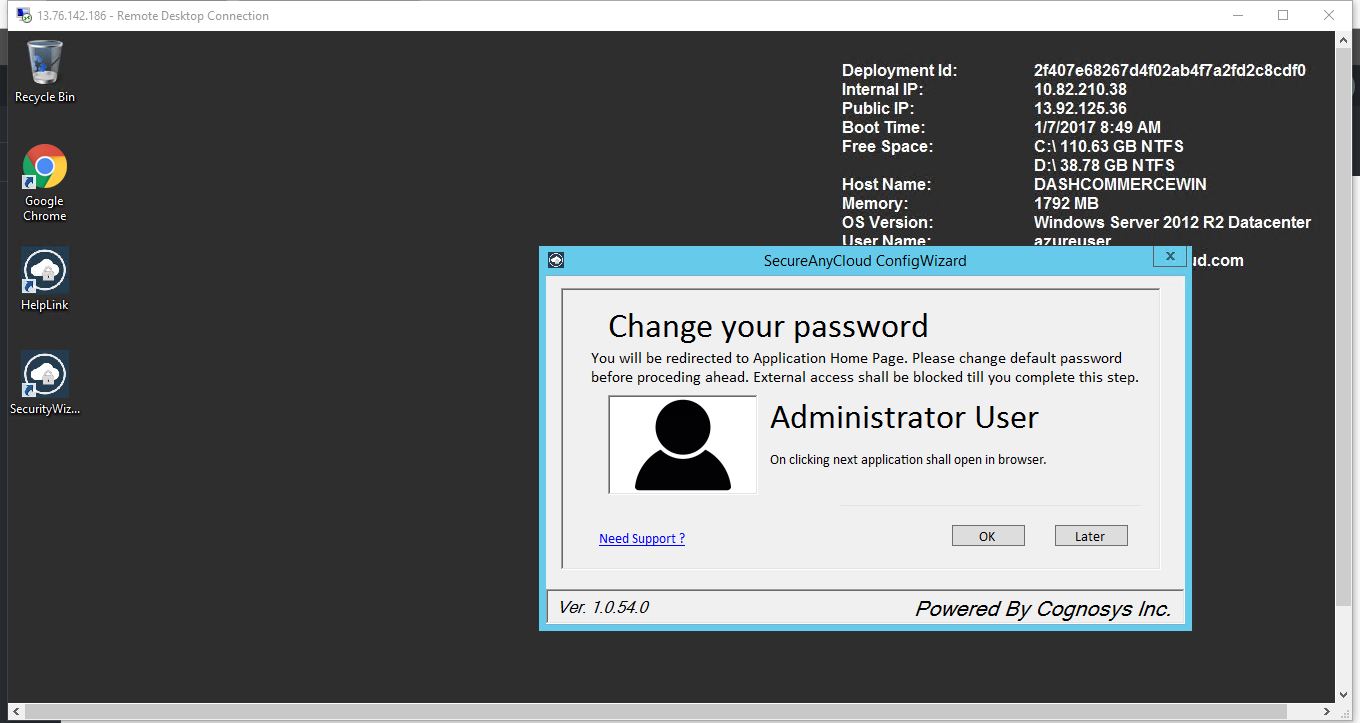
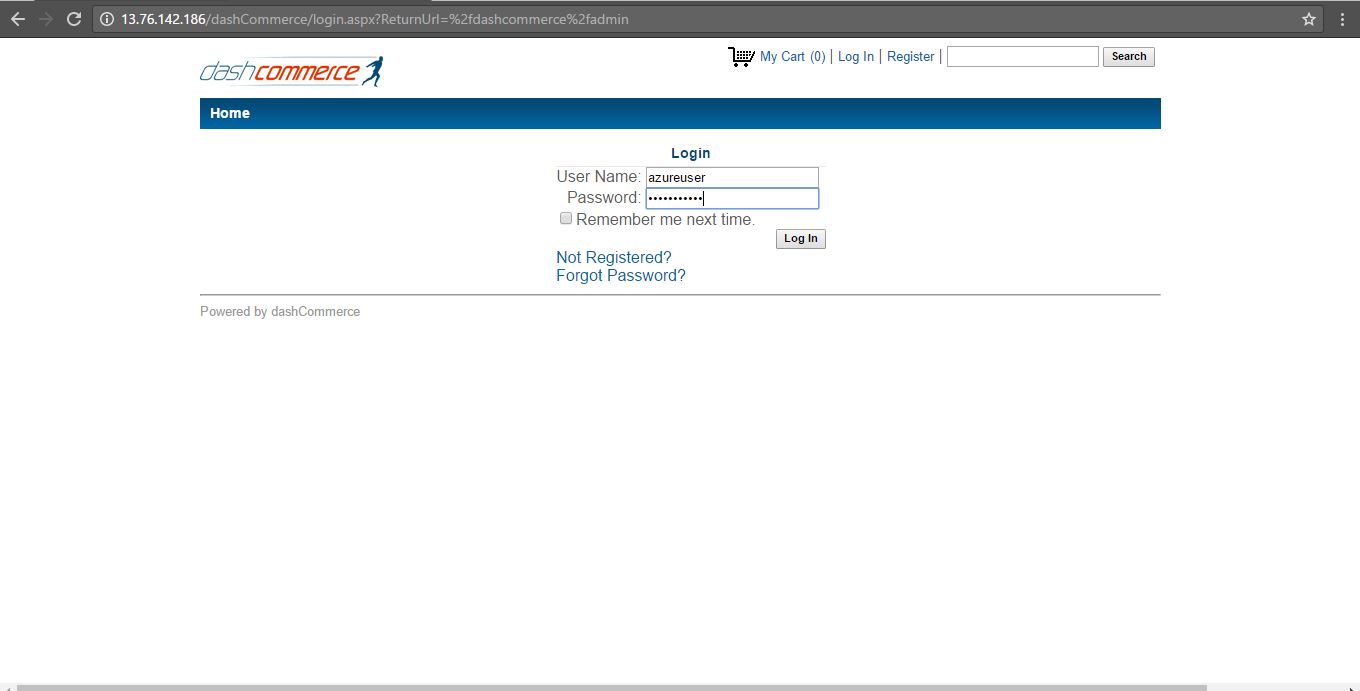
Step 3) Application URL: Access the application via a browser at http://PublicDNS/dashcommerce
- Username : azureuser
- Password : Passw@rd123
Step 4) Other Information:
1.Default installation path: will be in your web root folder “C:\inetpub\wwwroot\dashcommerce”
2.Default ports:
- Windows Machines: RDP Port – 3389
- Http: 80
- Https: 443
- Sql ports: By default, these are not open on Public Endpoints. Internally Sql server: 1433.
Configure custom inbound and outbound rules using this link
For more information on installation Dash Commerce .
Azure Step by Step Screenshots

Videos
Secured DashCommerce on Windows 2012 R2 –
External embedded media removed for production hardening.
Dash WordPress WooCommerce Theme Adding New Elements Tutorial
External embedded media removed for production hardening.
