1-click AWS Deployment 1-click Azure Deployment
Overview
Bluestacks is an incredibly popular software tool for Windows. It is one of the best Android emulators for PC out there. Initially, it was not a perfect tool, but as the number of Bluestacks users went up, the developers put a lot more effort to improve it as it is today.Being a good Android emulator for PC, a lot of users fail to figure out how to install apps with Bluestacks or how to play games on Bluestacks.
Bluestacks is a Virtual Android Emulator software. In plain words, it is a software which will allow us to use Android Operating system in our computers. This is available for both PCs and MacBooks.
You can use any kind of Android Applications on Computers. Millions of users are using Bluestacks every day to play games like PubG Mobile, Candy Crush, Temple Run and to use Messengers like WhatsApp, Snapchat, Instagram and many such Apps on Windows PCs and MacBooks.
Simple-to-handle GUI
Boasting a very effective emulation engine, BlueStacks impresses thanks to its user-friendly approach, making everything easy as pie for all types of users, be they beginners or with a bit more computer knowledge. It looks exactly like the mobile platform, with all the proper buttons incorporated in the main window.Once installed, you are required to input your existing Google account or create a new one, so that you can gain access to the Play Store.
Access, download and manage apps with ease
It is possible to download all games and apps available on Android from the Play Store, as well as play them with ease. You can navigate the Internet with the help of a built-in web browser, as well as check out your Twitter and Facebook account.The app is available on a full-screen mode, while you can also make it smaller with just a click of the button. As stated above, the back, home and recent apps buttons are available, and help you easily browse through all the options offered with ease, and all installed items are going to create shortcuts in the Start screen (on Windows 8 and 8.1).
Tweak parameters and share items
Loading times are very good and the program runs with absolutely no errors. Most of the games, galleries and apps can be controlled by mouse, just like you would do on your typical touchscreen mobile phone.Aside from that, you can share an item on Facebook and Twitter with great ease, view the time in a corner, enable or disable notifications and access the settings panel. The latter is quite familiar, seeing its design is almost identical with the Android one, and lets you manage sound, apps and contacts, as well as set date and time, change keyboard options and language.
Sync phone and PC, and import files
Another feature that’s worth mentioning is the so-called Cloud Connect, a separate tool designed to allow users to automatically sync their apps, updates, photos and SMS from your Android phone to the PC.In turn, you can also import items from your computer’s hard drive with just a click of the button, with the incorporated file browser.
Performance and conclusion
This utility runs all Windows versions out there, without putting a strain on the computer’s performance. The response time is good and the interface is intuitive and quite familiar for those who already have an Android phone.Overall, BlueStacks is an effective piece of software that brings the flavor of Android apps on your computer.
How To Setup Bluestacks
You need to first download the latest Bluestacks 3 software onto your computer from the official site of Bluestacks. Now, you will have to install the software tool on your Windows system. When done, simply launch the Bluestacks application and then follow the steps given below:
1. Click on “Agree” when asked to improve location accuracy. If you do not want that, click on “Disagree.”

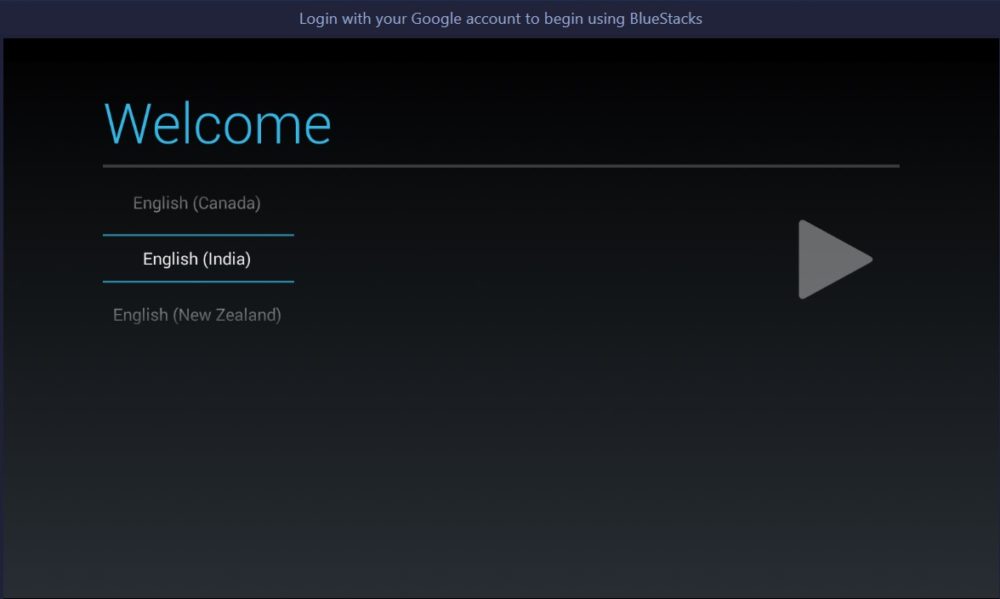
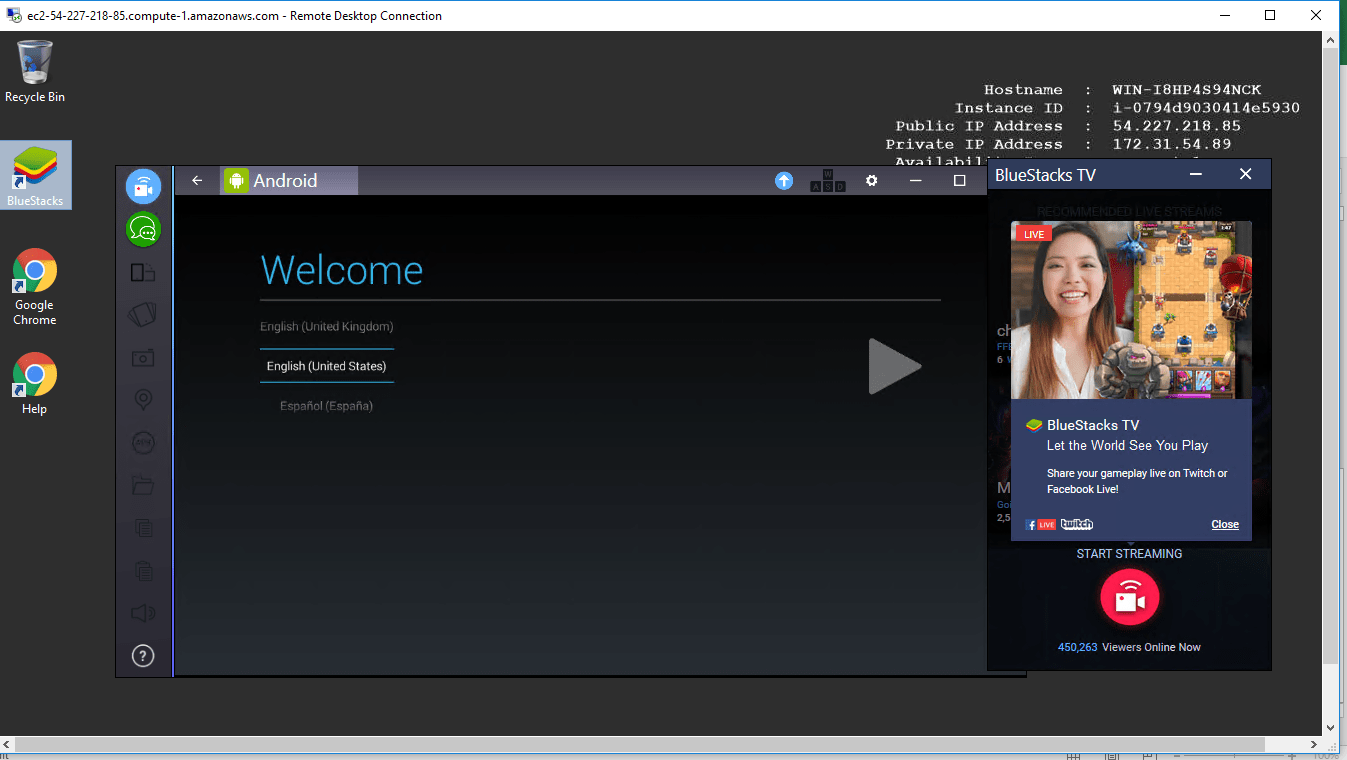
2. Now, you will have to select your language preference. Like, English (India) as shown in the image below.
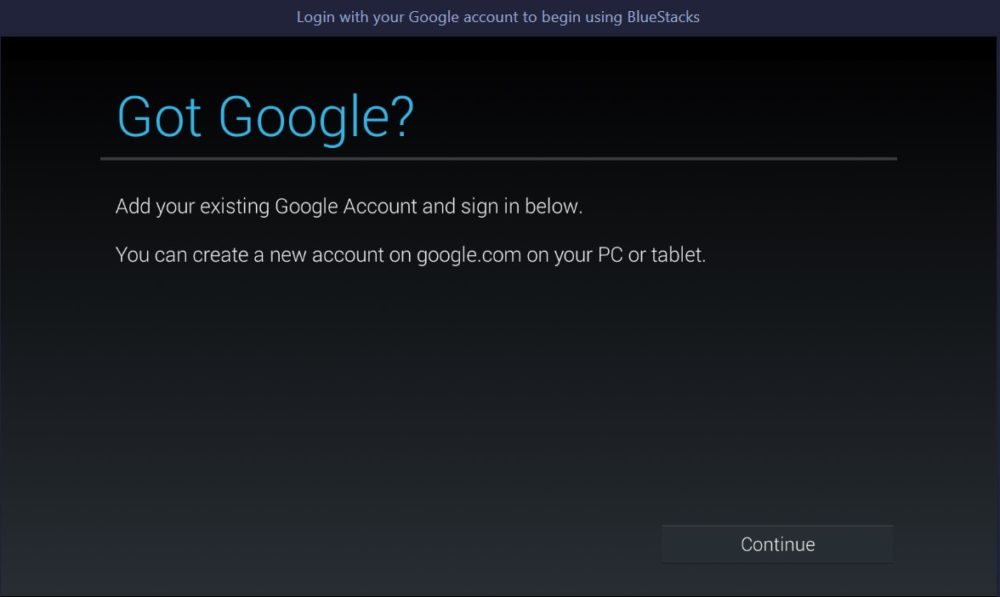
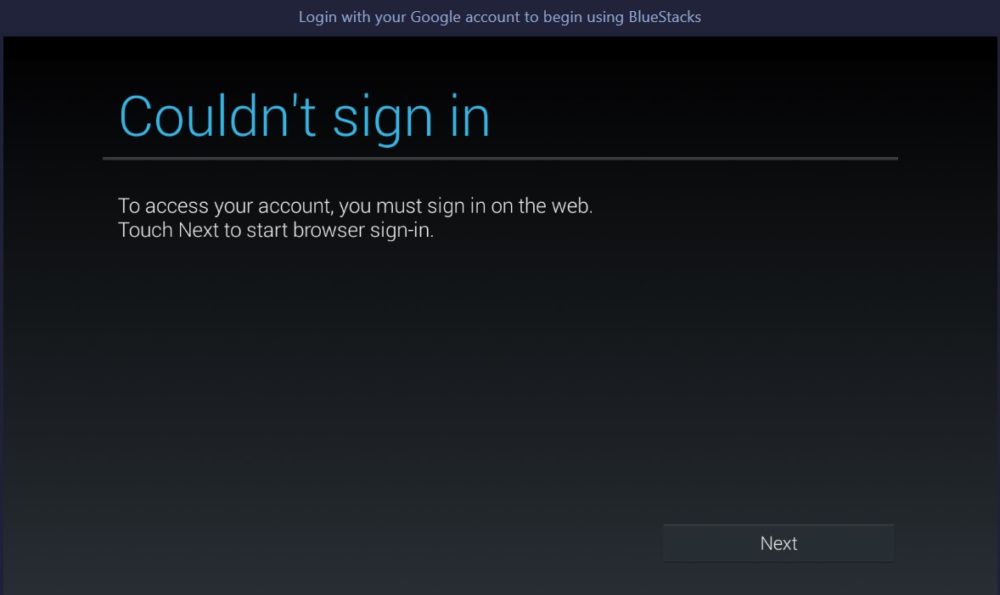
3. Now, you would need to sign in with your Google account. If you have two-factor authentication enabled, you would be asked to head to a browser window to authorize the account. It will not launch a separate browser window but will utilize the in-app browser.
You will have to enter your credentials in this screen:
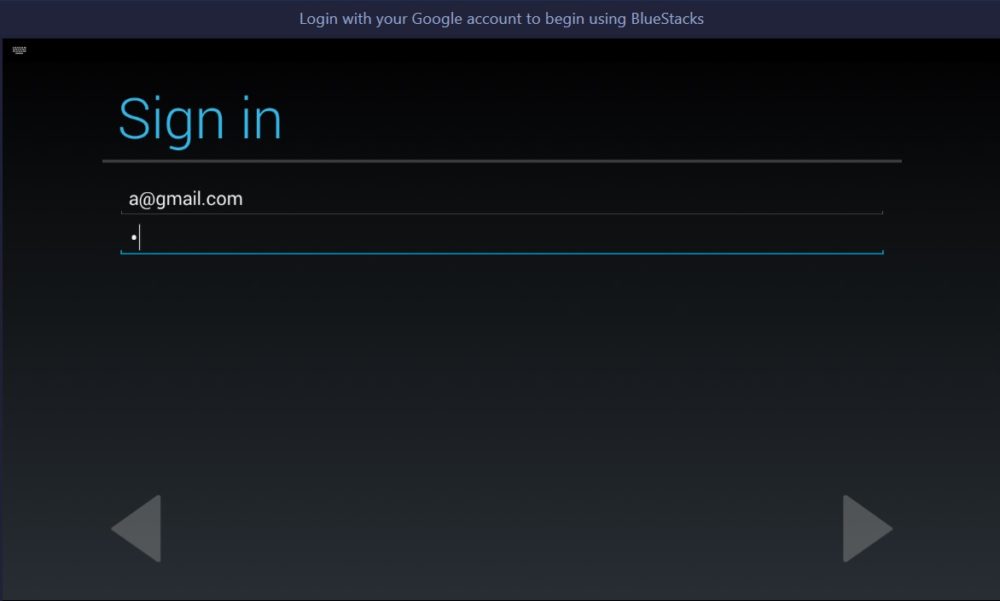
As previously mentioned, if 2FA is enabled for your Google account, this is what you will observe next:
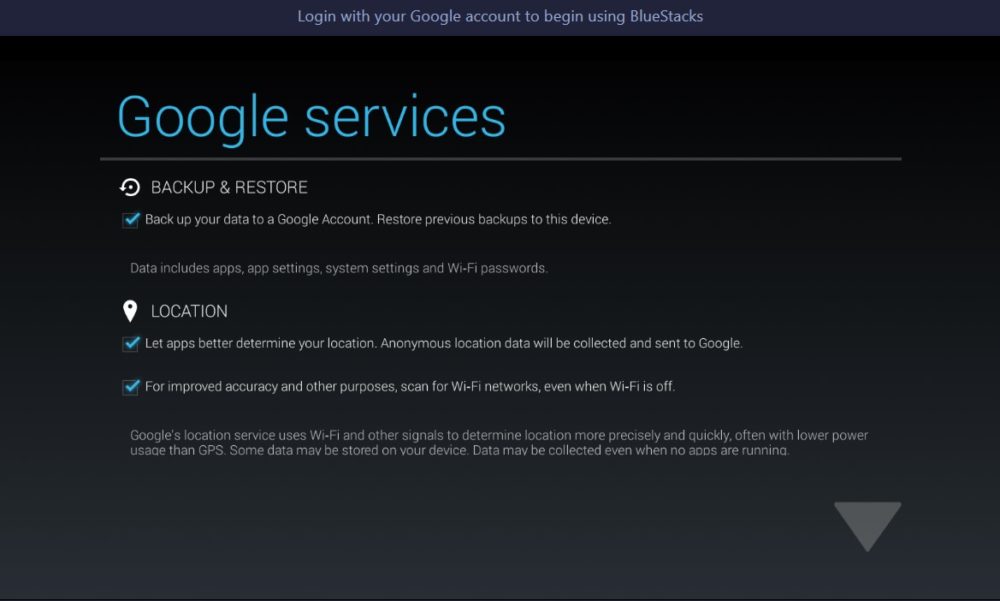
4. When you are done signing in, you will be greeted with a couple of options to turn on backup/restore for your Google account and a location/Wi-Fi usage toggle.
How To Use Bluestacks To Run Apps & Games
After setting up your Google account, you need to know how to use Bluestacks to install an app or run a game.
1. When you launch Bluestacks, you will probably be on the “Home” tab. In case you are not, just click on the “Home” tab.
2. Now, to find an app or a game, you need to be in the App Center window. You may observe three options that include – “My Apps,” “App Center,” & “Help Center.” You need to click on “App Center” to proceed.
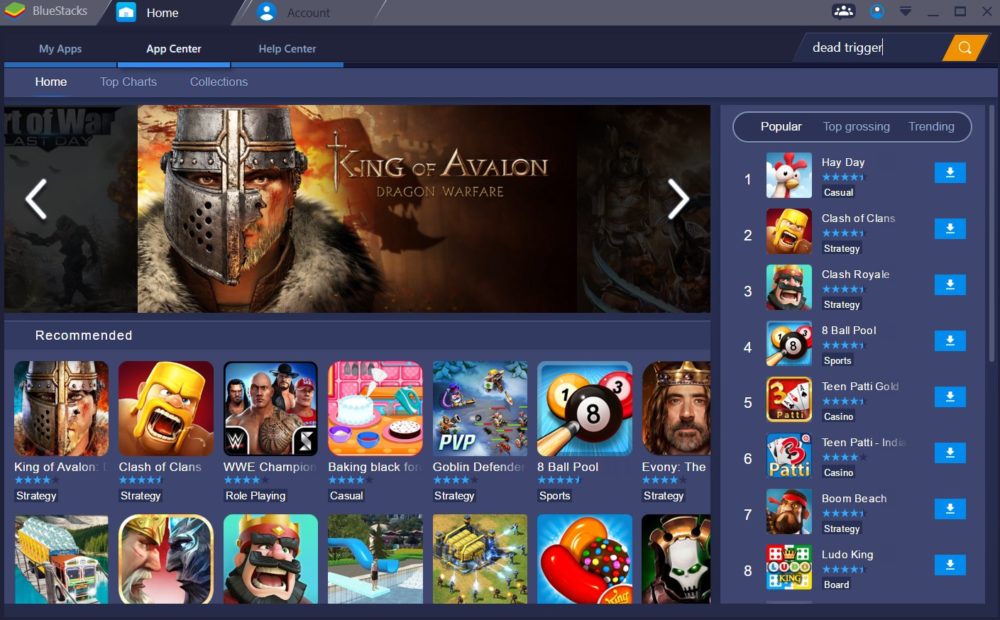
3. At the top-right corner, you will observe a search bar. Just type in the name of the app or game you want to install.
4. After you are done, hit the Enter key or click on the search icon to get started.
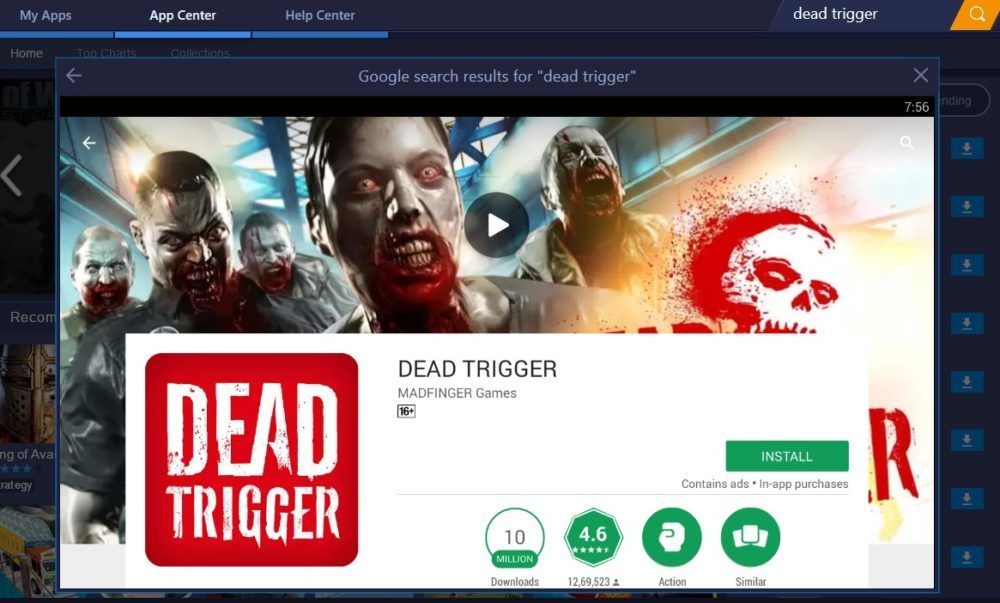
5. Now, you will observe the Google Play Store listing all the games and apps to your searched keyword. Click on the one you want to install.
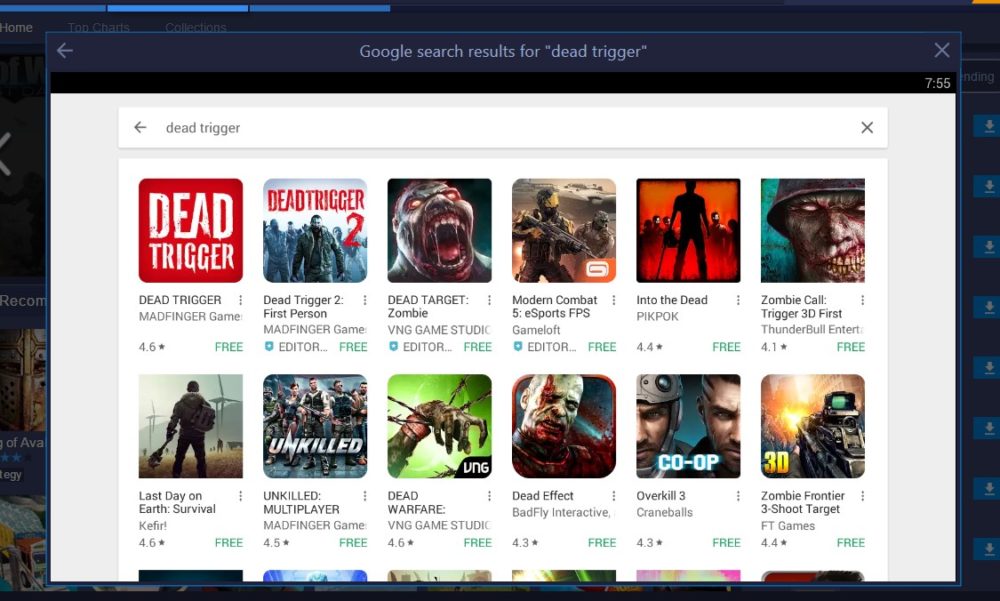
6. Just like you do on your Android smartphone, click on “Install” and then accept the permissions to start installing it.
After you have successfully downloaded and installed the app or game, you can find it in the “My Apps” tab to launch it.
Account Profile & Basic Settings
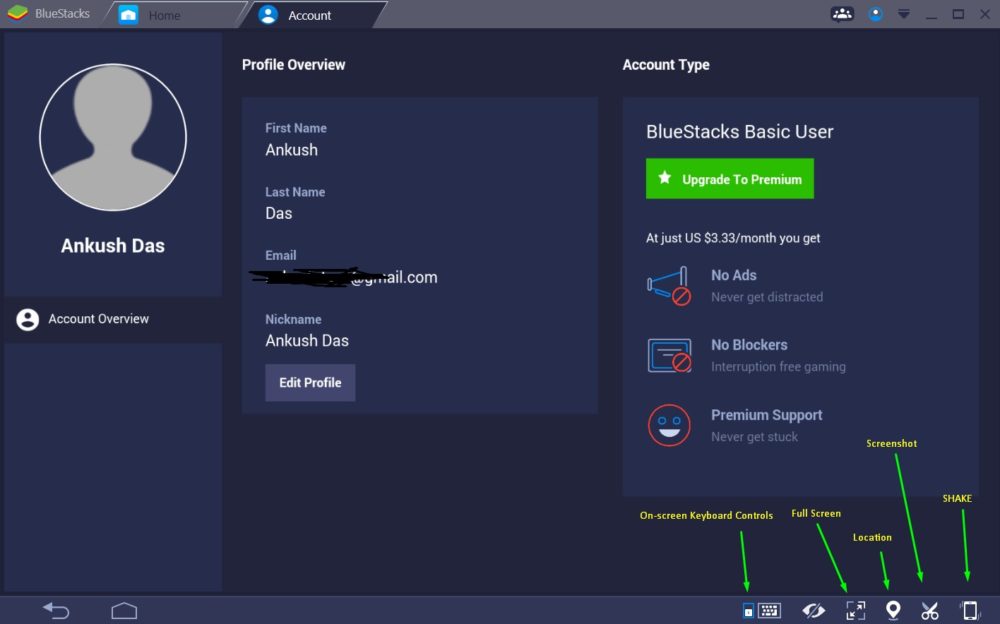
If you head into the “Account” tab by clicking on the profile icon, you will find the option to edit your information. Also, you may choose to upgrade your account to a premium subscription to remove ads, blockers, and unlock premium support. It costs 3.33 USD per month if billed annually else it would be 4 USD per month for the premium subscription.
We have included an image below to help you know more about the options present in the “Account” tab.
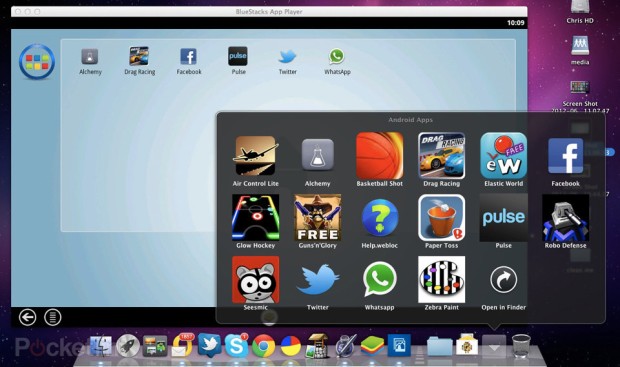
BlueStacks App Player is a great tool for allowing you to run your favorite mobile apps/games in full screen in your browser using a PC or Mac.
Once installed, BlueStacks App Player can be configured to work with your choice of popular social media platforms i.e. Facebook or Twitter. As the environment runs Android apps, you can configure BlueStacks App Player to work with your Google Play account, so you can access all your favourtite apps and games!
The user interface of BlueStacks App Player can be totally configured to suit your needs. Additionally, it is capable of integrating with the custom software experiences which are designed and developed by PC manufacturers.
BlueStacks App Player on cloud for AWS
New technology has the advantage of making our daily life more beneficial. Much of our work is now done on our mac and pcs. However, many of us use windows based computers that can’t run android applications. But with new innovations, we’ve now been given a comfort zone to work effectively with android applications even on mac or windows based computers.
Some people really want to have the same applications as an Android on their laptops, especially since some apps are becoming harder to come by. But laptops generally use different operating systems that can’t support android directly. For example, Windows does not provide comparable software. But that’s no problem for Android clients. Bluestack’s mobile organization has presented Bluestacks App Player for this reason. With this app player, you can use any of your applications on your laptop that you use on your Android or Windows mobile devices.
People are addicted to the applications they have on their mobile devices. It is normal for them to use these applications while using their laptop or PC. Bluestacks has authorized this open door for her. It turns the laptop into an Android device. It allows you to leverage all of your Android applications by creating a window over your Windows or Macintosh framework. It gives you the advantage of exploring through your Android and Windows work environment. It will also be the application you downloaded to your PC desktop. You get the alternative to syncing between your mobile devices with your laptop for the same applications to use data from your mobile storage. If you are in an overvoltage situation and you are on your laptop, you can now use all the application data and highlights of your mobile devices from your laptop. It also makes it a comparable workspace as you work with Android in your Windows laptop.
The most fascinating piece with bluestack is the gaming experience. You are now used to playing games on small screens of your mobile devices. But in many cases the experience surpasses when you can play the same games on the larger screen of your laptop. It also includes the adaptability to use mouse and keyboard as game controls. You can also use the touch screen interface to play games when using a touch screen enabled laptop. In the lower menu bar is a keyboard, with the touchscreen controls where wiping, tilting, zooming in and out and tapping can be performed

What are some of the disadvantages
Though the app is awesome but there are also some disadvantages. We will discover some bugs when using blue stacks on your mac or window pc. These errors cause route issues with controls in some applications. It also gives us no option to select whether to use picture mode or scene mode under certain applications. We will find it difficult to separate apps that you’ve already downloaded from Google from app recommendations. It shows these suggestions every time we open Bluestacks. Ideally, the next updates from Bluestacks will ship with these bug fixes.
Features
Some Features of BlueStacks App Player are as follows:
1)With App Player Emulator know as Bluestacks the users can now run Android apps on their MAC and Windows devices. Bluestacks is a Silicon Valley based software that provides App Player and cloud connect for running android apps and synchronization of android apps with Bluestacks.
2)Bluestacks App Player for Windows PC: With Bluestacks the user can run the android apps on their Windows PC having operating systems Windows 7, Windows Vista and Windows XP. The App Player has around 45,000 applications that can be installed into your PC.
3)Bluestacks App Player for MAC: Bluestacks Alpha version for MAC has been released recently with 17 applications available currently. Powered by Layercake the App Player will avail the applications to the users for installation and addition of other apps is in process.
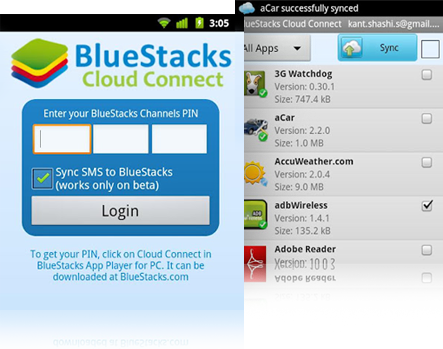
4)Bluestacks Cloud Connect: With Cloud Connect mobile app synchronize your Android application with Bluestacks App Player. So create your own personal Cloud Connect for easy storage and synchronization of Android applications.The Google aims to create a market of its own not only on Android but on MAC and Windows too with this new App Player Bluestacks. Now different users can experience feel of Android on their favorite OS.
Major Features of BlueStacks App Player
- Fully customizable environment
- Support for multiple OS configurations
- Google Play integration
- BlueStacks App Player supports multiple languages.
AWS
Installation Instructions For Windows
Note: How to find PublicDNS in AWS
Step 1) RDP Connection: To connect to the deployed instance, Please follow Instructions to Connect to Windows instance on AWS Cloud
1) Connect to the virtual machine using following RDP credentials:
- Hostname: PublicDNS / IP of machine
- Port : 3389
Username: To connect to the operating system, use RDP and the username is Administrator.
Password: Please Click here to know how to get password .
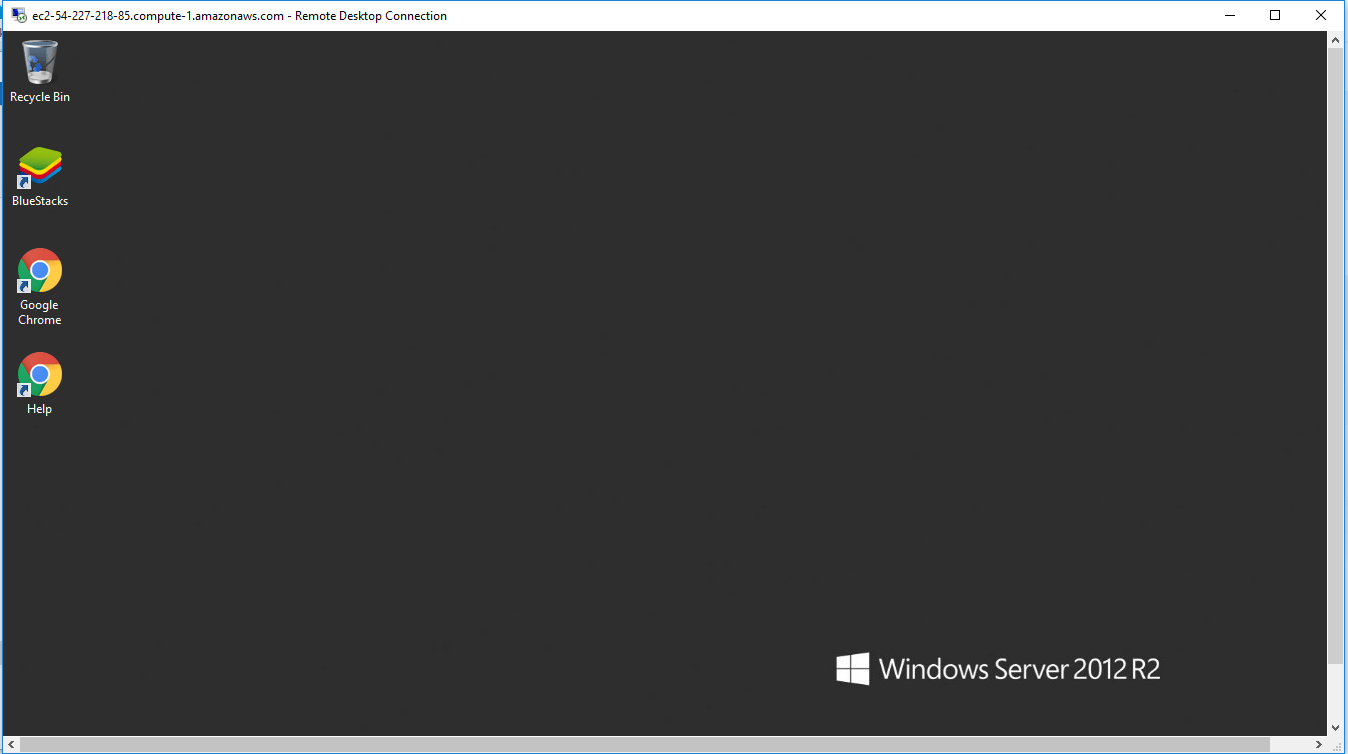
Step 2) Click the Windows “Start” button and select “All Programs” and then point to BlueStacks App Player .
Step 3) Other Information:
1.Default installation path: will be in your root folder “C:\Program Files (x86)\Bluestacks\Bluestacks.exe”
2.Default ports:
- Windows Machines: RDP Port – 3389
- Http: 80
- Https: 443
Note: Click on Desktop icon – Press start then App will open in browser.
Configure custom inbound and outbound rules using this link
Installation Step by Step Screenshots
