1-click AWS Deployment 1-click Azure Deployment 1-click Google Deployment
Overview
File Server Resource Manager is a suite of tools for Windows Server® 2008 that allows administrators to understand, control, and manage the quantity and type of data that is stored on their servers. By using File Server Resource Manager, administrators can place quotas on folders and volumes, actively screen files, and generate comprehensive storage reports. This set of advanced instruments not only helps the administrator efficiently monitor existing storage resources, but it also aids in the planning and implementation of future policy changes.
File servers generally offer some form of system security to limit access to files to specific users or groups. In large organizations, this is a task usually delegated to what is known as directory services such as openLDAP, Novell’s eDirectory or Microsoft’s Active Directory.
Windows File Server 2008 on Cloud for AWS
Features
Major Features Of Windows File Server 2008
1.Multiserver management
Server Manager not only gets a face-lift in Windows Server 8, donning the superclean Metro look, but opens the management horizon to the entire server environment. Pull in new servers (physical or virtual) to manage through Active Directory or DNS lookup, and Server Manager will inventory the server and add a new tile to the dashboard displaying its state. Other tiles roll up aggregates of information across multiple servers by server role and various attributes.
2.Friction-free server deployment
Windows Server 8 inherits Windows Server 2008’s wizards for installing roles and features, but combines them in what Microsoft calls “scenario-based deployment.” Installs can target local machines, remote machines, or virtual hard disks, with deployment to multiple machines automated through PowerShell cmdlets, WMI APIs, and “workflows” that handle suspending and resuming batch operations.
3.IP address management
Odds are you’re using a spreadsheet or homegrown cobbleware to track your IP address allocations, and it’s no fun at all. Windows Server 8 introduces a full-featured IP address manager that combines network discovery, static and dynamic address allocation, DNS and DHCP monitoring, and network auditing capabilities all in one place. Logging actual address usage, identifying conflicts, cross-referencing with hardware inventory, and providing an audit trail of all changes, the Windows IP Address Management Center goes way beyond record keeping. It has the potential to eliminate a huge time suck from your to-do list.
4.Dynamic Access Control
Today’s folder-centric model for access control makes it all too easy for permissions to get garbled — and auditing is a horror. Dynamic Access Control doesn’t replace your current file and folder permissions, but allows you to layer global policies and claims-based access controls on top of them. For example, you might create a rule to ensure that only members of the finance group can access finance department files and strictly from a managed device — and this rule could be enforced by all Windows Server 8 file servers (and only Windows Server 8 file servers) in your organization.
5.Large Hyper-V clusters
Windows Server 8 leaps into VMware territory and beyond with support for as many as 63 hosts and 4,000 VMs per cluster. Backing up the raw numbers are a slew of features that improve performance, manageability, availability, and security in large environments: cluster-aware patching, storage resource pools, thin provisioning, storage offload for data transfers, BitLocker encryption for cluster volumes, data deduplication, and live storage migration.
6.Flexible live migration
Windows Server 8 introduces live storage migration, the ability to migrate virtual hard disks or configuration files for a running VM without interruption. And it removes shared storage as a requirement for migrations. You can now migrate VMs using nothing more than an Ethernet cable; first, the virtual disk is moved, then the running VM. The only requirement is that the hosts belong to the same domain.
7.Advanced virtual networking
If you’ve chafed against the lack of promiscuous mode in the Hyper-V virtual switch or pined for the virtual networking capabilities in VMware, you’ll be happy to know that Microsoft has dived in with both feet in Windows Server 8. Microsoft seems to have matched the VMware vSwitch feature for feature — port ACLs, private VLANs, per-vNIC bandwidth reservations, QoS, metering, OpenFlow support, VN-Tag support, network introspection — all without requiring expensive network devices. The switch will support third-party extensions for inspecting, filtering, modifying, sampling, and inserting packets, with management of the extensions integrated into Hyper-V.
8.SMB for server apps
Windows Server 8 gives a big boost to small businesses and branch offices by extending support for Hyper-V virtual hard disks and SQL Server database files to SMB2 file shares. Translation: You can run your virtual machines and SQL database from a commodity file server, no special storage system required. To protect your Hyper-V and SQL workloads, you can create “continuously available” SMB file server clusters that provide transparent failover. That’s high availability made very cheap and very easy.
9.VDI for the rest of us.
Virtual Desktop Infrastructure will change the world — but not until it becomes a whole lot simpler to do. Setting up and managing virtual desktops on Windows Server 2008 R2 pales miserably to Citrix XenApp/XenDesktop, for example, and implementing Citrix is no walk in the park. Windows Server 8 takes a big step forward toward reducing the complexity and costs of a VDI deployment.
AWS
Installation Instructions for Windows
Note: How to find PublicDNS in AWS
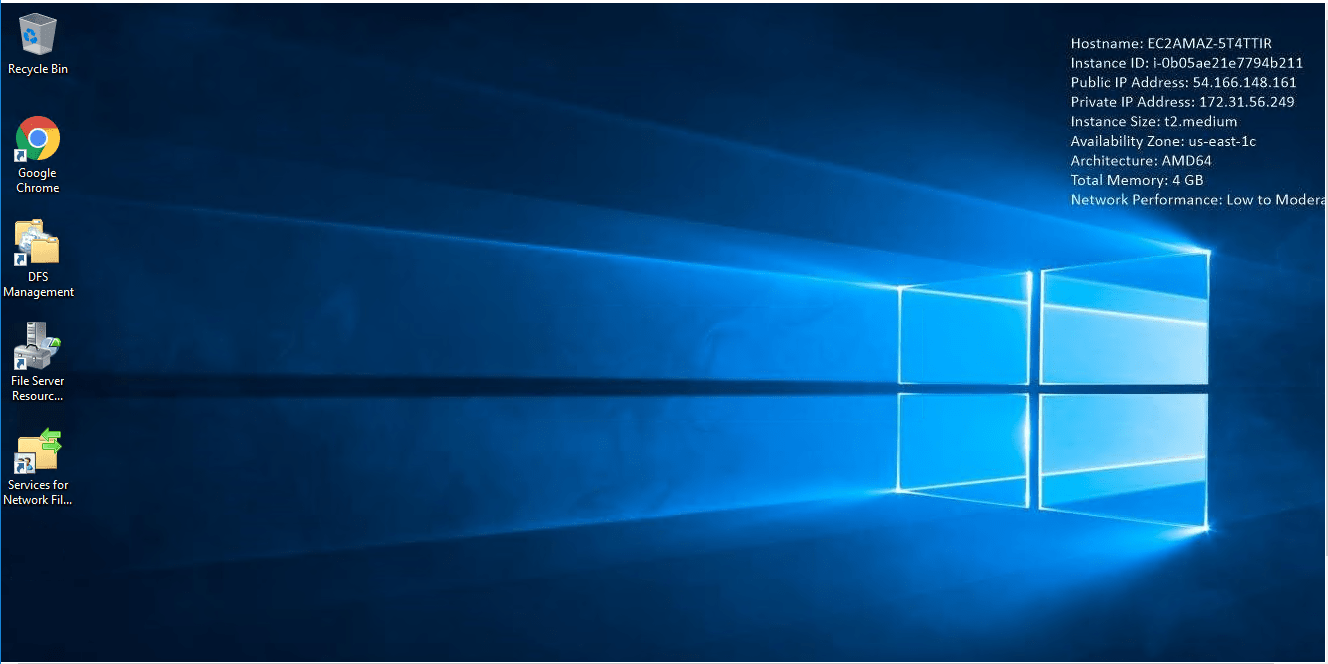
Step 1) RDP Connection: To connect to the deployed instance, Please follow Instructions to Connect to Windows instance on AWS Cloud
1) Connect to the virtual machine using following RDP credentials:
- Hostname: PublicDNS / IP of machine
- Port : 3389
Username: To connect to the operating system, use RDP and the username is Administrator.
Password: Please Click here to know how to get password .
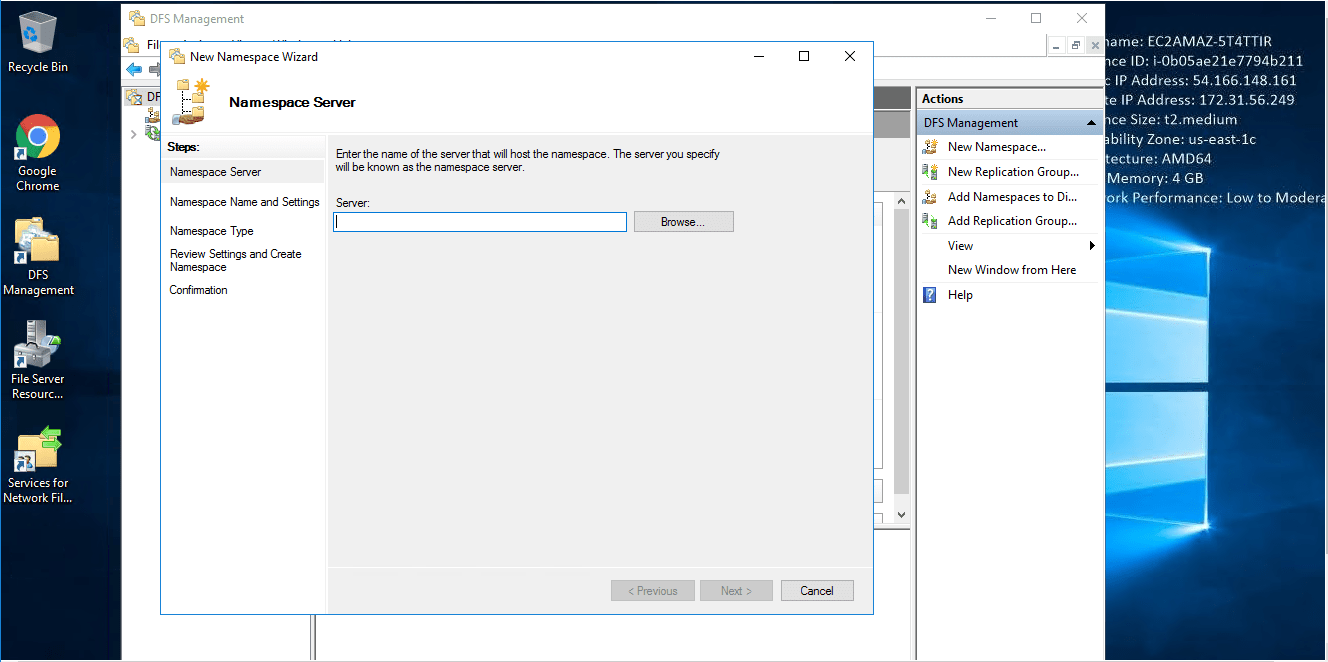
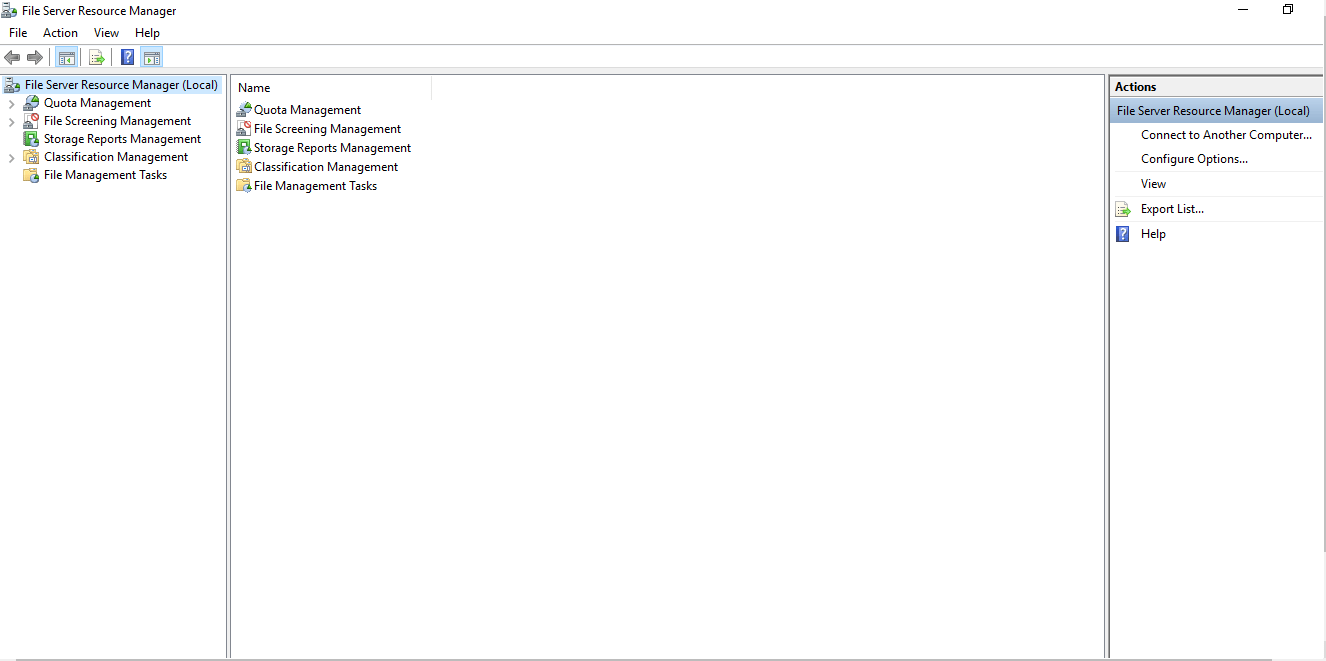
Step 2) Click the Windows “Start” button and select “Windows Administrative Tools” then point to “File Resource Manager” .
Configure custom inbound and outbound rules using this link
Users Instructions Step By Step Screenshots
- Installation Instructions For Windows
Installation Instructions For Windows
Step 1) VM Creation:
1.Click the Launch on Compute Engine button to choose the hardware and network settings.
2.You can see at this page, an overview of Cognosys Image as well as some estimated costs of VM.
3.In the settings page, you can choose the number of CPUs and amount of RAM, the disk size and type etc.
