1-click AWS Deployment 1-click Azure Deployment
Overview
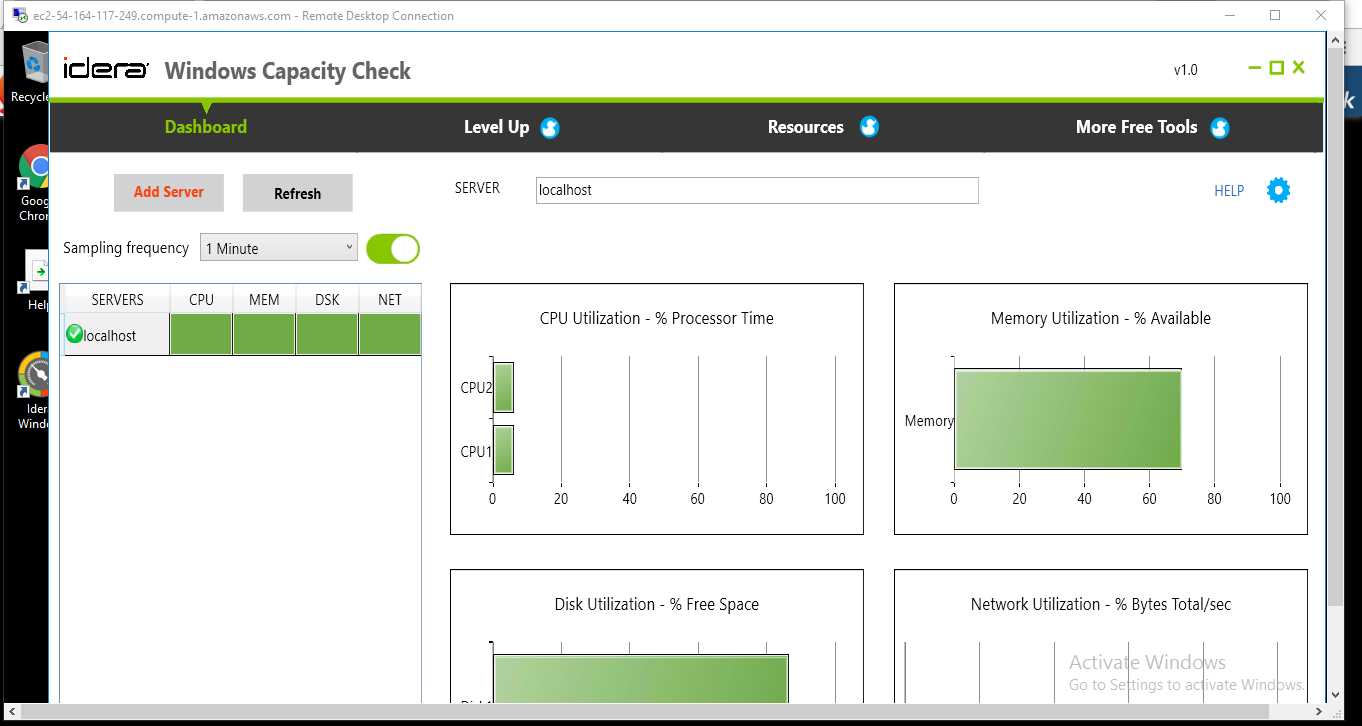
Windows Capacity Check compiles server capacity data in a single easy-to-use heat map dashboard. It allows IT professionals to quickly analyze data with a simple red, yellow, green visual dashboard. Windows Capacity Check lets you see CPU utilization, memory, disk and network resources. With one click you can see capacity utilization of CPU, disk and network interface. Right click and see a summary table of all your capacity stats. Users can decide if they want information to be sent every minute or every hour depending on their needs.
Features
Major Features of Windows Capacity Check
Monitor Windows Server Capacity
Monitoring capacity is important to the overall health of your Windows Server environment. View key capacity indicators in a single dashboard so you can quickly check capacity and adjust server workloads as needed to keep performance from suffering.
Balance Resource Utilization
See at-a-glance the utilization of CPU, memory, disk, and network resources on up to 10 servers. Easily identify over-utilization so you can balance workload with under-utilized servers. View over time to identify opportunities to decrease or needs to increase capacity.
View Servers and Components
Easy to understand heat map view shows potential capacity problems by server and resource color coded based on capacity thresholds you select. Selecting an individual server shows capacity utilization by server component such as CPU, disk, or network interface.
Simple Installation, No Agents Required
Install and configure in minutes with no agents to impact performance.
AWS
Installation Instructions For Windows
A) Click the Windows “Start” button and select “All Programs” and then point to Windows Capacity Check
B) RDP Connection: To connect to the operating system,
1) Connect to virtual machine using following RDP credentials :
- Hostname: PublicDNS / IP of machine
- Port : 3389
Username: To connect to the operating system, use RDP and the username is Administrator.
Password : Please Click here to know how to get password .
C) Other Information:
1.Default installation path: will be on your root folder “C:\Program Files\Idera\Idera Windows Capacity Check\”
2.Default ports:
- Windows Machines: RDP Port – 3389
- Http: 80
- Https: 443
Configure custom inbound and outbound rules using this link
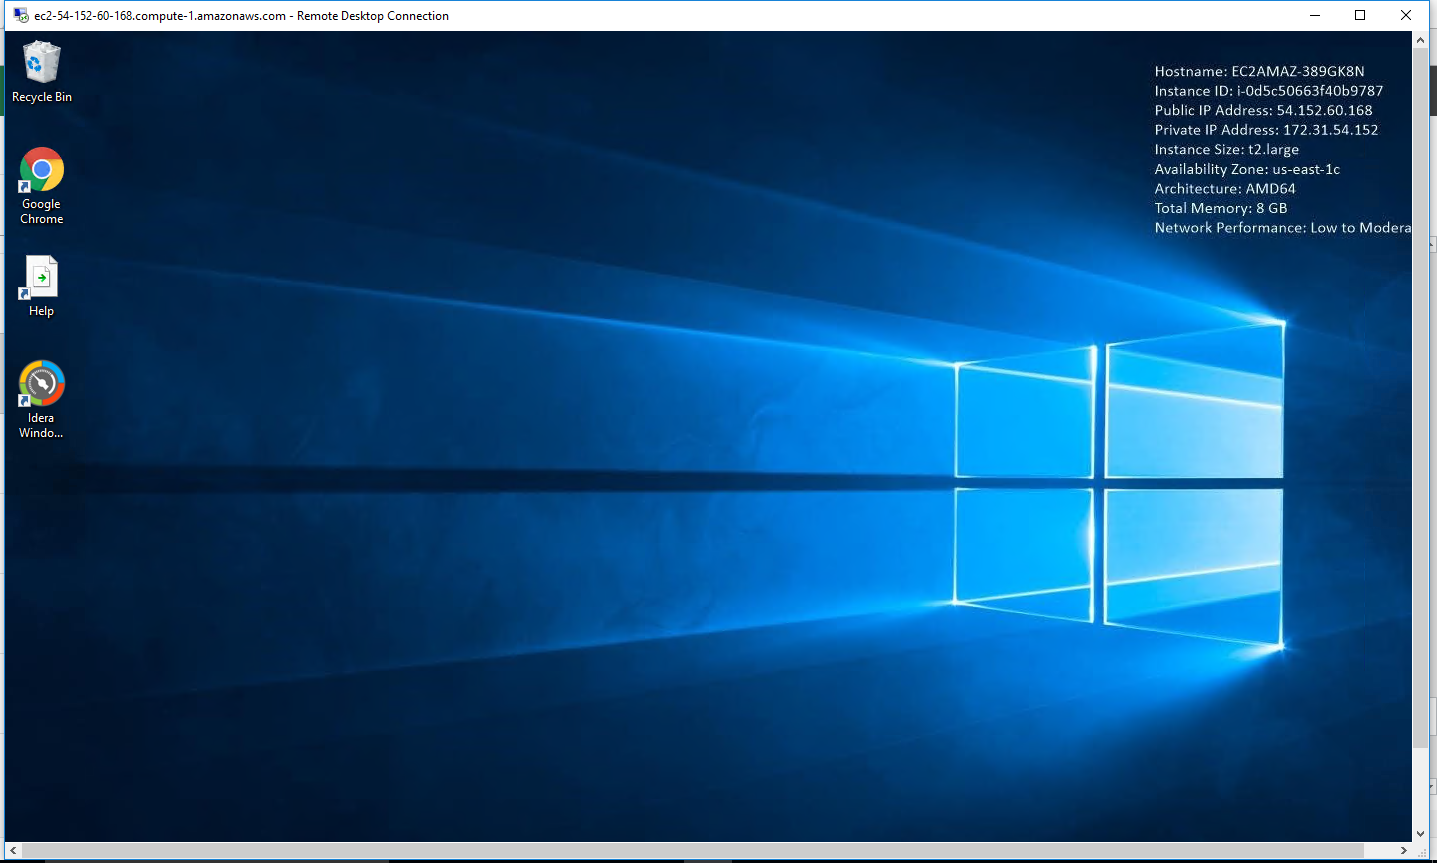
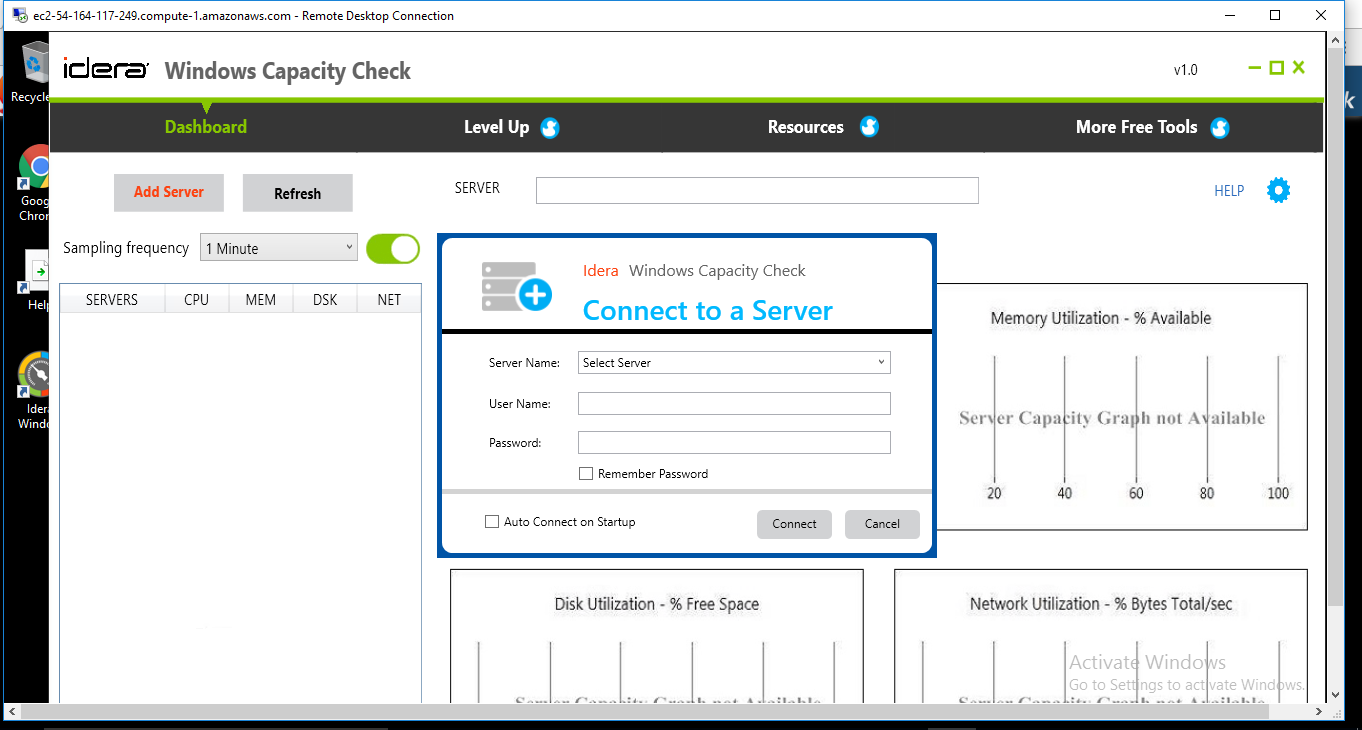
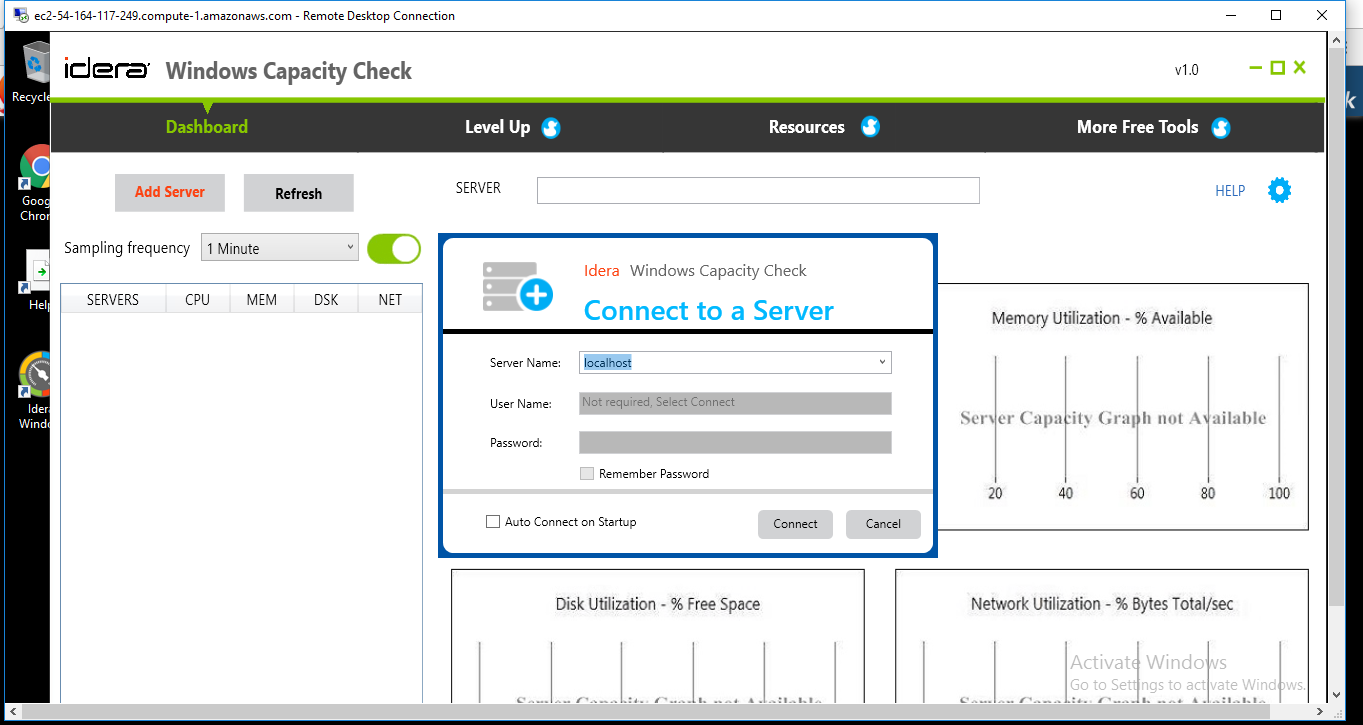
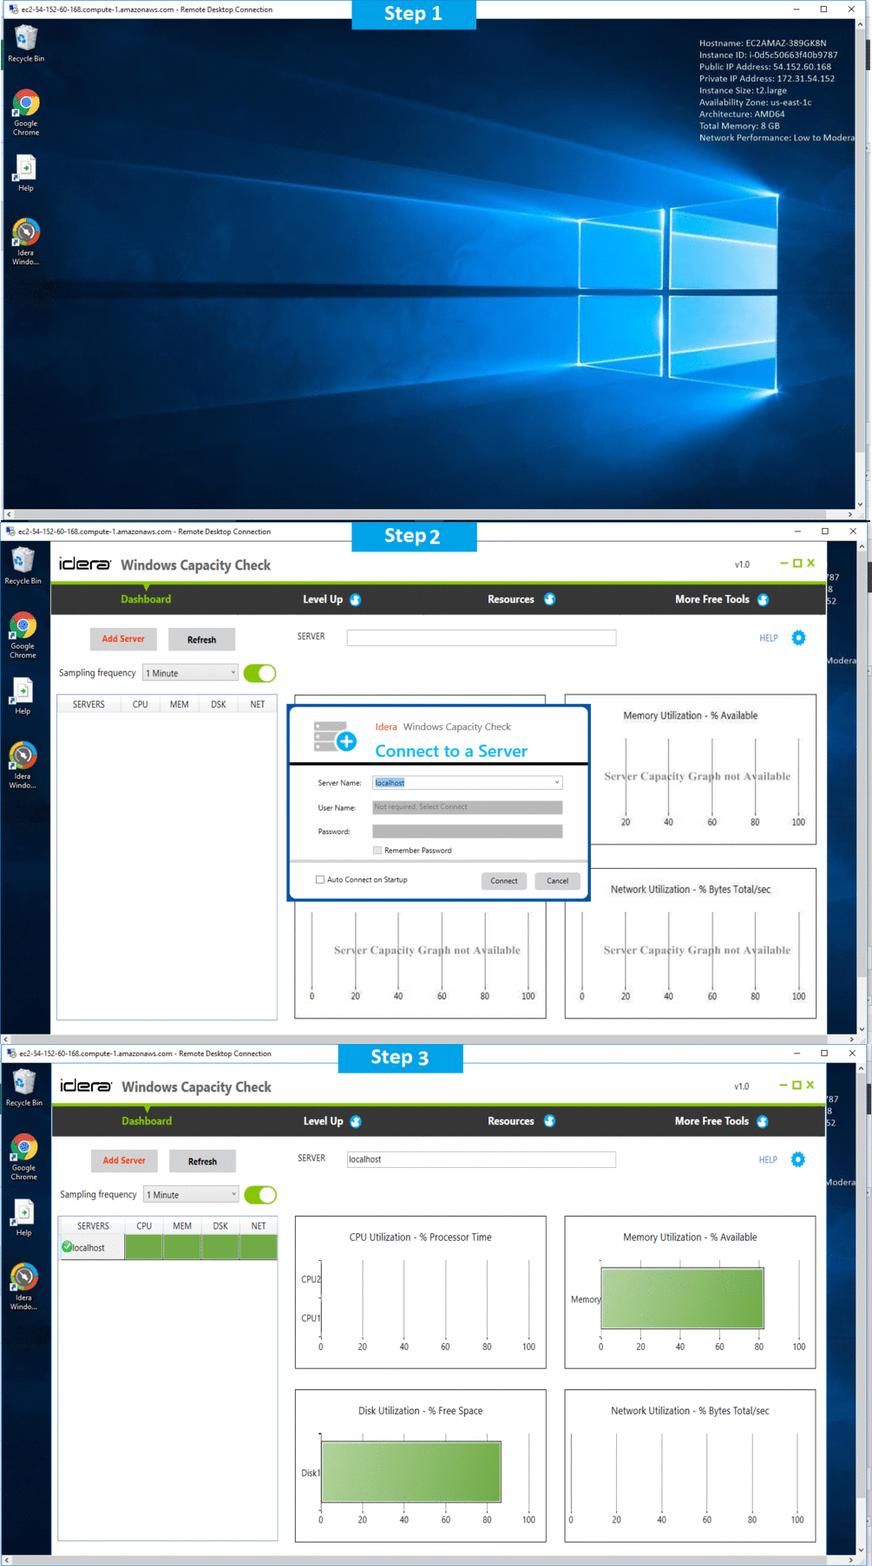
Installation Step by Step Screenshots

