
1-click AWS Deployment 1-click Azure Deployment 1-click Google Deployment
Overview
TikiWiki, is a free and open source Wiki-based content management system and online office suite written primarily in PHP and distributed under the GNU Lesser General Public License (LGPL) license.In addition to enabling websites and portals on the internet and on intranets and extranets, Tiki contains a number of collaboration features allowing it to operate as a Geospatial Content Management System (GeoCMS) and Groupware web application.
Tiki includes all the basic features common to most CMSs such as the ability to register and maintain individual user accounts within a flexible and rich permission/privilege system, create and manage menus, RSS-feeds, customize page layout, perform logging and administer the system. All administration tasks are accomplished through a browser-based user interface.
Tiki features an all-in-one design, as opposed to a core+extensions model followed by other CMSs. This allows for future-proof upgrades (since all features are released together), but has the drawback of an extremely large codebase.
Tiki Wiki CMS on Cloud runs on Amazon Web Services (AWS) , Azure and Google Cloud Platform ( GCP ) Tiki Wiki is built to record feature requests and bug reports, discussions and troubleshooting, to develop end-user and developer documentation etc.
Tiki Wiki CMS is owned by Tiki Wiki CMS(https://tiki.org/) and they own all related trademarks and IP rights for this software.
Cognosys provides harderned, pre-configured and ready to run environment for running Tiki Wiki CMS on AWS, Google Cloud Platform ( GCP ) and Azure marketplace.
Tikiwiki cms on ubuntu 14.04
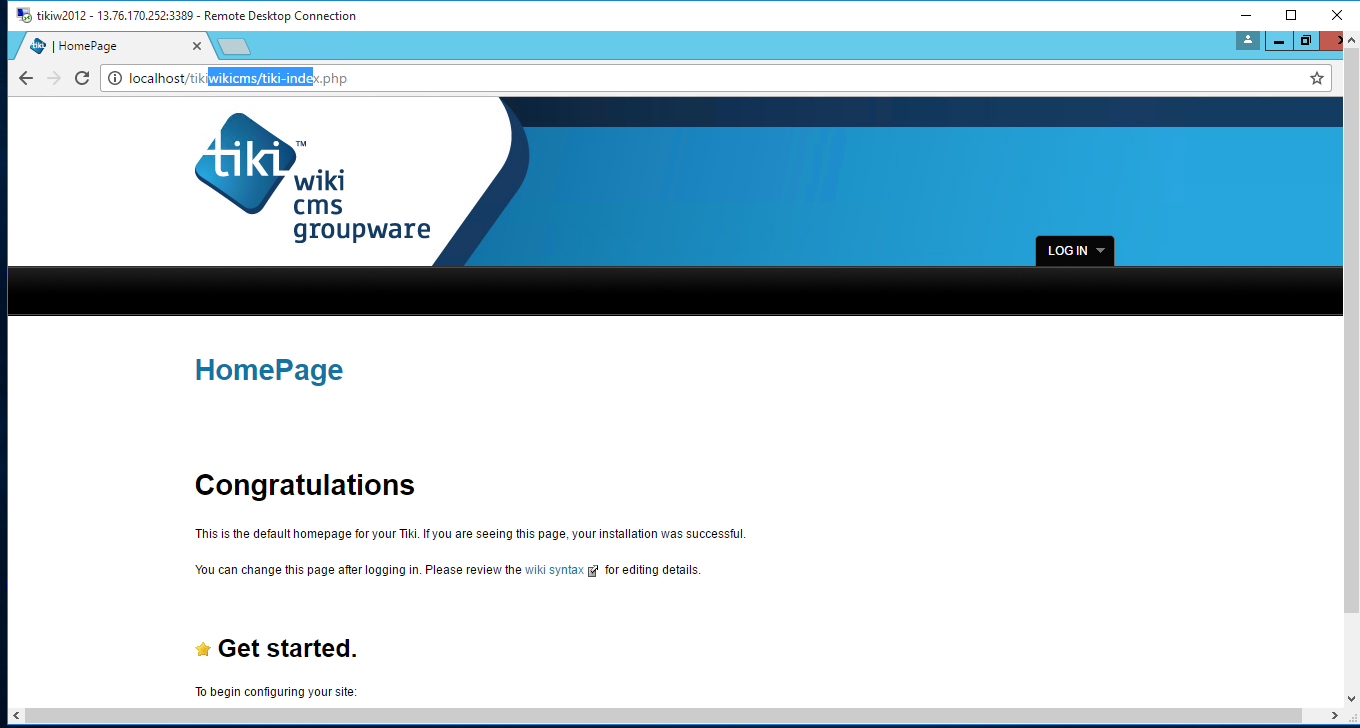
Tiki Wiki CMS on Windows 2012 R2
Tiki Wiki CMS on cloud for AWS
Tiki Wiki CMS on cloud for Azure
Features
Major Features of TikiWikiCMS
- Articles- Articles can be used for date-specific news and announcements. You can configure articles to automatically publish and expire at specific times or to require that submissions be approved before becoming “live.” In addition to categories and tags, articles include their own unique classification system of Topics and Types.
- Slideshow Turn a wiki page into slideshow by using more than one title bar in the page. You can also make slideshows from a structure.
- Module– Boxes of content, typically on the left & right of portal-styles sites. Very useful for navigation & content re-use.|over 100 built-in modules and site admins can create their own using HTML.
- Semantic– Going beyond Backlinks, allows to define some semantic relationships between wiki pages
- Interaction with popular external software, services or websites
- Wiki- Over 100 built-in plugins extend the function of wiki syntax with more specialized commands. It is very easy to create your own plugins with plugin alias or from scratch.
AWS
Installation Instructions for Windows
Note : How to find PublicDNS in AWS
Step 1) RDP Connection: To connect to the deployed instance, Please follow Instructions to Connect to Windows instance on AWS Cloud
1) Connect to the virtual machine using following RDP credentials:
- Hostname: PublicDNS / IP of machine
- Port : 3389
Username: To connect to the operating system, use RDP and the username is Administrator.
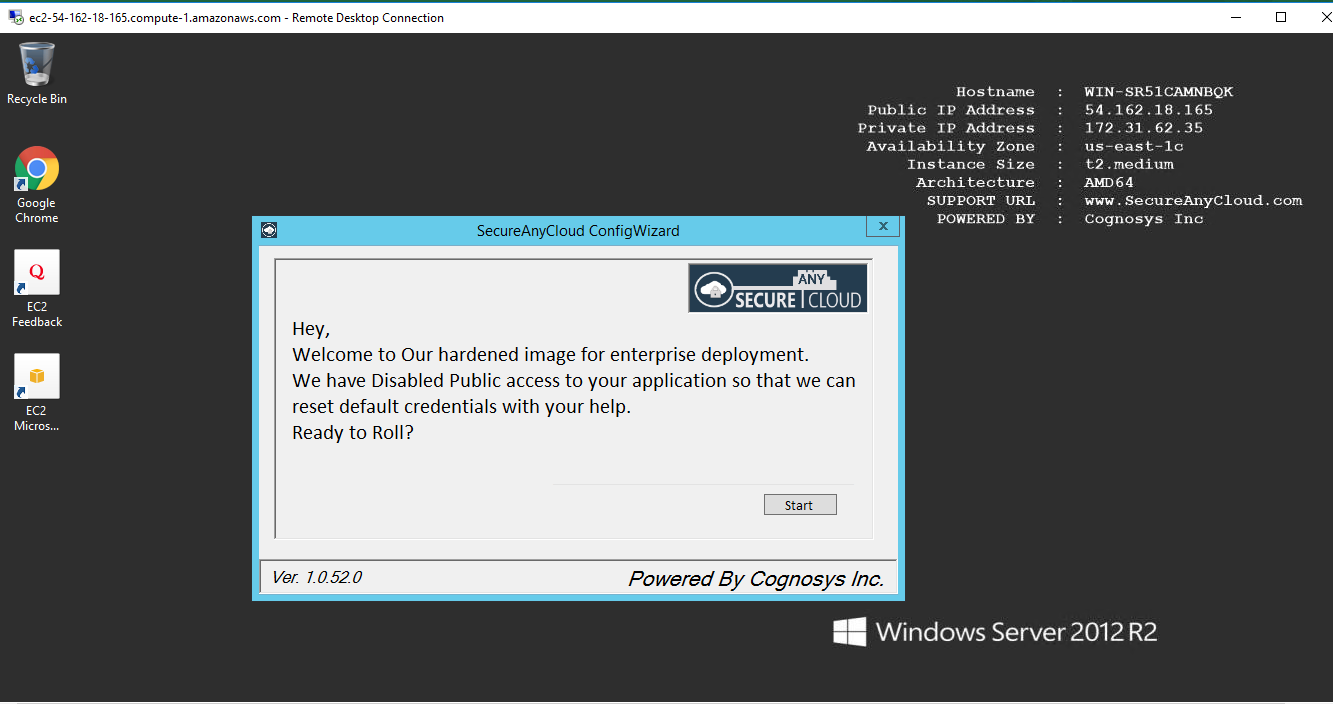
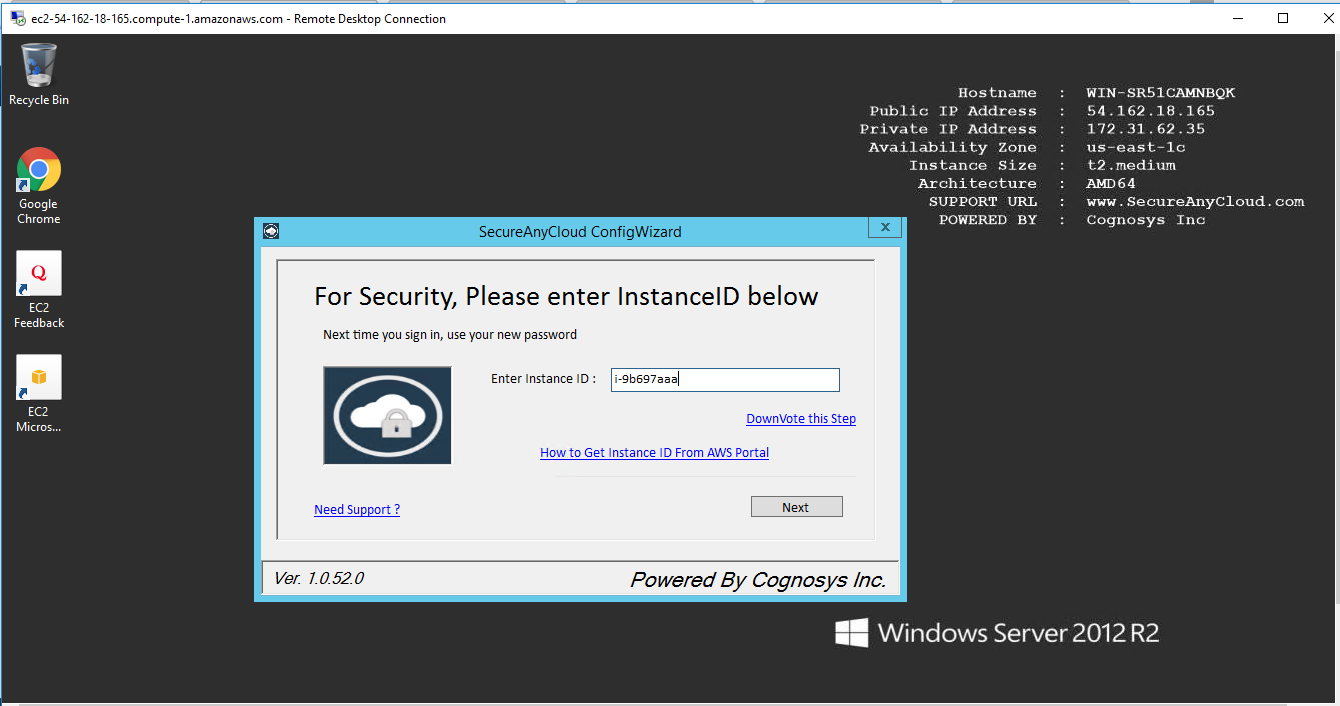
Password: Please Click here to know how to get password .
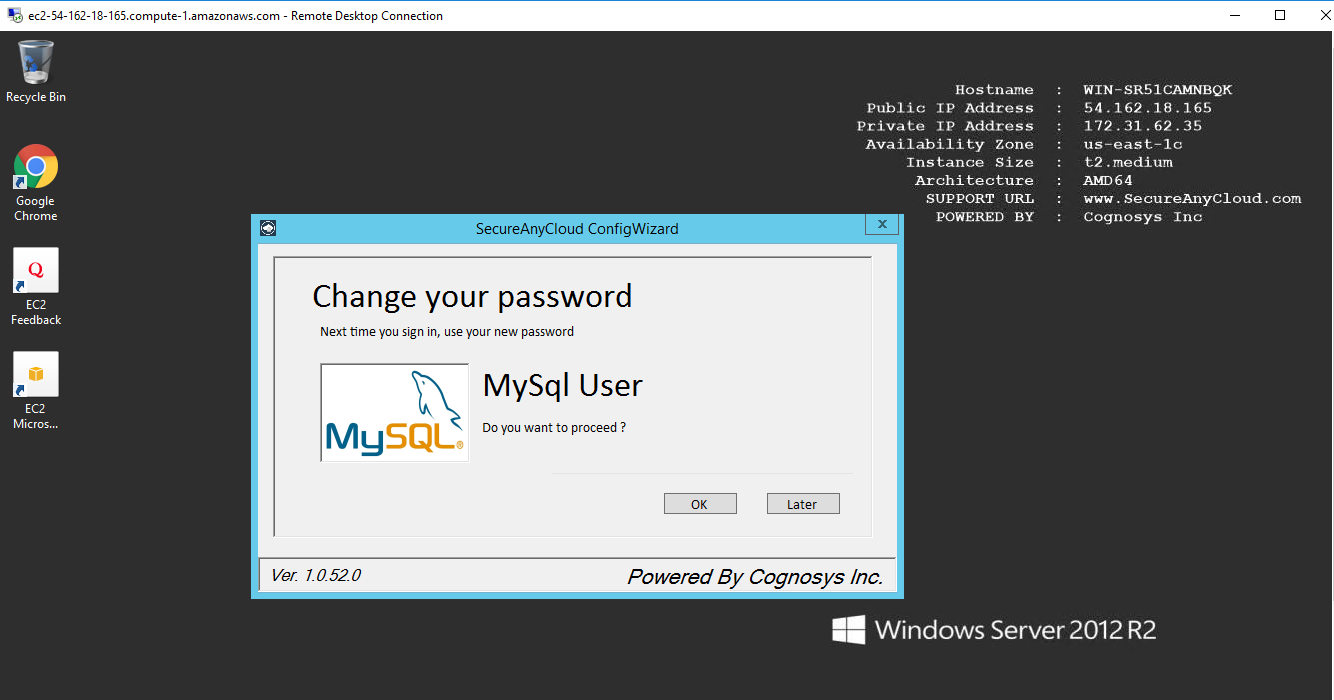
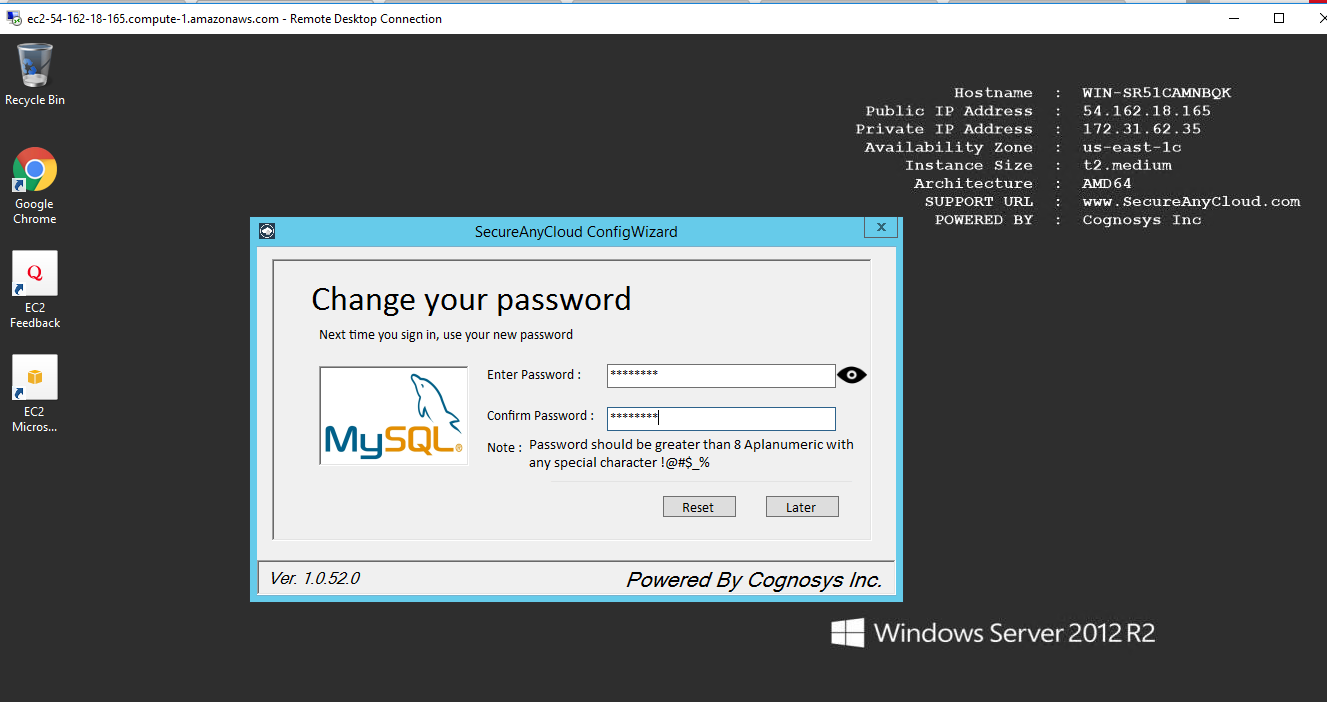
Step 2) Database Login Details :
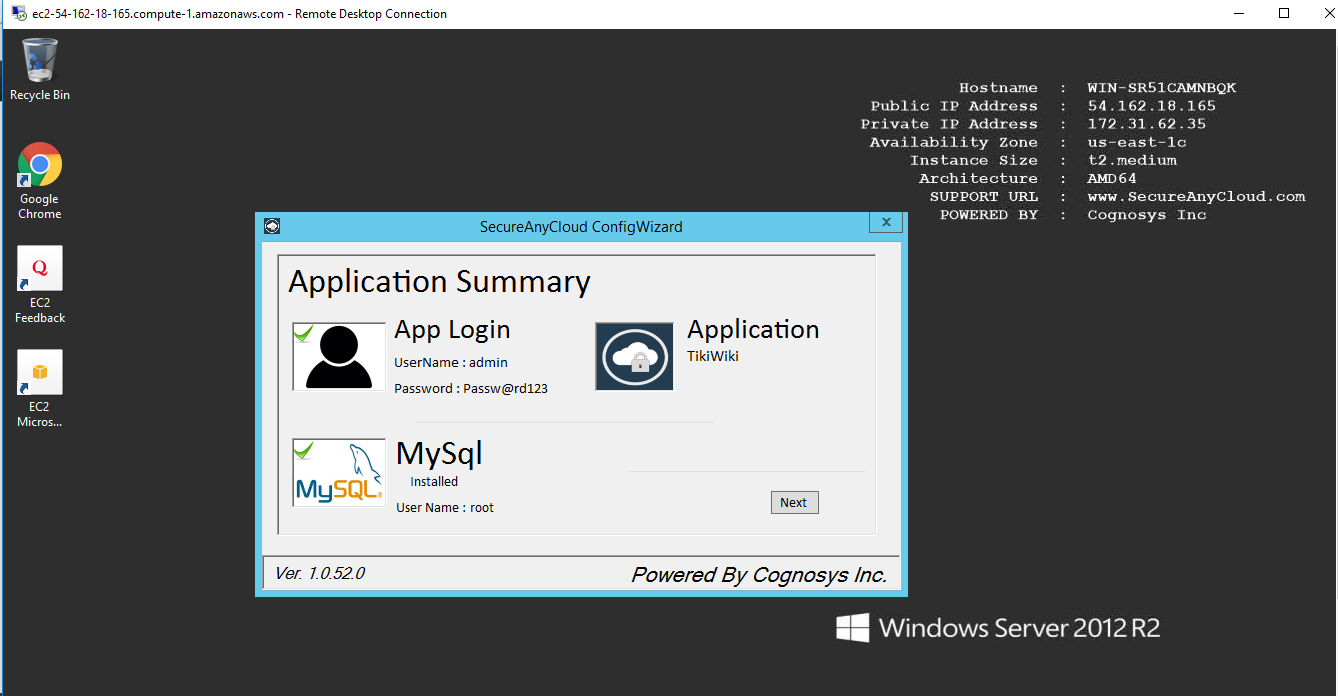
- MYSQL Username : root
- MYSQL Password : Passw@rd123
Configure custom inbound and outbound rules using this link.
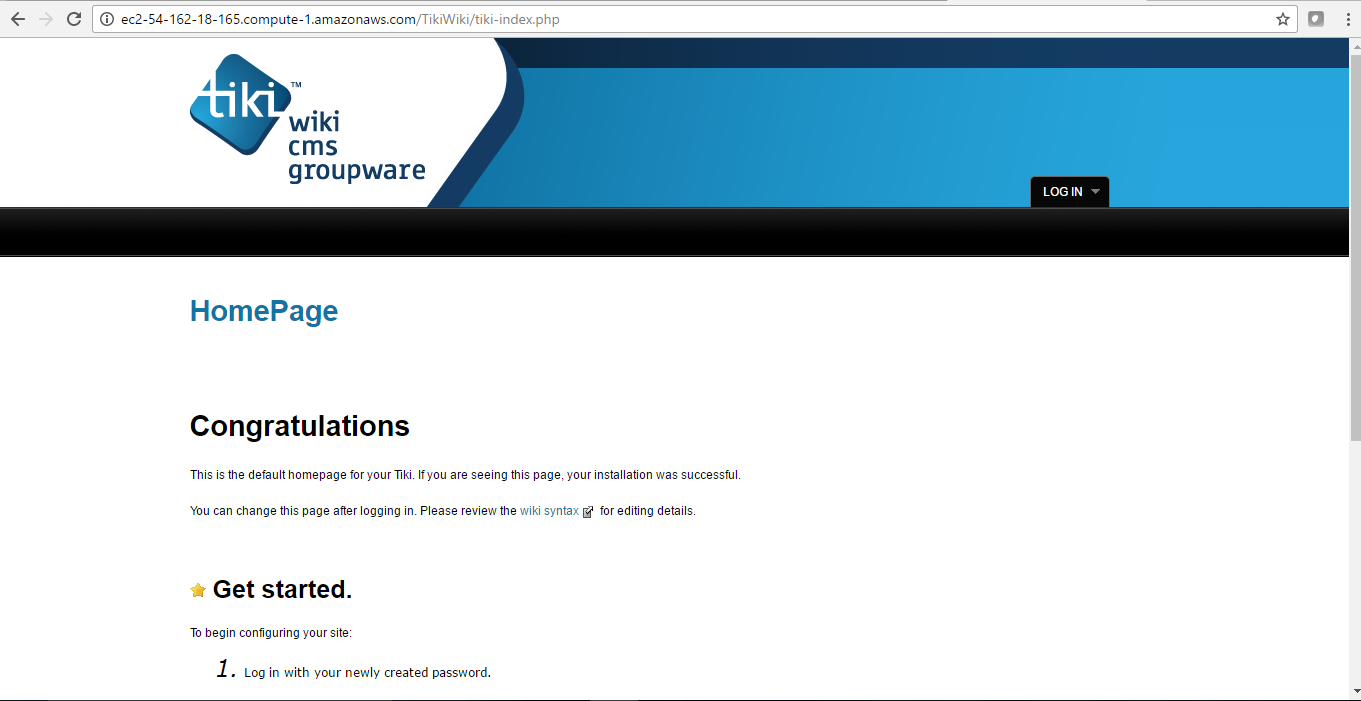
Step 3) Application URL: Access the application via a browser at http://PublicDNS/tikiwikicms
- Username: admin
- Password : Passw@rd123
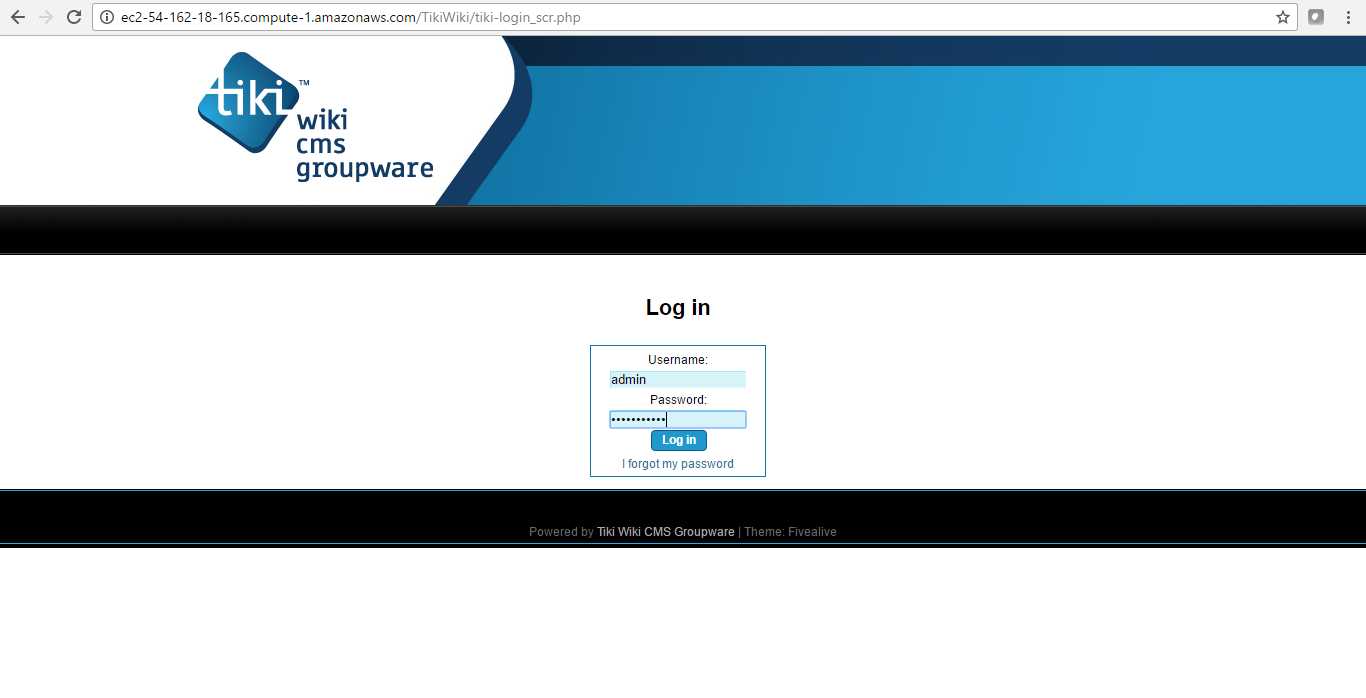
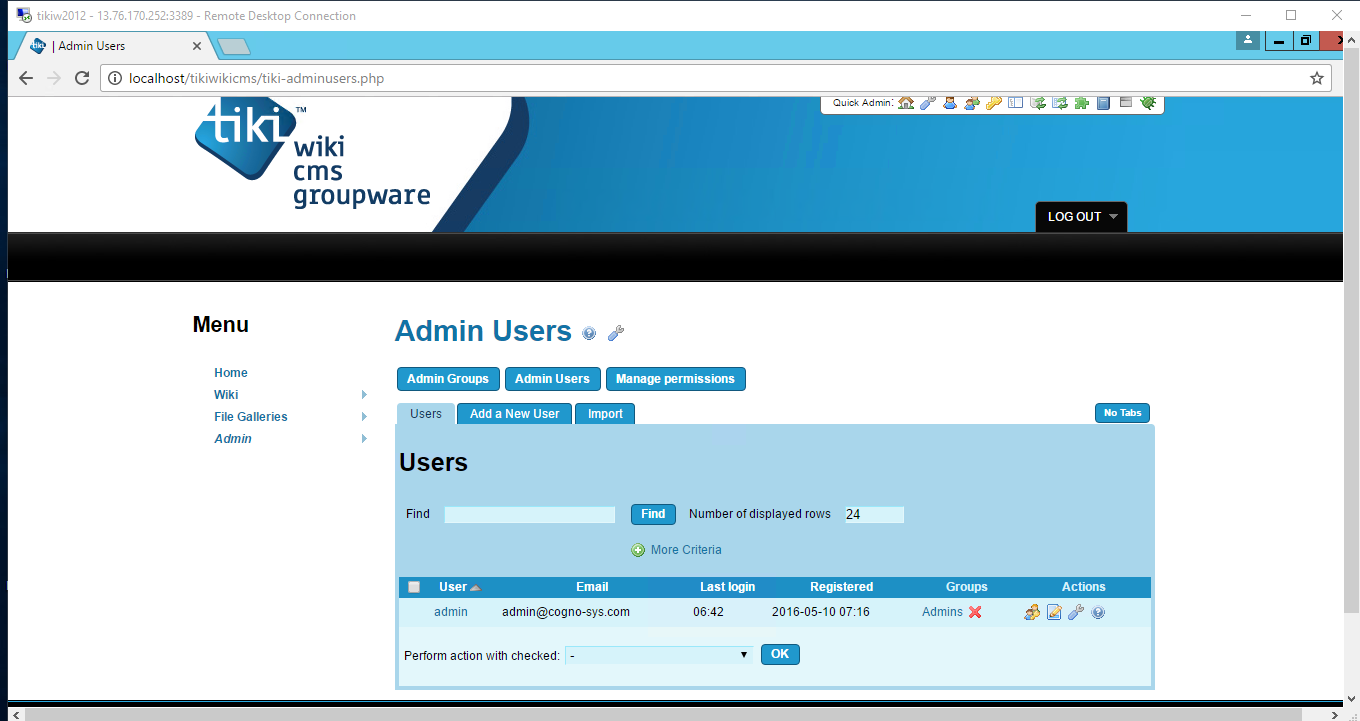
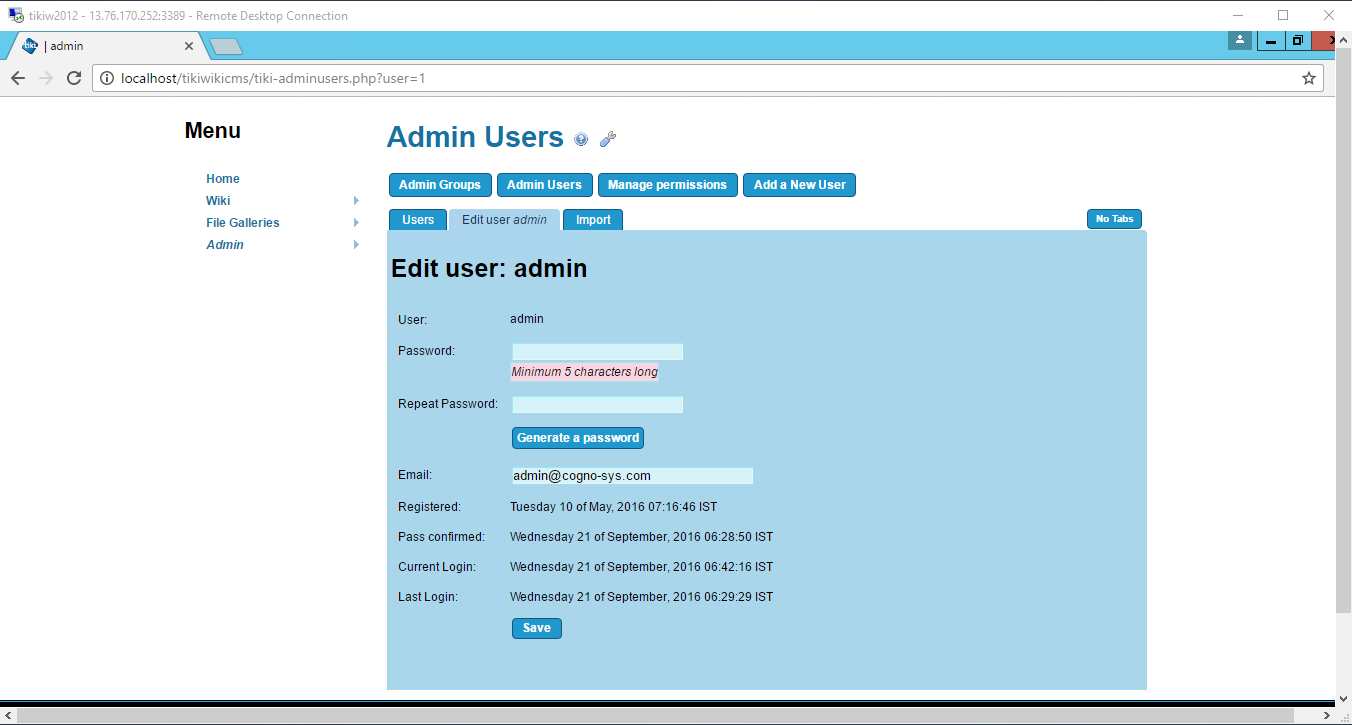
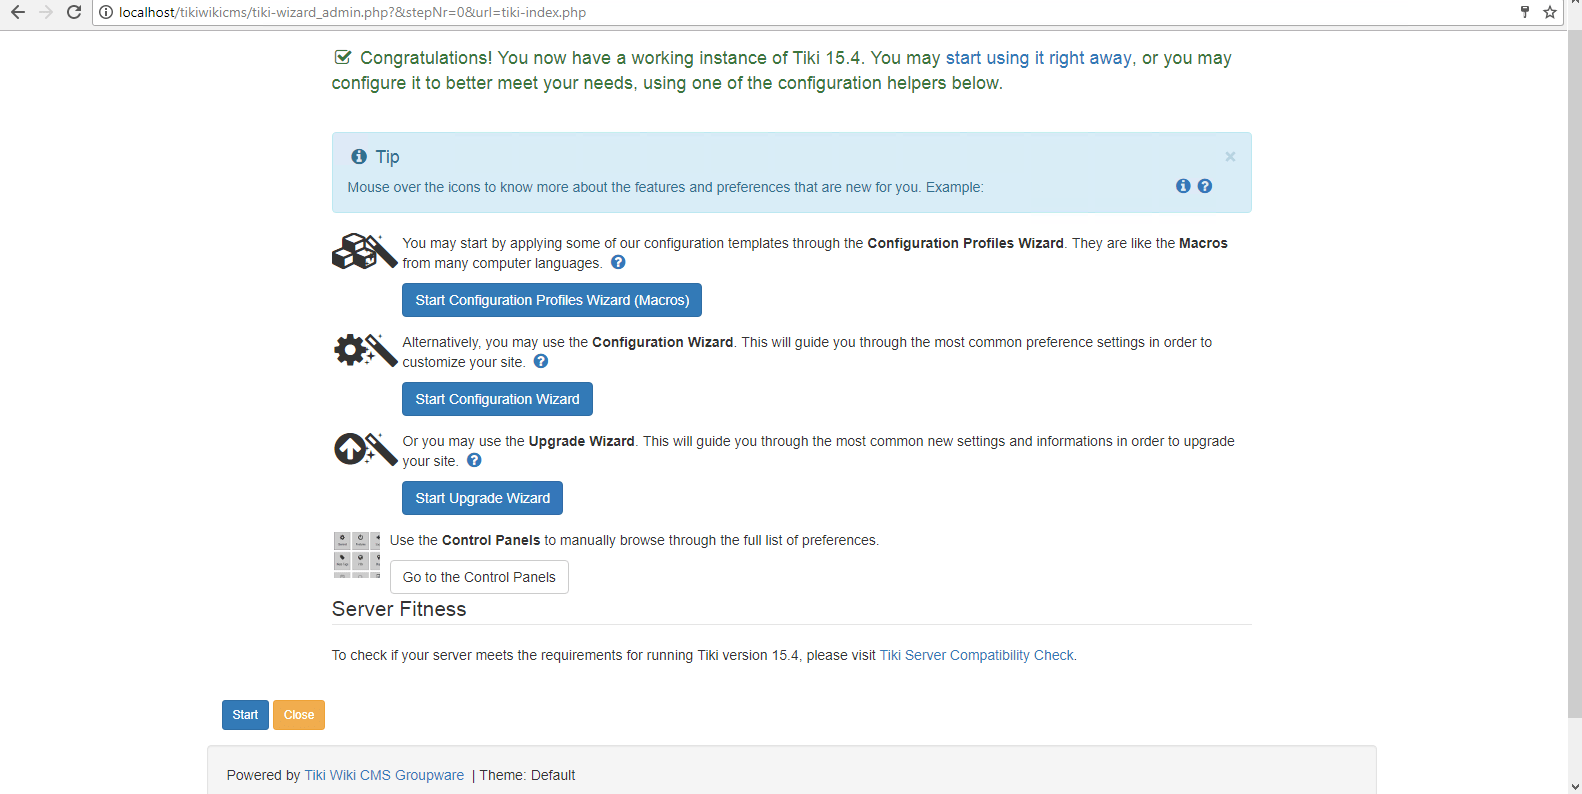
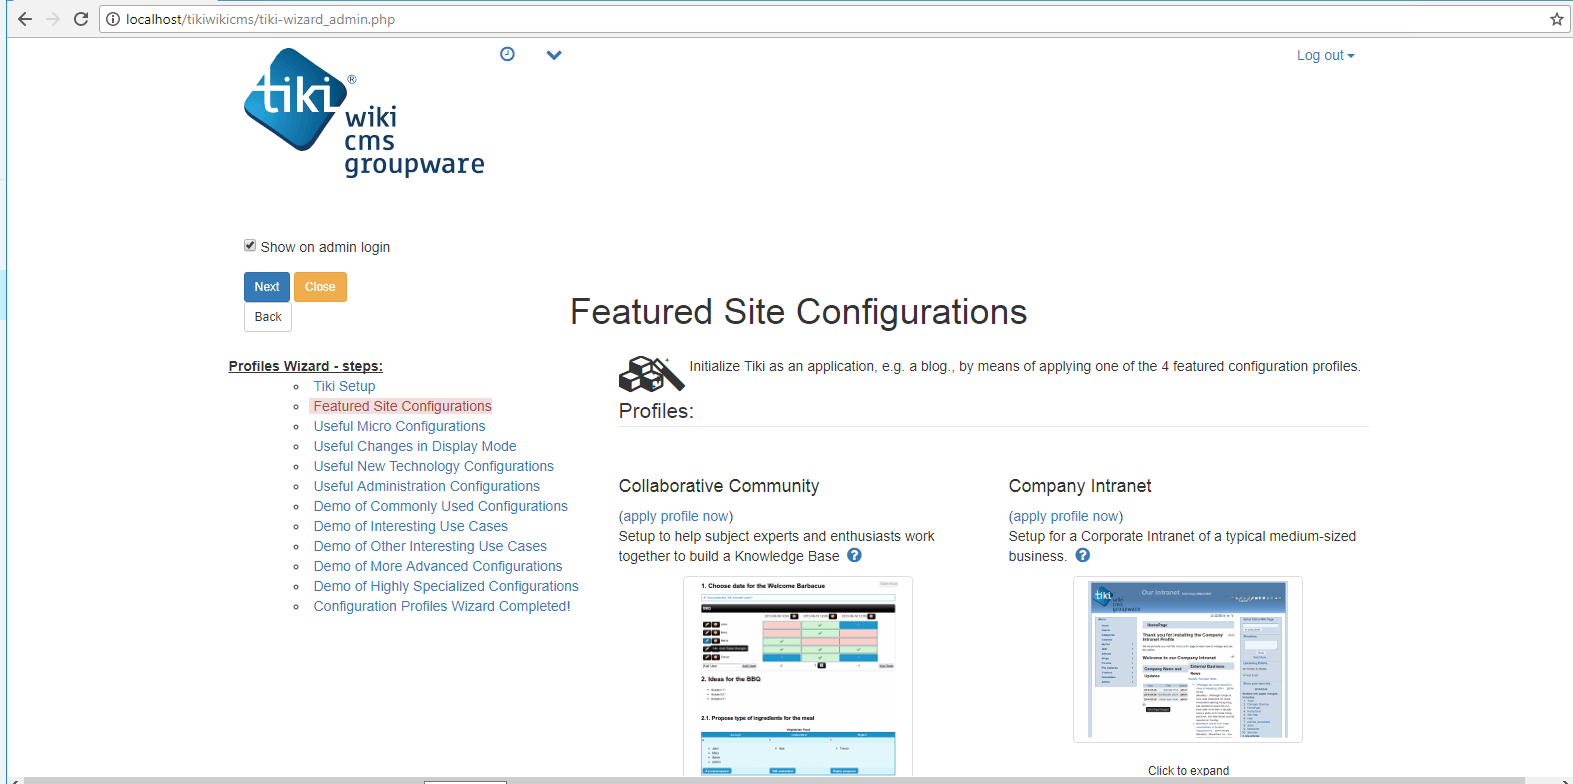
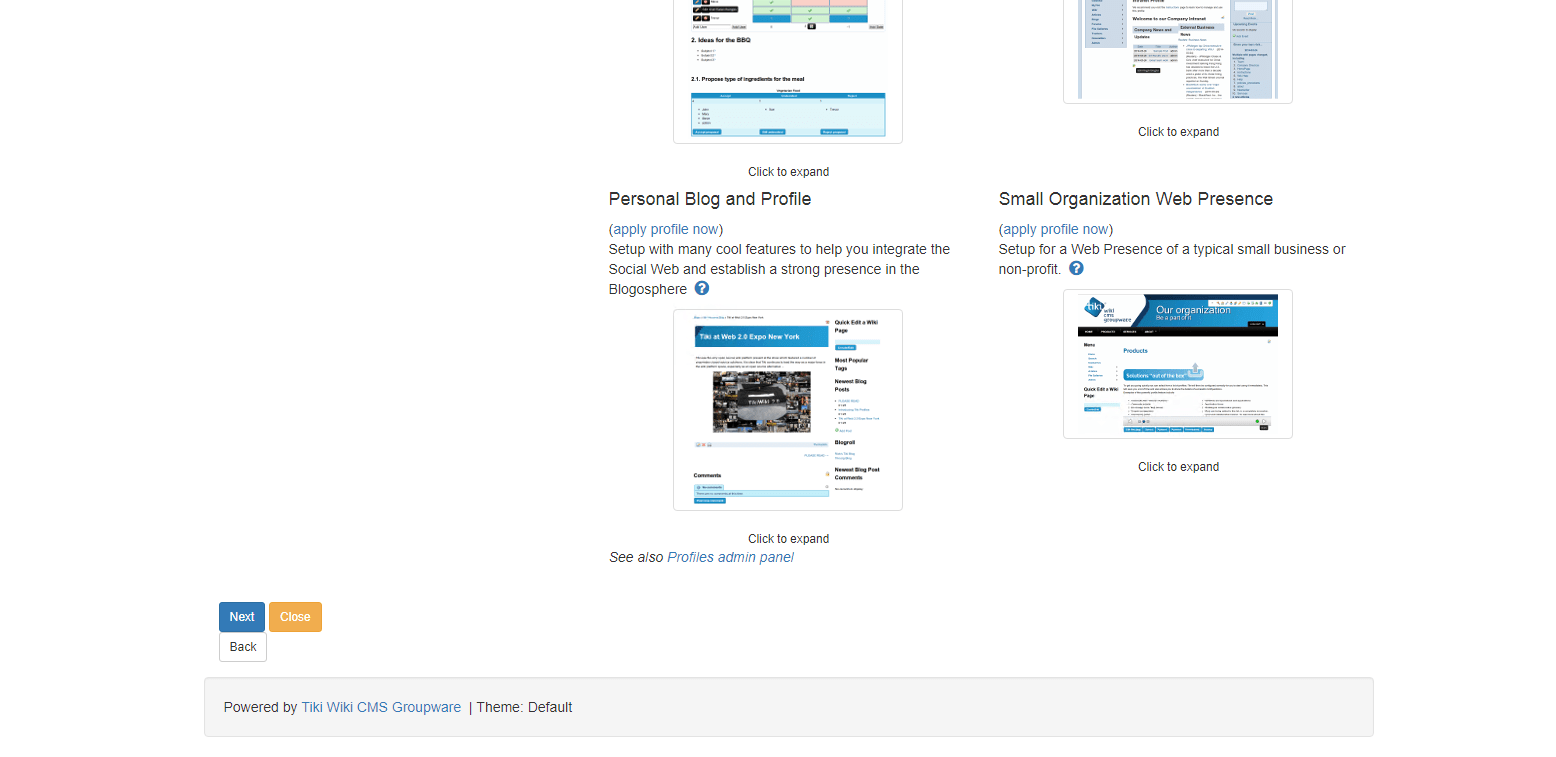
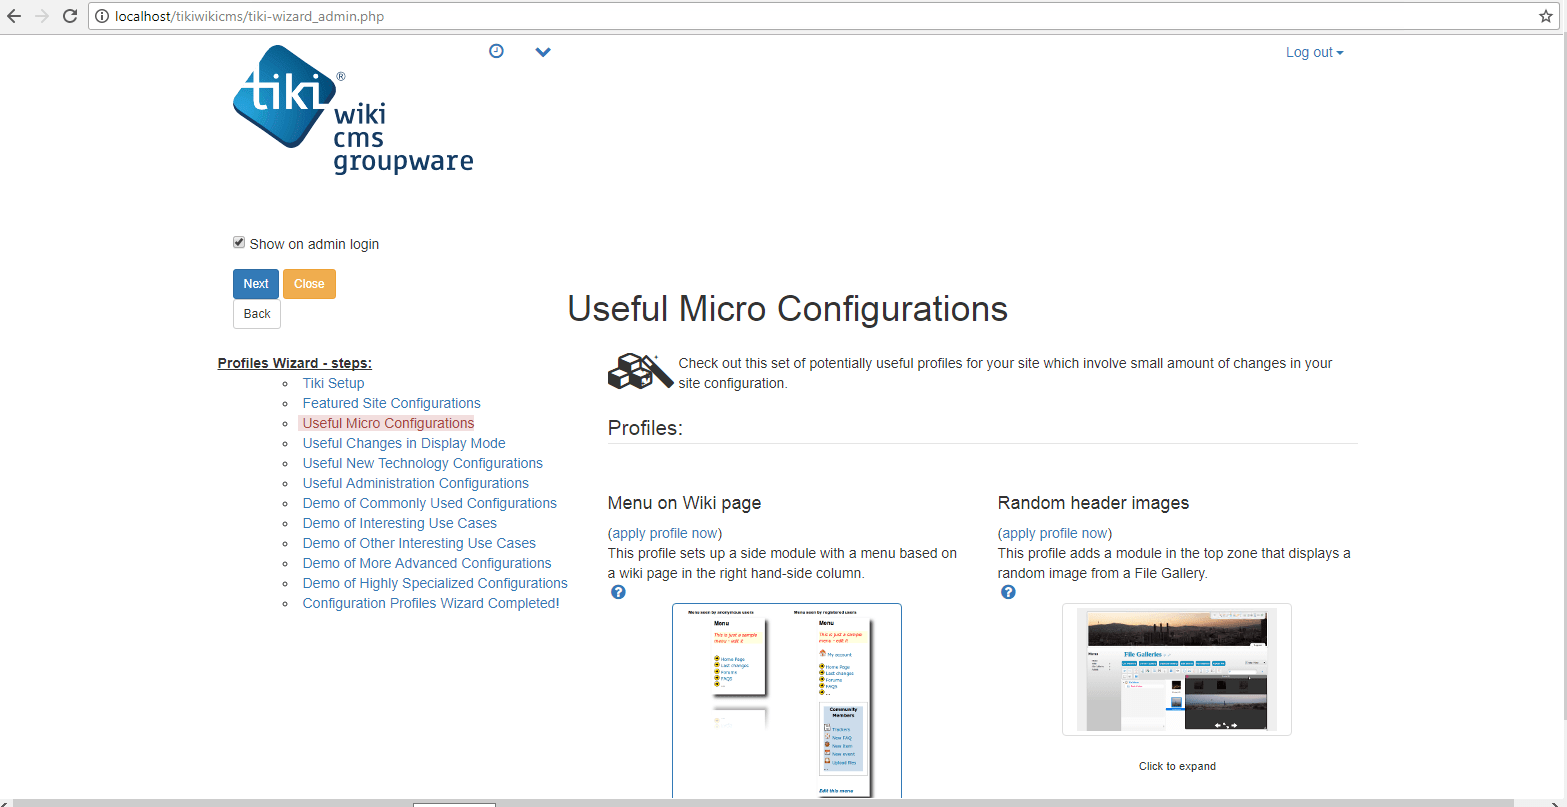
Steps to access the Admin Panel:
- To login to TikiWiki Administrative Panel, you need
to open your browser and navigate to http://PublicDNS/TikiWiki/admin - Enter username and password in the given fields and click on the “Login”button to access the Admin Panel.
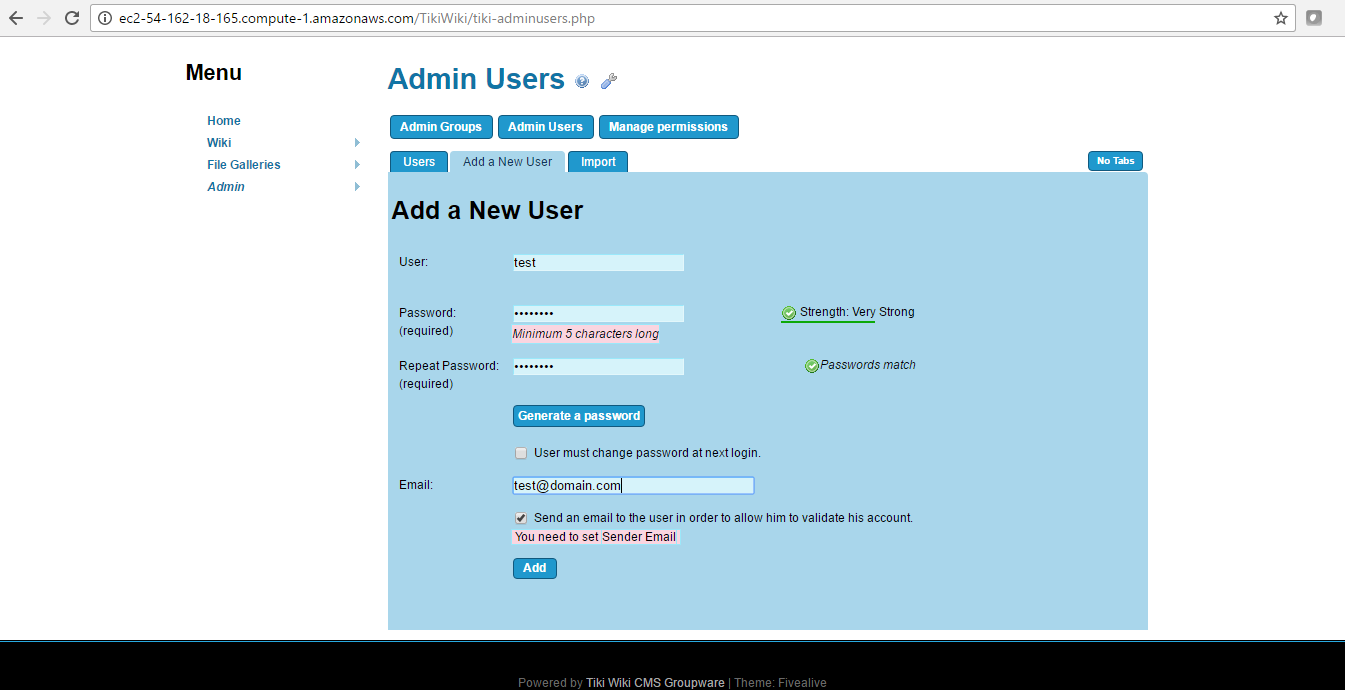
- After successful login to the Admin Panel, you will get access to TikiWiki Dashboard.
Step 4) Other Information:
1.Default installation path: will be in your web root folder “C:\inetpub\wwwroot\tikiwiki”
2.Default ports:
- Windows Machines: RDP Port – 3389
- Http: 80
- Https: 443
- Mysql ports: By default these are not open on Public Endpoints. Internally Mysql :3306
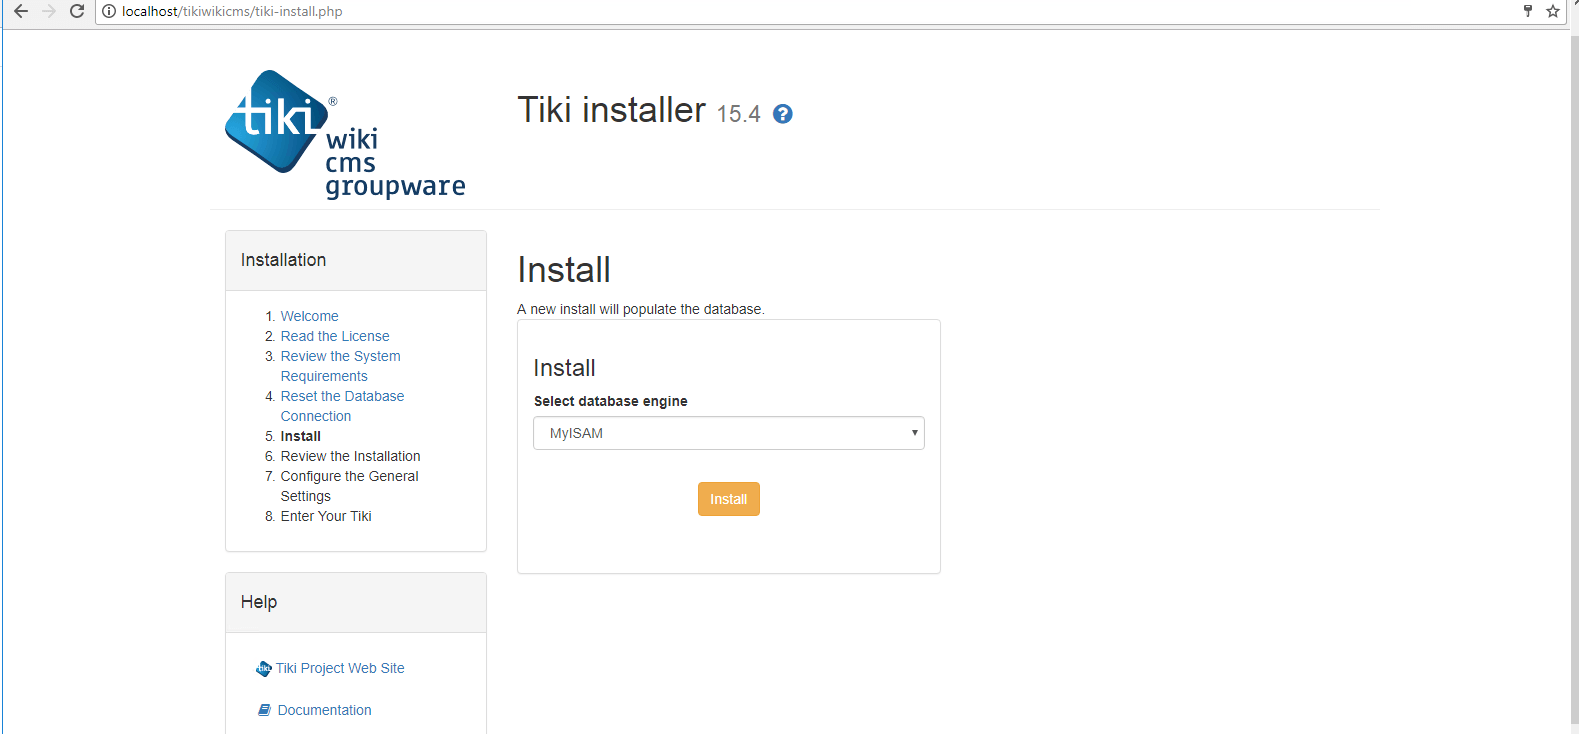
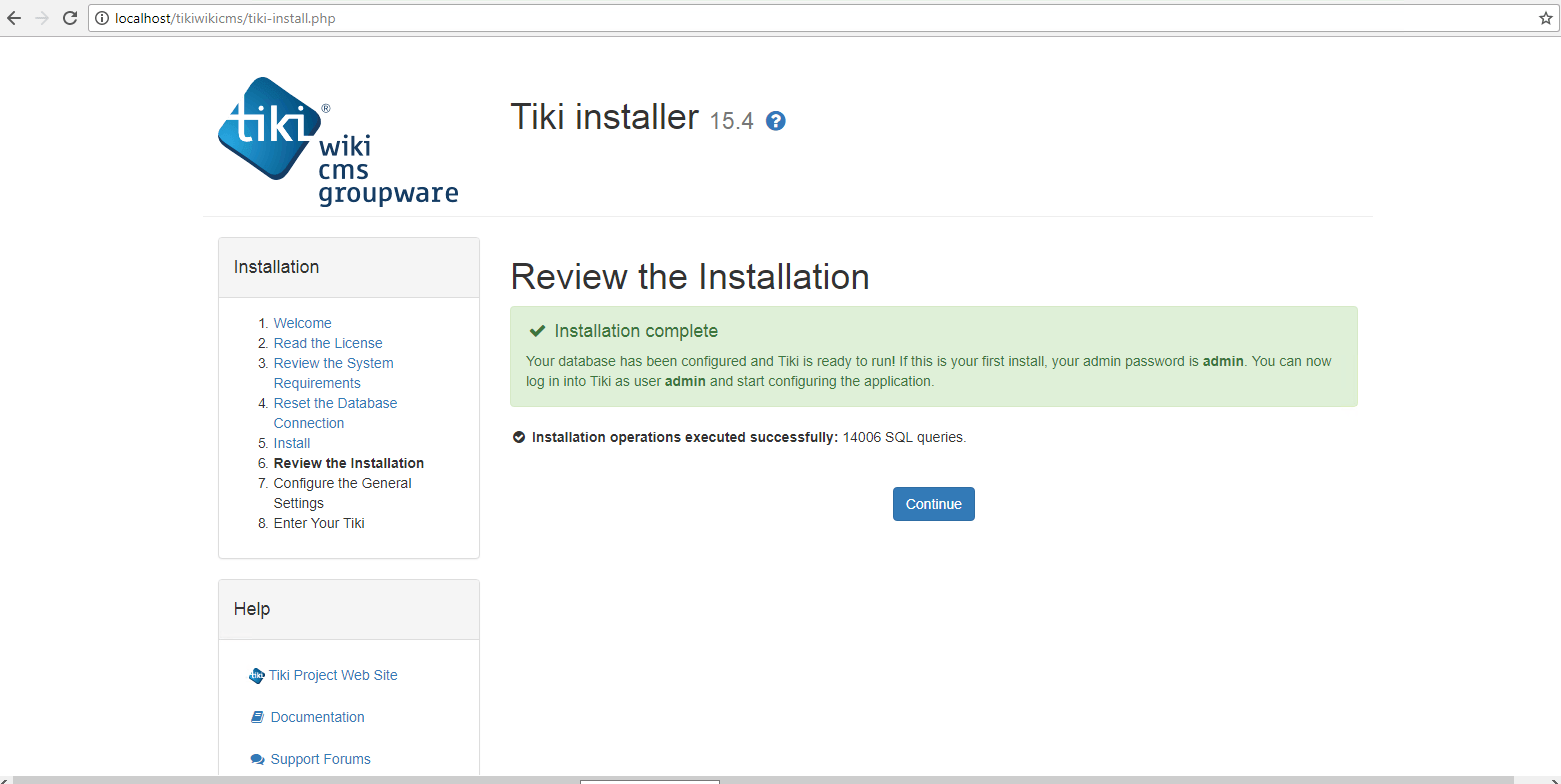
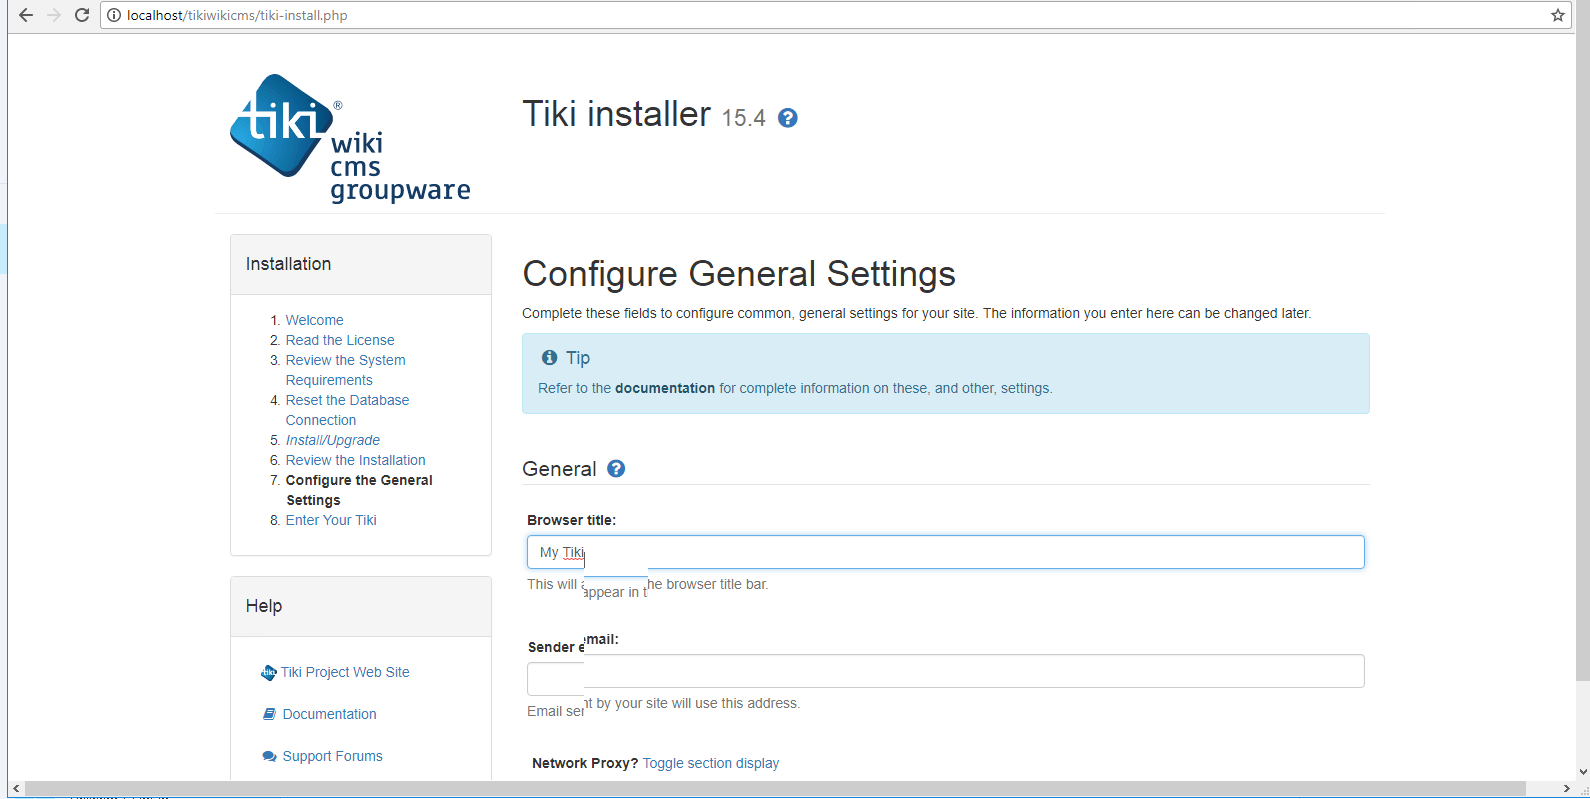
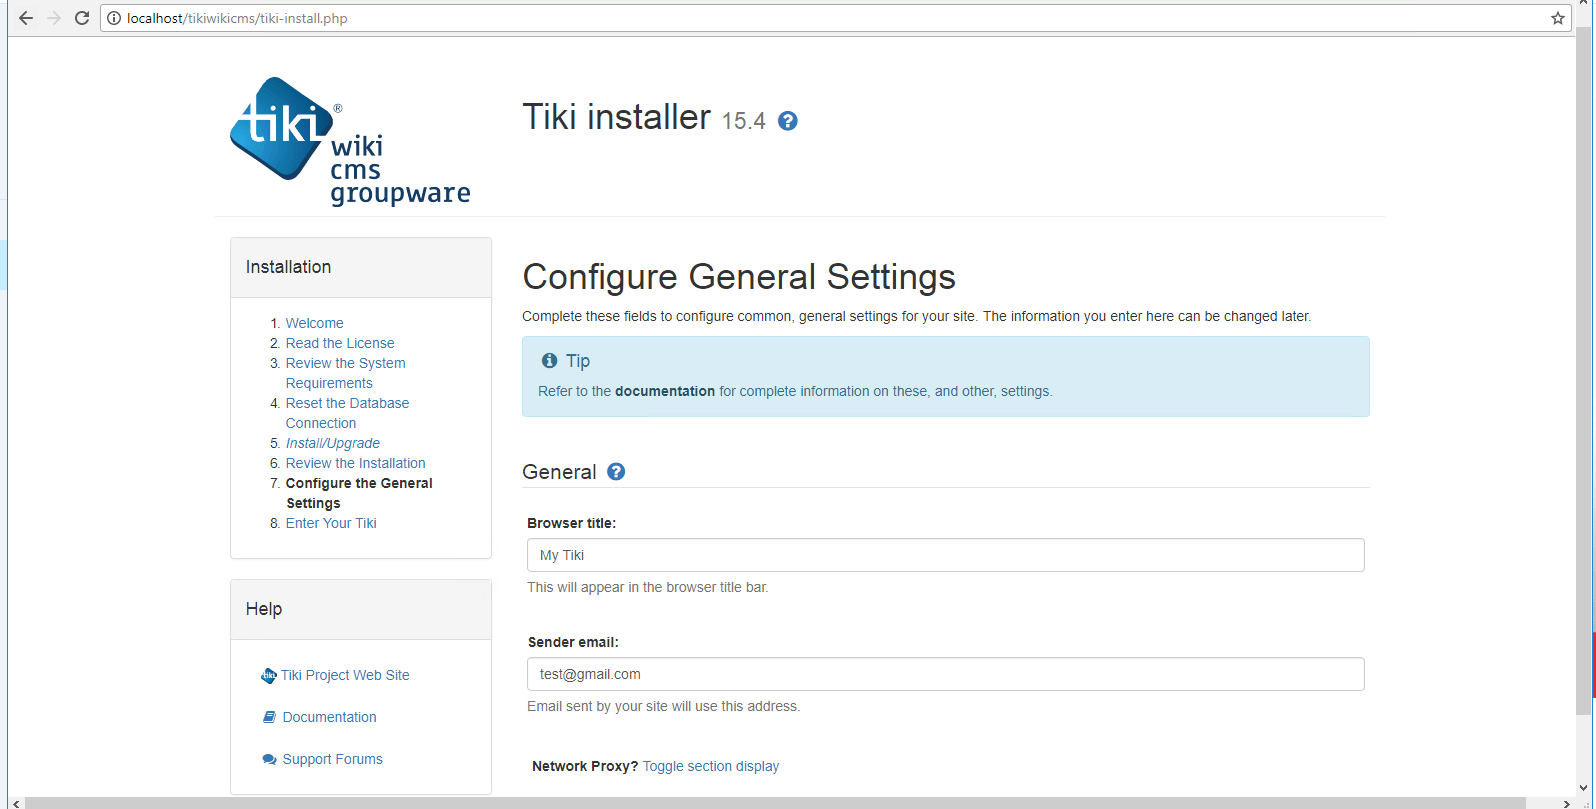
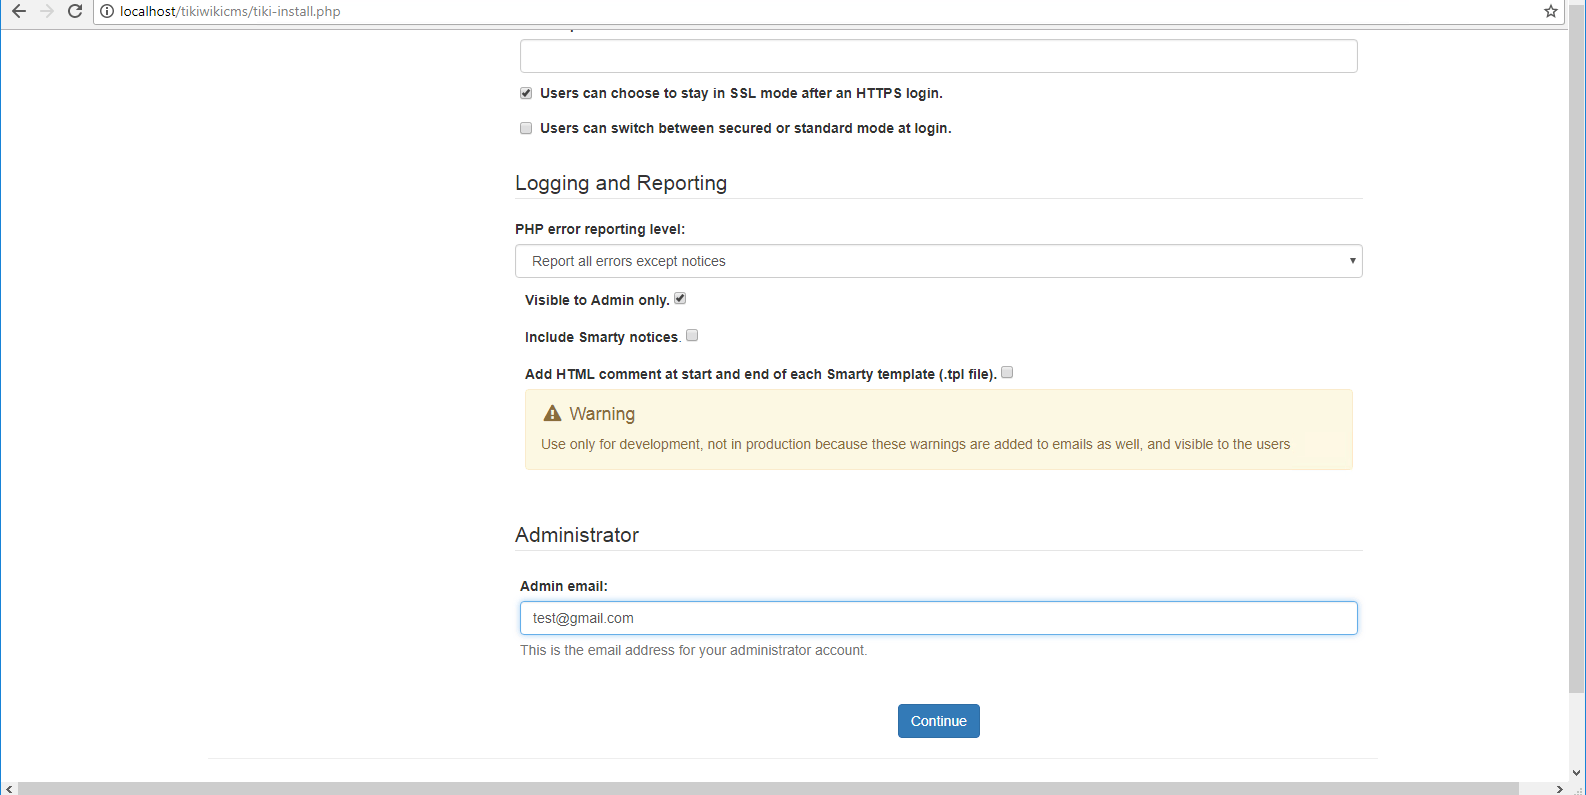
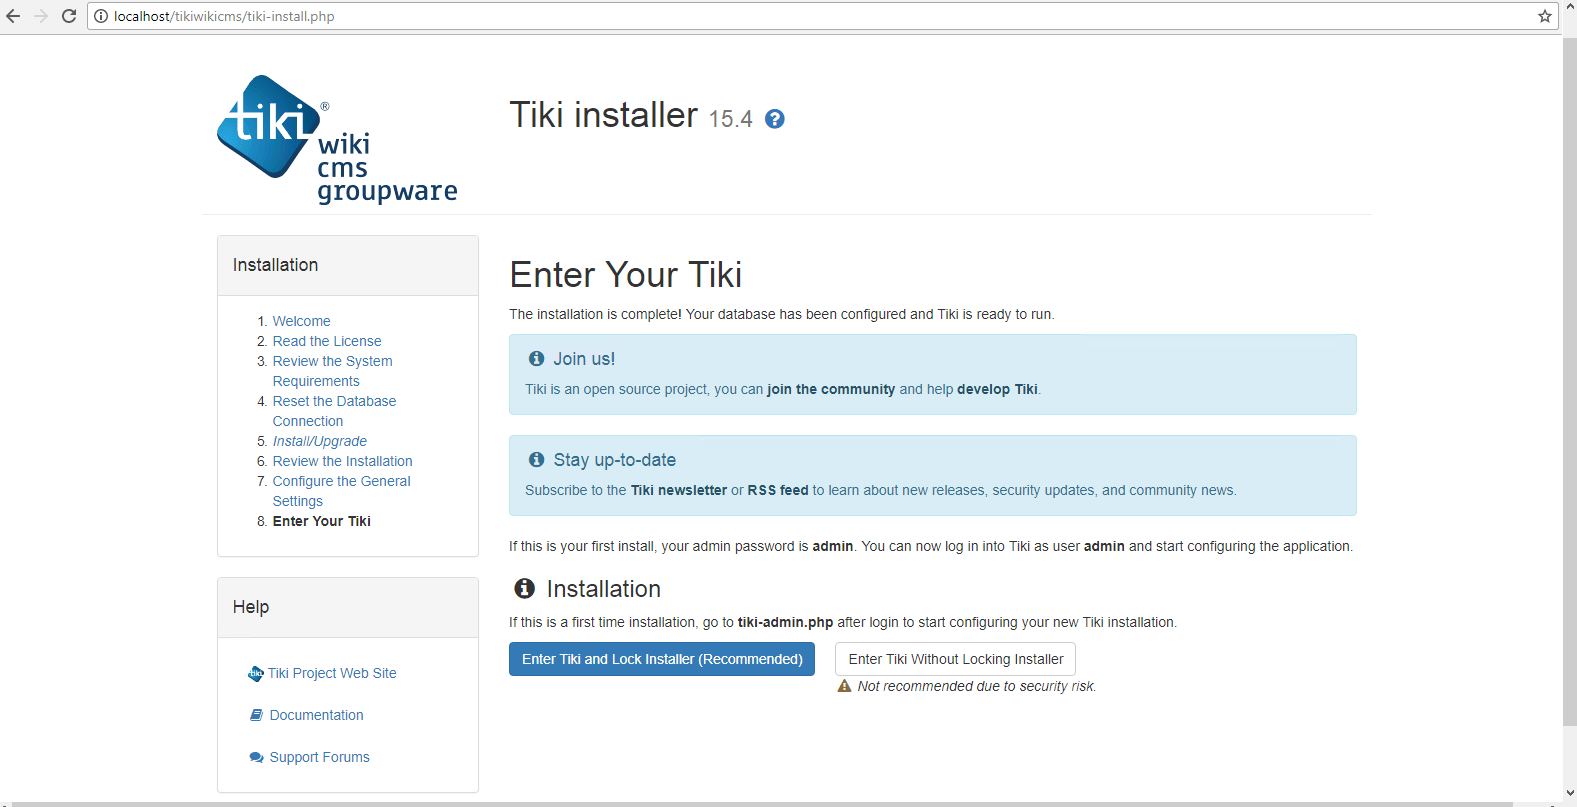
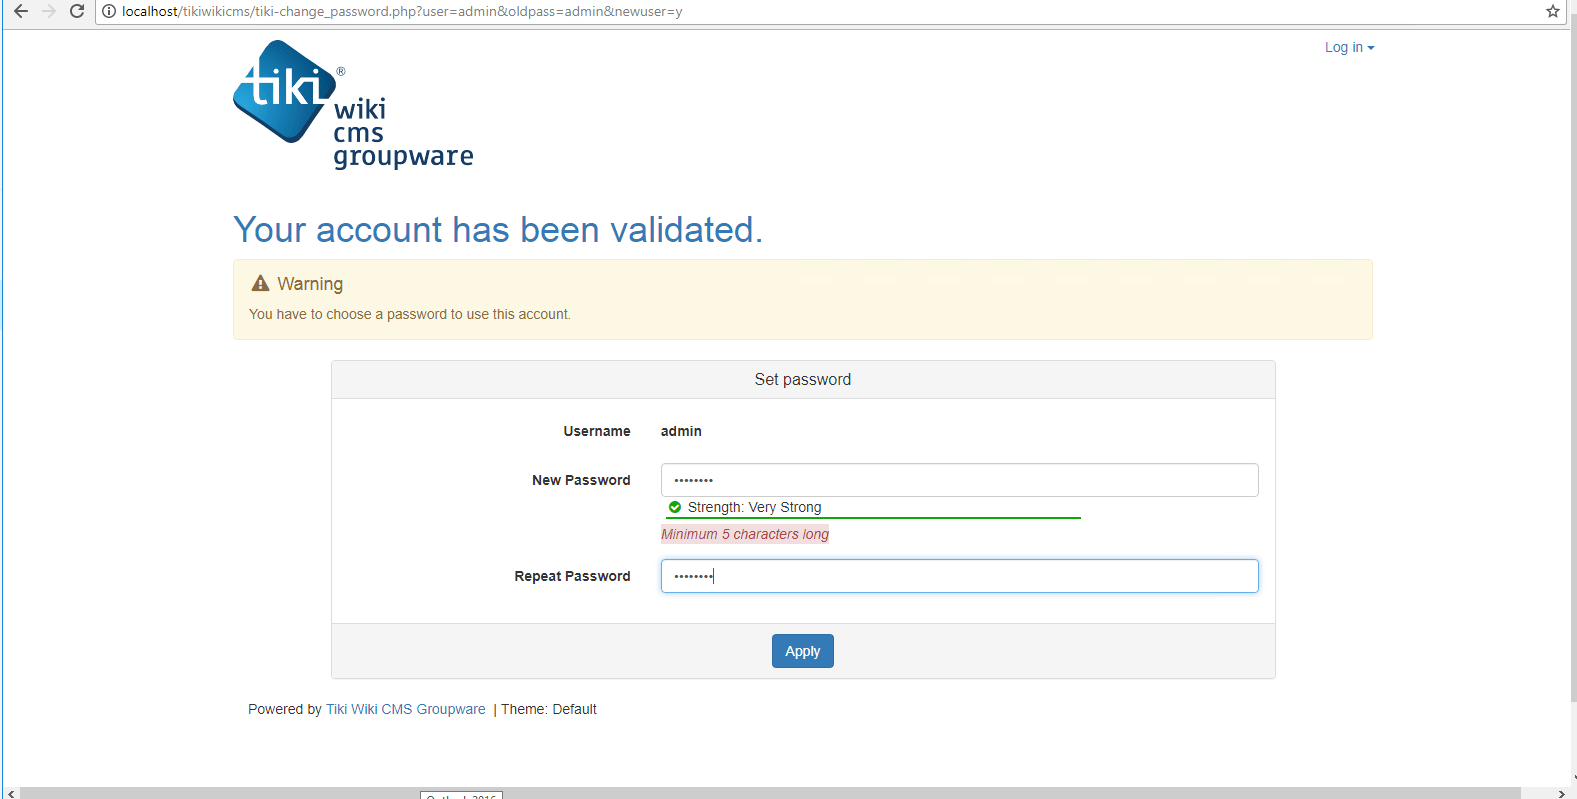
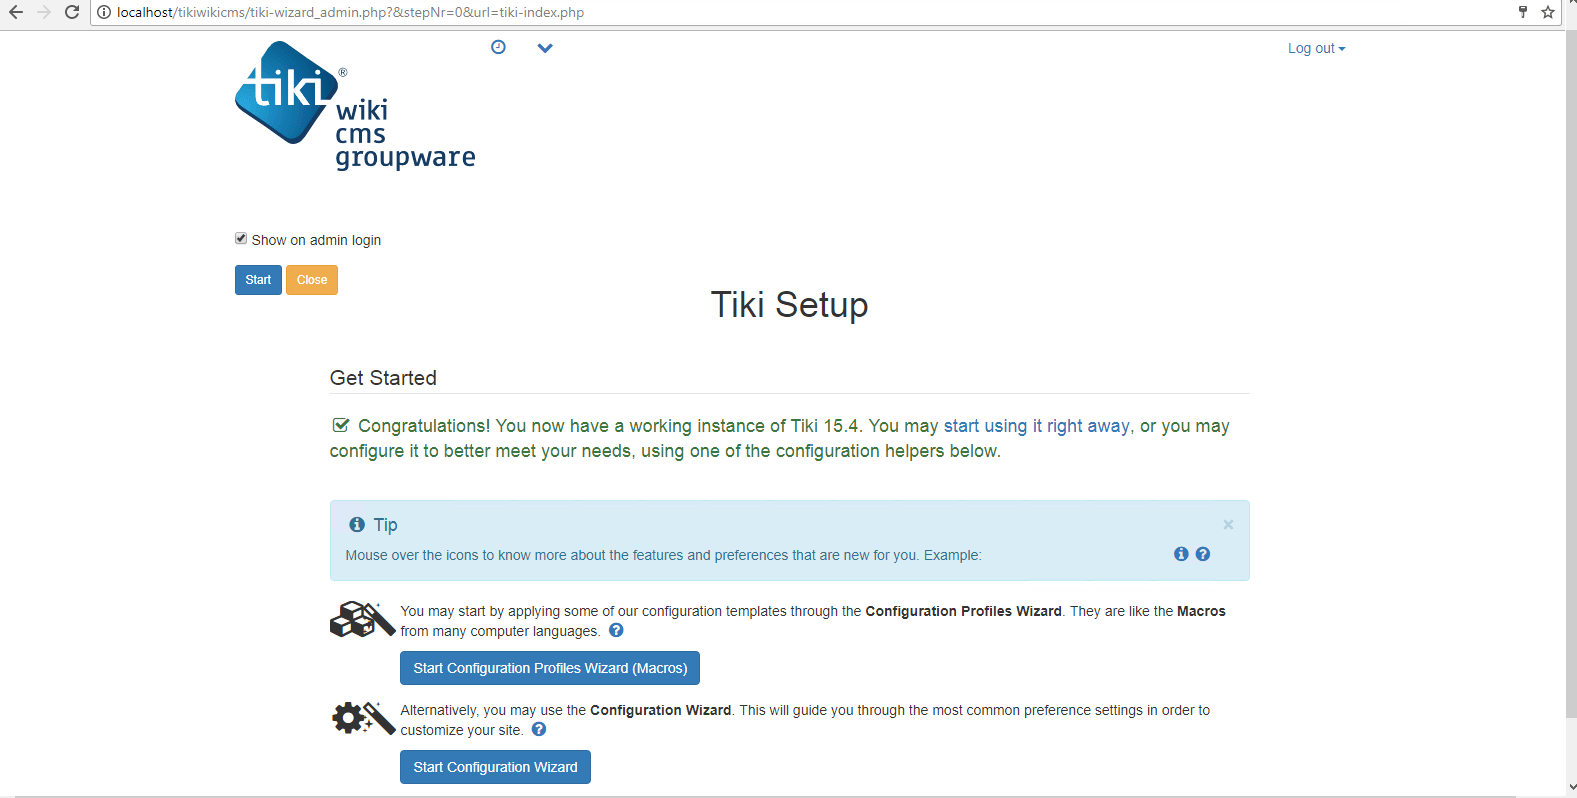
AWS Step by Step Screenshots


Azure
- Installation Instructions For Ubuntu
- Installation Instructions For Windows
- Installation Instructions For Centos
Installation Instructions For Ubuntu
Note : How to find PublicDNS in Azure
Step 1) SSH Connection: To connect to the deployed instance, Please follow Instructions to Connect to Ubuntu instance on Azure Cloud
1) Download Putty.
2) Connect to virtual machine using following SSH credentials :
- Hostname: PublicDNS / IP of machine
- Port : 22
Username: Your chosen username when you created the machine ( For example: Azureuser)
Password : Your Chosen Password when you created the machine ( How to reset the password if you do not remember)
Step 2) Database Login Details:
- MYSQL Username: root
- MYSQL Password: Passw@rd123
Note :Please change the password immediately after first login.
Step 3) Application URL: Access the application via a browser at http://PublicDNS/tikiwikicms
- Username: admin
- Password : Passw@rd123
Steps to access the Admin Panel:
- To login to TikiWiki Administrative Panel, you need
to open your browser and navigate to http://PublicDNS/TikiWiki/admin - Enter username and password in the given fields and click on the “Login” button to access the Admin Panel.
- After successful login to the Admin Panel, you will get access to TikiWiki Dashboard.
Step 4) Other Information:
1.Default installation path: will be in your web root folder “/var/www/html/tikiwikicms”
2.Default ports:
-
- Linux Machines: SSH Port – 22
- Http: 80
- Https: 443
- Mysql ports: By default these are not open on Public Endpoints. Internally Mysql :3306
Configure custom inbound and outbound rules using this link
Installation Instructions for Windows
Note : How to find PublicDNS in Azure
Step1 ) RDP Connection: To connect to the deployed instance, Please follow Instructions to Connect to Windows instance on Azure Cloud
1) Connect to virtual machine using following RDP credentials:
- Hostname: PublicDNS / IP of machine
- Port : 3389
Username: Your chosen username when you created the machine ( For example: Azureuser)
Password : Your Chosen Password when you created the machine ( How to reset the password if you do not remember)
Step 2 ) Database Login Details:
- MYSQL Username: root
- MYSQL Password: Passw@rd123
Note: Please change the password immediately after first login.
Step 3) Application URL: Access the application via a browser at http://PublicDNS/tikiwikicms
- Username: admin
- Password : Passw@rd123
Steps to access the Admin Panel:
- To login to TikiWiki Administrative Panel, you need
to open your browser and navigate to http://PublicDNS/TikiWiki/admin - Enter username and password in the given fields and click on the “Login”button to access the Admin Panel.
- After successful login to the Admin Panel, you will get access to TikiWiki Dashboard.
Step 4) Other Information:
1.Default installation path: will be in your web root folder “C:\inetpub\wwwroot\tikiwiki”
2.Default ports:
-
- Windows Machines: RDP Port – 3389
- Http: 80
- Https: 443
- Mysql ports: By default, these are not open on Public Endpoints. Internally Mysql :3306
Configure custom inbound and outbound rules using this link
Installation Instructions For Centos
Note : 1. How to find PublicDNS in Azure
Step 1) SSH Connection: To connect to the deployed instance, Please follow Instructions to Connect to Centos instance on Azure Cloud
1) Download Putty.
2) Connect to virtual machine using following SSH credentials:
- Hostname: PublicDNS / IP of machine
- Port : 22
Username: Your chosen username when you created the machine ( For example: Azureuser)
Password : Your Chosen Password when you created the machine ( How to reset the password if you do not remember)
Step 2) Database Login Details:
- MYSQL Username: root
- MYSQL Password: Passw@rd123
Note : Please change the password immediately after first login.
Step 3) Application URL: Access the application via a browser at http://PublicDNS/tikiwikicms
- Username: admin
- Password : Passw@rd123
Steps to access the Admin Panel:
- To login to TikiWiki Administrative Panel, you need
to open your browser and navigate to http://PublicDNS/TikiWiki/admin - Enter username and password in the given fields and click on the “Login” button to access the Admin Panel.
- After successful login to the Admin Panel, you will get access to TikiWiki Dashboard.
Step 4) Other Information:
1.Default installation path: will be in your web root folder “/var/www/html/tikiwikicms” ( Please see above Note for stack name)
2.Default ports:
- Linux Machines: SSH Port – 22
- Http: 80
- Https: 443
- Mysql ports: By default these are not open on Public Endpoints. Internally Mysql :3306
Configure custom inbound and outbound rules using this link
Azure Step by Step Screenshots


Installation Instructions for Windows
Step 1) VM Creation:
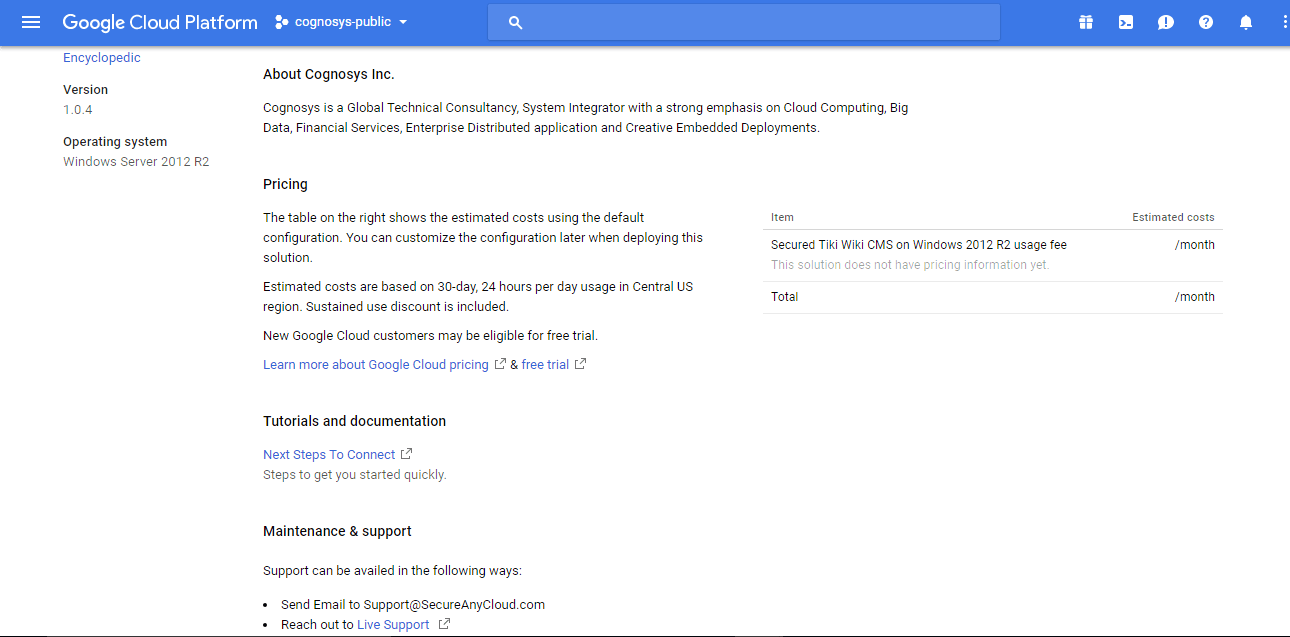
- Click the Launch on Compute Engine button to choose the hardware and network settings.

2.You can see at this page, an overview of Cognosys Image as well as estimated cost of running the instance.
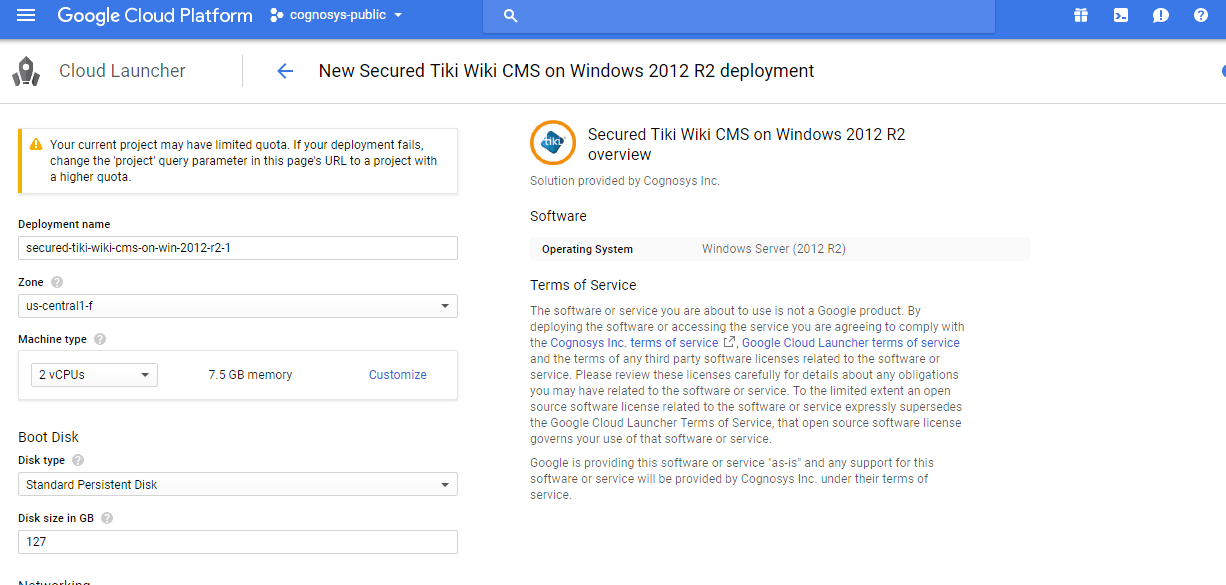
 3.In the settings page, you can choose the number of CPUs and amount of RAM, the disk size and type etc.
Step 2) RDP Connection: To initialize the DB Server connect to the deployed instance, Please follow Instructions to Connect to Windows instance on Google Cloud
Step 3) Database Login Details:
The below screen appears after successful deployment of the image.
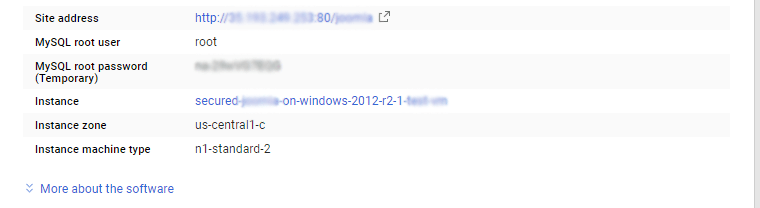
For local MySQL root password, please use the temporary password generated automatically during image creation as shown above.
i) Please connect to Remote Desktop as given in step 2 to ensure stack is properly configured and DB is initialized.
ii) You can use MySQL server instance as localhost, username root and password as shown above.
If you have closed the deployment page you can also get the MySQL root password from VM Details “Custom metadata” Section.
Step 4) Application URL: Access the application via a browser at http://PublicDNS/tikiwikicms


Step 4) Other Information:
1.Default installation path: will be in your web root folder “C:\inetpub\wwwroot\tikiwikicms”
2.Default ports:
- Windows Machines: RDP Port – 3389
- Http: 80
- Https: 443
- Mysql ports: By default, these are not open on Public Endpoints. Internally Mysql:3306
