1-click AWS Deployment 1-click Azure Deployment
Overview
Tc-Exam is an open source system for computer-based assessment test, computer-based testing or E-exam. It permits tutors, educators to schedule, deliver and reports on quizzes, tests and exams. TC Exam includes most famous universities, companies and schools. The advantage of conducting TC Exam is that it gives rid-off from pen and paper testing, increase efficacy, cut down cost and improve test security resulting from electronic transmission. The WebTecz understands the need of TC-Exam in today’s competitive job environment because every company wants to hire the best candidate. Thus, keeping in mind the above fact, we prepare TC Exam for our client considering their needs. Our experience team puts their best efforts in place to prepare the best of the questionnaire considering the area of expertise of the respective company. TCExam is a FLOSS system for electronic exams (also known as CBA – Computer-Based Assessment, CBT – Computer-Based Testing or e-exam) that allows educators and trainers to author, schedule, deliver, and report on quizzes, tests and exams.
.Installation
When installing TCExam for the first time, verify the system requirements. Assuming you have a working Apache/IIS web server, with PHP and a MySQL/PostgreSQL DBMS, you are on your way to installing TCExam.
If you are getting the TCExam source code for the first time, please rename the “config.default” folders inside admin, public and shared to “config”.
TCExam Upgrade
The TCExam upgrade process may vary at each release. Detailed instructions are contained on the UPGRADE.TXT file attached to each TCExam release.
Getting the files
TCExam can be downloaded from GitHub. The file is a compressed archive so you will need an utility program, either locally or on your host server, that can “unzip” the file (i.e. WinZip, WinRAR, 7Zip). Ensure that you choose latest stable release version.
Installing Files
We are assuming you have established a working web server, with the necessary requirements, and that you know where to put files to display on the web server.Unzip the distribution file into a directory under your web server root. If you are using the Apache web server, this is typically c:apache groupapachehtdocs on the Windows OS and /usr/local/apache/htdocs or /var/www/ on a UNIX-like system but it my vary particularly on hosted servers and between different distributions of GNU-Linux OS.
What you do to install TCExam on a remote host is largely dependant upon the facilities your host provides – with regard to Control Panel software and connection resources. It may also depend upon your own skills concerning server access methods. A simple and typical procedure may involve: unzip the TCExam distribution file to a local directory on your local computer and then FTP the files to the host server placing them either directly under, or in, a directory under the web server root. There are many free FTP programs available for this operation, such as Filezilla. A Google search or visit to any of the open source resource sites will assist you in finding a suitable tool.
When you have finished uploading the files and folders, change the files owner to the Web server user (typically “www-data” or “apache”). On POSIX based systems (like Unix, Linux, etc), change to the TCExam directory and enter the following system command (substitute the user name appropriate for your system): chown -R apache:apache /var/www/tcexam.
Change the files access permission so that all user can write into the them. On POSIX based systems change to the TCExam directory and enter the following system command: chmod -R 777 /var/www/tcexam. For security reasons, you must properly set the permissions of these files at the end of the installation process.
Browser Installation
This type of installation will automatically install the database and will configure the essential system parameters. The installation process will delete any data of previous installations of TCExam, reason why in this case it is advisable to make backup copy of these data.
Point your Web browser (i.e. Mozilla Firefox or Internet Explorer) to the TCExam installation script (http://www.yoursite.com/install/install.php or http://yoursite.com/tcexam_folder/install/install.php). To start the installation you must fill up the form completely and press the button INSTALL.
The required fields are:
- db type: type of DBMS (the default is MySQL).
- db host: name of the database host (usually localhost).
- db port: database port (usually 3306 for MySQL or 5432 for PostgreSQL).
- db user: name of the database user (usually it is root for MySQL and postgres for PostgreSQL).
- db password: user’s password to access the database.
- db name: name of the database (usually TCExam). This name has to be changed just when there are other copies of TCExam in the same system.
- tables prefix: prefix that will be added to the table names (usually tce_).
- host URL: the domain name of your site (i.e. http://www.yoursite.com or https://www.yoursite.com).
- relative URL: relative path from the root of your webserver where the TCExam files are located (usually / or /tcexam_folder/).
- TCExam path: complete path of the folder where TCExam is installed (i.e. /usr/local/apache/htdocs/TCExam/ or c:/Inetpub/wwwroot/TCExam/).
- TCExam port: default connection port (usually 80 for HTTP or 443 for SSL – HTTPS).
If the installation completed succesfully the system is ready for the first execution. At this point you can jump to the Post Installation and Configuration section.In case the installation did not complete succesfully you can use the manual procedure described in the next section.
Manual Installation
In order to manually install TCExam you must edit some configuration files and install the database.
The essential files and configuration parameters are:
- shared/config/cp_db_config.php
- K_DATABASE_TYPE (database type, usually MYSQL or POSTGRESQL)
- K_DATABASE_HOST (name of the database host, usually localhost)
- K_DATABASE_NAME (database name, usually TCExam)
- K_DATABASE_USER_NAME (name of the database user, it usually is root)
- K_DATABASE_USER_PASSWORD (password to access the database)
- K_TABLEPREFIX (prefix that will be added to the table names, usually tce)
- shared/config/cp_paths.php
- K_PATH_HOST (the domain name of your site, i.e. http://www.yoursite.com)
- K_PATH_TCEXAM (relative path from the root of your webserver where the TCExam files are located, usually / or /tcexam_folder/)
- K_PATH_MAIN (complete path to the folder where TCExam is installed, i.e. /usr/local/apache/htdocs/TCExam/ or c:/Inetpub/wwwroot/TCExam/)
- K_STANDARD_PORT (http communication port, usually 80 or 443 for SSL)
Database Installation
In the install folder there are all the SQL files with the structure and data of the database:
- mysql_db_structure.sql – Contains the MySQL database structure.
- pgsql_db_structure.sql – Contains the PostgreSQL database structure.
- db_data.sql – Contains the default database data.
If you want to change the prefix of the tables you must use a text editor with the search and replace function and perform the following substitutions:
- In the …_dbstructure.sql file substitute CREATE TABLE tce with CREATE TABLE yourprefix
- In the dbdata.sql file substitute INSERT INTO tce with INSERT INTO yourprefix
To execute the SQL files you can use the DBMS commands from the command shell of the server. For MySQL you can use the following syntax:
mysql -u root -p
mysql> CREATE DATABASE TCExam;
mysql> quit
shell> mysql -u root -p TCExam < mysql_db_structure.sql
shell> mysql -u root -p TCExam < db_data.sql
As another option you can use an external DBMS manager (i.e. phpMyAdmin, phpPgAdmin, pgAdmin3, etc.) to create the database and run the SQL files by using the specific commands.
Post Installation and Configuration
Once the installation is completed you must:
- delete the install folder since it is not necessary anymore and represent a security issue for the system (rm -fR /var/www/tcexam/install);
- there are additional commands required to ensure that files can not be altered unless intended by the administrator; on POSIX system you can use the following commands:
cd /var/www/tcexam

find . -exec chown -R apache:apache {} \;

find . -type f -exec chmod 544 {} \;

find cache/ -type f -exec chmod 644 {} ;

find cache/backup -type f -exec chmod 644 {} \;

find cache/lang -type f -exec chmod 544 {} \;

find admin/log/ -type f -exec chmod 644 {} \;

find public/log/ -type f -exec chmod 644 {} \;
find . -type d -exec chmod 755 {} \;
(n this example /var/www/tcexam is the installation folder, apache is the name of Apache user and group) - configure TCExam to fit your needs and activate additional features.
Configuration
Once the above installation procedure is successfully completed, TCExam will work in “basic” mode. Some additional configuration steps are required in order to activate some features (RADIUS, email, LaTeX) and to personalize some settings to fit your needs. All you have to do is to manually edit the following configuration files:
- shared/config/ – Main configuration files:
- lang/ – language files
- language_tmx.xml – TMX language file (contains all translations)
- tce_cas.php – Configuration file for CAS (Central Authentication Service)
- tce_config.php – system general configuration
- tce_db_config.php – database configuration
- tce_email_config.php – general configuration of the email system
- tce_general_constants.php – general constants
- tce_latex.php – LaTeX configuration
- tce_ldap.php – LDAP configuration
- tce_mime.php – MIME associations to file extensions
- tce_paths.php – file and folder paths within the system
- tce_pdf.php – configuration of the format and the headers of the PDF documents
- tce_radius.php – RADIUS configuration
- tce_user_registration.php – user registration configuration
- lang/ – language files
- admin/config/ – Configuration files for the administration area:
- tce_auth.php – access levels configuration for the administration modules
- tce_config.php – general configuration for the administration panel
- public/config/ – Configuration files for the public area:
- tce_auth.php – access levels configuration for the public modules
- tce_config.php – general configuration for the public area
Configuration files are self-explanatory. If you encounter a problem please check the Support and Services page.
Access and Security
Once the installation and configuration procedures are completed, you can access the administration section by pointing your Web browser to http://www.yoursite.com/tcexam_folder/admin/code/ and using the following username and password:
- name: admin
- password: 1234
In order to protect your system and be granted with an unique personal access, remember to change the password with the Users form.To achieve a better level of security you have to protect the whole admin folder with a web-based user autentication system. For Apache check the Apache Authentication, Authorization, and Access Control.
Create tests in the open source tool TCExam
- Point the browser to the system (which will be http://localhost/TCExam/admin/code/index.php) and log in with these credentials:username: adminpassword: 1234
- Change the admin password in the Users section of the Admin control panel by selecting the admin user from the dropdown list and then entering a new password for that user (Figure A). Be sure to restrict the IP address of the admin user to specific machines for added security.
Figure A
You need to create a group called students; this will allow you to assign tests to the student group, as well as associate users with the group allowed to take tests. To do this, follow these steps:
- From the Admin control panel, go to Users | Groups.
- In the Name section, enter students.
- Click the Add button.
Now you can begin to add users to this group. You will have to manually add users to the system, as there is no system with which users can auto enroll. You can, however, import users from an .xml or .csv file to make the process go more quickly. From the Admin control panel, go to Users | Users and then start the process of adding new users.
Creating tests with this system
Many of the steps required to create tests are handled through an easy to use Wizard that will walk you through the process. To start the Wizard, from the Admin control panel, go to Modules | Modules; this is where you create a new module that will be used for the test (Figure B). To create a new module, select the “+” entry from the drop-down and give the new module a name. Figure B
Once you name your new module, click the Add button, and the Topics Management button will appear in the lower right corner. Each time you can advance to the next section, the Management button for that section will appear. You do this until you have the Answers created for the Questions. When that is complete, go to Modules | List and select the module you want to view from the drop-down (Figure C). You can modify an answer by clicking the Modify button associated with the answer in question. Figure C
In order to create the test, from the Admin control panel, go to Tests | Tests. From the Test drop-down, select the module you want to associate with the test. The only modules that will appear are those that are completed. If you need to create a new test (which you can then associate modules to) click the “+” entry from the drop-down, give the new test a name, and then complete all of the options (Figure D). You must fill out the description here, or you will be warned not all information is complete. Figure D
After you create the new test, select the test’s topics and questions. You can select multiple topics by holding down [Ctrl] while selecting the topics (Figure E). The topics you add will appear below the Topics Selection section. Figure E
Now, to make sure your test is ready to go, click the Public button and then click the Execute button associated with the test you want to try (Figure F). Click the Link to the exam to see that test’s settings. Figure F
The test creation process is not especially intuitive, but at least it gives the freedom to associate topics, questions, and answers to different modules. You can even create a foundation of questions and re-use them as necessary. By employing this type of system, you don’t have to completely re-create a test from scratch every time.TCExam is an incredibly powerful tool that will enable any learning institution to offer online testing. Give TCExam a try, and see if it doesn’t meet or exceed your testing needs.
–TCExam is a FLOSS system for electronic exams (also know as CBA – Computer-Based Assessment, CBT – Computer-Based Testing or e-exam) that enables educators and trainers to author, schedule, deliver, and report on quizzes, tests and exams.
TCExam is released under the GNU AFFERO GENERAL PUBLIC LICENSE Version 3.
Features
KEY FEATURES of TCExam:
- Flexibility and Configurability: The system has been designed to offer a high degree of adaptability to cover a great variety of usage scenarios. Numerous configuration features allow customizing TCExam to fit all possible requirements.
- Free Open Source Software (FOSS): TCExam software is distributed with GNU-AGPLv3 license. Open Source promotes Software reliability and quality by supporting independent peer review and rapid evolution of the source code.
- Web-based Architecture: TCExam is Web-based and developed with LAMP (Linux, Apache, MySQL, PHP) technology. User-friendly interface allows you to install and use TCExam by simply connecting one cable to the switch of your computer network. All the computers on the network will be able to use TCExam independently from the client’s operating system as a normal intranet website, with no need to install any additional software or plug-in.
- Internationalization (I18N): TCExam is language-independent through the adoption of the UTF-8, Unicode and TMX standards. It supports the Right-To-Left mode and currently includes translations in 25 different languages.
- Accessibility and Usability: TCExam Web interface conforms to the XHTML 1.0 Strict standard, the guidelines on Accessibility (W3C-WAI-WCAG 1.0) and Usability, to provide equal access and equal opportunity to people with disabilities, including blindness.
- Results and Statistics: TCExam outputs a variety of result pages, enabling various selection filters and providing numerous statistical indexes. Results and statistics can then be exported into various formats for filing or reworking. The test-takers can immediately be informed of the result of their test, or have it delivered via email.
- Data Import and Export: TCExam uses Open Standard protocols for data filing and interchange: TSV, XML and PDF. Everything is fully documented to be easily extended or used by external applications. Custom filters can be added to import data from other systems. Include Optical Mark Recognition (OMR) system to import users’ answers from paper sheets. TCExam supports several types of remote authentication and single-sign-on protocols: LDAP, RADIUS, CAS.
- Multimedia Content: TCExam uses a common mark-up language to add text formatting, images, multimedia objects (audio and video) and mathematical formulas (supports LaTeX and MathML).
- Unique Tests: TCExam can simultaneously generate unique tests for different users by randomly selecting and sorting questions and alternative answers. This feature drastically reduces or eliminates the chances of cheating on the test.
- Paper Testing with Optical Character Recognition (OMR): TCExam can generate printable PDF documents for pen-and-paper testing. The OMR answer sheet can be scanned and uploaded to TCExam for automatic test importing, scoring and reporting.
- Security: TCExam is more secure than traditional Pen-and-Paper testing. It supports SSL (Secure Socket Layer) encryption and includes various authentication levels to discriminate the access to the various sections (user/password, access level, group, IP address). Test time, test activity, results, and statistics: every part of the test is managed and stored in the server, leaving no sensitive data in the users’ client computers.
-Major Features of TCExam
- Free and Open Source Software
- Community support
- Platform Independent
- No expensive hardware requirements
- Internationalization (I18N)
- Accessibility and Usability
- Data Import and Export
- Rich Content
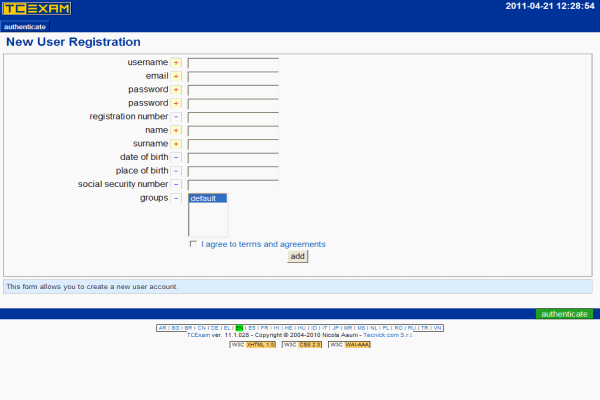
- Unique testRegistration
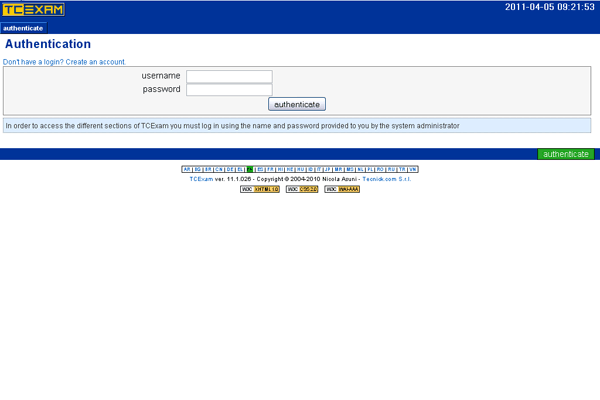
Login
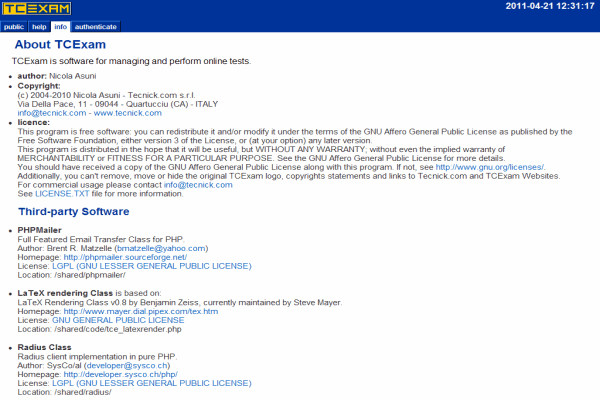
About
Videos
TCExam Software


