

Overview
Subrion cms is a content management system. It is free to use and completely open source. Their developer name is Intelliants. This software is extendable. PHP and MySQL are the two main components that they are using. PHP is for writing codes and MySQL is for database data storage. Their framework will allow you to create websites for every purpose. However, you can also create blog content if you need.Subrion cms works similarly like bolt cms. Moreoever, both of them have their own facilities. Furthermore, they will allow you to create professional content. Range starts from blog content to professional company websites.
Again, this content management system is open source. Therefore, you do not need to pay a single penny to use it. You can always customize subrion cms as per your need. That is because, this application is not encrypted.Also, it is really easy to use and extend. That means, you do not need several hours for programming. They have their professional API available for you. Framework API will allow you to include all the stuff as per your need. Also, you can use their hooks, packages and plugins to make your content professional.
A wide range collection of themes and plugins are available for you. So, you do not need to search for extra plugins and themes elsewhere. Admin dashboard has the features and themes available for you. One click installation process is also built-in with their application.Powerful dashboard of subrion cms will allow you to modify things as per your need. It will allow you to update your online preference. In short, your online preference will experience a complete new level of development. Subrion cms blog functionality is very much extensive. It is the most professional multi language content management system of the web.
How to Manually Install Subrion
Here,we will guide you on how to install Subrion on your hosting account using FTP and following the Subrion installation wizard.
To manually install Subrion, you need to:
Download and Prepare the Subrion Files
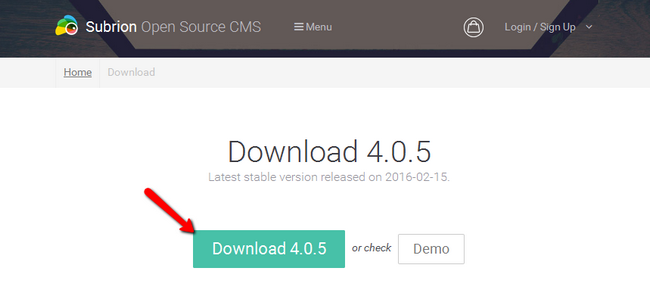
To manually install Subrion on your hosting account you will have to download the latest version of the application which you can find by visiting the official download page. Click the Download button and an archived version of the installation will be saved on your local computer.
Start your favorite FTP client and connect to your hosting account. First thing you should decide before uploading the archive is under which folder of your account you would like to have Subrion installed.
I you would like to have your CMS accessible directly via your domain name http://example.com you should use the public_html directory to upload the file. In case you would like to have your store setup into a subdirectory such as /blog/ and have it accessible via http://example.com/blog/, you should create a directory called blog under the public_html folder and upload the file there.
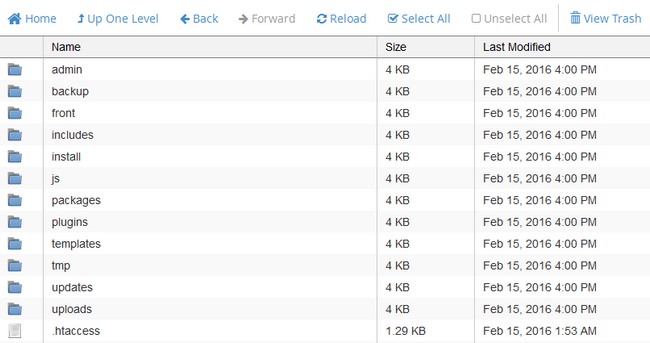
It might take up to a few minutes to upload the archive. Once uploaded right click on it and select the extract option. If you refresh you should see a Subrion folder structure similar to the one below.
Create a Database
Before we start the installation process, you will need to create a database in which all of Subrion’s SQL entries will be kept. We will use this in a few moments.
Create MySQL Database
- Database type –Choose MySQL as a database type
- Database server host name – The hostname for you database is localhost by default
- User name – Enter the name of your user
- Password – Enter the password.
- Database name – Enter the name of your database
Follow the Installation Wizard
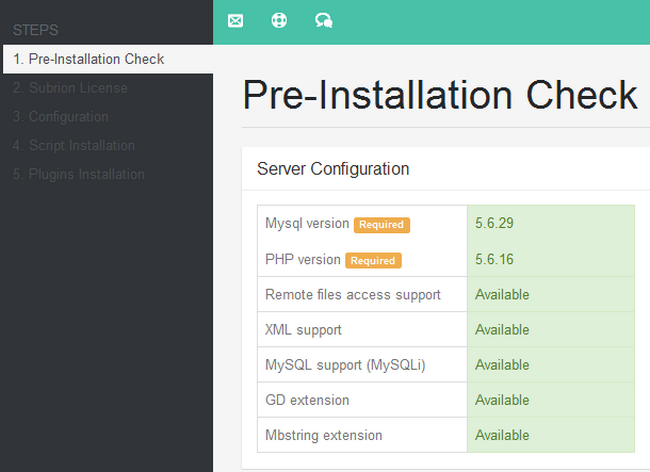
Open your favorite browser and navigate to the directory where you uploaded the files. This will open the Subrion Installation Wizard. The first page will notify you of the server requirements which you shouldn’t worry about as we have you covered.
Scroll down and click on the Next button. The second installation step includes the License which you should read and agree to (if you actually agree to it of course). After you agree you will be able to click on the Next button.

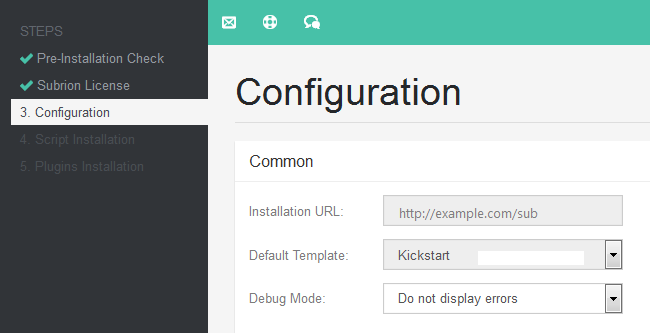
Step 3 covers the configuration of the installation and here you will have:
- Installation URL – The folder on your hosting account on which the installation is present. Note that you will not be able to change this field and it is provided only for information purposes
- Default Template – Usually you will only see one available template which is the starting one
- Debug Mode – Here you can choose whether or not you wish from Subrion to show errors in a special box (helpful for debugging)or not show errors at all
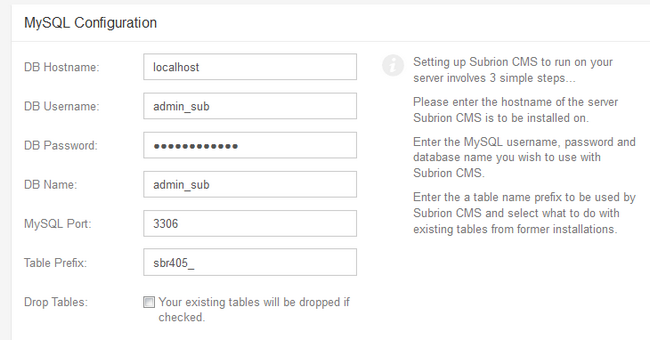
The MySQL Configuration part includes:
- DB Hostname – This is the hostname for your database. In our case the database is also hosted by FastComet so we will leave this at localhost
- DB Username – The name of the user attached to this database
- DB Password – The password for the database
- DB Name – The name of the database
- MySQL Port – The port on which the database will make the connection to the server. This is 3306 by default
- Table Prefix – The table prefix is useful when you have multiple Subrion instances sharing the same database and is what defines them as separate application entries
- Drop Tables – If you want to drop the existing tables from the database checkmark this option
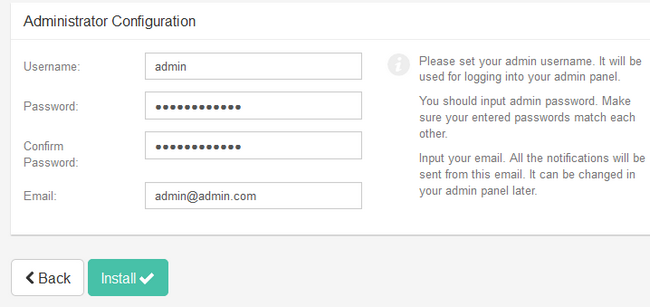
The Administrator Configuration is fairly simple and requires the standard elements such as Username, Password and Email Address. Once you have filled out the required information click on the Install button.
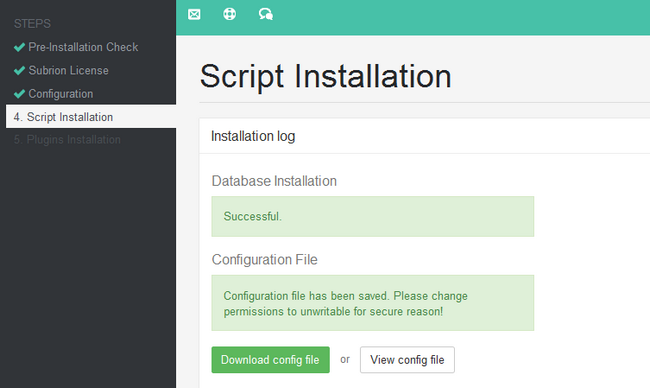
Step 4 of the Installation process will show you if the installation is successful or not. If you have mistyped something in the previous step you will be able to return and fix it in order to install the script correctly.
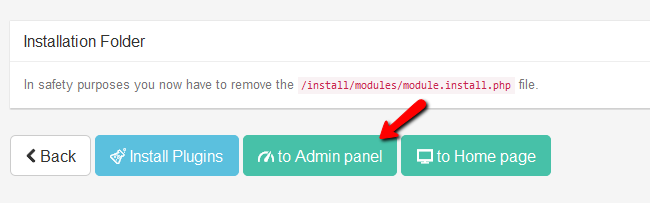
At the bottom of the page you will see a Security reminder to remove the install folder from your hosting account. This is very important as the install.php can be used to overwrite your entire website at any given point if not removed. However, you do not need to do manually remove the folder. Click on the Go to Admin panel button and you will log into the admin area of your website.
Here you will see a notification in the upright corner about the install folder. Click on the link in that notification and you will receive a confirmation that Subrion has removed the folder for you.

Congratulations! You have successfully installed Subrion and you are ready to start configuring and fine tuning your website.
How to Configure the General Settings of Subrion
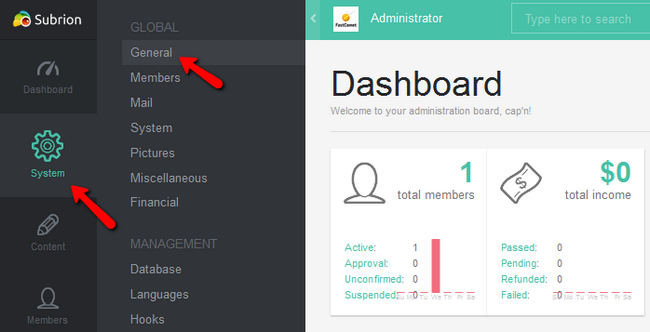
One of the first things you need to do after completing the installation of a new application is to check and configure its general settings.To do this in Subrion, you will have to login to your admin area and navigate to System → General from the list of options.
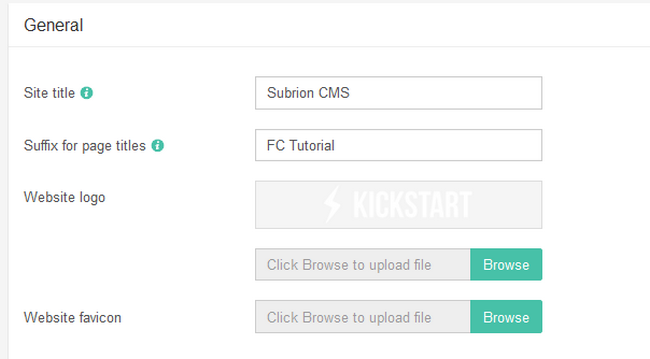
Now you will be able to change the website title, logo and favicon.
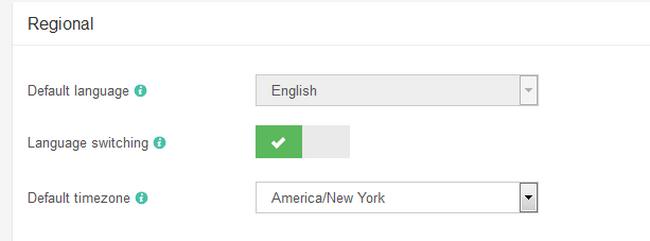
You will also have the options for changing the default language and time zone of your website as well as prohibit language switching.
The last two options will allow you to change the admin area URL and the first element out of the Breadcrumbs on your site. Breadcrumbs allow your users to navigate more easily especially if you have a lot of different categories and subcategories in which you sort the content on your website.

When you are ready to apply the changes hit the Save Changes button and you are done.
How to Configure the SMTP Settings in Subrion
One of the first things you need to do after completing the installation of a new application is to check and configure its general settings.To do this in Subrion, you will have to login to your admin area and navigate to System → General from the list of options.
Now you will be able to change the website title, logo and favicon.
You will also have the options for changing the default language and time zone of your website as well as prohibit language switching.
The last two options will allow you to change the admin area URL and the first element out of the Breadcrumbs on your site. Breadcrumbs allow your users to navigate more easily especially if you have a lot of different categories and subcategories in which you sort the content on your website.
When you are ready to apply the changes hit the Save Changes button and you are done.
How to manage Content in Subrion
Here, we will show you how to manage the content of your Subrion website. This includes creating, editing and removing pages, menus and blocs – all standard elements for any self respecting Content Management System.
To use the platform to the fullest, you need to be able to:
Manage Pages
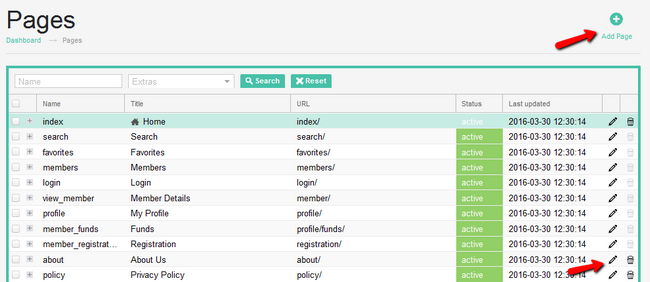
The pages are the main building blocks of your website. All of your readable content will be represented via pages. To manage your pages, go to the Content → Pages section of your admin area.

Here you will be able to create a new page or edit and delete existing pages.
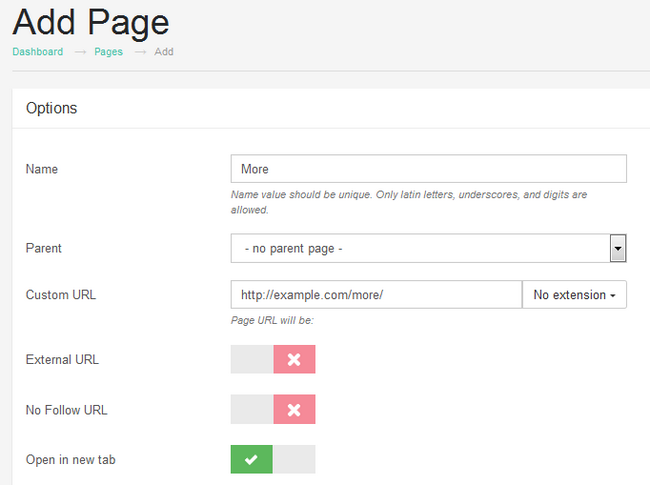
We will now create a page for more information. The options for the page can be edited and are as follows:
- Name – The name of the page
- Parent – Select a parent page if such is available/applicable
- Custom URL – If you wish to create a custom URL for this page you can do so here
- External URL – If you wish to link to a external resource you should enable this
- No Follow URL – Adds a “nofollow” relation attribute to this page which is useful for excluding the page from the SERPs of your website. Enable this only if you are sure in what you are doing
- Open in new tab – Opens the page in a new tab when clicked on your website
Below you will be able to select the title for the page and fill it with content.
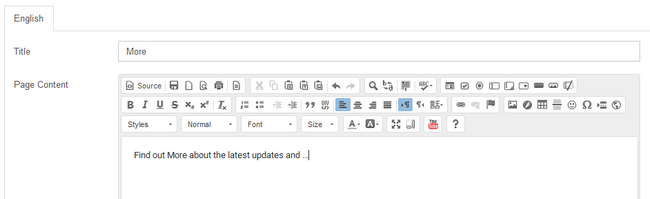
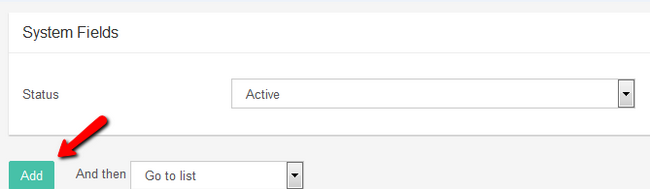
Once you are ready, make sure to set the Status as Active and click on the Add button on the lower left corner.
Manage Menus
Menus are important for their ability to make the navigation around your website easy and user friendly. To manage Subrion’s menus, please navigate to the Content → Menus section in your admin dashboard.

Here you can edit, delete and create menus.
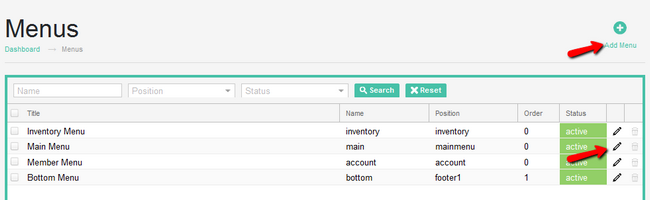
Let us see the relations behind a menu by revisiting the main menu.
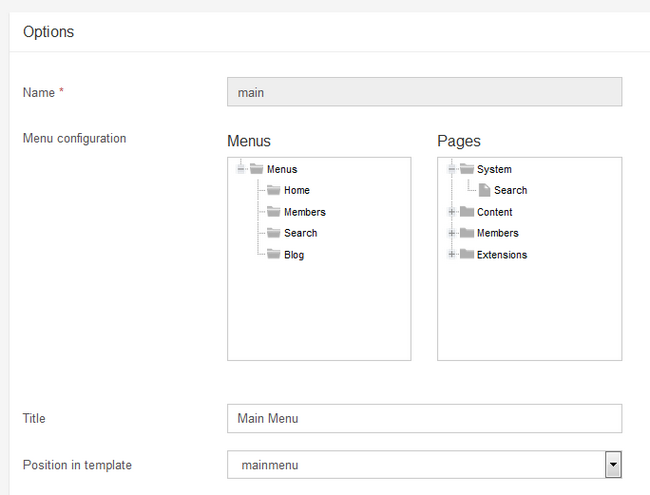
You can see that the main Menu holds other elements such as pages and has a defined position in the template you are using (whether it is the default or a custom one). The end of the mage is marked by the Status of the menu and a Save button – in case you have made any changes to it.
Manage Blocks
Blocks are defined sections of any page usually configured with the specific purpose of containing information which in most cases is represented by text. It is important to know how to change them as they are one of the most noticeable parts of your website’s layout.
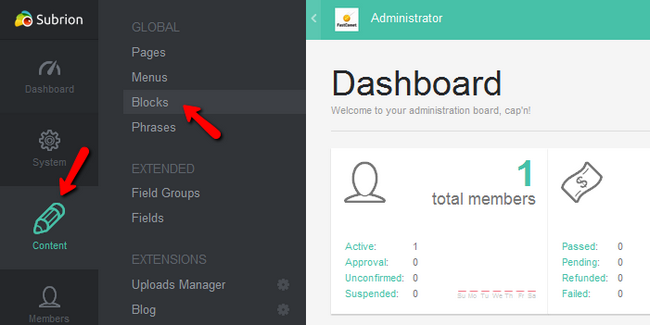
To manage the blocks for your Subrion based website, visit the Content →Blocks section located inside your admin area.
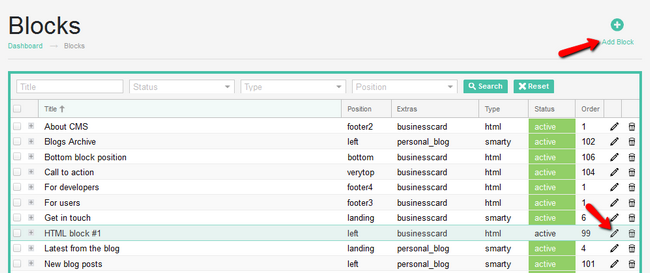
As with the pages and menus you will be able to edit, delete and create blocks.
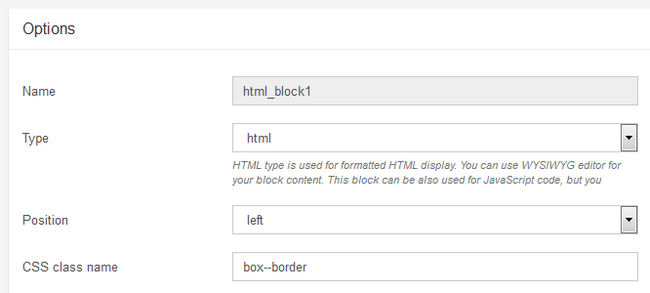
Here you will be able to choose:
- Name – the name of the block.
- Type – the type can be one of the 4 pre-defined types for block including html and plain text ones
- Position – choose from more than 15 positions the one that best fits your needs
- CSS class name – how the block will be referred in the CSS files of Subrion.
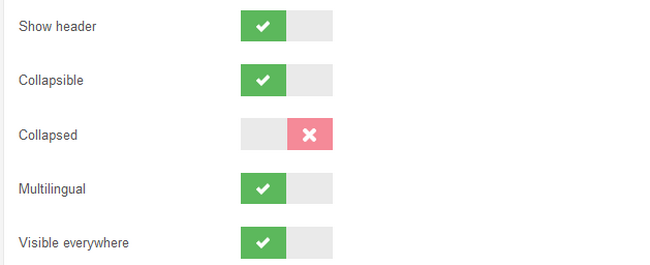
After the initial settings, you can choose if the block is collapsible, multilingual and visible in all pages of your website.
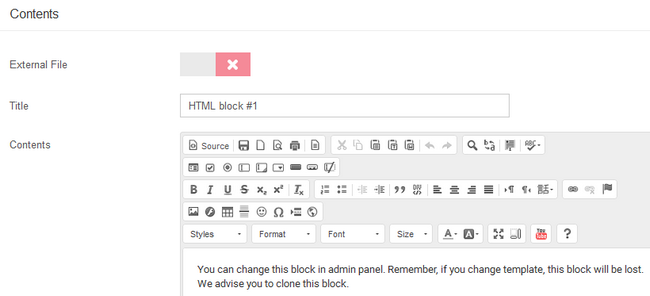
After that, you can choose a title and content for this bock.
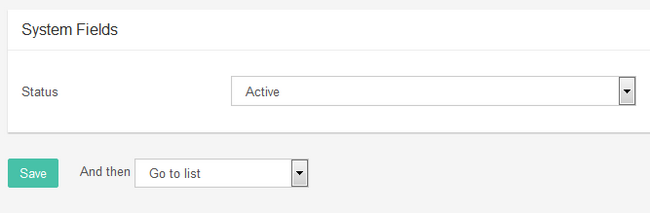
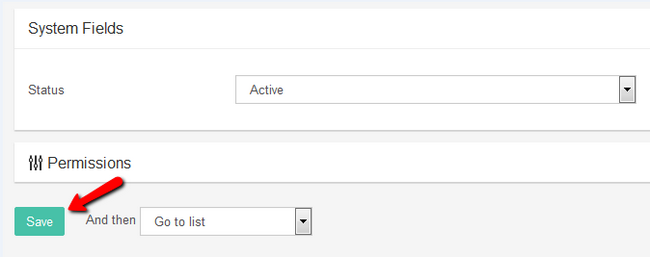
Lastly, don’t forget to set the Status as Active if you wish to apply and make the block visible and click on the Add/Save button to save all of the changes.
Congratulations, you now know how to fully manage the content on your Subrion based website.
How to Clear the Cache in Subrion
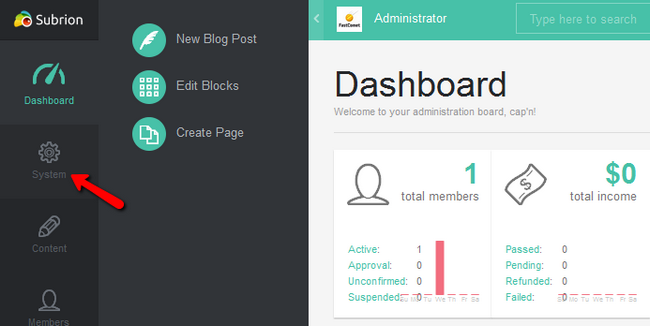
While making changes to your website, cache can become your biggest enemy. Caching your pages is good in general but when you are not able to see a change you made or something stops working because of the cache you will need to clear it. Subrion offers a 2 click solution that is very convenient.To clear your cache you will need to be logged in your website as an administrator and navigate to the System menu from the mail admin panel.
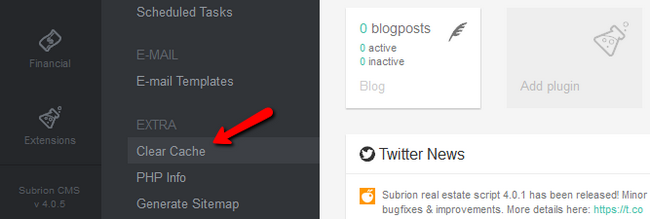
From here just click on the Clear Cache option located under the Extra submenu and that will clear all of Subrion’s cache.
Additionally, you can clear the cache by using the fast access option located on the top right corner of your admin area.
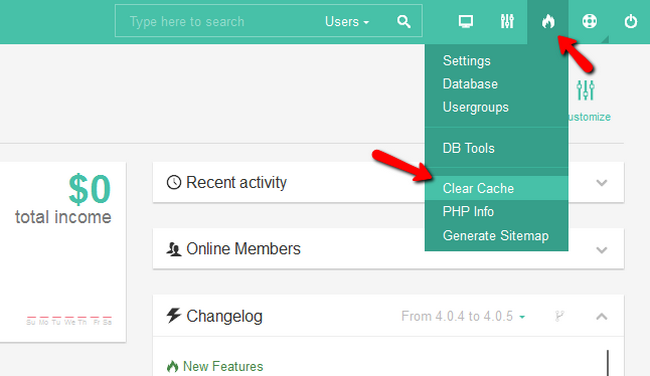
You have successfully cleared the cache from your Subrion website.
How to Manage Plugins in Subrion
Updated on Apr 14, 2016
Plugins allow Open Source applications to have a much bigger life spawn as new features are constantly added to them without necessarily having to implement them in the core version.
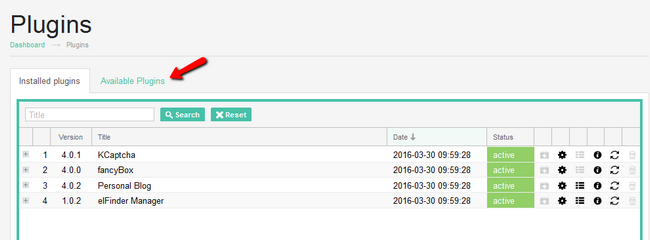
To install a new plugin in Subrion you will have to login to your admin area and navigate to the Extensions → Plugin section from your main admin panel.
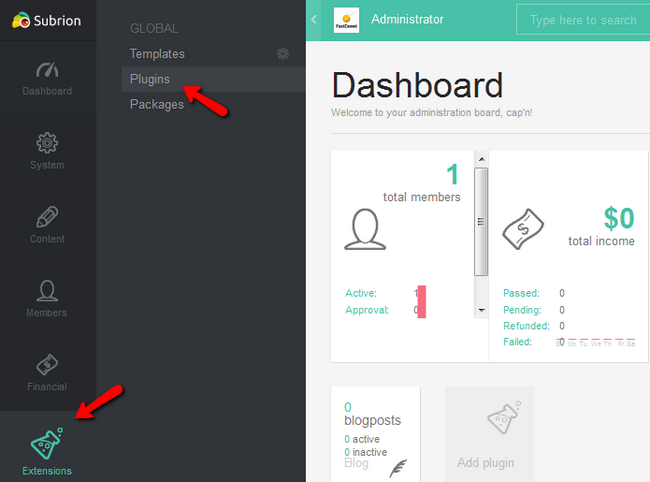
Here you will see all of the currently installed plugins, their status, configuration options and additional information as well as update and deletion possibilities. Click on the Available Plugin tab to switch to it.
Initially, you will not be able to see any plugin when you are in local mode unless you download a plugin from the Subrion market via a web browser and then upload it in the plugin folder of Subrion located on your hosting account. Simply change the mode to Remote and you will be able to see all of the available plugin right from your CMS.
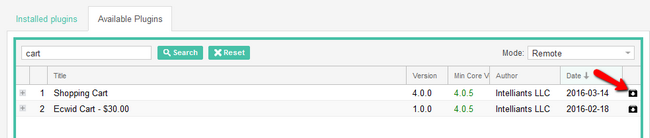
Select or search for a specific plugin and click on the most right icon to download and install it.
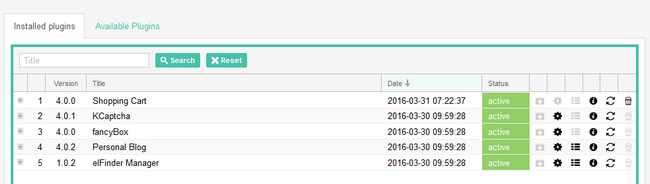
The plugin is now installed and ready to use. If there are available options you can access them from here by clicking on the cogwheel or from the System → Miscellaneous section. Even if you remove the plugin, a copy of it is now on the server (local) and will stay there for a fast future installation.
Congratulations! You now know how to search for and install plugin in Subrion.
-Subrion is a stand-alone PHP content management system that is very easy to use. It comes with a ton of great features including full source editing, per-page permissions, user activity monitoring, and much more.
Home

Dashboard

System

Admin Panel

Blog
Subrion CMS unites the functionality of articles script, auto classifieds script, realty classifieds script, web directory script, and yellow pages script all in one package.
Features
Key feaures:
- Free and open source: You don’t need to pay a single penny to start using Subrion CMS. It’s not encrypted in any way so you can customize it per your needs.
- Extremely easy to extend: Forget the hours of programming simple things. Use Subrion framework API to add extra stuff using hooks, plugins, and packages.
- Templates and plugins: No need to search. Plugins and templates are available straight from your admin dashboard with one click installation process.
- Powerful admin dashboard: It’s done to focus on the content management process. Start it hassle-free within just a few minutes and take care of the content. It’s easy!
- Blog in the box: Bring your online presence to a whole new level with the extensive blog functionality that comes in the version by default.
- Multilingual CMS: Use ready translation or translate the system into your language. It provides all the functionality to become a multilingual solution.
-Major Features of Subrion
Powerful Dashboard
Track your site daily visitor count from dashboard along with various metrics like listing counts, review counts, comments counts, users counts, revenue, number of orders etc. to track your website’s success.
Plugins Support
With the plugins and blocks managers, you get the full control of displaying any content anywhere across the website. Need to display a specific group of ads at specific categories? You only need to go into your Admin Panel and click Manage Blocks.
Custom Fields
Specify your custom fields for any listing type directly in admin panel. You can easily create field groups to reuse across multiple listing types. Specify field properties like searchable, editable and more. You have a lot of field types to choose from.
Google Maps
Subrion CMS comes with Google Maps plugin that allows to display your address location. Insert Google map as a plugin with specific content anywhere on website. It’s flexible and customizable. You can also configure fields are displayed in your Google Map baloon.
Paid Listings
Charge your visitors for upgrading, submitting the listings or account memberships. Create different plans with custom restrictions like special privileges, number of images allowed to upload, specific fields to allow for a listing, etc. Set-it and forget-it with recurring subscriptions.
SEO Features
Take advantage of fully Search engine optimized URLs. Define homepage’s meta information from backend, define custom keywords/titles/description for listing pages. Enable google rich snippets to let Google bot collect more information from your website.
Videos
How to install Subrion CMS on XAMPP environment
External embedded media removed for production hardening.
