Overview
SplendidCRM is an open-source Customer Relationship Application that targets companies with an investment in Microsoft-based servers. SplendidCRM was developed using the best development tools and using the best practices for web application development. As a result, SplendidCRM has become a highly-scalable, highly-customizable, enterprise application that can be delivered at a fraction of the cost of the major players in the CRM market space.
SplendidCRM is the clear and obvious choice for companies that prefer Microsoft IIS to Apache and SQL Server to MySQL. We provide all the C# and SQL source code so that the CRM can be deeply integrated into your business.
SplendidCRM is owned by SplendidCRM (http://www.splendidcrm.com/) and they own all related trademarks and IP rights for this software.
SplendidCRM on Cloud runs on Amazon Web Services (AWS) and Google Cloud Platform (GCP) is built to provide a Professional and Enterprise editions have a Module Builder that can help create the data.
Cognosys provides hardened images of Visual Studio Community Edition on all public cloud i.e. AWS marketplace and Google Cloud Platform (GCP).
SplendidCRM on Cloud for AWS
Features
Major Features of SplendidCRM
Zip Code Lookup
Built-in database of US zip codes with lookup and auto-complete.
Activity Streams
Activity Streams provide quick access to detailed information regarding changes to a record.
Seven Theme
The Seven theme adds a bit of color to provide quick visual clues to the type of module being referenced.
Azure Software Deployment
Virtual Machine, SQL Database and DNS Name creation along with software deployment.
Document Signing
Acquire signature and embed into PDF for Quote, Order, Invoice or Contract.
Outlook Addin for Office 2013/2016
Quick lookup of all records relating to sender. Works in Outlook Web App and Outlook Windows client.
Opportunity Revenue Line Items
Revenue line items provide a way to provide details to an opportunity.
Updated Google integration
Contacts and appointments synchronization was updated to use the Google v3 API.
Updated PayPal integration
Updated credit card charging to use latest PayPal API.
Authorize.Net integration
Credit card processing using Authorize.Net
AWS
Installation Instructions For Windows
Note: How to find PublicDNS in AWS
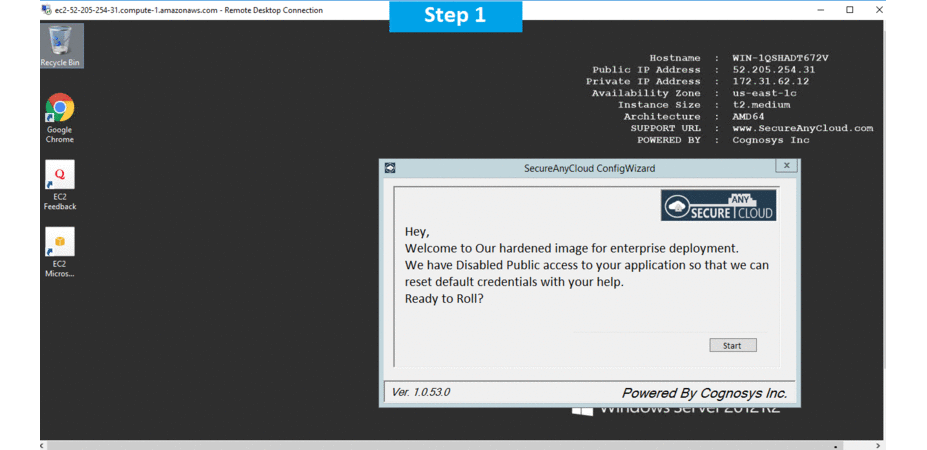
Step 1) RDP Connection: To connect to the deployed instance, Please follow Instructions to Connect to Windows instance on AWS Cloud
1) Connect to the virtual machine using following RDP credentials:
- Hostname: PublicDNS / IP of machine
- Port : 3389
Username: To connect to the operating system, use RDP and the username is Administrator.
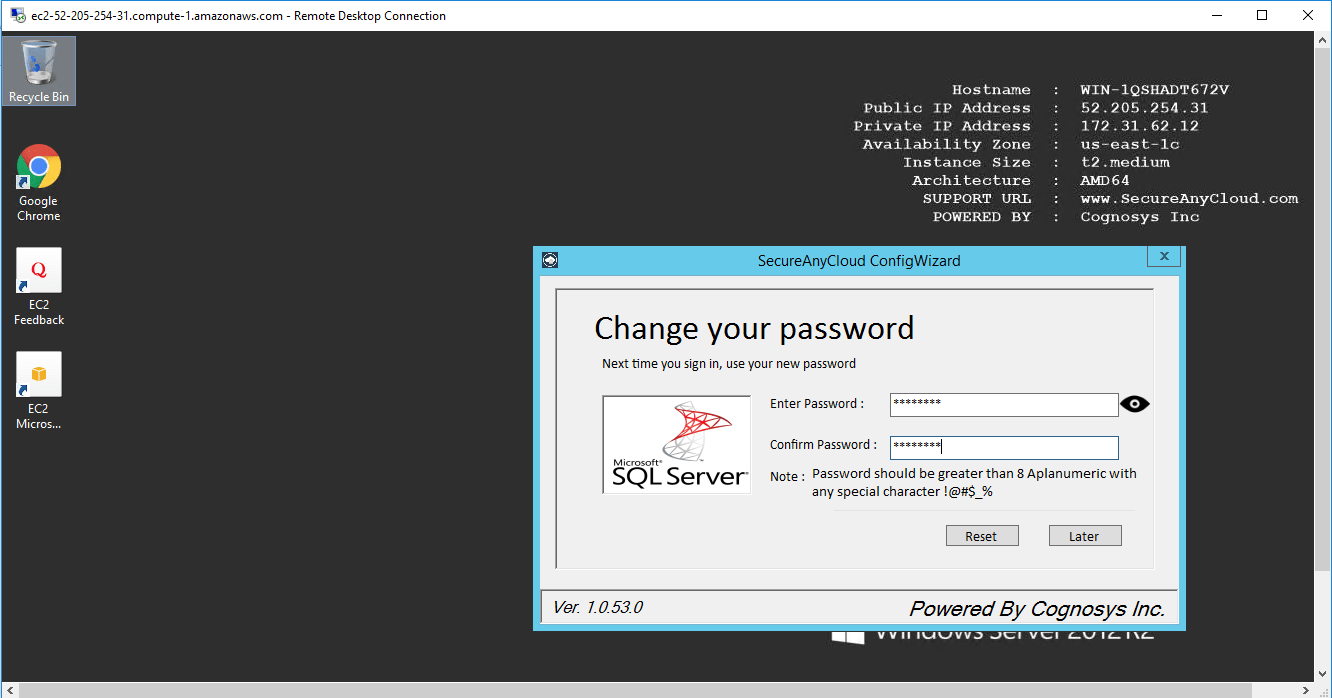
Password: Please Click here to know how to get password .
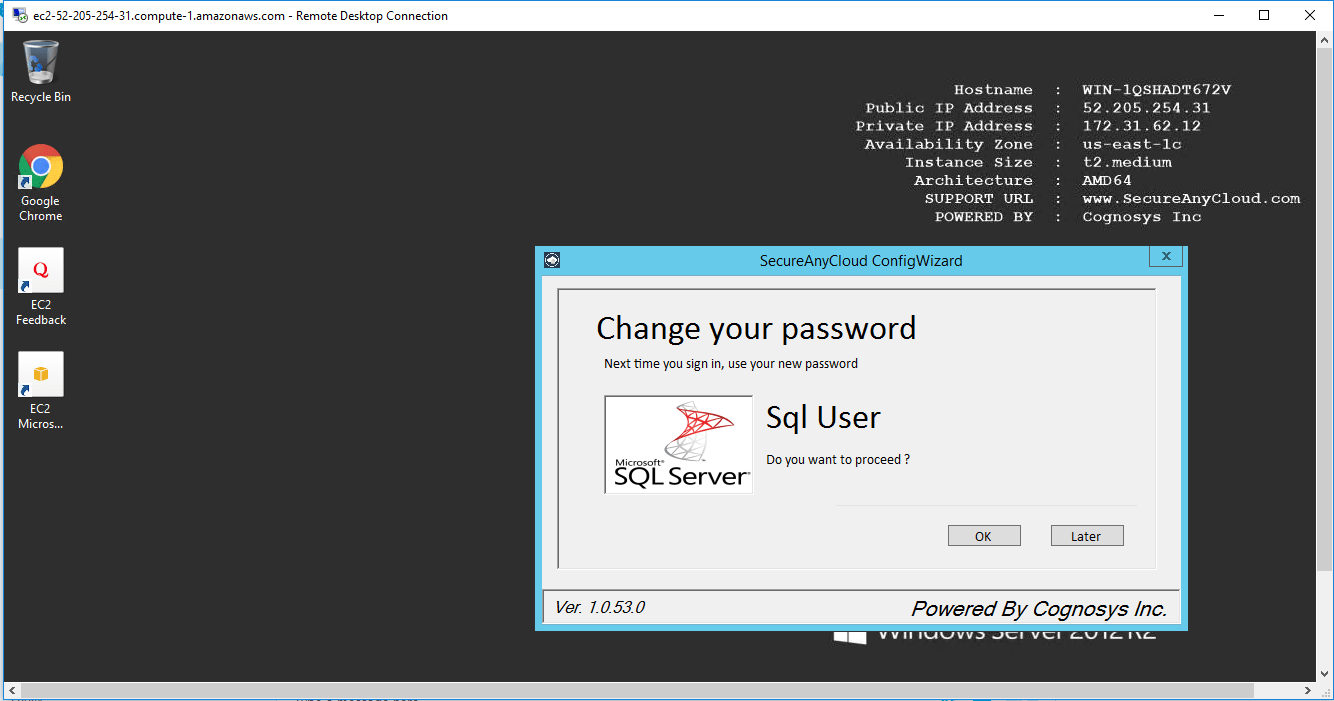
Step 2) Database Credentials:
You can Login by below SQL Database credentials
SQL UserName : sa || Password : Passw@rd123
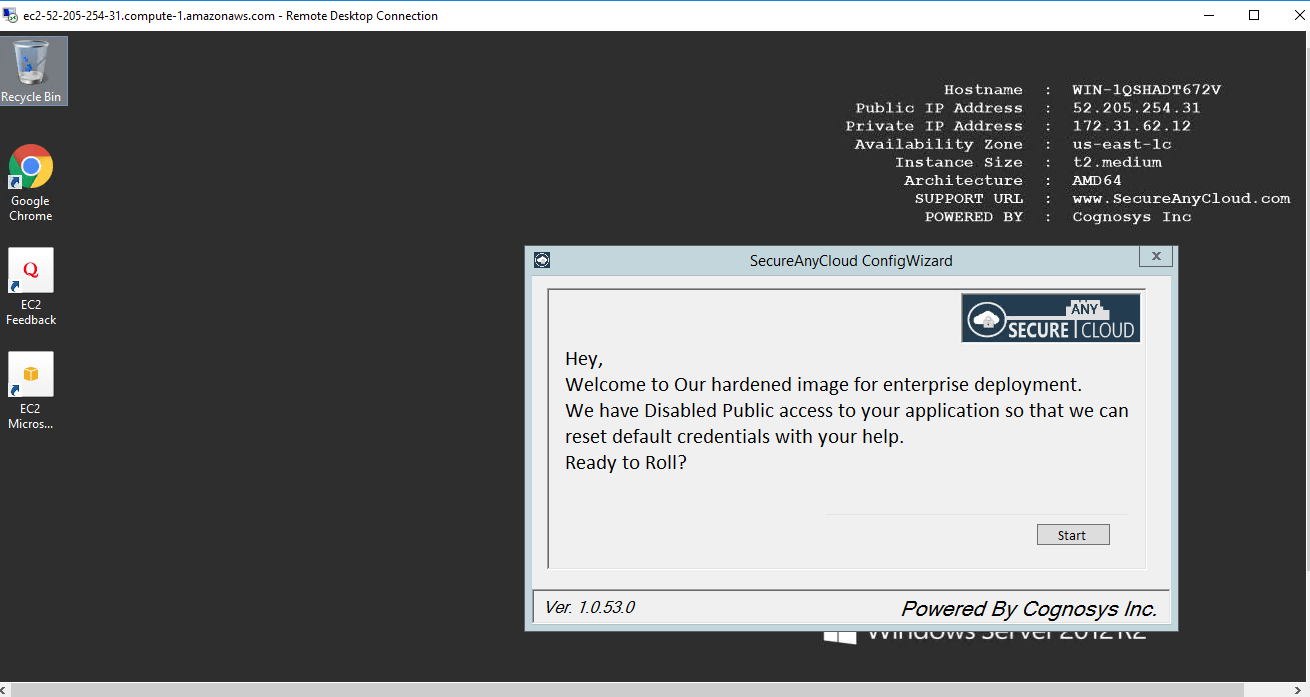
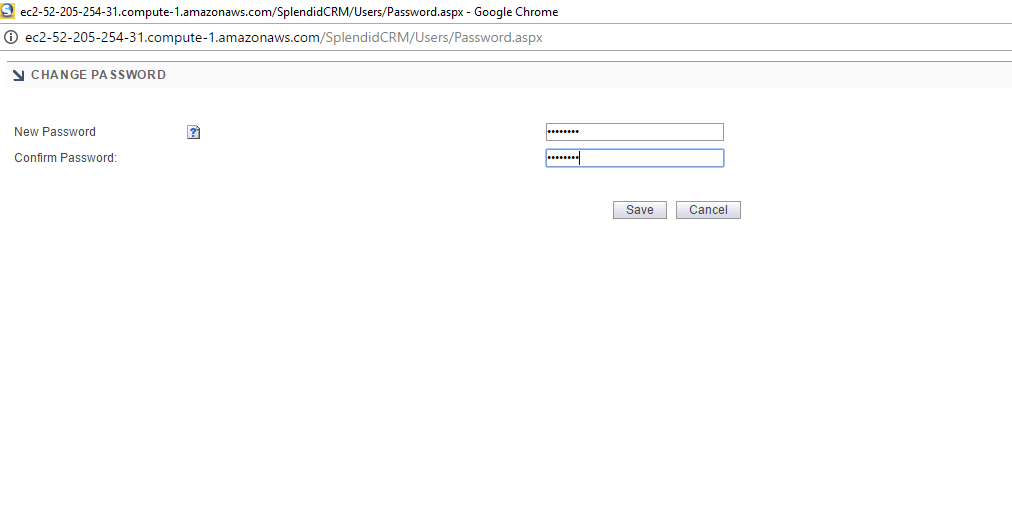
Note: Please change the password after the first login.
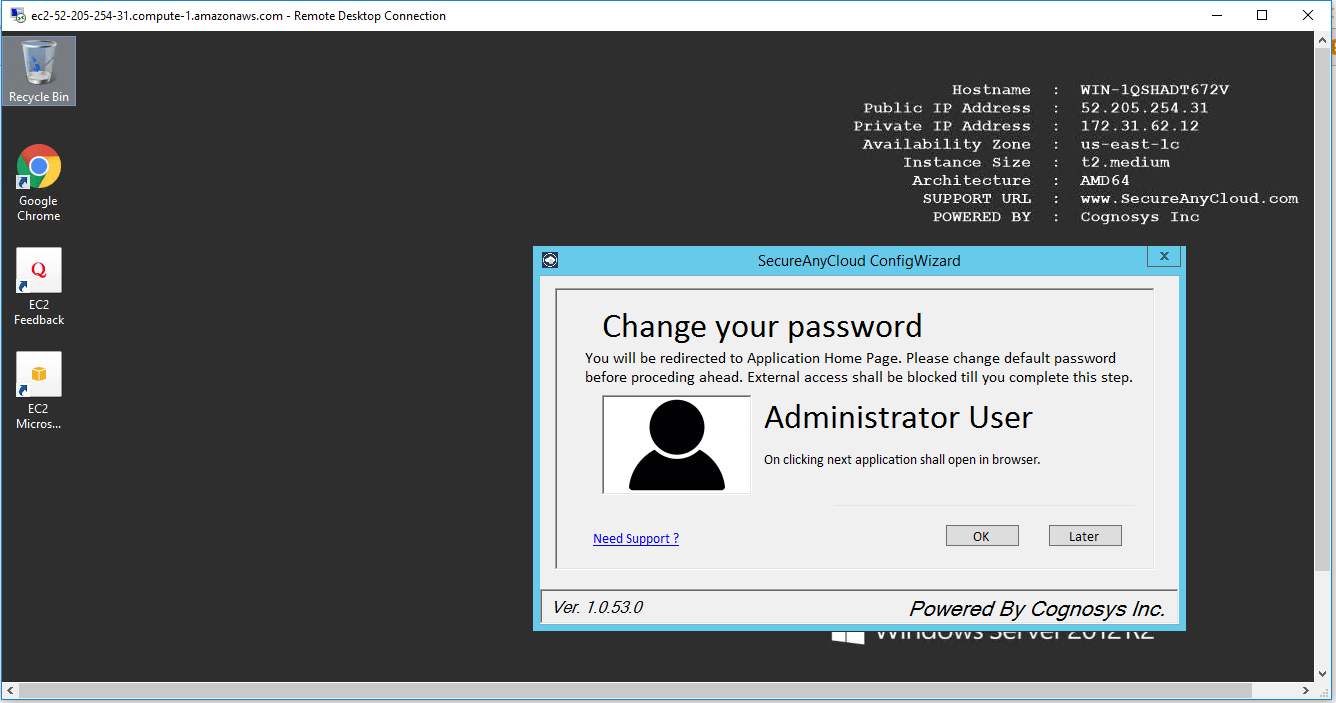
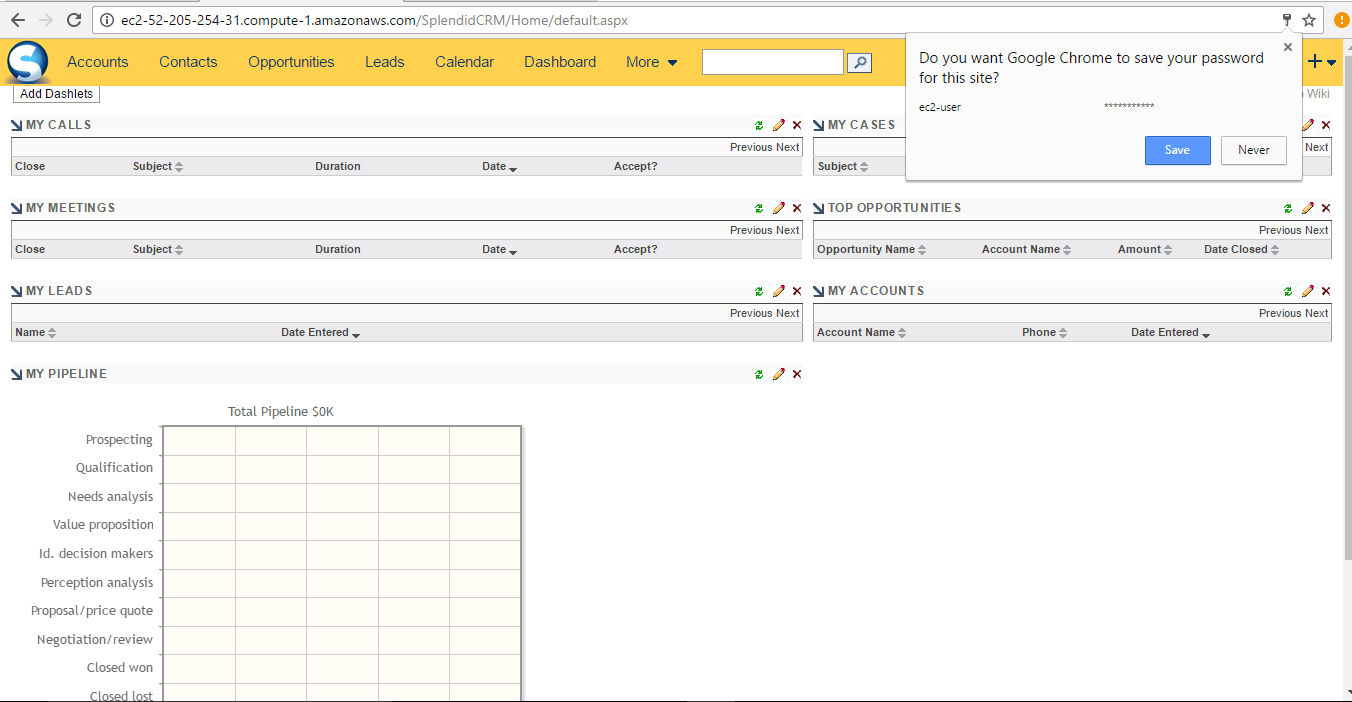
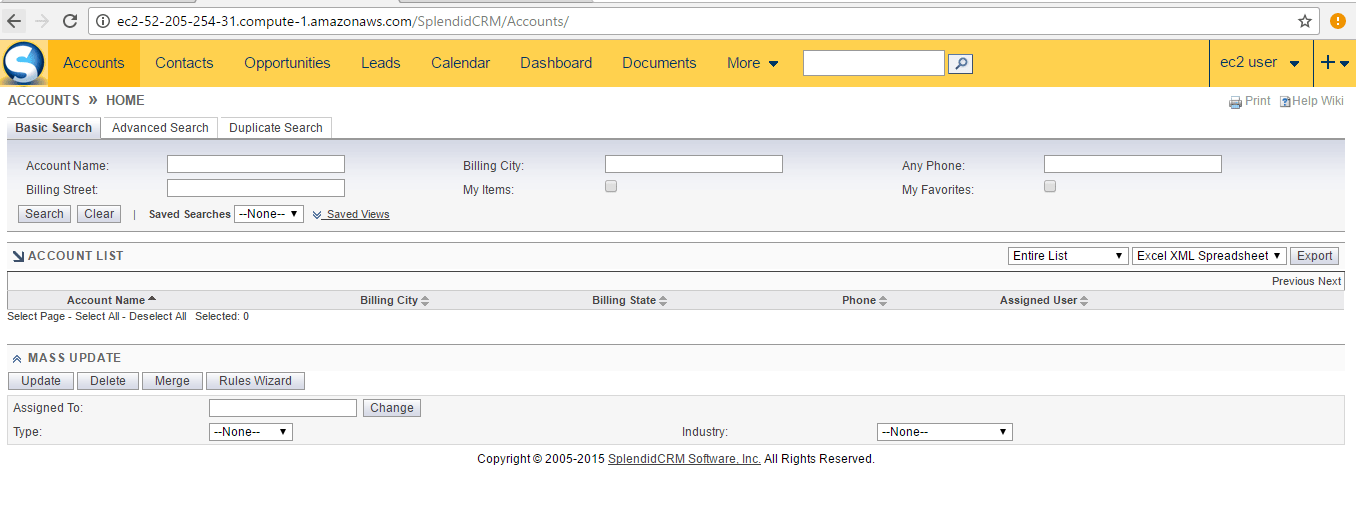
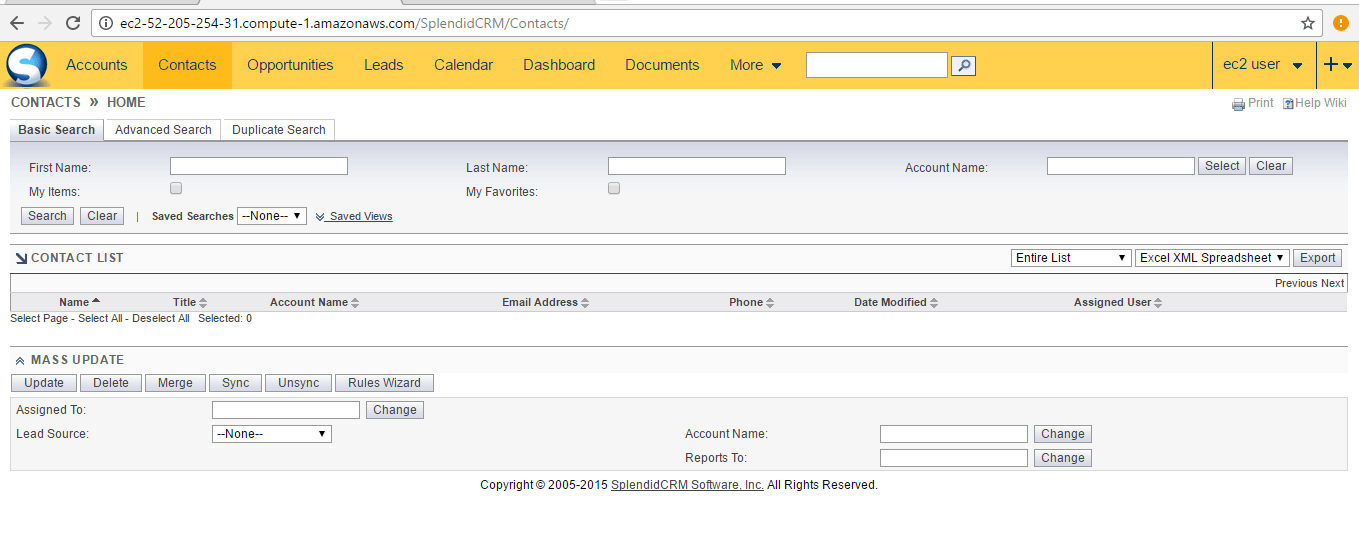
Step 3) Application URL: Access the application via a browser at http://PublicDNS/splendidcrm
- User Name: ec2-user
- Password: Passw@rd123
Steps to access the Admin Panel:
- To login to SplendidCRM Administrative Panel, you need
to open your browser and navigate to http://PublicDNS//SplendidCRM/Administration - Enter username and password in the given fields and click on the“Login”button to access the Admin Panel.
- After successful login to the Admin Panel, you will get access to SplendidCRM Application.
Step 4) Other Information:
1.Default installation path: will be in your web root folder “C:\inetpub\wwwroot\splendidcrm”
2.Default ports:
- Windows Machines: RDP Port – 3389
- Http: 80
- Https: 443
- Sql ports: By default, these are not open on Public Endpoints. Internally Sql server: 1433.
Configure custom inbound and outbound rules using this link.