
1-click AWS Deployment 1-click Azure Deployment
Overview
Plogger is an open source PHP based online photo gallery system for creating, editing and managing photo album galleries online. It offers various photo gallery functions such as custom gallery organization, keyboard shortcuts for accessibility, remote image uploads, RSS feeds and much more.
Plogger is very easy to use, simple and more attractive interface with simple configuration settings. The applications is very light-weight, meant to be easy to use with no experience of any technical knowledge or skills you can install the application very easily or you can also integrate this application into your existing website.
Plogger is a sophisticated photo gallery application for the web. It is an open source software that is available freely for the users to create, edit and manage online photo galleries. It has several enhanced features that are not complicated yet are very powerful that can easily be adopted by any users.
Plogger integrates the user’s photos into their websites offering a full featured photo sharing package with an easy to use administrative interface that allows managing the galleries an easy and simple task. It makes sharing of photos across the world more fun and pleasant. It does not require any licenses to be purchased and the websites have to be compliant with PHP and MySQL framework released under the GNU GPL license.
The setup process is simple and easy and can be done in a single step. It can be integrated into a website or is also capable to work as a stand-alone gallery. It does not take a long time to install. Users can upload photos from the web based administrative tool or use the FTP connection to import the photos in groups. Plogger supports all the major image formats including JPG, BMP, GIF, PNG etc.
Plogger allows the users to organize the images and photos efficiently. Users have complete control and can decide on the permission levels to be given to viewers. The users can turn comments on or off for any or all of the photos. Visitors have the authority to post comments, give ratings, mark photos as favorites. RSS feed can be generated for a single album, collection or the entire gallery. Users are also allowed to subscribe to a set of search terms that will keep them updated to their selected keywords. Users can view any of their albums as a hands free JavaScript slideshow.
What Plogger Require?
- Web Server – Apache or Nginx
- Operating System – Linux or Windows
- PHP Version 5+
- MySQL Version 5+
- PHP GD extension
Ways how to install Plogger:
Use the 1-click script installer
Automatic Plogger installation is fast and easy. Simply follow these 6 steps:
- Visit the control panel login page.
- Log in using your username and password.
- Click the web applications installer link.
- Click the Plogger link.
- Fill in a simple setup form and click the install button.
- That’s all – the script is installed now!
Install the script yourself
If you prefer to install the script yourself, follow these steps:
- Visit the official Plogger website.
- Download the script.
- Unzip the files.
- Find a file with installation instructions.
- Upload the files to your web space.
- Follow the installation instructions.
Installation of Plogger
As stated above Plogger requires Apache, MySQL and PHP packages installed on your system. If not, install them using the following commands. You must be root user to perform all the following steps in the article.
Install on Debian Based Systems
tecmint ~ # apt-get install apache2 mysql-server php5 php5-mysql php5-gd
tecmint ~ # service apache2 start
tecmint ~ # service mysql start
Install on Red Hat Based Systems
tecmint ~ # yum install httpd mysql-server php php-mysql php-gd
tecmint ~ # service httpd start
tecmint ~ # service mysqld start
Get the latest version of Plogger script from the official website.
- http://www.plogger.org/
You may also use following “wget” command to download archive file into the website root directory (i.e. /var/www/html or /var/www/).
tecmint ~ # cd /var/www
tecmint www # wget http://www.plogger.org/source/plogger-1.0RC1.zip
Sample Output
--2013-10-06 13:07:28--  http://www.plogger.org/source/plogger-1.0RC1.zip
Resolving www.plogger.org (www.plogger.org)... 72.47.218.137
Connecting to www.plogger.org (www.plogger.org)|72.47.218.137|:80... connected.
HTTP request sent, awaiting response... 200 OK
Length: 716441 (700K) [application/zip]
Saving to: ‘plogger-1.0RC1.zip’

100%[===========================================================================================================================================================>] 7,16,441    44.4KB/s   in 18s

2013-10-06 13:07:49 (37.9 KB/s) - ‘plogger-1.0RC1.zip’ saved [716441/716441]
Now unpack the downloaded archive file using following command.
tecmint www # unzip plogger-1.0RC1.zip
Connect to your MySQL server and create Database and User.
## Connect to MySQL Server & Enter Password (if any or leave blank)##
mysql -u root -p
Enter password:

## Creating New User for Plogger Database ##
CREATE USER plogger@localhost IDENTIFIED BY "your_password_here";

## Create New Database ##
create database plogger;

## Grant Privileges to Database ##
GRANT ALL ON plogger.* TO plogger@localhost;

## FLUSH privileges ##
FLUSH PRIVILEGES;

## Exit ##
exit
Please temporarily set 777 permission to the “plog-content” directory to create initial directories. You can revert back to 755, after installation is complete.
tecmint www # chmod -R 777 plog-content/
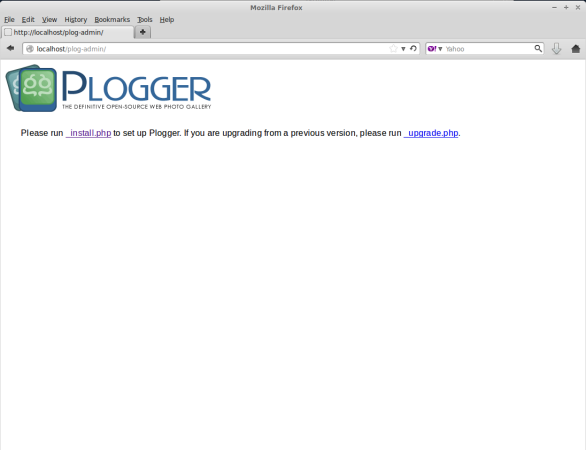
Open your web browser and run the installation script located at.
http://localhost/plog-admin/_install.php
Plogger Install Script
Enter Database details and Set Admin password.
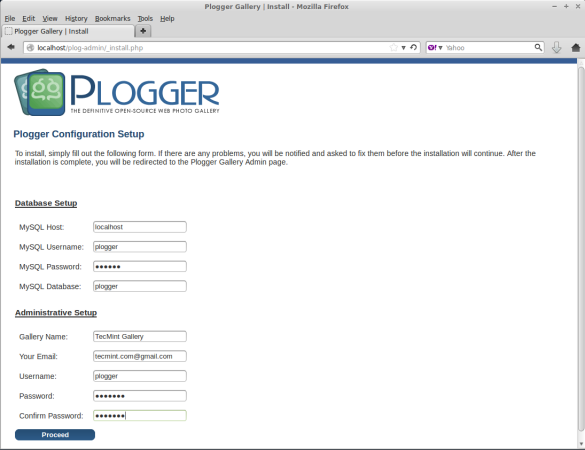
Plogger Database Settings
Before you can proceed, please to download “plog-config.php” configuration file and place inside the Plogger directory itself and click on Proceed button.
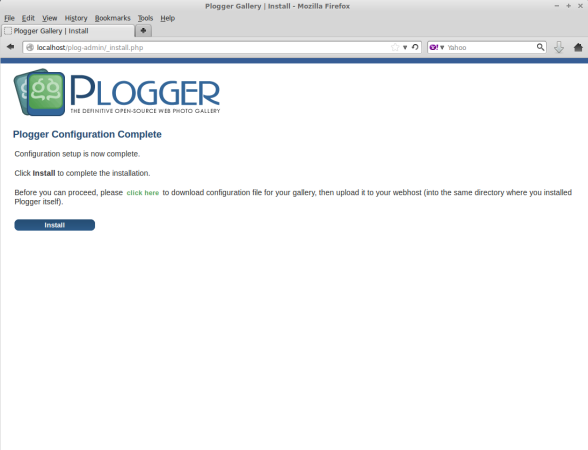
Plogger Configuration Script
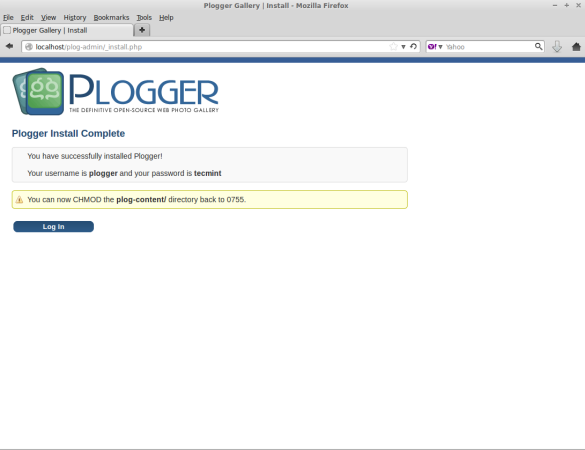
You have successfully installed Plogger!. Your username is plogger and your password is tecmint.
Plogger Installation Completes
Make sure to CHMOD the “plog-content” directory back to 0755.
tecmint www # chmod 0755 plog-content/
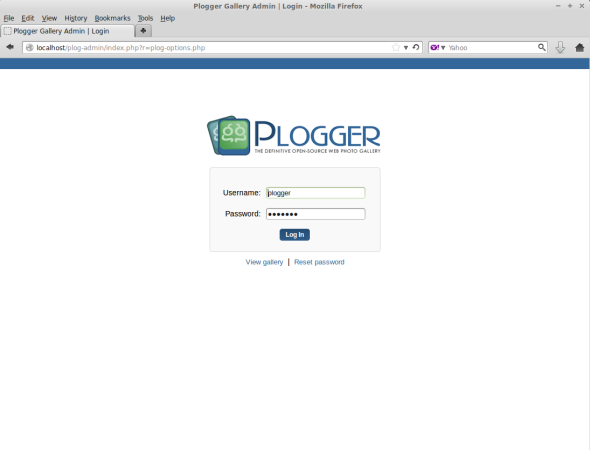
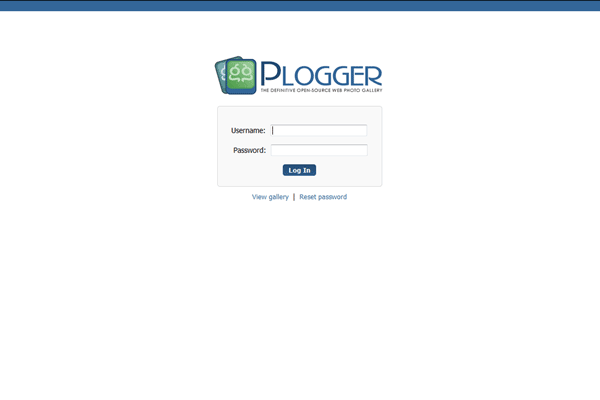
Now login into your panel using username and password.
Plogger Admin Login
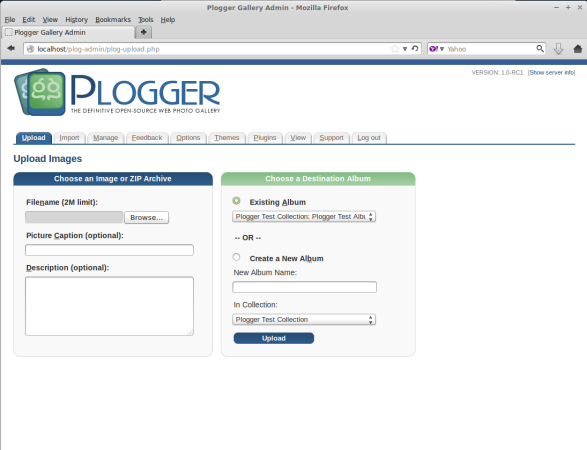
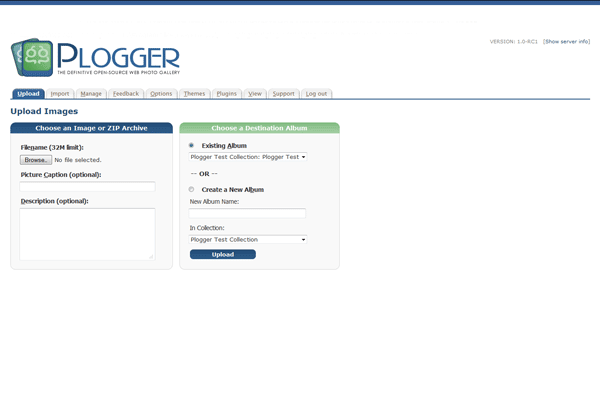
Next, choose an Image or ZIP Archive to upload images and create galleries.
Plogger Image Upload
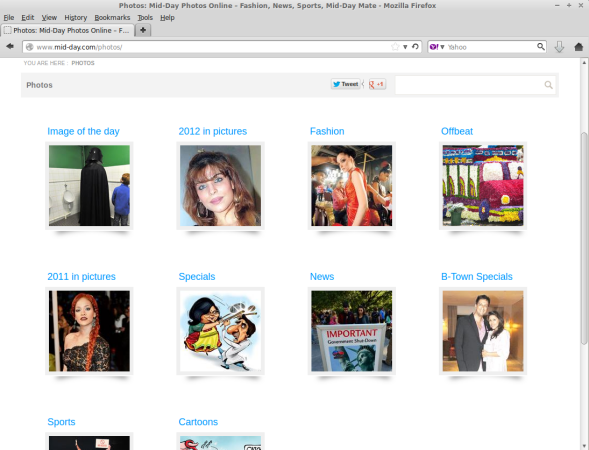
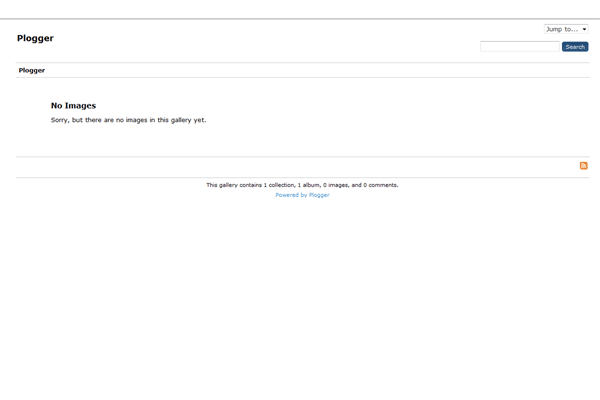
Once you’ve uploaded images, you can click on “View” tab to see the front look of Plogger. Check out the screenshot of Plogger, which we’ve created for one of our client.
Plogger Gallery View
Troubleshoot
If you have received an error during installation similar to this:
"string(184) "You have an error in your SQL syntax; check the manual that corresponds to your MySQL server version for the right syntax to use near 'Type=MyISAM DEFAULT CHARACTER SET UTF8' at line 6" string(184) "You have an error in your SQL syntax; check the manual that corresponds to your MySQL server version for the right syntax to use near 'Type=MyISAM DEFAULT CHARACTER SET UTF8' at line 8" string(226)
open install-functions.php file located at plog-admin/include directory with a decent editor. Replace all occurrence of “Type=MyISAM” with “Engine=MyISAM” and “timestamp(14)” with “timestamp” and save the file. Now re-try the installation, it will work correctly.
Install Plogger web photo gallery on a CentOS VPS
yum -y update
Next, go to Plogger’s official website and download the latest available release of Plogger on your server
wget http://www.plogger.org/source/plogger-1.0RC1.zip
Inside the document root directory create a directory for Plogger’s installation files
mkdir /var/www/html/plogger
You can find your document root directory using the following command
grep -i '^documentroot' /etc/httpd/conf/httpd.conf
DocumentRoot "/var/www/html"
Unpack the downloaded zip archive to the newly created directory
unzip plogger-1.0RC1.zip -d /var/www/html/plogger/
Change the ownership of the ‘plogger’ directory
chown -R apache:apache /var/www/html/plogger
Log in to your MySQL server and create a MySQL database and user
mysql -u root -p
Enter password:

mysql> create database plogger;
mysql> CREATE USER plogger@localhost IDENTIFIED BY "YOUR_PASSWORD";
mysql> GRANT ALL ON plogger.* TO plogger@localhost;
mysql> FLUSH PRIVILEGES;
mysql> exit
Now, point your web browser to http://YOURDOMAIN.TLD/plog-admin/_install.php and continue the installation.
At the first screen, enter the information of the plogger MySQL database we’ve created above and create your administrator account. Once you fill out the fields, click ‘Proceed’

Before you can proceed with the installation, you need to click the ‘click here’ link to download the configuration file for the gallery. You need to upload the file in the Plogger’s installation directory. In our case it is ‘/var/www/html/plogger’

That’s all. You have successfully installed Plogger on your CentOS server. You can start to upload images and create your online galleries.

Of course, you don’t have to do any of this if you use one of our Linux VPS Hosting services, in which case you can simply ask our expert Linux admins to install Plogger for you. They are available 24×7 and will take care of your request immediately.
PLOGGER PROS
-
Easy to Use
This system was made specifically to be as easy to use as possible for people of all experience levels.
-
Free
This is an open source platform that doesn’t have any costs to it at all.
-
Low System Requirements
You don’t need an expensive hosting server to run this system, even if you get a fairly high number of visitors.
PLOGGER CONS
-
Updates
There haven’t been any major updates in quite some time. This is a concern that it isn’t being properly supported anymore.
-
Slow Forums
The forums where you can get support aren’t active at all. Months pass without posts.
-
Plugins
The forums where you can get support aren’t active at all. Months pass without posts.
-Plogger is the next generation in open-source photo gallery systems. A web application not bloated with superfluous features or complicated configuration settings.Plogger is a simple yet powerful tool — everything you need to share your images with the world. Plogger is your photos integrated into your website, a fully featured photo sharing package with an attractive and easy to use administrative interface that makes managing your galleries a breeze.
Plogger is released under the GNU General Public License.
Log in
Upload images
Manage plugins
Manage contents
Search
Features
Full Features:
- Easy to Configure: Plogger is a light weight application and can be installed in just Single step. There are no bloated features nor any complicated configuration files. Plogger contains attractive and secure administrative system.
- Easy Administrator interface: Through a user friendly admin panel you can insert or edit an image. The thumbnails are created automatically, and through admin panel you can setup the size and the format of thumbnails.
- Easy Photo Gallery Creation: With the help of web administrative tool you can upload photos in bulk or use FTP for importing photos in groups. Organize your photos easily and efficiently. The application also allows you to edit their descriptions as well. It will automatically unzip and import the images from the uploaded zip files and add it to you gallery.
- Build your own custom Themes: By default, it comes with simple theme system, but you can customize the theme by creating your own custom theme to give attractive look and feel.
- Plogger XML Service: The application has an inbuilt XML generator, means you can create your own widgets in any language.
- Remote update your gallery: Ability to update your gallery remotely from a software that supports gallery protocol.
- Integrated JavaScript Slideshow: Albums can be quickly viewed as a hands-free JavaScript slideshow.
-Major Features of Plogger
- Smart Content
- Extensions / Plugins
- Better SEO
- Extended International Support
- More Options
- Security
- Build your Own Themes
- Plogger XML Service
- Description fields for pictures
- Easy Gallery Creation
- Automatic Thumbnail Generation
- RSS support
- Integrated JavaScript Slideshow
Videos
How to create Your Own Online Photo Gallery – Plogger
