
1-click AWS Deployment 1-click Azure Deployment 1-click Google Deployment
Overview
phpBB is one of the most widely used free discussion board scripts. This freeand very powerful application is easy to install and administer. It allows flexibility in terms of design and organization. With FastWebHost phpBBhosting package you can use all phpBB features.With the release of the phpBB3 branch this free discussion boardhas become even more popular. Lots of new functionalities have beenadded. Basically it is a whole new application and not an upgrade ofthe old release.Fortunately, there is an option to convert a phpBB2 forum tophpBB3 retaining all the content and registered users.
phpBB as a Solution
phpBB is typically a great complementary part of a larger website. For example, you can host a primary site through Joomla and, using RokBridge, enable your users to search for and share information through your phpBB boards. Your primary site could play host to the main content body of your site while the forum exists to make it easier for members of your community to ask questions, find answers, and converse about topics relative to your main site’s product and/or services.phpBB is often deployed in internal enterprise environments where coworkers, remote and local, can collaborate and discuss ideas surrounding a number of different topics. This type of interaction is more open and easier to navigate than a chat room where topics change frequently and long-form content is harder to manage.Many companies use forums as part of a greater support system. Because phpBB is easily searched and organized, questions that are brought up by users can be answered, kept at the top of pages, and expanded upon by other members of the board.
Reasons to Create an Online Forum
Despite the rising popularity of social media platforms, many users still prefer using online forums as their method of community building. Reddit proves this claim as the platform ranks 18th for global traffic, beating Twitter and Instagram. Garnering over 300 million monthly active users in the past year, Reddit shows no signs of slowing down.Popularity aside, there are many ways your website can benefit from having an online forum. Here are the reasons why you should consider creating an online forum:
- Encourage discussion and feedback — users can use the available space to exchange ideas and give you insights into the quality of your content for further improvement.
- Support audience research — lets you observe visitor preferences and browsing habits in a closed environment.
- Build a community — having great communication and sharing similar interests with other people will give your users a sense of belonging to a community.
3 Easy Ways to Install phpBB
One of phpBB’s biggest perks is the ease of installation. There are three ways to install phpBB on your website — using the manual method, Hostinger’s auto-installer, or the Softaculous App Installer. Feel free to check them all out below and go with the one which best suits your preference.
Option 1 — Using the Manual Method
Despite taking the longest time of the three methods to complete, the manual method works on all hosting platforms. Thus, this method is ideal for users whose web hosting provider doesn’t have an auto-installer tool.
Here’s how to install phpBB manually:
- Create a MySQL Database for your phpBB forum. If you use Hostinger, you can do so by accessing MySQL Databases in the hPanel.
- Download the latest version of phpBB. After that, access your hosting account via FTP or File Manager and upload the phpBB installation file to the public_html directory. Don’t forget to unzip the file before moving onto the next step. For convenience, you can rename the folder to phpBB.
- Run the phpBB installation file via the web browser by entering its directory path — yourdomain.com/phpBB/phpBB3/install/app.php. Then, click on the Install tab.

- In the first section, click Next to confirm you already have a database dedicated to the forum. After that, create an administrator account by entering your login details. Once you’re done, click Submit.
- In the next section, you will need to enter your MySQL Database details. See the following explanation to know what information this step requires. After you input all the required information, click Submit.
- Database Type – your choice may vary depending on your hosting provider. If you use Hostinger, choose MySQL with MySQLi Extension. The other available options are MySQL and SQLite 3.
- Database server hostname or DSN – in most cases, you can use localhost to fill in this field. With Hostinger, you can confirm your MySQL Hostname by accessing Databases -> MySQL Databases on the hPanel.
- Database server port – you can leave this field blank unless your hosting provider uses a custom port. The default MySQL port is 3306.
- Database username and password – these fields require your MySQL Database administrator login details.
- Database name – this field contains the name of the MySQL Database you’ve created in Step 1.
- Prefix for tables in database – The default table prefix is phpBB_. We advise you to change it to improve protection against MySQL injections. In this tutorial, we’ll be using phpBBfrm_ as the table prefix.
- Next, you’ll have to configure your server. See the following explanation to know what information this step requires. After you input all the required information, click Submit.
- Cookie secure – this field allows you to secure visitor data. However, it requires an SSL certificate. If your website doesn’t use an SSL certificate, choose No.
- Force server URL settings – you can forcefully turn the forum’s HTTP URL to HTTPS. If you plan to use HTTPS for your phpBB forum, choose Yes. Otherwise, leave it as No. Keep in mind that you can install an SSL certificate and force the phpBB forum to use HTTPS at a later time.
- Server protocol – leave this field as it is unless you enforce the settings.
- Domain name – this field lets you specify the domain name for your phpBB forum.
- Server Port – the default setting for the server port is 80. Change this detail if your hosting provider uses a custom port.
- Script Path – this field specifies the location of your phpBB forum. If you want to locate it directly under your domain name, enter the slash (/) symbol. In case you wish to have it on another directory, enter a slash symbol followed by the directory name. Make sure to use the directory in which you uploaded the installation in Step 2.
- In the Email Configuration section, you will have to manage the forum’s email settings. Below is all the information you need to provide in this step. After you input all the required information, click Submit.
- Enable board-wide emails – this field allows you to enable or disable email sending via phpBB. The installation recommends disabling this option if your website doesn’t have an SSL certificate installed.
- Use SMTP server for email – you can configure the SMTP protocol for your phpBB forum. If you choose Yes, you will need to fill in your SMTP Details. In Hostinger, you can find this information in the Emails -> Email Accounts section.
- In the last step, you will need to configure your bulletin board. The Default language field lets you choose your phpBB forum language. While the installation sets British English as its default language, you’re free to choose other languages by checking the available phpBB language packs.
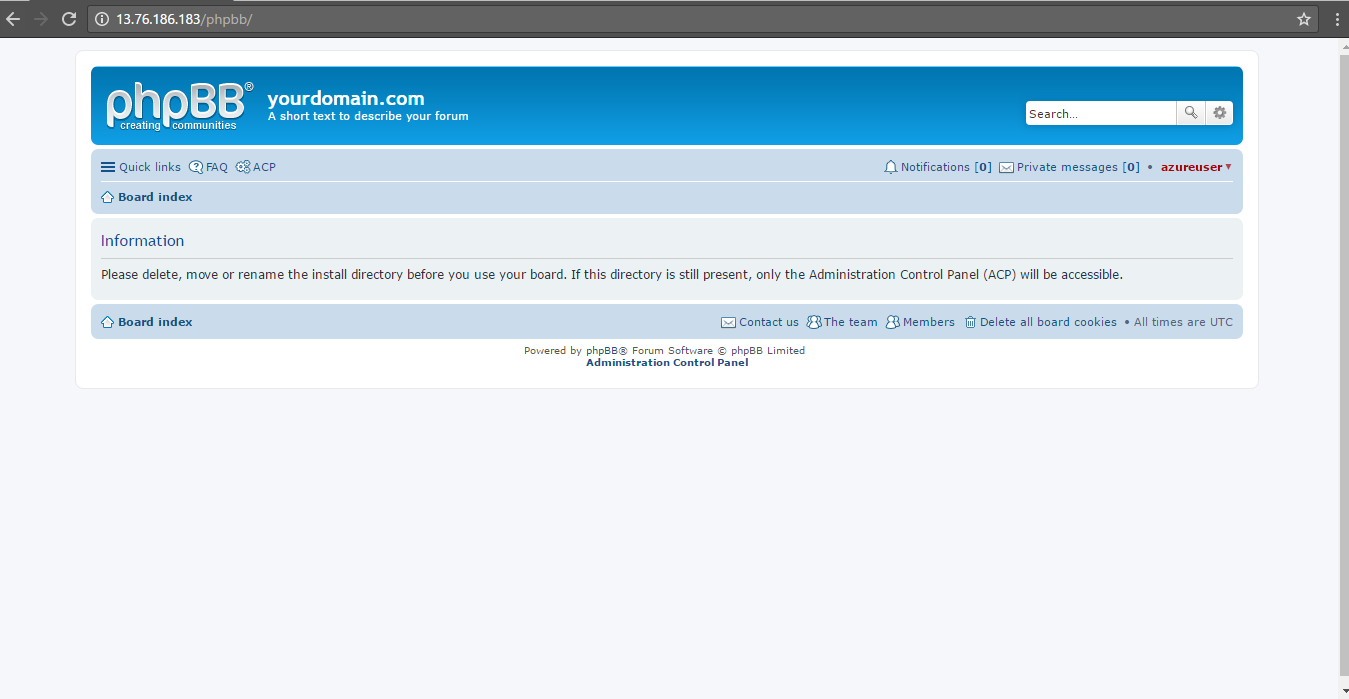
Then, add your forum’s desired title and short description in the last two fields. Once you’re done, click Submit. - If the installation is successful, the following confirmation message will appear on your screen.
10.Remove the install directory from your phpBB forum’s root directory. Otherwise, you won’t be able to access the phpBB admin area.
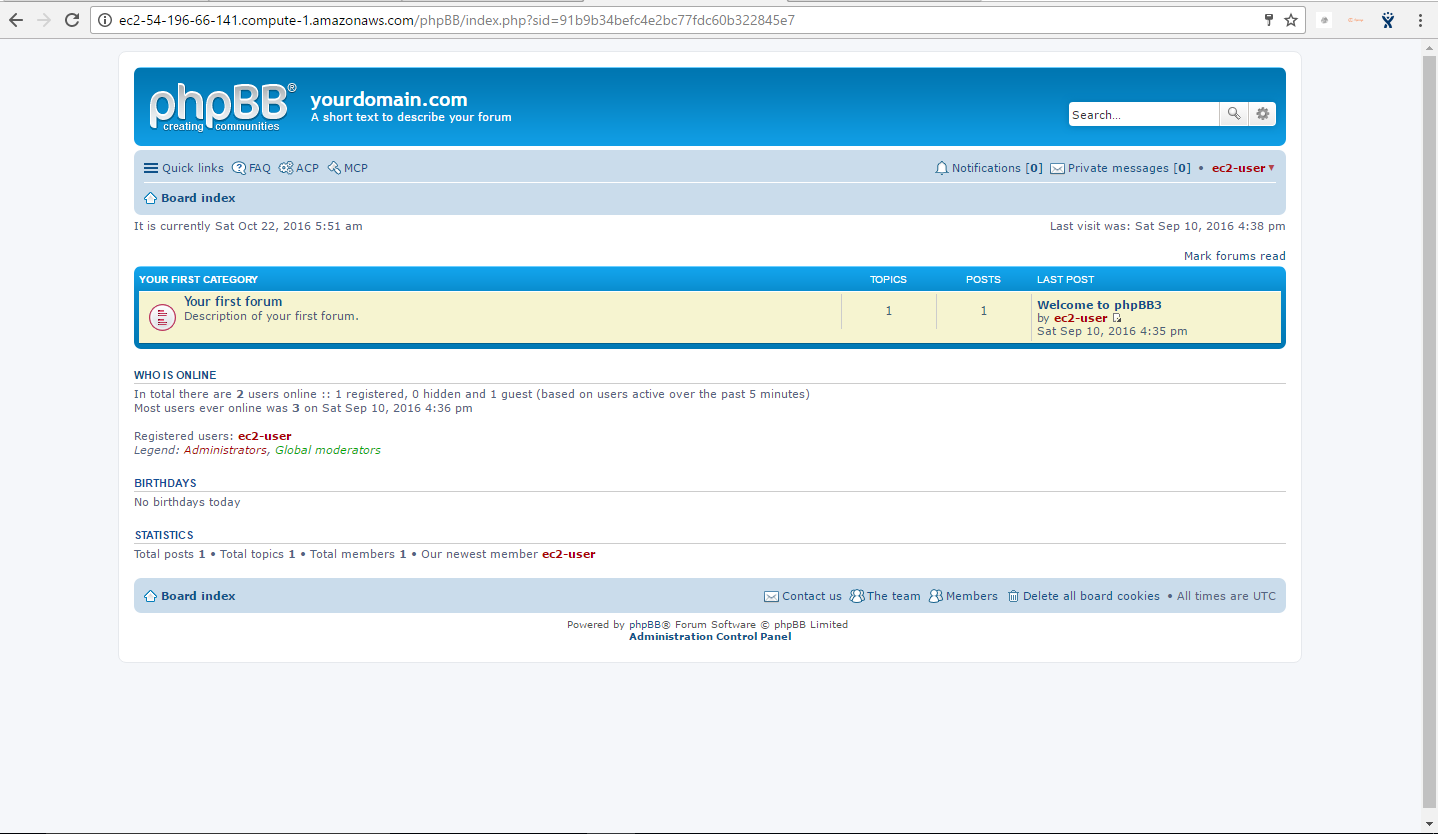
11.Congratulations, you have successfully installed phpBB! You can launch the phpBB forum by entering its URL (yourdomain.com/phpBB/phpBB3) into a web browser.
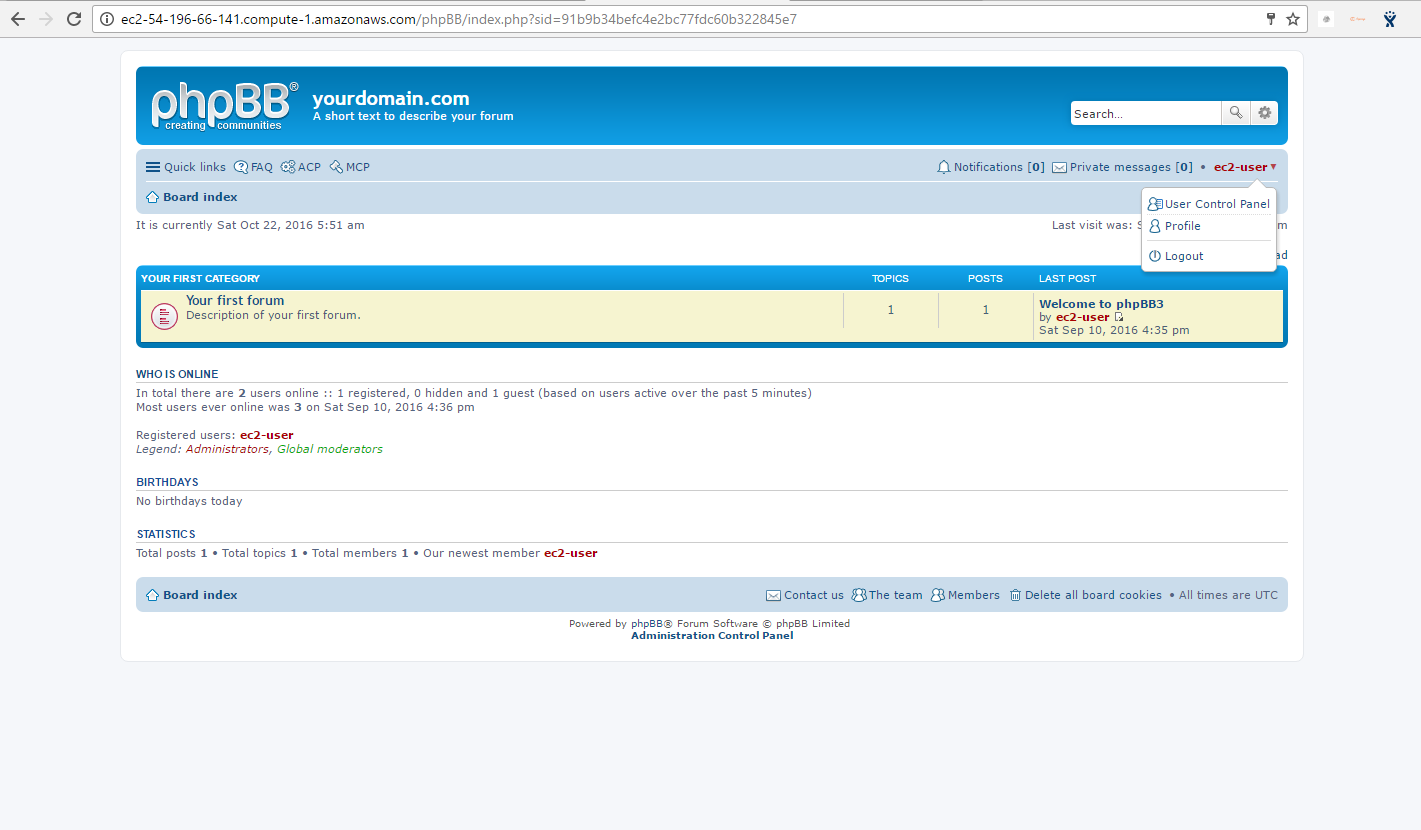
Managing your forum’s users and groups is quite easy. To manage them, select the Users and Groups tab from the top menu in your Administration Control Panel.
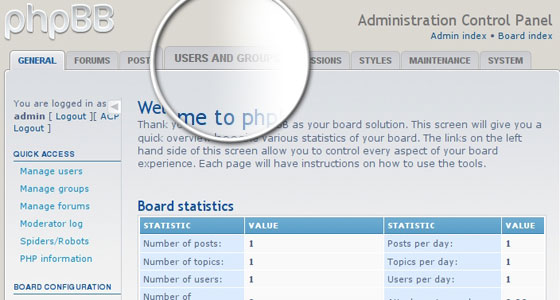
Manage Groups in phpBB 3
First, select the Manage groups link from the left menu. From this panel you can create a new group of users or you can modify the existing pre-defined ones that come with the default phpBB3 installation.
The pre-defined groups are very useful and easy to use. For example, if you wish to allow a user to moderate your forum, just add him/her to the Global moderators group. From this panel you can create a new group and then set its privileges. In order to do so, first enter the group name and click the Submit button.

Once the group is created, you can grant special permissions to it for a specific forum. Select Groups’ forum permissions from the left menu. Next, select the newly created group and click Submit.
Next, select the forum you wish to grant privileges for and click on the Submit button next to it. Once in the Setting Permissions area, click on the Advanced permissions link. An intuitive table appears that will allow you to grant custom privileges for your newly created group. Once you have selected them click on the Apply permissions button under the table.
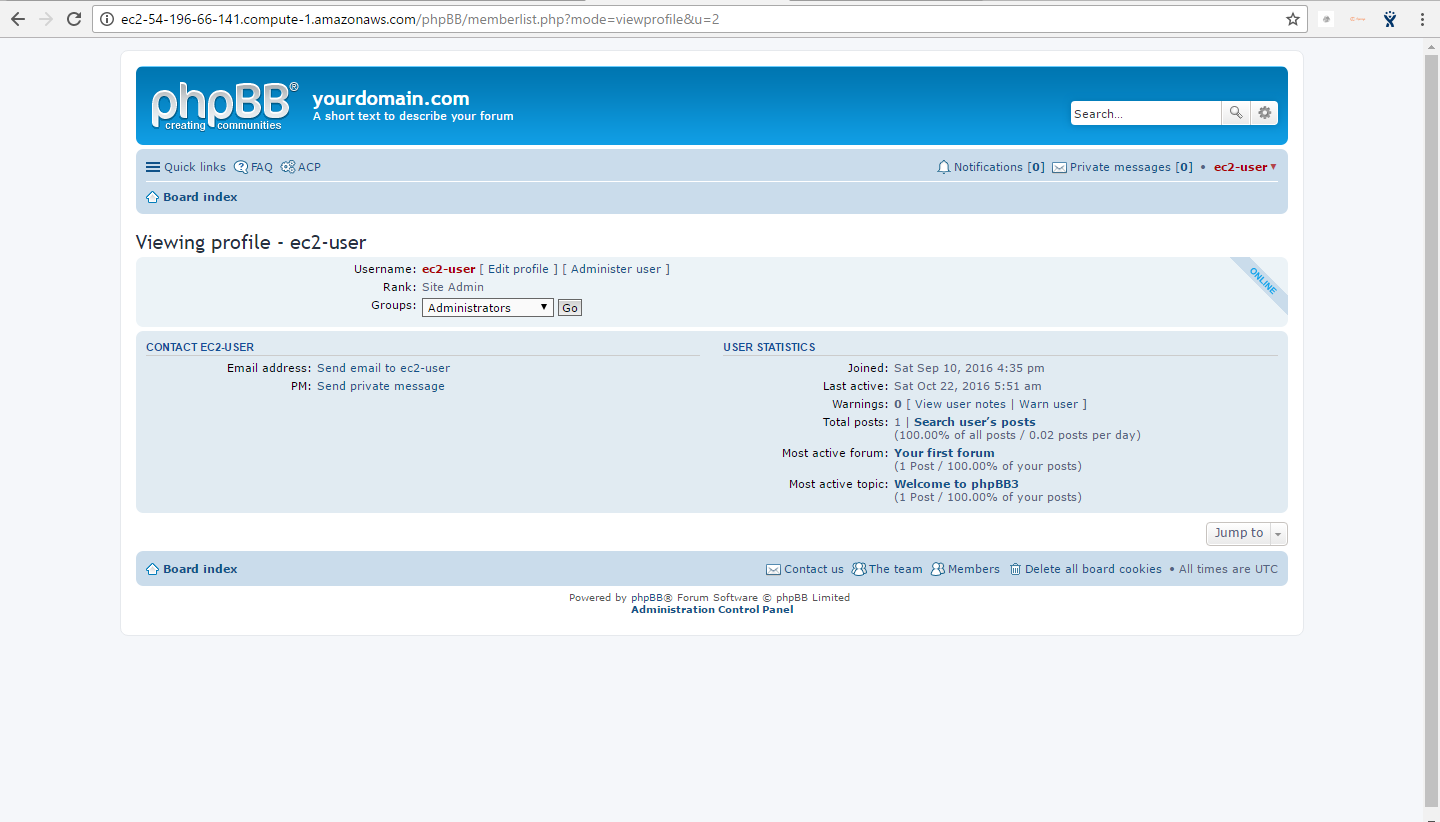
Manage Users in phpBB 3
Once you have the group set, select the Manage users link from the left menu, enter the username in the search box and click on the Submit button.
Then you will be forwarded to the overview page of the user’s administration panel. In it you can change users’ passwords, their e-mails or even delete the user and his/her posts if you wish.
In order to apply the changes, click on the Submit button next to each category of settings. In addition, you can select from the drop-down menu additional options that can be set for the selected user such as changing his/her Signature, Group, Permissions etc.
Once you have downloaded your template, you have to upload it to your account. The files of your new style must be uploaded in a new folder under the “styles” directory. In our case, we will make the “avalon” folder and upload the content in it.After you have uploaded the files of the new style, you should log in the Administration Control Panel. Next, click on the Styles tab.
Now click on the Install link next to the new template – “Avalon”. On the new page, select the Make default style option and click on the Submit button.
Follow the Board index link at the top right corner of your screen and you will see the newly installed template applied to your forum!
–phpBB is used by millions of people on a daily basis, making it the most widely used opensource bulletin board system in the world. Whether you want to stay in touch with a small group of friends or are looking to set up a large multi-category board for a corporate website, phpBB has the features you need built in.Newer users will appreciate phpBB’s extensive administration panel, which allows the customization of even the most intricate features without having to edit code directly, while advanced users will value the ease with which phpBB can be integrated into existing systems.phpBB is owned by phpBB(https://www.phpbb.com/) and they own all related trademarks and IP rights for this software.
Cognosys provides hardened and ready to run images of phpBB on all public cloud ( AWS marketplace and Azure ).Deploy your phpBB securely on cloud i.e. AWS marketplace and Azure with Reliable Services offered by Cognosys at one-click with easy written and video tutorials.
phpBB on Windows 2012 R2
Embedded media removed during static cleanup.
phpBB on Cloud for AWS-Windows

phpBB on Cloud for Azure –Ubuntu
phpBB on Cloud for Azure – Windows

Features
Features of phpBB
- Licensed Under GPLv2
- Written in PHP
- Advanced Administrative Control Panel
- Extensive Moderation Tools
- Search Engine Spider Handling
- Unread Message Tracking
- Private Messaging System
- Fully Customizable User Registration System
- Attachment Support
- Support for Forum Categories, Rules, Password Protection, URL Redirection, Forum-Specific Styling, etc.
- Usergroups
- Advanced Spam Filtering and Blocking Built in
- Supports Multiple Database Storage Systems (MySQL, Microsoft SQL, PostgreSQL, Oracle Database, Firebird, SQLite, etc.)
- Advanced Caching Built in
- Powerful Integrated Search
- Plugins and Custom Styles Supported
- Comprehensive Notifications System
The main features provided by phpBB 3
- User Registrations – This feature will allow large amount of users to create accounts on your phpBB3 based website in order to gain access to the contents or forums you have created. The whole registration process is strictly secured by the CAPTCHA Confirmation method, Flood Control, Password Hashing and many more security features.
- Users – As we have mentioned the registration for users is allowed, however you are probably wondering what are the additional features for your users? Well phpBB3 provides your users with the option to configure on their own Signatures, User Ranks, User Avatars, User Preferences and Profile settings, Custom Profile fields and many more useful information for their profiles.
- Creation of Forums – You will be able to add as many as forums you would like to on your Board and allow the access to the registered users to the newly created boards. There are a lot of sub features to the Forum feature like for example the Forum Categories, Password Protection for forums, Forum Pruning, Bookmark forum topics and many, many more.
- Posting – The posting features include the use of BBCode & Custom BBCode, Attachments, Smilies & Emoticons, Post Drafts and few other useful features.
- Styles – phpBB3 offers two basic styles which the platform comes with. You can choose whether your users should have both of these available for selection (as the users also have the option to choose the style of the Board on their own) or to have a single style they will be using on your Board. Furthermore you are able to install many custom templates for your Board and also you will be able to mix the Templates, Themes and imagesets for all of your styles which is adding more personality to the overall look of your Board.
- Plugins – phpBB3 comes with few plugins you have full control of. The platform offers also the option for new plugins to be added(installed) by the administrators of the platform so you can be able to improve the user experience and overall functionality of your Board.
-Major Features of phpBB :
- Modular design for the Admin Control Panel, Moderator Control Panel and User Control Panel
- Support for multiple database management systems, including MySQL, Microsoft SQL Server, Oracle, PostgreSQL, SQLite, Firebird, OpenLink Virtuoso and other ODBC-accessible DBMS
- Support for unlimited levels of subforums
- Ability to create custom-defined BBCode
- Ability to create custom profile fields
- Permissions system
- UTF-8 Support
- User Preferences
- Moderation
- Administration
- Search Engine spider Handling
- Unread message tracking
- Statistics
AWS
Installation Instructions For Ubuntu
Note: How to find PublicDNS in AWS
Step 1) SHS Connection: To connect to the deployed instance, Please follow Instructions to Connect to Windows instance on AWS Cloud
Connect to the virtual machine using following RDP credentials:
- Hostname: PublicDNS / IP of machine
- Port : 3389
Note : Please add Instance id of the instance from ec2 console as shown below

Username: To connect to the operating system, use RDP and the username is Administrator.
Password: Please Click here to know how to get password .
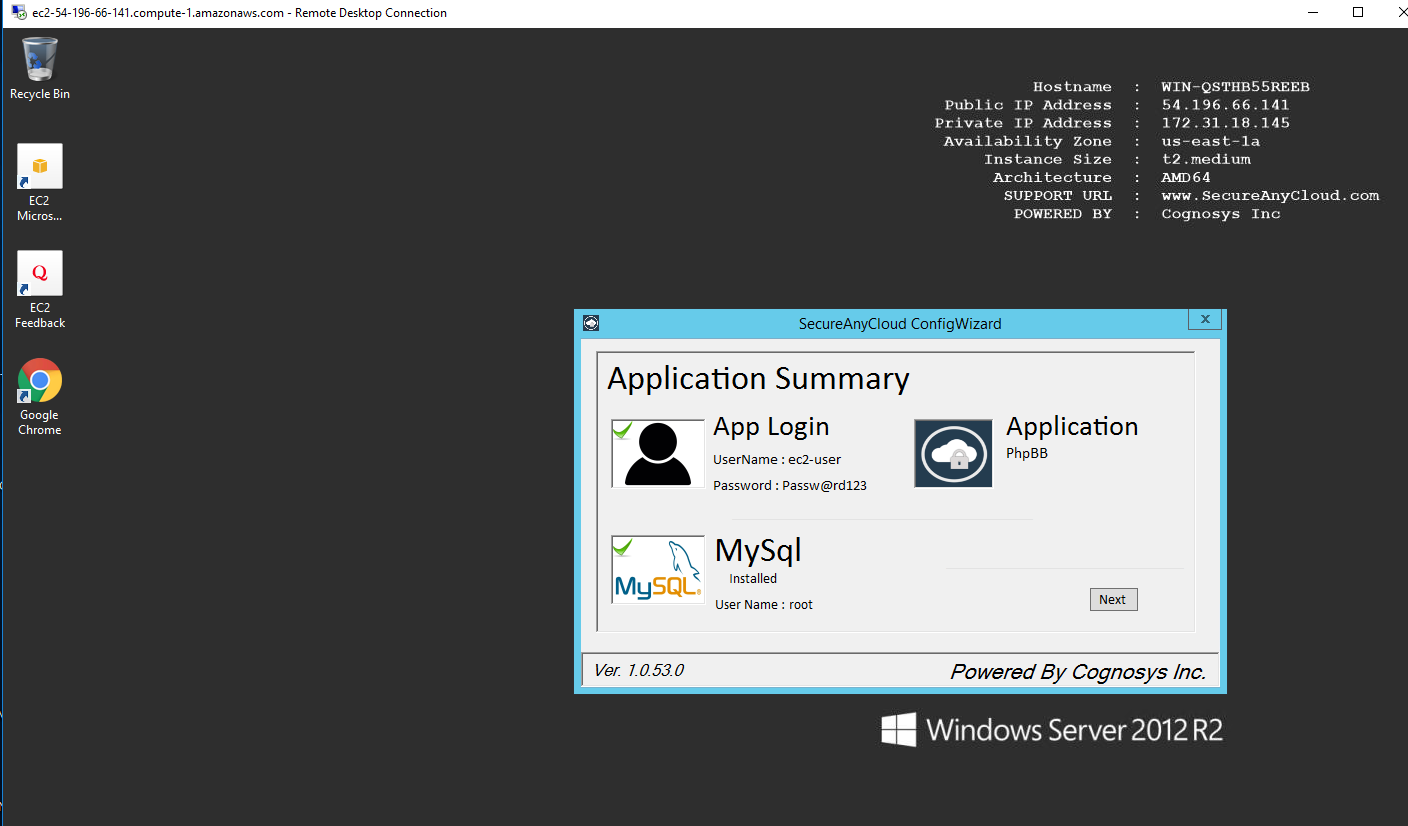
Step 2) Database Login Details:
Username : root || Password : Passw@rd123
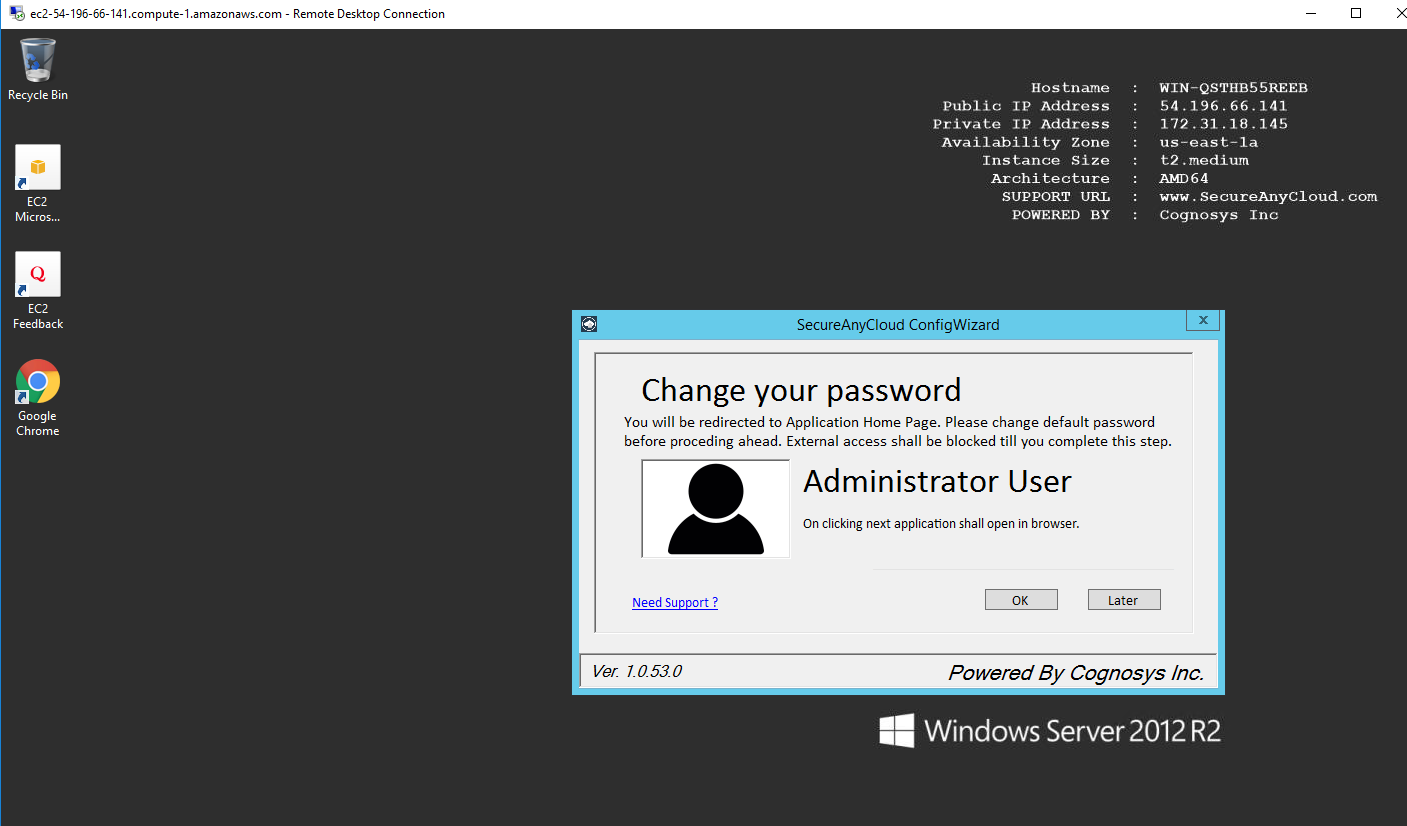
Please change the password immediately after the first login.
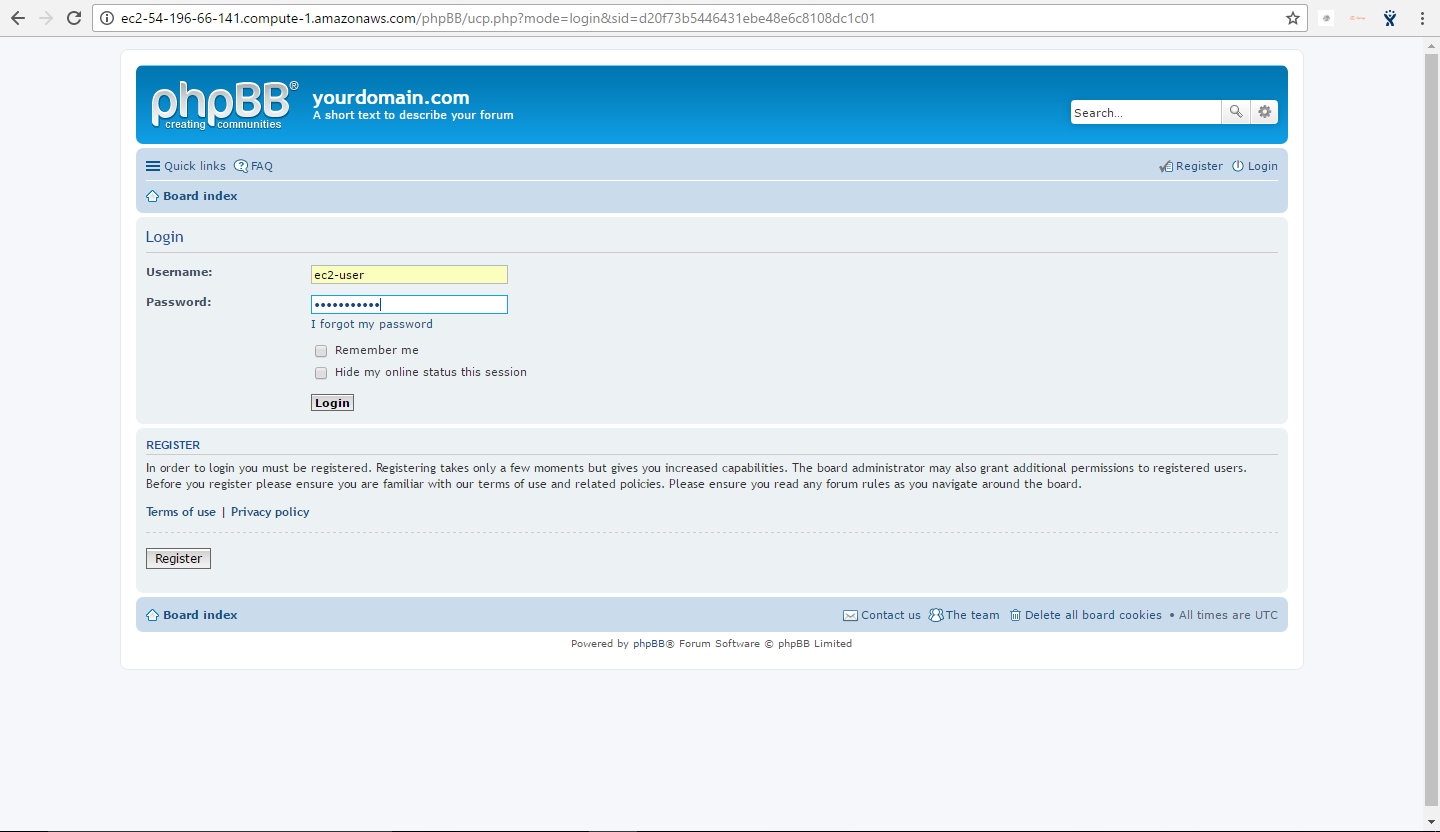
Step 3) Application URL: Access the application via a browser at http://PublicDNS/Phpbb:8080
- User Name: ec2-user
- Password: Passw@rd123
Step 4) Other Information:
1. Default installation path: will be in your web root folder “/var/www/html/Phpbb”.
2.Default ports:
- Linux Machines: SSH Port – 22 or 2222
- Http: 80 or 8080
- Https: 443
- Mysql ports: By default these are not open on Public Endpoints. Internally Mysql server: 3306
Configure custom inbound and outbound rules using this link
Installation Instructions For Windows
Note: How to find PublicDNS in AWS
Step 1) RDP Connection: To connect to the deployed instance, Please follow Instructions to Connect to Windows instance on AWS Cloud
Connect to the virtual machine using following RDP credentials:
- Hostname: PublicDNS / IP of machine
- Port : 3389
Username: To connect to the operating system, use RDP and the username is Administrator.
Password: Please Click here to know how to get password .
Step 2) Database Login Details:
Username : root || Password : Passw@rd123
Please change the password immediately after the first login.
Step 3) Application URL: Access the application via a browser at http://PublicDNS/Phpbb:8080
- User Name: ec2-user
- Password: Passw@rd123
Step 4) Other Information:
1. Default installation path: will be in your web root folder “C:\inetpub\wwwroot\Phpbb”.
2. Default ports:
- Windows Machines: RDP Port – 3389
- Http: 80
- Https: 443
- Mysql ports: By default these are not open on Public Endpoints. Internally Mysql server: 3306
Configure custom inbound and outbound rules using this link.
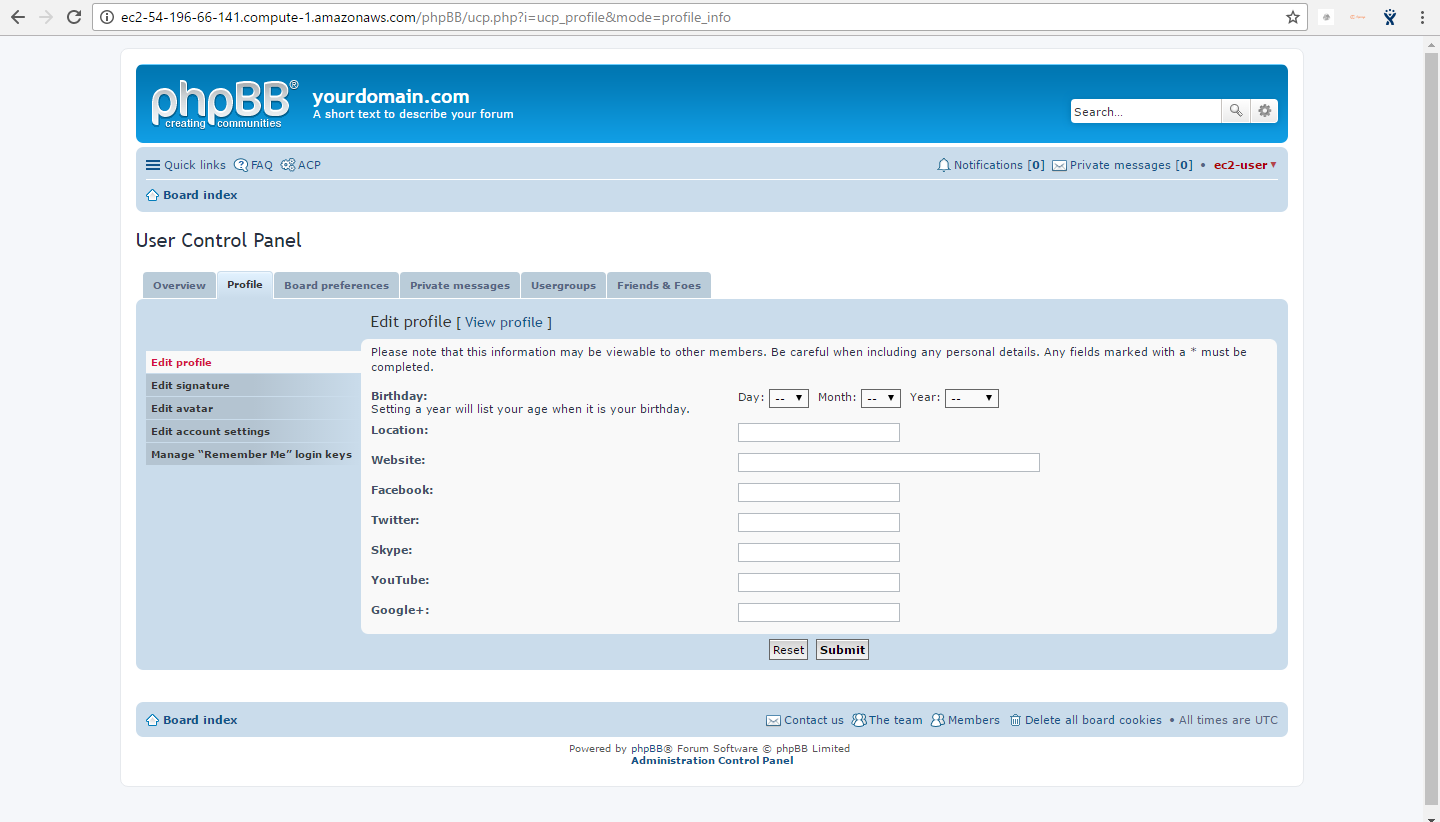
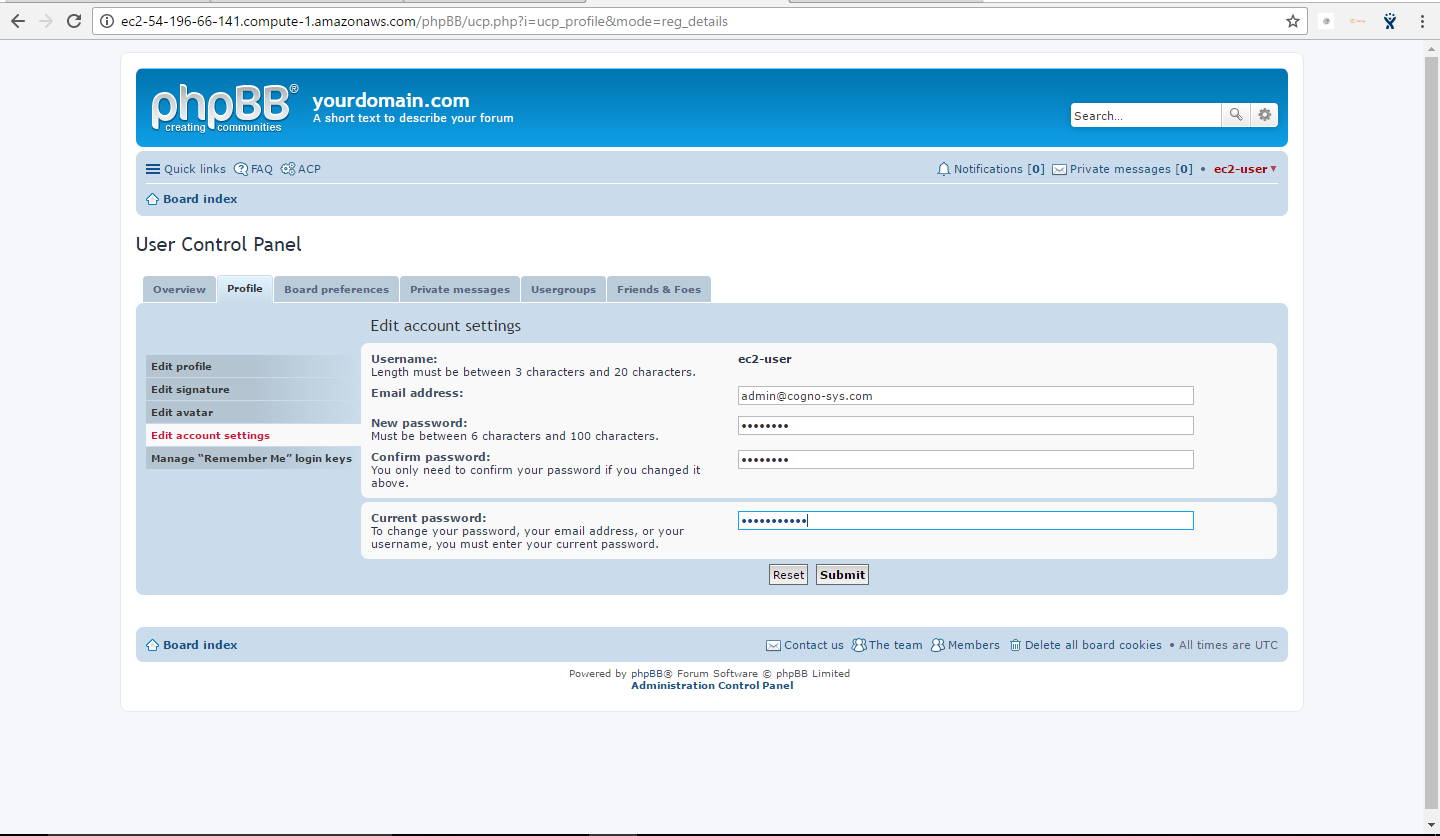
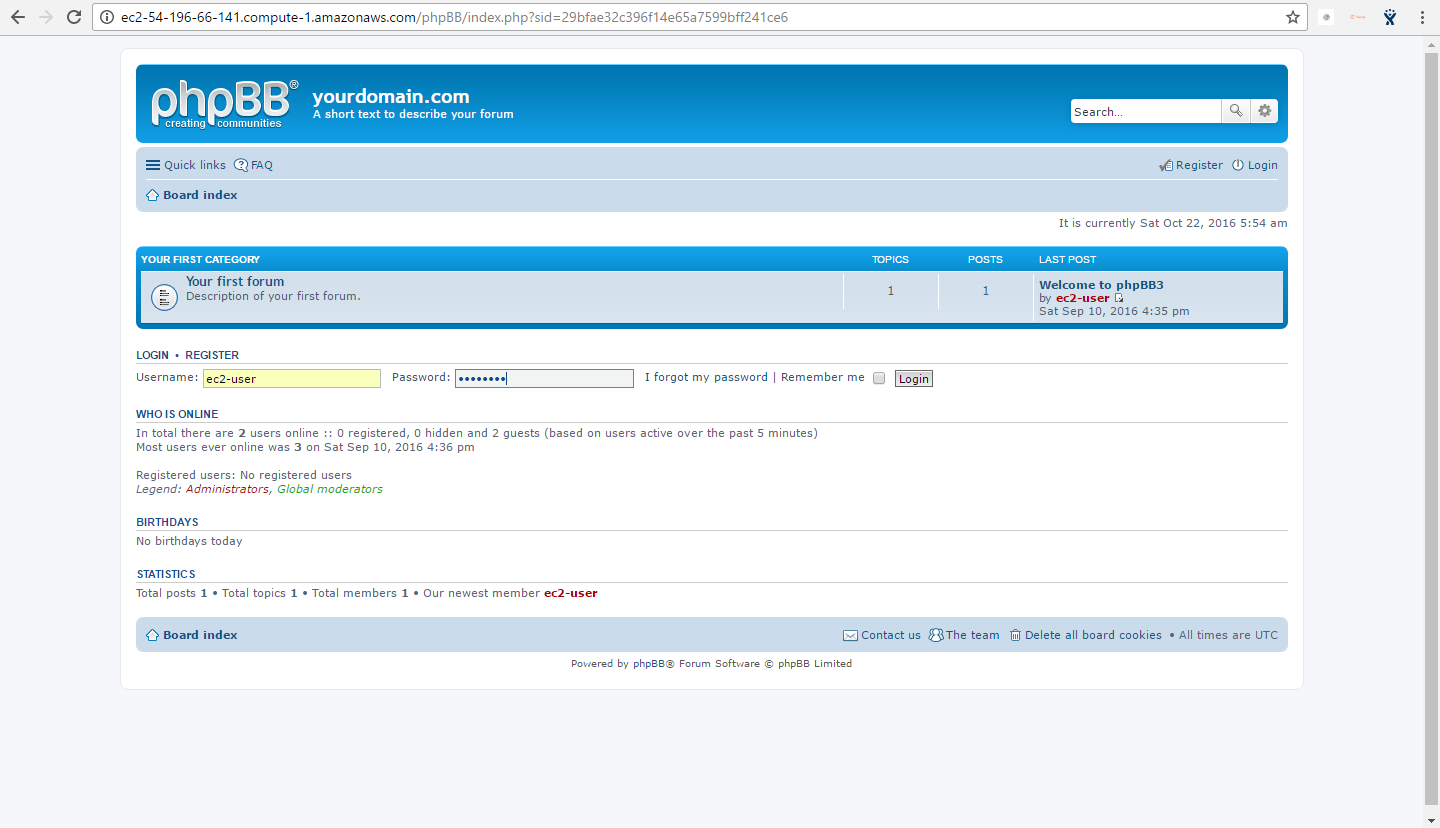
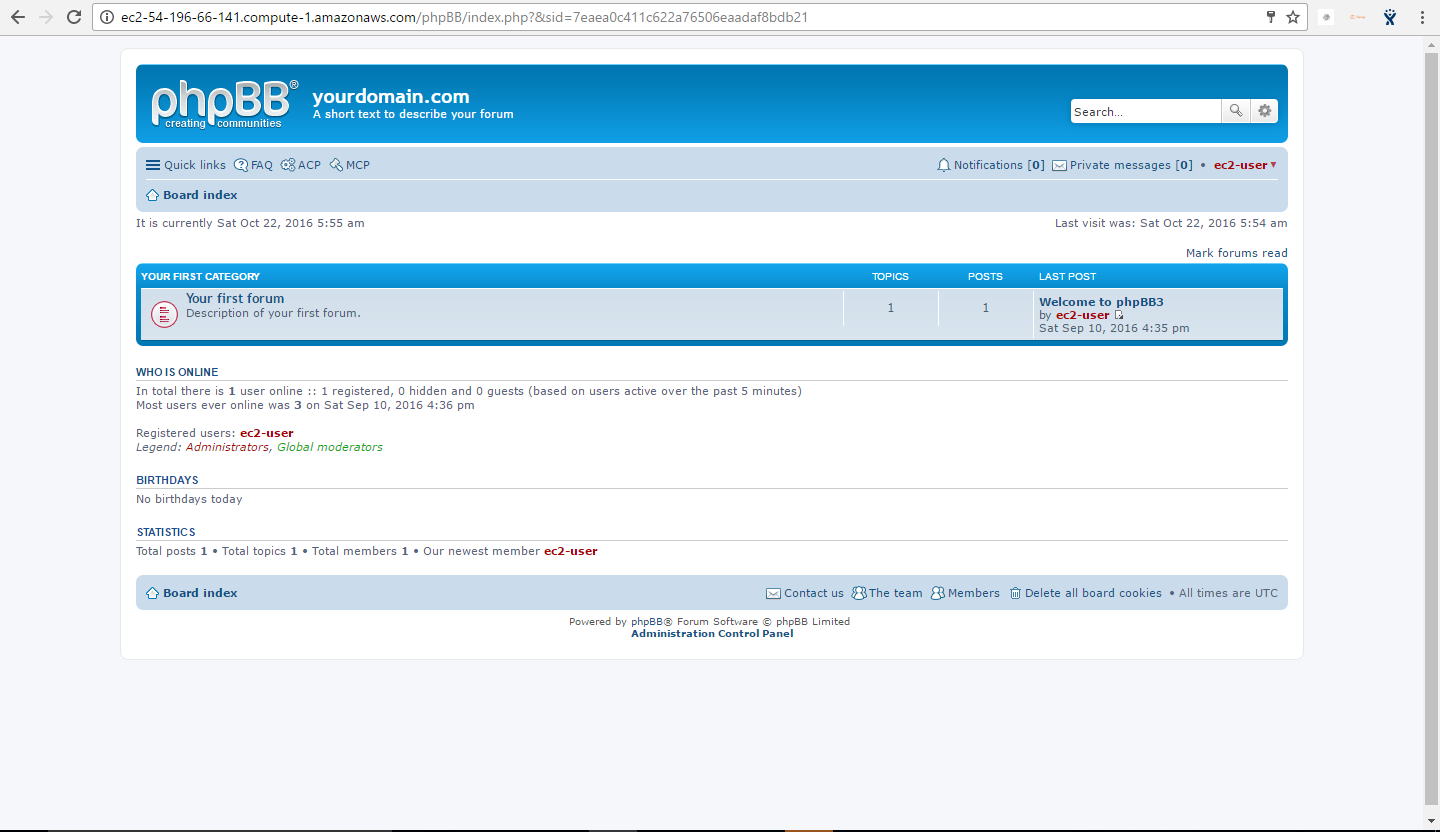
AWS Step by Step Screenshots


Azure
Installation Instructions For Ubuntu
Note : How to find PublicDNS in Azure
Step 1) SSH Connection: To connect to the deployed instance, Please follow Instructions to Connect to Ubuntu instance on Azure Cloud
1) Download Putty.
2) Connect to virtual machine using following SSH credentials:
- Hostname: PublicDNS / IP of machine
- Port : 22
Username: Your chosen username when you created the machine ( For example: Azureuser)
Password : Your Chosen Password when you created the machine ( How to reset the password if you do not remember)
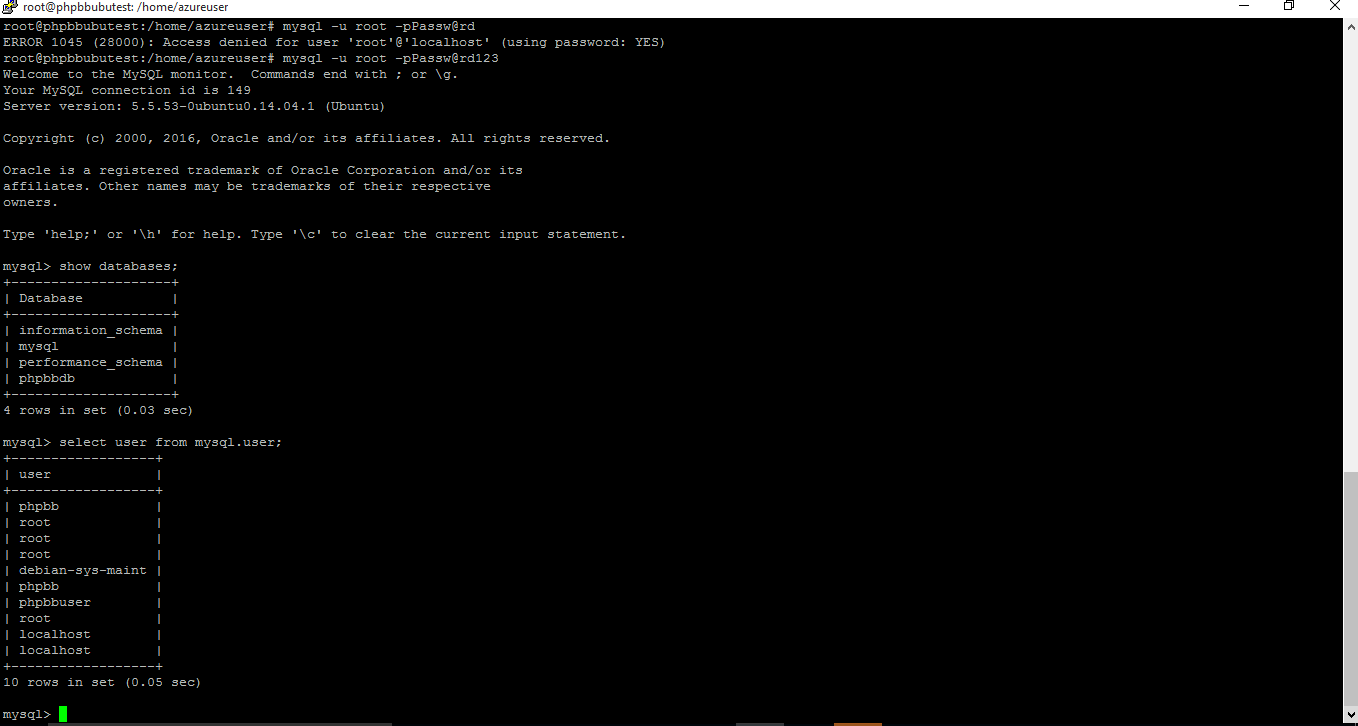
Step 2) Database Login Details:
Username : root || Password : Passw@rd123
Note: Please change the password immediately after the first login.
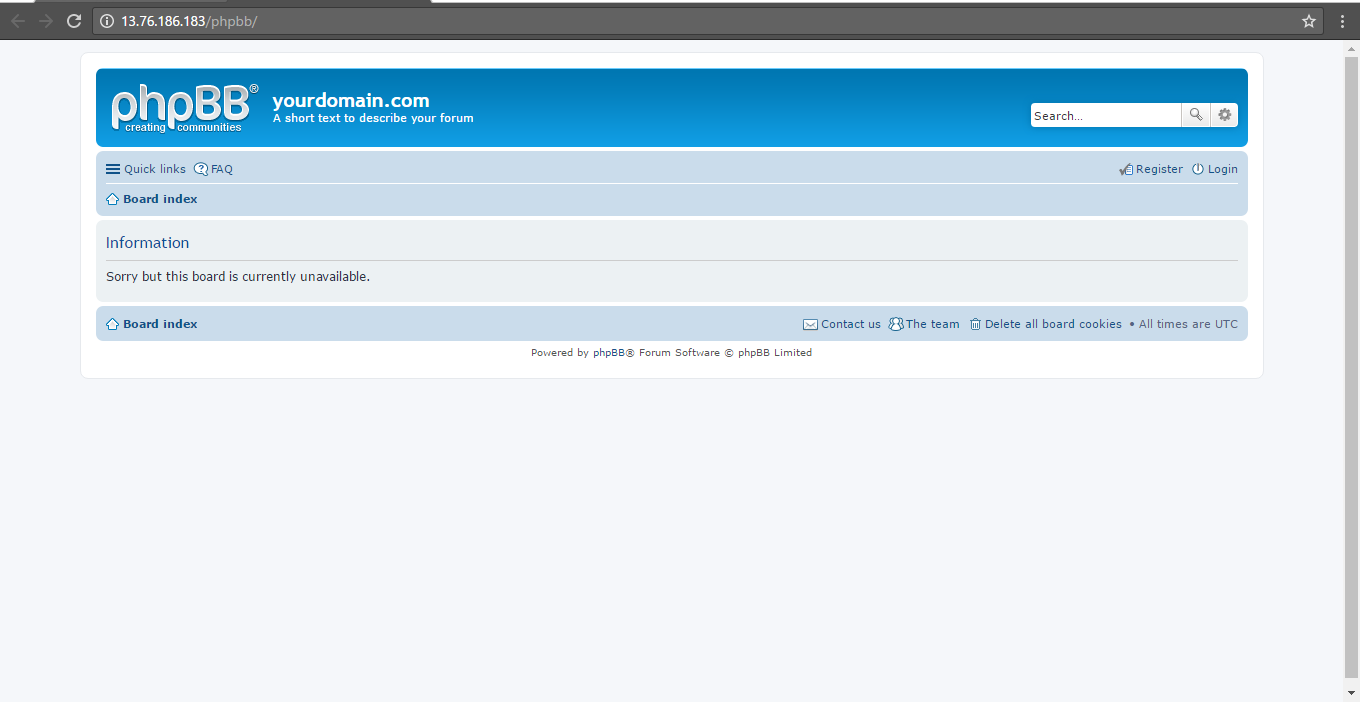
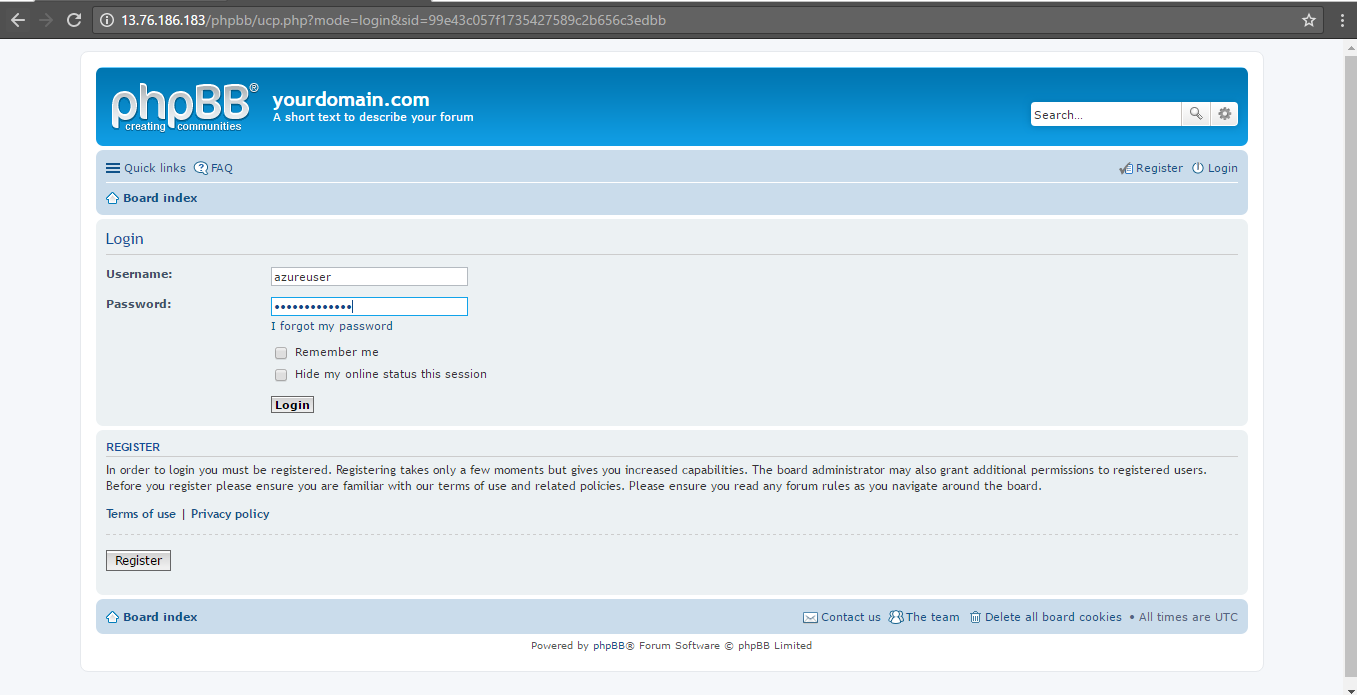
Step 3) Application URL: Access the application via a browser at http://PublicDNS/phpbb
- User Name: azureuser
- Password: Passw@rd123
Step 4) Other Information:
1. Default installation path: will be in your web root folder “/var/www/html/phpbb .
2. Default ports:
- Linux Machines: SSH Port – 22 or 2222
- Http: 80 or 8080
- Https: 443
- Mysql ports: By default these are not open on Public Endpoints. Internally Mysql server: 3306
Configure custom inbound and outbound rules using this link
3. To access Webmin interface for management please follow this link
Installation Instructions for Windows
Note: How to find PublicDNS in Azure
Step1 ) RDP Connection: To connect to the deployed instance, Please follow Instructions to Connect to Windows instance on Azure Cloud
Connect to virtual machine using following RDP credentials:
- Hostname: PublicDNS / IP of machine
- Port : 3389
Username: Your chosen username when you created the machine ( For example: Azureuser)
Password : Your Chosen Password when you created the machine ( How to reset the password if you do not remember)
Step 2) Database Login Details:
Username : root || Password : Passw@rd123
Please change the password immediately after the first login.
Step 3) Application URL: Access the application via a browser at http://PublicDNS/Phpbb:8080
- User Name: azureuser
- Password: Passw@rd123
Step 4) Other Information:
1.Default installation path: will be in your web root folder “C:\inetpub\wwwroot\Phpbb”
2.Default ports:
- Windows Machines: RDP Port – 3389
- Http: 80
- Https: 443
- Mysql ports: By default these are not open on Public Endpoints. Internally Mysql server: 3306
Configure custom inbound and outbound rules using this link
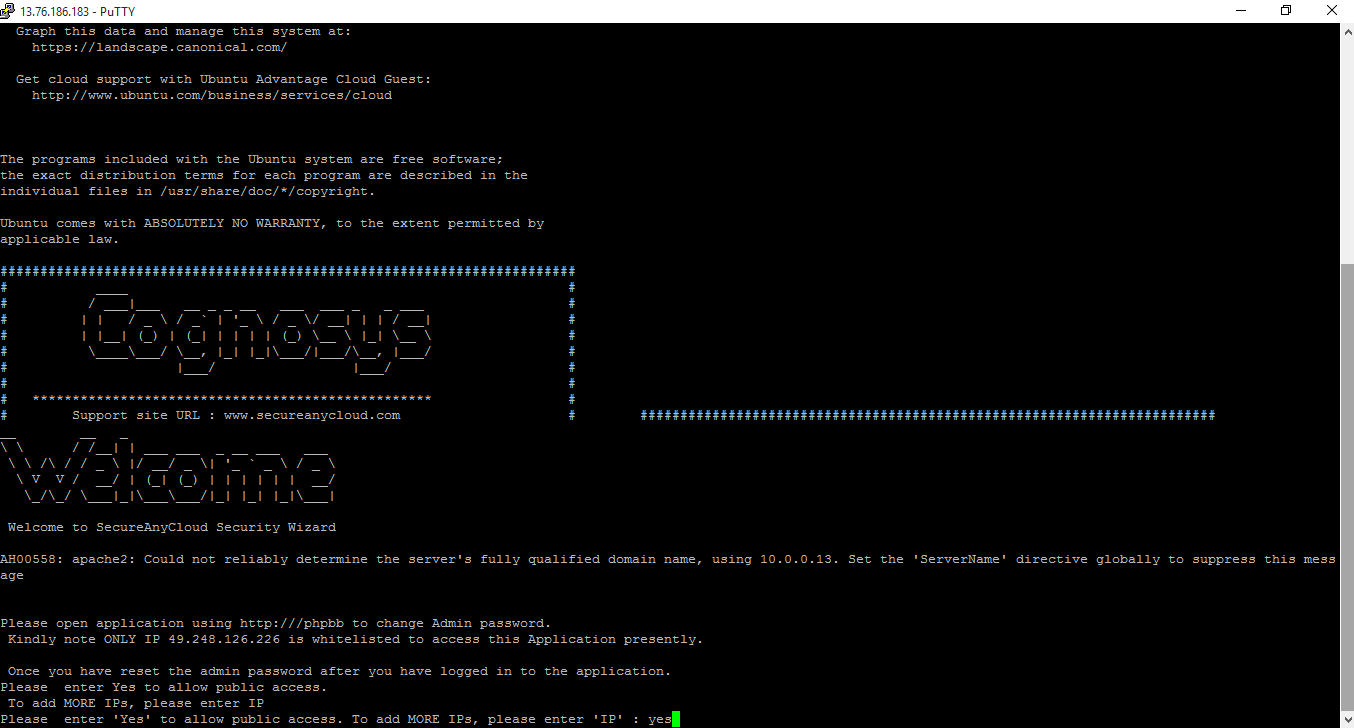
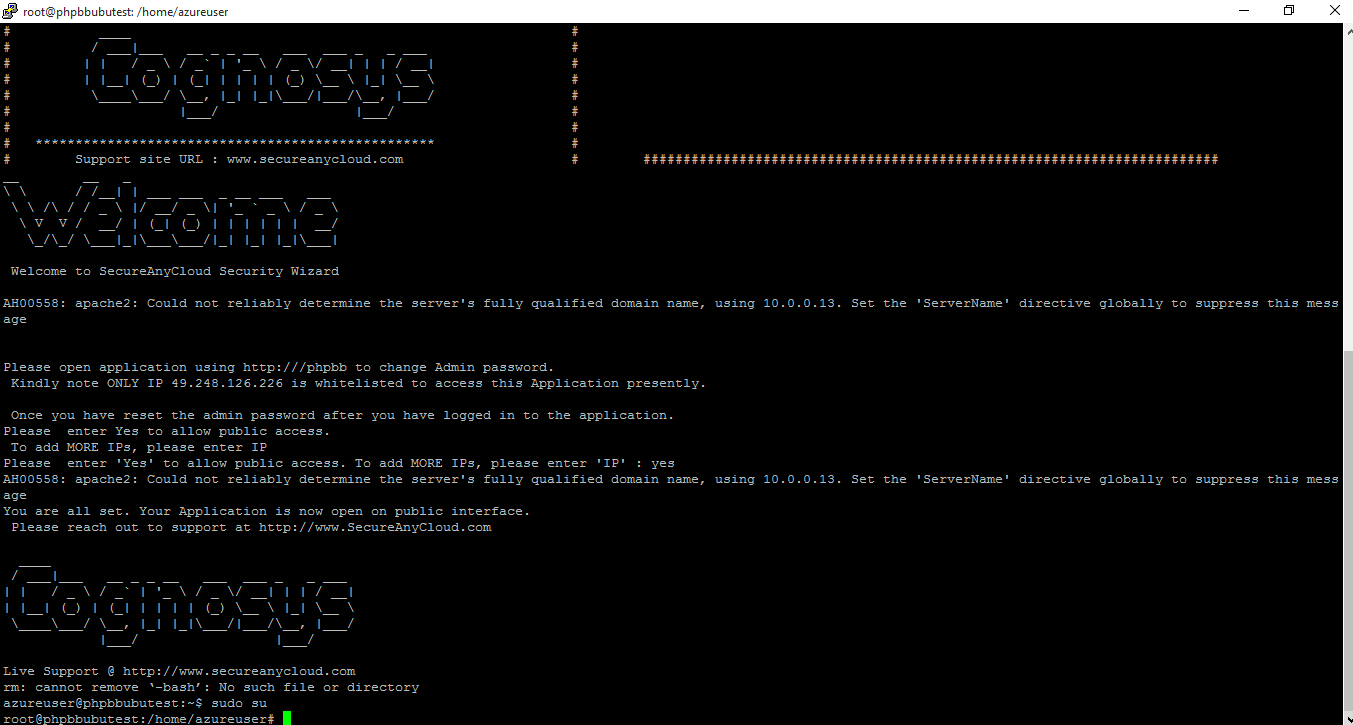
Azure Step by Step Screenshots for Ubuntu 14.04 LTS

Installation Instructions For Windows
Step 1) VM Creation:
1.Click the Launch on Compute Engine button to choose the hardware and network settings.
2.You can see at this page, an overview of Cognosys Image as well as some estimated costs of VM.
3.In the settings page, you can choose the number of CPUs and amount of RAM, the disk size and type etc.
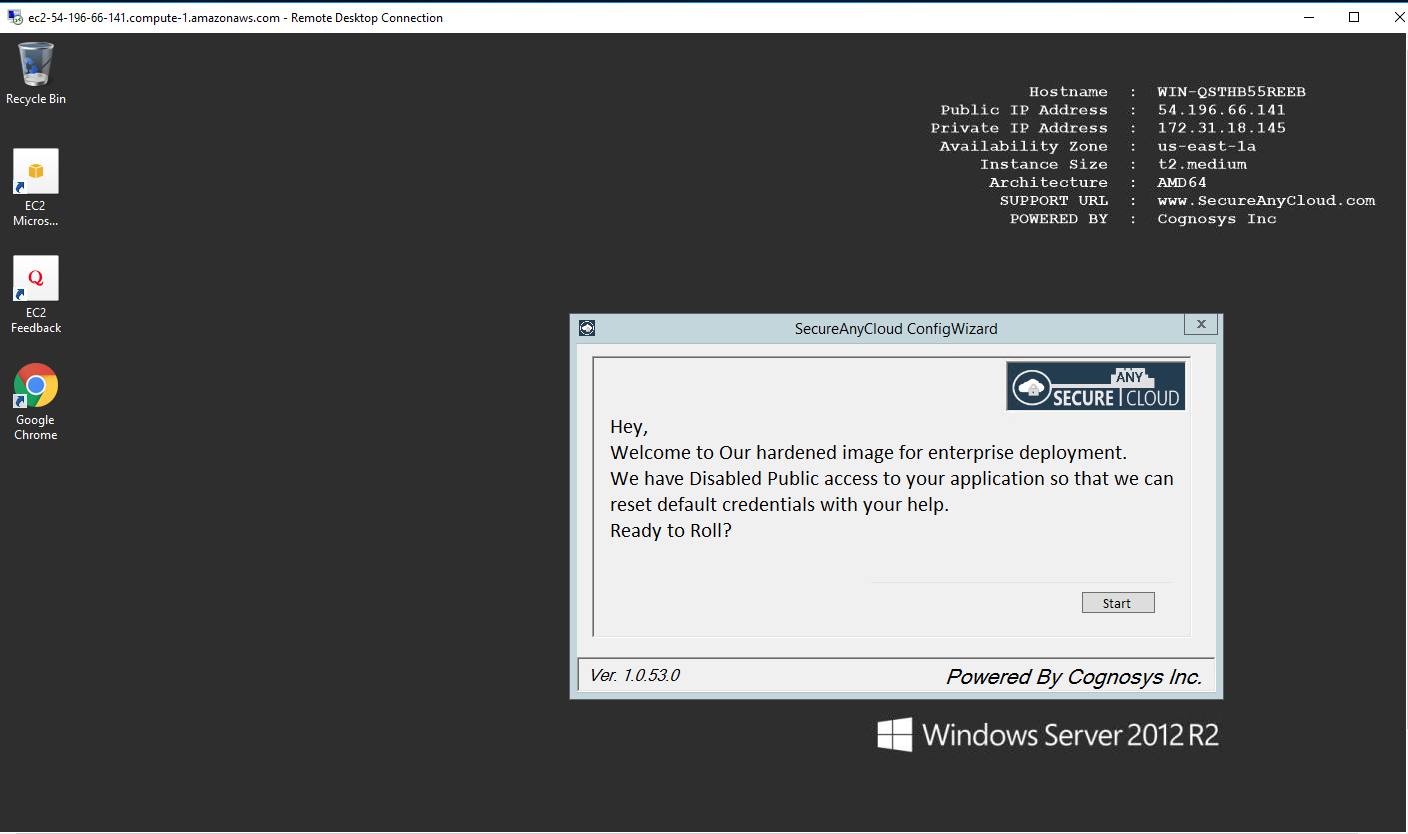
Step 2) RDP Connection: To initialize the DB Server connect to the deployed instance, Please follow Instructions to Connect to Windows instance on Google Cloud
Step 3) Database Login Details:
The below screen appears after successful deployment of the image.

For local MySQL root password, please use the temporary password generated automatically during image creation as shown above.
i) Please connect to Remote Desktop as given in step 2 to ensure stack is properly configured and DB is initialized.
ii) You can use MySQL server instance as localhost, username root and password as shown above.
If you have closed the deployment page you can also get the MySQL root password from VM Details “Custom metadata” Section
Step 4) Application URL: Access the application via a browser at http://PublicDNS/Phpbb:8080
Step 5) Other Information:
1. Default installation path: will be in your web root folder “C:\inetpub\wwwroot\Phpbb”.
2. Default ports:
- Windows Machines: RDP Port – 3389
- Http: 80
- Https: 443
- Mysql ports: By default these are not open on Public Endpoints. Internally Mysql server: 3306
Configure custom inbound and outbound rules using this link.
Step by Step Screenshots
Videos
phpBB on Windows 2012 R2
Embedded media removed during static cleanup.
How to use PhpBB
Embedded media removed during static cleanup.
PHP Basics: Installing phpBB
Embedded media removed during static cleanup.
How we build phpBB: The Next Generation
Embedded media removed during static cleanup.
