1-click AWS Deployment 1-click Azure Deployment
Overview
osCmax is a powerful e-commerce/shopping cart web application. osCmax has all the features needed to run a successful internet store and can be customized to whatever configuration you need.
Payment Modules Included:
- Authorize.Net Consolidated Credit Card v1.7
- osCommerce core Paypal IPN v1.1
- Linkpoint
- Cash on Delivery
- Standard osC Credit Card
- EFS Net
- GeoTrust QuickPayments
- iPayment
- Check/Money order
- NOCHEX
- PayBox Credit Card
- 2CheckOut
- PSIGate
- SECPay
Shipping Modules Included:
- FedX Direct Real Time Quotes v2.04
- UPS XML v1.1.5
- USPS Methods v2.7d + insurance
- Flat Rate
- Per Item Shipping
- Table Rate
- Zone Rates
osCMax Installation Manual :
Installation is no different than installing stock osCommerce MS2. It is a simple matter up uploading, unzipping, or un-taring the osCommerce archive on your server, moving the files where you want them, and running the installation script.
The installation script is a fairly easy process, but there is a lot of user input that is needed. You will need to know the following information:
- Server root path
- Document root
- MySql Database name, username and password
Now that you have the above information handy, you can install osCMax using whatever below method you like:
Installing via FTP:
Upload the /catalog and sub-directories to your server. The files and directory structure must be uploaded to your web server. This can accomplished in several different ways. Use whatever method is most familiar to you, i.e., unzipping the zip archive to your local computer and using your favorite FTP program to upload those files, or using SSH to tar/unzip on your server to avoid the tedium of downloading and re-uploading.
The files can be uploaded to the document root, or any other subdirectory, like /catalog.
Note: If you are using FTP to upload files, you must upload all PHP files in ASCII mode, not binary. In our examples, we upload the files to the /catalog subdirectory. If you have never looked at the oscommerce archive before, the basic directory structure looks like this:
osCommerce2.2MS1.zip
…../catalog
……../admin
First, upload the /catalog directory and all the directories and files it contains to your document root (public_html or www). When you are finished uploading, your basic directory tree should look like this:
/public_html
…../catalog
……./admin
………./images
………./includes
……./download
……./images
……./includes
……./install
Upgrading osCmax
These instructions are to upgrade to v2.5.0 or later.
If you are upgrading from:
v2.5-RC2, v2.5-RC1, v2.5-Beta3
- First, make a backup of both your database and current osCmax files. Should there be any problems, you will be thankful that you took this precaution to roll back your changes.
- Download either the upgrade only package (if you are running 2.5-RC2) or the full package (running any other version) from osCmax.com and extract the zip file to your computer. Note that there may only be one main download package and not a changes only package. In that case, just download the main package.
- Upload the new files to your osCmax site. If you have customized any files in your live site excluding your custom template, make sure you do a file-by-file comparison of changes so that your customizations are retained. If you have renamed your admin directory, make sure you rename the admin directory before you upload it to match your live site admin directory name, so that the new files are uploaded to the correct place on the server.
- Go to your admin panel and login. In the “Adminstrator” menu, click “Upgrade System.” If you don’t see this option, read Troubleshooting step 3 at the bottom of this page. You will see information regarding your current version and an Upgrade button.
- Click the upgrade button. If no errors are printed to the screen, your first upgrade step was completed successfully.
- Click your Browser’s refresh button to reload the upgrade page (DO NOT CLICK THE UPGRADE BUTTON AGAIN!). The upgrade information will change when you refresh the page.
- If it is indicated that no further upgrades are needed, you have finished the upgrade process.
- If it is indicated that you need to run the upgrade script again, click the Upgrade button again. If no errors are printed out to the screen, the database upgrade step was successful.
- Click your Browser’s refresh button to reload the upgrade page (DO NOT CLICK THE UPGRADE BUTTON AGAIN!). The upgrade information will change when you refresh the page. The screen should now display that you are fully upgraded. You have completed the upgrade process.
v2.0.25
Preparation: before performing an upgrade, you should first test your 2.0.25 template in a test install of v2.5.0 as it can have some display problems in v2.5.0. The best way to test is to install a test copy of osCmax v2.5.0 on your server and then copy your 2.0.25 template into a templates/ directory called ‘custom’
Now you can switch the test store to use the ‘custom’ template and check for problems. This guide does not cover how to resolve issues, as they are far to specific to each user’s template. We suggest you visit the forums for help with template issues. We also recommend that you wait until you have resolved your template problems before performing the upgrade below.
Now that you have your template ready for v2.5.0, follow these steps to upgrade:
- First, make a backup of both your database and current osCmax files. Should there be any problems, you will be thankful that you took this precaution to roll back your changes.
- Download the upgrade script and the new v2.5.0 package (two separate downloads!).
- Login to your admin panel and put your site in maintenance mode – first checking “exclude this IP-Address” setting. If “exclude this IP-Address” is not set correctly then you can’t run the upgrade (or any other) module.
- In your admin modules section, note the modules you have installed (payment and shipping) and copy their settings to a text file for later use.
- After copying the module information, disable and uninstall each payment and shipping module.
- Next, if you used the default fallback template as your site template and just modified it without creating a new template, you must do that now. Create a new directory in your template directory, name it something other than fallback and copy your modified fallback template into that directory.
- Now unzip the upgrade script package. There are 2 files in it, upload both to your catalog root directory.
- Next, go to http://yoursite.com/catalog/upgrade.php in a web browser. I simple page will load with some information on it. If it says to click the upgrade button to upgrade to v2.5.0, you are ready to upgrade your database. If you want to see the queries that execute on click the checkbox. Then click the upgrade button.
- If you see no error messages after it finishes upgrading, click the browser’s refresh button or hit the Upgrade button a second time. If all went well, you will see a message that tells you your database version is 2.5.0 and you have nothing further to do. If so, you can delete the two files you uploaded (upgrade.php and 2.0.25_To_2.5.0.sql) from your server now.
- Next, upload all the new osCmax files to your site, overwriting the existing files. When finished with the upload, visit your admin panel. It will now show v2.5.0 on the admin login screen. Login, and take a look around. You are now running v2.5.0!
- Re-enable your Payment and Shipping modules, using the information you copied earlier.
- Check your settings in Admin_Configuration_My Store (Zone) as well as Admin_Locations/Taxes: Tax Zones, Tax Classes, and Tax Rates (as per http://wiki.oscdox.com/v2.5/getting_started - steps 6 through 9) – these may well change during the upgrade process. When live, check that Taxes are charged correctly if required.
- Check your store’s front end. Your site is still in maintenance mode, so first go to Administrator » Site Maintenance and in the Down For Maintenance (exclude this IP-Address) field, add your IP address so you can see your site even though it is down for maintenance. Now visit your catalog front page. It should show your custom template. There may be some problems with it if you have not pre-modified it to work with the new 2.5.0 feature set. See the above Preparation section.
- If all looks good, take your site out of maintenance mode and you are now live on v2.5.0.
- Be sure to thoroughly configure your site now. There are hundreds of new configuration options, so you may have a little work to do. Most of the new features are disabled by default and all of your previous settings have been preserved.
Installing osCmax v2.5
Installation is only slightly different than installing stock osCommerce MS2. It is a simple matter of up uploading, unzipping, or un-taring the osCmax archive on your server, moving the files where you want them, and running the installation script. (See the possible additional steps mentioned below).
The installation script is a fairly easy process, but there is a lot of user input that is needed. You will need to know the following information:
- Server root path
- Document root
- MySql Database name, username and password
Now that you have the above information handy, you can install osCmax using whatever below method you like:
Linux/Unix
- Installing via FTP
- Installing via SSH
- Installing via cPanel - Alternative method
- Linux Local installation
Windows/Apache
- Local installation
What do you need
In order to install osCMax on to a local machine (ie. the one you are using now!) you will need some additional software. Luckily there is lot of free software to do this.
- Windows
- Apache
- MySQL
- PHP
Or more succinctly WAMP.
There are numerous software packages out there but for this example I will be using WAMP Server. (If you are on Linux then use LAMP, or MAMP for a Mac.)
For links to download this and other packages such as MAMP, LAMP, XAMPP and EasyPHP please go to our server_software page.
Install the additional software
-
Download WAMP Server 2
-
Install this on your PC
-
Goto your Start button and run WAMP Server 2
-
You should see in the tray on the bottom right hand corner of your screen these icons one after the other.
-
Congratulations you are now running a server on your local machine! See – that wasn’t so hard was it?
Unzipping the files for installation
-
Extract the osCMax Zip file into the www directory in the wamp directory – this is normally here (C:\wamp\www) but it wil depend on your install.
-
Open your browser of choice – (I would recommend using Firefox)
-
Make sure that XAMP is running (You should see the icon in the system tray)
-
Type localhost/catalog/install/index.php into the URL bar
-
You should now see this screen
Create a database in WAMP Server
-
Left Click on the WAMP icon in the system tray in the bottom right hand corner of your screen
-
Click on myPhpAdmin
-
A new browser window will open
-
Under the heading MySQL localhost enter a name for your database
-
Click Create
Installing osCMax
-
Screen 1 :: Step 1 ::Enter the following information and then click Continue
-
Database Server :: Enter localhost
-
Username :: Enter root
-
Password :: Leave this blank (Tip: If you are using a Mac and running MAMP enter root)
-
-
You should see the yellow box (bottom left) change to say “The database structure is now being imported. Please be patient during this procedure.”
-
Screen 2
-
You should now see the yellow box change to say “Database imported successfully”
-
-
Screen 3 :: Step 2 :: The information should be pre-populated for you.
-
Click Continue
Screen 4 :: Step 3 :: Enter the information you want for the admin section-
Store Name :: Your store name
-
Store Owner First Name :: Your first name
-
Store Owner Last Name :: Your last name
-
Store Owner’s Email Address :: Your store email address
-
Administrator Username :: Your login username
-
-
Screen 5 :: Step 4 :: FINISHED!
-osCmax is a powerful e-commerce/shopping cart web application. osCmax has all the features needed to run a successful internet store and can be customized to whatever configuration you need.
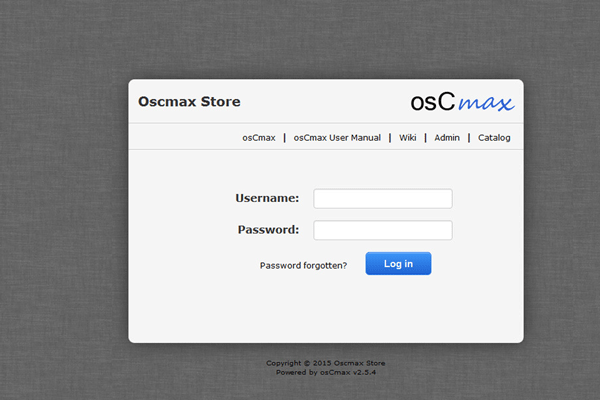
LogIn
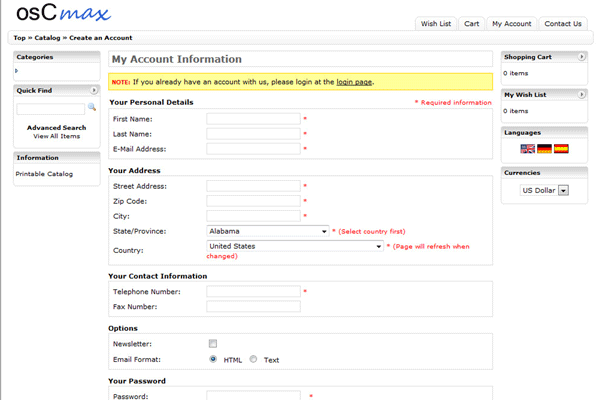
My Accounts Information
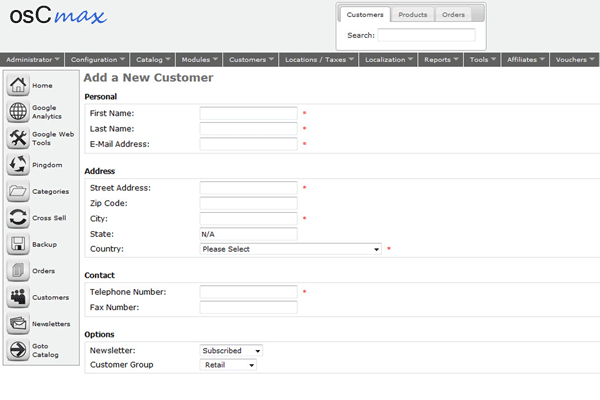
Add A New Customer
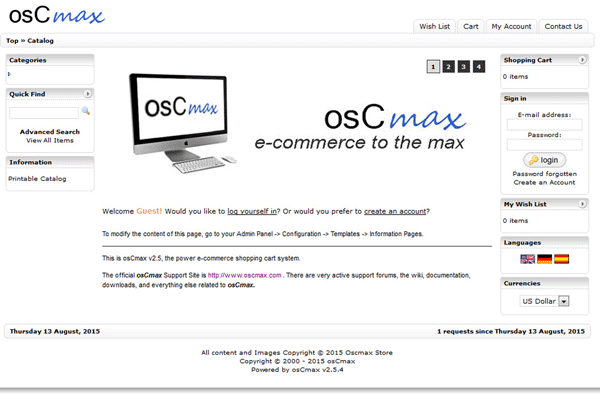
Catalog
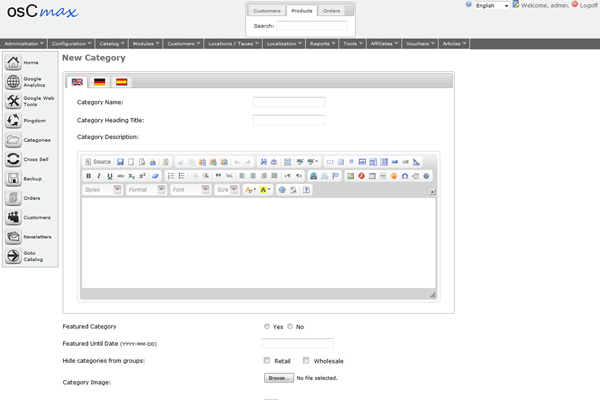
New Category
osCmax is released under the GNU General Public License.
Features
Key Features:
- Unlimited Products and Categories
- Gift Vouchers/Coupons
- Download/Virtual Product support
- Secure/Stable code base
- Web Based Admin Panel
- Supports PayPal, AuthorizeNet, Real time credit card processing
- Supports UPS, USPS and Fedex shipping
- Full inventory control and tracking
- Spreadsheet/Excel based data entry for advanced users.
- Separate customer groups (Retail, Wholesale, or add your own groups)
- 100% FREE!
Additional Features :
osCmax has the following contributions/features already installed and ready to use:
- Basic Template Structure 1.5f
- Credit/Gift Voucher/Coupons 5.13 + all patches
- Admin With Access Levels 2.1
- Download Controller v5.3
- New Attribute Manager v4b
- Printable Catalog v3.0
- Down For Maintenance 1.1b + bugfixes
- Shipping Per Product
- Separate Pricing Per Customer v4.1.1
- Category Box Enhancement
- Specials On Main Page by Default
- Column Product Listing + admin toggle and controls
- Dynamic Meta Tag Generator
- X-Sell 1.2 + SPPC mod
- Edit Orders 1.59
- Categories Descriptions
- Easy Populate 2.76b
- OSC-Affiliate 2.02
- Define Mainpage Max + admin controls
- Define Static Content Pages + admin controls(Conditions, Privacy, Shipping)
- WYSIWYG FCKeditor 2.0fc osCMax (supports IE, Firefox, Mozilla, Netscape)
- Category Box Bullet Graphics
- Dynamic Mo Pics 3.0
- All Products Page 2.3
- Coolmenu/DHTML menu
- Admin Categories Search by model number v1.0
- Article Manager 1.2b
- Purchase Without Account .82 + fixes
- Country/State dropdown 1.10 (all customer info pages)
- Recover Cart Sales 1.4f
- Wishlist v2.4b
- Customer Loyalty Discount v1.3
- Batch Print Center v3
- Sales/Tax Reportig v2.1.1
- Quantity Tracking Pro v4.2
- Infobox Admin v2.2.1
- Step By Step Manual Order entry v1.4
- Page Performance Parse time v1.6
- MS3 Tax Class
- Site Map 2.2
- LoginBox 5.5
- MS2 Cache Class v1.1
- Page Cache v1.5
- Ultimate SEO Urls v2.0
- Friendly Admin Panel v2
Major Features Of osCmax:
- Unlimited Products and Categories.
- Gift Vouchers/Coupons.
- Download/Virtual Product support.
- Secure/Stable code base.
- Web Based Admin Panel.
- Supports PayPal, Authorize Net, Real time credit card processing.
- Supports UPS, USPS and FedEx shipping.
- Full inventory control and tracking.
- Spreadsheet/Excel based data entry for advanced users.
- Separate customer groups (Retail, Wholesale, or add your own groups).
- 100% FREE!.
Videos
osCmax tutorial – Creating a template – content background colour


