

Overview
Openfire is a renowned chat software also it is a chat server as well. It is licensed under the Apache open source license. The application uses extensively progressive protocol XMPP for prompt and effectual messaging. The Openfire chat server is written in Java language. It is very easy to install and set up, also it provides better security compare to others available on the internet market. Openfire is a real time collaboration server. It uses XMPP protocol for instant messaging.
Openfire Scalability
Openfire is a real-time collaboration (RTC) server dual-licensed under the Open Source GPL and commercially. It uses the only widely adopted open protocol for instant messaging, XMPP (also called Jabber). Openfire is easy to set up and administer, but offers rock-solid security and performance.The Openfire team recently increased the server’s scalability by reworking the server’s networking layer as well as by optimizing existing code. The details given here reflect tests on a modestdeployment; for example, connection managers were not used. Tests on a framework that’s closer to real-world usage promise to show even more dramatic improvements.
In early tests, Openfire developers have demonstrated a server scalability improvement from an approximate 6,000-user maximum in version 3.1.1 to more than 50,000 concurrent users in version 3.2. They achieved these improvements through enhancements in which they:
Replaced the networking layer with Apache MINA, an open source networking framework that provided support
for asynchronous I/O and a foundation for better scaling. Through MINA, Openfire server and connection
managers make more efficient use of threads.
Optimized code to reduce use of performance-expensive APIs and remove unnecessary processing (such as
superfluous user validation and XML parsing).
Implemented a cache to reduce database queries. Administrators can view cache usage data from the Openfire
admin console.
For business cases that involve extremely high I/O use (such as many group chats, file transfers, and so on), you will want to use one or more connection managers. For other cases, simply using Openfire should meet the need.
Configuration
Openfire server was deployed to a machine running Sun 280R Server with two 1.2GHz UltraSPARC-III CPUs, 4GB RAM,fiberchannel disks, and FastEthernet (100Mbit/s). A MySQL database was used for stored data. An Openfire plugingenerated users, populated 40 rosters with 40 contacts in each, and created vCards. Connection managers were notused; requests were sent directly from simulated users to Openfire server. Memory assigned to the Java virtual machinewas 2GB; the server consumed 1GB.
IM tests were run using Tsung, software that simulates users. Tsung was run on a configuration that included two
master machines with three slave machines each. The master machines instructed the slave machines to submit client requests to the Openfire server machine. These requests included logging in 500 – 800 virtual users per second. The data requests included authenticating, getting the roster, sending chat messages, and getting user vCards.
Two sets of load tests were used: one to log in a large number of users with low levels of activity, and another to
generate a fixed load of 1,500 users who are extremely active and performing resource intensive actions. When one test was failing to add more users to the system, a second test was launched from two different locations to generateadditional load of 3,000 extremely active users. Openfire was easily able to handle the additional load created by these users’ activities.
Installation workflow
Step 1 – Prerequisites
Before installing Openfire make sure you have java installed on your system. You also need to install Mysql server on the system. If you don’t MySQL installed, use the following to install it.
$ sudo apt install mysql-server   # Debian systems
$ sudo rpm install mysql-server   # RPM based systems
$ sudo dnf install mysql-server   # Fedora 22+ systems
Step 2 – Download and Install Openfire
Use following command to download openfire or download the latest Openfire version from its official website.
RPM Based Systems:
$ wget http://download.igniterealtime.org/openfire/openfire-4.1.4-1.x86_64.rpm
$ sudo rpm -ivh openfire-3.8.2-1.i386.rpm
Debian Systems:
$ wget http://download.igniterealtime.org/openfire/openfire_4.1.4_all.deb
$ sudo dpkg -i openfire_4.1.4_all.deb
Start Openfire Service
# service openfire start
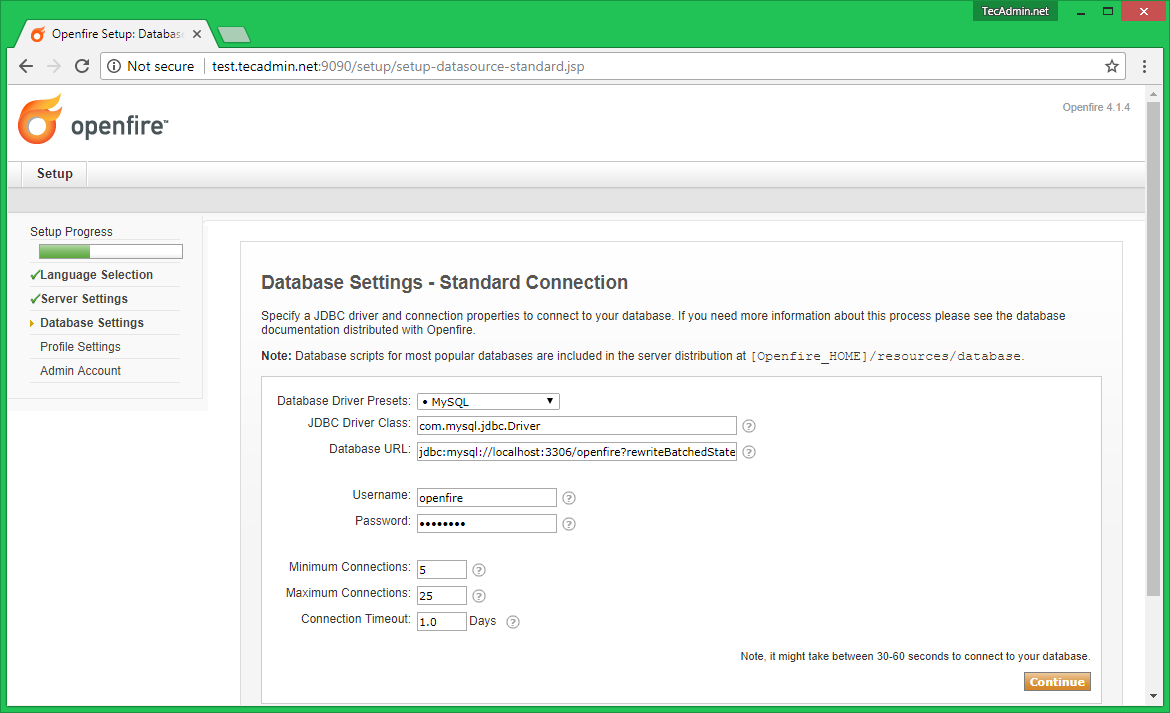
Step 3 – Create MySQL Database and User
Openfire provides an embedded database HSQLDB, If you want to go with that, you don’t to create MySQL account and database here. But if want to use MySQL, use the following commands to create MySQL database and user.
$ mysql -u root -p

mysql> CREATE DATABASE openfire;
mysql> GRANT ALL on openfire.* to 'openfire'@'localhost' IDENTIFIED BY 'pa$$w0rd';
mysql> FLUSH PRIVILEGES;
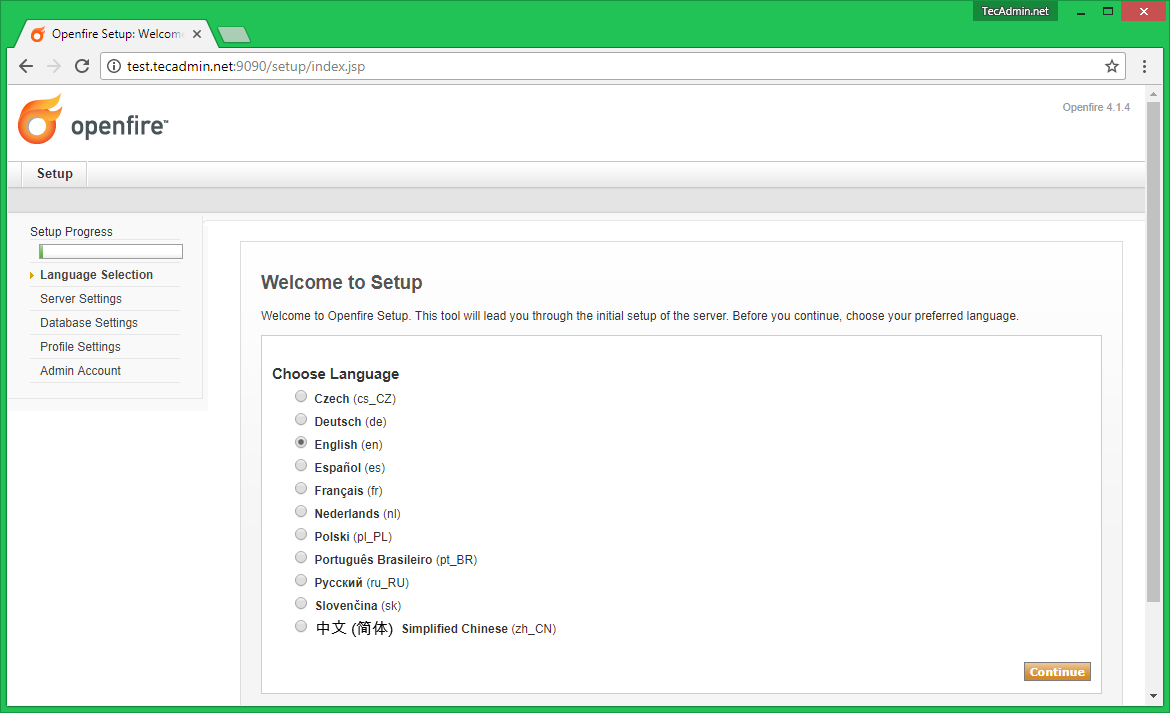
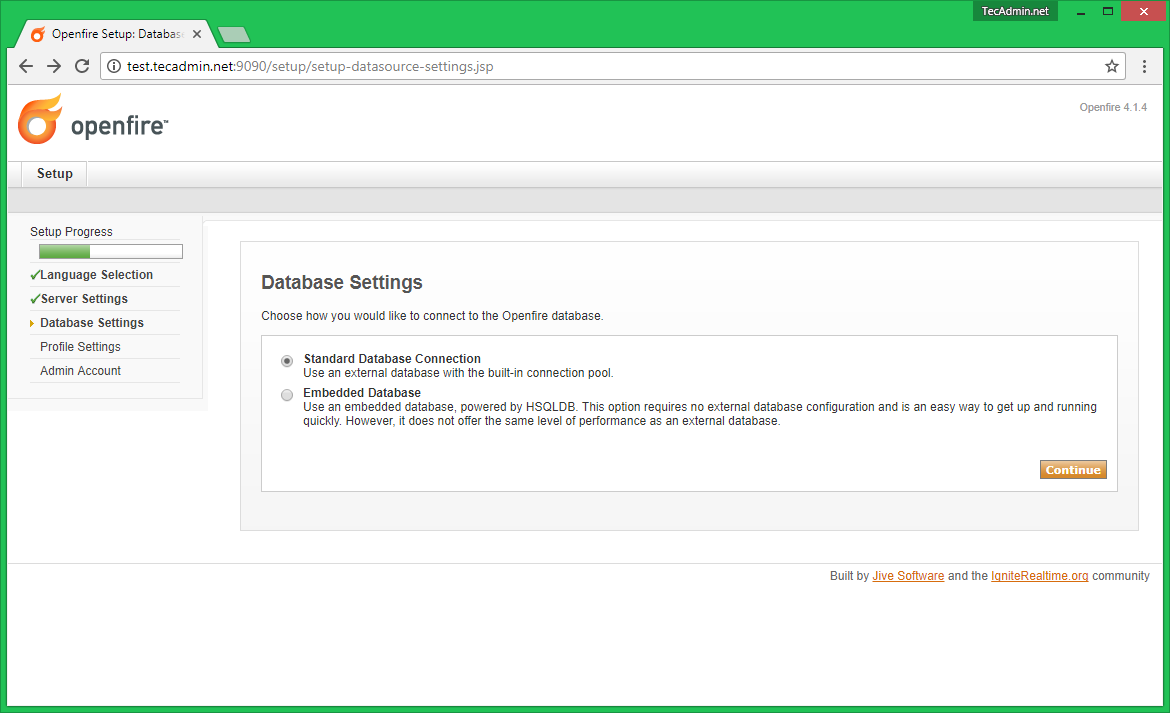
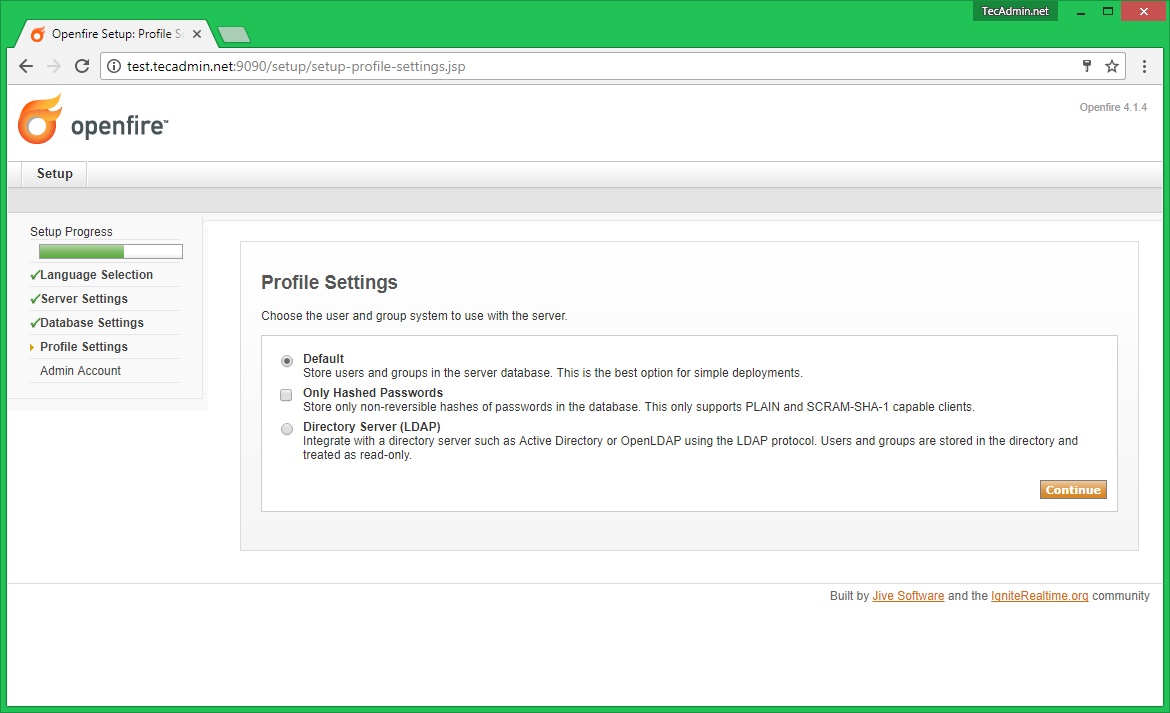
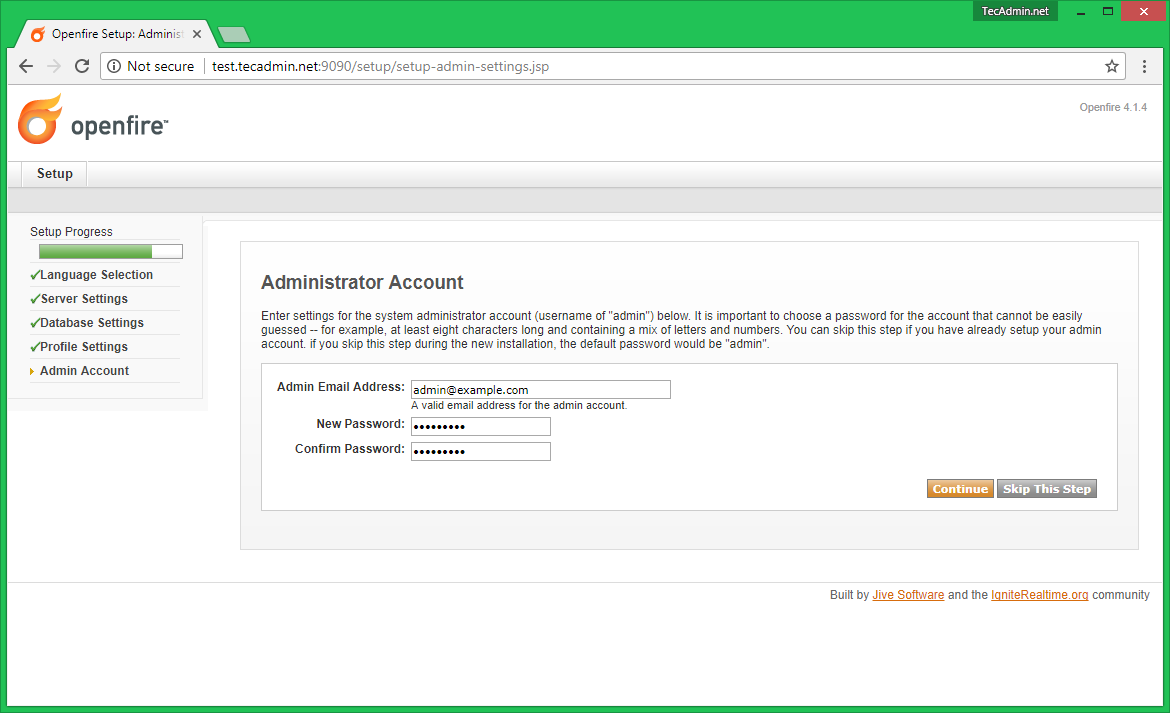
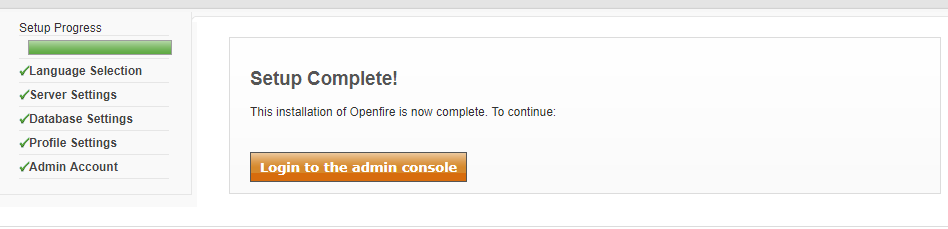
Step 4 – Configure Openfire
Openfire by default works on port 9090, Connect your server on port 9090 using the browser. It will open a configuration wizard, Follow the wizard and complete configuration. During wizard using above created MySQL credentials.
http://test.tecadmin.net:9090/

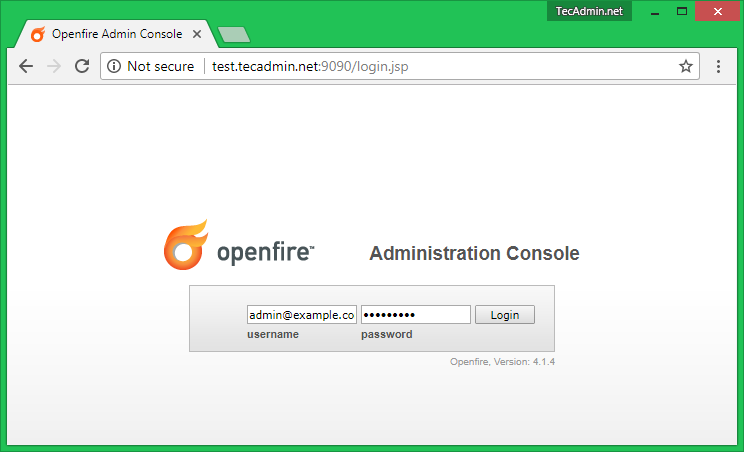
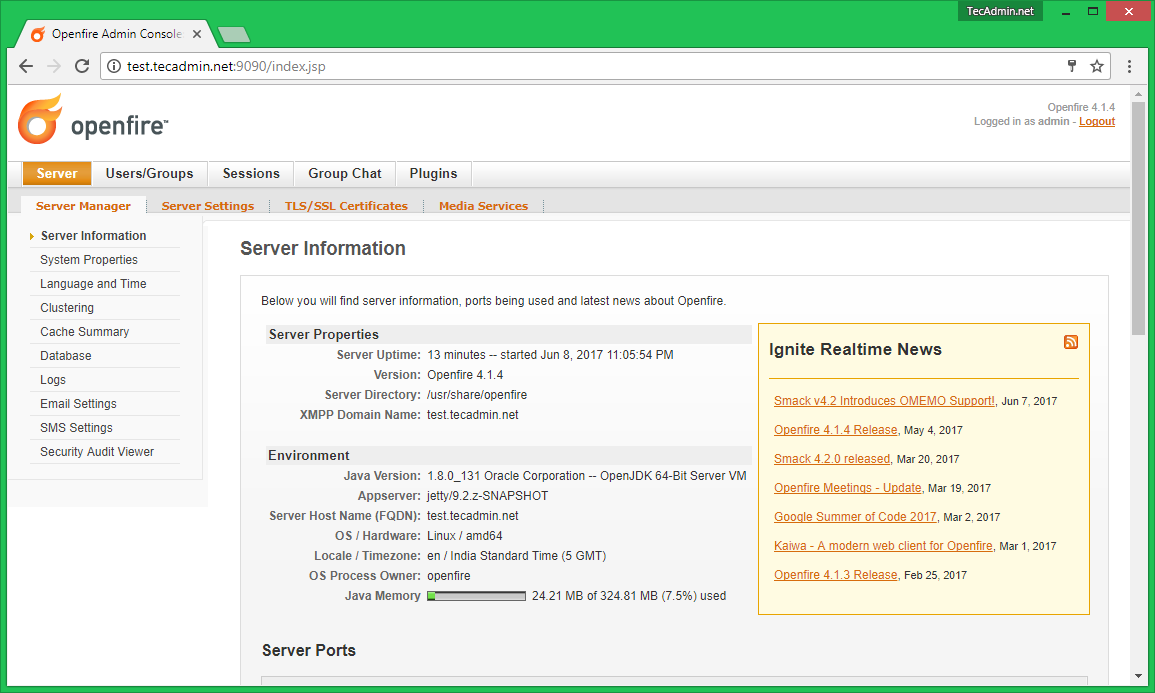
Step 5 – Create User in Openfire
Login to Openfire admin dashboard using the admin account. Now go under Users/Groups sections then select Users section. Now click on Create New User link and enter the required details and create the user. Create the multiple users as you wants

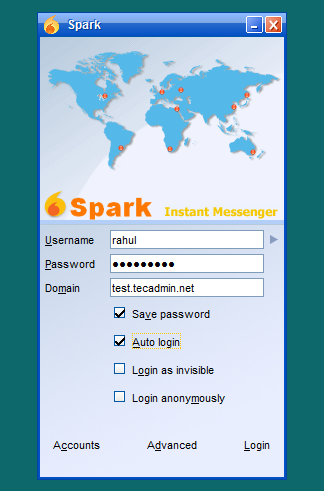
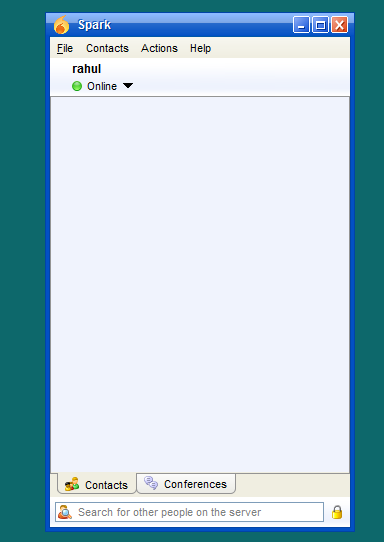
Step 6 – Connect to Openfire
To connect to Openfire you need to download “spark” client software and install on your system. Download latest version of Spark for your operating system from its official website. Install spark client and log in to your account, or register new accounts.
—
Openfire is a real time collaboration (RTC) server licensed under the Open Source Apache License. It uses the only widely adopted open protocol for instant messaging, XMPP (also called Jabber). Openfire is incredibly easy to setup and administer, but offers rock-solid security and performance.
