1-click AWS Deployment 1-click Azure Deployment
Overview
Omeka is a modest web publishing system perfect for records, historical societies, libraries, and museums for making searchable digital collections of primary source material. Considering this, the organization of Omeka.net and Omeka Classic makes the most sense when thinking about physical archives and cultural heritage institutions. Omeka is organized through Items, Collections, and Exhibits. Users interact with items by collections or exhibits on your site and learn more about the project through simple pages.
Omeka is a free open source web-publishing platform that is used by different institutions for different purposes. Libraries, museums, archives and scholarly collections use it for creating online exhibits because of its friendly interface and ease of use. Scholars use it to publish their essay or dissertation; museums use it to display their digital objects and create online exhibits; libraries use it to create digital exhibits from the digital objects in their catalogues; and archives use it to share their collections and histories.
However, Omeka is designed for comfort of use with no IT expertise in mind and comes with a lot of ready-made themes and plugins, it can be customized. It gives programmers prospects to create custom plugins which will provide features and functions not available out of the box.
U-M Library’s Use For Omeka
A couple of years ago, the University of Michigan Library selected Omeka to be the tool used by online exhibit creators. We used the locally hosted version that allowed us to customize the tool to suit our Library’s needs. The Library’s online exhibit website is the home of the tool. Our pilot was released in May 2012 using Omeka version 1.5 and included 4 exhibits. In February 2015, the site was migrated to Omeka 2.1.4 with more than 20 exhibits published. We customized the tool to meet the following goals:
Findability and Searchability
Findability is important for online exhibits. We want people to be able to search for and browse Omeka exhibits on the University of Michigan Library’s Drupal website. Our goal was to add online exhibits to our search index and to get Omeka’s exhibits into our website’s browse functionality.
Searchability was accomplished through creating XML and Drupal 7 views. In order to facilitate browsing, we tagged Omeka exhibits with the Library’s existing taxonomy for browsing, which we call High Level Browse, or HLB. With these two changes in place, users can now search for Omeka’s exhibits through the Library website and also see exhibits when browsing.
Collaboration
Collaboration between online exhibit creators is important in our Library. Omeka does not support the idea of group authorship. It is mainly used with predefined single-person roles: superuser, contributor, and researcher. Those roles either gave the user all the freedom to edit or create an exhibit or no access to any exhibit except those he or she created. However, at the U-M Library, we customized Omeka to integrate roles with a group structure. We organized Library staff into one or more groups and gave all of the members of each group editing privileges on all of the exhibits created by the group. Users within each group were then able to work together to create exhibits.
Branding
We created a custom theme in Omeka that is accessible and visually consistent with the U-M Library’s website. Also, we designed a new layout for the Omeka exhibit builder tool. The software’s built-in layouts forced users to leave the context of an exhibit and visit a separate page to view the metadata for each digital object. Our custom layout allows exhibit creators to display each of their selected digital objects’ metadata and all associated digital images on a single page.
Site Structure
Items
Items are the most elementary level of any Omeka site. When you upload an item, you are asked to provide metadata in Dublin Core. These items will remain in your personal library, only becoming available on the site if you link to a collection or place them in an exhibit.
Omeka can display items in multiple formats on the website, including still images, word processing documents, presentation slides, spreadsheets, audio files, and video files, with the full list of file types available in the Omeka.net documentation. But the critical factor to keep in mind is file size and storage space:
• A file can be no larger than 128 MB.
• The free Omeka.net account only accommodates up to 500 MB of storage. If you need more storage, you’ll need to upgrade to a paid plan or install Omeka on your own web hosting server.
Upload Items
1. Click on “Manage Site” to access your Omeka Admin Dashboard. On the Dashboard, find the Items section and click on the green “Add an Item” button.

2. Then there are four (4) information or “metadata” tabs to complete:

Dublin Core Tab:
In here, you’ll enter the information or “metadata” about the item.
a. For basic functionality, we recommend that you enter information (to the best of your ability) for the Title, Subject, Description, Creator, Source, Publisher and Date.
b. In particular, the Description field is where you can enter critical commentary and text about the item.
c. You don’t need to fill in every metadata field listed: This form is based on the Dublin Core metadata schema, which is more detailed than most people need. The fields after the “Date” field usually are not necessary for a basic exhibit.
Item Type Metadata Tab:
a. In this section, you can select the specific type of item you’re uploading and then add more metadata information about it.
b. This is optional but will only help add to the detail of your exhibit. This information can be the same as in the Dublin Core tab.
Files Tab:
a. This is where you upload the actual file(s). Please note that the maximum file size is 32 MB. If needed, you can upload multiple files (i.e., multiple views of a street corner).
b. After you’ve finished uploading the file(s), click on the green “Add Item” button.
Tags Tab:
a. Here you can enter topic and subject tags to associate with the items.
b. After you type in your tags, click on “Add Tags” and then “Save Changes”.
3. Before clicking the green “Add Item” button on the right-hand side of the screen, select whether or not the item will be Public and/or Featured:

Public means that the item will appear on your Omeka site. Featured means that the item will appear on the opening page of your Omeka.net site, if the theme you select has a space for featured items.
Batch Import
You can use Omeka’s CSV Import Plug-In to upload metadata for multiple items at once into your Omeka.net site with a CSV (Comma Separated Values) spreadsheet file.
Planning and Site Mapping Methods
There are multiple ways you can outline your Omeka site and exhibits. You can write an outline:
Architecture of UIUC Libraries
I. Main Library exhibit
A. Reference Room section
B. Building Exterior section
1. Statues
2. Wall Ornaments
II. Undergraduate Library exhibit
III. Mathematics Library exhibit
Or you can create a flow chart (Powerpoint was used to create this one):

Open an Omeka.net Account
The easiest and most accessible way to use Omeka is to sign up for a hosted Omeka.net account. The hosted accounts on Omeka.net are available at four levels: The free Basic account provides one (1) site and 500 MB of storage space. If you need more space than this, the Library has an institutional subscription that has much more storage capacity, plug-in extensions, and themes you can use. To create a site with the Library’s Omeka.net account, contact the Office of Scholarly Communication and Publishing at scpub@library.illinois.edu.
To start a free Omeka.net site, select “Learn which plan is right for you” on the home page.
Select “Start your free Omeka trial”
Enter the requested information
Then open your email account to find the confirmation email sent by Omeka
Click the confirmation email to activate your account
Create a Site
After you log into your new Omeka.net account, click on “My Account” at the top of the page. On the Account page (also called the Dashboard) click on “Add a Site.

Title your site by filling in the Subdomain blank of “[ ].omeka.net” and the Site Title entry space. Add a brief Site Description if you want, and then click “Add Your New Site.” You’ll then be taken back to My Dashboard, which now will list your site.

Click on the “Manage Site” link under the domain name, in order to get to the Omeka Admin “My Dashboard” to edit your website.
How to Create a Collection
To start building a collection, you first must have items uploaded onto your Omeka site (see the Items section of this guide for instructions). After you have uploaded items, go to the Add Collections section of your Omeka.net Dashboard, and click on “Add a Collection”:

After you click on “Add a Collection,” the next page will feature text boxes where you will enter information about your collection in Dublin Core.

Status information is required: “Public” will determine if the collection is published on the site or stays hidden. “Featured” means that the collection will or will not be featured on the exhibit’s front page, if the theme template has a Featured section.

Add Items to Collections
To add items to the collections, click on the Items tab to see the list of Items. Select the checkboxes for the items that you wish to add to the Collection, and then click on “Edit.”

On the next screen, you can Batch Edit your items, including adding them to a collection all at once.

Remember, items can only be assigned to one collection, but you can edit the item’s collection assignment at any time.
Exhibits are curated digital showcases combining images, text, audio, video, and other uploaded items into coherent narrative for people to browse. They tend to connect to the overarching themes of the site, contextualizing items with complementary narratives.When building exhibits, it is important to remember that items cannot be created spontaneously in Omeka, but thought must be given to site structure from the outset. You create the items, sort them into collections, and finally exhibit them, perhaps pulling from multiple collections for one exhibit.
Add the Exhibit Builder Plugin
To build an exhibit in Omeka.net, you must first install the Exhibit Builder Plugin. Access plugins from your dashboard either from the top menu or from the main dashboard menu on the home screen.

Install the Exhibit Builder plugin from the list of plugins.

After installing the plugin, you may choose whether users will browse the exhibits by date added, alphabetically by name, or by most recent.
Create an Exhibit
Once you have added the Exhibit Builder plugin, Exhibits will appear in the left navigation bar. Click on Exhibits to go to the Browse Exhibits page which allows you to view, edit, and add new exhibits to your site.
To create an Exhibit select Add an Exhibit.

Omeka is a free, flexible, and open source web-publishing platform for the display of library, museum, archives, and scholarly collections and exhibitions.
Omeka makes launching an online exhibition as easy as launching a blog.
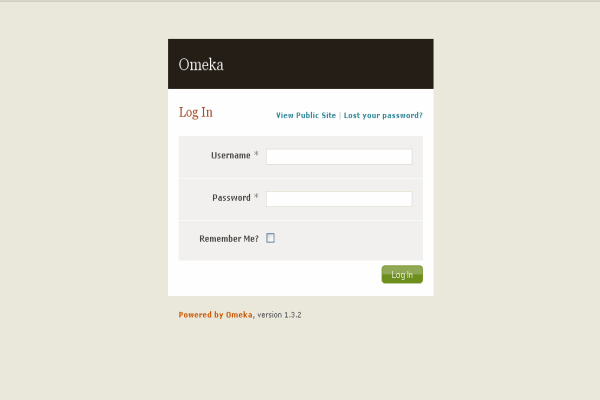
Login
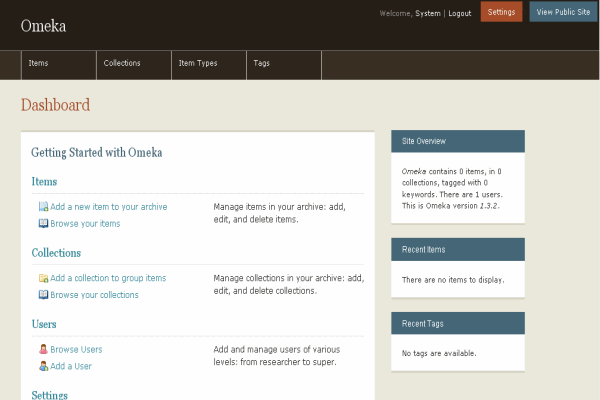
Dashboard
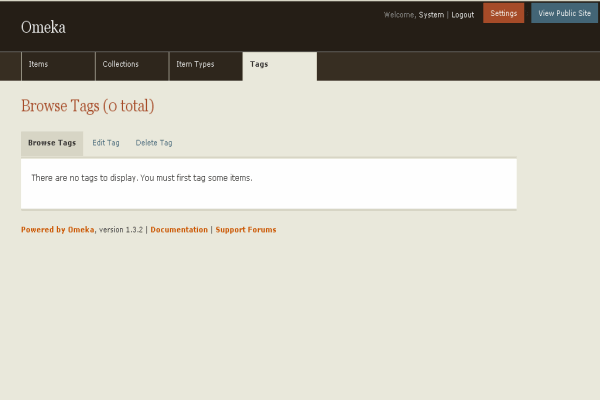
Tags
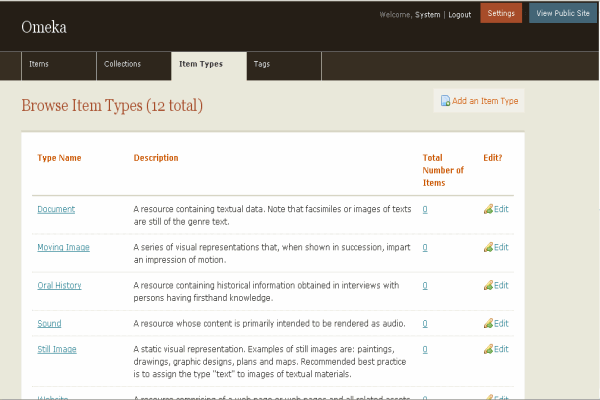
Item Types
Search
Omeka is designed with non-IT specialists in mind, allowing users to focus on content and interpretation rather than programming. It brings Web 2.0 technologies and approaches to academic and cultural websites to foster user interaction and participation.
Omeka is released under the GNU GENERAL PUBLIC LICENSE.
Features
Omeka Classic 2.6.1 Feature List
1.Free, open-source, digital publishing suite for scholars, librarians, archivists, museum professionals, and cultural enthusiasts
- Publish archives, collections, exhibits, teaching materials; and provide ways for the public to interact with your sites.
2.No contracts or annual fees
Download and use the software for free.
Download and use plugins and themes for free
3.Easy to use
> Omeka Classic is designed with non-IT specialists in mind, allowing users to focus on content and interpretation rather than programming.
> Omeka Classic is a web application, making it accessible from any computer or mobile device with an internet connection.
> Users say Omeka Classic is “simple,” “logical,” and “unscary.”
4.Strong community of documentation and support
> Learn to use Omeka Classic with step-by-step tutorials, screencasts, and extensive developer and designer documentation for customizing sites.
> Connect with other Omeka Classic users and the Omeka team through the Forum.
> Track code development, fork and share back with the Omeka team on GitHub.
5.Extensible, scalable, and flexible
>Omeka Classic can handle large archives of metadata and files (with over 1 million items). The only limitations are on your own server.
>Element sets for institution-specific metadata may be added.
>Zend framework for PHP allows for customization.
>Omeka Classic accepts and stores many types of files, including images, video, audio, multi-page documents and >PDFs, Power Point presentations, et al. Individual items may contain multiple files.
> Extend core functionality with dozens of available plugins, or build your own using Omeka Classic’s plugin API.
6.Standards-based Metadata and Web Design
> Every item, file, and collection contains fields for Unqualified Dublin Core elements. Dublin Core is an internationally-recognized and widely-adopted schema.
> Omeka Classic comes packaged with design themes that follow best practices in accessible web design, are section 508 compliant, have ARIA roles for screen readers, and are responsive to different screen sizes for ease of reading on tablets and mobile phones.
7.Customizable Web Design
> Omeka Classic’s pre-packaged design themes can be quickly modified in administrative interface by adding logos and tagline, and controlling navigation.
Data Sharing
Share your Omeka Classic data through a variety feeds including Atom, DCMES-XML, JSON, and RSS2. With Dublin Core Extended plugin, RDF output is also available.
Every Omeka Classic site has a REST API enabled which makes your Omeka Classic data discoverable by outside applications.
The Major Features Of Omeka
- Batch importing and data sharing
- Metadata input and support
- Web 2.0 and online visitor interaction
- Representing data in different contexts
- Annotating and displaying item files
- Security and site performance
Videos
Omeka Installation Tutorial

