1-click AWS Deployment 1-click Azure Deployment
Overview
ocPortal is the website Content Management System (a “CMS”) for building and maintaining a dynamic website. ocPortal’s powerful feature-set means there’s always a way to accomplish your vision.
Not only does ocPortal’s CMS have all the features you’d expect: for instance photo galleries, news, file downloads and community forums/chats, but it does so whilst meeting the highest accessibility and professional standards. It is also smart enough to go beyond page management, to automatically handle search engine optimisation and provide aggressive hack attack prevention.
Cognosys provides hardened and ready to run images of ocPortal on all public cloud ( AWS marketplace and Azure).
Deploy your ocPortal securely on cloud i.e. AWS marketplace and Azure with Reliable Services offered by Cognosys at one-click with easy written and video tutorials.
ocPortal is license under CPAL License
Secured ocPortal on Windows 2012 R2
ocPortal on Cloud for AWS-Windows
ocPortal on Cloud for Azure-Windows
ocPortal on Cloud for Azure-Ubuntu
Features
Major Features of ocPortal
- ocPortal can be thoroughly customised
- You can remove any features you don’t need
- you can do a surprising amount without a programmer
- With ocPortal you can focus on design and stop having to hammer bits of technology into shape
- Through ocPortal’s advanced theme technology you can get a unique design up quickly
- You can integrate ocPortal with most forum software, so that forum users may login to the site
AWS
Installation Instructions Windows
Note: How to find PublicDNS in AWS
Step 1) RDP Connection: To connect to the deployed instance, Please follow Instructions to Connect to Windows instance on AWS Cloud
Connect to the virtual machine using following RDP credentials:
- Hostname: PublicDNS / IP of machine
- Port : 3389
Username: To connect to the operating system, use RDP and the username is Administrator.
Password: Please Click here to know how to get password .
Step 2) Database Login Details:
Username : root || Password : Passw@rd123
Note: Please change the password immediately after the first login.
Step 3) Application URL: Access the application via a browser at http://PublicDNS/ocportal
- Username : ec2-user
- Password : Passw@rd123
Steps to access the Admin Panel:
- To login to Ocportal Administrative Panel, you need
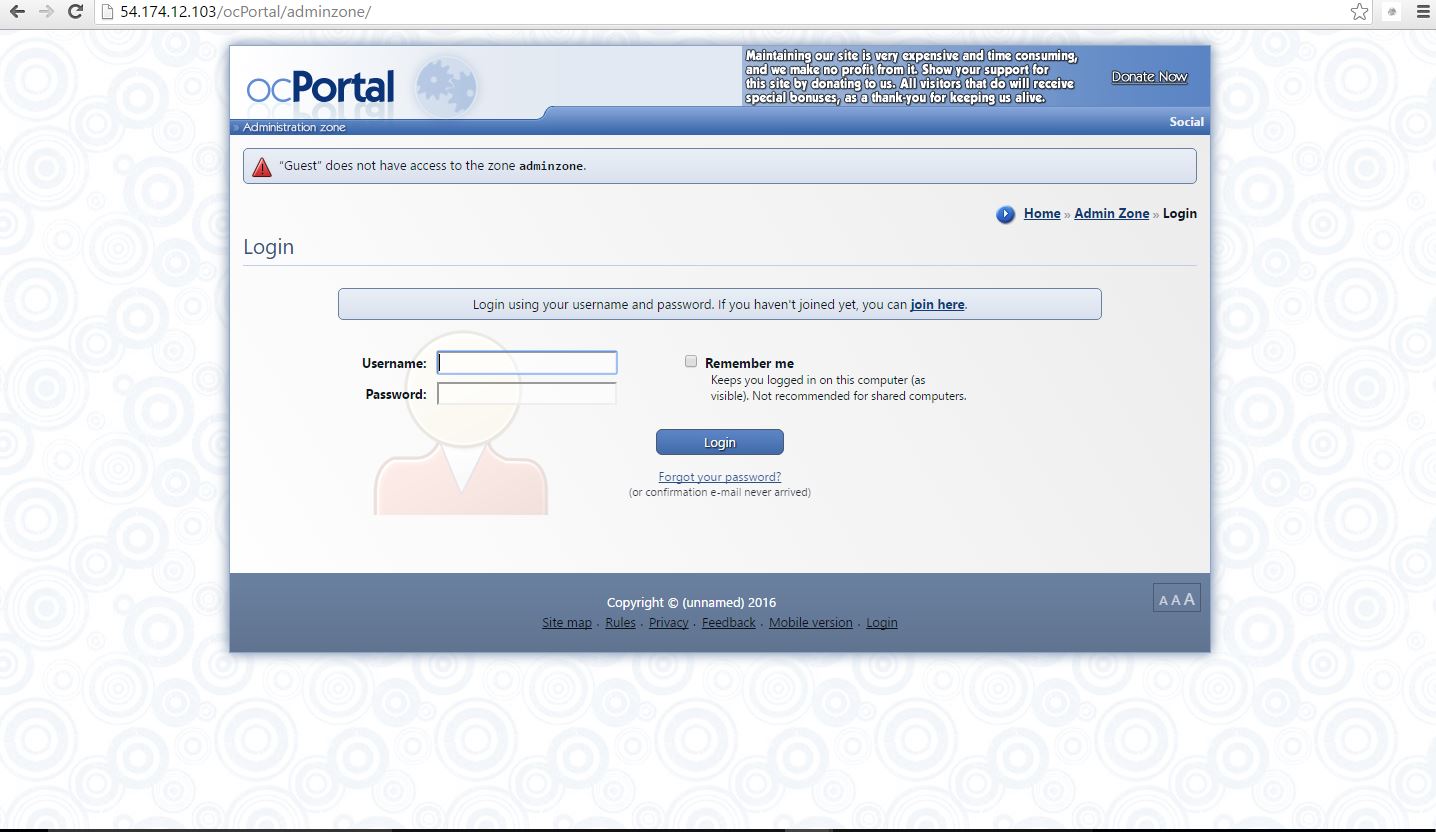
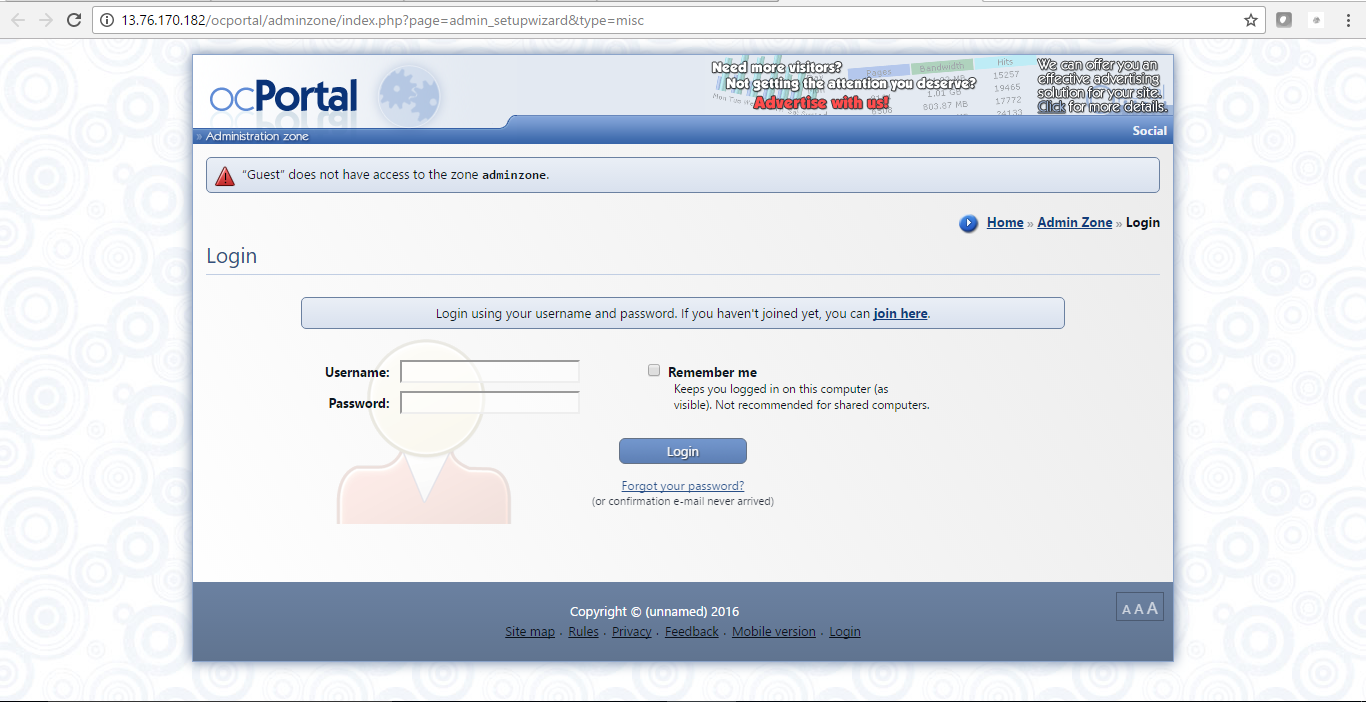
to open your browser and navigate to http://PublicDNS/ocPortal/adminzone - Enter username and password in the given fields and click on the “Login”button to access the Admin Panel.
- After successful login to the Admin Panel, you will get access to Ocportal Dashboard.
Step 4) Other Information:
1.Default installation path: will be in your web root folder “C:\inetpub\wwwroot\ocportal ”
2.Default ports:
- Windows Machines: RDP Port – 3389
- Http: 80
- Https: 443
- Mysql ports: By default these are not open on Public Endpoints. Internally Mysql server: 1433.
Configure custom inbound and outbound rules using this link.
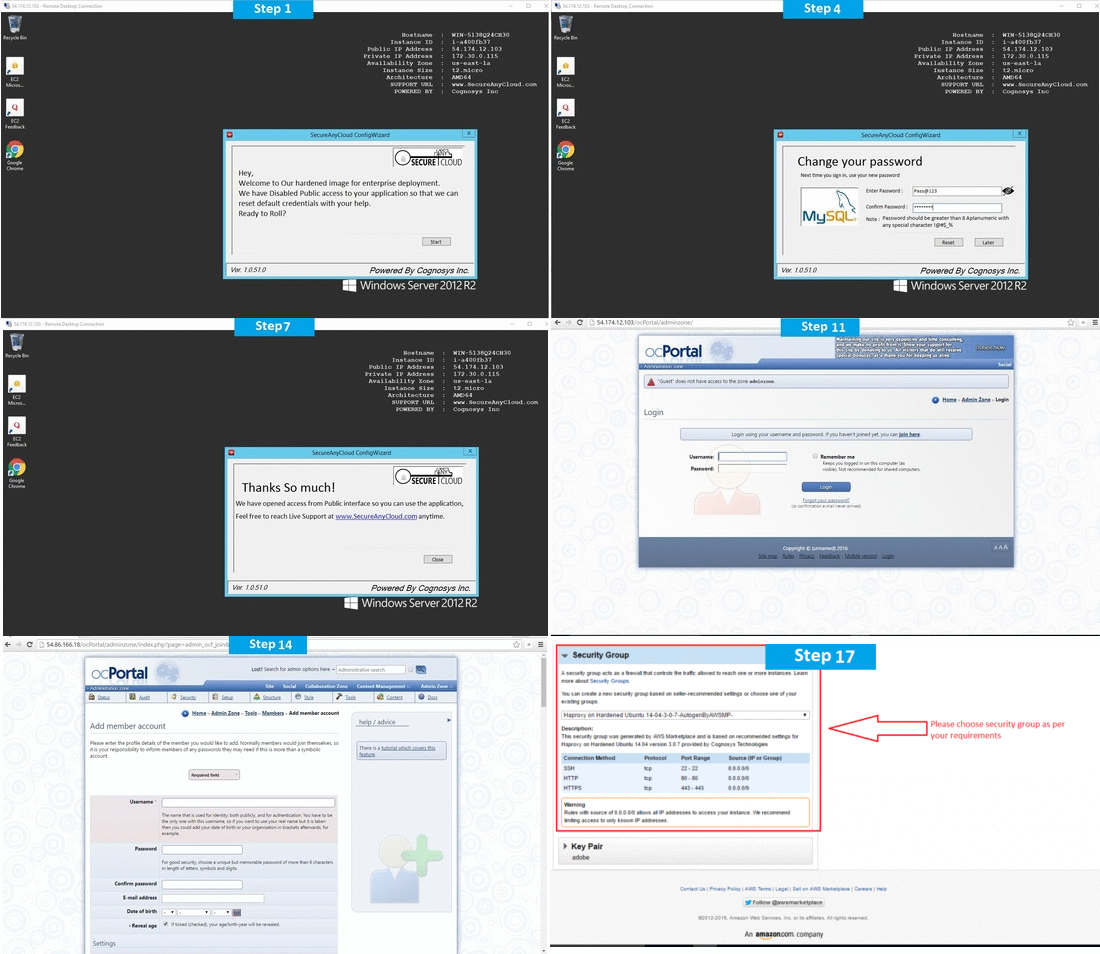
AWS Step by Step Screenshots
Azure
Installation Instructions For Ubuntu
Note : How to find PublicDNS in Azure
Step 1) SSH Connection: To connect to the deployed instance, Please follow Instructions to Connect to Ubuntu instance on Azure Cloud
1) Download Putty.
2) Connect to virtual machine using following SSH credentials:
- Hostname: PublicDNS / IP of machine
- Port : 22
Username: Your chosen username when you created the machine ( For example: Azureuser)
Password : Your Chosen Password when you created the machine ( How to reset the password if you do not remember)
Step 2) Database Login Details:
Username : root || Password : Passw@rd123
Note: Please change the password immediately after the first login.
Step 3) Application URL: Access the application via a browser at http://PublicDNS/ocPortal
- Username : azureuser (Please create new user and delete this user)
- Password : Passw@rd123
Steps to access the Admin Panel:
- To login to ocportal Administrative Panel, you need
to open your browser and navigate to http://PublicDNS/ocPortal/adminzone - Enter username and password in the given fields and click on the “Login”button to access the Admin Panel.
- After successful login to the Admin Panel, you will get access to ocportal Dashboard.
Step 4) Other Information:
1. Default installation path: will be in your web root folder “/var/html/ocportal.
2. Default ports:
- Linux Machines: SSH Port – 22 or 2222
- Http: 80 or 8080
- Https: 443
- Mysql ports: By default these are not open on Public Endpoints. Internally Mysql server: 3306
Configure custom inbound and outbound rules using this link
3. To access Webmin interface for management please follow this link
Installation Instructions for Windows
Note: How to find PublicDNS in Azure
Step1 ) RDP Connection: To connect to the deployed instance, Please follow Instructions to Connect to Windows instance on Azure Cloud
Connect to virtual machine using following RDP credentials:
- Hostname: PublicDNS / IP of machine
- Port : 3389
Username: Your chosen username when you created the machine ( For example: Azureuser)
Password : Your Chosen Password when you created the machine ( How to reset the password if you do not remember)
Step 2) Database Login Details:
Username : root || Password : Passw@rd123
Note: Please change the password immediately after the first login.
Step 3) Application URL: Access the application via a browser at http://PublicDNS/ocPortal
- Username : azureuser (Please create new user and delete this user)
- Password : Passw@rd123
Step 4) Other Information:
1. Default installation path: will be in your web root folder “C:\inetpub\wwwroot\ocPortal”
2. Default ports:
- Windows Machines: RDP Port – 3389
- Http: 80
- Https: 443
- Mysql ports: By default these are not open on Public Endpoints. Internally Mysql server: 3306
Configure custom inbound and outbound rules using this link
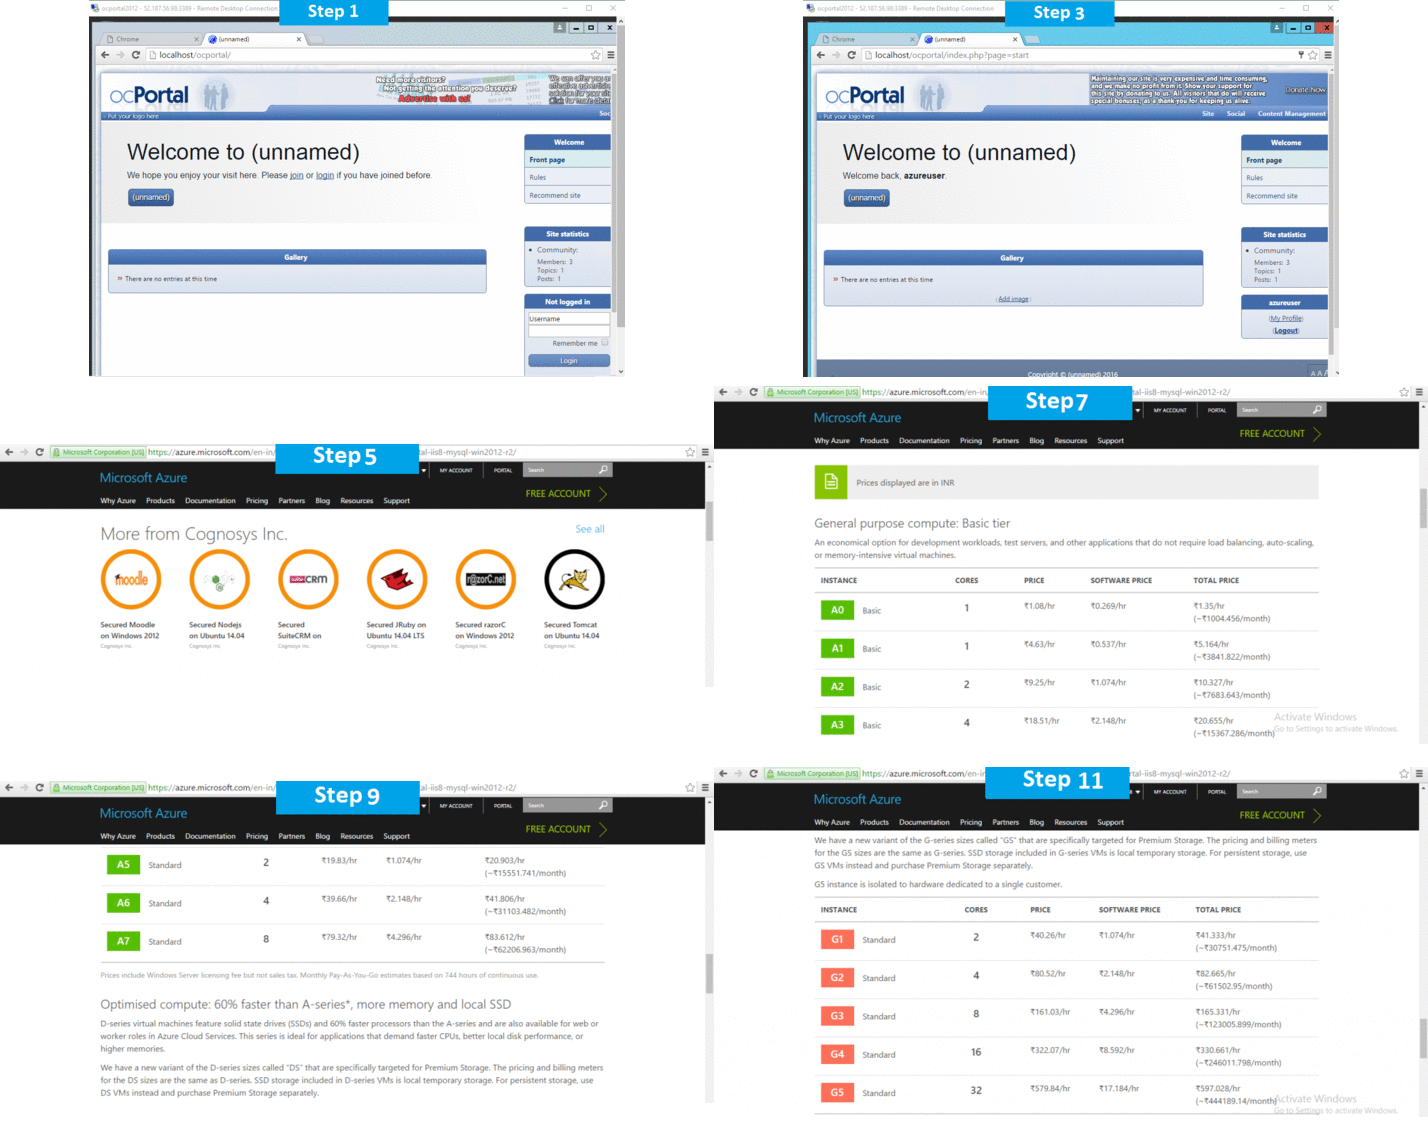
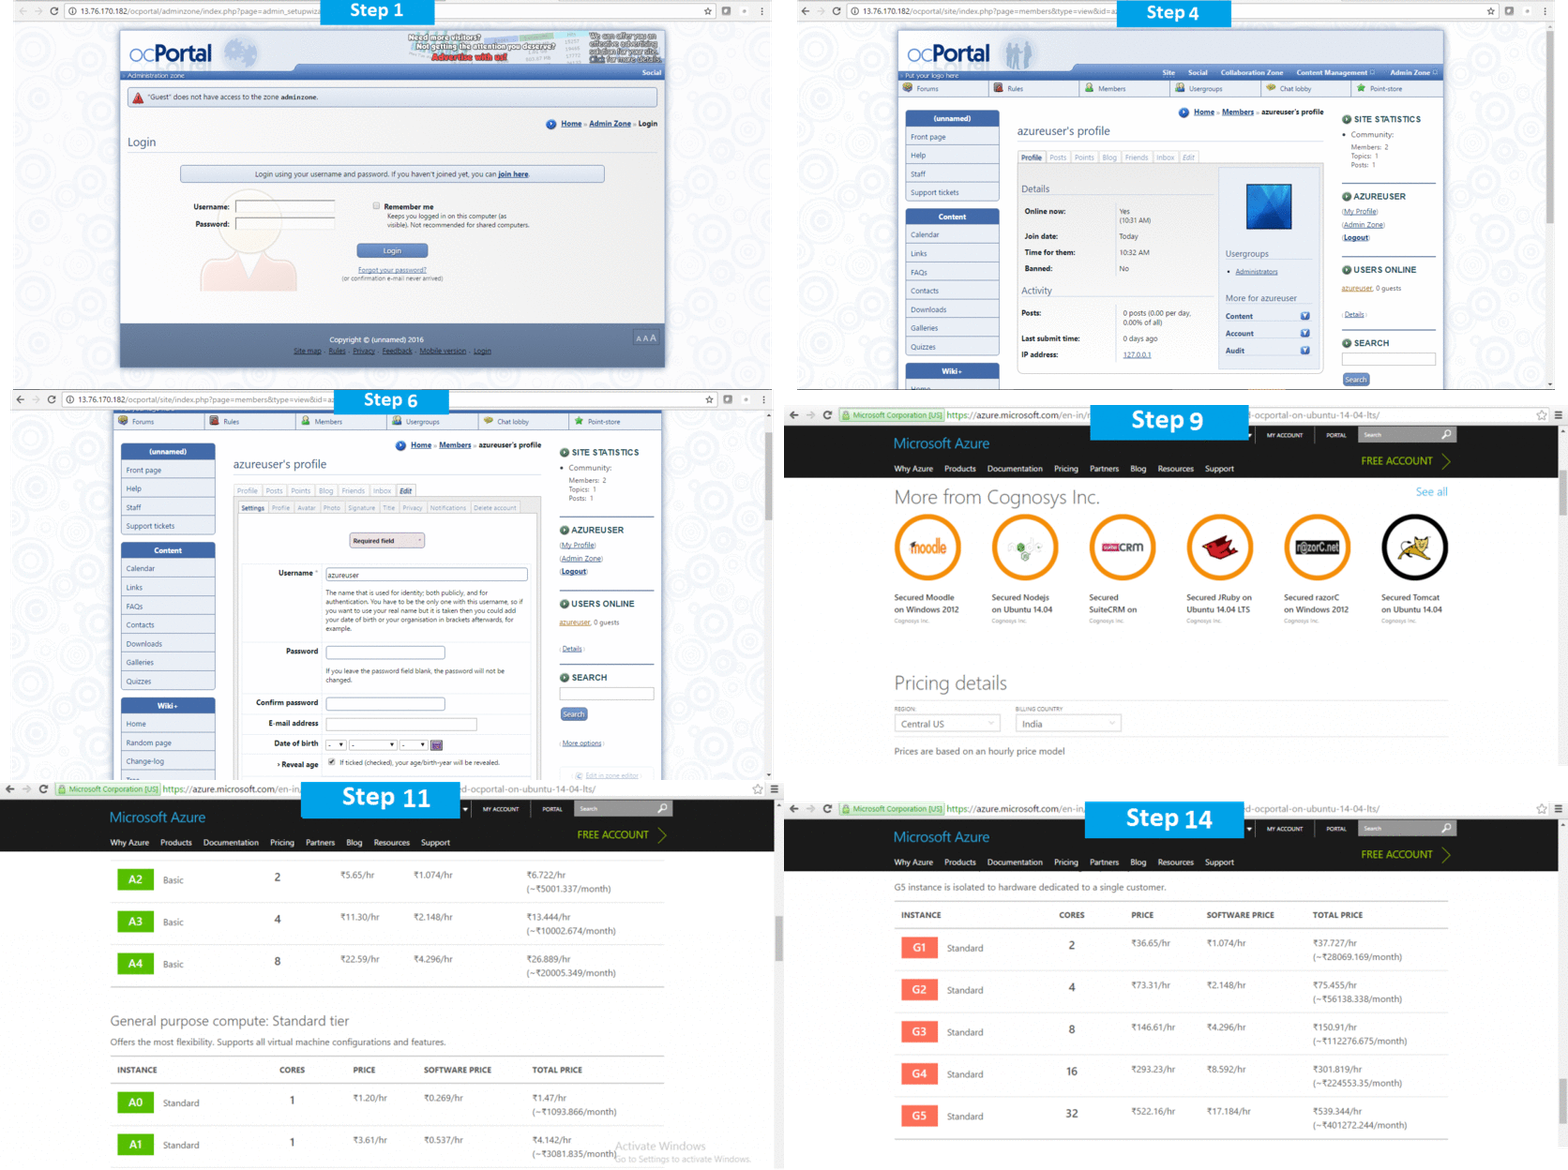
Azure Step by Step Screenshots


Videos
Secured ocPortal on Windows 2012 R2
ocPortal (open source CMS)

