1-click AWS Deployment 1-click Azure Deployment 1-click Google Deployment
Overview
A beginners guide to content management systems
A few years back, the only way for you to develop a website, was to write all the HTML and CSS codes by hand. These days are however over, thanks to the modern and quickly developing content management systems. This article will be a short beginners guide to content managements systems. I will try to explain what CMS is all about, and give you some examples of popular content management systems.
A content management system will make your life as a website developer a whole lot easier, as you will not need to be an expert in HTML, CSS, Javascript, PHP and MySQL to make a highly professional website. Writing the code for a whole website by hand is however still a good way of creating websites, since it will allow you to create unique and customized sites. Off course, if you don’t have the time nor patience to learn web development languages, then content management systems is the perfect choice for you – especially if your are a beginner!
What is a content management system then?
A CM system is not a piece of software or program you have installed on your pc, but rather a content editing system which you can access on the web.
The system will allow you to “build” your website, using a wide selection of different plugins and ad on´s available for the various systems. Content management systems can be thought of as being a large box of lego bricks – You can then choose what specific bricks you want to build your website from. Another way of explaining what a CM system is, is to look at it as a regular text editing software like word, where you can write text and insert pictures directly from a standard control panel. Consequently you will not need any technical programming skills to create and manage a website.
In addition you are able download ready-made themes and templates for your CMS website, which you can then ad content. Some themes are free while others cost money. Using themes and templates you will be able to set up a website or blog in just a few weeks.
IMPORTANT!
Many content management systems, especially open source, are build using PHP and MySQL. I therefore recommend you to learn the basics of PHP and MySQL, before staring a CMS based website. Knowing the basic PHP and MySQl will help you understand, how the basic elements of a content management system functions. If you want to learn the PHP and MySQL basics, then BeginnerTuts.com offers free PHP and MySQL video tutorials for beginners.
N2 is a lightweight CMS framework to help you build great web sites that anyone can update. N2 is an opinionated piece of software. The core principles are “code speaks” and separation between view templates, content model and database. N2 CMS speeds up development by taking advantage of the .NET type system. It generates editor interfaces based on attributes on your content classes. With virtually no boilerplate code you can benefit from intellisense, source control, true FTP deployment and greater maintainablility.
Importing Data into N2
One of the projects I’m working on at the moment is for a local community website. The old site has a message forum and we want to migrate the content into N2 preserving as much of the data as we can.
It is quite easy to do with N2 in that you can create a class of any page, populate it and save it.
Here’s an example from the code which imports the actual messages on the message board – it’s not the best, but it works and demonstrates the principle.
N2.Templates.Mvc.Models.Pages.MessagePage mp = new Models.Pages.MessagePage();
mp.Created = reader.GetDateTime(reader.GetOrdinal(“datePosted”));
mp.Parent = parent;
mp.Author = reader.GetString(reader.GetOrdinal(“MessageAuthor”));
mp.Text = reader.GetString(reader.GetOrdinal(“MessageText”));
mp.Title = string.Format(“Reply by {0}-{1}”, reader.GetString(reader.GetOrdinal(“Username”)), ForumHelper.GetDateAsNumbers(mp.Created));
N2.Context.Persister.Save(mp);
N2.Context.Persister.Save(parent);
There’s a couple of things to note. The title must be unique in N2 so I have got around this by creating the title as normal, but adding the date of when it was created onto the end. You must also specify the parent page too and save it after you have created the message to create the relationship between them.
What I am impressed with is that I can take an existing message board and import all the forums, topics and messages and do so really easily with N2. I have also imported all the user account information, profiles etc as well and we’re hoping to get the new site live within a month. I’ll let you know how we go on!
CMS Framework vs. Templates
The framework is represented by N2.dll, N2.Security.dll and N2.Management.dll as well as all files below the /N2/ folder. These reflect upon the application to create a UI where the site’s structure and content is managed. The framework provides tools the application can use to create a navigable web site.
The application references N2.dll and uses API:s in the N2 namespace to model content items so they can be managed from the management UI. The application contains the external shape of the site including master pages, style sheets and application logic. The application is developed with ASP.NET MVC or WebForms, either way they use the same version of the N2 CMS framework.
Web Application Architecture
The N2 framework has only one requirement on the application. There must be a class inheriting from N2.ContentItem. Instances of this class represent the pages managed in the UI. It’s a good idea to use multiple classes for different kinds of pages, and use inheritance to share common properties.
Each content class is related to one or more ASPX templates, or views which display the user managed content in a shared layout. The framework provides base classes and controls to simplify placing content, creating navigation and more.
When a page instance is created in the UI it is assigned a name which gives this page an URL from which it can be accessed. Assuming the start page has the path “/”, a page named “hello” will be accessible from the path “/hello/”. The framework is responsible for mapping this logical path to the ASPX template or view.
CMS Framework Architecture
The N2 CMS Framework uses Inversion of Control to compose all of the CMS’ functionality. During initialization a set of services are constructed and exposed through a singleton context located at N2.Context.Current. Many helper methods such as N2.Find.Items access this context to do their job.
Most of the interaction with N2 CMS is done through inheritance of classes or usage of attributes. During the initialization phase N2 analyzes the application and learns how to connect the content in the database with the application code.
It’s also possible to inject or replace services in N2 to bend the CMS’ behavior beyond recognition.
N2CMS MVC and how to create a configurable MasterPage option
One of the most common questions on the N2CMS forums seems to be how to make it possible to be able to select a master page. In the past when I’ve worked on cms driven sites the templates have been relatively straightforward – the homepage has had a unique design whilst the others have had a set template. This was quite easy to do as I just created my own class which derived from the StartPage class and then created it’s own HTML without using the main MasterPage. Simple, but effective.
However, recently I’ve been asked to convert an existing Sharepoint site to the MVC version of N2. This has been quite interesting to do and one of the areas I’ve had to work on is how to give the user the option of which master page template to use. I can’t do this statically and because there are a number of templates on the current Sharepoint site it’s possible that users may need to change page templates “on the fly”.
I’m not going to go to deep in to the workings of this – it’s probably easier to fire up N2 MVC and step through the code. I’m going to give you a step-by-step tutorial to get it working!
I’d like to thank the guys on this discussion on the N2CMS forum (n2cms.codeplex.com/discussions?size=2147483647) for providing the inspiration for this. I can’t find the exact post however.
Step 1:
Make sure you download the latest v2.1rc MVC version of the site and make sure you copy the DLLs in the library folder into the bin folder of the N2CMS folder. If you don’t do this with then you might get an error when you first try to start the site.
Step 2:
In the services folder, open the ThemedMasterViewEngine.cs file. In that there’s a method which tries to determine which Master page to use based on theme or uses the there’s a class which checks to see what master page to use.
public class ThemedMasterViewEngine : WebFormViewEngine
{
// You should change the “TwoColumnLayout.master” to be your default template
string masterPageFile = “~/Views/Shared/TwoColumnLayout.master”;
public override ViewEngineResult FindView(ControllerContext controllerContext, string viewName, string masterName, bool useCache)
{
if (!controllerContext.IsChildAction)
{
if (string.IsNullOrEmpty(masterName))
masterName = masterPageFile;
var root = Find.Closest<StartPage>(controllerContext.RouteData.CurrentPage()) ?? Find.ClosestStartPage;
if (root != null)
{
string theme = root.Theme;
if (!string.IsNullOrEmpty(theme))
{
string potentialMaster = string.Format(“~/Views/Shared/{0}.master”, theme);
if (base.FileExists(controllerContext, potentialMaster))
{
masterName = potentialMaster;
}
}
}
}
return base.FindView(controllerContext, viewName, masterName, useCache);
}
}
Step 3:
In the models/pages folder there’s a ContentPageBase.cs class. We’re going to change this to add an enum for the name of the page templates and add a property for any page which derives from the ContentPageBase (which is all of them) which allows you to select a template and puts it under the Advanced tab.
Open /Models/Pages/ContentPageBaseup and add this code:
public enum PageTemplates
{
MyHomePage,
TwoColumnLayout
}
[EditableEnum(“Page layout”, 60, typeof(PageTemplates), ContainerName = Tabs.Advanced)]
public virtual PageTemplates PageLayout
{
get { return (PageTemplates)(GetDetail(“PageLayout”) ?? PageTemplates.TwoColumnLayout); }
set
{
SetDetail(“PageLayout”, value, PageTemplates.TwoColumnLayout);
}
}
Step 4:
In the controllers folder, open up the TemplatesControllerBase.cs file. We’re going to add some code in here which tries to get the name of the PageLayout from the page and sets the master page. Find the method below (be careful – there’s a few overloads of it) and replace the method with this code:
protected override ViewResult View(string viewName, string masterName, object model)
{
CheckForPageRender(model);
model = model ?? CurrentItem;
if (model != null)
{
var item = model as N2.Templates.Mvc.Models.Pages.ContentPageBase;
if (!string.IsNullOrEmpty(item.PageLayout.ToString()))
{
masterName = item.PageLayout.ToString();
}
}
return base.View(viewName, masterName, model ?? CurrentItem);
}
Step 5:
I think this might be an oversight in the n2 release, but I’ve found I have to add this line into the web.config in the n2 editing folder:
<httpRuntime requestValidationMode=”2.0″ />
Otherwise I get an error when I try to change the page layout.
Step 6:
If you start up your site, and select “Edit” on any page you will find that under the “Advanced” tab you have a drop down list of layouts. If you change this you will be able to change the master page used on the site!
New version of N2CMS released
I don’t know if you’ve seen on http://n2cms.codeplex.com/releases but v2.1rc has been released. I’d strongly recommend anyone to sign up for the release notifications on Codeplex for the code as this way you will get the latest versions as soon as they come out. On the page for the releases if you look on the right you’ll see the button to set notification settings.
As you know, I’ve been doing tutorials for the web forms version of N2. If you read my earlier posts you’ll have read that for beginners I’d recommended the web forms version to get started with because of the better templates that came with it – it was simply easier/quicker to create pages and items. This looks like it has changed with the new release and I am currently investigating the new changes so that I’ll be able to comment on the web forms vs MVC projects.
Another reason to download the new version is that it now ships with documentation! Now, I’ve read the documentation and it’s still not perfect nor complete but it’s far better than the array of wikis, pages and dead pages that are on the web. So, if nothing else you have a much better starting point for v2.1 than you did with the earlier versions.
All that said, I still aim to continue writing on this blog. There’s some new features in the new version which look very interesting such as templates. This will allow you to create templates of pages and subpages with pre-populated content. Very useful.
I think however, my focus will broaden somewhat to include my experiences of the N2 MVC. I also am intrigued by how we can extend the editor with jQuery and similar technologies.
For now though, have a look at the new version!
Development Environment
There are two supported environments that you can use for developing a site with N2:
- Git-based environment
- Nuget-based environment
| Choose this | If you want this |
| Nuget-based
environment |
You want the easiest integration of N2 in an existing project.The Nuget
framework will downloadand install all required dependenciesinto an existing Visual Studio project. |
| Git-based
environment
|
You always want to have the most recent code, or you want to use one of the
sample template projects. The Git-based environment contains both the WebForms and MVC template packs, sample data, plus the N2 Core and all dependency binaries.This is a great way to get started with N2CMS, particularly if you don’t already have a project started. You can use one of the existing projects as a basis for your new N2-based site:
* WebForms Templates Pack * ASP.NET MVC Templates * ASP.NET MVC “Dinamico” Templates Pack (uses the Razor engine) |
Getting the Bits
Each of the supplied packages is supplied either as a Git repository or as a Nuget package.
- Start with Git: check out the N2 repository located at http://github.com/n2cms/n2cms. Note: We don’t recommend using Github’s archive formats (tgz, zip). Using the archive formats will make your installation more difficult to update as Git’s patching infrastructure will not be available.
- Start with Nuget: install the requisite Nuget package from within your Visual Studio project
- n2cms_webforms
- n2cms_mvc
- n2cms_dinamico
Overview of Available Packages
| Package | Description |
| N2 CMS 2.x
Source Code
|
This package reflects the N2 CMS framework development environment and
contains both template packs and all examples along with the framework source code. For site development it’s recommended to start from one of the template packs, or examples. |
| N2 CMS 2.x
ASP.NET MVC Templates Pack |
This is the source code of the MVC template package along with a
compiled version of the framework. Use this package to develop your own site with existing functionality using ASP.NET MVC. |
| N2 CMS 2.x ASP.NET
WebForms Templates Pack |
This is the source code of the WebForms template package along with
a compiled version of the framework. Use this package to develop your own site with existing functionality using ASP.NET WebForms. |
| N2 CMS 2.x MVC
Minimal Example |
This package contains a simple example site along with a compiled version
of the framework. Use this package to understand the basics of ASP.NET MVC + N2 CMS or if you don’t need existing templates. |
| N2 CMS 2.x C#
Minimal Example |
This package contains a simple example site along with a compiled version
of the framework. Use this package to understand the basics of WebForms/C# + N2 CMS or if you don’t need existing templates. |
| N2 CMS 2.x
Visual Basic Minimal Example |
This package contains a simple example site along with a compiled version
of the framework. Use this package to understand the basics of WebForms/Visual Basic + N2 CMS or if you don’t need existing templates. |
| N2 CMS 2.x
Compiled Framework and Management UI |
This is the N2 CMS framework compiled and zipped for upgrade
of a previous version, or integration with an existing site. |
Getting up and Running
Each package contains one or more Visual Studio Solution (*.sln) files. Open the Solution file for what you want to run, and edit the web.config file to use the database engine of your choosing. Invoke the Run command in Visual Studio to launch a development web server with N2 running inside. You should see the setup wizard right away.
The next step is to either start using N2 and begin building your content using the pre-defined templates, or start developing with N2 to customize the system to suit your needs. Most users will want to do at least some development and customization as every website has different needs and the templates don’t cover every possible scenario that can be achieved with N2 CMS.
Web Platform Installer (WPI)
The same WPI package can be installed from the “Microsfot Web Platform Installer”, from “Internet Information Services (IIS) Manager” or from “Microsoft WebMatrix”.
Updating N2CMS
After you’ve installed N2CMS in one of these ways, you will want to update it from time to time to take advantage of the latest features, security patches, and other updates. If you opted to use the Nuget deployment model, the Nuget packages will be updated periodically, and you can update using the built-in Nuget update mechanism to update your local instance of N2CMS. If you chose the Git deployment model, you can use git pull to get the latest updates in your own Git repository.
Visual Studio Snippets and Templates
The downloadable packages on Codeplex contains a number of templates and snippets which are useful when developing N2 sites.
You need to update the path with your own version of Visual Studio. For example, if you are using Visual Studio 2008 you need to substitute in 2008 for 2010 in the paths below.
Snippets are copied to [Documents]Visual Studio 2010Code SnippetsVisual C#My Code Snippets. Once the snippets have been placed here they can be invoked from Visual Studio by their name and tapping tab twice (e.g. n2propfta [tab] [tab]). This will expand a property with an editable attribute. Available snippets include:
- snippet
- snippet
- snippet
- snippet
- snippet
- snippet
- snippet
- snippet
Installing Visual Studio Item Templates
The snippets folder also contains some Visual Studio Item Templates that appears when adding new items in Visual Studio. Copy them from the Snippets folder in the template package zip to [Documents]Visual Studio 2010TemplatesItemTemplatesVisual C#. The item templates creates a content class and a corresponding template or controller. Available templates:
- N2 Item Template.zip
- N2 Page Template.zip
- N2 Page Controller.zip
Installing IntelliSense Documentation for Visual Studio
The IntelliSense documentation should be installed automatically. If it is not installed, check for ~/bin/N2.xml. This enables code documentation during IntelliSense operations and hovering in Visual Studio.
Installing N2CMS NuGet Packages
First, download the release and extract to a path such as C:\N2Packages (this example path is used below)
- Compiled N2CMS Releases are available here https://github.com/n2cms/n2cms/releases
- Next, decide whether you want to use the ZIP or NOZIP management packs.
- Before doing anything listed on this page
- Back up your project before installing or uninstalling any N2CMS nuget packages.
- Realize that N2CMS will not work on Web Site projects. You must install N2CMS in a Web Application project.
Which management pack should I choose?
You can choose whichever management pack is right for you. Consider the following benefits and drawbacks.
- The benefit of the ZIP management pack is that it is a single file for the N2 Management Interface. However, if you store your website in a source control depot (e.g. Git repo),you end up with a lot of bloat as the ~5 MB N2.zip file gets upgraded over time. You alsoneed to upload the entire N2.zip when you update it.
- The benefit of the NOZIP management pack is that you can take advantage of WebDeploy incremental uploads, as well as more efficient source control storage as thefiles are installed separately (not extracted). Additionally, the Zip Virtual PathProvider is not installed, which means that less memory is used by N2CMS.
N2 CMS is owned by N2 CMS(http://n2cms.com/) and they own all related trademarks and IP rights for this software.
Cognosys provides hardened and ready to run images of N2 CMS websites on all public cloud ( AWS marketplace and Azure).
Deploy your N2 CMS websites securely on cloud i.e. AWS marketplace and Azure with Reliable Services offered by Cognosys at one-click with easy written and video tutorials.
The CMS is extendable through events, the content classes themselves, custom editable attributes, plug-ins and other enabling hooks.
Secured N2 CMS on Windows 2012 R2
N2 CMS on Cloud for AWS
N2 CMS on Cloud for Azure
Features
Major Features Of N2 CMS
- N2 is a Content Management System for ASP.NET 2.0. It’s modern, free and includes all source code.
- N2 proposes an unusually nice model when creating content-enabled web 2.0 sites. The main feature is a developer-friendly way to define and encapsulate content data.
- Scope: N2 wants to provide a solid, extendable and user friendly content management engine and edit interface. No templates or implementations are included (except examples).
- Target audience: N2 is a tool for developers who need a CMS when building sites for organizations and small businesses.
- Easy to develop: define content using .NET classes and attributes (no boring point and click web interface)
- Very intuitive editor interface
- Leverages on ASP.NET 2.0 (use sitemap, membership, ASPX templates, authorization, etc.)
- Database agnostic (MS SQL, MySQL and more thanks to NHibernate)
- Supports hierarchically organized content items with unlimited depth
- AJAXy drag’n’drop content into regions
- Completly free – 0$
- Extendable editor UI
- Sites are developed in Visual Studio (no UI for modifyng styles and templates, nice!)
- Support multiple types of content, everything from articles to blog comments
- The model is stored as source code in your source control, not in a database
- Map parts of the tree structure to alternative domains
- Caching, ASP.NET output caching or database object caching
- Supports authorization using standard .NET providers
- Upgradable
- Allows access control over individual content items using roles
- Search engine friendly urls
- Multiple sites with one installation
- Type safe access of content data through custom classes. N2 promotes a domain centric content model.
- Easy-to-use editor interface – all the usual stuff (create, edit, delete, copy/paste, versioning, file upload) is built in and there’s a plugin system when that isn’t enough.
- Compact design – should be easy to get started with as long as you’re into object oriented programming and asp.net.
- Extendable – NHibernate and it’s polymorphism features are used for content persistance
- Clean database (two 3 tables) containing only content data. Types and constraints are defined with attributes in source code.
- Non-intrusive – supports a clean separation between view and edit (N2 is just a convenient way to insert and retrieve content).
- Friendly URLs & multiple domains.
- Leverages on ASP.NET 2.0 standards and concepts.
AWS
Installation Instructions For Windows
Note: How to find PublicDNS in AWS
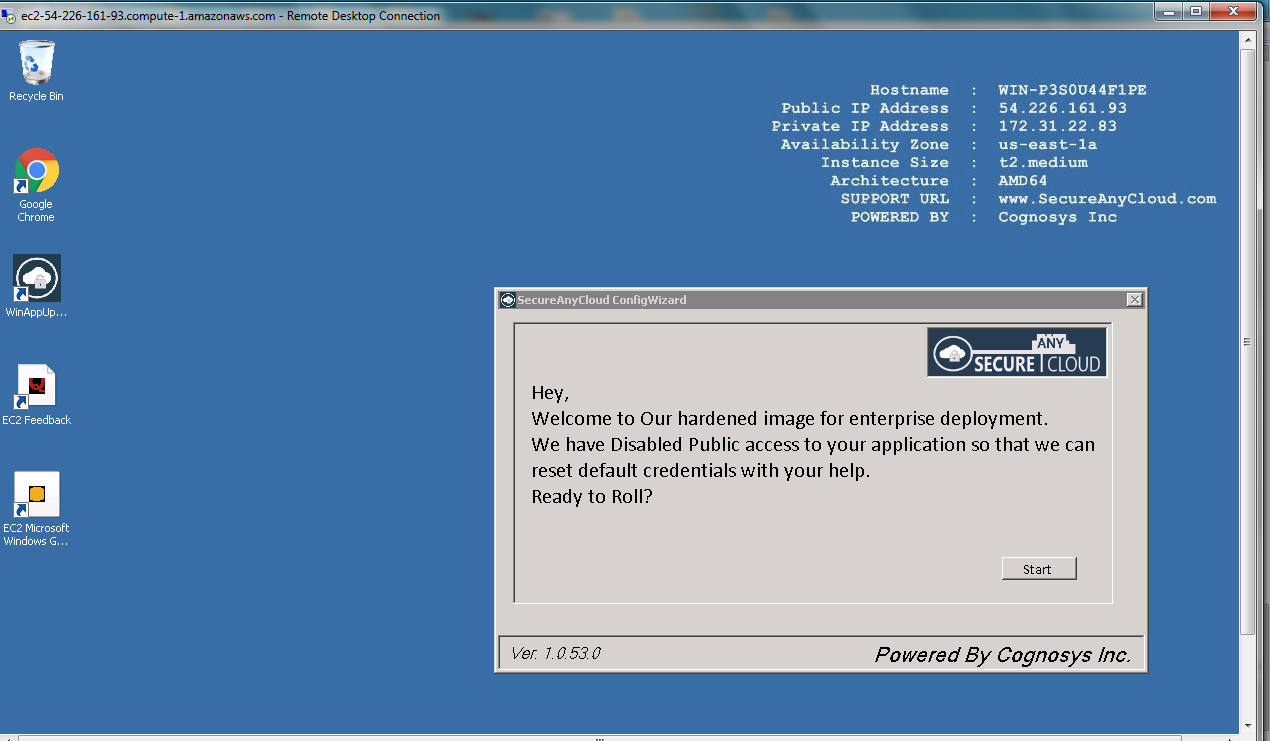
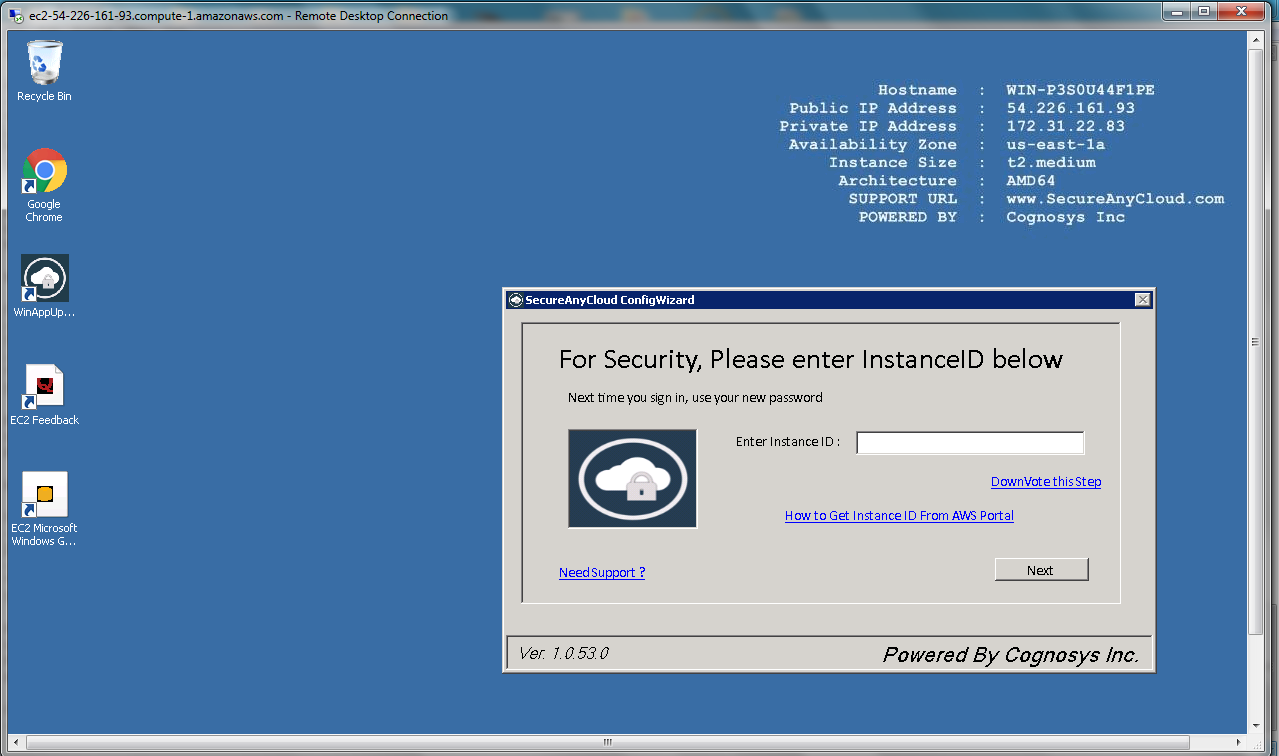
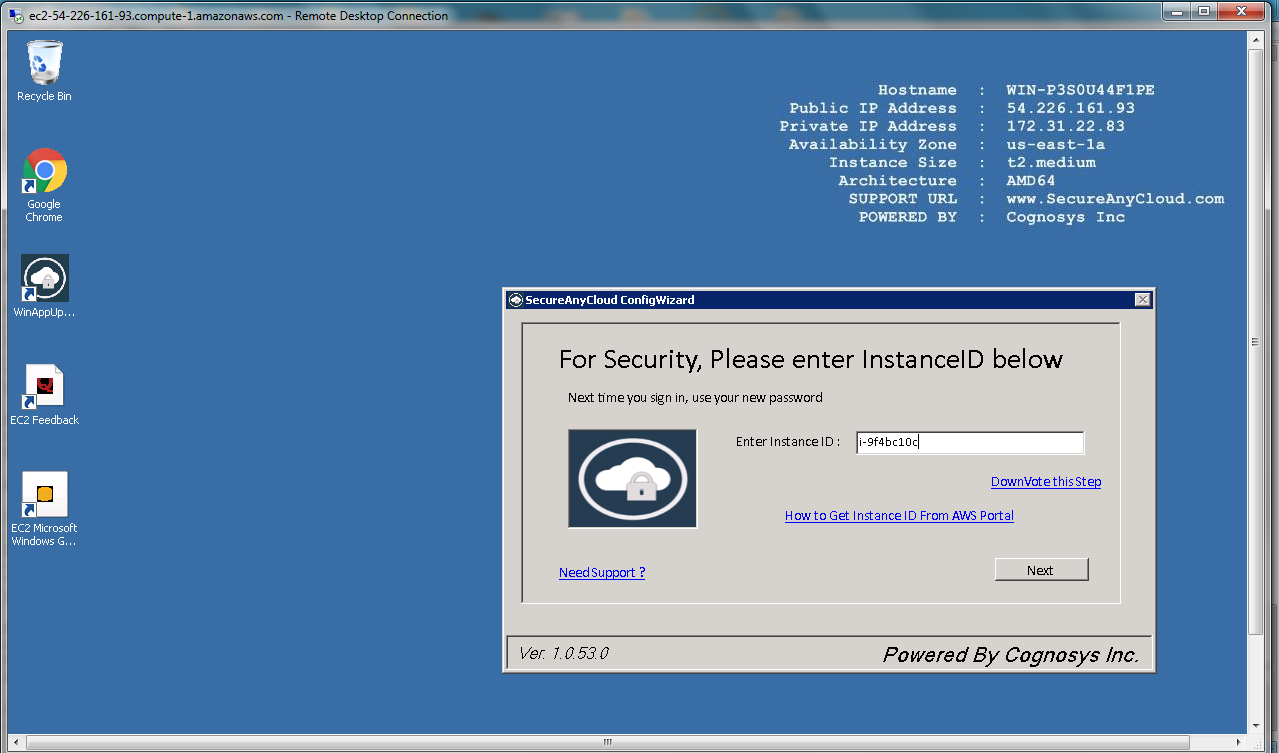
Step 1) RDP Connection: To connect to the deployed instance, Please follow Instructions to Connect to Windows instance on AWS Cloud
Connect to the virtual machine using following RDP credentials:
- Hostname: PublicDNS / IP of machine
- Port : 3389

Username: To connect to the operating system, use RDP and the username is Administrator.
Password: Please Click here to know how to get password .
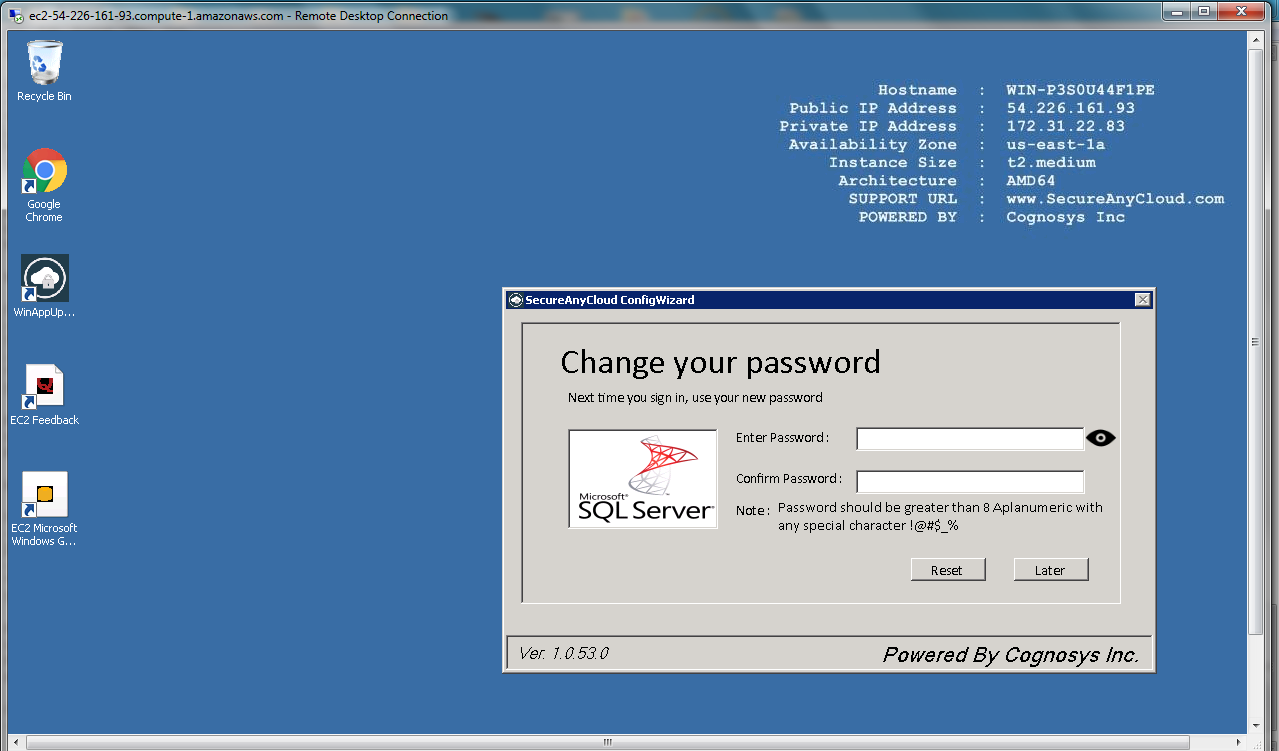
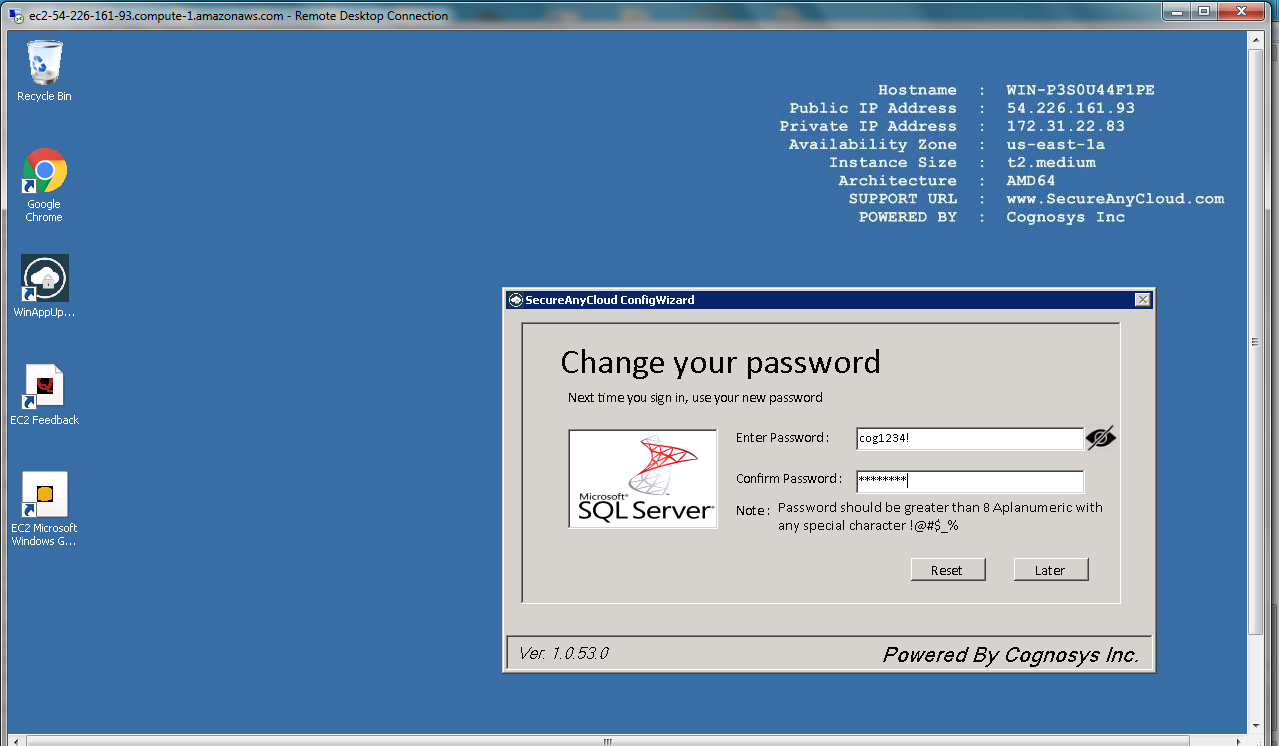
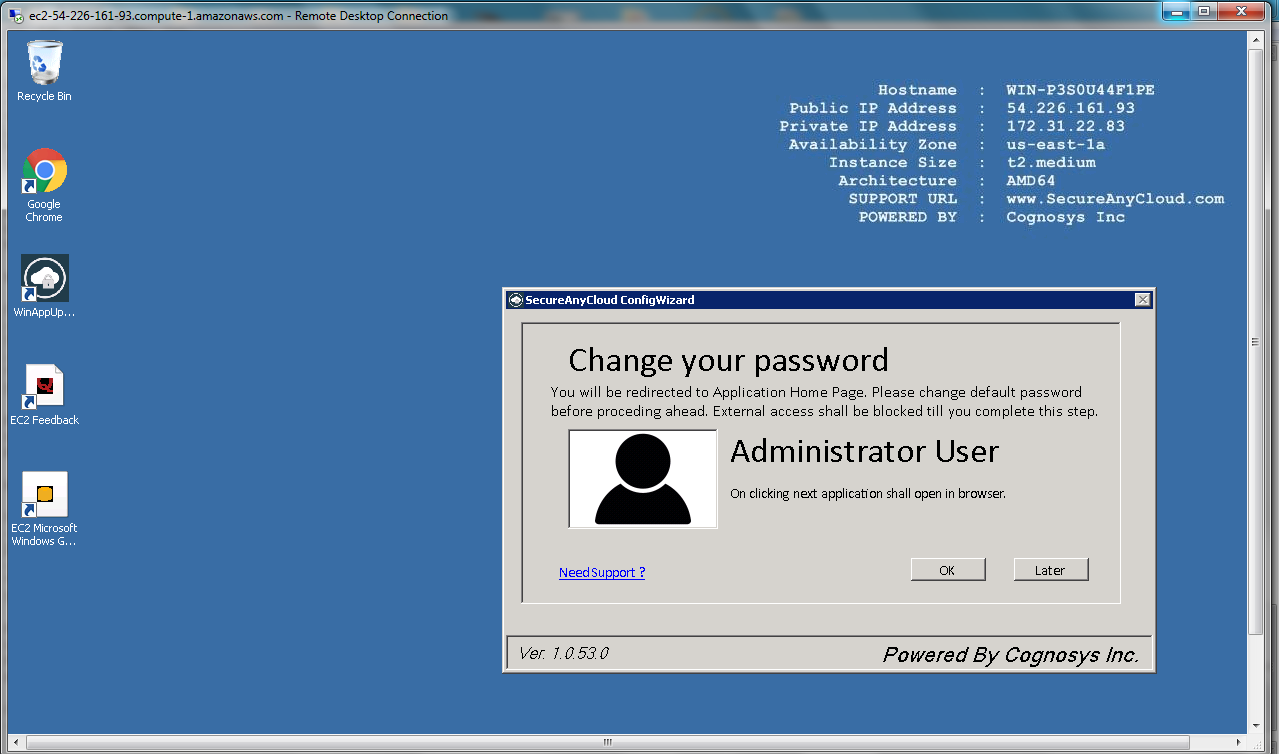
Step 2) Database Login Details:
Username : sa || Password : Passw@rd123
Note: Please change the password immediately after the first login.
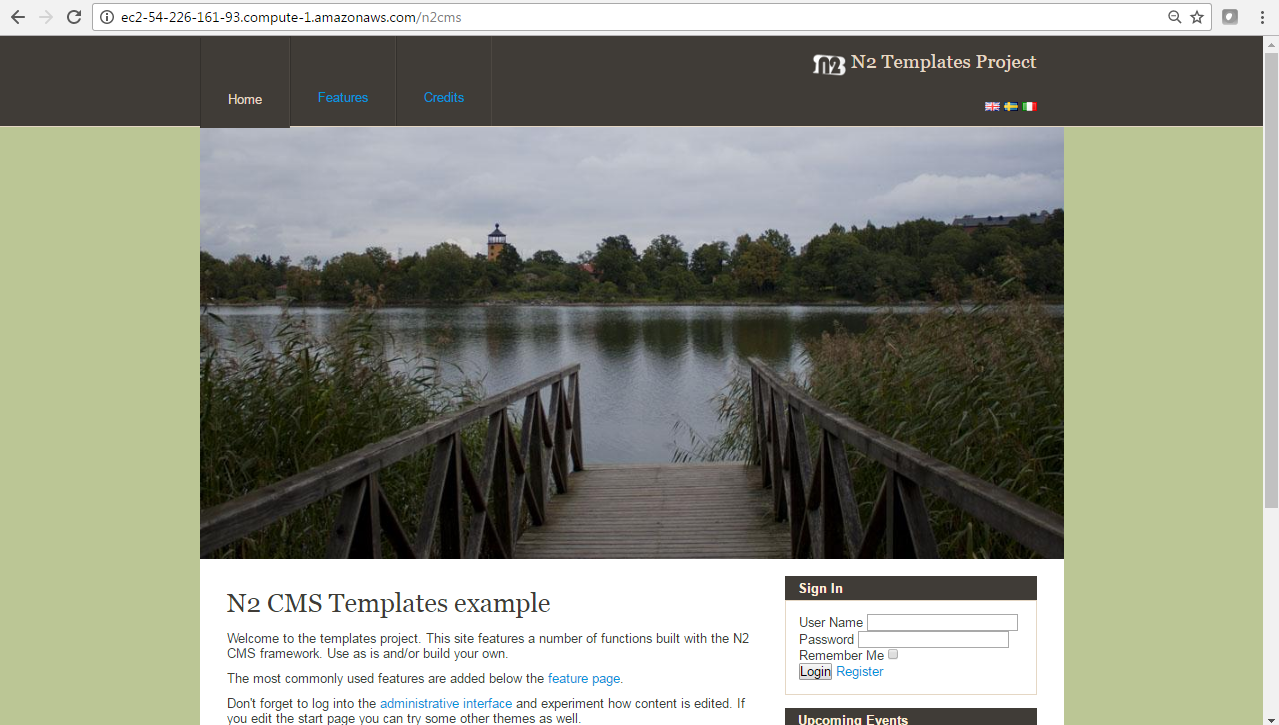
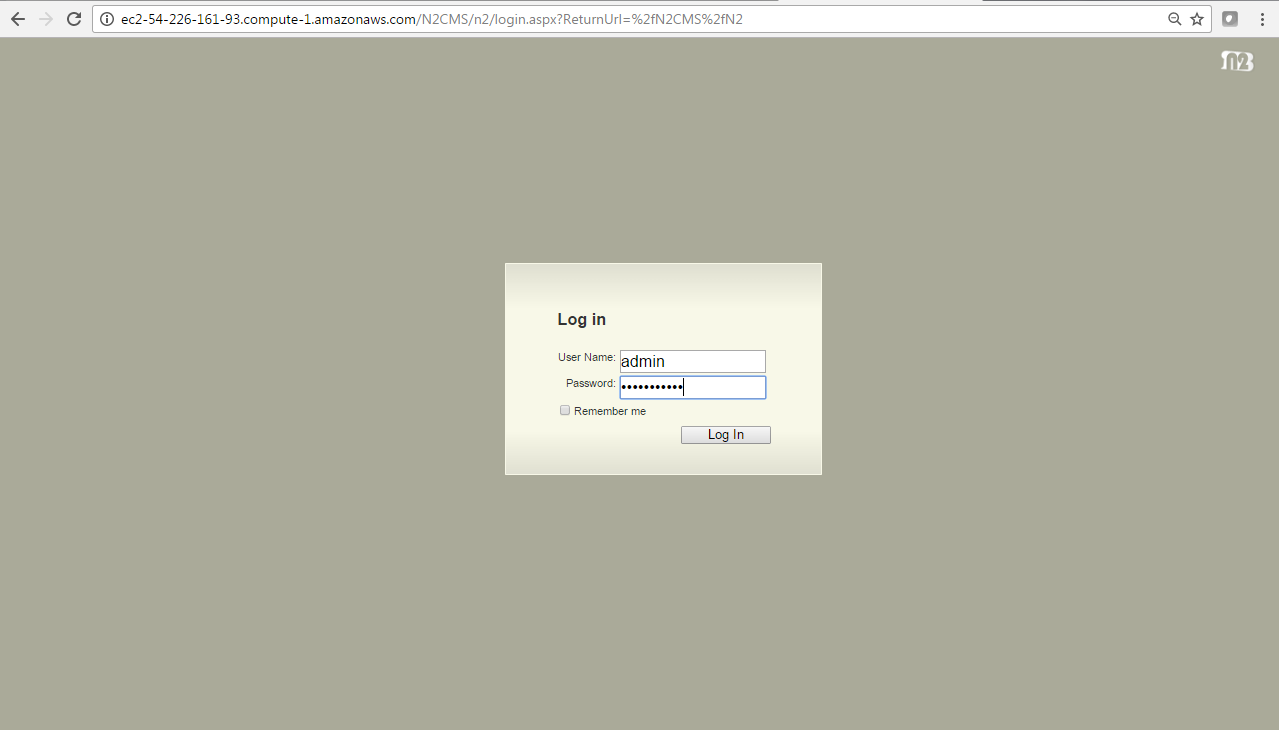
Step 3) Application URL: Access the application via a browser at http://PublicDNS/n2CMS/N2/
- User Name: admin
- Password: Passw@rd123
Steps to access the Admin Panel:
- To login to N2 CMS Administrative Panel, you need
to open your browser and navigate to http://PublicDNS/n2CMS/N2/ - Enter username and password in the given fields and click on the“Login”button to access the Admin Panel.
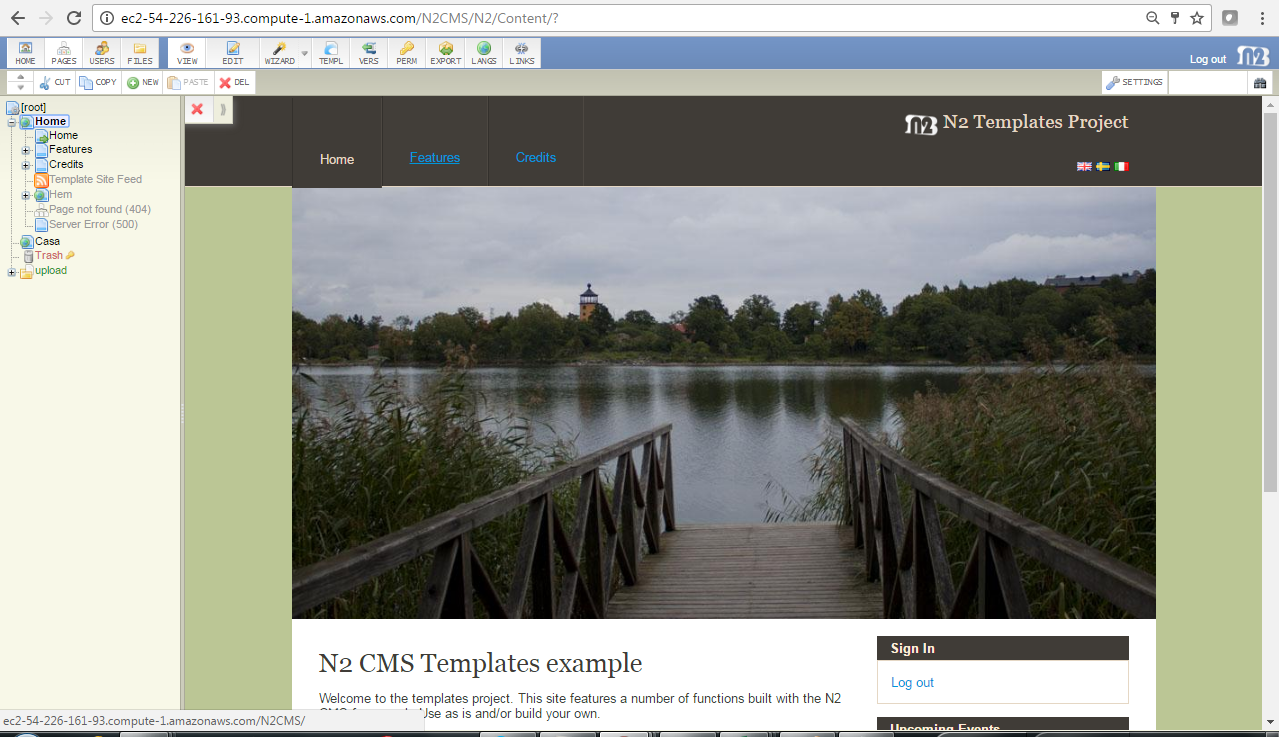
- After successful login to the Admin Panel, you will get access to N2 CMS Application.
Step 4) Other Information:
1. Default installation path: will be in your web root folder “C:\inetpub\wwwroot\n2cms”
2. Default ports:
- Windows Machines: RDP Port – 3389
- Http: 80
- Https: 443
- Sql ports: By default these are not open on Public Endpoints. Internally Sql server: 1433.
Configure custom inbound and outbound rules using this link
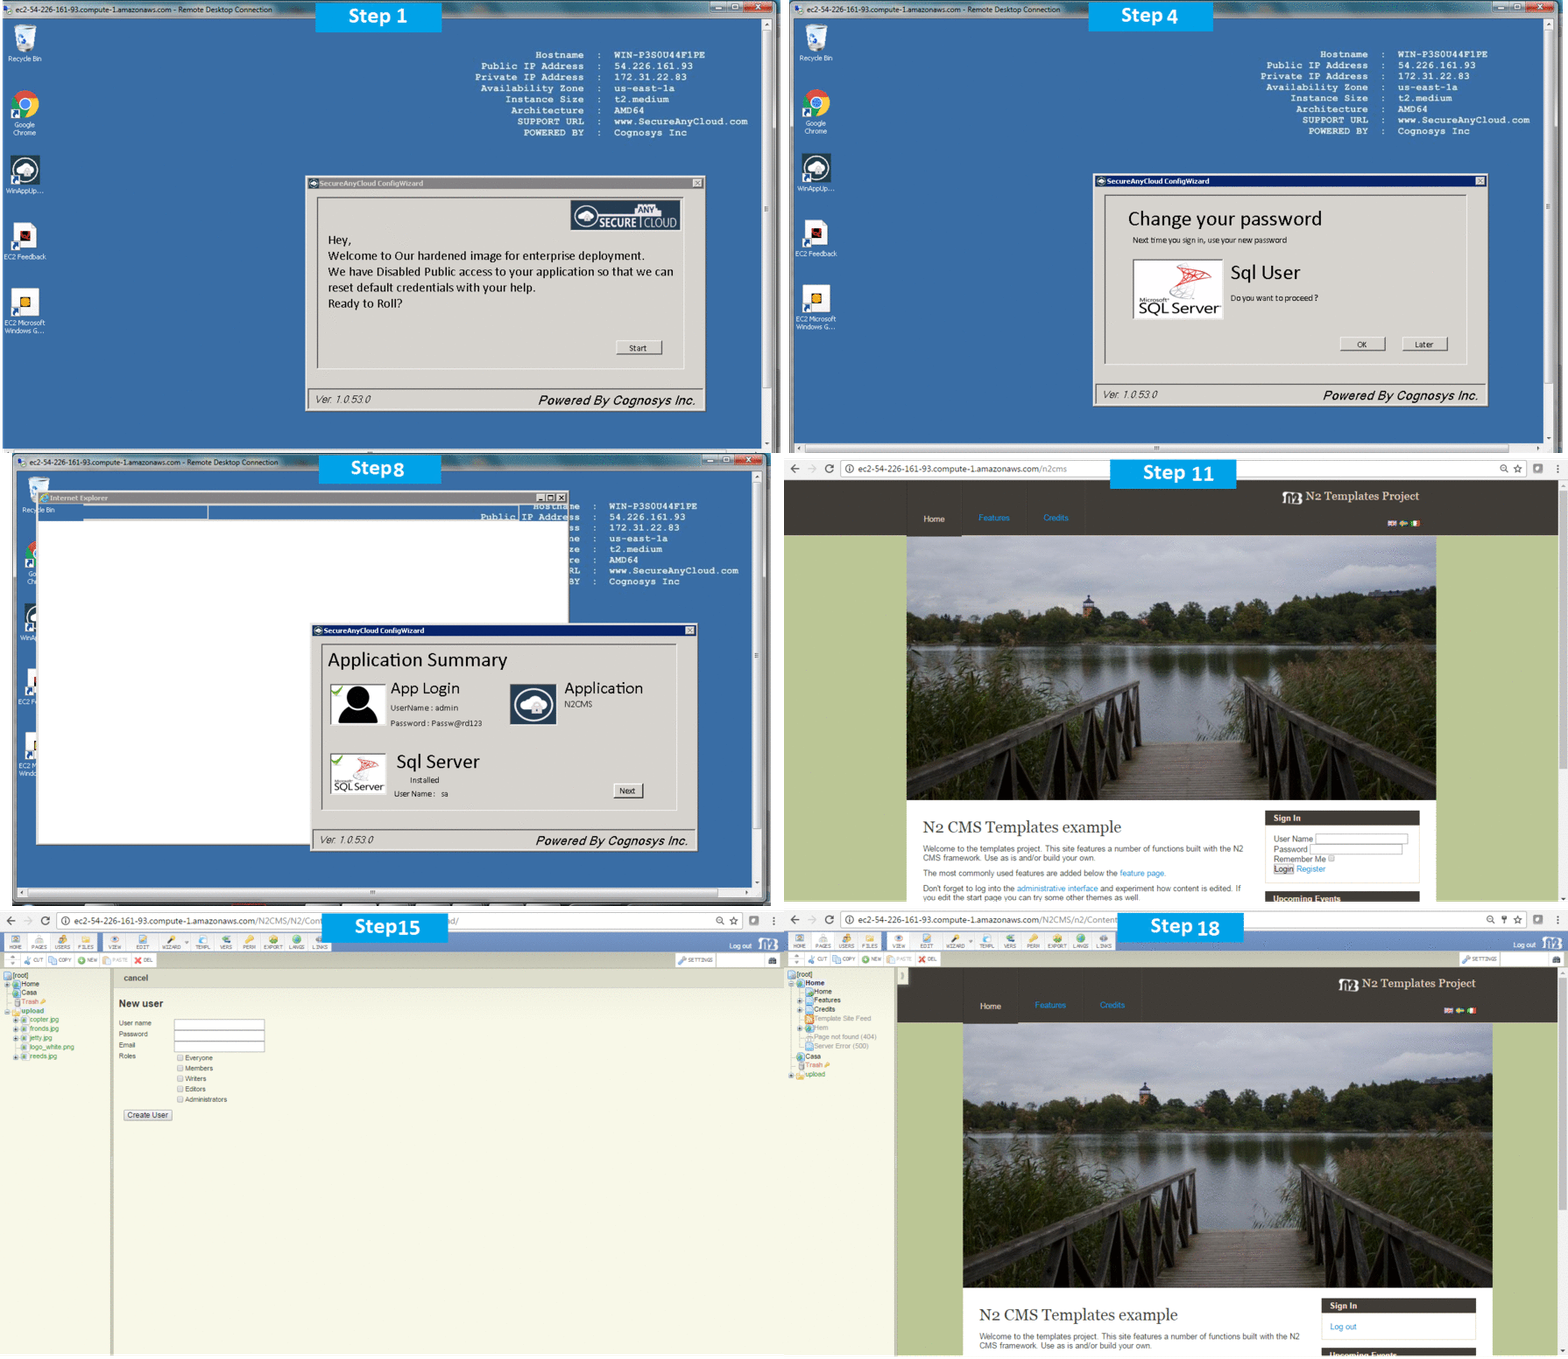
AWS Step by Step Screenshots
Azure
Installation Instructions for Windows
Note: How to find PublicDNS in Azure
Step 1) RDP Connection: To connect to the deployed instance, Please follow Instructions to Connect to Windows instance on Azure Cloud
Connect to virtual machine using following RDP credentials:
- Hostname: PublicDNS / IP of machine
- Port : 3389
Username: Your chosen username when you created the machine ( For example: Azureuser)
Password : Your Chosen Password when you created the machine ( How to reset the password if you do not remember)
Step 2)Database Login Details:
Username : sa || Password : Passw@rd123
Note: Please change the password immediately after the first login.
Step 3) Application URL: Access the application via a browser at http://PublicDNS/n2CMS/N2/
- User Name: admin
- Password: Passw@rd123
Step 4) Other Information:
1. Default installation path: will be in your web root folder “C:\inetpub\wwwroot\n2cms”
2. Default ports:
- Windows Machines: RDP Port – 3389
- Http: 80
- Https: 443
- Sql ports: By default these are not open on Public Endpoints. Internally Sql server: 1433.
Configure custom inbound and outbound rules using this link
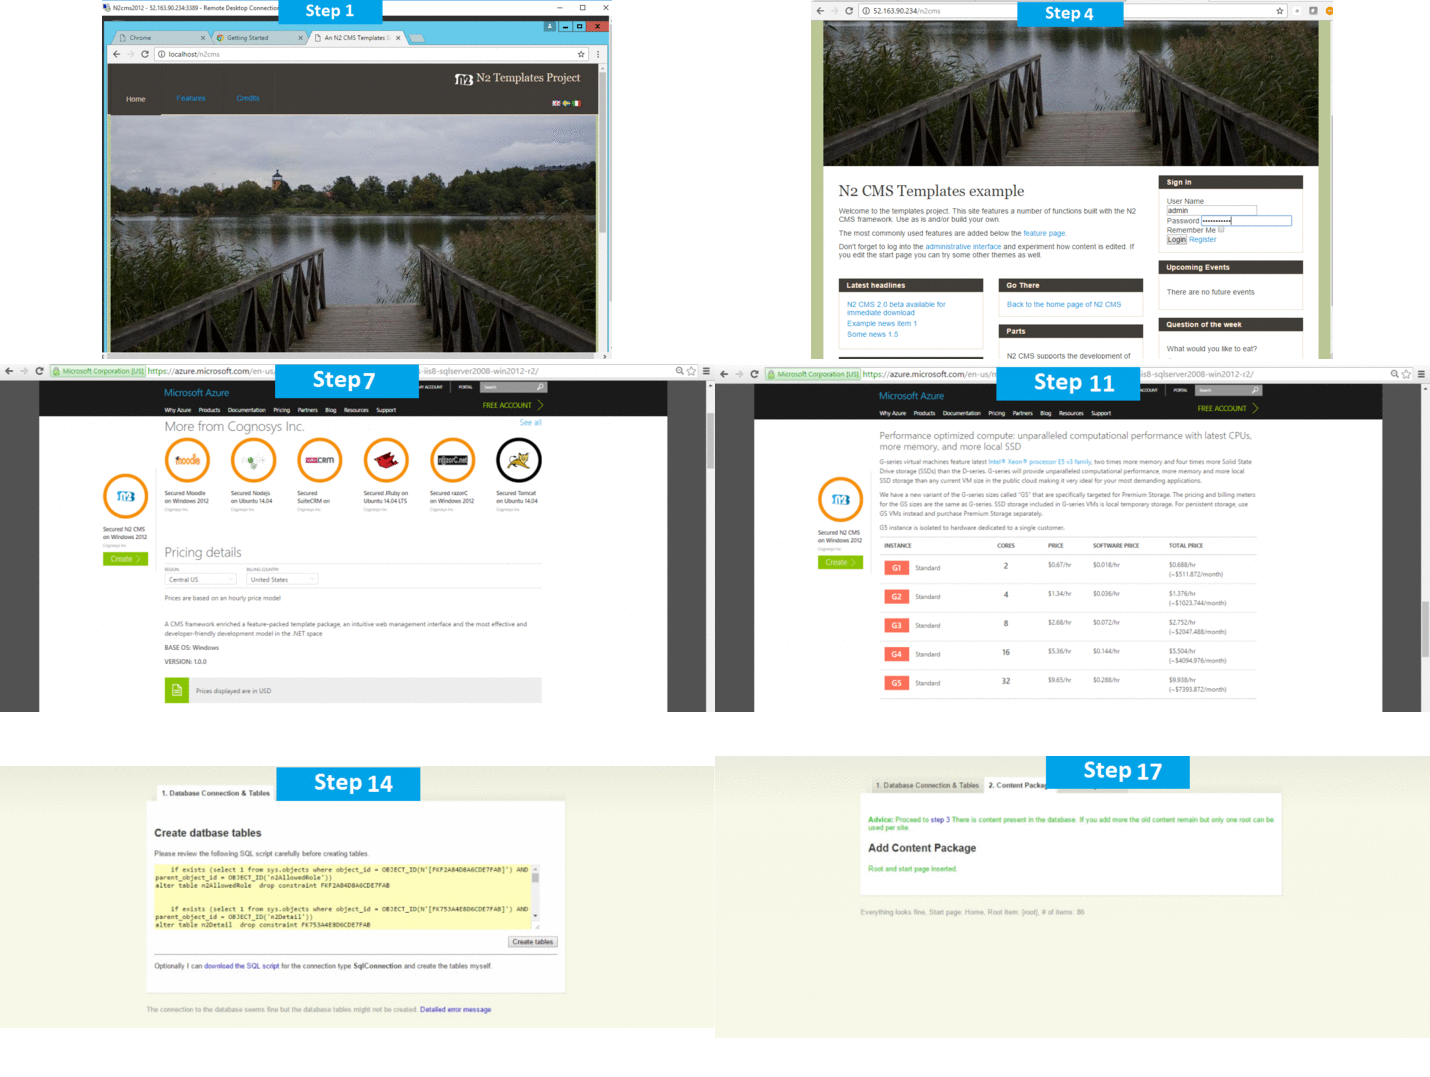
Azure Step by Step Screenshots
Installation Instructions For Windows
Installation Instructions for Windows
Step 1) VM Creation:
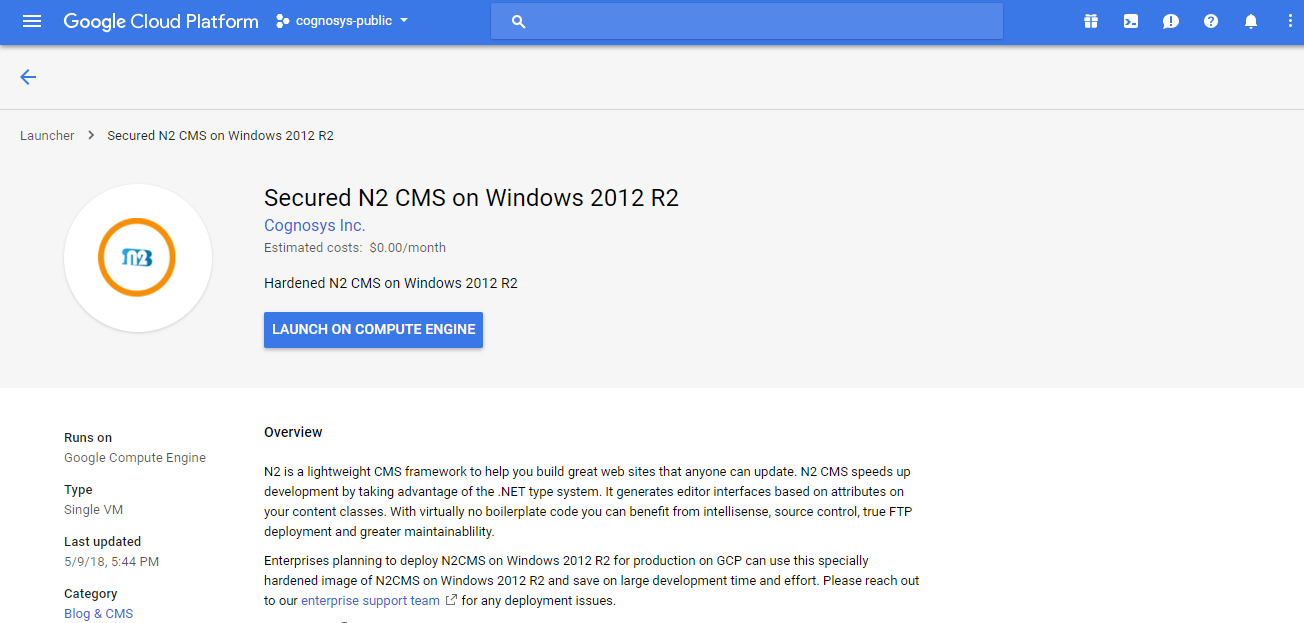
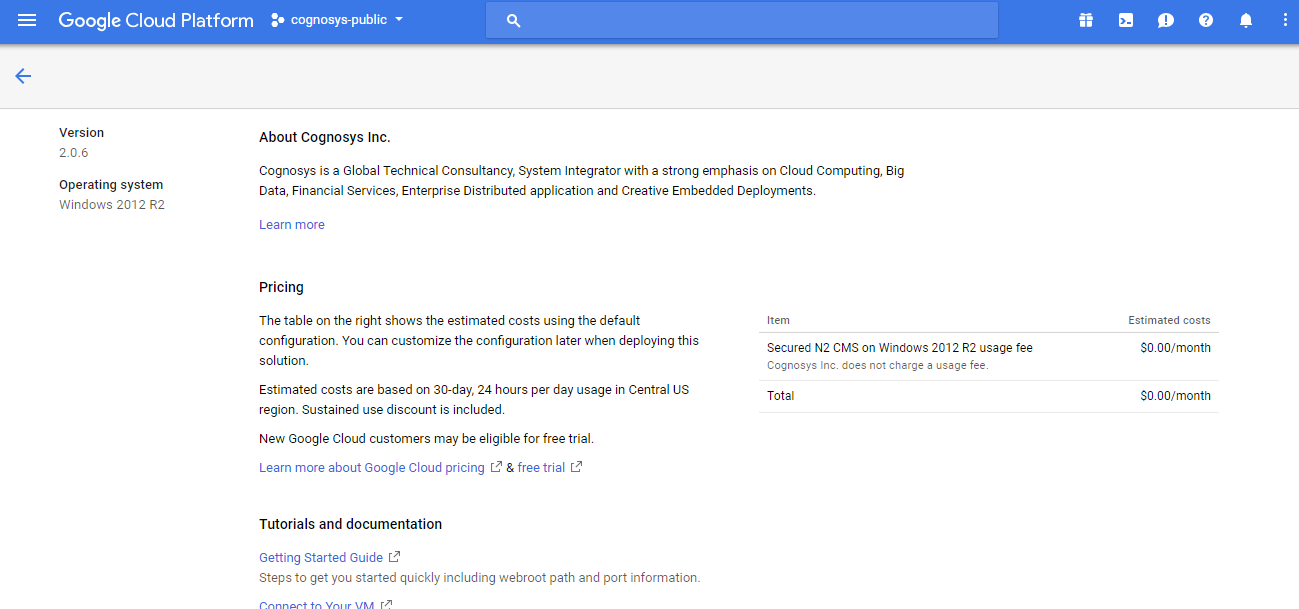
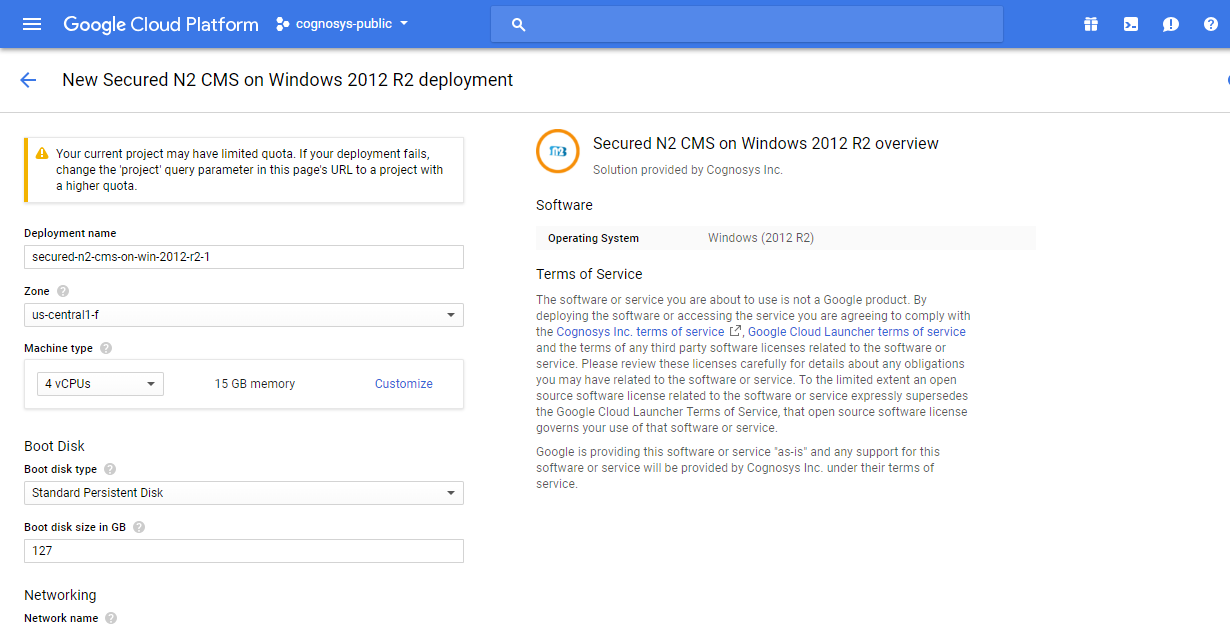
- Click the Launch on Compute Engine button to choose the hardware and network settings.

- You can see at this page, an overview of Cognosys Image as well as estimated cost of running the instance.

- In the settings page, you can choose the number of CPUs and amount of RAM, the disk size and type etc.

Step 2) RDP Connection: To initialize the DB Server connect to the deployed instance, Please follow Instructions to Connect to Windows instance on Google Cloud
Step 3) Database Login Details:
The below screen appears after successful deployment of the image.

For local MySQL root password, please use the temporary password generated automatically during image creation as shown above.
i) Please connect to Remote Desktop as given in step 2 to ensure stack is properly configured and DB is initialized.
ii) You can use MySQL server instance as localhost, username root and password as shown above.
If you have closed the deployment page you can also get the MySQL root password from VM Details “Custom metadata” Section.
1. Default installation path: will be in your web root folder “C:\inetpub\wwwroot\n2cms”
2. Default ports:
- Windows Machines: RDP Port – 3389
- Http: 80
- Https: 443
- Sql ports: By default these are not open on Public Endpoints. Internally Sql server: 1433.
Step 4) Other Information:
1.Default ports:
- Linux Machines: SSH Port – 22
2. To access Webmin interface for management please follow this link
Videos
Secured N2 CMS on Windows 2012 R2-
N2 CMS Introduction

