1-click AWS Deployment 1-click Azure Deployment 1-click Google Deployment
Overview
Mahara is an open source e-portfolio system with a flexible display framework. Mahara, meaning ‘think’ or ‘thought’ in Te Reo Māori, is user centred environment with a permissions framework that enables different views of an e-portfolio to be easily managed.
Mahara also features a weblog, resume builder and social networking system, connecting users and creating online learner communities.
Mahara is owned by Mahara (https://mahara.org/) and they own all related trademarks and IP rights for this software.
Cognosys provides hardened and ready to run images of Mahara on all public cloud ( AWS marketplace and Azure).
Deploy your Mahara securely on cloud i.e. AWS marketplace and Azure with Reliable Services offered by Cognosys at one-click with easy written and video tutorials.
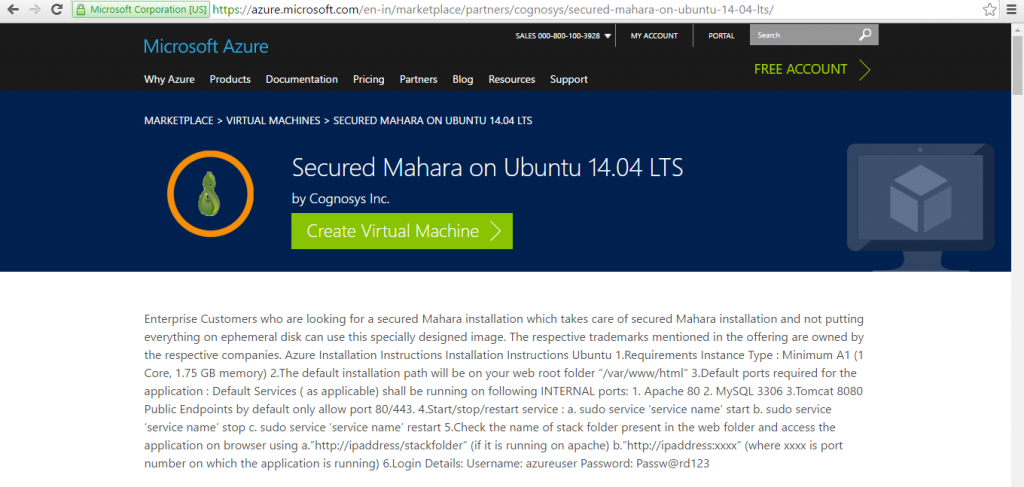
Secured Mahara on Ubuntu 14.04 LTS
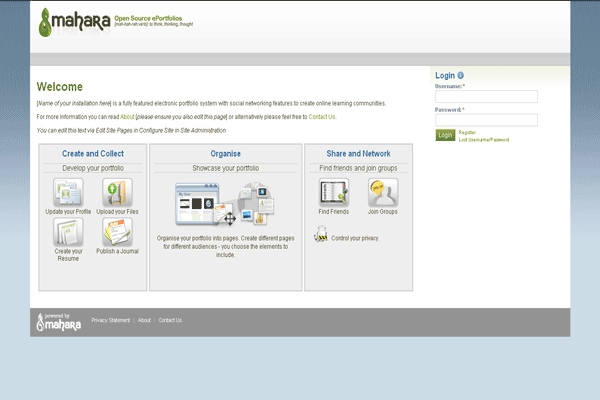
Welcome
Login
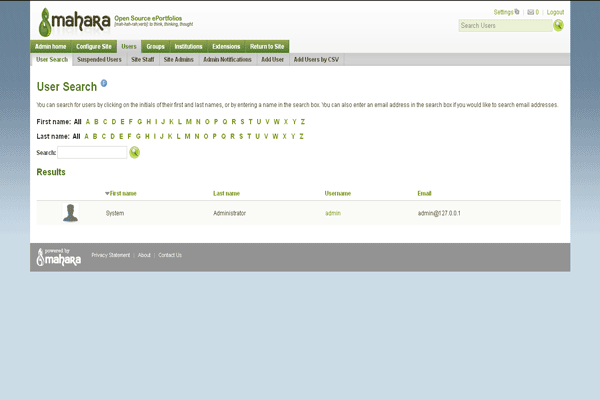
User Search
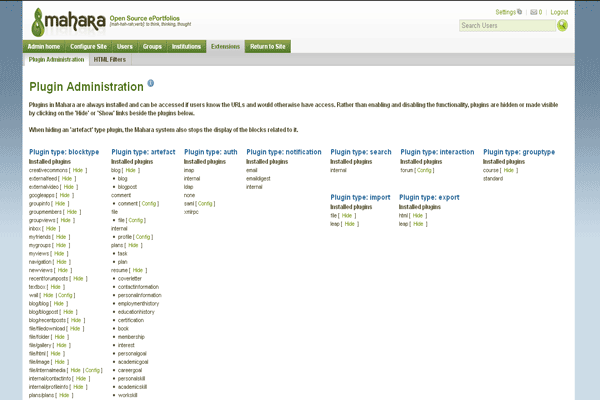
Plugin Administration
Features
Major features Of Mahara
File Repository
Mahara includes a file repository which allows users to:
- Create folder and sub folders structures
- Upload multiple files quickly and efficiently
- Give each file a Name and Description
- Manage their file allocation Quota
- When uploading a file users must agree to a configurable Copyright disclaimer.
- Can extract .zip, .tar.gz and .tar.bz2 from within the files area
Blogs
A comprehensive blogging tool is provided in Mahara, where blogs and blog postings are considered Artefacts and may be added to a View.
The blogging tool allows users to:
- Create blog posts using a WYSIWYG editor
- Attach files to posts
- Embed images into postings
- Configure whether or not Comments may be received on their blog
- Create draft postings for later publishing
Social Networking
Mahara provides a social networking facility where users can create and maintain a list of Friends within the system. ePortfolio owners choose whether other users can add them to their Friends list automatically or by request and approval.
An ePortfolio owner’s Friends lists shows those Views to which they have been assigned access.
Resume Builder
Mahara includes a resumé builder which allows users to create digital CV’s by entering information into a variety of optional fields including:
- Contact and personal information
- Employment and education history
- Certifications, accreditations and awards
- Books and publications, professional memberships
- Personal, academic and work skills and
- Personal, academic and career goals
Profile Information
Within Mahara users are able to share details through a variety of optional profile information fields including:
- Preferred Name
- Student ID
- Postal address and contact phone numbers
- Skype, MSN, Yahoo & Jabber name
- Introduction
- Profile Icons images
AWS
Installation Instructions For Ubuntu
Note: How to find PublicDNS in AWS
Step 1) SSH Connection: To connect to the deployed instance, Please follow Instructions to Connect to Ubuntu instance on AWS Cloud
1) Download Putty.
2) Connect to the virtual machine using following SSH credentials:
- Hostname: PublicDNS / IP of machine
- Port: 22
Username: To connect to the operating system, use SSH and the username is ubuntu.
Password: Please Click here to know how to get password
Step 2) Application URL: Access the application via a browser at http://PublicDNS/Mahara.
Step 3) Database Login Details:
- MYSQL Username: root
- MYSQL Password: Passw@rd123
Note : –Please change the password immediately after the first login.
Step 4) Other Information:
1. Default installation path: will be in your web root folder “/var/www/html/Mahara ” ( Please see above Note for stack name)
2. Default ports:
- Linux Machines: SSH Port – 22
- Http: 80 or 8080
- Https: 443
- Sql or Mysql ports: By default, these are not open on Public Endpoints. Internally Sql server: 1433. Mysql :3306
Configure custom inbound and outbound rules using this link
Azure
Installation Instructions For Ubuntu
Note : How to find PublicDNS in Azure
Step 1) SSH Connection: To connect to the deployed instance, Please follow Instructions to Connect to Ubuntu instance on Azure Cloud
1) Download Putty.
2) Connect to virtual machine using following SSH credentials :
- Host name: PublicDNS / IP of machine
- Port : 22
Username: Your chosen username when you created the machine ( For example: Azureuser)
Password : Your Chosen Password when you created the machine ( How to reset the password if you do not remember)
Step 2) Database Login Details:
- MYSQL Username : root
- MYSQL Password : Passw@rd123
For Stack Database: DB mahara with user mahara and password Passw@rd123 has already been created.Please use this database for you Stack Configuration.
Note : -Please change password immediately after first login.
Step 3) Application URL: Access the application via a browser at http://PublicDNS/
Step 4) Other Information:
1.Default installation path: will be in your web root folder “/var/www/html/”
2.Default ports:
-
- Linux Machines: SSH Port – 22
- Http: 80
- Https: 443
- MySQL ports: By default these are not open on Public Endpoints. MySQL :3306
Configure custom inbound and outbound rules using this link
3. To access Webmin interface for management please follow this link
Installation Instructions For Centos
Note : How to find PublicDNS in Azure
Step 1) SSH Connection: To connect to the deployed instance, Please follow Instructions to Connect to Centos instance on Azure Cloud
1) Download Putty.
2) Connect to virtual machine using following SSH credentials :
- Host name: PublicDNS / IP of machine
- Port : 22
Username: Your chosen username when you created the machine ( For example: Azureuser)
Password : Your Chosen Password when you created the machine ( How to reset the password if you do not remember)
Step 2) Database Login Details:
- MYSQL Username : root
- MYSQL Password : Passw@rd123
For Stack Database: DB mahara with user mahara and password Passw@rd123 has already been created.Please use this database for you Stack Configuration.
Note : -Please change password immediately after first login.
Step 3) Application URL: Access the application via a browser at http://PublicDNS/
Step 4) Other Information:
1.Default installation path: will be in your web root folder “/var/www/html/”
2.Default ports:
- Linux Machines: SSH Port – 22
- Http: 80
- Https: 443
- MySQL ports: By default these are not open on Public Endpoints. MySQL :3306
Configure custom inbound and outbound rules using this link
3. To access Webmin interface for management please follow this link
Azure Step by Step Screenshots
Product name
Installation Instructions For Windows
Step 1) VM Creation:
1.Click the Launch on Compute Engine button to choose the hardware and network settings.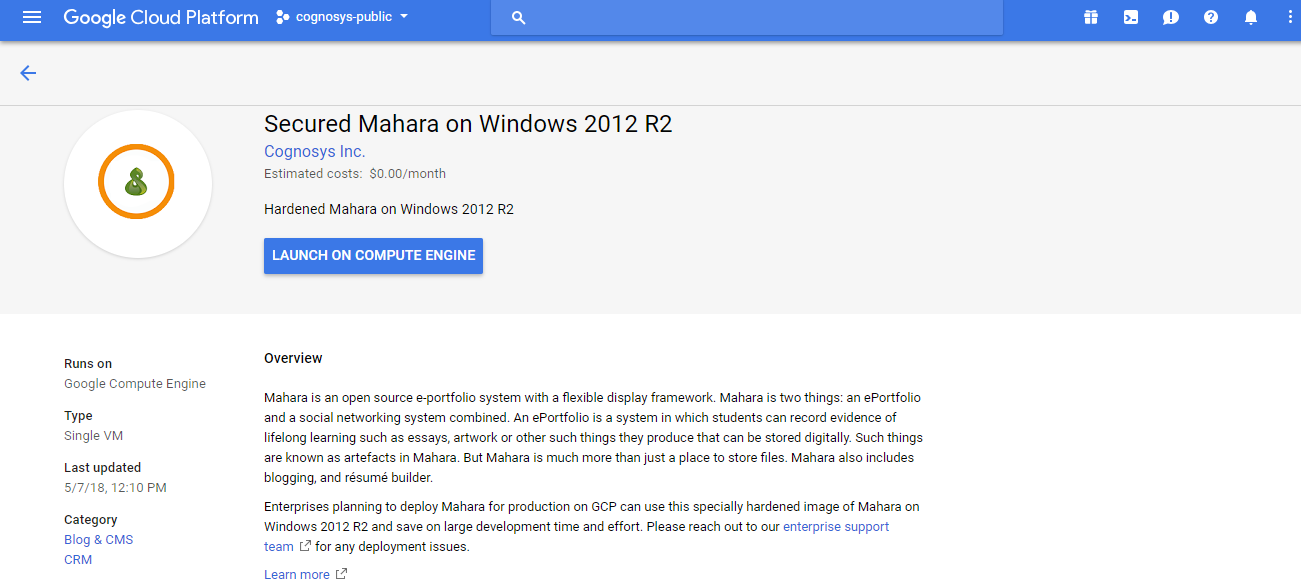
2.You can see at this page, an overview of Cognosys Image as well as some estimated costs of VM.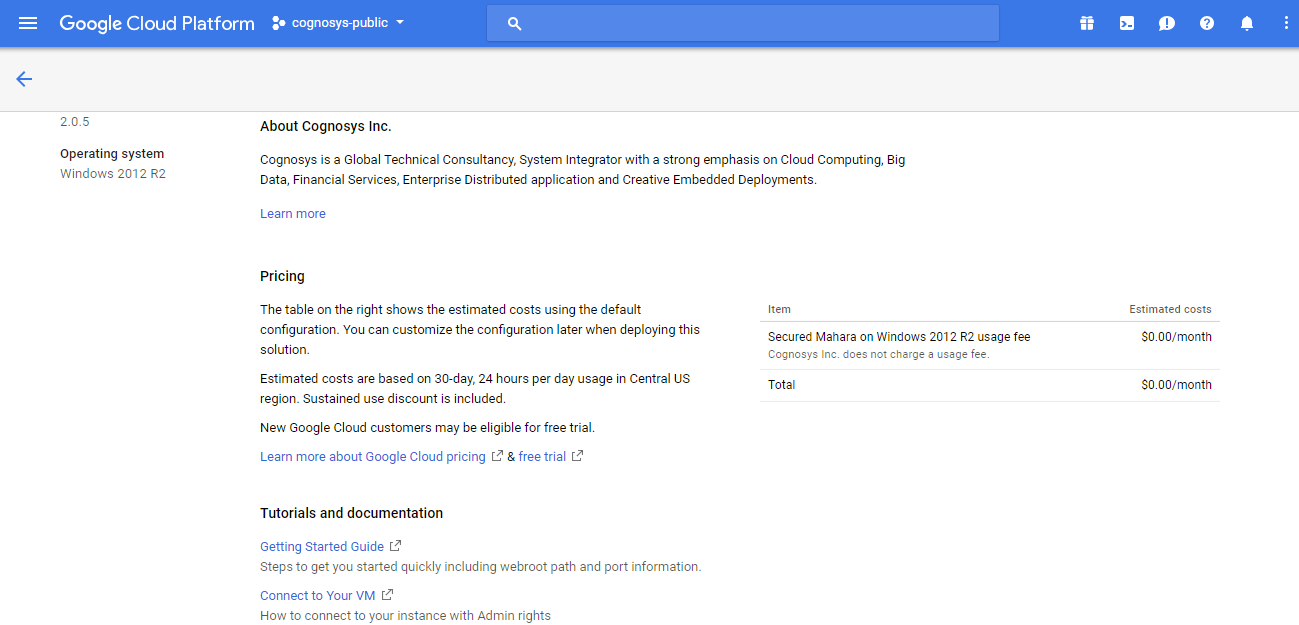
3.In the settings page, you can choose the number of CPUs and amount of RAM, the disk size and type etc.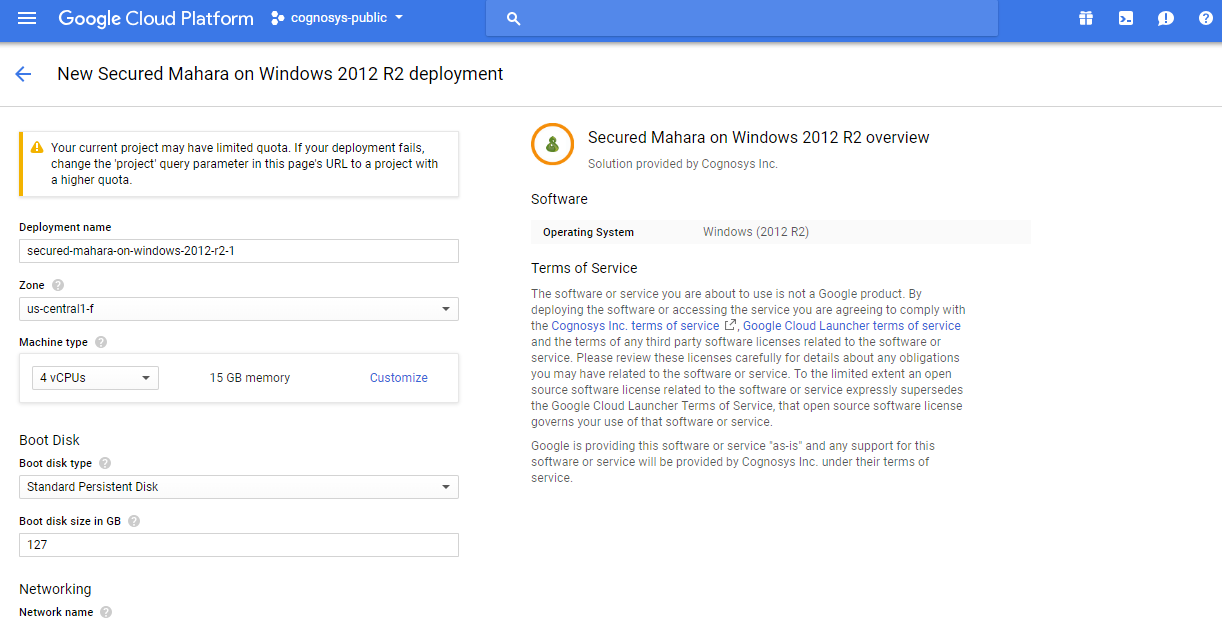
Step 2) RDP Connection: To initialize the DB Server connect to the deployed instance, Please follow Instructions to Connect to Windows instance on Google Cloud
Step 3) Database Login Details:
The below screen appears after successful deployment of the image.
For local MySQL root password, please use the temporary password generated automatically during image creation as shown above.
i) Please connect to Remote Desktop as given in step 2 to ensure stack is properly configured and DB is initialized.
ii) You can use MySQL server instance as localhost, username root and password as shown above.
If you have closed the deployment page you can also get the MySQL root password from VM Details “Custom metadata” Section
Step 4) Application URL: Access the application via a browser at http://PublicDNS/Mahara.
Step 5) Other Information:
1.Default installation path: will be on your web root folder “/var/www/html/Mahara”
2.Default ports:
- Windows Machines: RDP Port : 3389
- Http: 80
- Https: 443
Videos
Secured Mahara on Ubuntu 14.04 LTS –
Tutorial installation Mahara


