1-click AWS Deployment 1-click Azure Deployment
Overview
Logic Invoice is a user-friendly and feature-rich accounting and invoicing solution for your small business needs. Unlike many other accounting software out there, Logic Invoice is free, and open source. By making Logic Invoice open source, the possibilities are endless!
Logic Invoice is an accounting & invoicing solution, which you can use to build websites and online applications. Best of all, Logic Invoice is an open source project, allowing everyone to freely access the source codes and make their own customisations.
Accounting
Create journal entries, manage your accounts and view your chart of accounts.
Invoicing
Keep track of invoices and bill your customers from your administration panel.
Recurring Payments
Automatically generate recurring invoices for your customers.
Reporting
Generate basic reports for accounting, invoices, or recurring payments.
Multi-Language
Configure your system to use various languages.
Multi-currency
Supports multiple currencies in your system.
Email Templates
Customisable email notificatoins to both you and your customers.
Article Pages
Easily add pages to your website
Payment Gateways
Collect payments online with integrated payment gateways.
Blog
Keep your customers updated with the built-in blog.
Modules
Supports modules to enhance functionalities.
Multiple Users
Supports multiple administration users.
Logic Invoice Installation :
Downloading Logic Invoice
After your download is complete, open up the ZIP file. It should contain a folder named “upload”

The folder contents should look something like this:

Uploading Logic Invoice To Your Server
For this section, you will require the following:
- An FTP client
- Host
- Username
- Password
Items 2 to 4 may be obtained from your web hosting provider.
Launch your FTP Client and connect to your web server. Depending on the FTP client you use, you may be able to drag all the contents within the “upload” folder into the “public_html” or “www” folder of your server. Alternatively, you can use the FTP client and navigate to the “upload” folder.

Creating a database
After you have completed the upload, you will have to create a database before you can proceed with the installation. You will have to log into your site’s control panel and look for MySQL Databases to create a database. You will need to enter a database name, username and password. Do ensure that the user assigned to the database that you just created has all the necessary permissions.
Installation Page
Installing Logic Invoice :
The Logic Invoice Installation Page can be accessed at the URL where you uploaded the files to. If you have uploaded the files correctly, you should be greeted with the following page:

After you have read and agreed to the license, you may proceed by clicking on the green button.
System Requirements
The next step checks that your system has the prerequisites to run Logic Invoice. You will be able to proceed only after all the requirements have been met:

System Configurations
On this page, you will have to fill in every empty field. Do note that for Database Name, it is the name of the database that you created earlier.

Installation Complete
When the installation is successfully completed, you will be prompted to “Remove Installation Folder and go to Administration Panel”. Click on the button and you are done with the installation of Logic Invoice.
-Logic Invoice is an accounting & invoicing solution, which you can use to build websites and online applications. Best of all, Logic Invoice is an open source project, allowing everyone to freely access the source codes and make their own customisations.
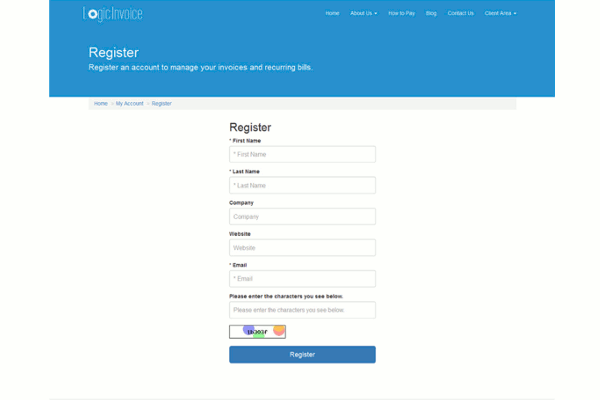
Registration
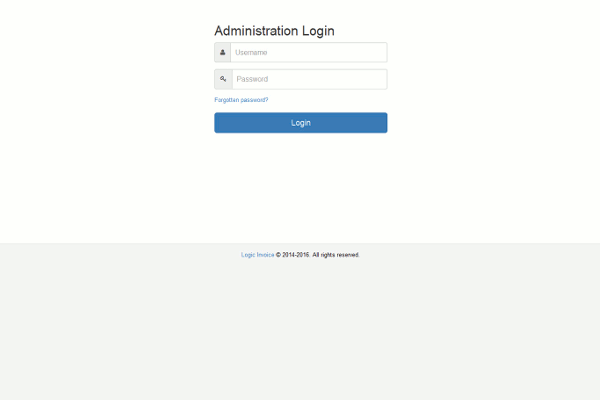
Administration Login
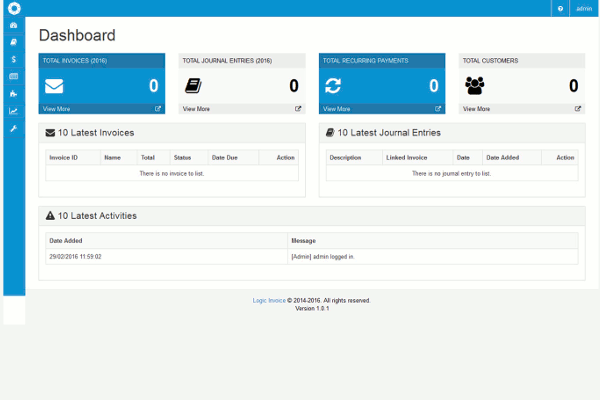
Dashboard
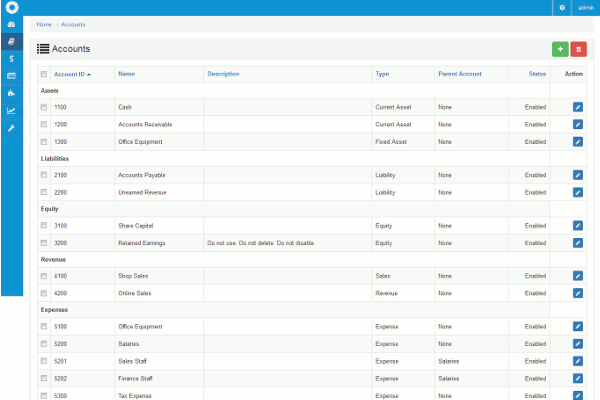
Accounts
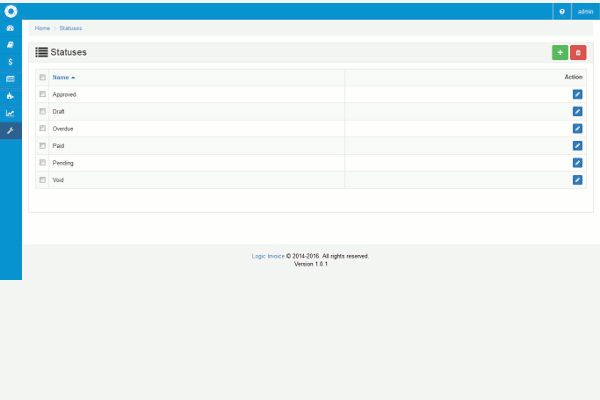
Statuses
Logic Invoice is released under the GNU General Public License Version 3.
Features
Core Features :
- Billing Portal
- Contingency Billing
- Customizable Invoices
- Hourly Billing
- Project Billing
- Customer Database
- Dunning Management
- Mobile Payments
- Multi-Currency
- Online Invoicing
- Online Payments
- Payment Processing
- Tax Calculator
- Templates
Other Informartion
DEPLOYMENT
- Open API
- Cloud Hosted
- On-Premise
DEVICES SUPPORTED
- Windows
- Web-based
- Mac
- Linux
- Android
- iPhone/iPad
DEPLOYMENT
- Open API
- Cloud Hosted
- On-Premise
DEVICES SUPPORTED
- Windows
- Web-based
- Mac
- Linux
- Android
- iPhone/iPad
PRICING MODEL
- Free
- Monthly Payment
- Annual Subscription
- Quote Based
- One-Time Payment
RESOURCES
- Help Guides
- Blogs
- Video Guides
- Webinars
- Infographics
- Case Studies
- Whitepapers
- On-Site Training
SUPPORT
- Online (Ticket)
- Phone
- Live Chat
- Business Hours
BUSINESS SIZE
- Small
- Medium
- Large
- Freelancer
Features :
Logic Invoice is simple to use. All you need to do is install, and you are ready to start adding journal entries or invoice your customers. Logic Invoice also has plenty of additional features.
- Open Source
- Accounting
- Invoicing
- Printable Invoices
- Recurring Payments
- Reporting
- Multi-language
- Multi-currency
- Email Templates
- Article Pages
- Payment Gateways
- Blog
- Modules
- Multiple Users
- Search Engine Friendly
- Multiple Tax Rates
- Error Logging
Major Features Of Logic Invoice:
Accounting : Create journal entries, manage your accounts and view your chart of accounts.
Invoicing : Keep track of invoices and bill your customers from your administration panel.
Recurring Payments : Automatically generate recurring invoices for your customers.
Reporting : Generate basic reports for accounting, invoices, or recurring payments.
Multi-currency : Supports multiple currencies in your system.
Email Templates : Customisable email notifications to both you and your customers.
Article Pages : Easily add article pages to your website.
Payment Gateway : Collect payments online with integrated payment gateways.
Blog : Keep your customers updated with the built-in blog.
Modules : Supports modules to enhance functionalities.
Multiple Users : Supports multiple administration users.


