
1-click AWS Deployment 1-click Azure Deployment
Overview
Loaded Commerce is an open source application, which permits you to rapidly build up an online store and sell your products global. It comes from the same team that developed CRE Loaded previously. Meanwhile, almost the entire CRE Loaded team got back together due to their desire for e-commerce, and the Loaded Commerce project was born.
Loaded 7. How to manage boxes
- Modules Installation
- Log into your webstore admin panel.
- Navigate to Settings->Setup->Template modules-> Boxes. There you will find modules that exist within the framework of the Loaded 7 template structure. These modules define boxes within your store.
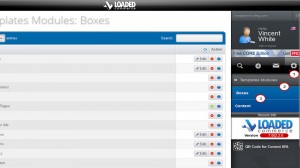
- Click the Install button to activate the module you need.
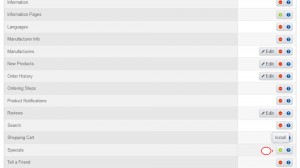
 Some modules can be configured and you can get access to their options by pressing the Edit button. If you need to disable some module, just click Uninstall.
- Boxes Layout
- If you need to locate a module in a certain position, go to Settings-> Setup -> Template Module Layout-> Boxes in your admin panel.
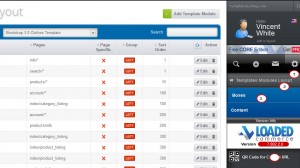
- Click the Add Template Module button.
- Configure the following options in the pop-up window:
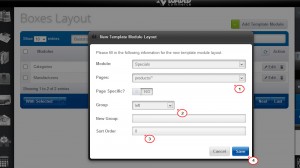
- Module: – Select the required module from the drop down menu.
- Pages: – Choose a page to locate the module.
- Page specific? – Is the module page specific: yes or no.
- Group – Select a group for the module.
- New Group – If you need to create a new group, put the title here.
- Order – Define module order on the page.
- Click Save to confirm the changes.
- If you want to make some changes in the boxes layout configuration, click the Edit button. Implement the changes you need in the pop-up window and click Save.
- If you need to locate a module in a certain position, go to Settings-> Setup -> Template Module Layout-> Boxes in your admin panel.
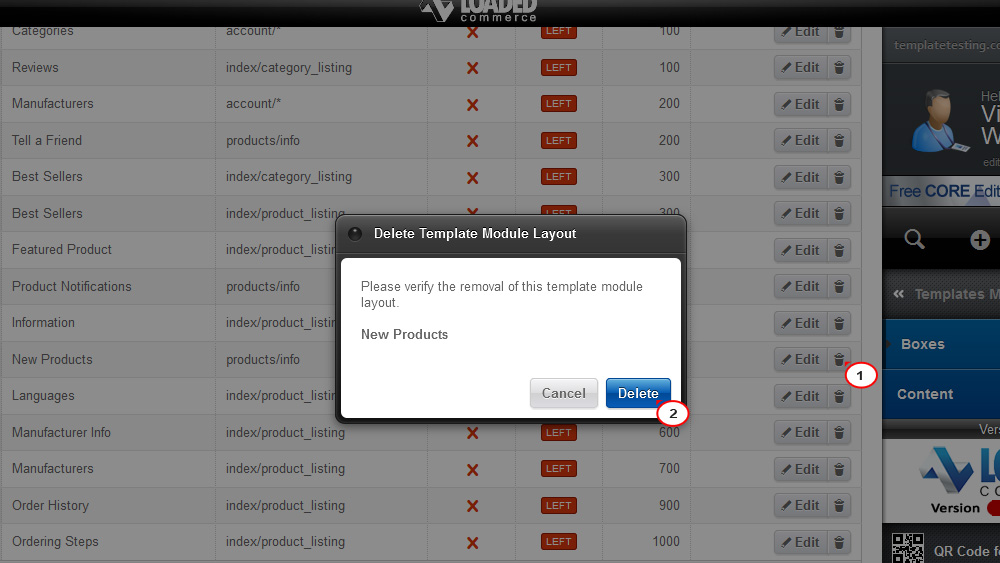
- Deleting a Module
- To delete a module, click the Delete button for any module you wish to remove.
- Click Delete a second time to confirm removal.

- Check your website front end. Now we know how to manage boxes in Loaded 7 templates.


Loaded 7. How to manage currencies and set up a default one
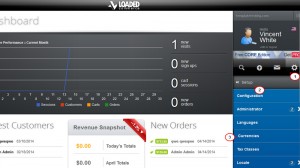
- Log into your website admin panel.
- In order to manage your currencies, you need to navigate to Settings->Setup->Currency.
- Adding New CurrencyTo add a new currency, click the New Currency button and fill in the pop-up window with the following details:
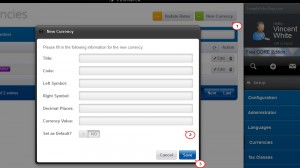
- Title – The name of the currency (for instance, British Pound).
- Code – The ISO code of the required currency (for example, GBP).
- Left Symbol – The symbol of the unit that appears on the left side of the price digits (for example, £).
- Right Symbol – The symbol that would appear on the right side of the digits.
- Decimal Places – The number of decimal digits.
- Currency Value – The current value of the currency.
- Set as Default – The option to make the currency the default one in the store.
- Click the Save button to confirm the new currency.
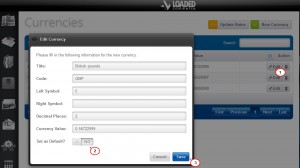
- Editing Currency
- If you need to manage your currency options, click the Edit button.
- Edit the data you need in the pop-up window.
- Choose to set the currency as default if necessary.
- Click the Save button to confirm the edits.
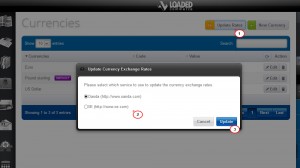
- Update Rates
- After adding the new currency, to set it as the default one or to refresh currency rates in your store, click the Update Rates button.
- Choose one of the websites to pull the currency rate information .
- Confirm updating.
- Deleting Currency
- If you need to remove some currency, click the Delete button in front of the currency you want to delete.
You can delete any currency except your only currency and the default currency.
- When the pop-up box opens, confirm the deletion by clicking the Delete button. Or cancel by clicking the Cancel button if you selected the wrong currency.
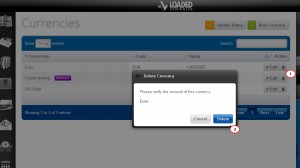
- The currency has been successfully removed.
- If you need to remove some currency, click the Delete button in front of the currency you want to delete.
- Check your webstore front end. Now you know how to manage currencies in Loaded 7 templates.


Install Loaded Commerce via Softaculous
The installation of Loaded Commerce is easy, when you use the Softaculous automated process. We will review the steps for that and all of the options you have using this method. This will provide an inside look on how to complete the process yourself.
The steps for Loaded Commerce installation via Softaculous are:
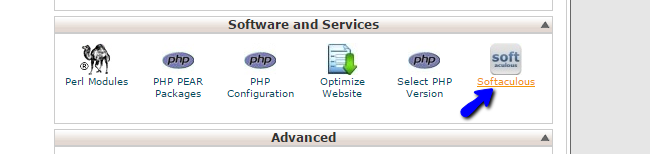
Access Softaculous
The first step of the process is to access the Softaculous auto-installer. For that purpose, you need to log into your cPanel account and locate the Software and Services section. Click on the Softaculous icon to proceed.
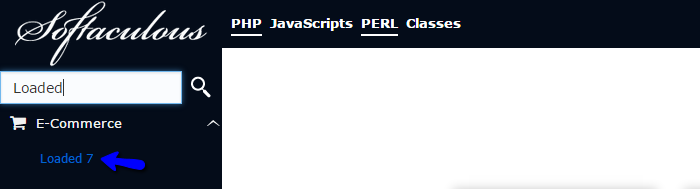
You will be presented with a list of all available applications for free installation. The list is located on the left-side of the screen and the available scripts are grouped by their functionality. Search for Loaded 7 and select it.
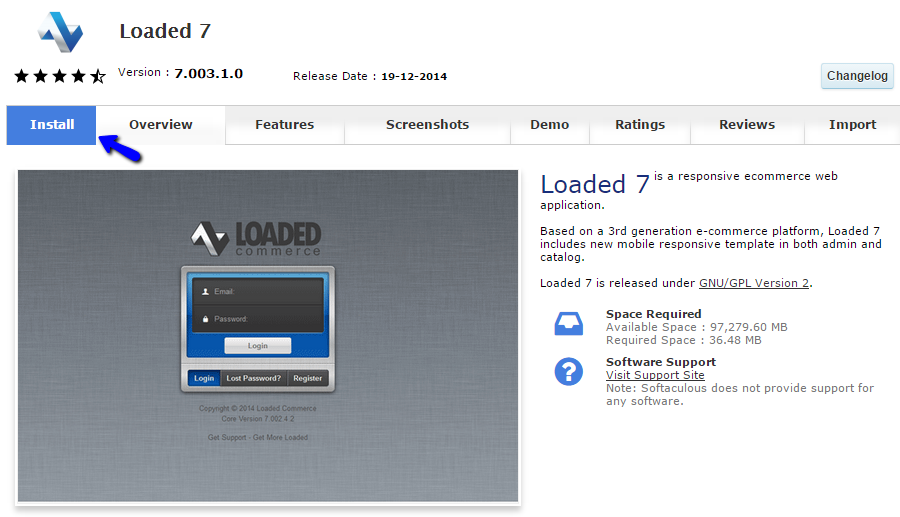
You will be taken to the Loaded Commerce overview page of Softaculous. It will provide valuable information about the script and what it is designed to do. You will also be able to see a live demo, reviews and many other options. If you wish to proceed with the installation, click on the Install button.
Configure the Installation Options
The system will initiate the install script for Loaded Commerce. You will have a few options for a proper set up of the application on your account. We will review all of the available options so you can make sure that Loaded Commerce is configured properly on the server.
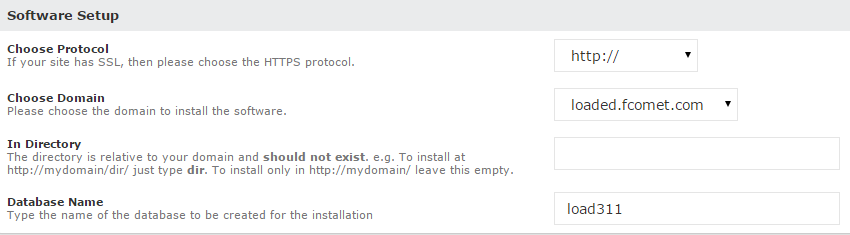
The first section is called the Software Setup and the options you have are:
- Choose Protocol – You can choose the protocol to be used on your new installation. Make sure that you do NOT select https, if you do not have a valid SSL license for your domain. This is an extra service that you can get via your Client Area.
- Choose Domain – Choose the domain to be used for the new installation. If you have any addon, parked or subdomains, you will be able to choose them here.
- In Directory – Choose the directory, where you wish to install Loaded Commerce. If you do not want to install it in a subfolder, simply leave this field blank.
- Database Name – Set the name of the database to be created for your website. The system will automatically add it to your account.
The second section is called Site Settings and you have the following option in it:
- Site Name – Enter the name of the new store. This is optional only and you will be able to easily change the name later

The third step is the Database Settings section configuration. It provides the following option:
- Table Prefix: Set a prefix for the tables on your database. If you are using existing database with data in it, you may specify any prefix, which allows you to easily locate the tables for this new installation.

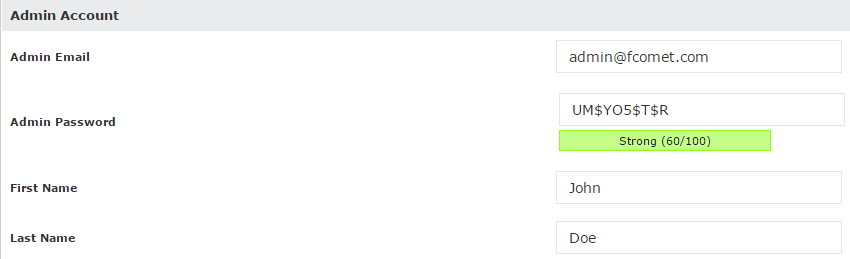
The last section is the Admin Account configuration. The options are:
- Admin Email – Set the administrative email account for your website;
- Admin Password – Set the password for the administrative account on your website;
- First Name – Enter your first name;
- Last Name – Enter your last name.
When you are ready with the configuration described above, simply scroll down to the bottom of the page and click on the Install button. The system will automatically initiate the process for you.
Complete the Installation
The installation may take a few seconds to get fully completed. Once this process is over, you will be presented with details about your new website, which includes the home page URL, as well as the one for the administrative area. Enjoy!
How to Manage Manufacturers in Loaded 7
To access the manufacturer manager in Loaded Commerce, you first need to log in as administrator. Click on the Products tab on the left side menu first.
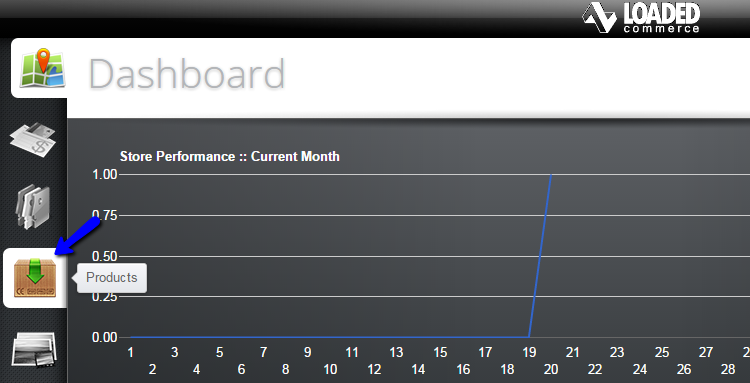
Select Manufacturers from the right side menu.

To Manage Manufacturers in Loaded Commerce, you are able to:
Create Manufacturer
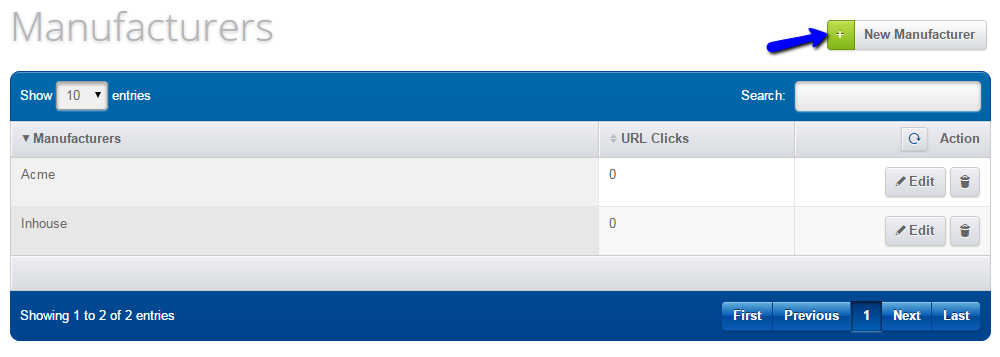
To create a new manufacturer, access the manufacturer manager in Loaded Commerce. The system will list all of the current manufacturers on your website. Click on the New Manufacturer button at the top of the list to create one.
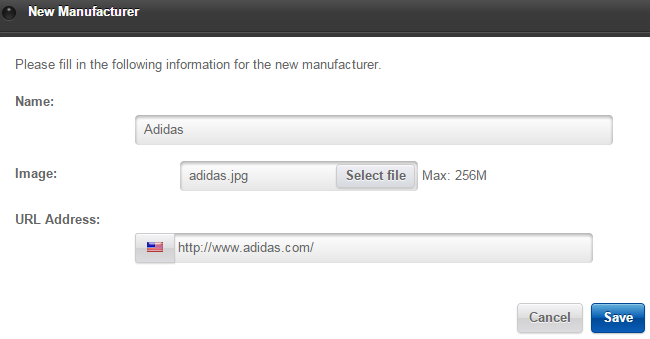
Edit the following details for the new manufacturer:
- Name – Enter the name of the manufacturer;
- Image – Upload a logo for the new manufacturer;
- URL Address – Enter the website of the manufacturer.
Edit Manufacturer
To edit existing manufacturers on your website, you simply need to access the manager again. You will notice a list of all created manufacturers on your website. Next to each one of them, you will notice an Edit button that will allow you to change it’s details.
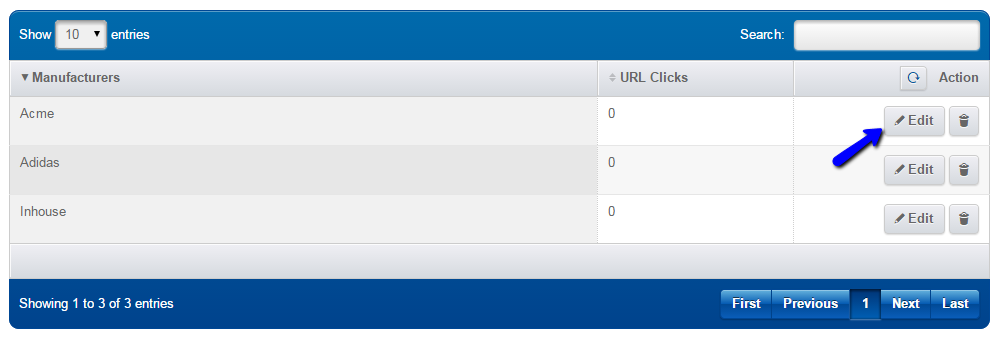
Change the details that you wish to change for the manufacturer and click on the Save button to keep them.
Remove Manufacturer
Access the manufacturer manager and locate the list of all existing manufacturers on your website. Locate the one that you wish to remove from your website and click on the Remove button next to it.
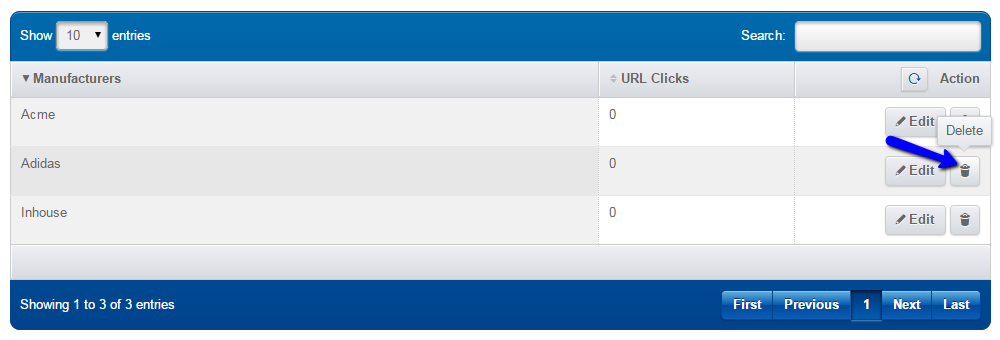
The system will request a confirmation of the removal, and then delete the record for the manifacturer completely
How to Manage Product Categories in Loaded 7
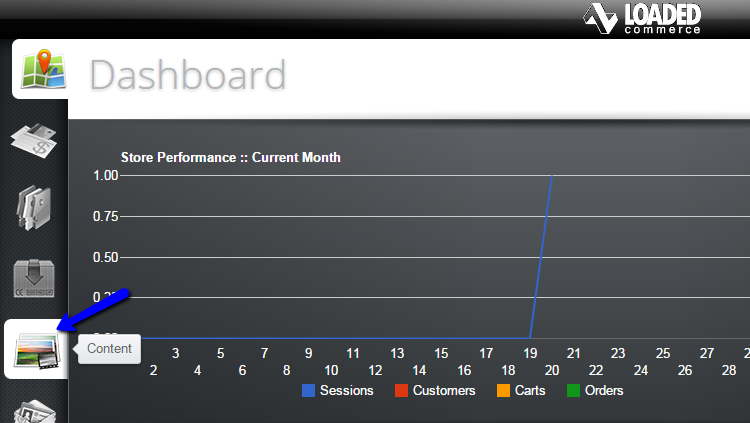
Loaded Commerce allows you to create different product categories on your website. This will make it easier to group a number of products together, following certain criteria. For example, if you are selling clothes on your website, you may want to group them by gender. You can also create sub-categories, such as Shirts, Shorts, Coats, etc.The category manager is quite intuitive and easy to use. You need to log into the administrative area of your website and click on the Content item on the left side menu.
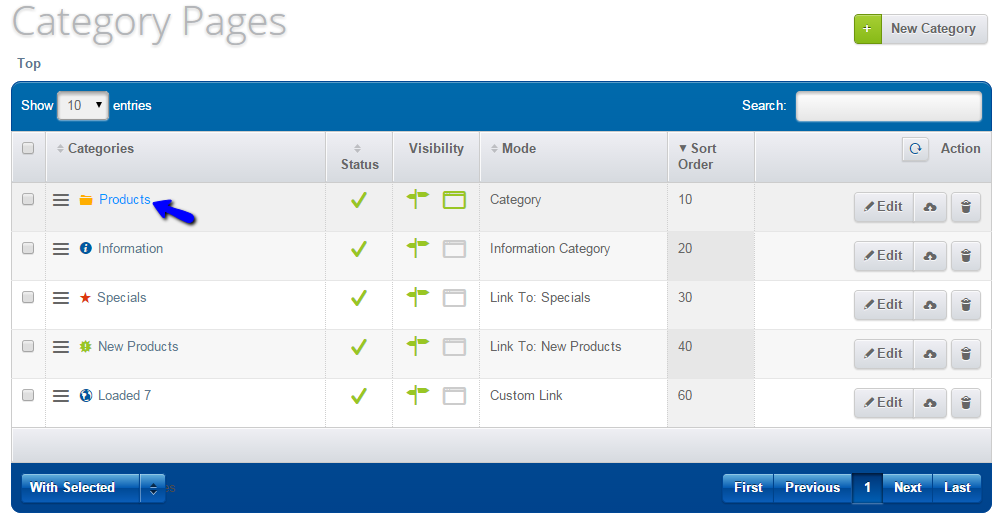
Click on the Products category in order to access it’s contents.
By default, the Products category will include two sub-categories – Men and Women. You can edit any of them via the Edit button next to the category. You can also access the category and create or manage the existing ones, by clicking on it’s name.
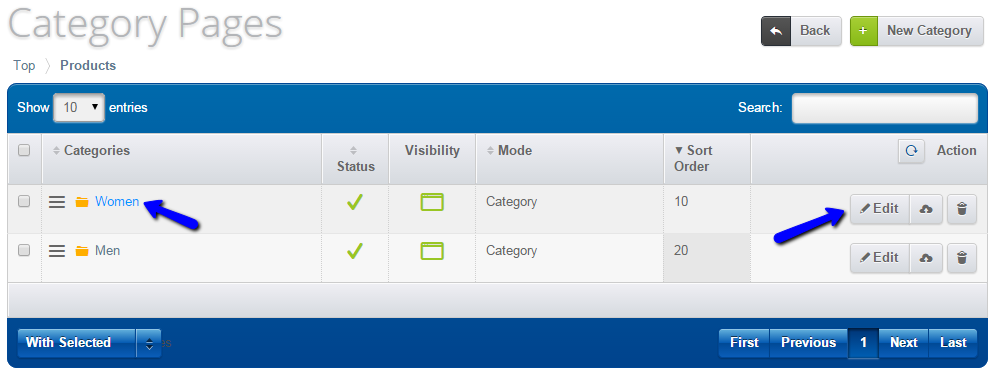
Of course, you can simply remove an existing category that you do not need and create a new one instead.
-Loaded 7 is a responsive ecommerce web application.
Based on a 3rd generation e-commerce platform, Loaded 7 includes new mobile responsive template in both admin and catalog.
Login
Home Page

Dashboard
My Store
Products
Loaded 7 is released under GNU/GPL Version 2.
Features
Features
Comprehensive Catalog and Shopping Cart – All the features that make it well rounded ecommerce solution and a few like Wishlist and specials by category that cause it to stand apart.
Data Driven Inventory Management – Built to keep accurate count to deliver smiles to your customers and reduce refunds. Send your product data to eBay and Amazon to increase awareness and drive orders.
Power Selling Features – Shop by Price, Cross sell and much more give you a competitive edge that means more customers and more orders.
Whitelabel Edition – Perfect for resellers, developers or corporate use. Replace our branding and admin links with your own
The Most Important Ecommerce Features Include:
- Content management capabilities
- Promotion and discount code tools
- An easy-to-use checkout
- Search engine optimized code and layout
- Reporting tools
- An integrated blog or articles section
- Email marketing integration
- Multiple payment options (Credit card, PayPal, PO, Terms, etc.)
- The ability to scale up with your platform
-Major Features Of Loaded 7
Core Features:
-
- Open Source Core Code Base: View and redistribute the core code base. Use it for free on your site.
-
- Customer Account Portal: Your customers can check their orders and manage aspects of their account in the customer account portal.
-
- Simple Product Options: Allow your customers to select options for products when ordering.
-
- Coupons: Give your customers discounts code to use when ordering.
-
- SEO URLS: URLS automatically generated optimized for search engine spidering.
-
- Social Media Tags: Support for Open Graph for optimized sharing to Facebook and other social media sites.
-
- Word Press Bridge: Run your store inside your Word Press Site.
-
- Category Pages: Create content pages easily and link to them in your main navigation.
-
- Discount Customer Groups: Set customer discounts by group.
-
- Order Status Types: Organize your order statuses one step further by defining pending, approve and rejected types of statuses for your orders.
-
- Newsletter Manager: Send email newsletters to your customers with opt-in during checkout.
-
- Special Pricing: Put your products on sale with time based special pricing.
-
- Embedded AddOn Store: Easily Find, Install, Review and Uninstall addons right from your admin.
Pro Features:
-
- Professional Support: Get support from the Loaded Commerce Team.
-
- Product Multi SKU Options: Create Products Variants based on combinations of options and track inventory on hand.
-
- Sub Product Options: Create simple product variants options and track inventory on hand.
-
- Product Classes: Organize your products assets with product classes effects, categories, options, shipping calulators.
- Single Sign On Support: Tie your customer logins to your main website application, works with our Loaded SSO plugin for WordPress.
Videos
Loaded 7 How To Install The Engine
