
1-click AWS Deployment 1-click Azure Deployment
Overview
Invoice Ninja on cloud is a solution for invoicing and billing customers. With Invoice Ninja on cloud, you can easily build and send beautiful invoices from any device that has access to the web. Your clients can print your invoices, download them as pdf files and even pay you online from within the system. Invoice Ninja is released under the Attribution Assurance License.
Invoice Ninja on Cloud runs on Amazon Web Services (AWS) and Azure and is built to create invoices & quotations rapidly and to provide a solution for invoicing and billing customers on cloud, send beautiful invoices.
Invoice Ninja is owned by Invoice Ninja (https://www.invoiceninja.com/) and they own all related trademarks and IP rights for this software.
Cognosys provides hardened images of Invoice Ninja on all public cloud i.e. AWS marketplace and Azure.
Secured Invoice Ninja on Ubuntu 14.04 LTS
Embedded media removed during static cleanup.
Invoice Ninja on Cloud For Azure
Features
Major features of Invoice Ninja
1.Secure & Private
Invoice Ninja has been built from the ground up to keep your data safe. Only you have access to your login & accounting details, & we will never share your transaction data to any third party. Our website operates with 256-bit encryption, which is even more secure than most banking websites. Invoice Ninja uses the TLS 1.0 cryptographic protocol, AES_256_CBC string encryption, SHA1 message authentication and DHE_RSA key exchanges. We feel safe here and have invested heavily in measures to ensure that you do too.
2.Live .PDF View
With Invoice Ninja, we’ve done away with the need for cumbersome multi-click invoice previewing after each save. When you enter the details of your customer and/or invoice in our editor, you can instantly see the results in the pdf preview pane below. Want to see what your invoice would look like in a different layout style? The live pdf can show you four beautiful preset styles in real time too. Just create, save, send and you’re done!
3.Online Payments
Invoice Ninja seamlessly integrates with all of the top internet payment processors and gateways so you can get paid for your work quickly and easily. Invoices created with our tools aren’t just for bookkeeping purposes – they bring in the Benjamins. We also make it super easy to choose the right gateway for the specific needs of your business and are happy to help you to get started working with the gateway of your choice. What’s more, we’re constantly working on rolling out additional gateway integrations, so if you don’t see the one you use here, just let us know and there’s a good chance we’ll add it for you.
AWS
Installation Instructions For Ubuntu
Note: How to find PublicDNS in AWS
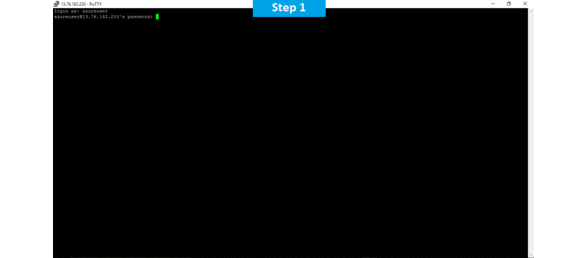
Step 1) SSH Connection: To connect to the deployed instance, Please follow Instructions to Connect to Ubuntu instance on AWS Cloud
1) Download Putty.
2) Connect to virtual machine using following SSH credentials :
- Hostname: PublicDNS / IP of machine
- Port : 22
Username: To connect to the operating system, use SSH and the username is ubuntu.
Password: Please Click here to know how to get password .
Step 2) Database Login Details :
- MYSQL Username : root
- MYSQL Password : Passw@rd123
Note : –Please change the password immediately after first login.
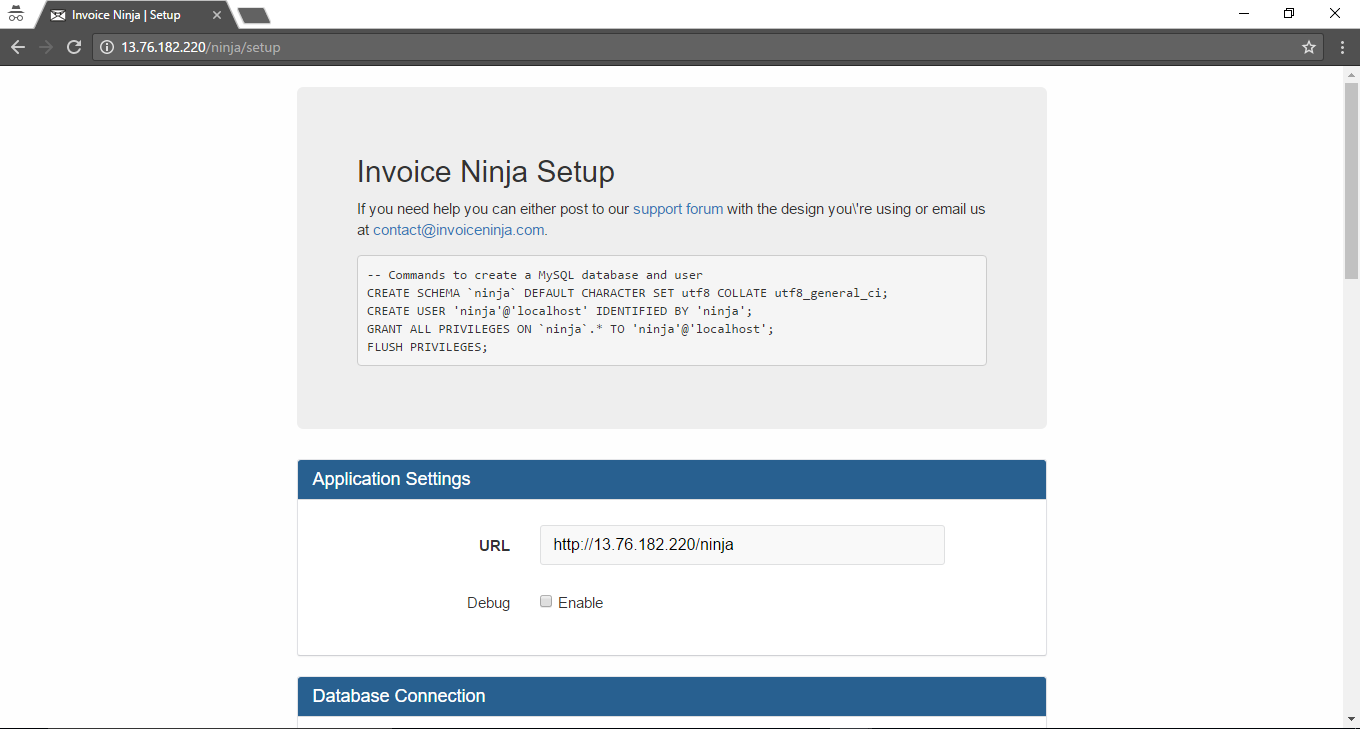
Step 3) Application URL: Access the application via a browser at http://PublicDNS/ninja
Step 4) Other Information:
1.Default installation path: will be in your web root folder “/var/www/html/InvoiceNinja” ( Please see above Note for stack name)
2.Default ports:
- Linux Machines: SSH Port – 22 or 2222
- Http: 80 or 8080
- Https: 443
- Sql or Mysql ports: By default these are not open on Public Endpoints. Internally Sql server: 1433. Mysql :3306
Configure custom inbound and outbound rules using this link
AWS Step by Step Screenshots
Product Overview
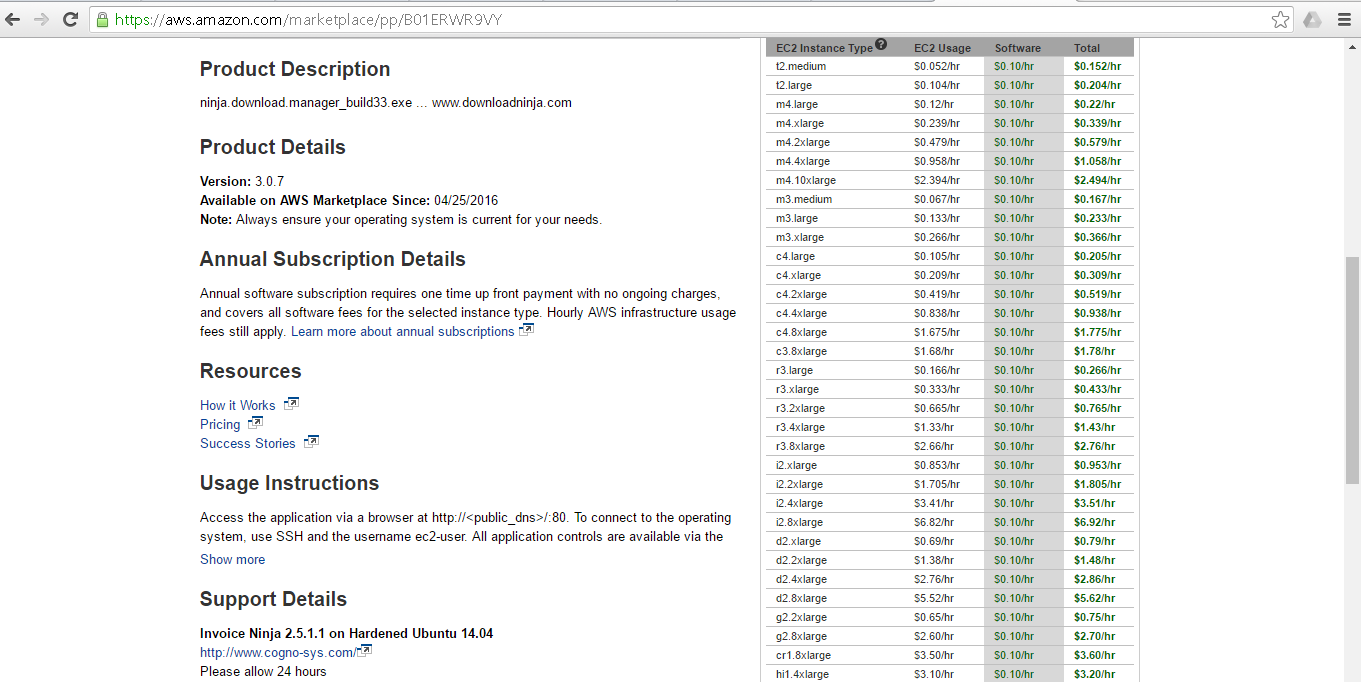
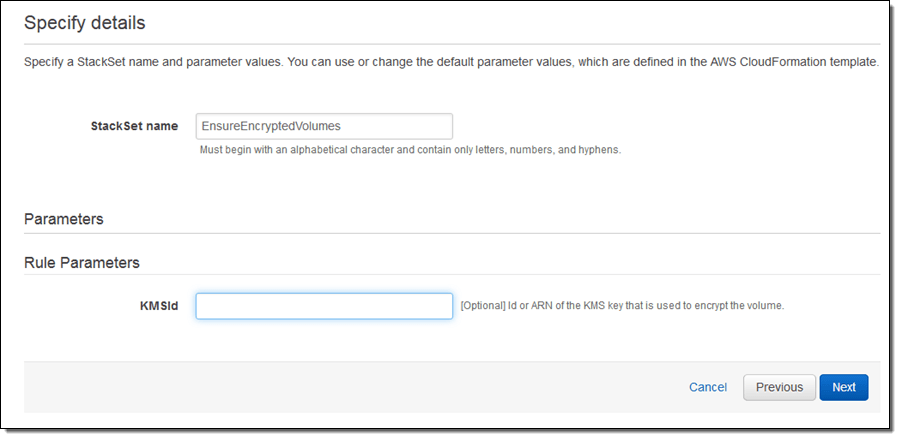
Stack Name-This will be your Current stack.
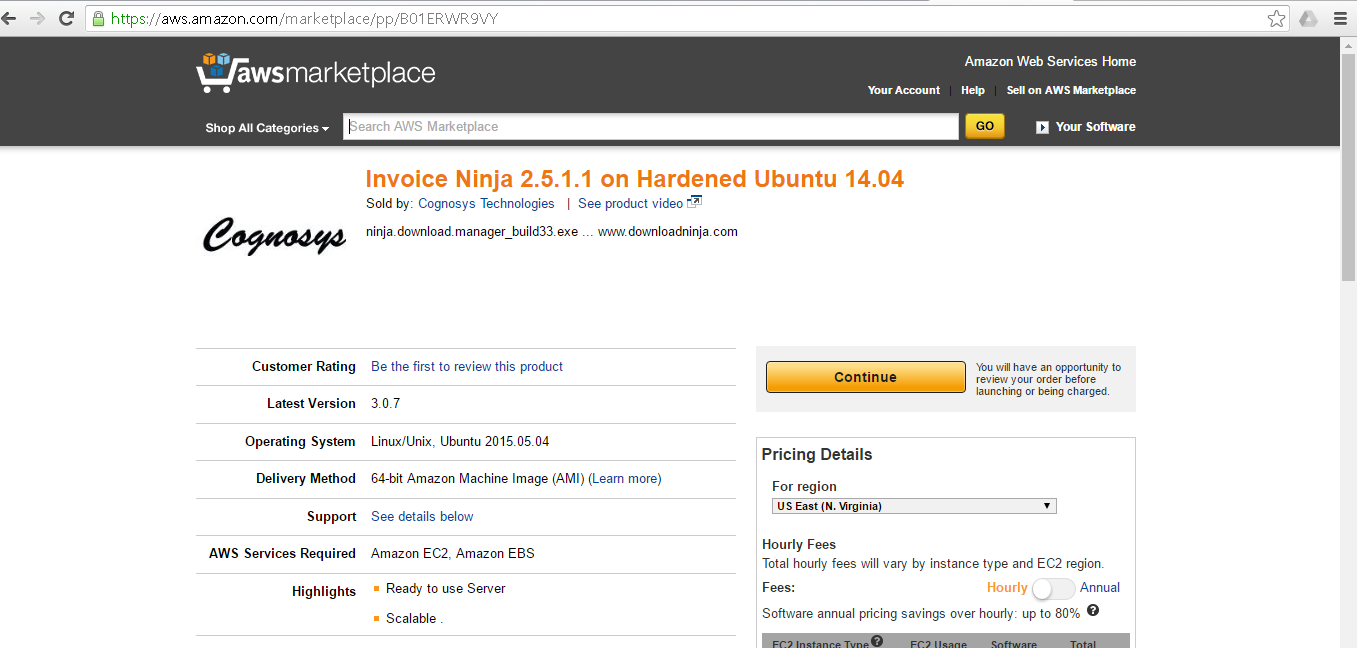
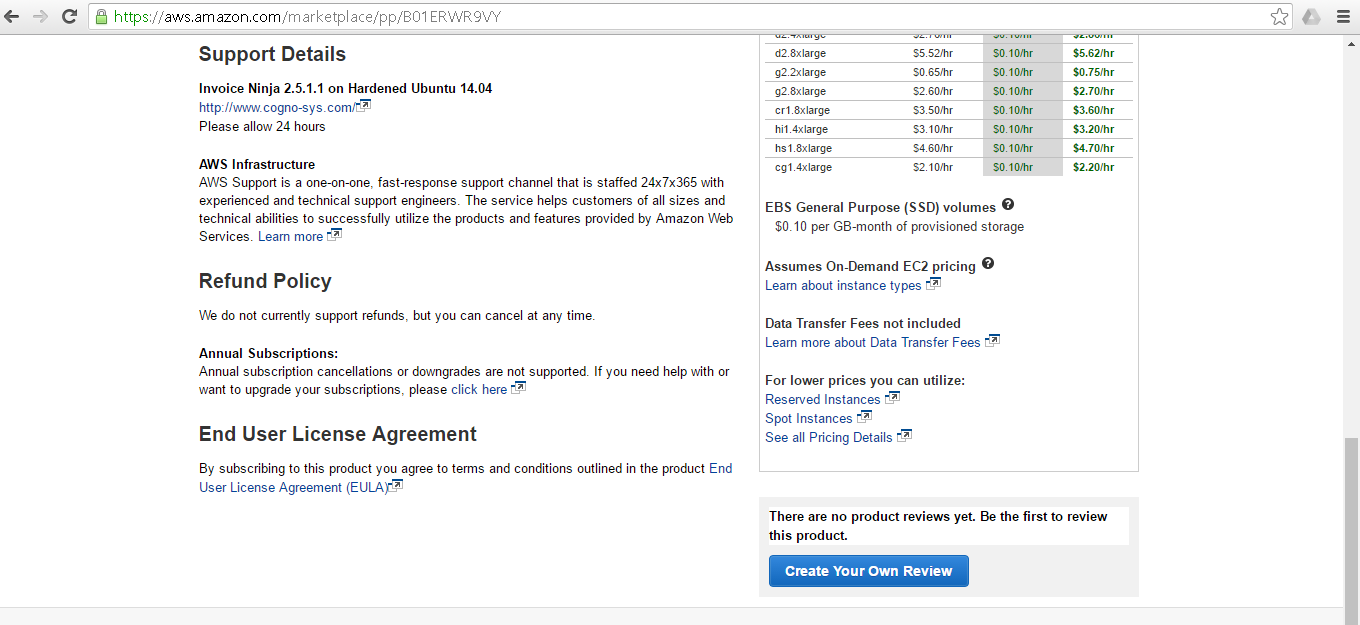
Choose Software Pricing
Choose your Version
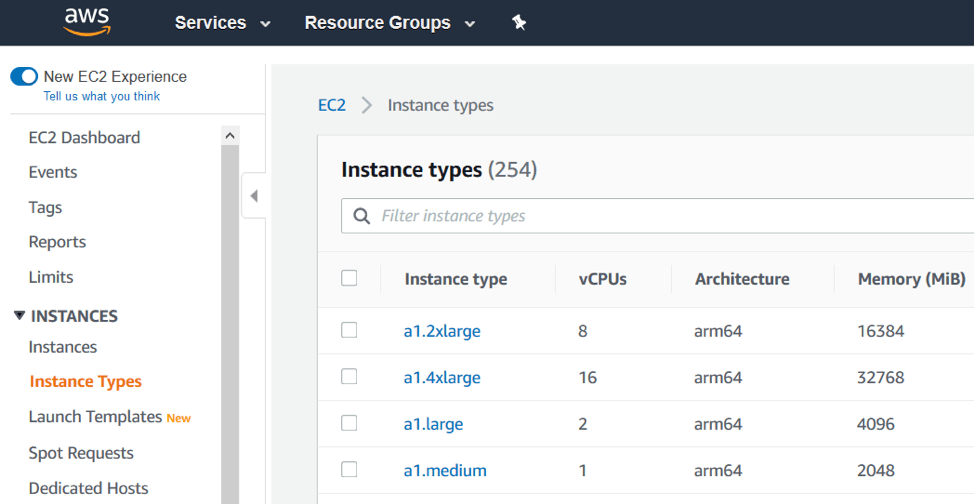
Choose your EC2 Instance Type
Choose Your Key Pair
Choose your Region

Choose your Security Group
change VPC Settings
Azure
Installation Instructions For Ubuntu
Note : How to find PublicDNS in Azure
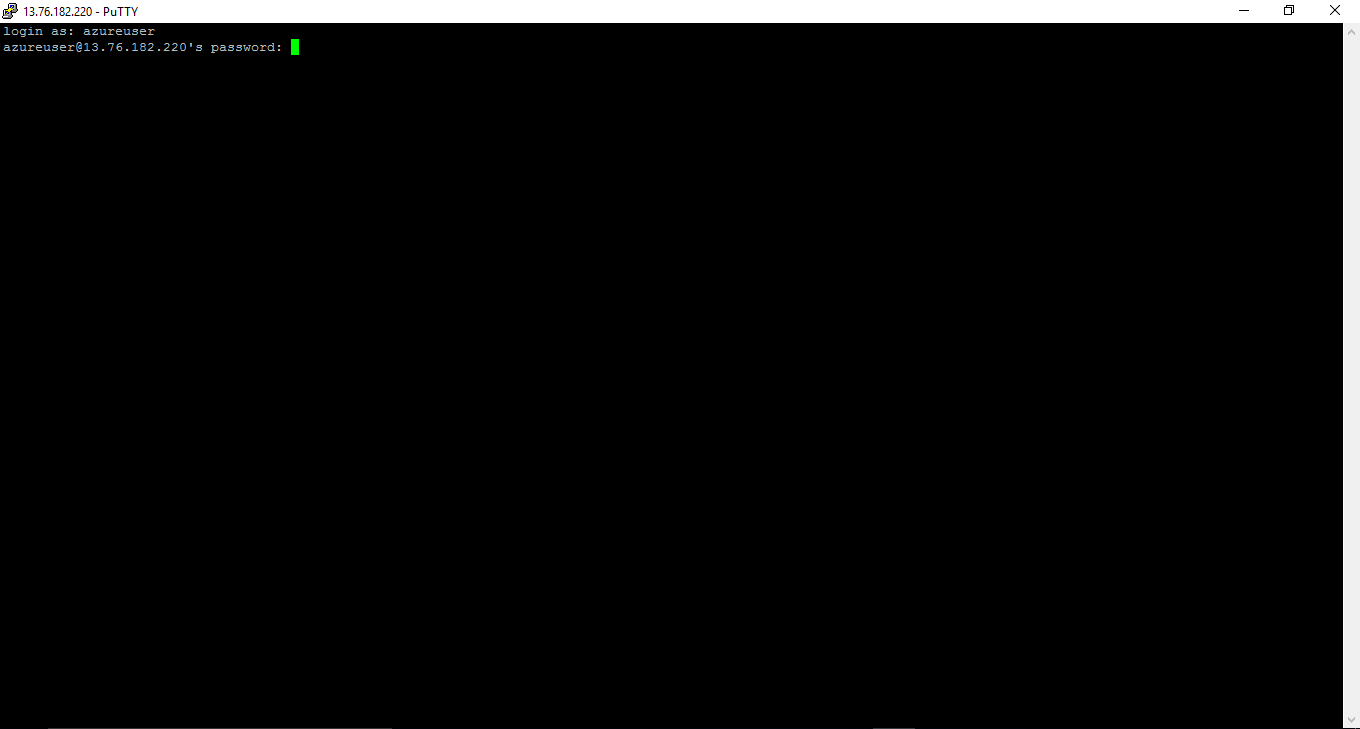
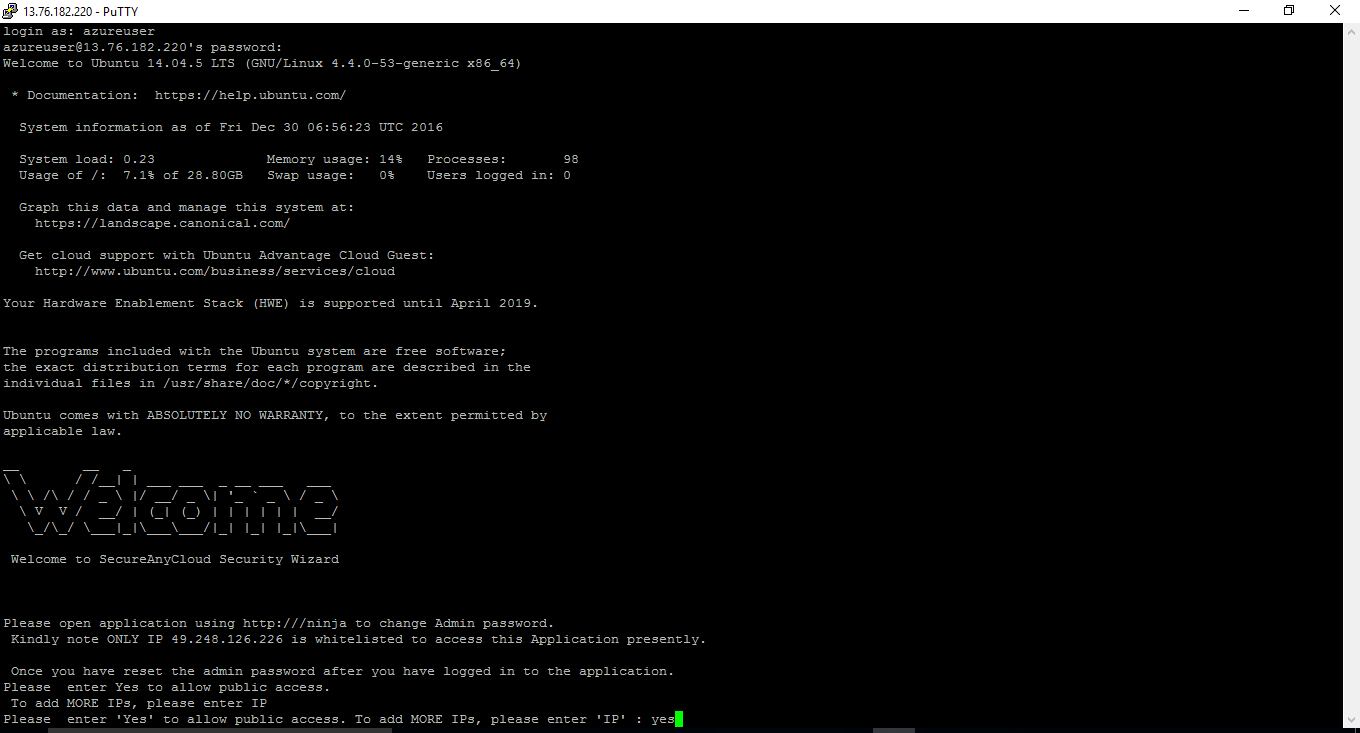
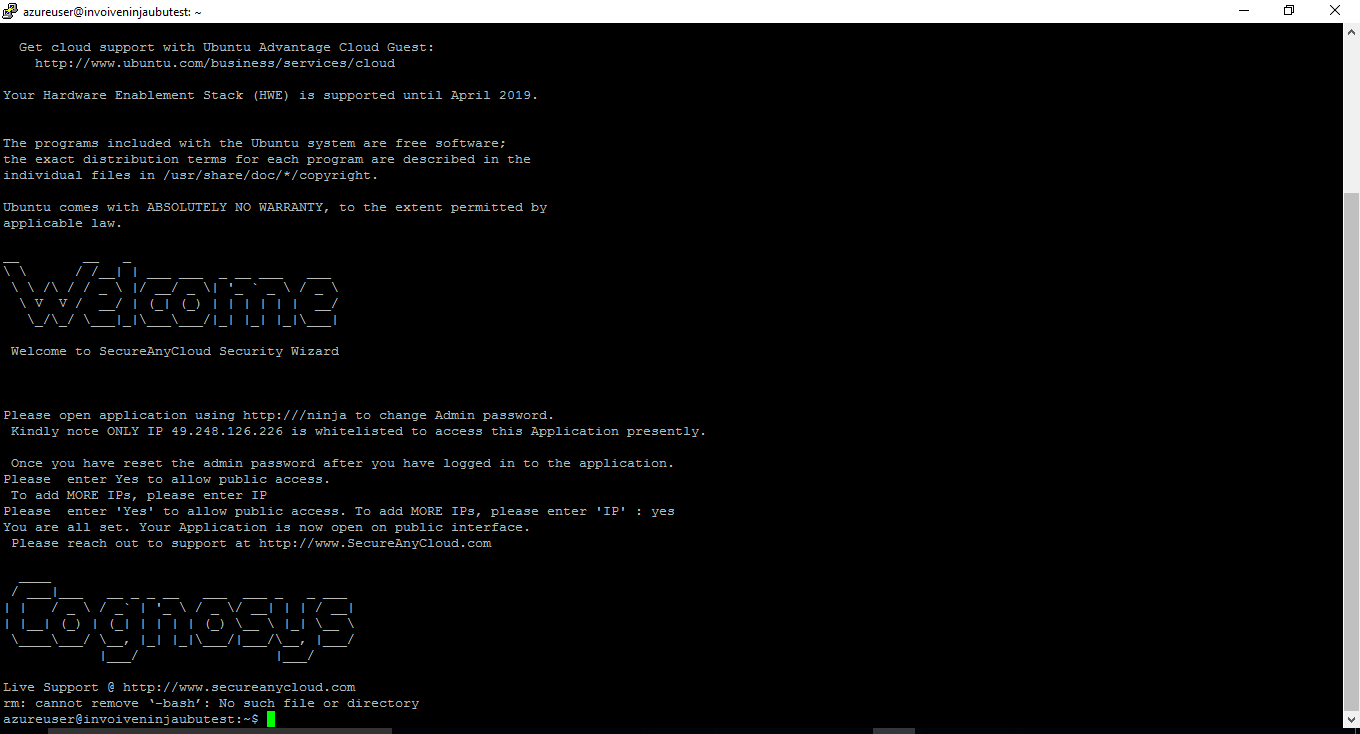
Step 1) SSH Connection: To connect to the deployed instance, Please follow Instructions to Connect to Ubuntu instance on Azure Cloud
1) Download Putty.
2) Connect to virtual machine using following SSH credentials :
- Host name: PublicDNS / IP of machine
- Port : 22
Username: Your chosen username when you created the machine ( For example: Azureuser)
Password : Your Chosen Password when you created the machine ( How to reset the password if you do not remember)
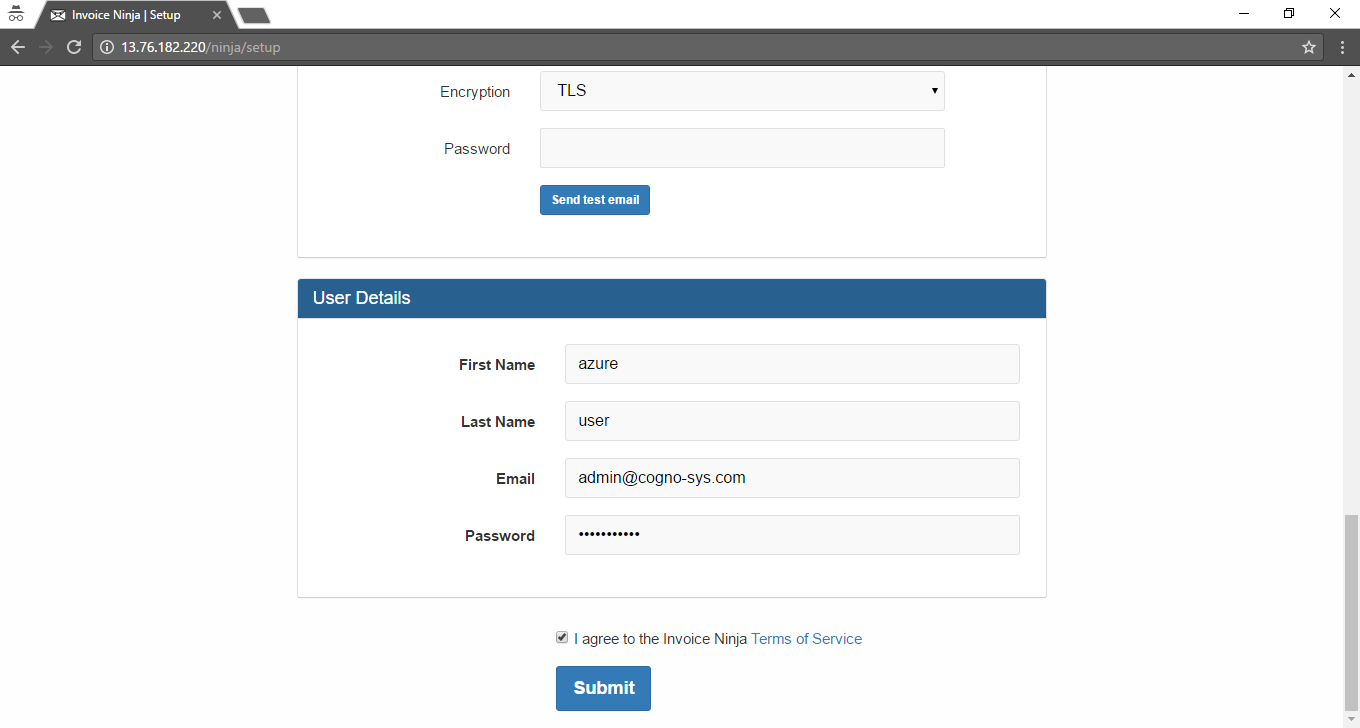
Step 2 )Database Login Details :
- MYSQL Username : root
- MYSQL Password : Passw@rd123
Note: For Stack Database ninja with user ninja and password Passw@rd123 has already been created. Please use this database for you Stack Configuration. Use the given commands to regenerate key cd /var/www/html php artisan key:generate.
Note :-Please change password immediately after first login.
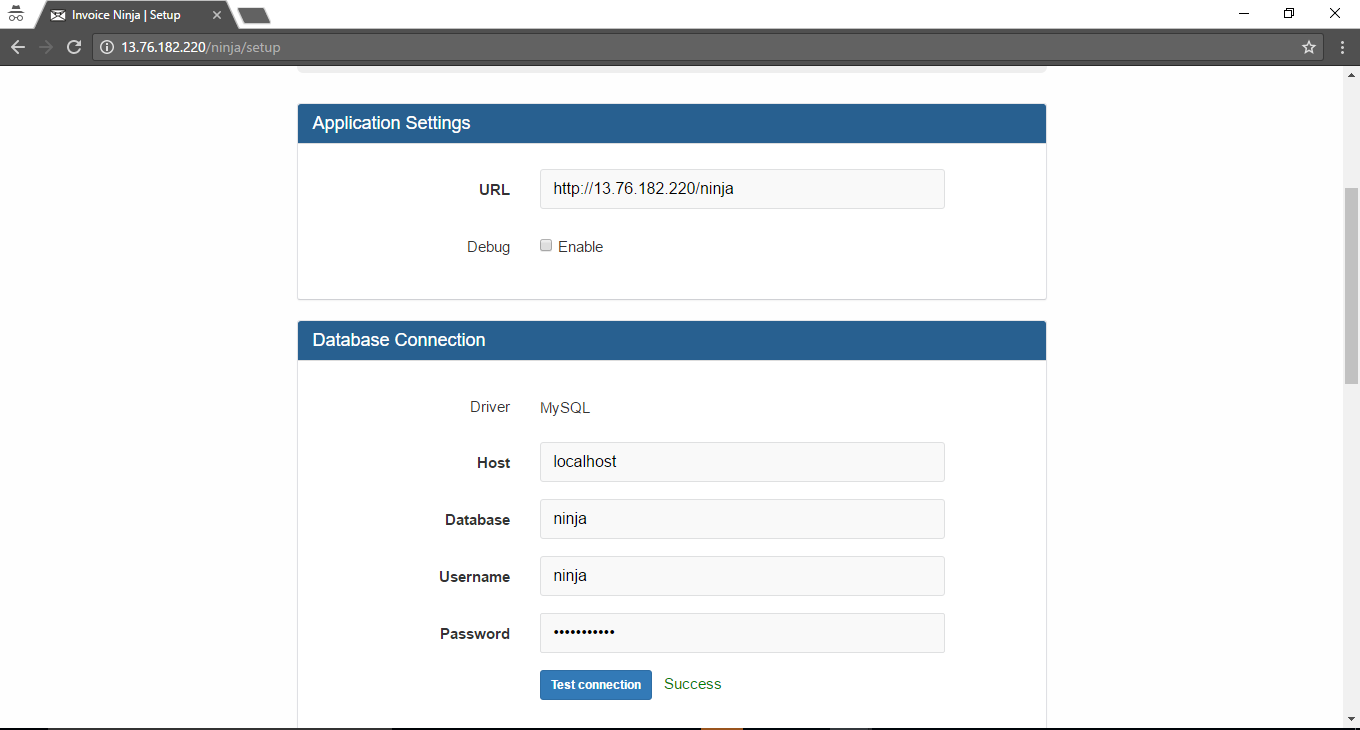
Step 3) Application URL: Access the application via a browser at http://PublicDNS/
Step 4 ) Other Information:
1.Default installation path: will be in your web root folder “/var/www/html/”
2.Default ports:
-
- Linux Machines: SSH Port – 22
- Http: 80
- Https: 443
- MySQL ports: By default these are not open on Public Endpoints. MySQL :3306
Configure custom inbound and outbound rules using this <a href=”https://azure.microsoft.com/en-in/documentation/articles/virtual-machines-linux-classic-setup-endpoints/” target=”_blank” rel=”noopener”>link
3. To access Webmin interface for management please follow this link
Installation Instructions For Centos
Note : How to find PublicDNS in Azure
Step 1) SSH Connection: To connect to the deployed instance, Please follow Instructions to Connect to Centos instance on Azure Cloud
1) Download Putty.
2) Connect to virtual machine using following SSH credentials :
- Host name: PublicDNS / IP of machine
- Port : 22
Username: Your chosen username when you created the machine ( For example: Azureuser)
Password : Your Chosen Password when you created the machine ( How to reset the password if you do not remember)
Step 2) Database Login Details :
- MYSQL Username : root
- MYSQL Password : Passw@rd123
Note: For Stack Database ninja with user ninja and password Passw@rd123 has already been created. Please use this database for you Stack Configuration. Use the given commands to regenerate key cd /var/www/html php artisan key:generate.
Note : –Please change the password immediately after the first login.
Step 3) Application URL: Access the application via a browser at http://PublicDNS
Step 4) Other Information:
1. Default installation path: will be in your web root folder “/var/www/html/”
2. Default ports:
- Linux Machines: SSH Port – 22
- Http: 80
- Https: 443
- MySQL ports: By default, these are not open on Public Endpoints. MySQL:3306
Configure custom inbound and outbound rules using this link
Azure Step by Step Screenshots


Videos
Secured Invoice Ninja on Ubuntu 14.04 LTS
Embedded media removed during static cleanup.
Send invoices with Stripe using Invoice Ninja (free and open-source)
Embedded media removed during static cleanup.
