1-click AWS Deployment 1-click Azure Deployment
1-click Google Deployment
Overview
Gradle is an open source build automation system that builds upon the concepts of Apache Ant and Apache Maven and introduces a Groovy-based domain-specific language (DSL) instead of the XML form used by Apache Maven of declaring the project configuration.Gradle uses a directed acyclic graph (“DAG”) to determine the order in which tasks can be run.
Gradle was designed for multi-project builds which can grow to be quite large and supports incremental builds by intelligently determining which parts of the build tree are up-to-date, so that any task dependent upon those parts will not need to be re-executed.
Gradle is owned by Gradle (https://gradle.org/) and they own all related trademarks and IP rights for this software.
Gradle on Cloud runs on Amazon Web Services (AWS) and Azure and is built to provide advanced build system as well as an advanced build toolkit allowing to create custom build logic through plugins.
Cognosys provides hardened images of Gradle on all public cloud i.e. AWS marketplace and Azure.
Secured GRADLE on Ubuntu 14-04 LTS
Gradle on cloud For Azure
Features
Major Features Of Gradle
- Directed Acyclic Graph
- Task Exclusion
- Transitive Exclude
- Advanced Task Ordering
- Task Dependency Inference
- True Multi Task Execution
- Continue Execution After Failures
- Build User Oriented Output Mode
- Rerouting output from external tools and libraries
- Creating a custom logging schema
Azure
Installation Instructions For Ubuntu
Note: How to find PublicDNS in Azure
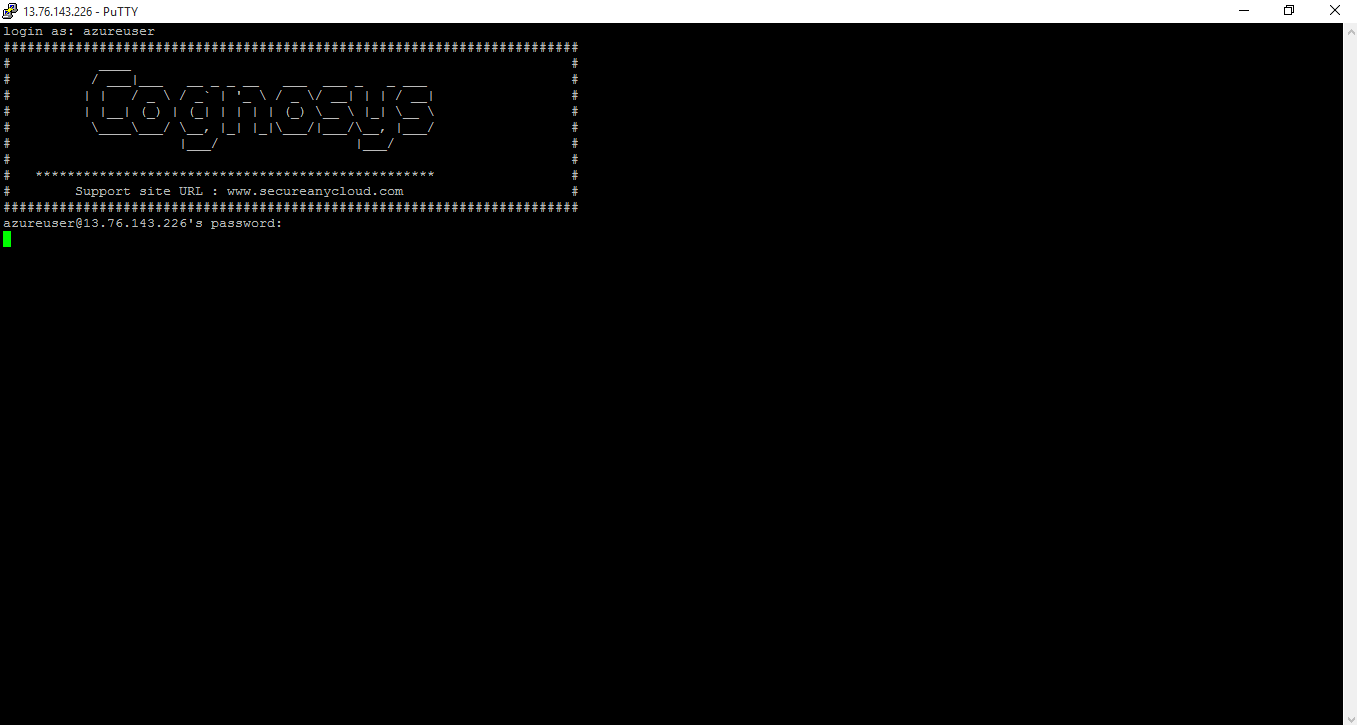
Step 1) SSH Connection: To connect to the deployed instance, Please follow Instructions to Connect to Ubuntu instance on Azure Cloud
1) Download Putty.
2) Connect to virtual machine using following SSH credentials :
- Hostname: PublicDNS / IP of machine
- Port : 22
Username: Your chosen username when you created the machine ( For example: Azureuser)
Password : Your Chosen Password when you created the machine ( How to reset the password if you do not remember)
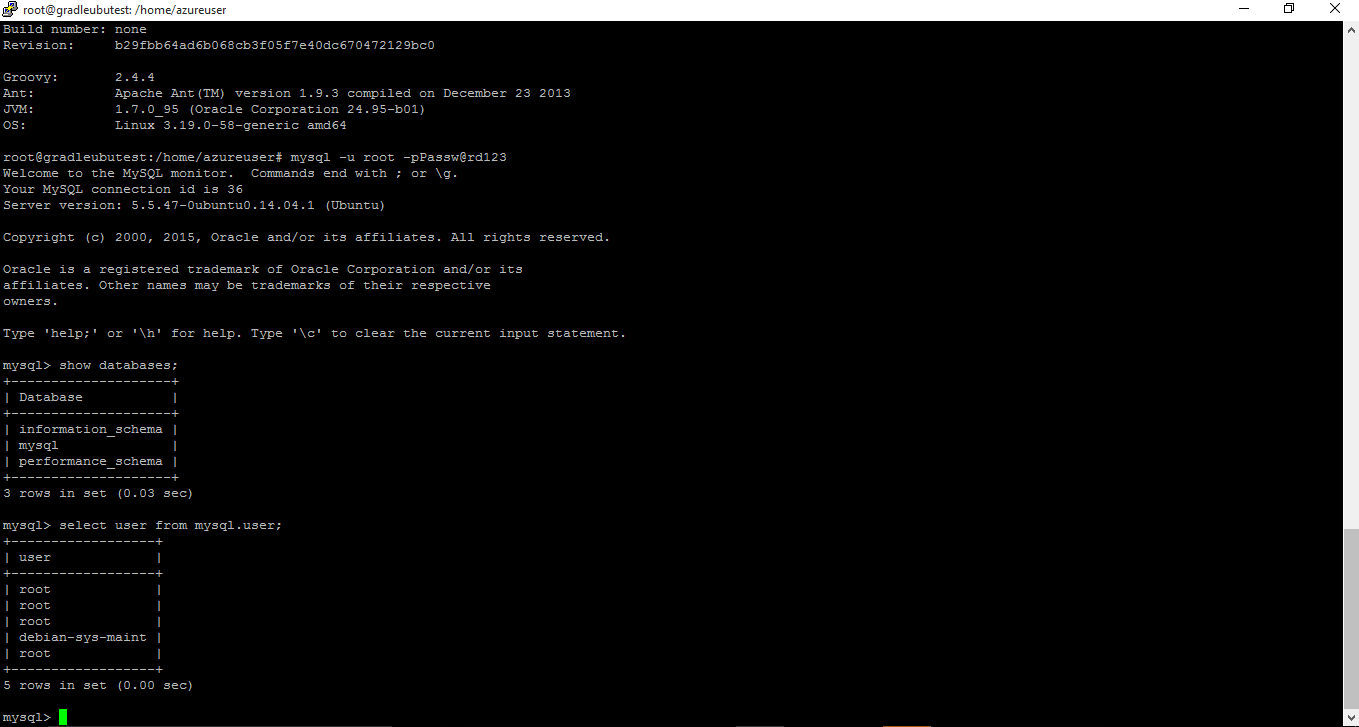
Step 2) Database Login Details :
- MYSQL Username : root
- MYSQL Password : Passw@rd123
Note: Please change password immediately after first login.
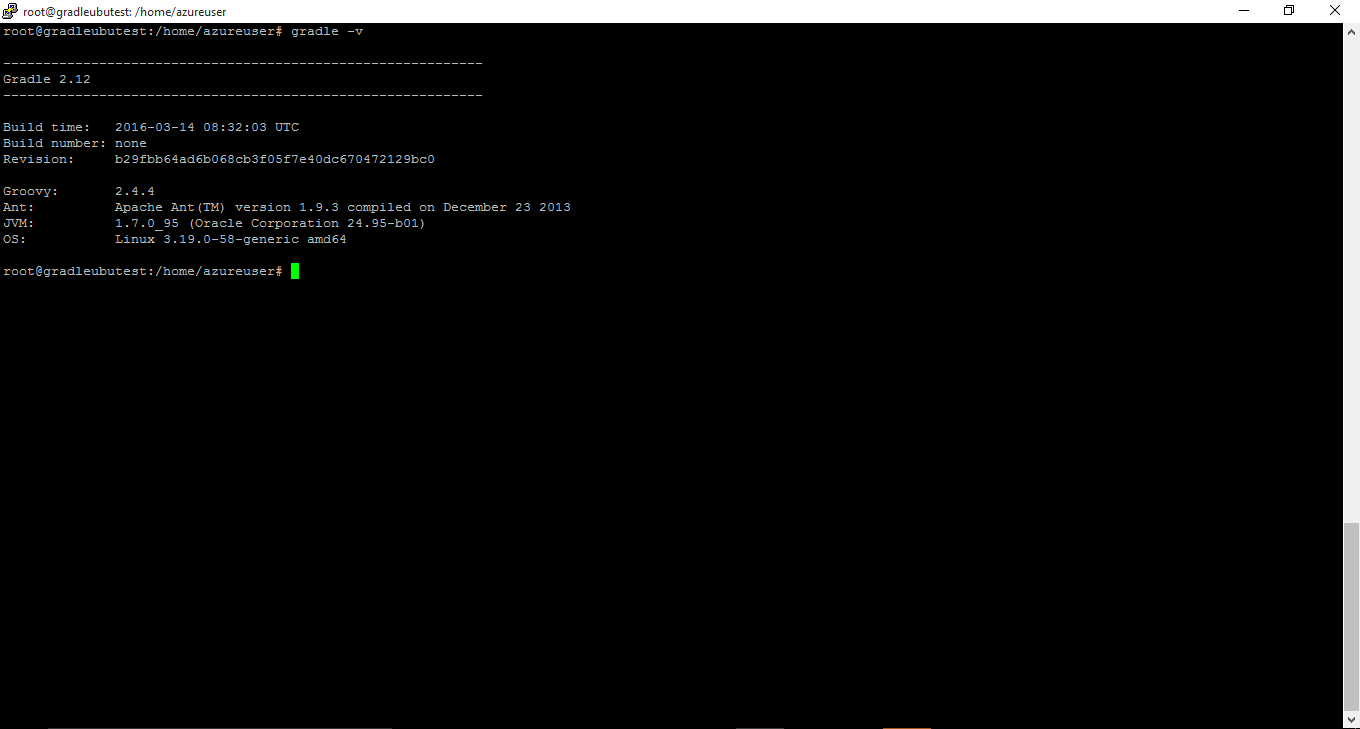
Step 3) For Standalone Application :Open this stack in command prompt by using command – gradle-v
- Username : azureuser (Please create new user and delete this user)
- Password : Passw@rd123
Step 4) Other Information:
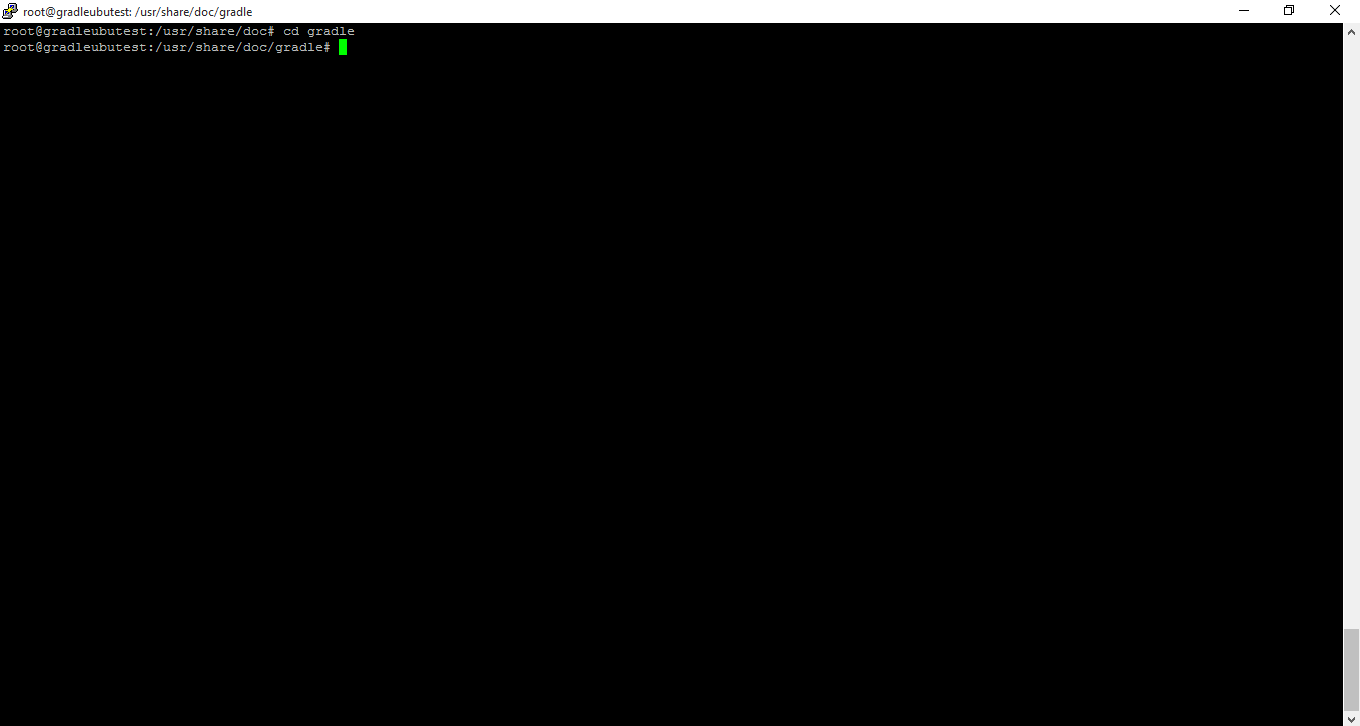
1. Default installation path: will be on your web root folder “/usr/share/doc/gradle ”.
2. Default ports:
-
- Linux Machines: SSH Port – 22 or 2222
- Http: 80 or 8080
- Https: 443
- Mysql ports: By default these are not open on Public Endpoints. Internally server: Mysql :3306
Configure custom inbound and outbound rules using this link
Installation Instructions For Centos
Note : How to find PublicDNS in Azure
Step 1) SSH Connection: To connect to the deployed instance, Please follow Instructions to Connect to Centos instance on Azure Cloud
1) Download Putty.
2) Connect to virtual machine using following SSH credentials :
- Hostname: PublicDNS / IP of machine
- Port : 22
Username: Your chosen username when you created the machine ( For example: Azureuser)
Password : Your Chosen Password when you created the machine ( How to reset the password if you do not remember)
Step 2) Database Login Details :
- MYSQL Username : root
- MYSQL Password : Passw@rd123
Note : Please change password immediately after first login.
Step 3) For Standalone Application : Open this stack in command prompt by using command – gradle -v
- Username : azureuser (Please create new user and delete this user)
- Password : Passw@rd123
Step 4) Other Information:
1.Default installation path: will be on your web root folder “/usr/share/doc/gradle ” ( Please see above Note for stack name)
2.Default ports:
- Linux Machines: SSH Port – 22 or 2222
- Http: 80 or 8080
- Https: 443
- Mysql ports: By default these are not open on Public Endpoints. Internally Mysql server: 3306
Configure custom inbound and outbound rules using this link
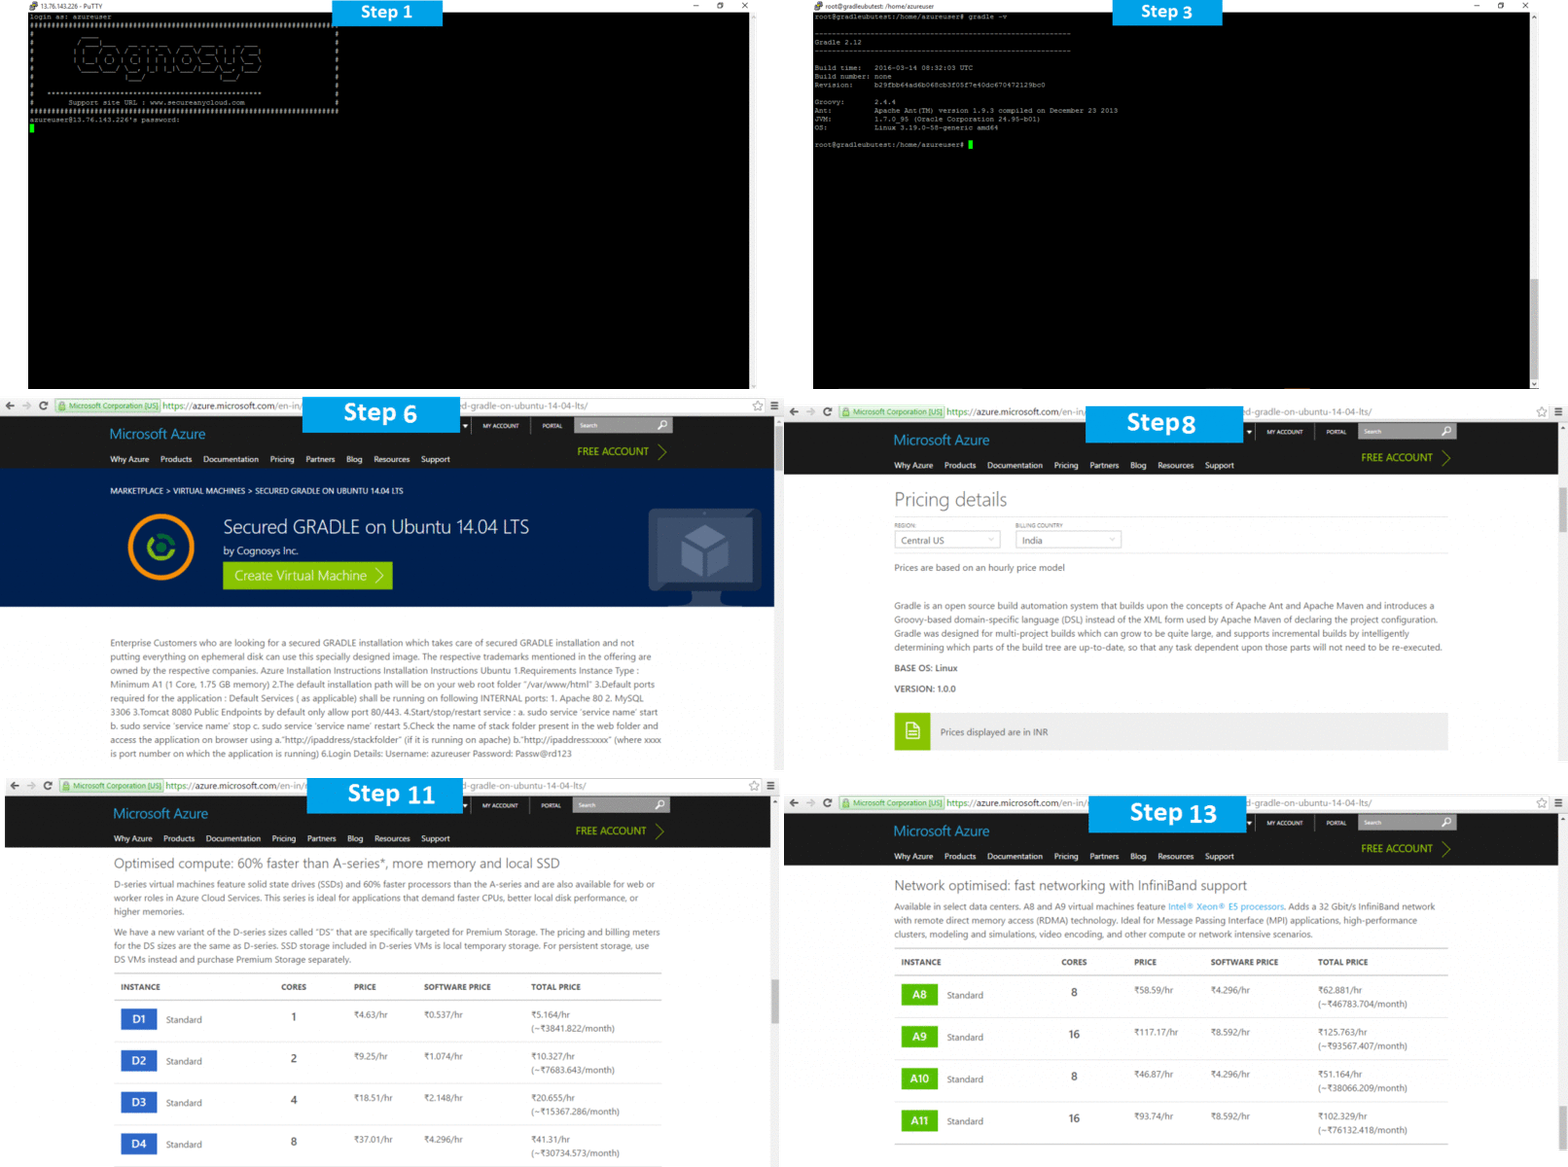
Azure Step by Step Screenshots
Installation Instructions For Ubuntu
Installation Instructions for Ubuntu
Step 1) VM Creation:
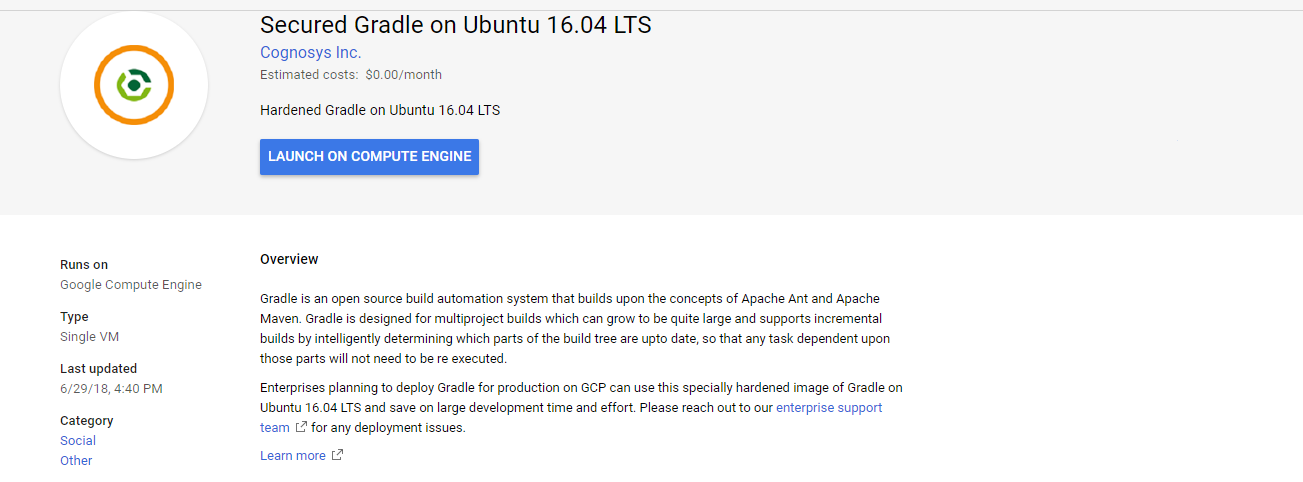
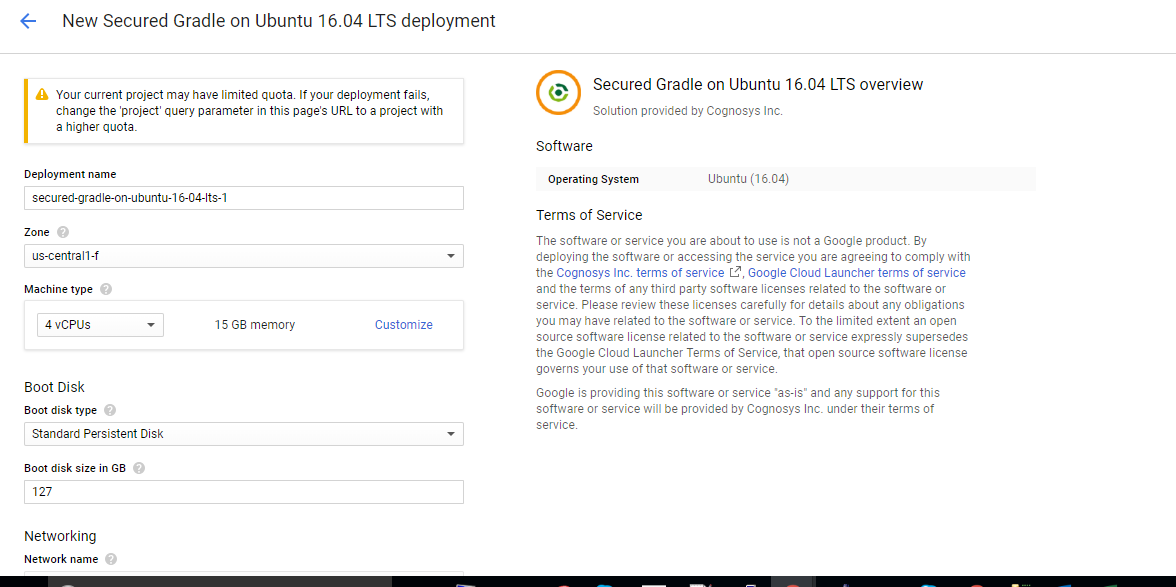
- Click the Launch on Compute Engine button to choose the hardware and network settings.

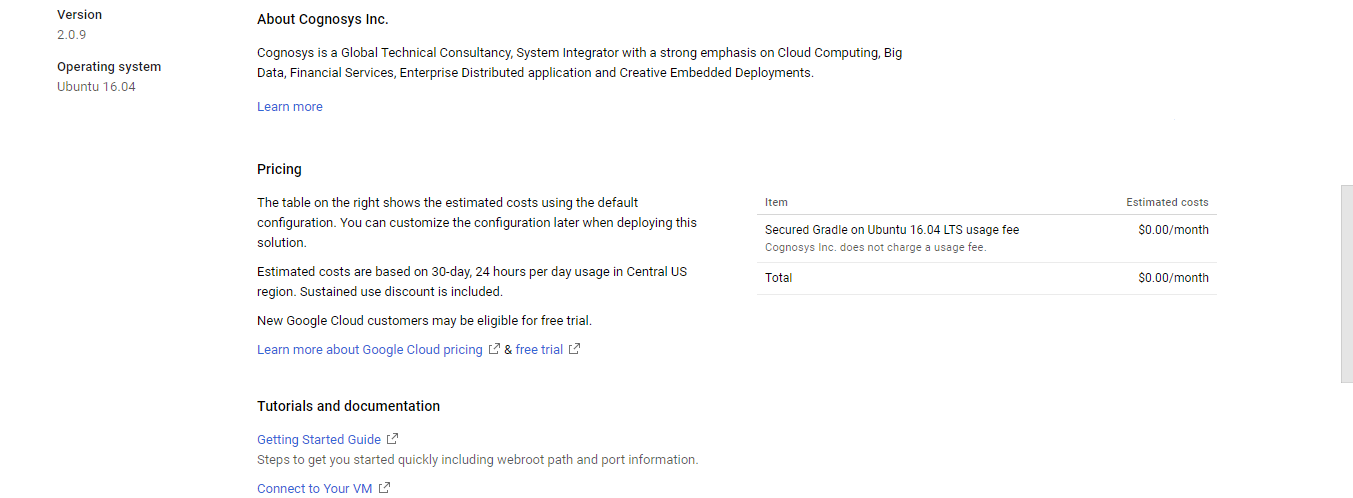
- You can see at this page, an overview of Cognosys Image as well as estimated cost of running the instance.

- In the settings page, you can choose the number of CPUs and amount of RAM, the disk size and type etc.

Step 2) SSH Connection:To initialize the DB Server connect to the deployed instance, Please follow Instructions to Connect to Ubuntu instance on Google Cloud
Step 3) Database Login Details:
The below screen appears after successful deployment of the image.

For local MySQL root password, please use the temporary password generated automatically during image creation as shown above.
i) Please connect to Remote Desktop as given in step 2 to ensure stack is properly configured and DB is initialized.
ii) You can use MySQL server instance as localhost, username root and password as shown above.
If you have closed the deployment page you can also get the MySQL root password from VM Details “Custom metadata” Section.
Step 3) For Standalone Application :Open this stack in command prompt by using command – gradle-v
Step 4) Other Information:
1. Default installation path: will be on your web root folder “/usr/share/doc/gradle ”.
2. Default ports:
- Linux Machines: SSH Port – 22 or 2222
- Http: 80 or 8080
- Https: 443
- Sql or Mysql ports: By default these are not open on Public Endpoints. Internally Sql server: 1433. Mysql :3306
Videos
Secured GRADLE on Ubuntu 14-04 LTS
The Very Basics

