
1-click AWS Deployment 1-click Azure Deployment 1-click Google Deployment
Overview
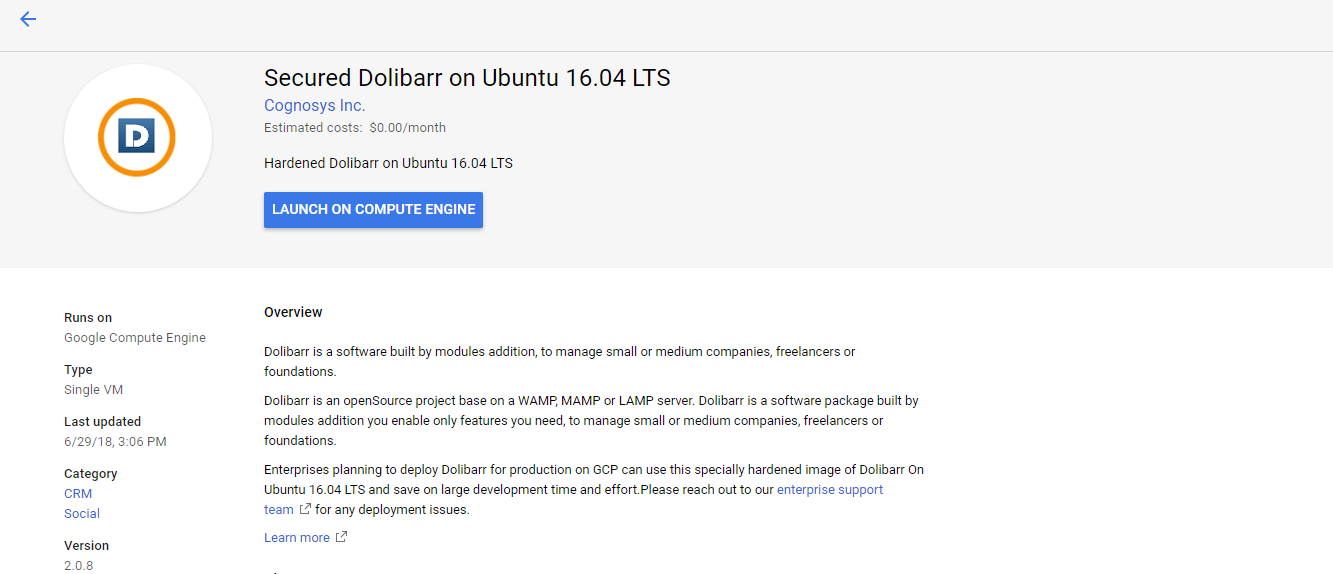
Dolibarr is a software built by modules addition, to manage small or medium companies, freelancers or foundations.Dolibarr is an OpenSource project base on a WAMP, MAMP or LAMP server.
Dolibarr ERP/CRM is a software package built by modules addition (you enable only features you need), to manage small or medium companies, freelancers or foundations. We can say Dolibarr is an ERP or CRM (or both depending on activated modules).
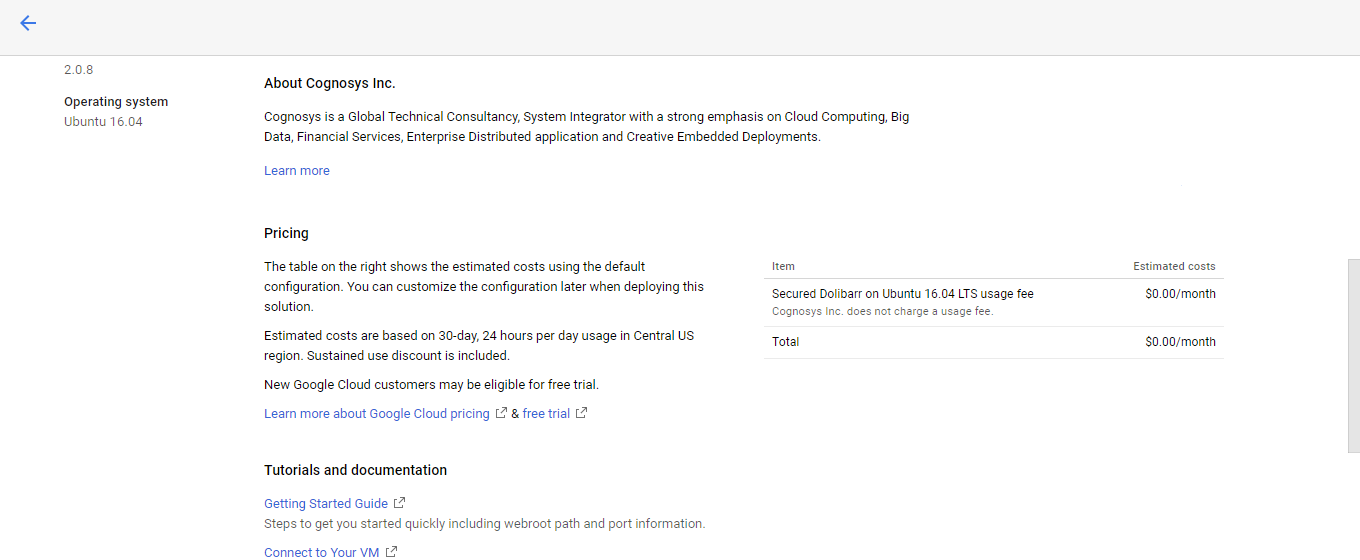
Cognosys provides hardened and ready to run images of Dolibarr ERP/CRM on all public cloud ( AWS marketplace and Azure).
Deploy your Dolibarr ERP/CRM securely on cloud i.e. AWS marketplace and Azure with Reliable Services offered by Cognosys at one-click with easy written and video tutorials.
It’s an OpenSource project base on a WAMP, MAMP or LAMP server (Apache, Mysql, PHP for all Operating Systems). Dolibarr differs from other ERP or CRM softwares (like OpenAguila, OpenBravo, OpenERP, Neogia, Compiere, etc) because everything was made to be more simple:
- Simple to install
- Simple to use
- Simple to develop
Note that Dolibarr is also available with auto-installers for users with no technical knowledges to install Dolibarr and all its prerequisites (Apache, Mysql, PHP) with just one package. Those packages are :
- DoliWamp, an auto-exe installer for Windows users.
- DoliMamp, an auto installer for Mac OS X users.
- DoliBuntu, an auto installer for Linux Ubuntu/Debian users.
Secured Dolibarr on Ubuntu 14.04 LTS
Secured Dolibarr on centos
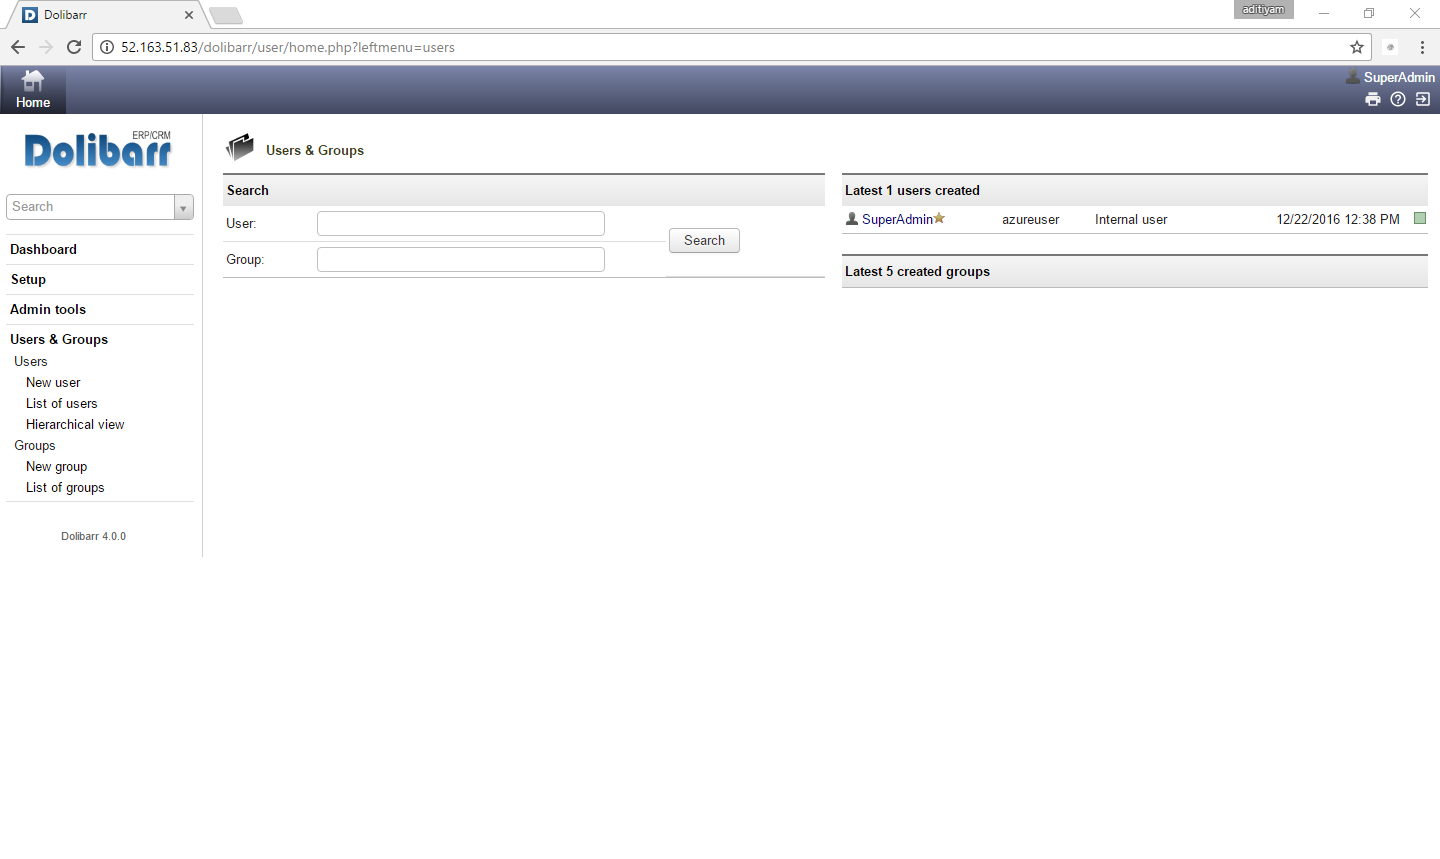
Dolibarr on cloud for Azure-Ubuntu
Dolibarr is released under the GNU GENERAL PUBLIC LICENSE.
Features
Major Features of Dolibarr
- Products and services catalog
- Stock management
- Bank accounts management
- Customers, Suppliers or Prospects directory
- Contacts directory
- Commercial actions management
- Orders management with PDF generator
- Contracts management
- Payments management
- Standing orders management
- Shipping management
- Support NPR VAT
- Bookmarks management
- Emailing
- Agenda
- Point of Sale
- Data export tools
AWS
Installation Instructions For Ubuntu
Note: How to find PublicDNS in AWS
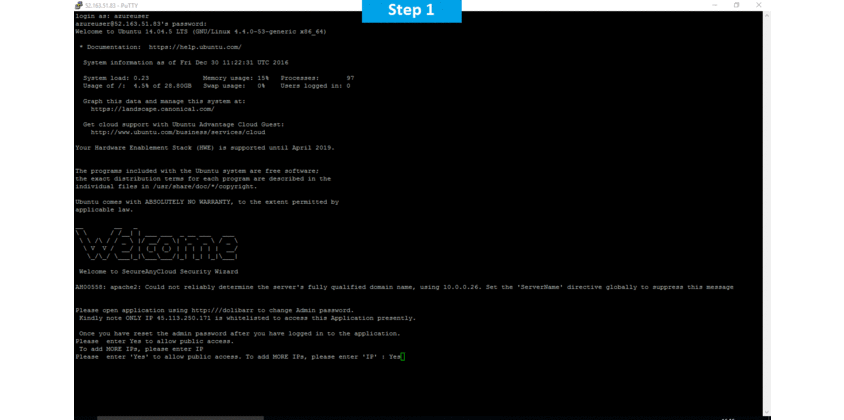
Step 1) SSH Connection: To connect to the deployed instance, Please follow Instructions to Connect to Ubuntu instance on AWS Cloud
1) Download Putty.
2) Connect to virtual machine using following SSH credentials :
- Hostname: PublicDNS / IP of machine
- Port : 22
Username: To connect to the operating system, use SSH and the username is ubuntu.
Password : Please Click here to know how to get password .
Step 2) Database Login Details :
- MYSQL Username : root
- MYSQL Password : Passw@rd123
Note :-Please change password immediately after first login.
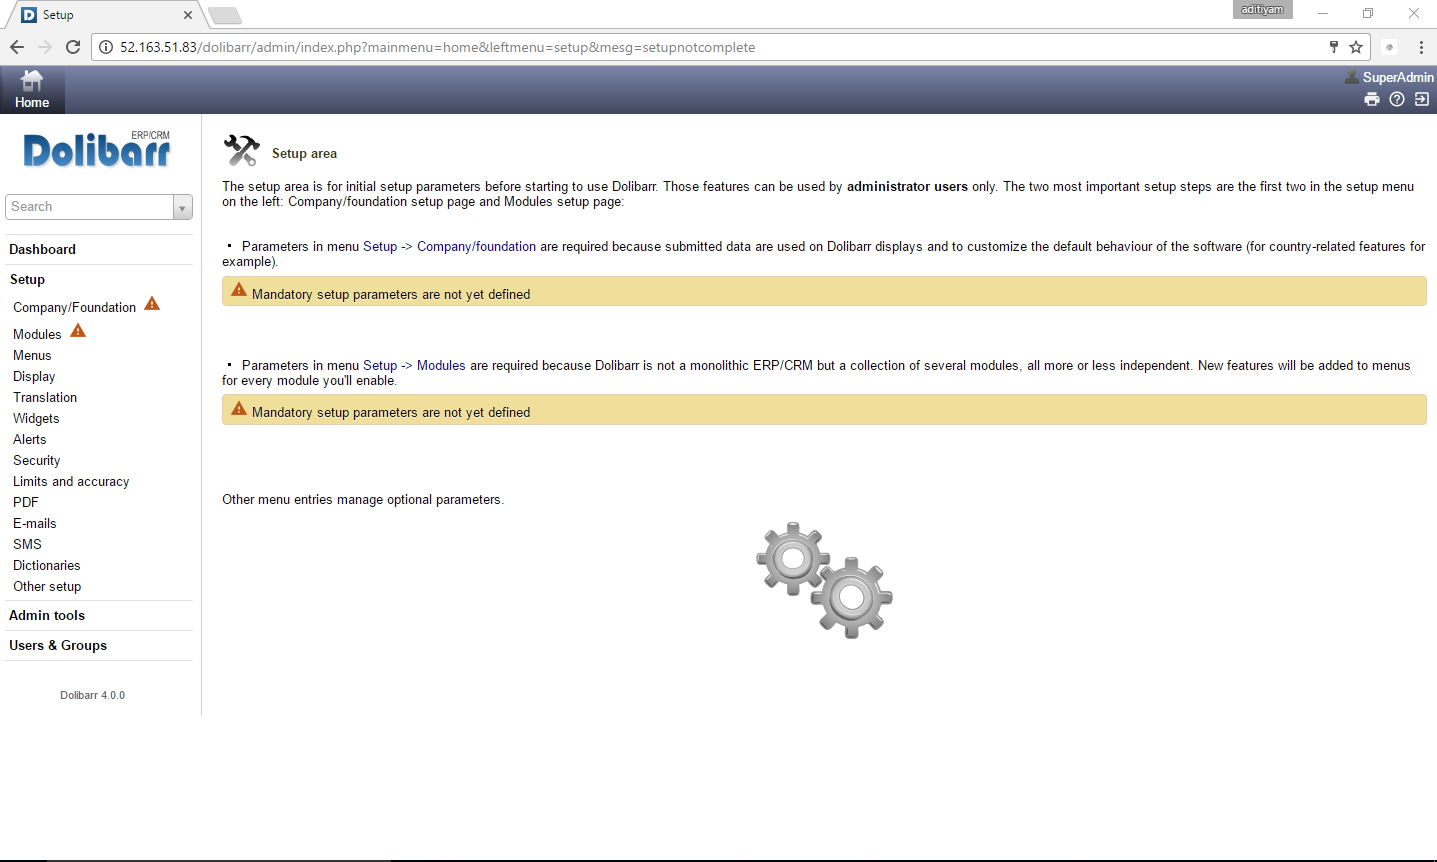
Step 3) Application URL: Access the application via a browser at http://PublicDNS/Dolibarr
Step 4) Other Information:
Default installation path: will be on your web root folder “/var/www/html/Dolibarr” ( Please see above Note for stack name)
2.Default ports:
- Linux Machines: SSH Port – 22 or 2222
- Http: 80 or 8080
- Https: 443
- Sql or Mysql ports: By default these are not open on Public Endpoints. Internally Sql server: 1433. Mysql :3306
Configure custom inbound and outbound rules using this link
AWS Step by Step Screenshots
Stack Name-This will be your Current stack.

Choose Software Pricing

Choose your Version
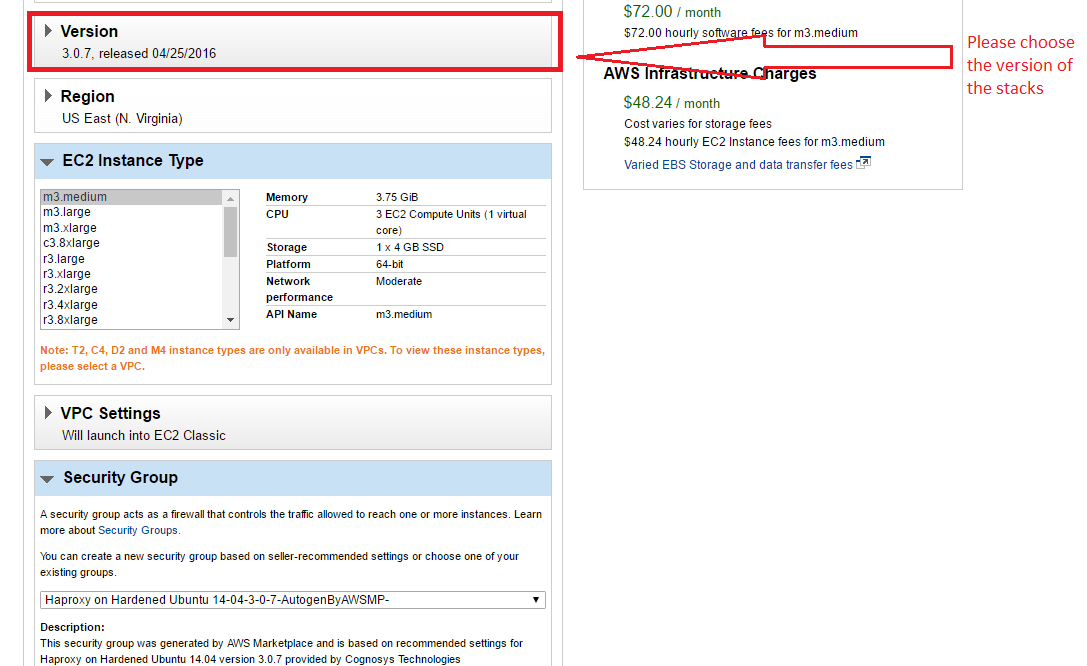
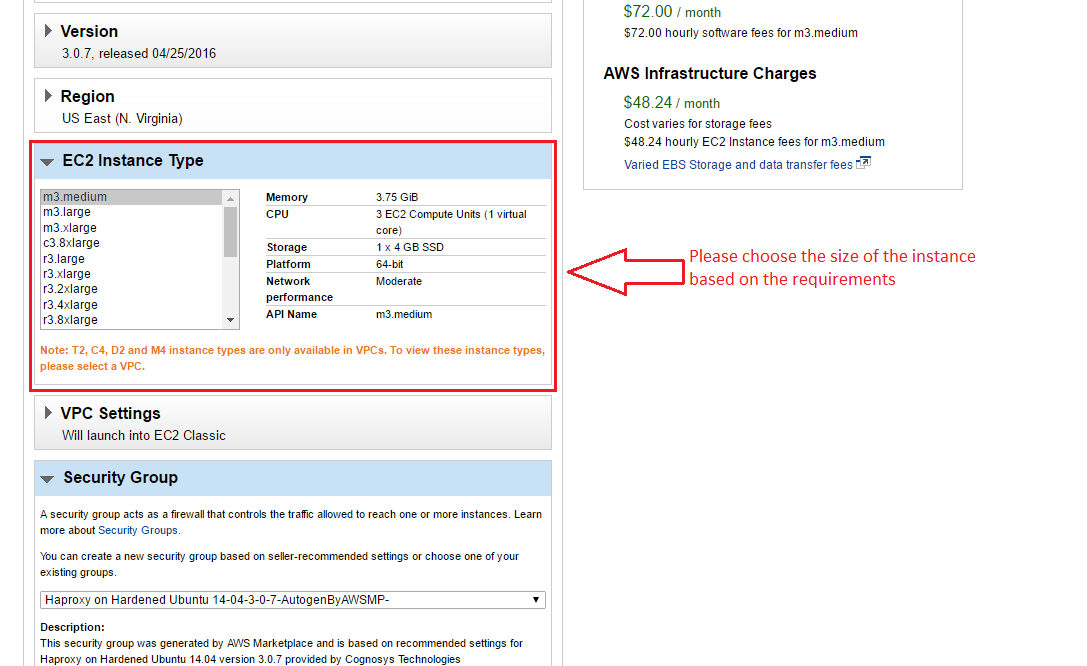
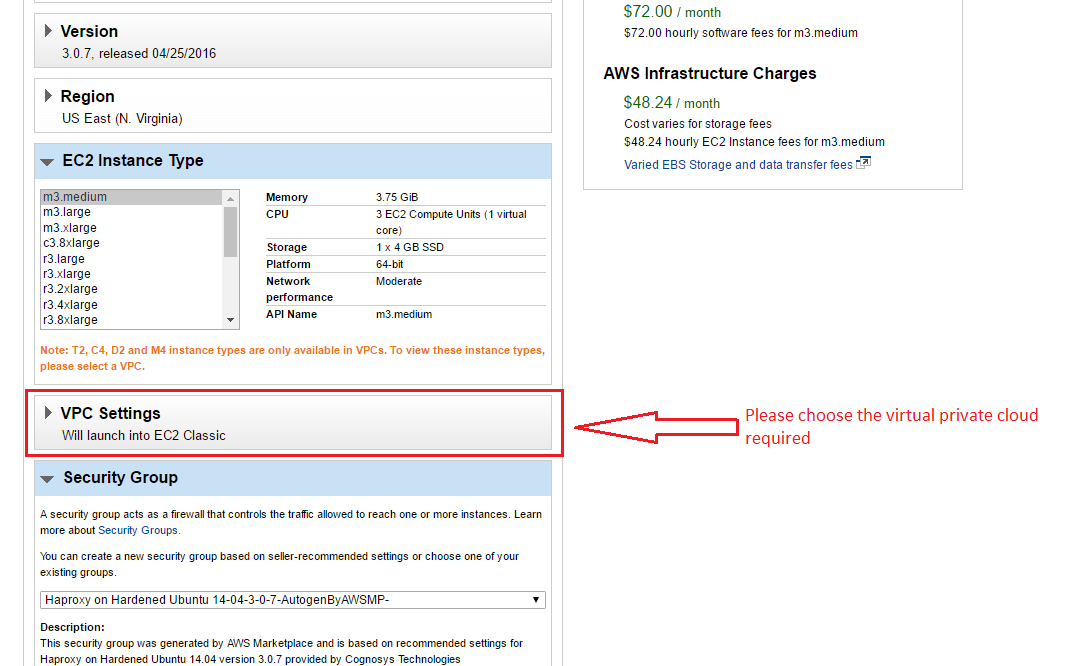
Choose your EC2 Instance Type
Choose Your Key Pair

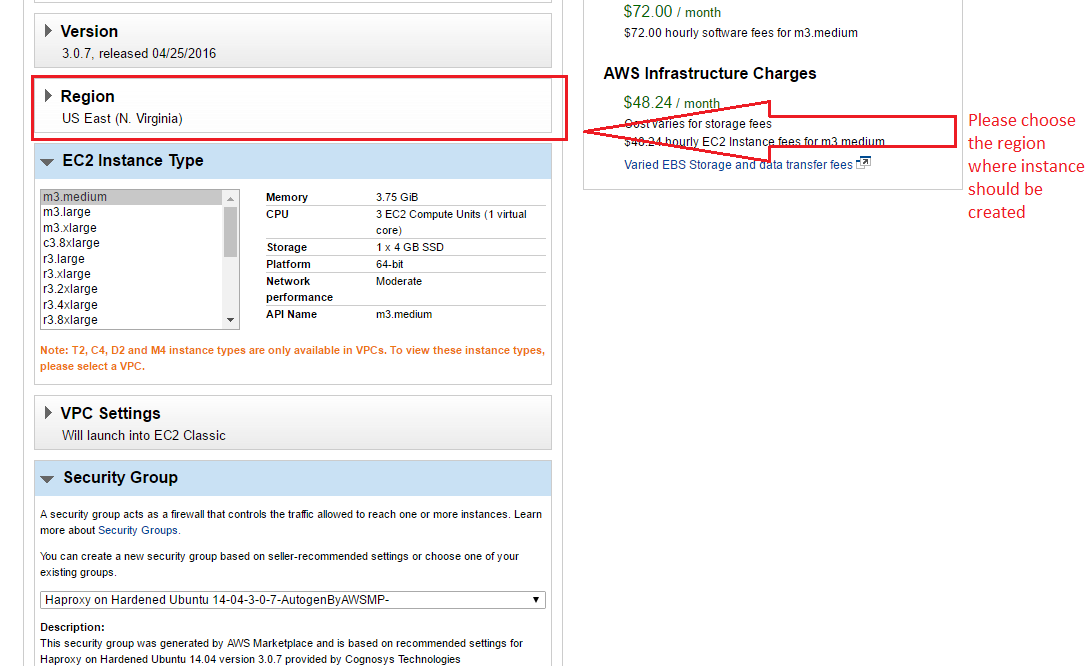
Choose your Region
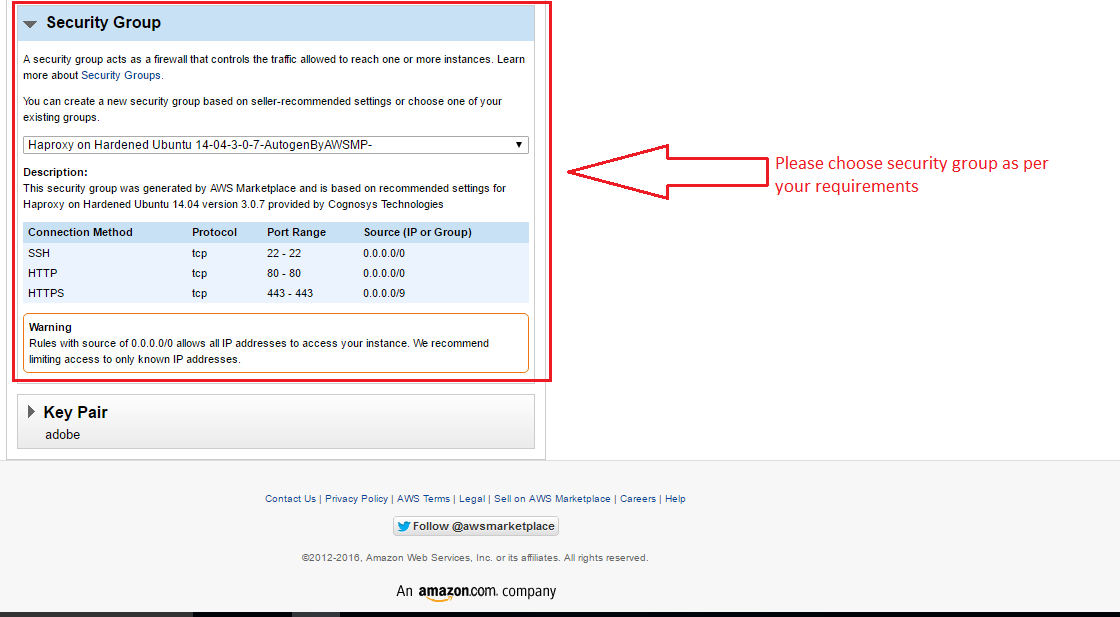
Choose your Security Group
Change VPC Settings
Azure
Installation Instructions For Ubuntu
Note: How to find PublicDNS in Azure
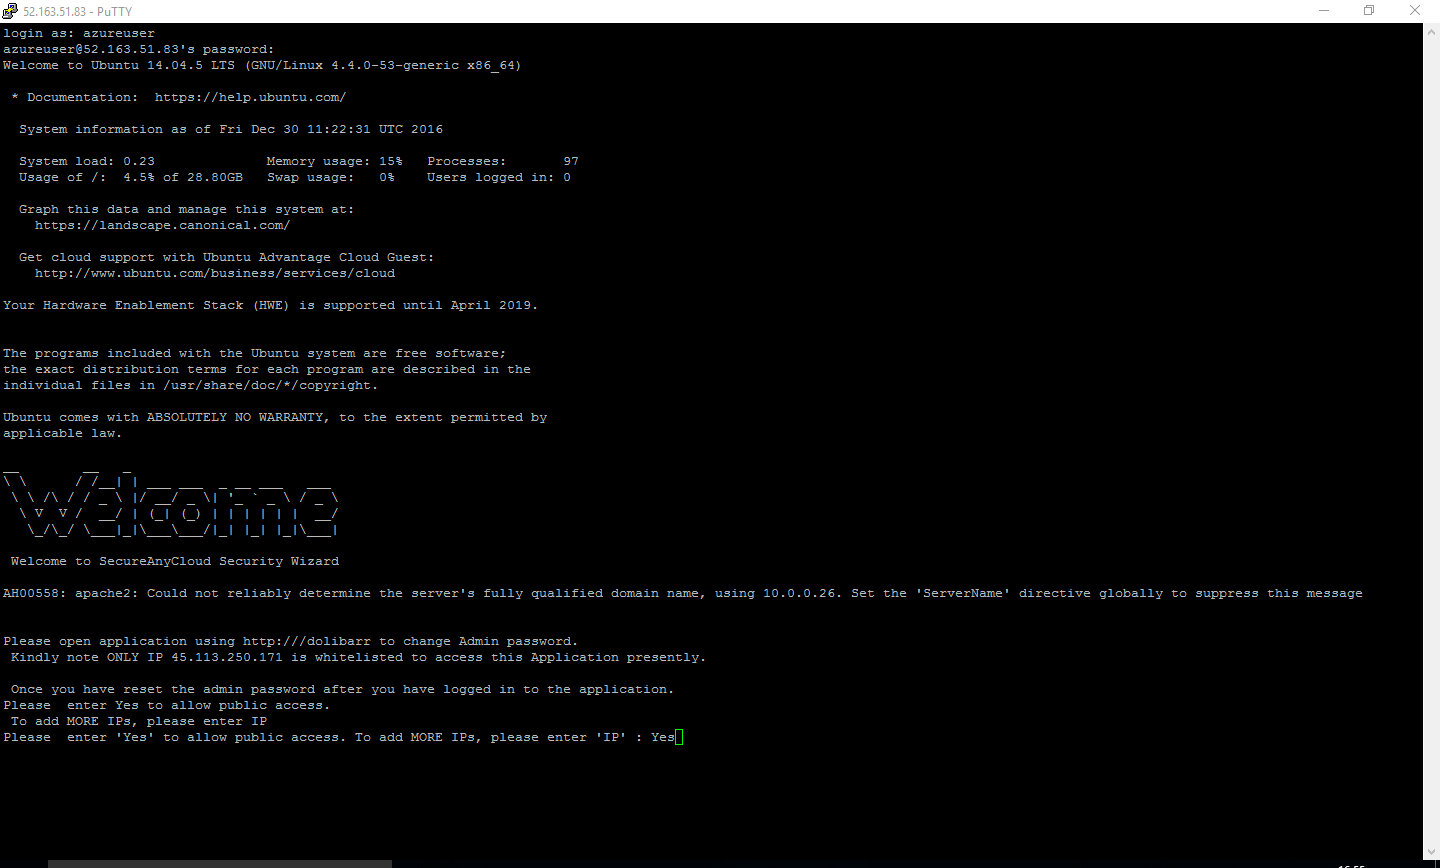
Step 1) SSH Connection: To connect to the deployed instance, Please follow Instructions to Connect to Ubuntu instance on Azure Cloud
1) Download Putty.
2) Connect to virtual machine using following SSH credentials :
- Host name: PublicDNS / IP of machine
- Port : 22
Username: Your chosen username when you created the machine ( For example: Azureuser)
Password : Your Chosen Password when you created the machine ( How to reset the password if you do not remember)
Step 2) Database Login Details :
- MYSQL Username : root
- MYSQL Password : Passw@rd123
Note :-Please change password immediately after first login.
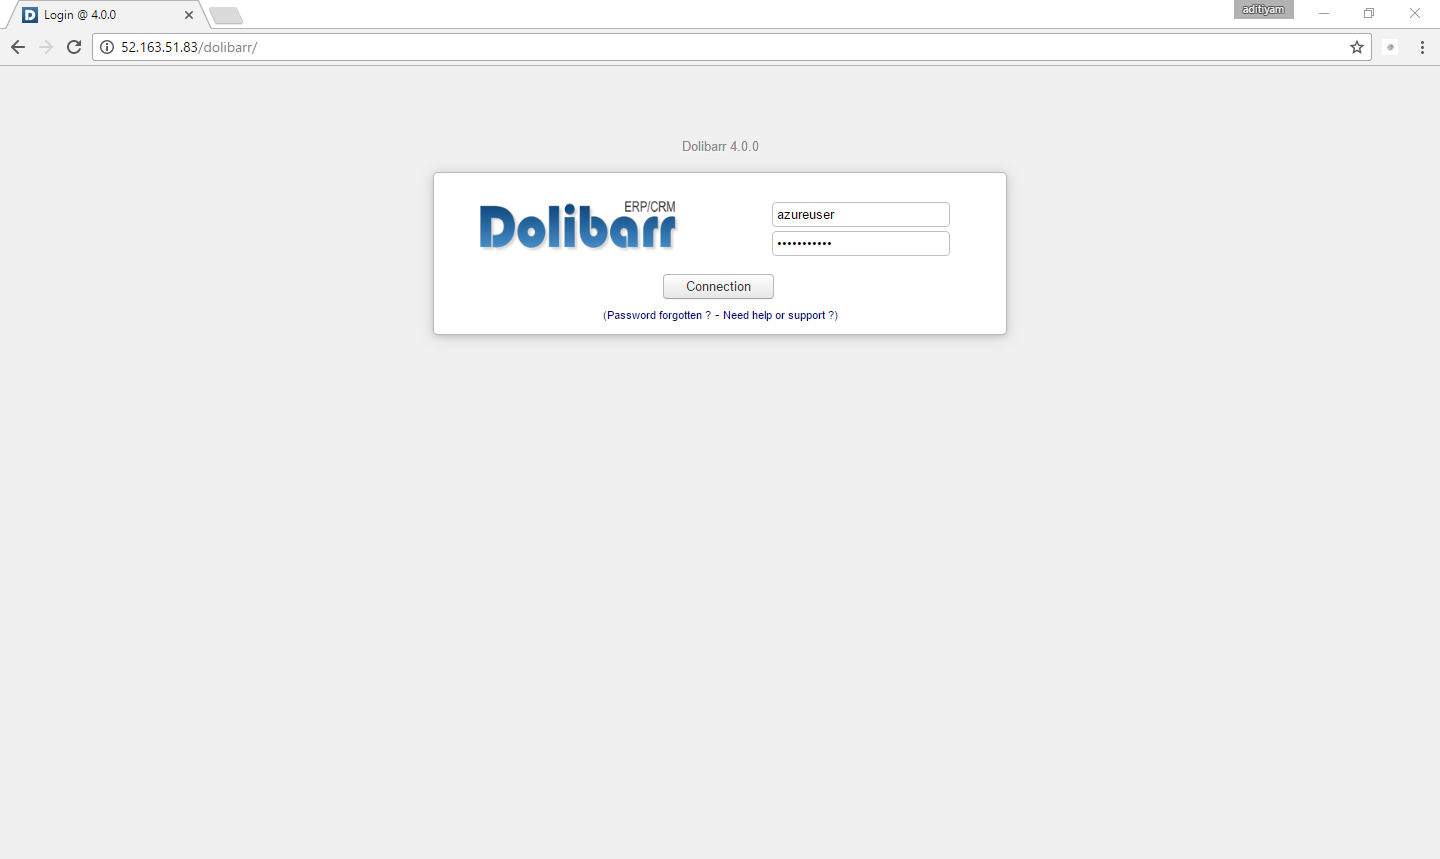
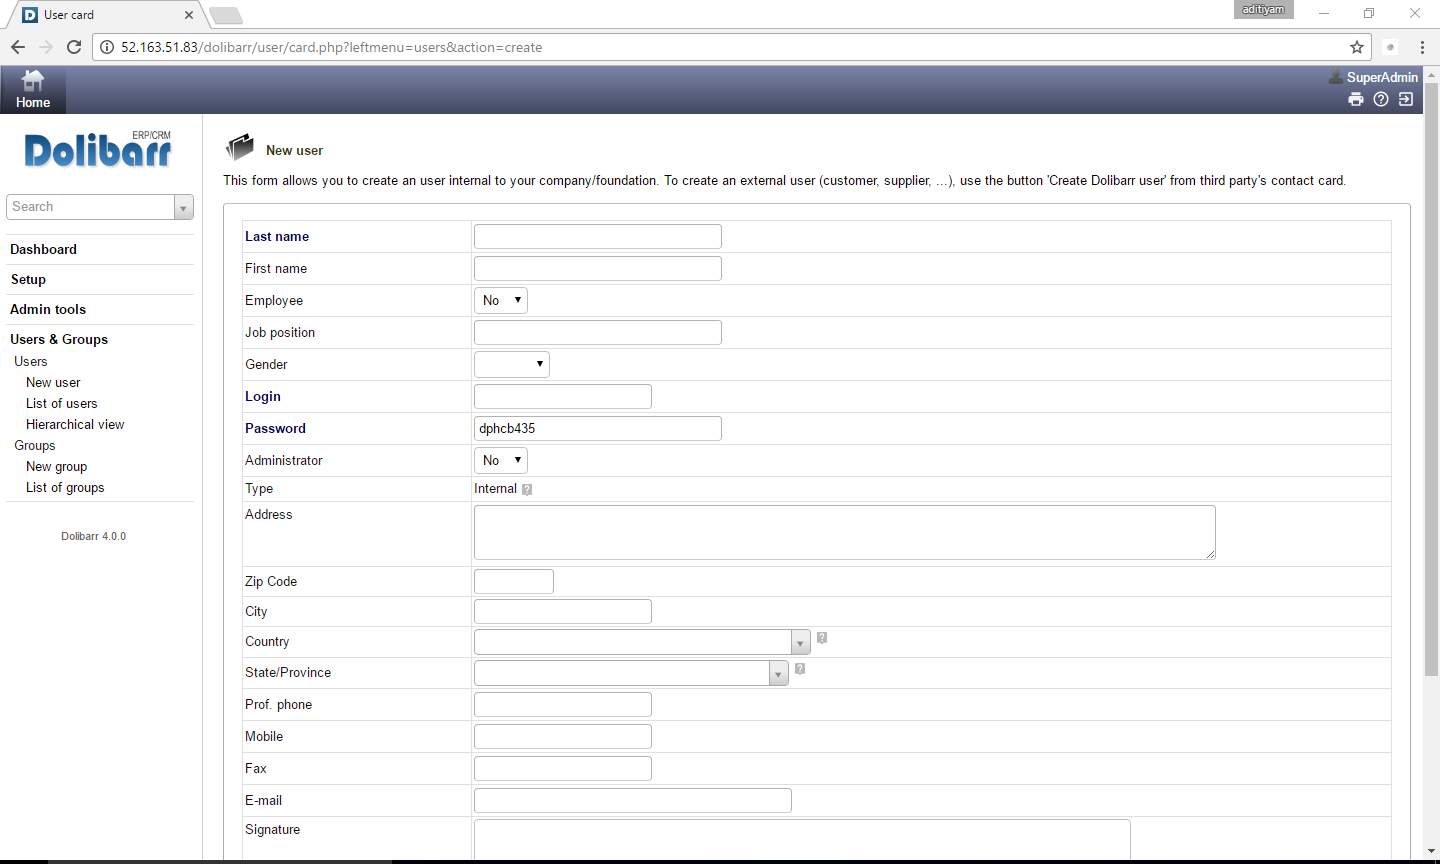
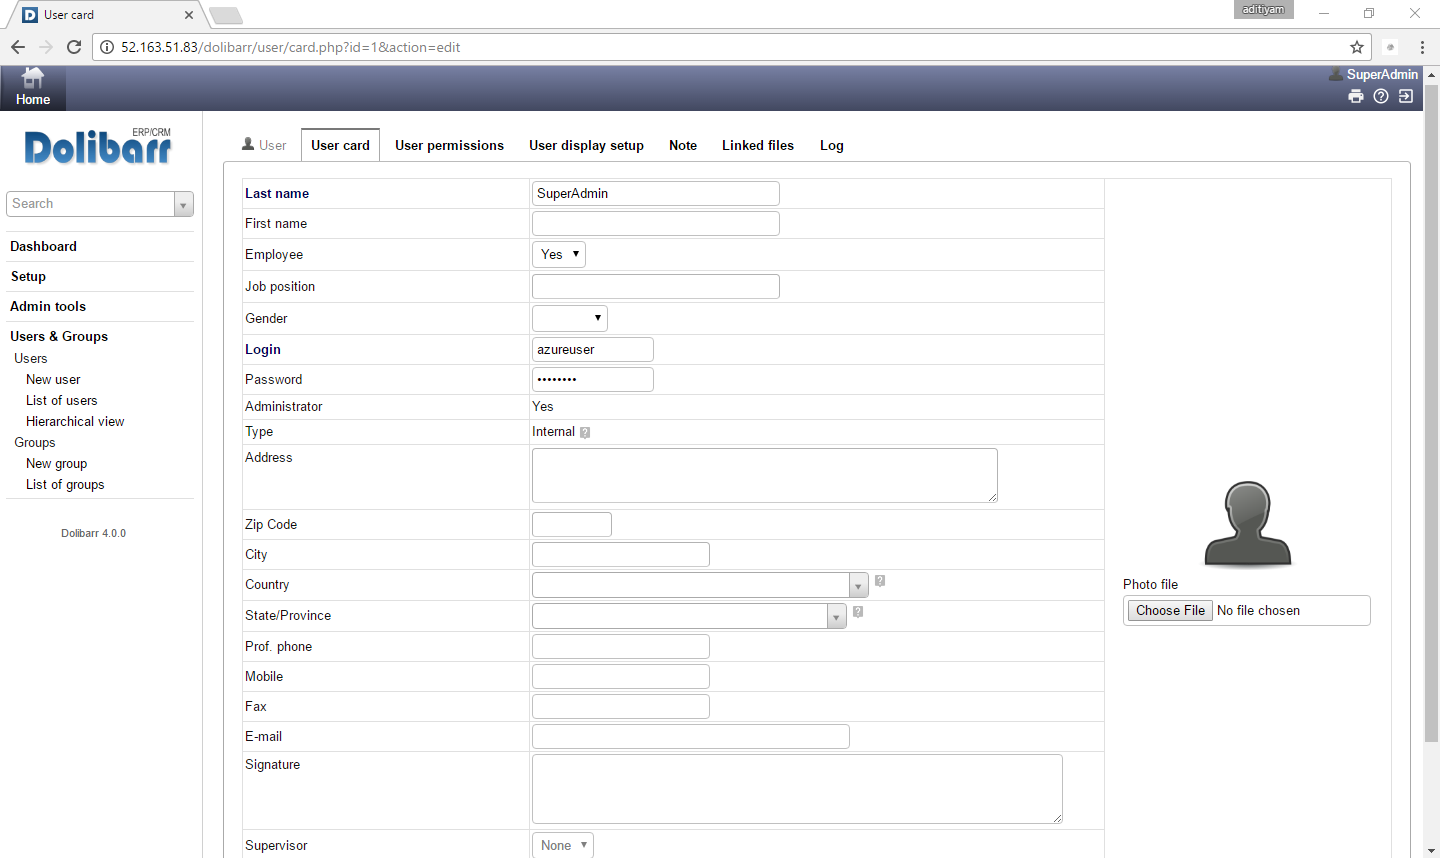
A) Application URL: Access the application via a browser at http://PublicDNS
- Username : azureuser (Please create new user and delete this user)
- Password : Passw@rd123
Step 3) Other Information:
Default installation path: will be on your web root folder “/var/www/html”
2.Default ports:
-
- Linux Machines: SSH Port – 22 or 2222
- Http: 80 or 8080
- Https: 443
- Sql or Mysql ports: By default these are not open on Public Endpoints. Internally Sql server: 1433. Mysql :3306
Configure custom inbound and outbound rules using this link
Installation Instructions For Centos
Note : How to find PublicDNS in Azure
Step 1) SSH Connection: To connect to the deployed instance, Please follow Instructions to Connect to Centos instance on Azure Cloud
1) Download Putty.
2) Connect to virtual machine using following SSH credentials :
- Host name: PublicDNS / IP of machine
- Port : 22
Username: Your chosen username when you created the machine ( For example: Azureuser)
Password : Your Chosen Password when you created the machine ( How to reset the password if you do not remember)
Step 2) Database Login Details :
- MYSQL Username : root
- MYSQL Password : Passw@rd123
Note :-Please change password immediately after first login.
Step 3) Application URL: Access the application via a browser at http://PublicDNS/
- Username : azureuser (Please create new user and delete this user)
- Password : Passw@rd123
Step 4) Other Information:
Default installation path: will be on your web root folder “/var/www/html/”
2.Default ports:
- Linux Machines: SSH Port – 22
- Http: 80
- Https: 443
- Mysql ports: By default these are not open on Public Endpoints. Mysql :3306
Configure custom inbound and outbound rules using this link
Azure Step by Step Screenshots

Installation Instructions For Ubuntu
Installation Instructions for Ubuntu
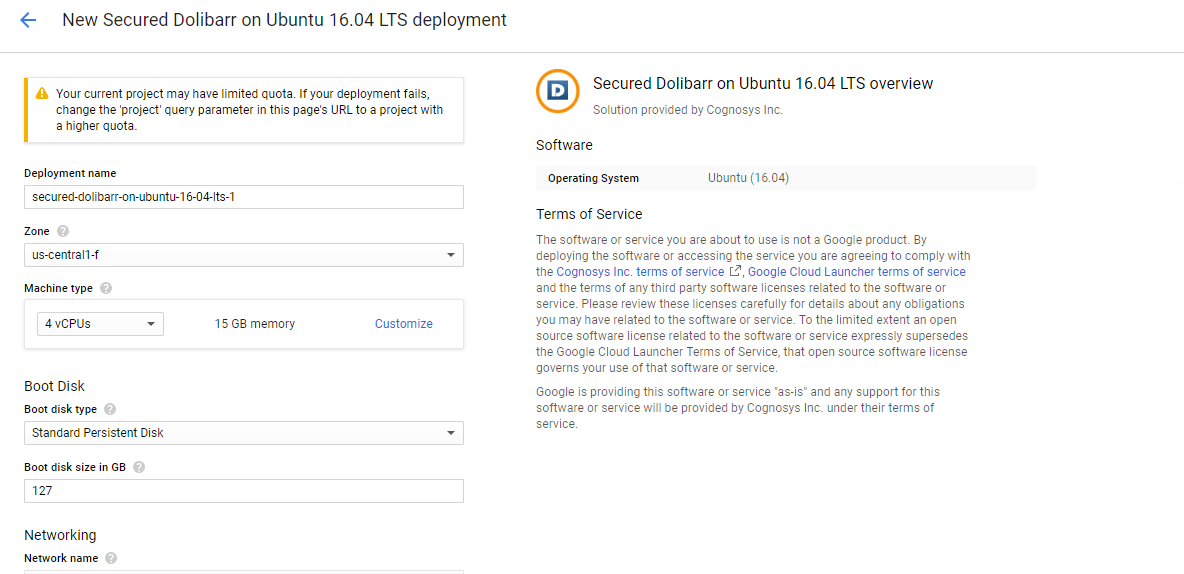
Step 1) VM Creation:
- Click the Launch on Compute Engine button to choose the hardware and network settings

- You can see at this page, an overview of Cognosys Image as well as estimated cost of running the instance

- In the settings page, you can choose the number of CPUs and amount of RAM, the disk size and type etc.
 Step 2) SSH Connection:To initialize the DB Server connect to the deployed instance, Please follow Instructions to Connect to Ubuntu instance on Google Cloud
1) Download Putty.
2) Connect to the virtual machine using SSH key
- Hostname: PublicDNS / IP of machine
- Port : 22
Step 3) Database Login Details:
The below screen appears after successful deployment of the image.

For local MySQL root password, please use the temporary password generated automatically during image creation as shown above.
i) Please connect to Remote Desktop as given in step 2 to ensure stack is properly configured and DB is initialized.
ii) You can use MySQL server instance as localhost, username root and password as shown above.
If you have closed the deployment page you can also get the MySQL root password from VM Details “Custom metadata” Section.
Step 4) Application URL: Access the application via a browser at http://PublicDNS/Dolibarr
Step 5) Other Information:
Default installation path: will be on your web root folder “/var/www/html/Dolibarr”
2.Default ports:
- Linux Machines: SSH Port – 22 or 2222
- Http: 80 or 8080
- Https: 443
- Sql or Mysql ports: By default these are not open on Public Endpoints. Internally Sql server: 1433. Mysql :3306
Videos
Secured Dolibarr on Ubuntu 14.04 LTS
