

Overview
CS-Cart is an e-commerce solution that will allow you to design your own online store. You can sell your products in a specific country or even worldwide, using nothing more than your computer.By default CS-Cart comes with all-you-need for the development of your website. It has a built-in core modules for the payments on your website, the shipping, CMS system and even a beautiful default theme that you can use.here is a 30 days trial period for the CS-Cart once you install it. After that, your CS-Cart will automatically go into Free Mode, which will still allow you to use it, but with limited features. If you wish to use it’s full power and features, you will need a paid license for the application.CS-Cart is one of the best and feature-rich shopping cart solutions for developing a high-end e-commerce website of any size such as small to web store to a virtual shopping mall.
How to Manually Install CS-Cart:
The process is a bit more complicated , but it will provide more advanced configuration options for your new website.
To Manually Install CS-Cart you will need to:
Download CS-Cart
The first step that you need to consider is to download the latest CS-Cart release. This will download an archive on your local computer, which contains all of the files that you need for the manual installation.
The important thing here is to download the latest version, as it will provide the latest features of CS-Cart and the latest bug fixes. It is always good to keep up-to-date with the application as you will use it’s full power for the development of your website.
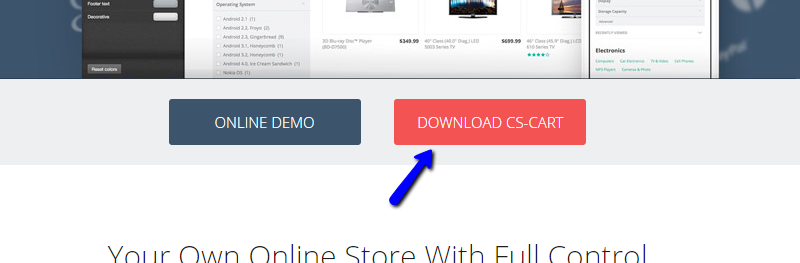
To download the latest release, you need to access the official CS-Cart website. You can scroll down and click on the Download CS-Cart button.
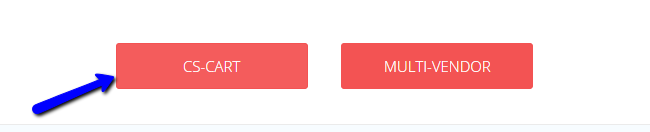
On the next page, click on the CS-Cart button to proceed with your download.
Prepare the CS-Cart Files for Installation
Once you download your CS-Cart installation archive, you can extract the files on your local computer. This will extract all of the files and folders you need to perform the process on your account. You will then simply need to upload them all on your server.
The important thing here is to decide where you wish to install CS-Cart. For example, if you would like to install the application directly on the primary domain of your account, you will have to upload the contents of your CS-Cart website to the public_html/ directory of your account. However, this may differ, if you wish to install CS-Cart on a subdomain, subfolder, etc.
Upload Files
There are two ways of uploading your files to the server – using an FTP client, or uploading directly through your cPanel account > File Manager..
Complete the Installation
To initiate the installation process, you need to access the location of your CS-Cart installation files through your web browser. As the application is not installed yet, the system will display a message for you to inform you about that. Click on the Install button to proceed further.

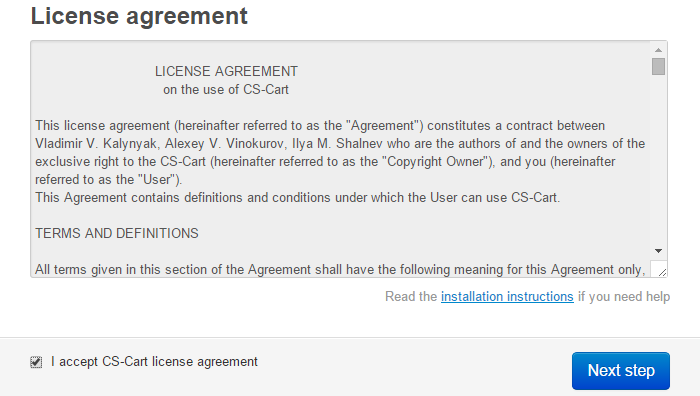
The first step is the license agreement for the CS-Cart use. You need to accept the license and click on the Next Step button to proceed.
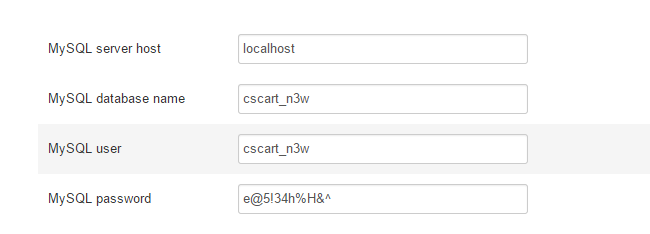
On the next page, you will be able to edit the MySQL information for your domain. You need to create a new and empty database and a user assigned to it with full privileges.
MySQL Configuration
You can create a new database and a user assigned to it via cPanel.
The options that you have are:
- MySQL Server Host – Enter “localhost” without the quotes;
- MySQL Database Name – Enter the name of the database you created;
- MySQL User – Enter the user assigned to it;
- MySQL Password – Enter the password for it.
Enter the details for the administrative user of your website. The user will allow you to edit/manage your new website so keep those details safe. The options are:
- Administrator’s Email – Enter the email of the admin user;
- Administrator’s Password – Enter the password for the admin user;
- Main Language – Choose the language the admin user will use.

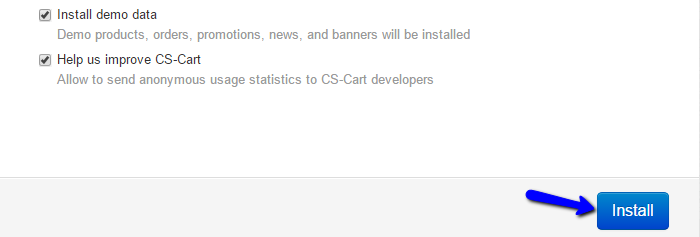
Also, you can choose if you would like to install sample data on your website. Also, choose if you wish to report statistics to the CS-Cart suppor team in order to improve their product. When you are ready, click on the Install button to proceed.
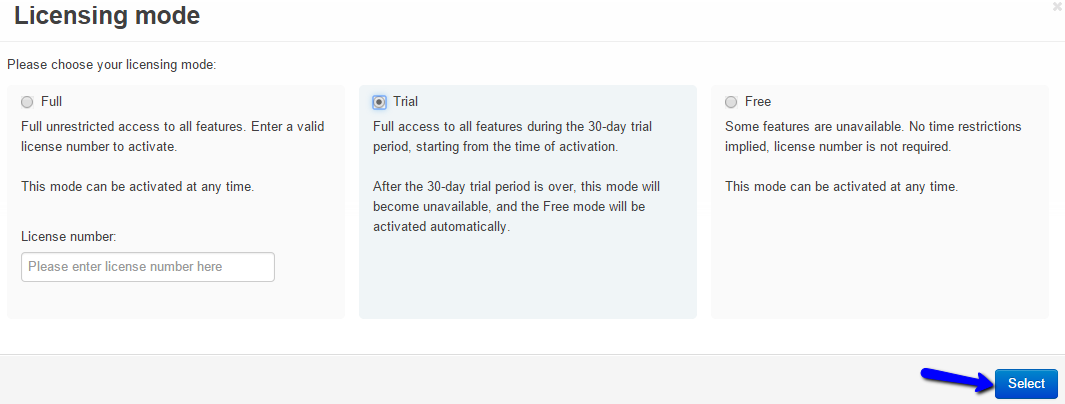
The system will initiate the installation automatically for you and apply the details that you have entered so far. It will also request that you choose the license for your store. There is a Paid, Trial and a Free license that you can choose from.
The manual installation of CS-Cart on your account is now fully completed. You will be presented with links to your front and backend.
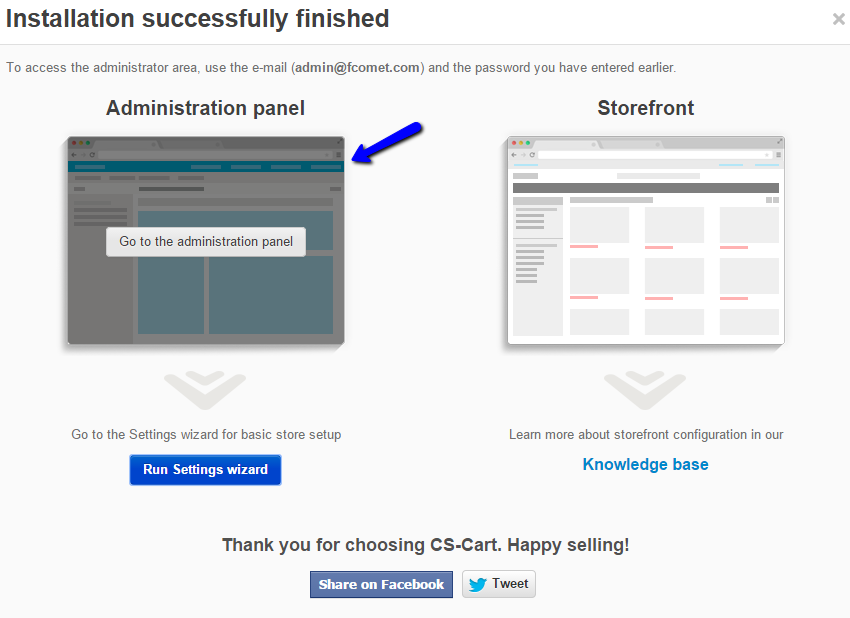
You will also be able to run a setup wizard that will allow you to configure your store easily. Either way, all of the available options in the wizard can be changed later.
Here you will learn how to configure your CS-Cart. The basic configuration includes selecting a payment module, shipping module, currency and store owner info.
Logging in your admin area
In order to log into your Administrator’s area, you will have to navigate to the admin login form. If your CS-Cart is installed in your public_html/shop folder, you will be able to access the admin area by going to
http://yoursite.com/shop/admincp.php
where yoursite.com is your domain name.
The default login details for your admin area are:
- username: admin
- password: admin
The first thing you should do when you login to your CS-Cart admin area is change your password. You will see a warning message reminding you to do so:

You should click on Change password ›› and update your password.
Store settings and information
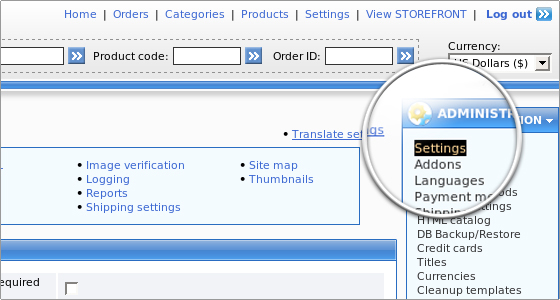
Once you have logged into your admin area, you will notice an info box with links in your upper right corner.
Click the Settings button – this is your store’s general configuration page. In this section you can set up your Store location and contact info, basic catalog settings such as Discounts information and Users/cart settings.
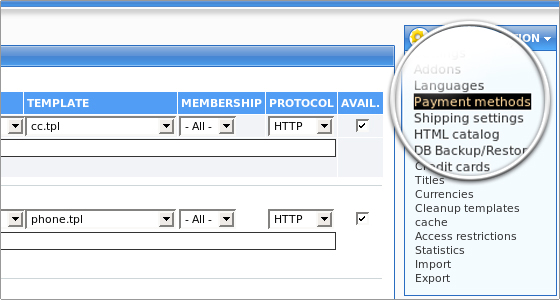
Payment methods
From this section you will be able to set the payment methods you wish to use with your CS-Cart store.
Click on Payment methods on the administration info box as explained above. If you wish to enable the Credit Card payment module you will have to click on the checkbox under the AVAIL. tab on the right.
From the PROTOCOL dropdown menu you will be able to select http or https for normal or secure usage of the module.
From the MEMBERSHIP dropdown menu you will be able to select who will be able to use this payment option.
From the POS. (Position) text box you will be able to select the position of the module if there are more than one payment options enabled for your store. The lowest number will show on top of all other modules.
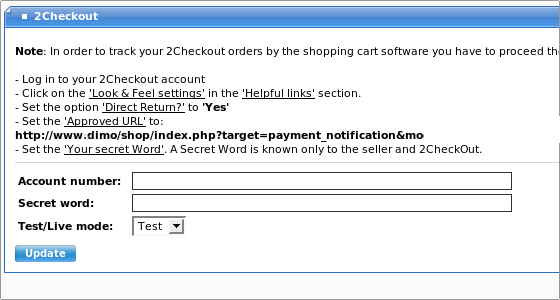
In the PROCESSOR tab you will be able to select the payment processor you wish to use with this payment module or you can choose Offline in order to store the information and process the payments offline.
When you select a payment processor, you should click the Update button at the bottom of the page in order to save the change.
When the change has been saved, you will notice that a Configure button will show up under the payment processor you had chosen. Clicking this button will let you configure your Payment Gateway details.
Shipping settings
CS-Cart provides multiple shipping methods. You can manage them by clicking on Shipping settings from the Administration info box.
The Shipping processors will be displayed.
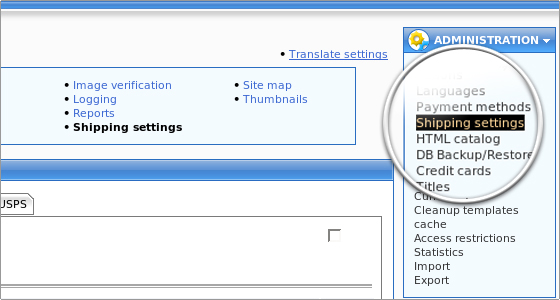
Select the checkbox on the right to enable a shipping method or select the upper right checkbox in order to disable shipping in general for your store.
You can also configure the shipping module details by selecting the tab with the module name at the top.
Please note that you have to click the Update button in order to save the changes you have made.
How to change the skin of your CS-Cart:
In case you wish to change the skin you chose during the installation of your CS-Cart, you should login to your administration area and go to Look and feel -> Skin selector.
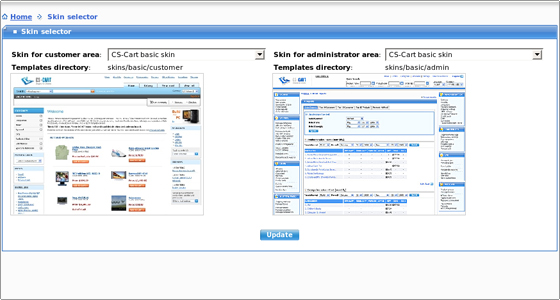
You can choose the skin for your customer area and administration area. When you choose the skins you like, you should click the Update to save the changes and apply the new skins.
How to add a banner to your CS Cart shop:
To add a banner to your shop, you should login to your CS-Cart admin area and go to Look and feel -> Manage Ads. 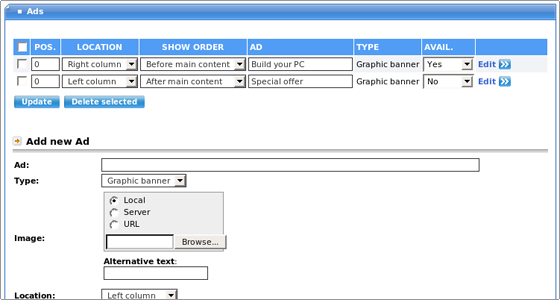
You can add a graphic banner or a text ad. If you wish to add a graphic banner, you will be given the option to add an image to your ad. If you wish to add a text ad to your shop, you will be given the option to write the text for it.
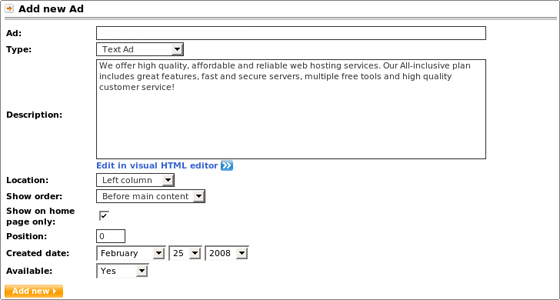
When you are ready with your ad, you should click on Add new. This will add the banner to your shop’s home page.
How to Configure Payment Methods in CS-Cart:
Here we will review the process of adding, or configuring existing payment methods on your CS-Cart website. As an online store, receiving payments is one of the most important features that you need to set up properly. This will ensure you are getting paid for the products you are selling through your website.
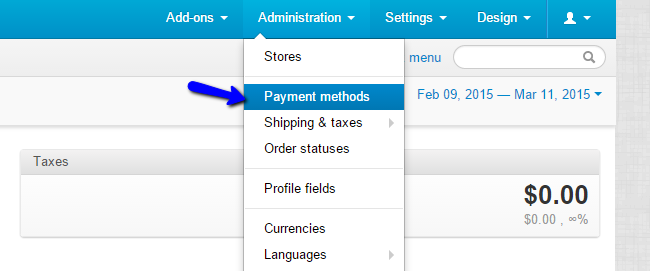
To manage the payment methods in CS-Cart, you have to log in as administrator first. Click on the Administration button at the main menu and then Payment Methods.
The Payment Methods Management includes the following:
Create Payment Methods
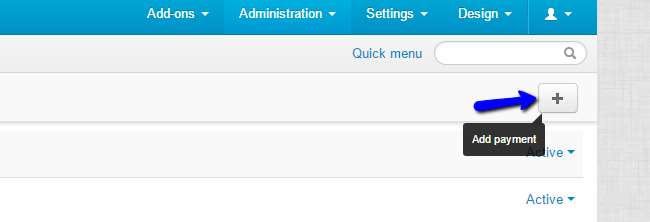
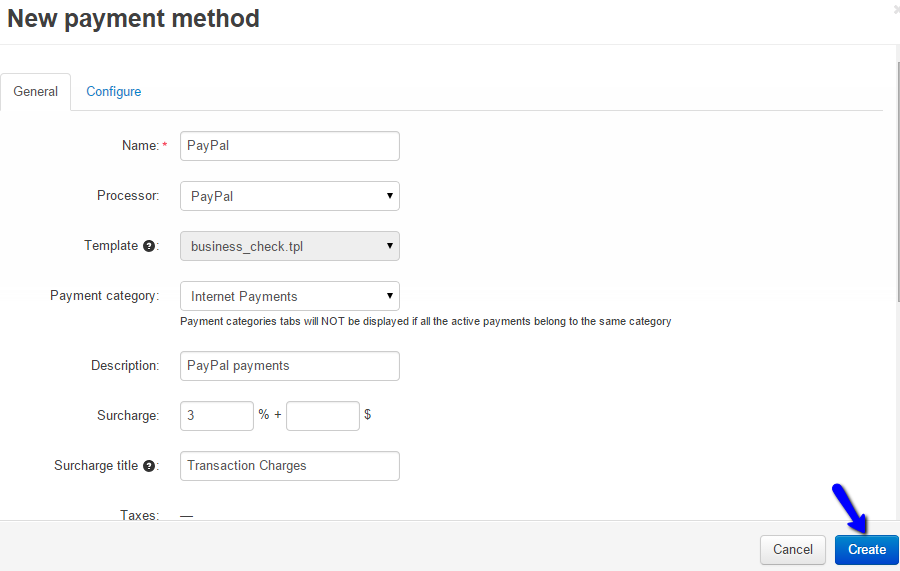
To create a new payment method, you simply need to click on the + sign at the top-right corner of the screen.
Edit the following details for the new payment method on your website:
- Name – Enter the name of the new payment method;
- Processor – Choose the online payment system that will handle the payments on your website;
- Template – Choose the template with input fields that you wish to display;
- Payment Category – Group different payment methods together by choosing a category;
- Description – Enter a short description for the payment method. It will be displayed at checkout;
- Surcharge – Enter a surcharge to be added to the total amount of the order;
- Surcharge Title – Enter a title for the surcharge to be displayed at checkout;
- Configure tab – The configure tab is available for online payment methods. You will be able to set the details for the specific payment method.
Edit Payment Methods
To edit an existing payment method on your website, you need to access the Payment Methods manager again. From the list of available payment methods, simply move the mouse cursor to the one you wish to edit. You will notice a Settings icon that you need to select and then click on Edit.

Enter the details that you wish to change and click on the Save button to keep the changes.
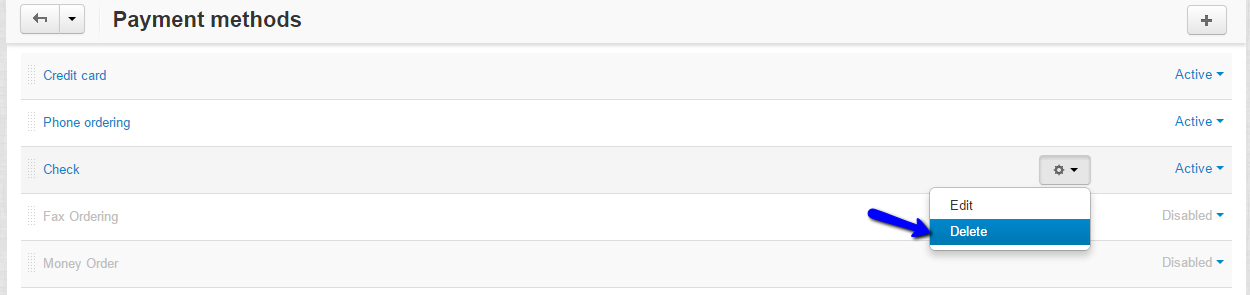
Remove Payment Methods
To remove an existing payment method, you need to move your mouse cursor to one of the available methods in the list. Click on the Settings icon and then Delete.
How to Manage Tax Rules in CS-Cart
Here ,will review the management of the Tax rules on your CS-Cart website. This is an important aspect of your website’s management, as you need to set specific rules for the taxing on your website.
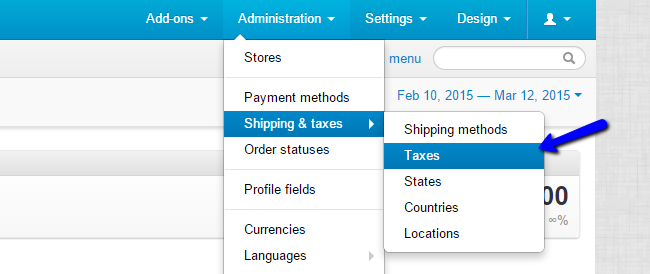
To manage the tax rules on your CS-Cart website, you first need to log in as administrator. Click on the Administration button at the top menu and then Shipping & Taxes. Select the Taxes option.
To Manage the Tax Rules in CS-Cart you need to learn to:
Create Tax Rules
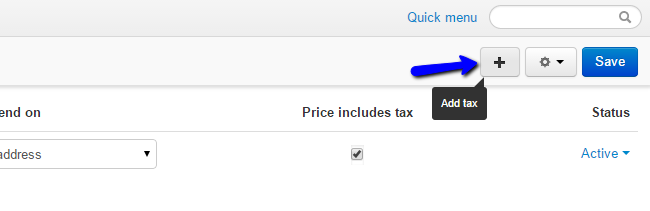
To create a new tax rule on your website, you need to click on the + sign at the top-right corner of the screen.
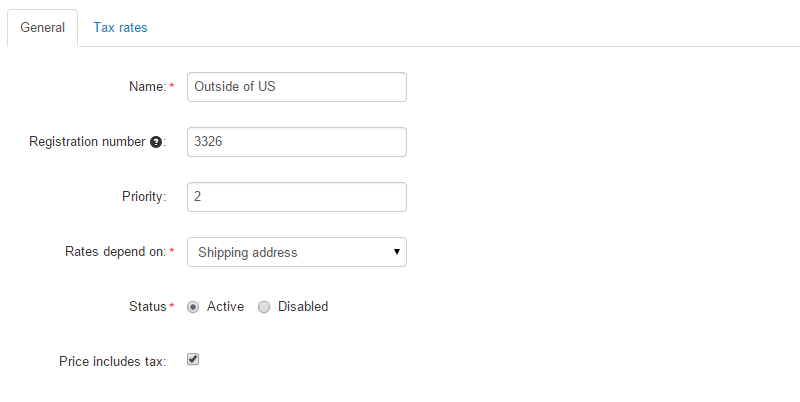
There are two tabs with available options for the configuration of the new tax rule. Let us review them:
- General: You can enter the name of the tax rule, registration number, Priority, status, etc.;
- Tax Rules: The actual tax rules for different countries.
Edit Tax Rules
To edit an existing tax rule on your CS-Cart website, you will have to access the Taxes manager again. You will notice a list of all tax rules on your website. Move the mouse cursor to the one you wish to edit and then click on the Settings icon. Select the Edit option to move forward.

Edit the options that you wish to change and click on the Save button to keep them.
Delete Tax Rules
To remove a tax rule from your CS-Cart website, you need to access the Taxes manager again. Move your mouse cursor to the tax rule that you wish to remove.

Click on the Settings icon and then select Delete.
In order to create a category, you should login to your CS-Cart admin area and go to Add new category under the Catalog menu.Once there, you can choose the category location, its name and an image for it. You can also add a description for the category, choose a page title, META description and keywords, etc:
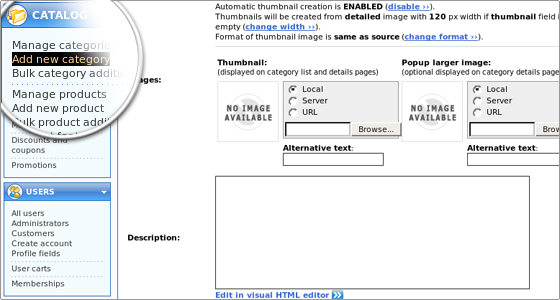
All options are self-explanatory and you shouldn’t have any problems configuring the category. When you are done, you should click Add new to create the new category.
You can modify/delete existing categories from the Manage categories option under the Catalog menu.
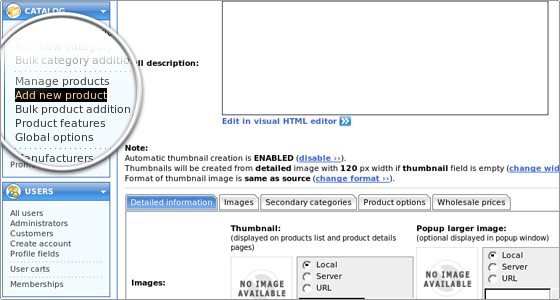
Creating and Managing Products in CS-cart
Creating products is similar to creating categories, the only difference being the several more settings you need to configure when adding a new product. To create a product, you should go to Add a product located under the Catalog menu.
Again, all settings are self-explanatory and you should have no problems adding a product.

To add the new product, you should click the Add new button at the bottom of the page.
You can modify/delete/clone existing products from the Manage products option under the Catalog menu.
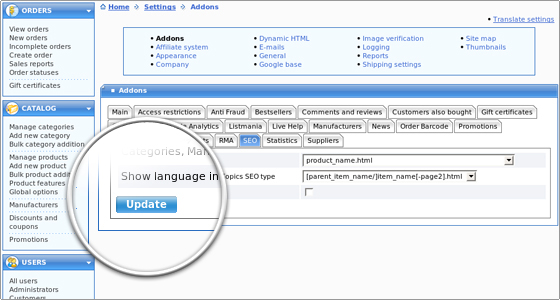
Enabling Search Engine Optimization in CS-Cart
To enable SEO, you should login to your CS-Cart admin area and go to Addons under the Administration menu.Once there, you should check the SEO option:
SEO (requires Apache + mod_rewrite installed)
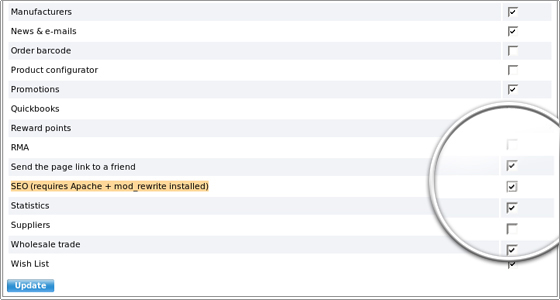
Click on Update and the SEO module will be successfully enabled.
Modifying SEO URLs
You can modify how the SEO URLs appear in the browser from the SEO tab in the Addons section:
How to Manage Shipping Methods in CS-Cart:
Here,we will review the management of the shipping methods for your website. It is important to make sure that delivery of your products is properly handled and your clients can receive them within the timeframe you specified on your website. This is one of the most important things to have happy and returning customers.
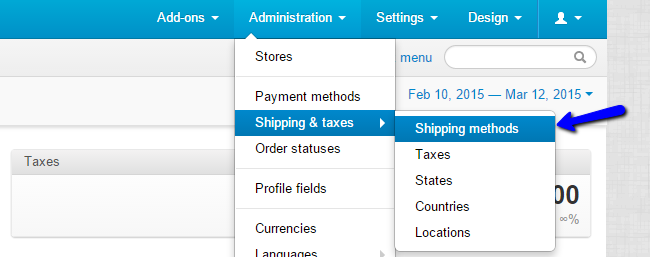
To manage the shipping methods for your website, you will first have to log in as administrator. Click on the Administration button at the top menu and then Shipping & Taxes. Select the Shipping Methods option.
Managing the Shippping Methods in CS-Cart includes:
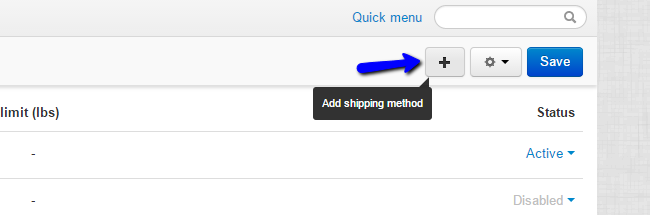
To create a new shipping methods, click on the + sign at the top-right corner of the screen.
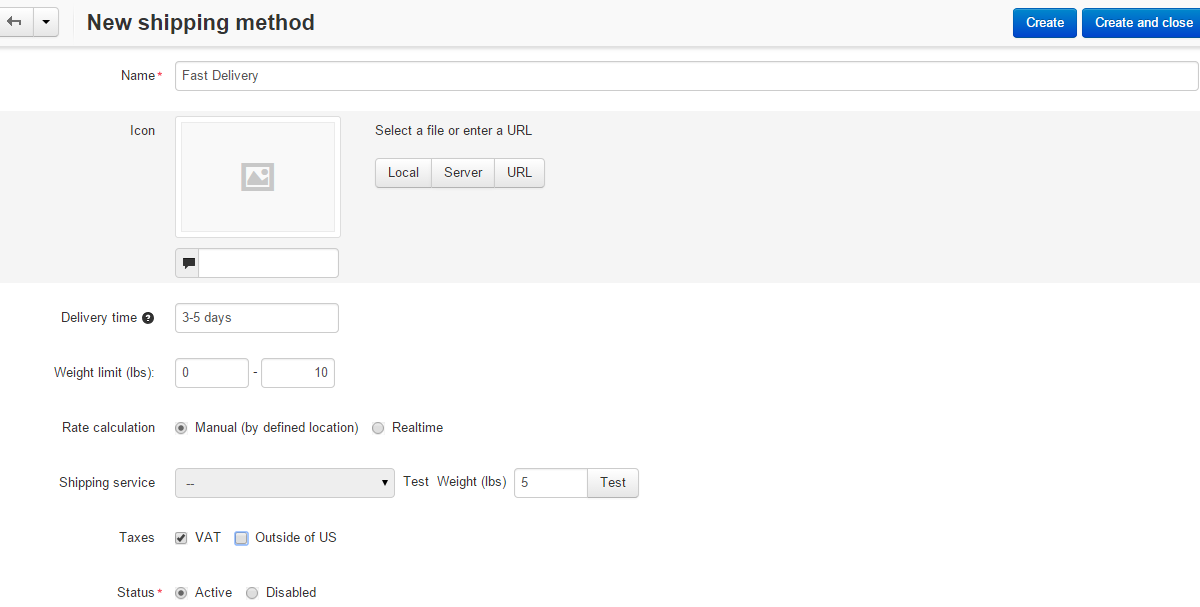
Edit the following details:
- Name – Enter the name of the new shipping method;
- Icon – You can select an icon for the new shipping method. You can upload it from your local computer, from the server or from an URL;
- Delivery time – Set the delivery time of the shipping method;
- Weight Limit – Set the weight limit for this shipping method;
- Rate Calculation – Choose the appropriate options for the rate calculation;
- Shipping Service – Choose the shipping service for the method;
- Taxes – Choose a taxing rule for the new shipping method;
- Status – Enable or disable the new shipping method on your website.
Edit Shipping Methods
To edit existing shipping methods on your website, you will have to move your mouse cursor to the one you wish to change. Click on the Settings icon and then Edit.
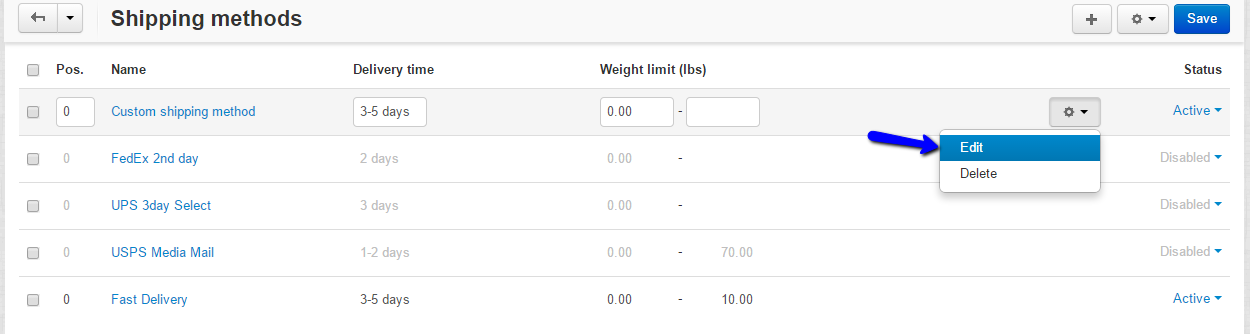
Edit the options that you wish to change and click on the Save button to keep them.
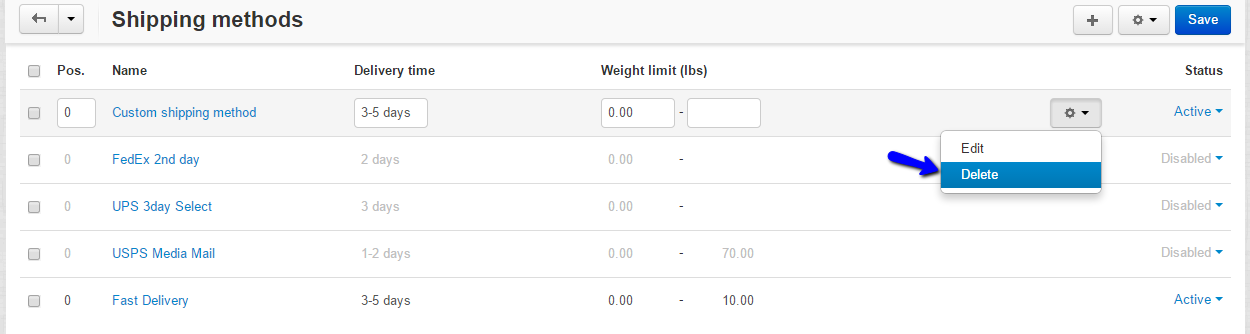
Delete Shipping Methods
To delete shipping methods on your website, you will have to access to move the mouse cursor to the one you wish to remove. Click on the Settings icon and then select the Delete option.
-CS-Cart is highly customizable software, it provides full access to the source code, and there are no encrypted files in it. Thanks to this it is possible to make any changes, integrations and modifications according to the users’ specific needs. CS-Cart is built using PHP and MySQL, AJAX technologies are utilized as well. Design architecture of CS-Cart is based on Smarty template engine that, along with completely CSS-based template layout, makes it very simple to change the look-and-feel of the storefront.

Apart from a bundle of features and add-ons, included into the software by default, there are many add-ons and themes, created by third-party developers, which are listed in CS-Cart Marketplace (http://marketplace.cs-cart.com/)
Features
Key Features of CS-Cart:
-Major Features of Cs-Cart:
Ready from the Start
CS-Cart is a “batteries included” solution. Right out of the box, you have all the necessary tools for a rapid start: the checkout system, built-in CMS, flexible product management, etc. Just do some basic setup, add your products, and start selling!
Eye-Candy Store
CS-Cart ships with a modern, beautifully designed storefront. Use one of the pre-installed design presets or create your own. The built-in theme editor lets you to customize the look & feel of your store with no HTML or CSS knowledge required.
Rocket-Fast
CS-Cart is faster than most e-commerce solutions on the market, with no additional tuning necessary. We invest a lot in performance and speed to deliver smooth and lag-free shopping experience to all visitors of the CS-Cart stores.
Powerful Admin Panel
The admin panel is a true gem. It is crammed with useful e-commerce features: promotion and marketing tools, integrations with major shipping and payment services, etc. Over 50 add-ons are there for you by default.
Multi-Store by Design
Multi-store management has never been easier. You can add as many storefronts as you need. The storefronts can be managed individually, each having its own design, products, and customers, or sharing the same customers or products.
Free Mode
CS-Cart is available in the Free mode, which does not require a license purchase. The Free mode can be used with no time limitations. The Free mode provides the essential set of e-commerce tools.
Mobile-Friendly
The Twigmo mobile storefront is specially designed to deliver rich shopping experience under the limitations of a mobile screen. The Twigmo mobile admin panel allows you to manage your store right from your phone or tablet.
Free Cloud-Powered Search
CS-Cart users enjoy super fast and smart product search, provided by Searchanise. This service is absolutely free and available as a built-in add-on.
videos
CS Cart: Edit Inventory
External embedded media removed for production hardening.
