
Overview
CMS Made Simple is a wonderful open source Content Management System that helps you to manage your website content in much faster, easier and simpler way. The CMS Made Simple is scalable to any size of the business operation from small businesses to large corporate organizations.
Cognosys provides hardened and ready to run images of CMS Made Simple websites on all public cloud ( AWS marketplace and Azure).
CMS Made Simple is owned by CMS Made Simple (https://www.cmsmadesimple.org/) and they own all related trademarks and IP rights for this software.
Secured CMS Made Simple on Ubuntu 14.04 LTS
CMS Made Simple on cloud for Azure-Ubuntu

Features
Major Features Of CMSMadeSimple
The CMS Made Simple offers a wide number of features as listed below:
- Audit log integration
- SEO friendly URL links
- Manages users and groups easily
- Online help in addition to the integrated help in CMS
- Modular CMS with extensible features
- Permission system on group basis
- Easy installation and upgrade process
- Full length template support
- Least server requirements
- File manager integration
- Multiple language support for admin panel
- Unlimited size for content hierarchy
- Support through forums and IRC
AWS
Installation Instructions For Ubuntu
Note : 1. Please use “CMS” in the place of “stack_name”
2. How to find PublicDNS in AWS
A) Application URL: Access the application via a browser at http://PublicDNS:8080
B) SSH Connection: To connect to the operating system,
1) Download Putty.
2) Connect to virtual machine using following SSH credentials :
- Hostname: PublicDNS / IP of machine
- Port : 22
Username: To connect to the operating system, use SSH and the username is ubuntu.
Password : Please Click here to know how to get password .
C) Other Information:
Default installation path: will be on your web root folder “/var/www/html/CMS” ( Please see above Note for stack name)
2.Default ports:
- Linux Machines: SSH Port – 22 or 2222
- Http: 80 or 8080
- Https: 443
- Sql or Mysql ports: By default these are not open on Public Endpoints. Internally Sql server: 1433. Mysql :3306
D)Database Login Details :
- MYSQL Username : root
- MYSQL Password : Passw@rd123
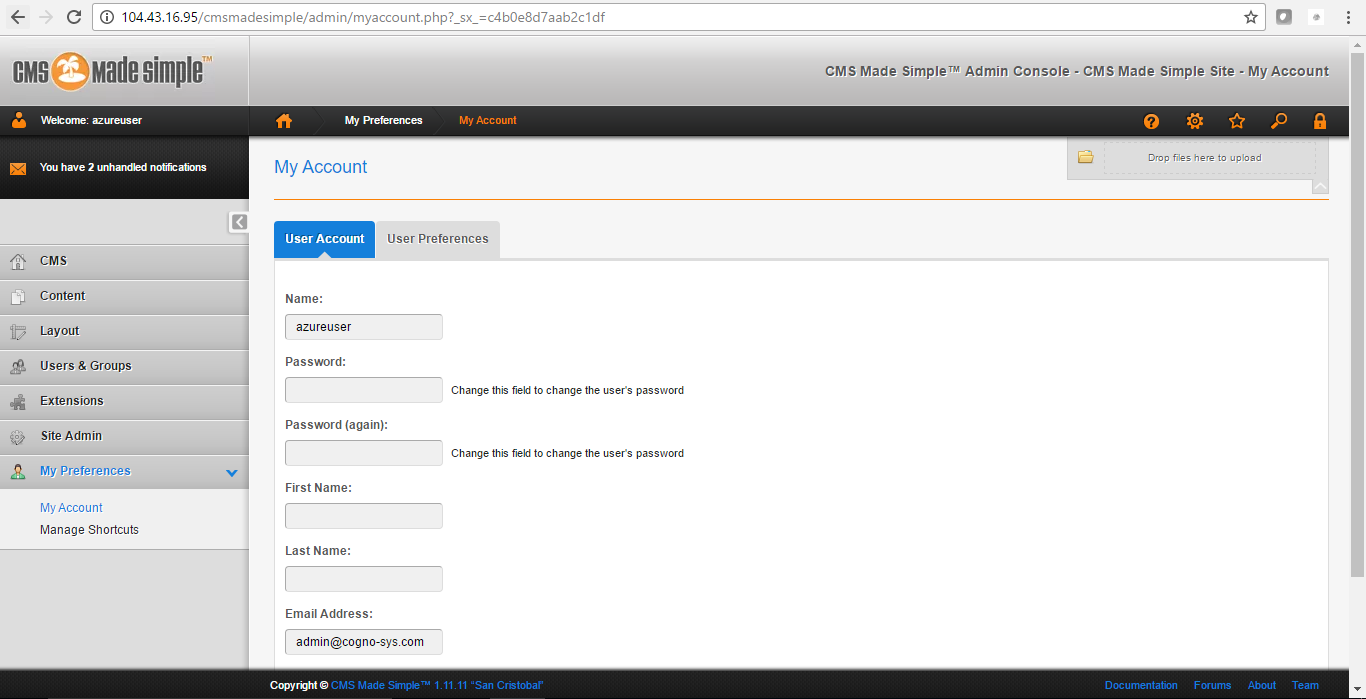
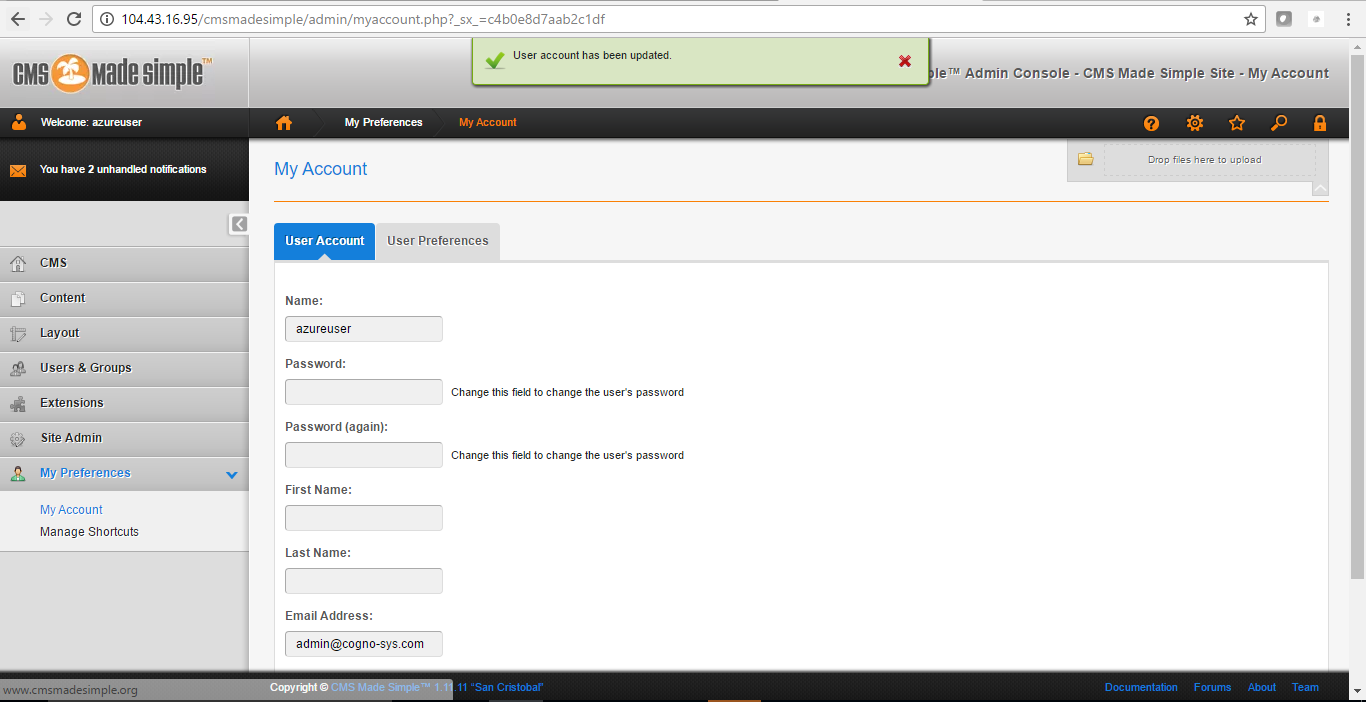
Note :-Please change password immediately after first login.
Configure custom inbound and outbound rules using this link
AWS Step by Step Screenshots
Azure
Installation Instructions For Ubuntu
Note : 1. Please use “CMS” in the place of “stack_name”
2. How to find PublicDNS in Azure
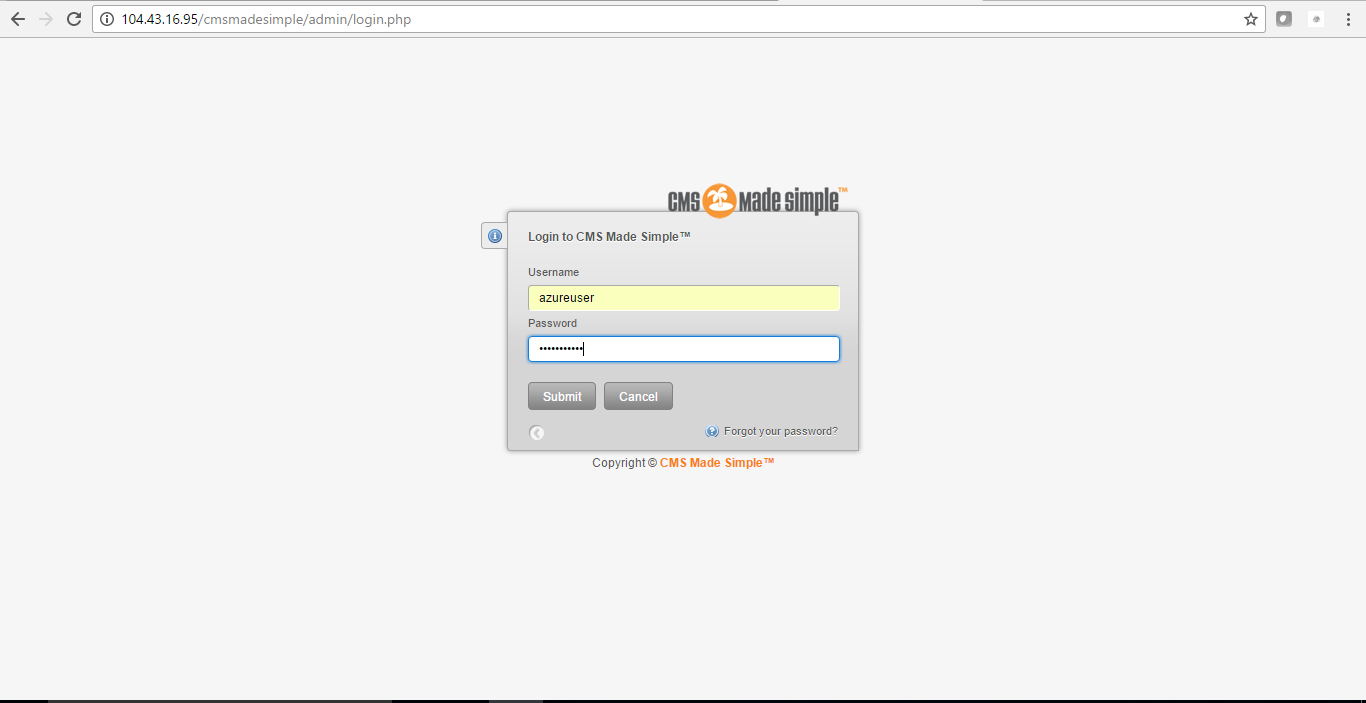
A) Application URL: Access the application via a browser at http://PublicDNS:8o8o.
- Username : azureuser (Please create new user and delete this user)
- Password : Passw@rd123
B) SSH Connection: To connect to the operating system,
1) Download Putty.
2) Connect to virtual machine using following SSH credentials :
- Hostname: PublicDNS / IP of machine
- Port : 22
Username: Your chosen username when you created the machine ( For example: Azureuser)
Password : Your Chosen Password when you created the machine ( How to reset the password if you do not remember)
C) Other Information:
Default installation path: will be on your web root folder “/var/www/html/CMS” ( Please see above Note for stack name)
2.Default ports:
- Linux Machines: SSH Port – 22 or 2222
- Http: 80 or 8080
- Https: 443
- Sql or Mysql ports: By default these are not open on Public Endpoints. Internally Sql server: 1433. Mysql :3306
E)Database Login Details :
- MYSQL Username : root
- MYSQL Password : Passw@rd123
Note :-Please change password immediately after first login.
Configure custom inbound and outbound rules using this link
Installation Instructions For Centos
Note : 1. Please use “CMS” in the place of “stack_name”
2. How to find PublicDNS in Azure
A) Application URL: Access the application via a browser at http://PublicDNS:8080.
- Username : azureuser (Please create new user and delete this user)
- Password : Passw@rd123
B) SSH Connection: To connect to the operating system,
1) Download Putty.
2) Connect to virtual machine using following SSH credentials :
- Hostname: PublicDNS / IP of machine
- Port : 22
Username: Your chosen username when you created the machine ( For example: Azureuser)
Password : Your Chosen Password when you created the machine ( How to reset the password if you do not remember)
C) Other Information:
Default installation path: will be on your web root folder “/var/www/html/CMS” ( Please see above Note for stack name)
2.Default ports:
- Linux Machines: SSH Port – 22 or 2222
- Http: 80 or 8080
- Https: 443
- Sql or Mysql ports: By default these are not open on Public Endpoints. Internally Sql server: 1433. Mysql :3306
E)Database Login Details :
- MYSQL Username : root
- MYSQL Password : Passw@rd123
Note :-Please change password immediately after first login.
Configure custom inbound and outbound rules using this link
For a list of installation instructions customized for your platform Please Click here.
Azure Step by Step Screenshots

Installation Instructions For Windows
Step 1) RDP Connection: To initialize the DB Server connect to the deployed instance, Please follow Instructions to Connect to Windows instance on Google Cloud
Step 2) Database Login Details:
The below screen appears after successful deployment of the image.

For local MySQL root password, please use the temporary password generated automatically during image creation as shown above.
i) Please connect to Remote Desktop as given in step 2 to ensure stack is properly configured and DB is initialized.
ii) You can use MySQL server instance as localhost, username root and password as shown above.
If you have closed the deployment page you can also get the MySQL root password from VM Details “Custom metadata” Section
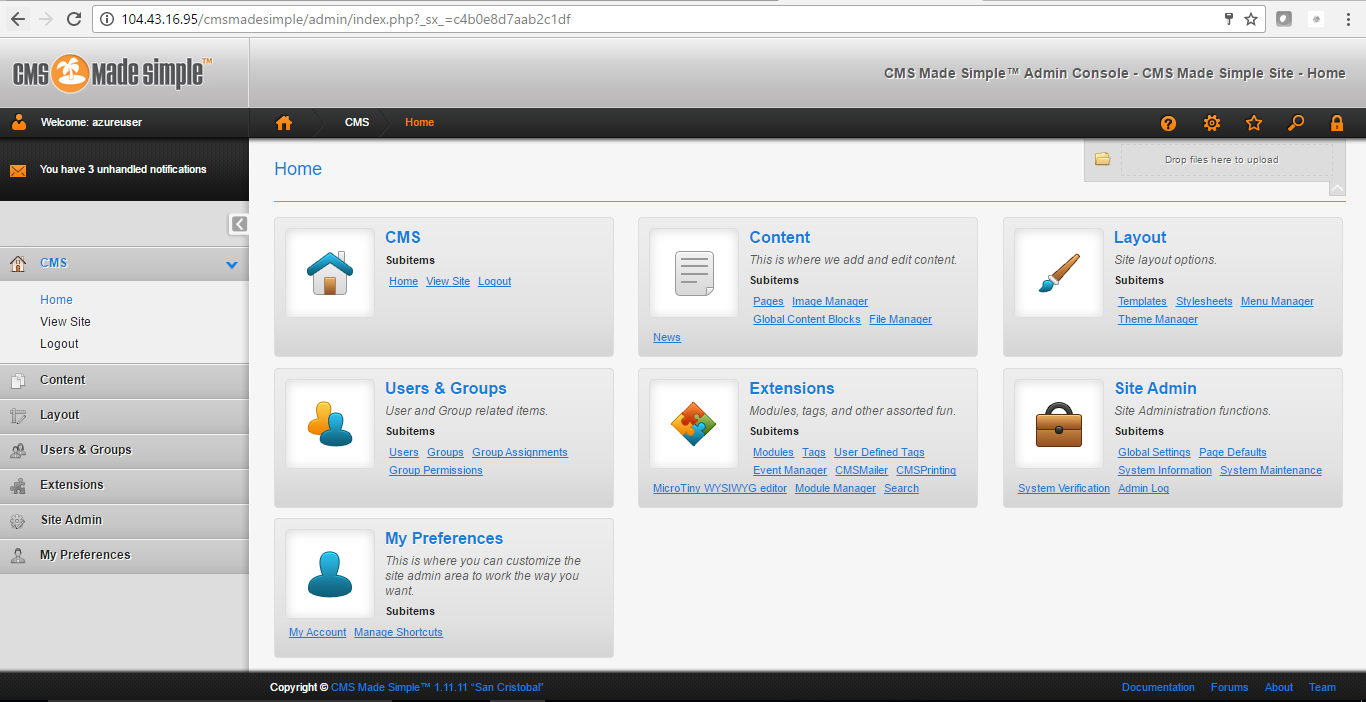
Step 3) Application URL: Access the application via a browser at http://PublicDNS/cmsmadesimple/admin
Step 4) Other Information:
1.Default installation path: will be on your web root folder “/var/www/html/CMS”.
2.Default ports:
- Windows Machines: RDP Port – 3389
- Http: 80
- Https: 443
Videos
Secured CMS Made Simple on Ubuntu 14.04 LTS
CMS Made Simple Tutorial – Getting Started
