
1-click AWS Deployment 1-click Azure Deployment 1-click Google Deployment
Overview
BugNET is a free, open source issue tracking and project issue management solution for the ASP.NET platform. BugNET’s web interface makes it simple to file, manage, and report bugs. The main goals are to keep the codebase simple, well documented, easy to deploy and scalable.
Bug Net is a tool that allows the player to catch small bugs from the air. These bugs are then placed inside small jars.
BugNET is owned by BugNET (https://www.openhub.net/p/bugnet) and they own all related trademarks and IP rights for this software.
Cognosys Provides Hardened images of BugNET on the cloud ( AWS marketplace, Azure and Google Cloud Platform).
Deploy BugNET securely on cloud i.e. AWS marketplace, Azure and Google Cloud Platform (GCP)
BugNET On Cloud for AWS
BugNET On Cloud for Azure

Features
Major Features of BugNET
- Ability to assign a deadline to an issue and give a time estimate up-front.
- Customers and users can submit issues via email
- Rich text HTML editor for comments and issue descriptions
- Upload screenshots or attachments
- Custom fields allow the capture of user defined data
- Comments, attachments, issue linking, notifications, time tracking and issue history allow comprehensive issue tracking.
AWS
Installation Instructions for Windows
Note: How to find PublicDNS in AWS
Step 1) RDP Connection: To connect to the deployed instance, Please follow Instructions to Connect to Windows instance on AWS Cloud
Connect to the virtual machine using following RDP credentials:
- Hostname: PublicDNS / IP of machine
- Port : 3389
Username: To connect to the operating system, use RDP and the username is Administrator.
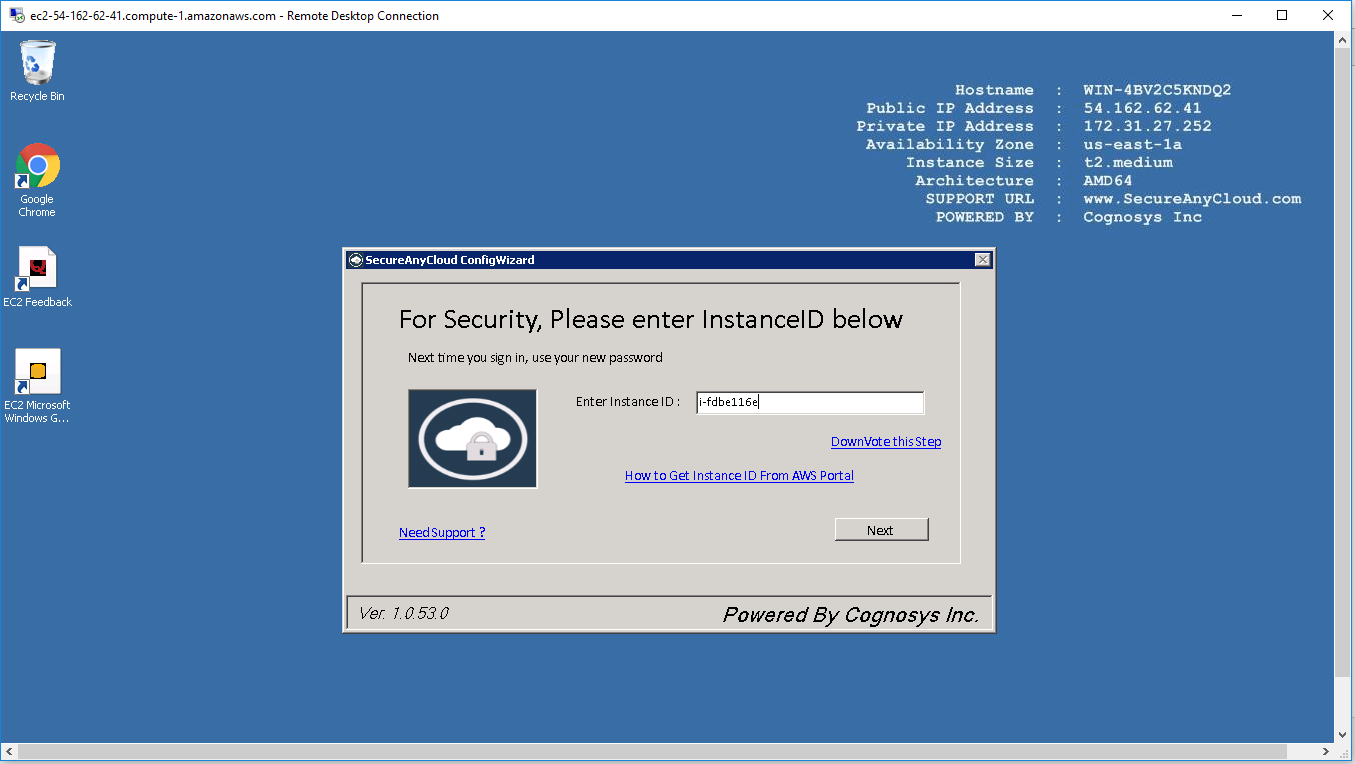
Password: Please Click here to know how to get password .
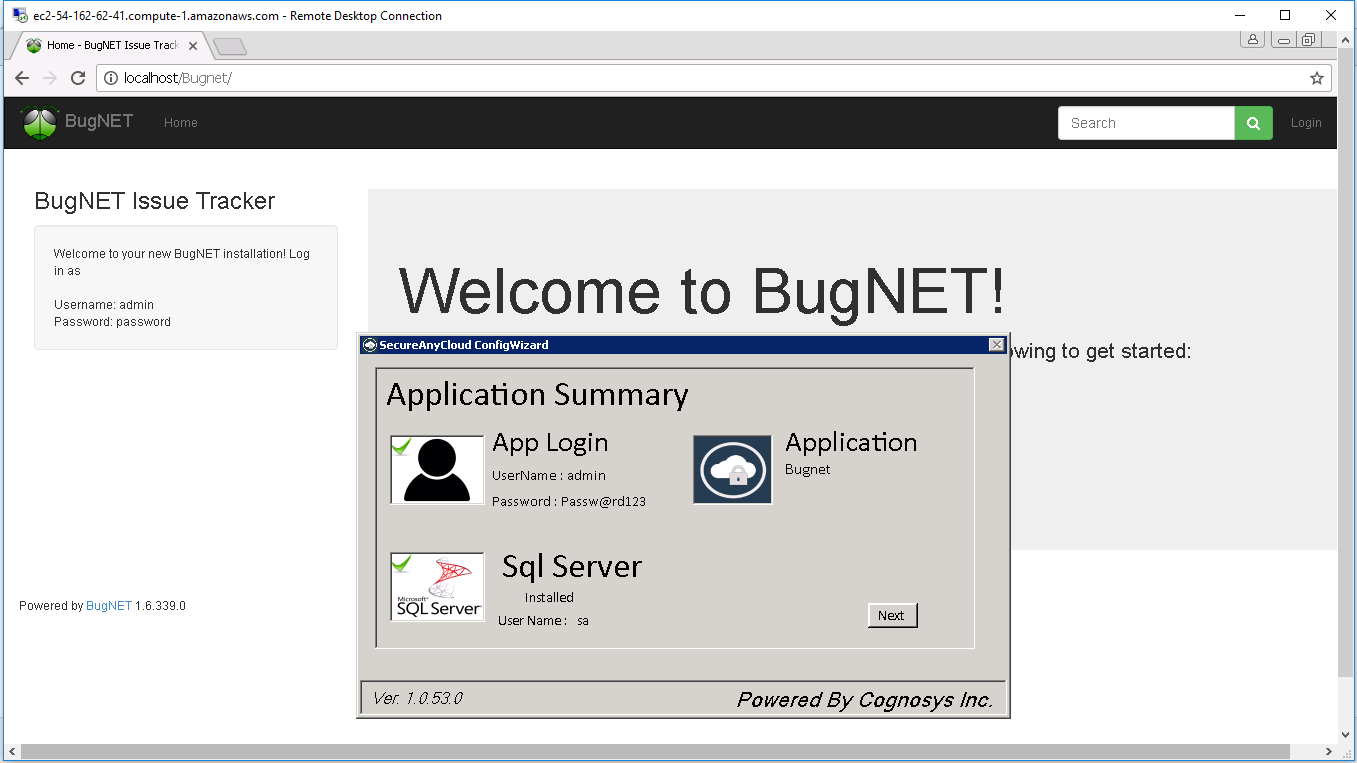
Step 2) Database Login Details:
- SQL Username : sa
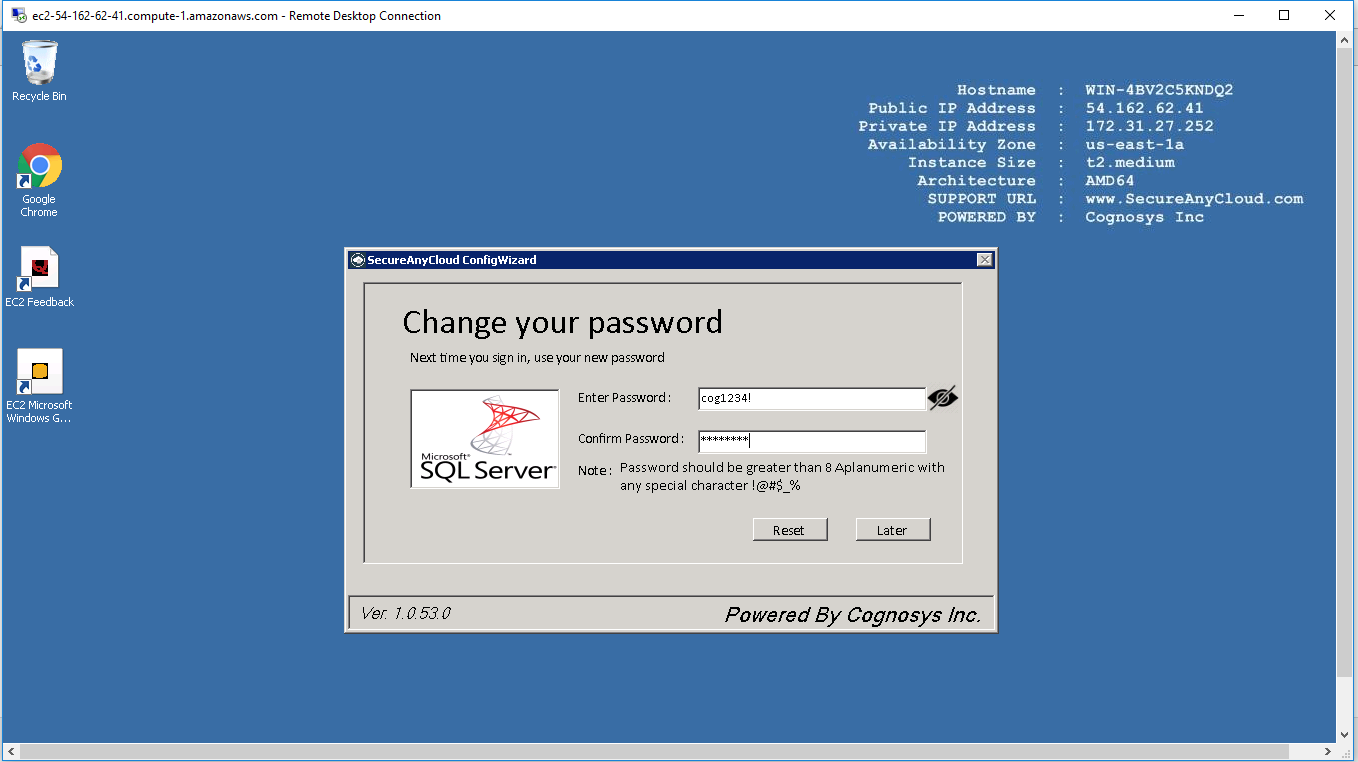
- SQL Password : Passw@rd123
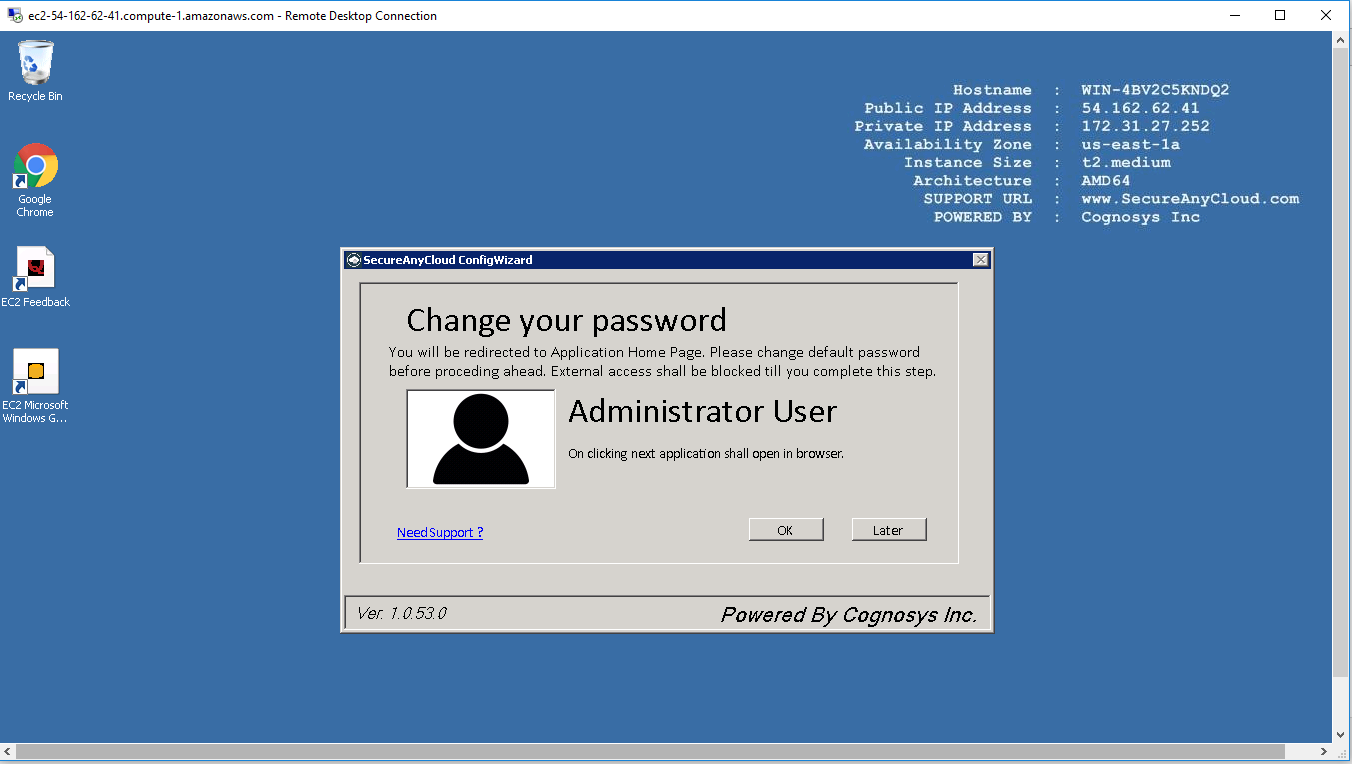
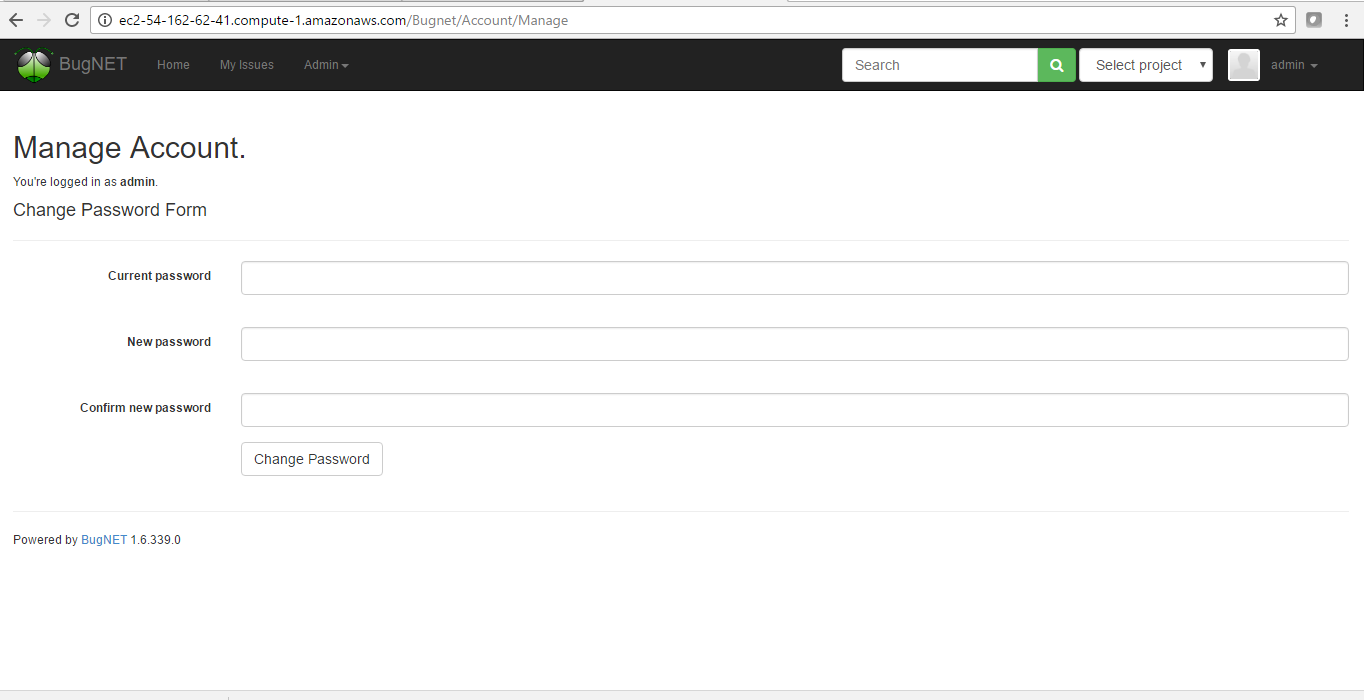
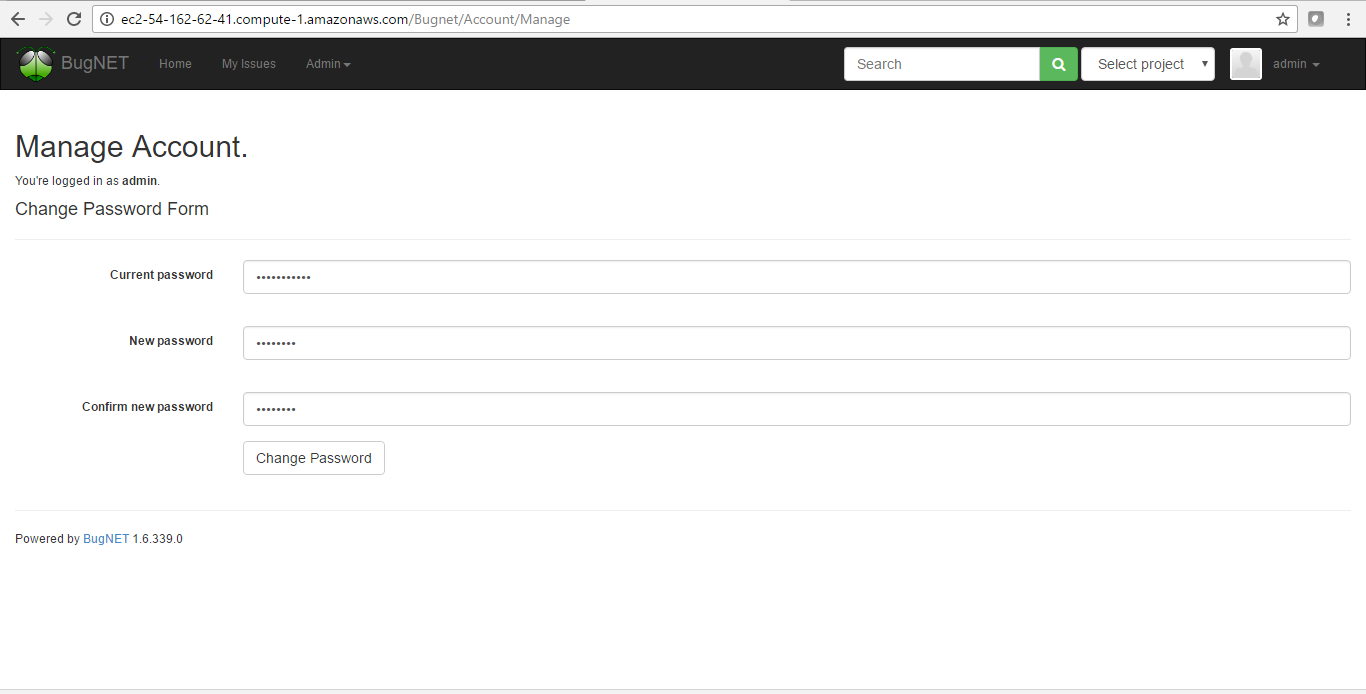
Please change the password immediately after the first login.
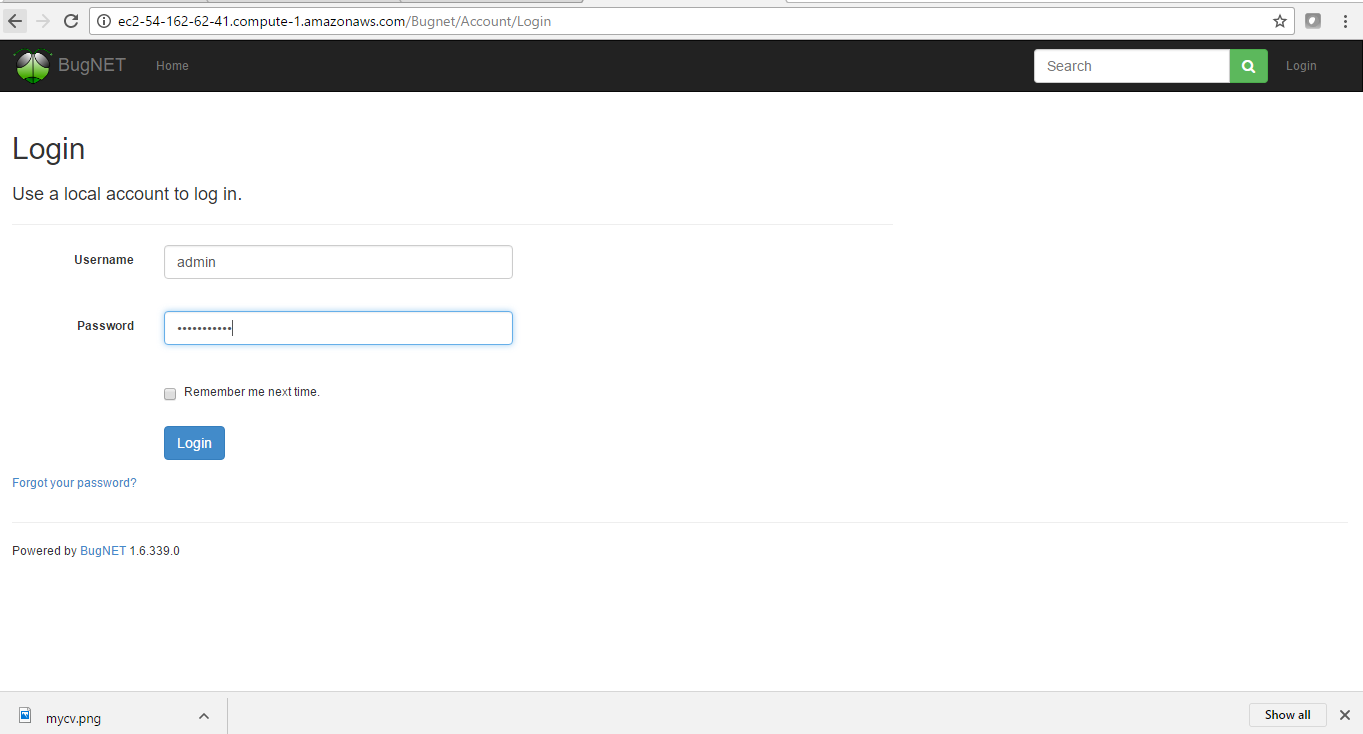
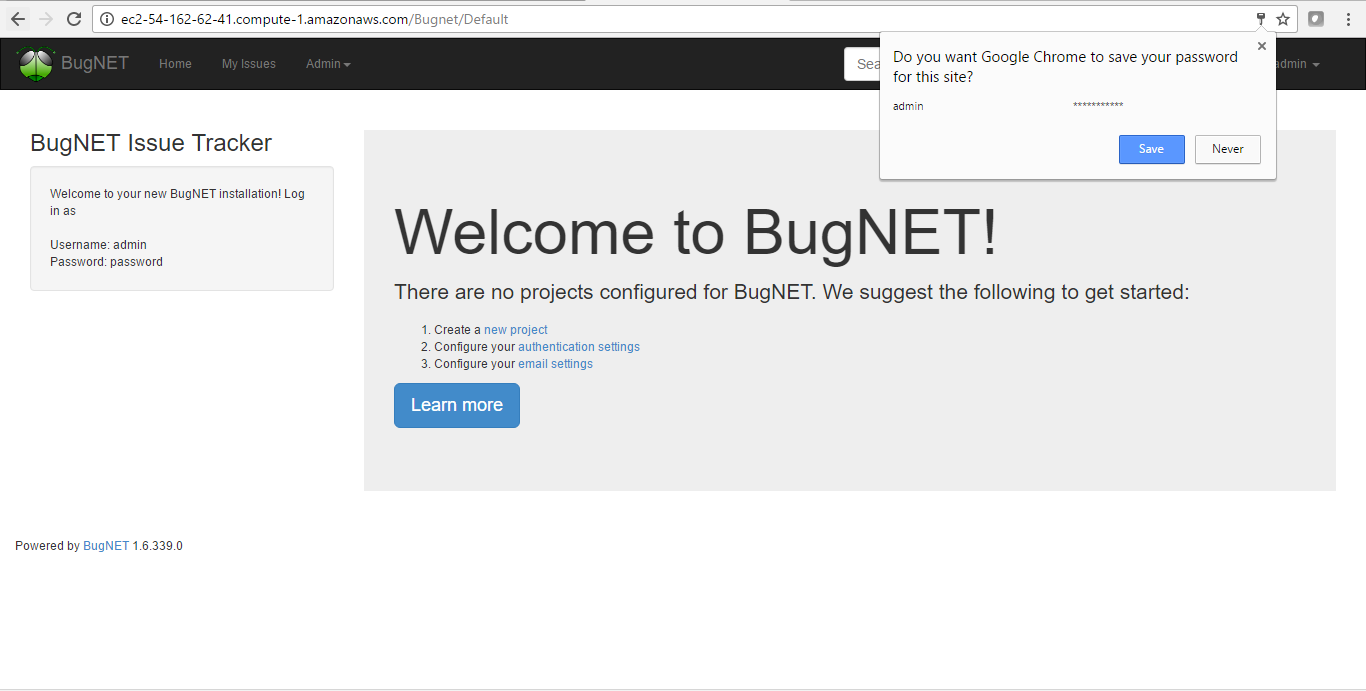
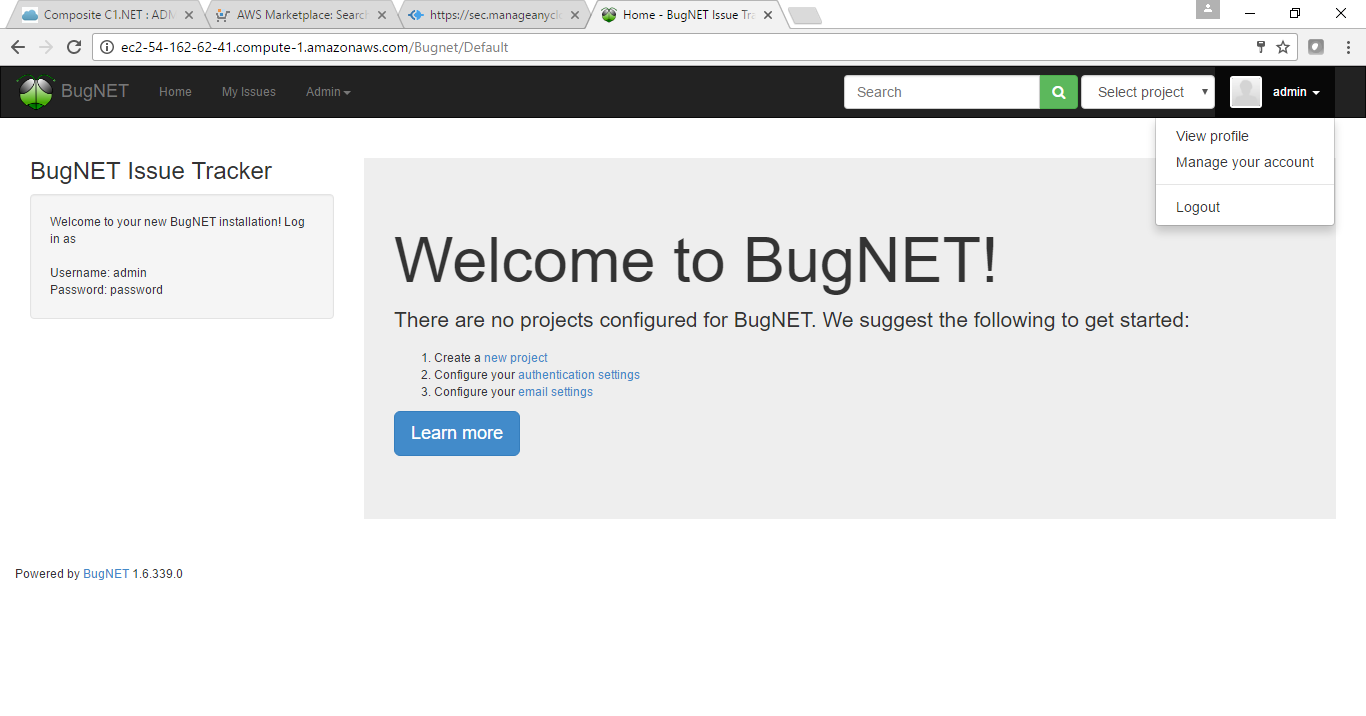
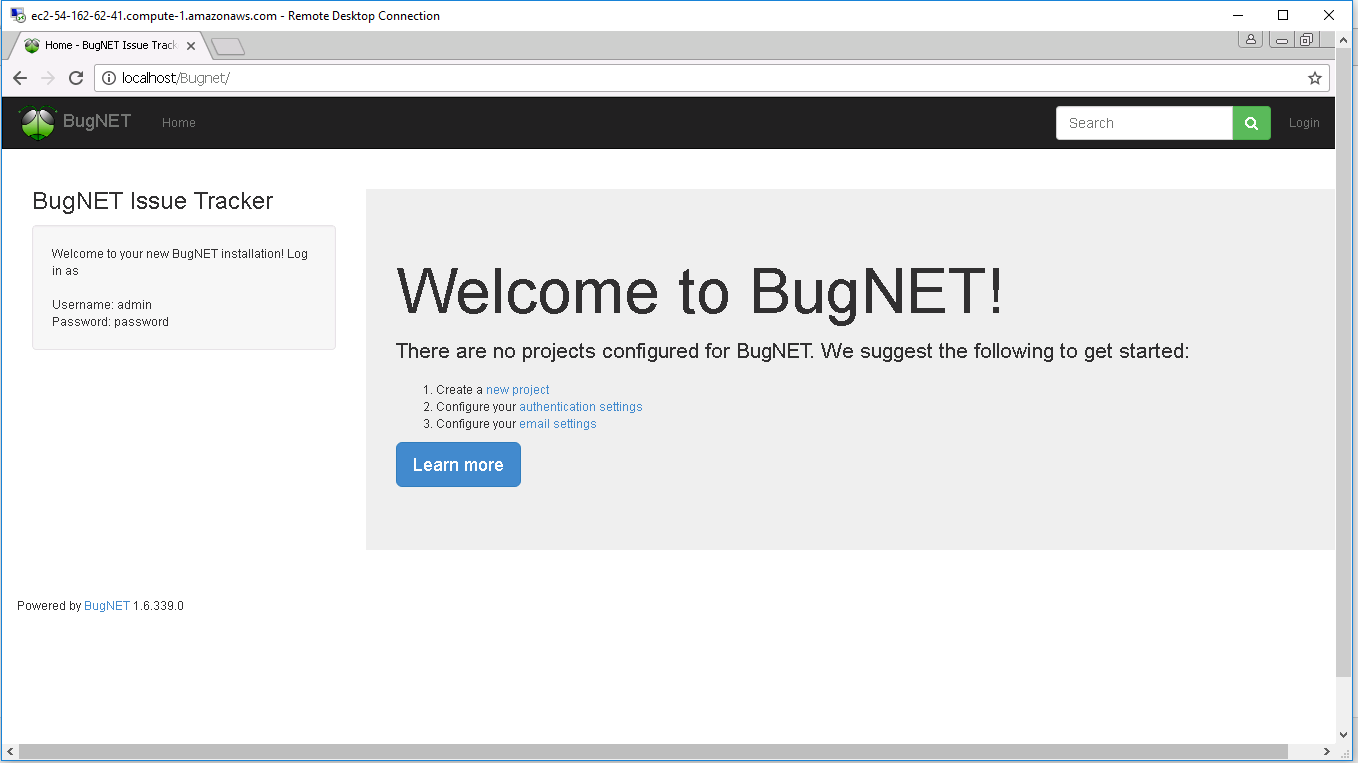
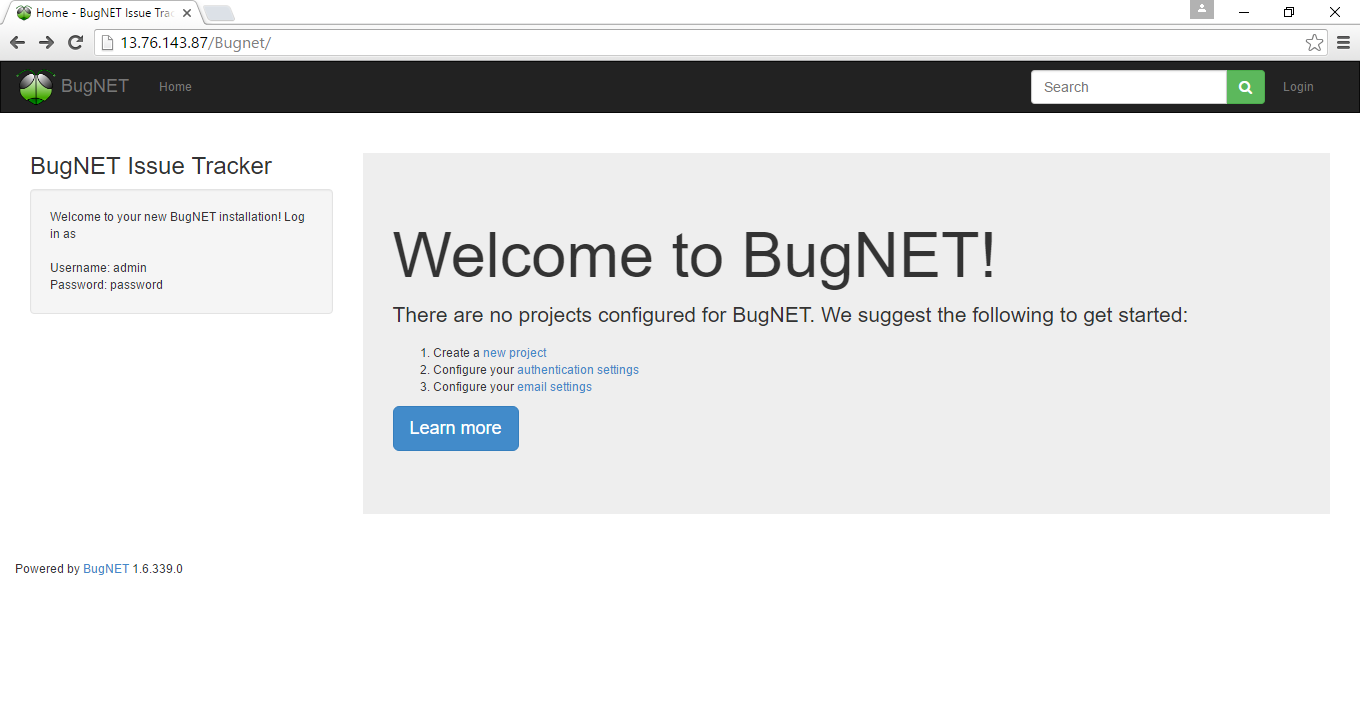
Step 3) Application URL: Access the application via a browser at http://PublicDNS/Bugnet
- User Name: admin
- Password: Passw@rd123
Step 4) Other Information:
1.Default installation path: will be in your web root folder “C:\inetpub\wwwroot\Bugnet”
2.Default ports:
- Windows Machines: RDP Port – 3389
- Http: 80
- Https: 443
- Sql ports: By default these are not open on Public Endpoints. Internally Sql server: 1433.
Configure custom inbound and outbound rules using this link


Azure
Installation Instructions for Windows
Note : How to find PublicDNS in Azure
Step 1) SSH Connection: To connect to the deployed instance, Please follow Instructions to Connect to Ubuntu instance on Azure Cloud
1) Download Putty.
2) Connect to virtual machine using following SSH credentials:
- Hostname: PublicDNS / IP of machine
- Port : 22
Username: Your chosen username when you created the machine ( For example: Azureuser)
Password : Your Chosen Password when you created the machine ( How to reset the password if you do not remember)
Step 2) Database Login Details:
- SQL Username : sa
- SQL Password : Passw@rd123
Note: Please change the password immediately after the first login.
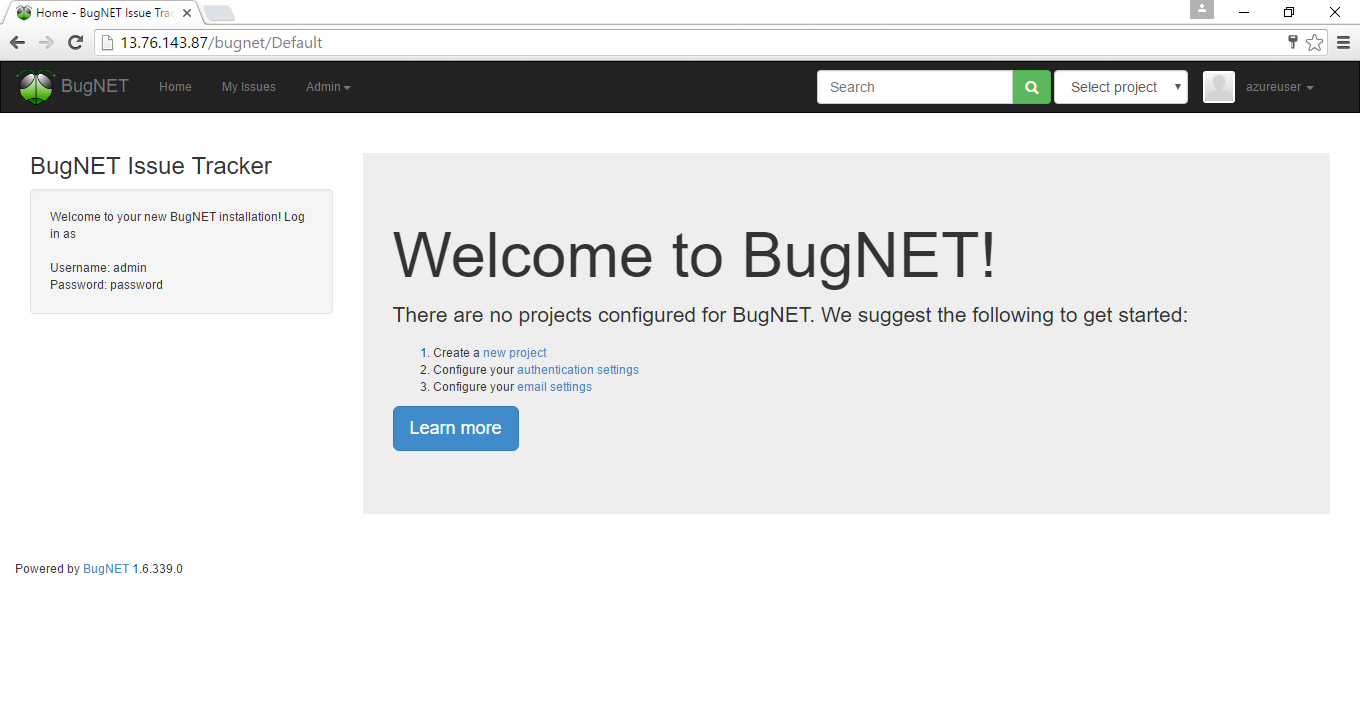
Step 3) Application URL: Access the application via a browser at http://PublicDNS/Bugnet
- User Name: admin
- Password: Passw@rd123
Step 4) Other Information:
1.Default installation path: will be in your web root folder “C:\inetpub\wwwroot\Bugnet”
2.Default ports:
- Windows Machines: RDP Port – 3389
- Http: 80
- Https: 443
- Sql Ports: By default these are not open on Public Endpoints. Internally Sql server: 1433
Configure custom inbound and outbound rules using this link
Azure Step by Step Screenshots


Installation Instructions For Windows
Step 1) VM Creation:
1.Click the Launch on Compute Engine button to choose the hardware and network settings.

2.You can see at this page, an overview of Cognosys Image as well as some estimated costs of VM.

3.In the settings page, you can choose the number of CPUs and amount of RAM, the disk size and type etc.

Step 2) RDP Connection: To initialize the DB Server connect to the deployed instance, Please follow Instructions to Connect to Windows instance on Google Cloud
Step 3) Database Credentials:
You can Login by below SQL Database credentials
SQL UserName : sa
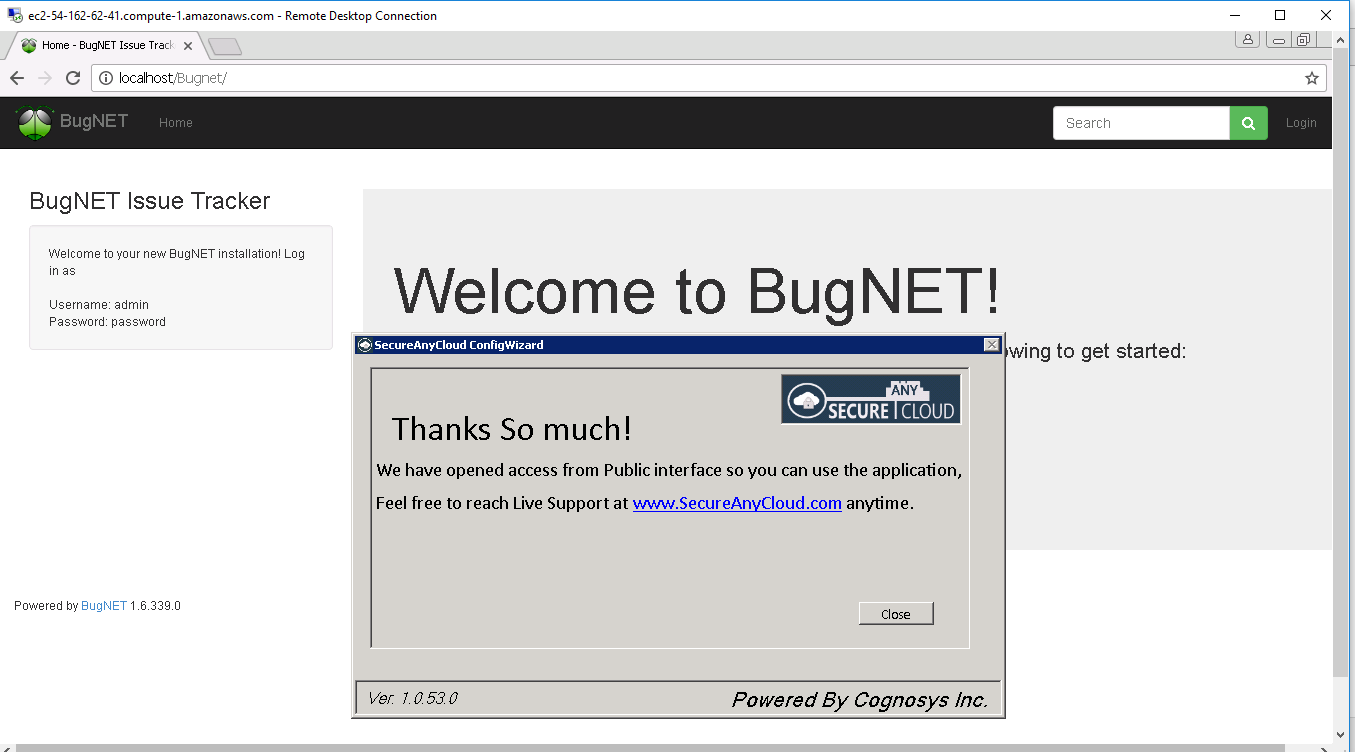
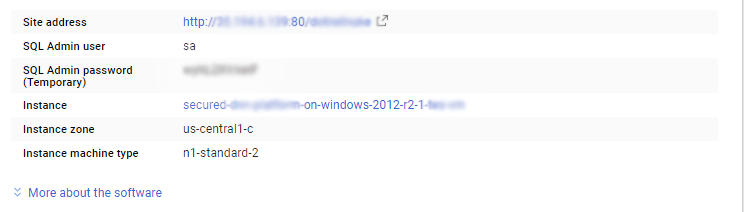
The below screen appears after successful deployment of the image.
i) Please connect to Remote Desktop as given in step 2
ii) You can use SQL server instance as localhost. The SQL Server instance name to be used is “localhost” Connect to SQL Management Studio with username as sa and password provided in Custom Metadata.
If you have closed the deployment page you can also get the sa password from VM Details “Custom metadata” Section.
Step 3) Application URL: Access the application via a browser at http://PublicDNS/Bugnet
Step 4) Other Information:
1.Default installation path: will be in your web root folder “C:\inetpub\wwwroot\Bugnet”
2.Default ports:
- Windows Machines: RDP Port – 3389
- Http: 80
- Https: 443
- Sql ports: By default these are not open on Public Endpoints. Internally Sql server: 1433.


Installation Instructions For Redhat
Step 1) SSH Connection: To connect to the deployed instance, Please follow Instructions to Connect to Redhat instance on Google Cloud
1) Download Putty.
2) Connect to the virtual machine using SSH key
- Hostname: PublicDNS / IP of machine
- Port : 22
Step 4) Database Credentials:
You can Login by below SQL Database credentials
SQL UserName : sa
The below screen appears after successful deployment of the image.
i) Please connect to Remote Desktop as given in step 2
ii) You can use SQL server instance as localhost. The SQL Server instance name to be used is “localhost” Connect to SQL Management Studio with username as sa and password provided in Custom Metadata.
If you have closed the deployment page you can also get the sa password from VM Details “Custom metadata” Section.
Step 5) Application URL: Access the application via a browser at http://PublicDNS/Bugnet
- User Name: admin
- Password: Passw@rd123
Step 6) Other Information:
1.Default installation path: will be in your web root folder “C:\inetpub\wwwroot\Bugnet”
2.Default ports:
- Windows Machines: RDP Port – 3389
- Http: 80
- Https: 443
- Sql ports: By default these are not open on Public Endpoints. Internally Sql server: 1433.
videos
Embedded media removed during static cleanup.
