Baasbox on cloud

1-click AWS Deployment    1-click Azure Deployment

 1-click Google Deployment


Overview

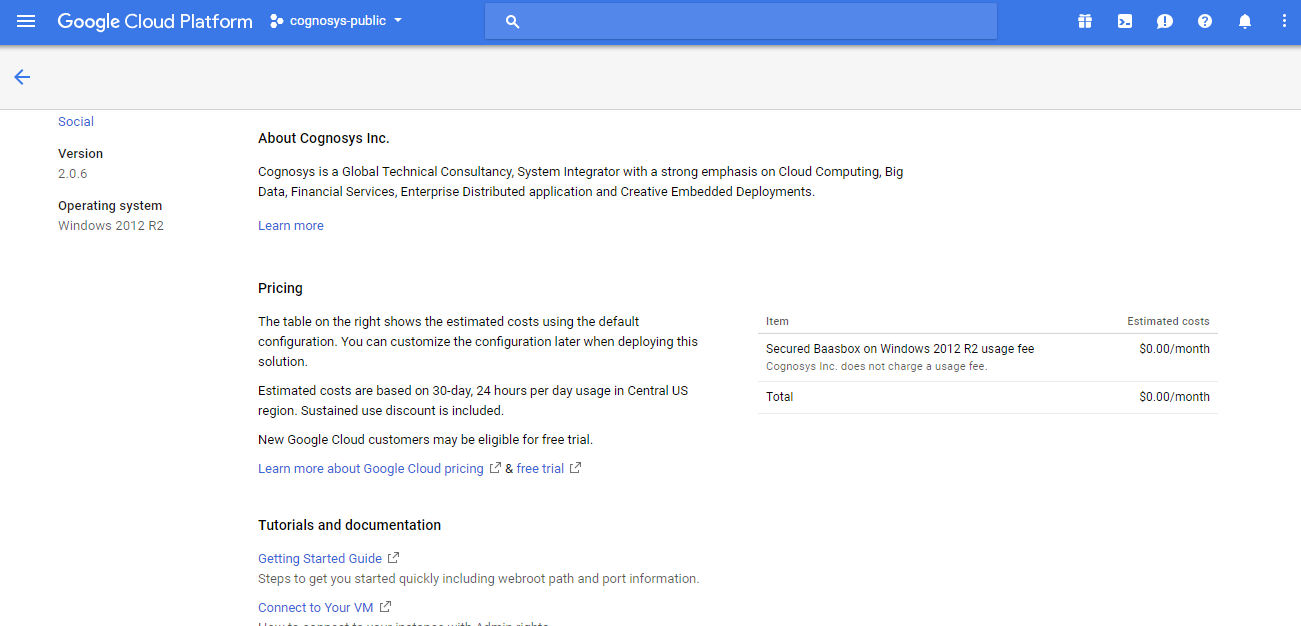
BaaS Box is a complete solution to implement the back end of your applications. Backend As A Service concept started with the dawn of cloud services and catched on. Given the amount of work developer teams had to do to reinvent the wheel, using BaaS helps the software developers bring their application much faster without rework.
It is available as a product released under the Apache 2 license, or as a cloud service.
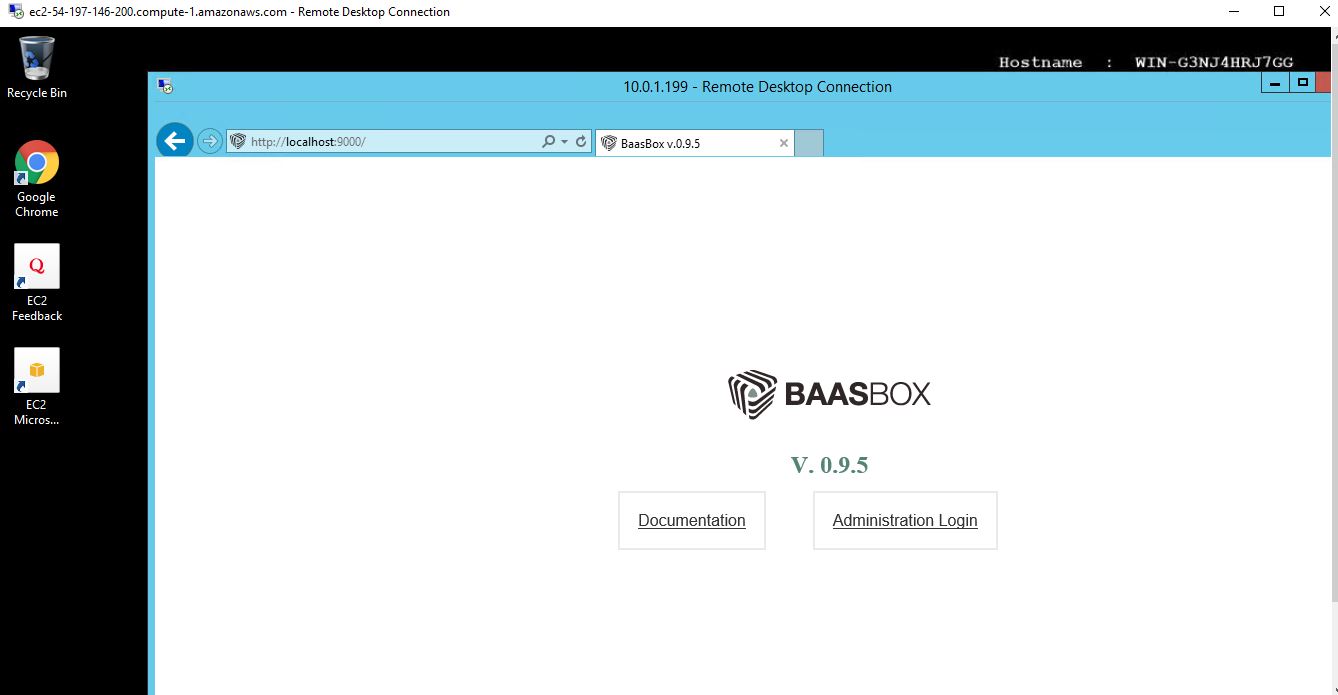
The latest version is 0.9.4

Baasbox on cloud on AWS


Features

Major Features of BaasBox 

  • The BaasBox features (server side)
    •  how to install BaasBox
    • how to use the admin console and a detailed section about the REST API that you can use
    • REST API
    • Plugin Engine (Server Side Scripts)
  •  The SDK features
    •  iOS SDK
    •  Android SDK
    • JavaScript

AWS

Installation Instructions For Ubuntu

Note : How to find PublicDNS in AWS

Step 1) SSH Connection: To connect to the operating system,

1) Download Putty.

2) Connect to virtual machine using following SSH credentials :

  • Hostname: PublicDNS  / IP of machine
  • Port : 22

Username: To connect to the operating system, use SSH and the username is ubuntu.
Password : Please Click here  to know how to  get password .


Step 2) Application URL: Access the application via a browser at http://publicdns:9000/console

  • User Name: ec2-user
  • Password: Passw@rd123

Step 3) Other Information:

1.Default installation path: will be in your web root folder “/var/www/html/baasbox”

2.Default ports:

  • Linux Machines:  SSH Port – 22
  • Http: 80
  • Https: 443


Configure custom inbound and outbound rules using this link

Installation Instructions Windows

Note:  How to find PublicDNS in AWS

Step 1) RDP  Connection: To connect to the deployed instance, Please follow Instructions to Connect to Windows  instance on AWS Cloud

Connect to the virtual machine using following RDP credentials:

  • Hostname: PublicDNS  / IP of machine
  • Port : 3389

Username: To connect to the operating system, use RDP and the username is Administrator.
Password: Please Click here to know how to get password .

Step 2) Application URL: Access the application via a browser at http://publicdns:9000/console

  • User Name: ec2-user
  • Password: Passw@rd123

Step 3) Other Information

1. Default installation path will be in your web root folder “C:\inetpub\wwwroot\baasbox”

2.Default ports:

  • Windows Machines:  RDP Port – 3389
  • Http: 80
  • Https: 443

Configure custom inbound and outbound rules using this link .

AWS Step By Step Screenshots


Azure

Installation Instructions for Windows

Note: How to find PublicDNS in Azure

Step1 ) RDP Connection: To connect to the deployed instance, Please follow Instructions to Connect to Windows instance on Azure Cloud

1) Connect to virtual machine using following RDP credentials :

  • Hostname: PublicDNS  / IP of machine
  • Port : 3389

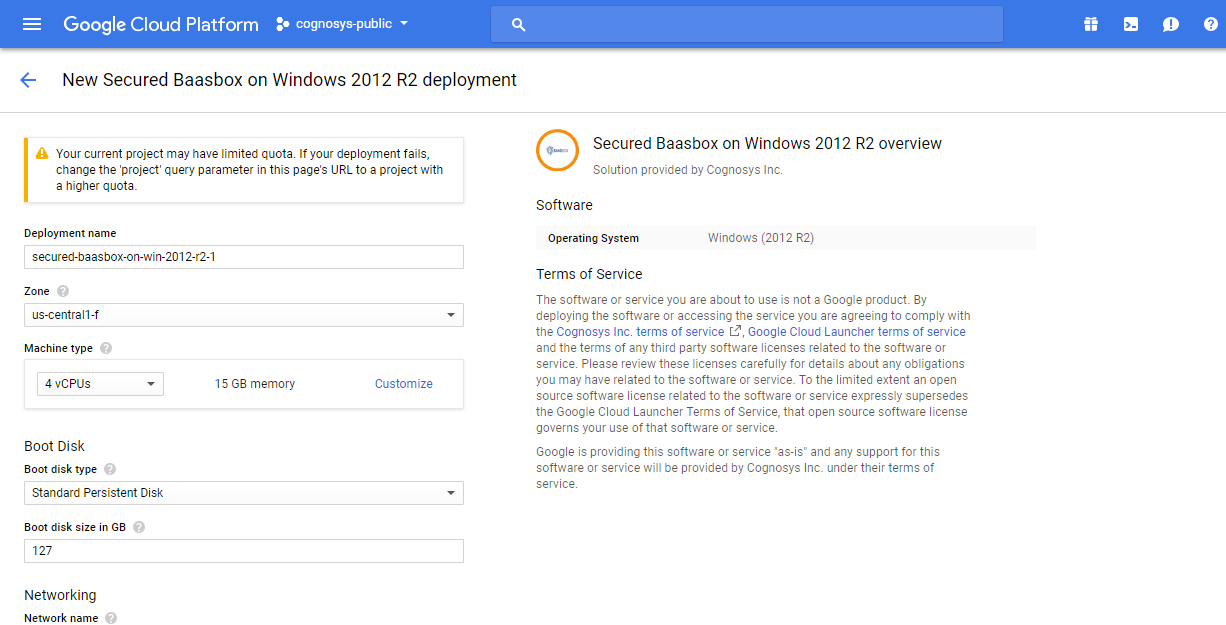
Username: Your chosen username when you created the machine ( For example:  Azureuser)
Password : Your Chosen Password when you created the machine ( How to reset the password if you do not remember)

Step 2) Database Login Details :

  • SQL Username : sa
  • SQL Password : Passw@rd123

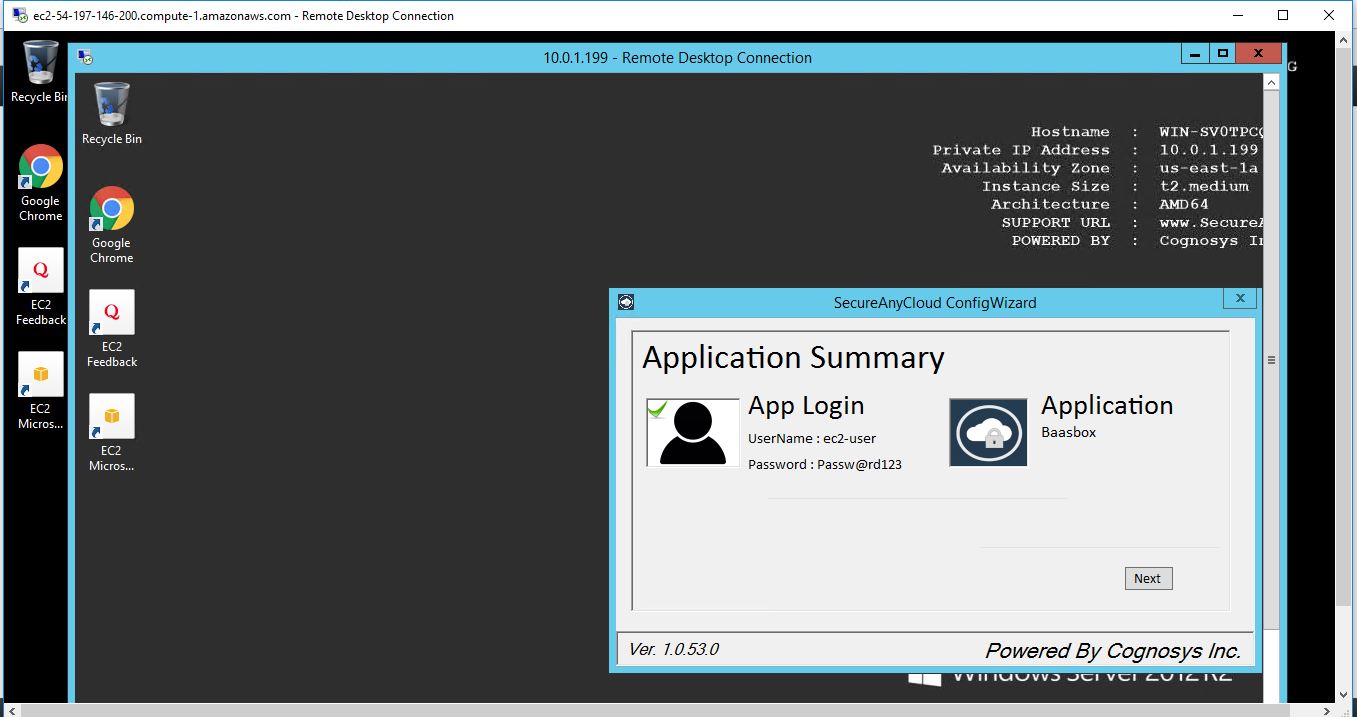
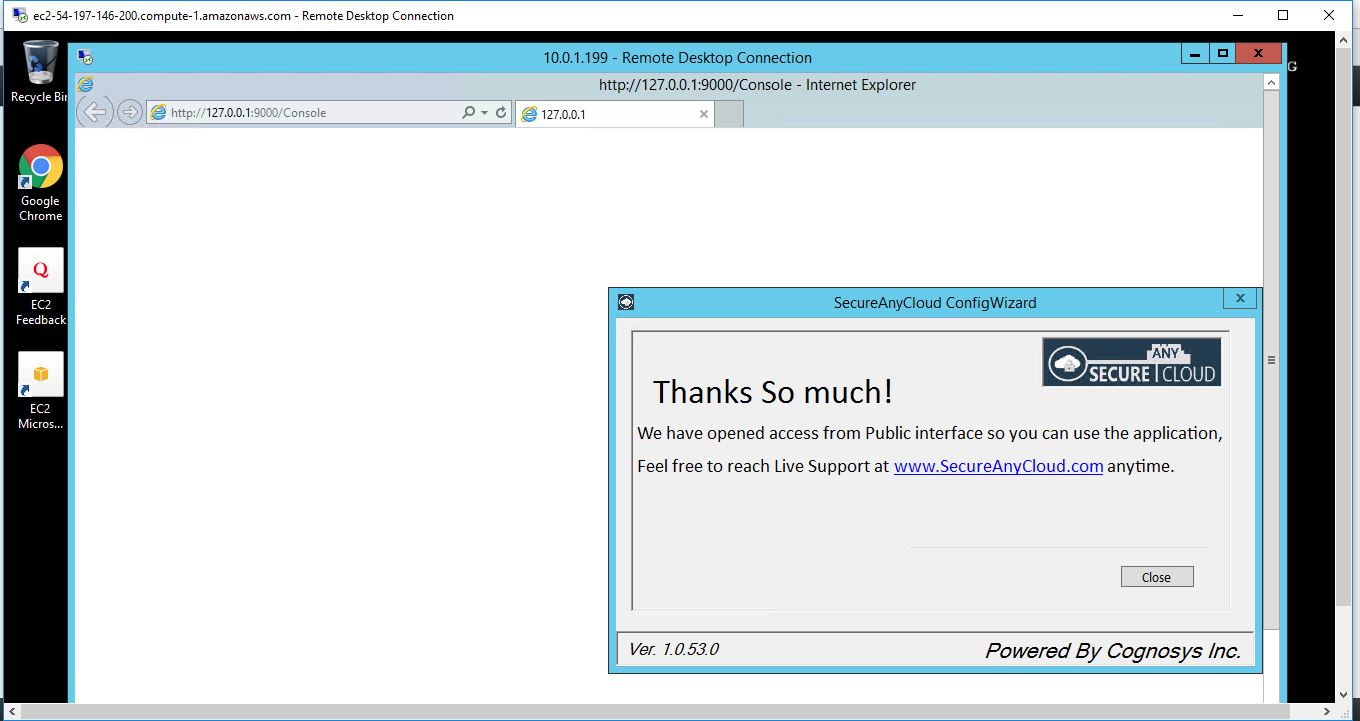
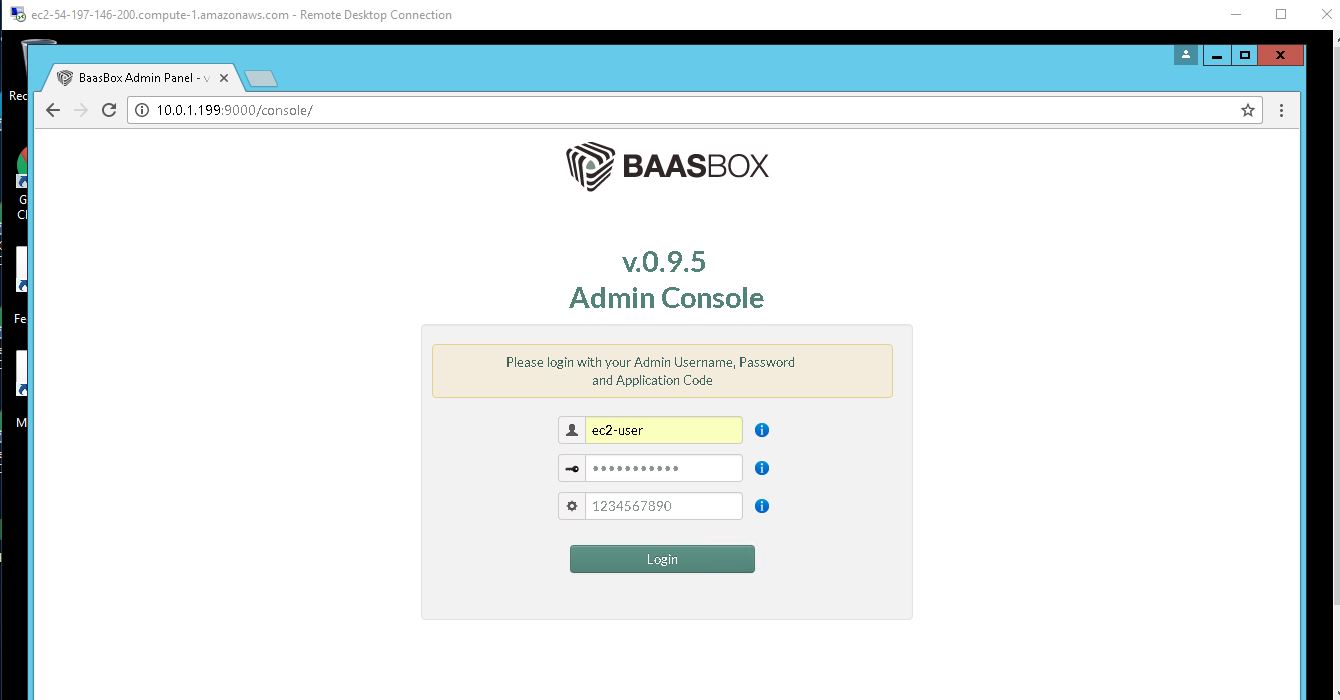
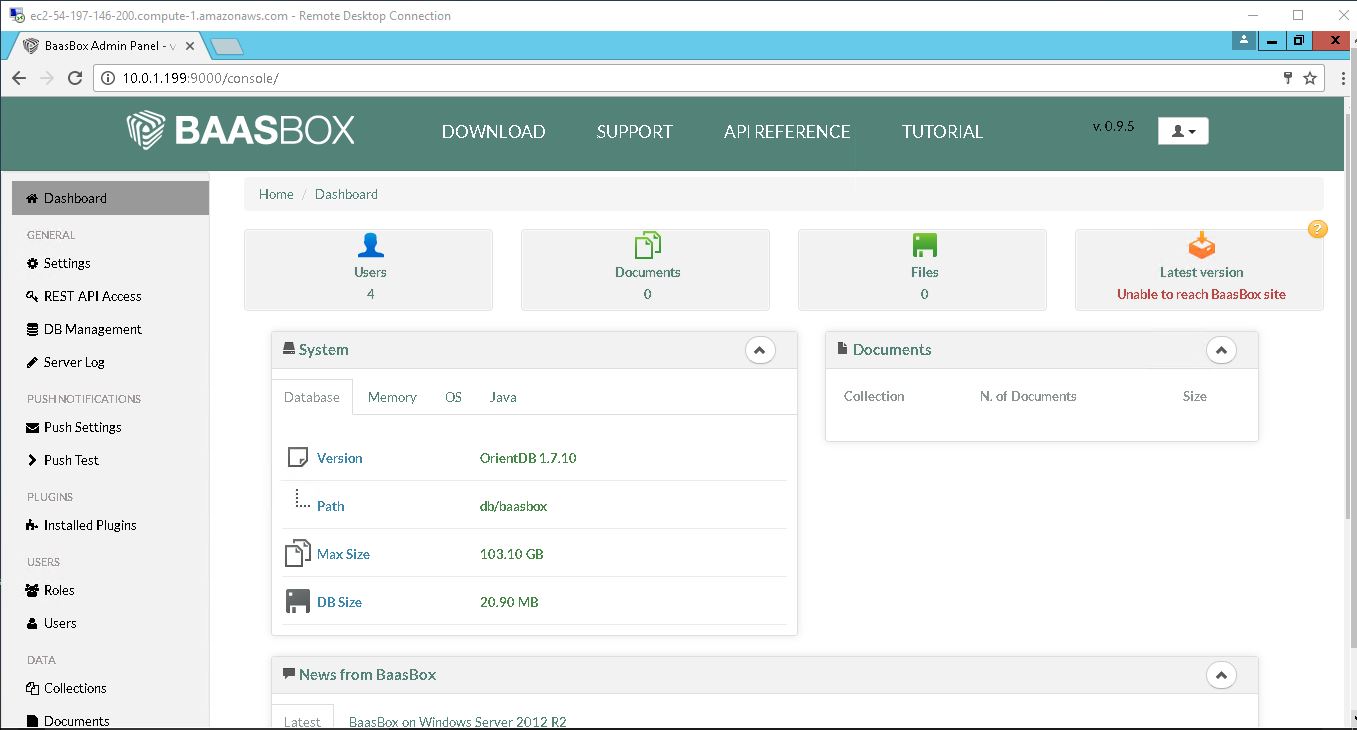
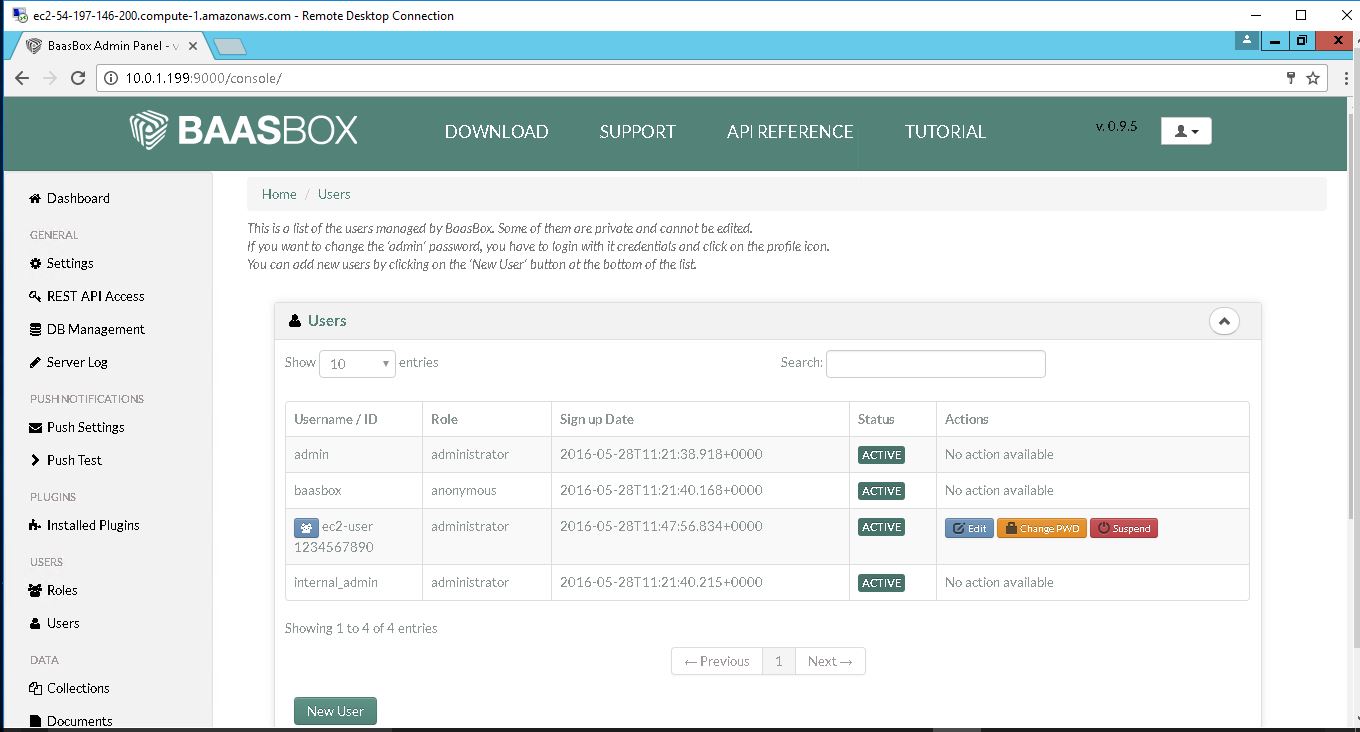
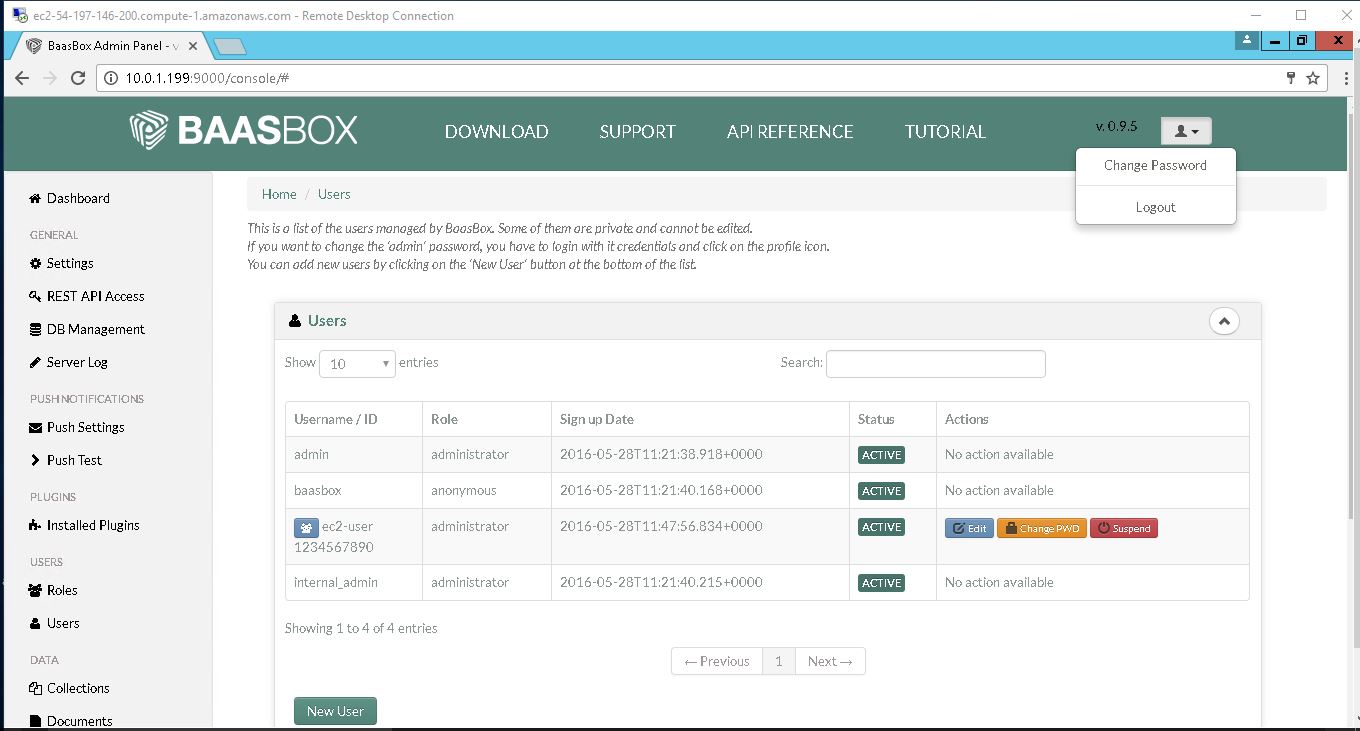
Step 3) Application URL: Access the application via a browser at  http://publicdns:9000/console
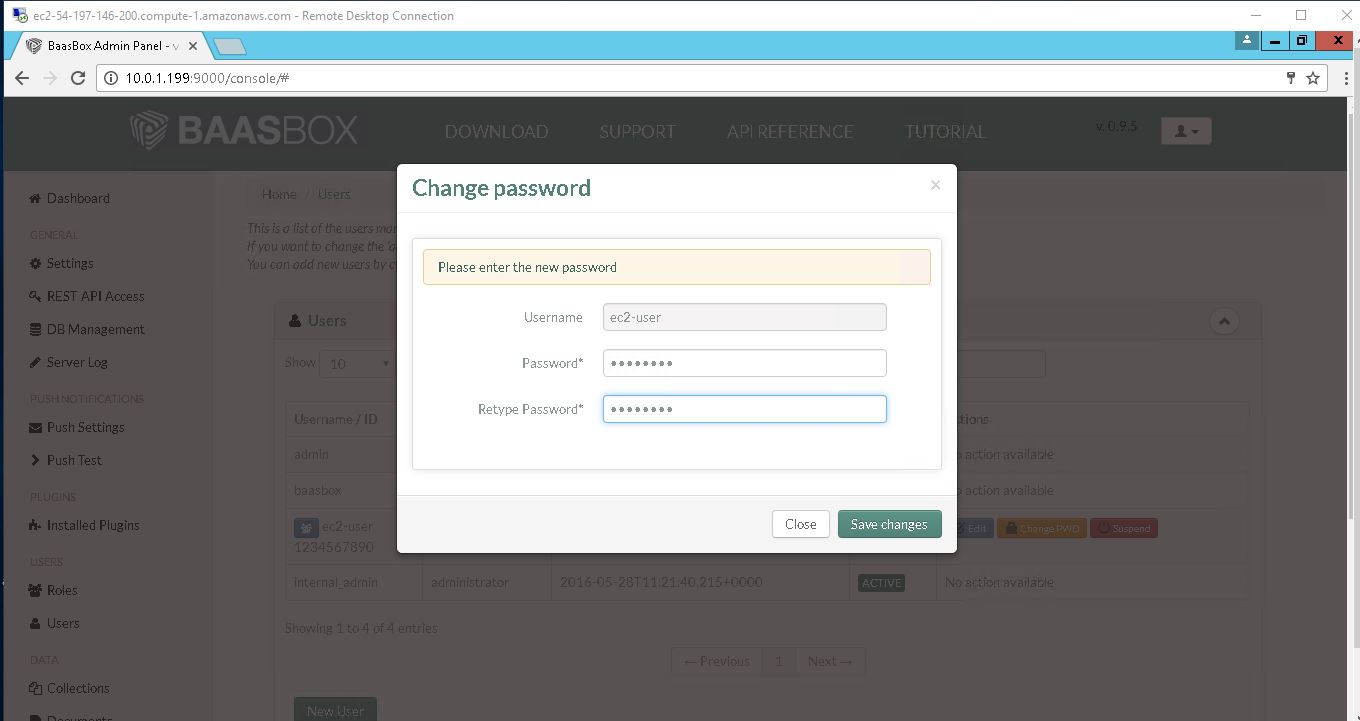
  • User Name: ec2-user
  • Password: Passw@rd123

Step 4) Other Information:

1.Default installation path: will be on your web root folder

2.Default ports:

  • Windows Machines:  RDP Port – 3389
  • Http: 80
  • Https: 443
  • Sql or Mysql ports: By default these are not open on Public Endpoints. Internally Sql server: 1433. Mysql :3306

Configure custom inbound and outbound rules using this link

Google

Installation Instructions For Windows

Installation Instructions for Windows

Step 1) VM Creation:

  1. Click the Launch on Compute Engine button to choose the hardware and network settings.
  2. You can see at this page, an overview of Cognosys Image as well as estimated cost of running the instance.
  3. In the settings page, you can choose the number of CPUs and amount of RAM, the disk size and type etc.

Step 2) RDP Connection: To initialize the DB Server connect to the deployed instance, Please follow Instructions to Connect to Windows instance on Google Cloud

Step 3) Database Login Details:

The below screen appears after successful deployment of the image.

successful deployment of the image

For local MySQL root password, please use the temporary password generated automatically during image creation as shown above.

i) Please connect to Remote Desktop as given in step 2 to ensure stack is properly configured and DB is initialized.
ii) You can use MySQL server instance as localhost, username root and password as shown above.

If you have closed the deployment page you can also get the MySQL root password from VM Details  “Custom metadata” Section.

Step 4) Application URL:

1.Default installation path: will be in your web root folder “/var/www/html/baasbox”

2.Default ports:

  • Linux Machines:  SSH Port – 22
  • Http: 80
  • Https: 443

Step 5) Other Information:

1.Default ports:

  • Linux Machines:  SSH Port – 22

2. To access Webmin interface for management please follow this link


Videos

How to download Baasbox for Windows & quick overview

Baasbox on cloud

Related Posts