1-click AWS Deployment 1-click Azure Deployment 1-click Google Deployment
Overview
AxCrypt is a highly secure data encryption app that provides AES-128/256 file encryption and compression for Windows. It has a simple interface and works with a single double-click to automatically decrypt and open documents. It has seamless integration with Windows Explorer with no configuration required.
AxCrypt is used to share and work with stored documents and e-mail attachments, in a secure manner. If your documents reside on a document sharing service or file server, AxCrypt is well suited and is able to seamlessly integrate, and makes both sharing and storing sensitive data a simple task.
AxCrypt on cloud for AWS
Features
Major Features of AxCrypt
- Seamless integration with Windows Explorer.
- Double-click to decrypt, open and re-encrypt.
- No configuration required.
- Many languages supported.
AWS
Installation Instructions For Windows
Note: How to find PublicDNS in AWS
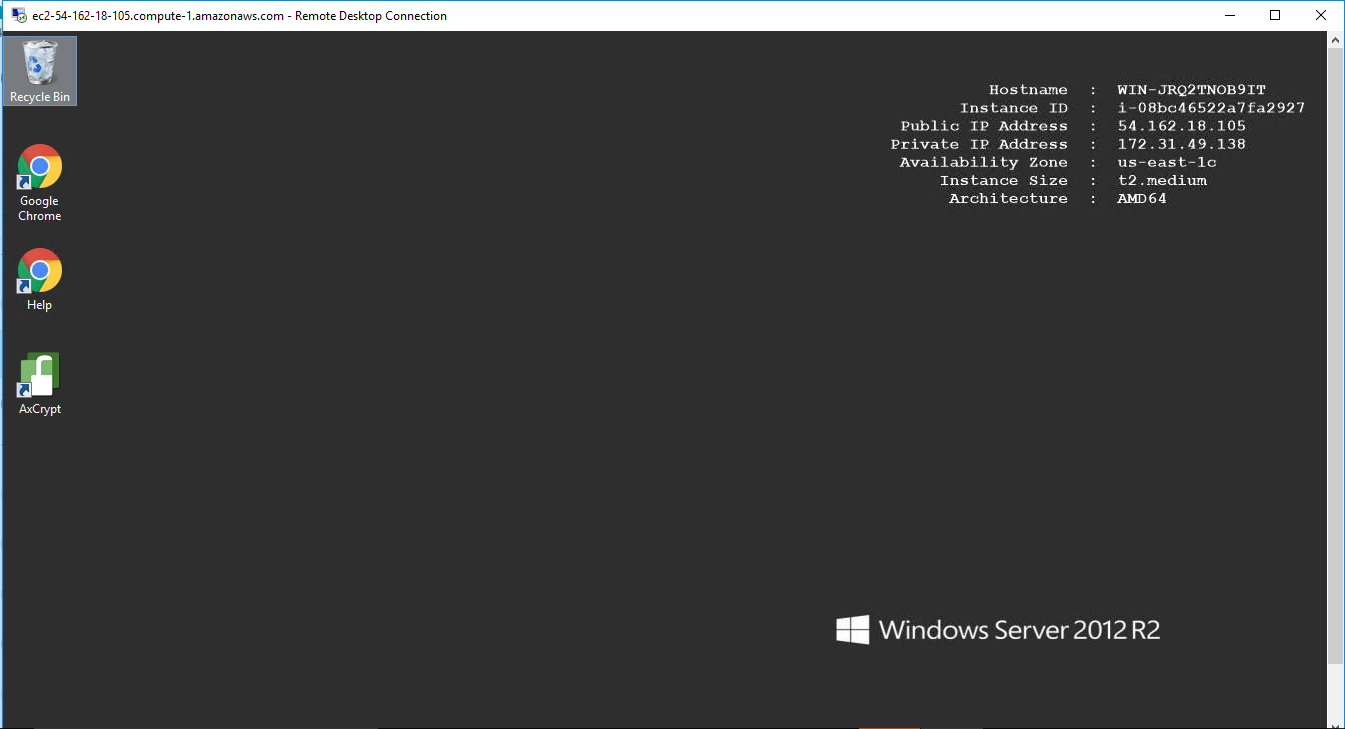
Step 1) RDP Connection: To connect to the deployed instance, Please follow Instructions to Connect to Windows instance on AWS Cloud
1) Connect to the virtual machine using following RDP credentials:
- Hostname: PublicDNS / IP of machine
- Port : 3389
Username: To connect to the operating system, use RDP and the username is Administrator.
Password: Please Click here to know how to get password .
Step 2) Click the Windows “Start” button and select “All Programs” and then point to AxCrypt .
Step 3) Other Information:
1.Default installation path: will be in your root folder “C:\Program Files\AxCrypt\AxCrypt”
2.Default ports:
- Windows Machines: RDP Port – 3389
- Http: 80
- Https: 443
Notes :
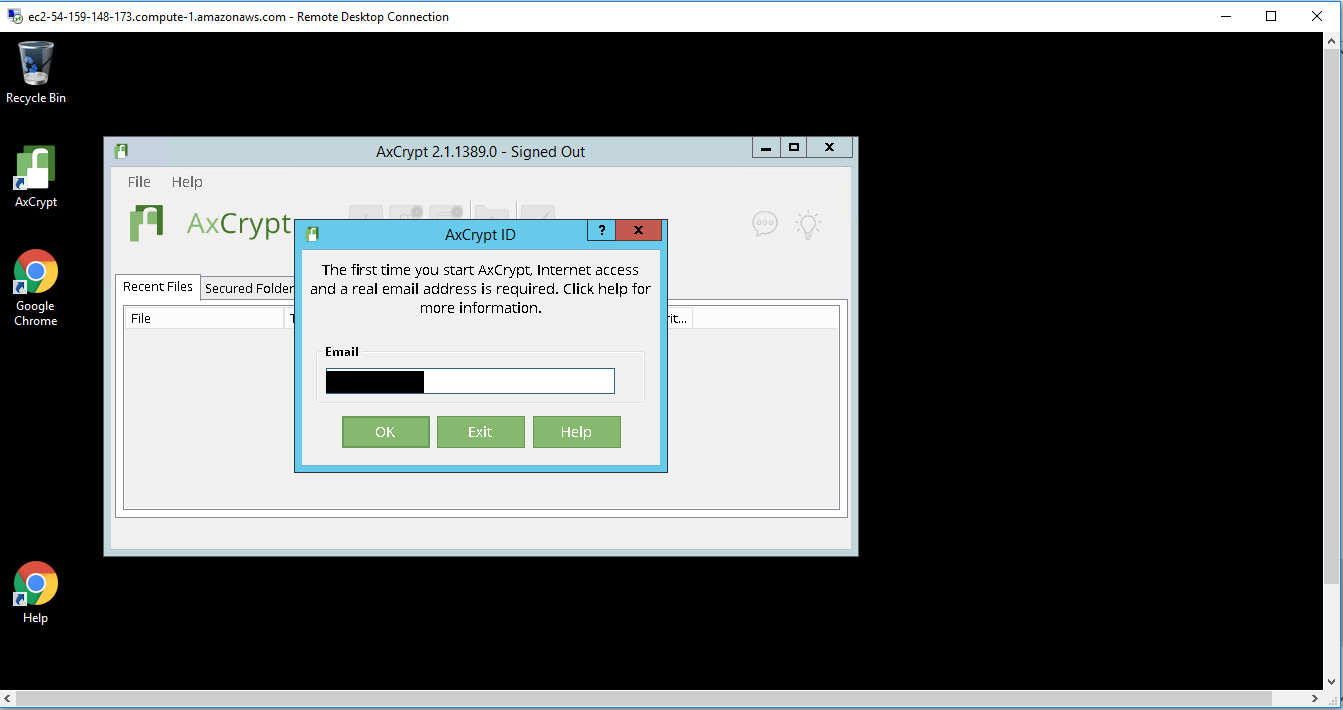
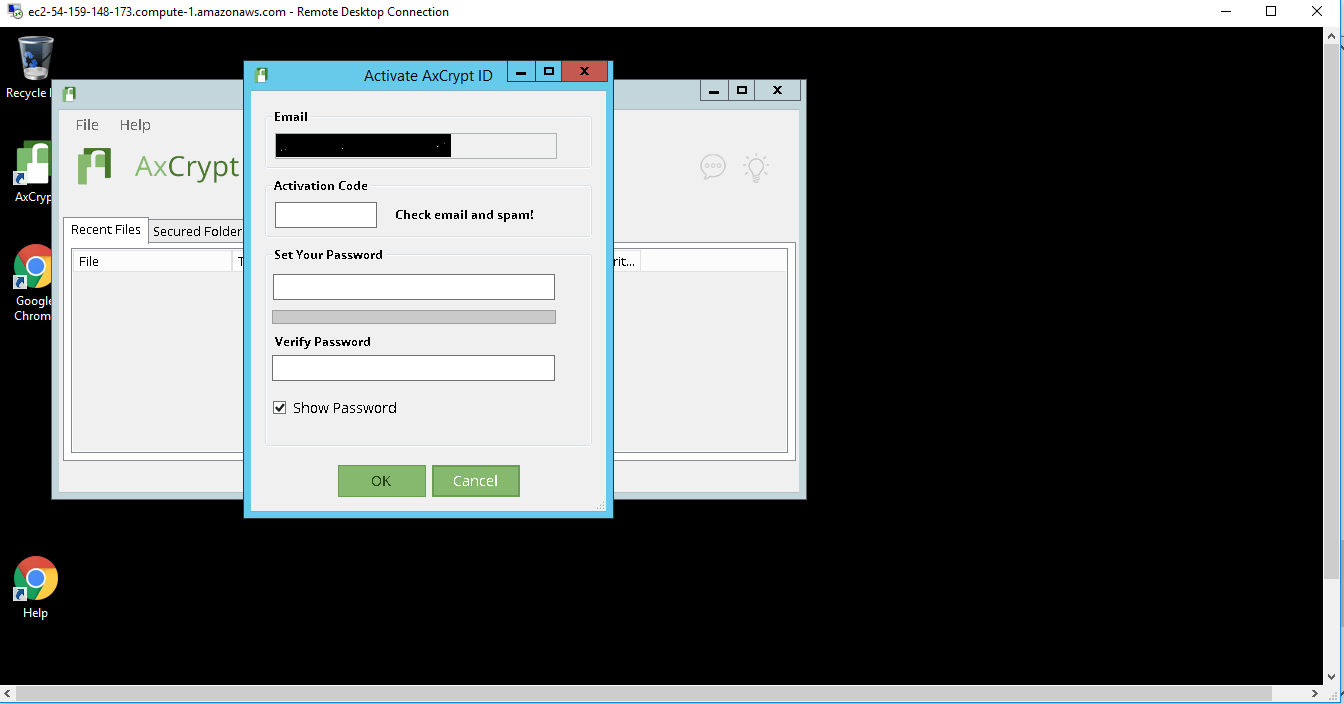
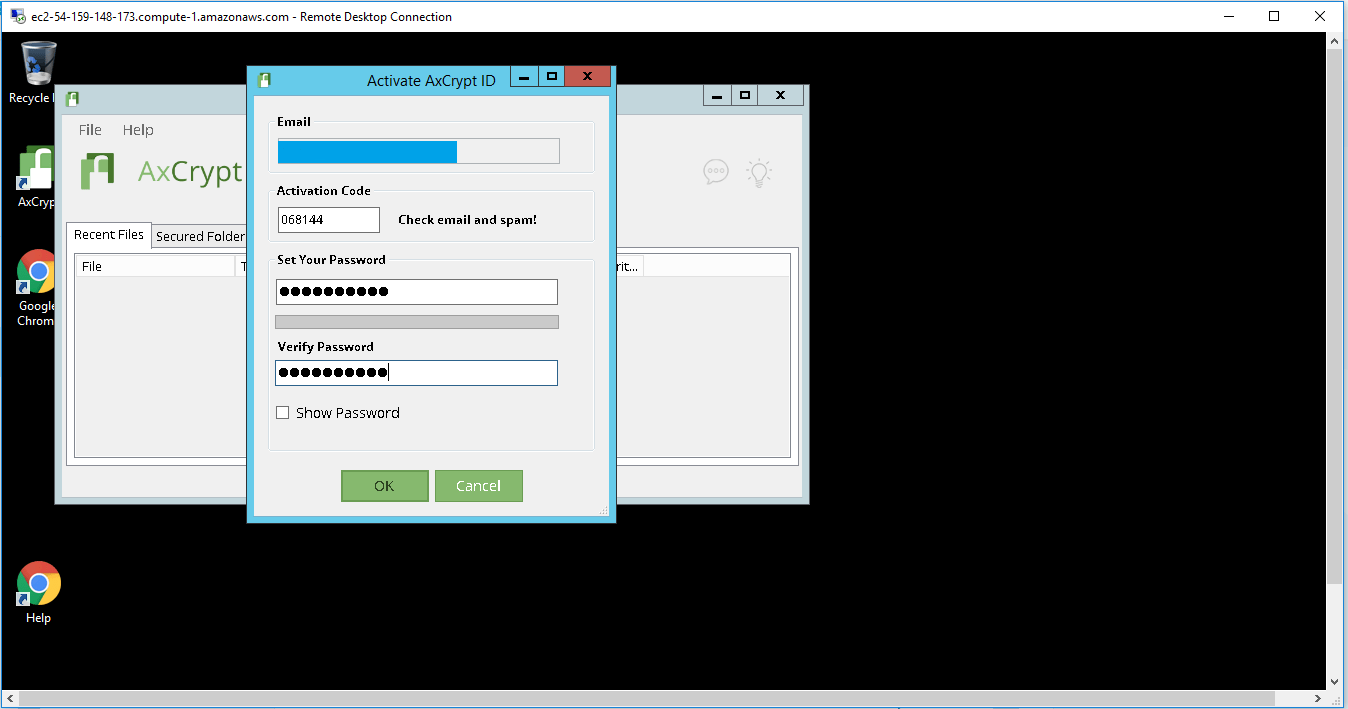
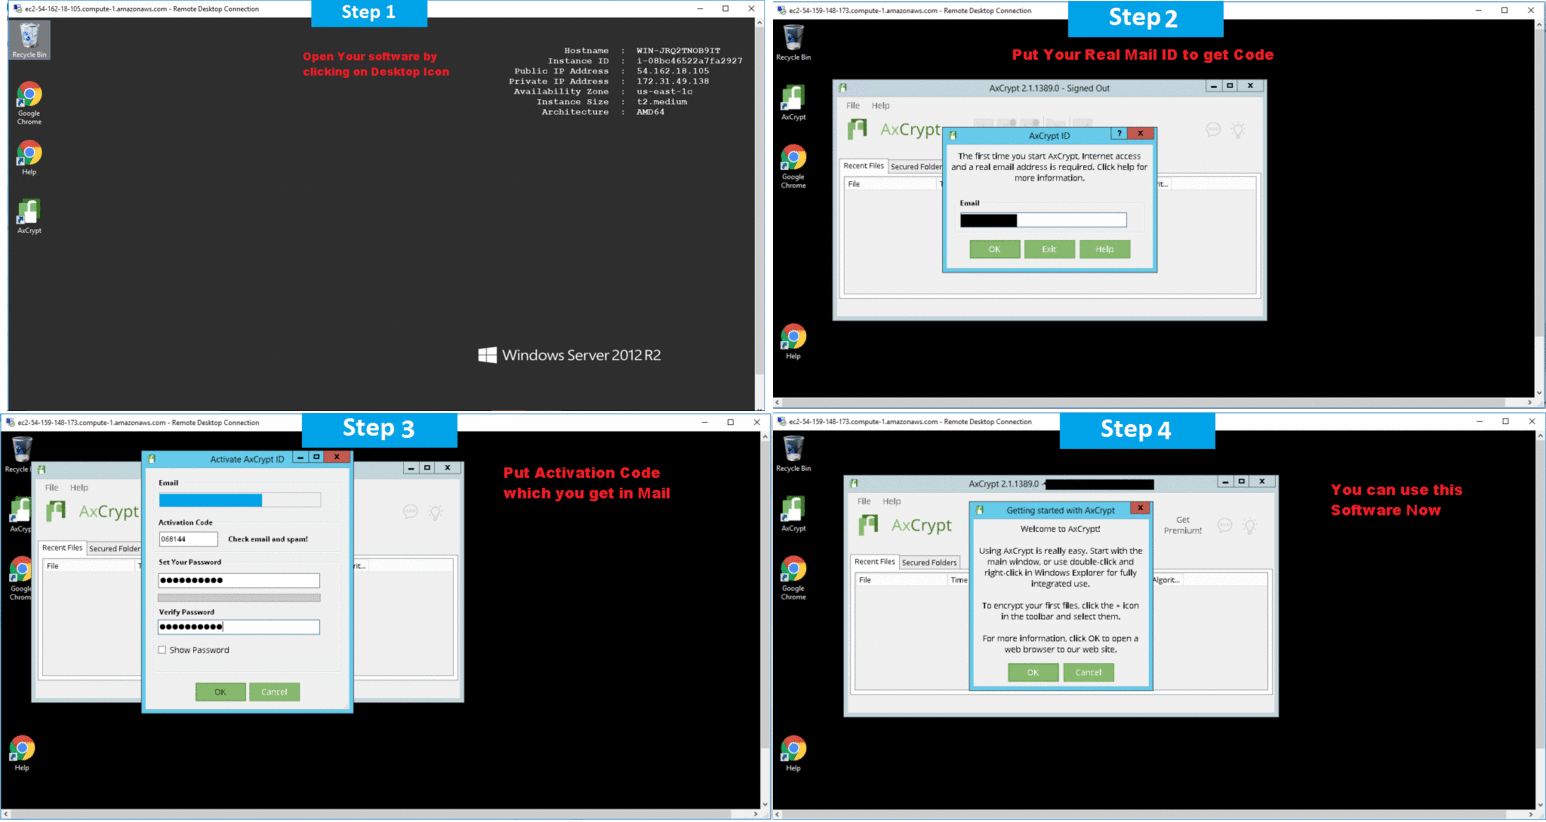
1.You need to sign up with your Mail ID to use this software.
2.You need to buy premium version for using all features.
Configure custom inbound and outbound rules using this link
Installation Step by Step Screenshots
Installation Instructions For Windows
Installation Instructions for Windows
Step 1) VM Creation:
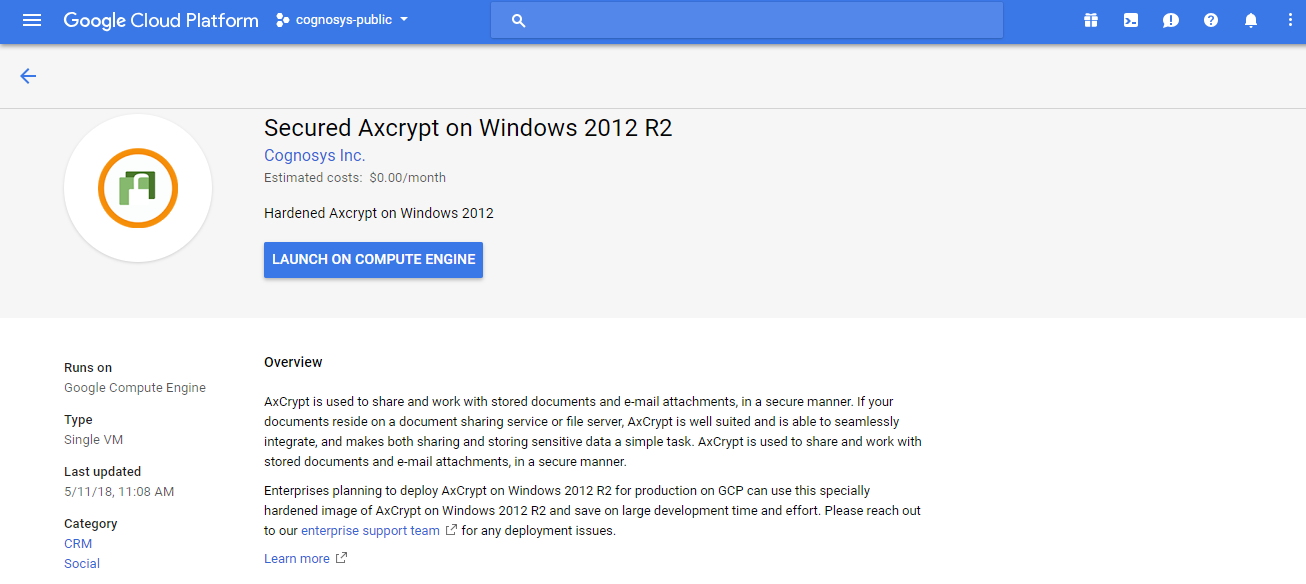
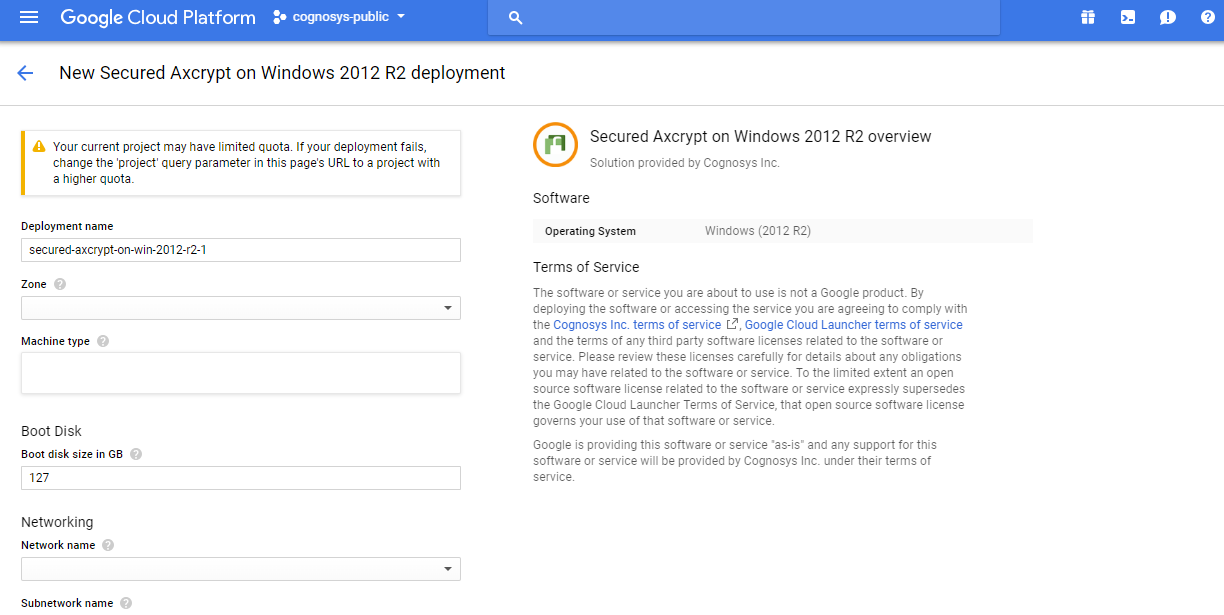
- Click the Launch on Compute Engine button to choose the hardware and network settings.

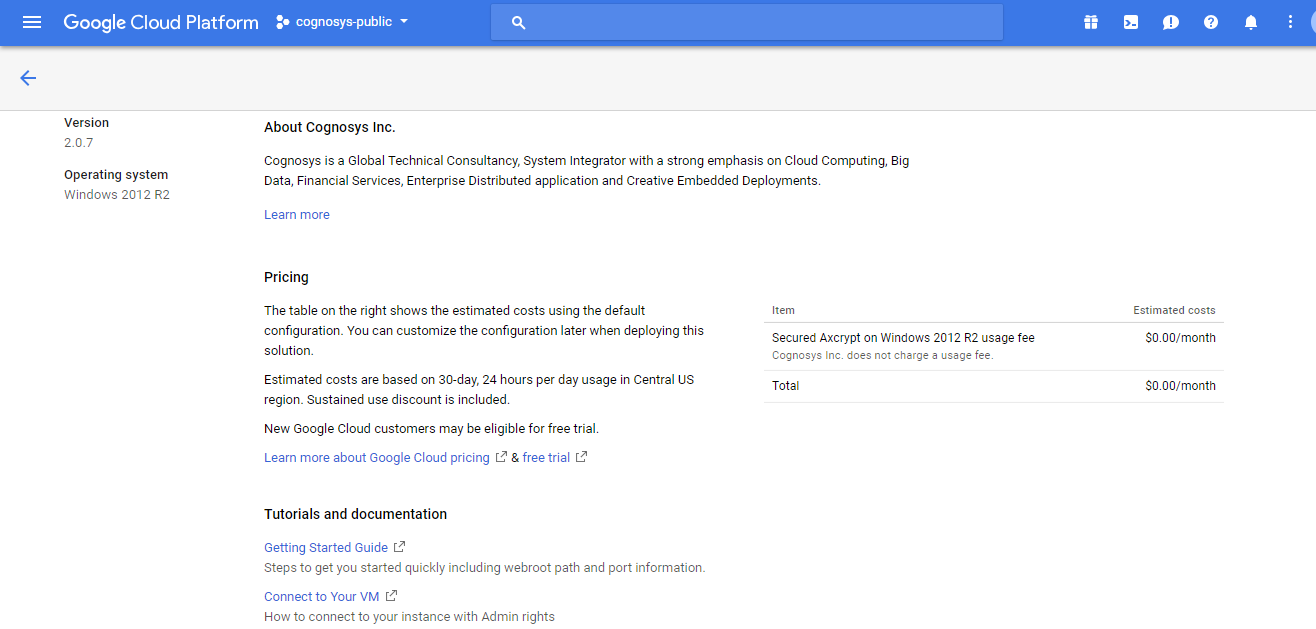
- You can see at this page, an overview of Cognosys Image as well as estimated cost of running the instance.

- In the settings page, you can choose the number of CPUs and amount of RAM, the disk size and type etc.

Step 2) RDP Connection: To initialize the DB Server connect to the deployed instance, Please follow Instructions to Connect to Windows instance on Google Cloud
Step 2) Click the Windows “Start” button and select “All Programs” and then point to AxCrypt .
Step 3) Other Information:
1.Default installation path: will be in your root folder “C:\Program Files\AxCrypt\AxCrypt”
2.Default ports:
- Windows Machines: RDP Port – 3389
- Http: 80
- Https: 443
Notes :
1.You need to sign up with your Mail ID to use this software.
2.You need to buy premium version for using all features.


