1-click AWS Deployment 1-click Azure Deployment
Overview
SMF ( Simple Machines Forum ) in short is a free, professional grade software package that allows you to set up your own online community within minutes. Its powerful custom made template engine puts you in full control of the lay-out of your message board and with our unique SSI – or Server Side Includes – function you can let your forum and your website interact with each other.
Simple Machine Forum is owned by SMF(http://www.simplemachines.org/) and they own all related trademarks and IP rights for this software.
Cognosys provides hardened and ready to run images of SMF on all public cloud ( AWS marketplace and Azure ).
SMF on Cloud runs on Amazon Web Services (AWS) and Azure and provides comprehensive template system, advanced permission and user management etc.
Secured Simple Machines on Ubuntu 14.04 LTS
SMF is written in the popular language PHP and uses a MySQL database. It is designed to provide you with all the features you need from a bulletin board while having an absolute minimal impact on the resources of the server. SMF is the next generation of forum software – and best of all it is and will always remain completely free!
SMF is released under the OSI approved Open Source licenses.
Features
Major Features Of SMF
Some of SMFs General features include:
- Comprehensive template system.
- Advanced permission and user management.
- Supports multiple languages at once.
- Open and well-documented source code.
- Tracking of new and old unread topics, not just from your last visit.
- Designed for optimal performance and scalability.
- Multi-media output. (XHTML, XML, RSS, WAP)
- Multi-language support from a large community.
- Package manager that automatically installs or uninstalls mods (also known as hacks.)
- Search the entire forum, a category/board or within a topic.
- Search within your personal messages.
- And much more!
Azure
Installation Instructions For Ubuntu
Note : How to find PublicDNS in Azure
Step 1) SSH Connection: To connect to the deployed instance, Please follow Instructions to Connect to Ubuntu instance on Azure Cloud
1) Download Putty.
2) Connect to virtual machine using following SSH credentials:
- Hostname: PublicDNS / IP of machine
- Port : 22
Username: Your chosen username when you created the machine ( For example: Azureuser)
Password : Your Chosen Password when you created the machine ( How to reset the password if you do not remember)
Step 2) Database Login Details:
Username : root || Password : Passw@rd123
For Stack Database: For Stack Database, smf with user smf_user and password Passw@rd123 has already been created. Please use this database for your Stack Configuration.
Note: Please change the password immediately after the first login.

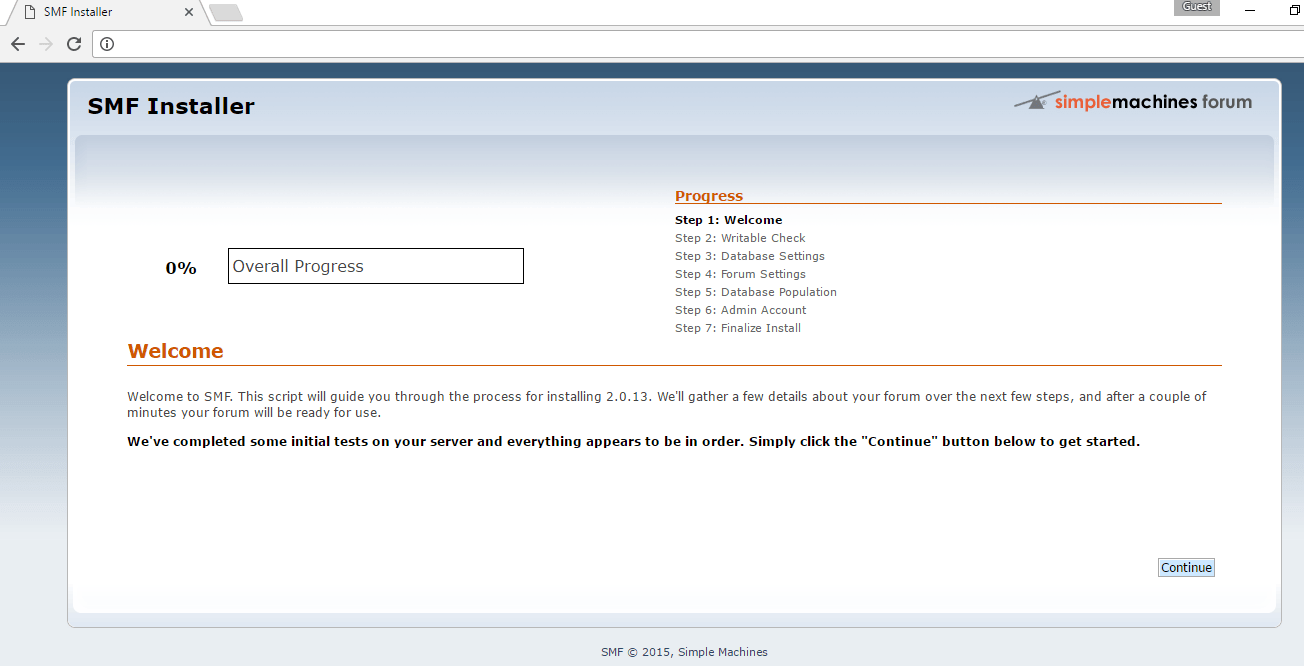
Step 3) Application URL: Access the application via a browser at “http://PublicDNS/”
Step 4) Other Information:
1.Default installation path: will be in your web root folder “/var/www/html/”
2.Default ports:
- Linux Machines: SSH Port – 22
- Http: 80
- Https: 443
- MYSQL ports: By default, these are not open on Public Endpoints. MYSQL: 3306
Configure custom inbound and outbound rules using this link
3. To access Webmin interface for management please follow this link
Installation Instructions For Centos
Note : How to find PublicDNS in Azure
Step 1) SSH Connection: To connect to the deployed instance, Please follow Instructions to Connect to Centos instance on Azure Cloud
1) Download Putty.
2) Connect to virtual machine using following SSH credentials:
- Hostname: PublicDNS / IP of machine
- Port : 22
Username: Your chosen username when you created the machine ( For example: Azureuser)
Password : Your Chosen Password when you created the machine ( How to reset the password if you do not remember)
Step 2) Database Login Details:
Username : root || Password : Passw@rd123
For Stack Database: For Stack Database, smf with user smf_user and password Passw@rd123 has already been created. Please use this database for your Stack Configuration.
Note: Please change the password immediately after the first login.

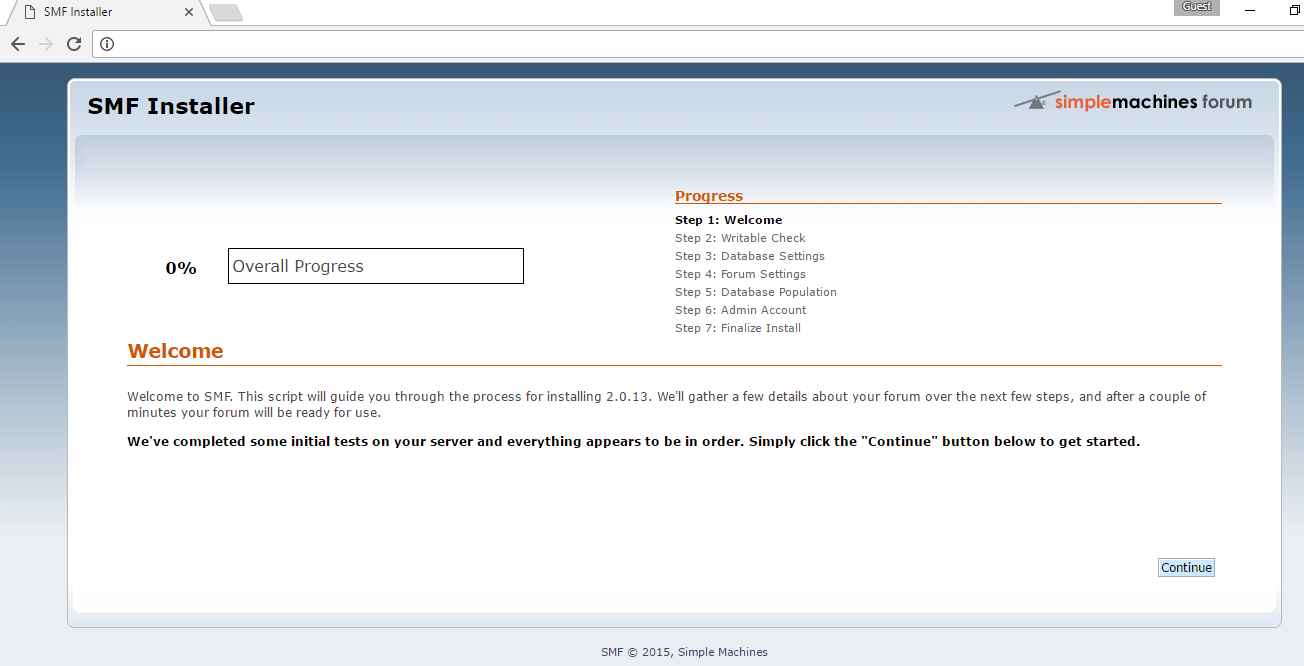
Step 3) Application URL: Access the application via a browser at “http://PublicDNS/”
Step 4) Other Information:
1.Default installation path: will be in your web root folder “/var/www/html/”
2.Default ports:
- Linux Machines: SSH Port – 22
- Http: 80
- Https: 443
- Mysql ports: By default, these are not open on Public Endpoints. Mysql:3306
Configure custom inbound and outbound rules using this link
3. To access Webmin interface for management please follow this link


