1-click AWS Deployment 1-click Azure Deployment 1-click Google Deployment
Overview
Kooboo CMS is a new kind of web development. It saves you hours and make your website in a better way. It contains many things you need to do web development. It contains a builtin webserver, an email server, template engine, dynamic Database and JavaScript executor.
Kooboo is a flexible and extensible CMS based on ASP.NET MVC. Kooboo helps you with all the regular tasks of website development, also includes many enterprise features such as workflow, version control, publishing and integration service.
KooBoo CMS is a content management system, which includes enterprise features such as workflow, version control, publishing, and integration service. At ASPHostPortal.com, we specialize in Kooboo CMS Hosting. Our control panel has built in installation wizard for Kooboo CMS. We always update and maintain the latest version of Kooboo CMS in our control panel wizard. You can have Kooboo CMS installed in just 1 click and 1 minute installation.
How to Install Kooboo CMS on Ubuntu 18.04 LTS:
Requirements
- A server running Ubuntu 18.04.
- A root password is set up on your server.
Getting Started
First, it is recommended to update your server with the latest version. You can do it with the following command:
apt-get update -y
 apt-get upgrade -y
Once the server is updated, restart it to apply all the configuration changes:
Install Microsoft .NET Framework on Ubuntu
Before installing Kooboo, you will need to install .NET core 2.1 runtime tool on your server.
First, you will need to register the Microsoft key, register the product repository, and install required dependencies. You can do it with the following command:
wget -q https://packages.microsoft.com/config/ubuntu/18.04/packages-microsoft-prod.deb -O packages-microsoft-prod.deb
 dpkg -i packages-microsoft-prod.deb
 add-apt-repository universe
 apt-get install apt-transport-https
Once installed, update the repository and install .NET with the following command:
apt-get update
 apt-get install aspnetcore-runtime-2.1=2.1.5-1
Install Kooboo CMS
First, you will need to download the latest version of Kooboo from their official websites. You can download it with the following command:
wget https://www.kooboo.com/download/kooboolinux.zipOnce downloaded, extract the downloaded file to the /opt directory with the following command:
unzip kooboolinux.zip -d /opt/Next, change the directory to Kooboo and start the server with the following command:
cd /opt/Kooboo
 dotnet Kooboo.App.dll
You should see the following output:
Web Server Started
port:80
Access Kooboo Web Interface
Now, open your web browser and type the URL http://your-server-ip. You should see the following page:
Provide default username and password as admin / admin, and click on the Sign In button. You should see the following page:
Now, select any template. You should see the following page:
Now, click on Use This Template. You should see the following page:
Now, provide your site name and domain. Then, click on the Import button. You should see the Kooboo dashboard in the following page:
Congratulations! you have successfully installed and configured Kooboo CMS on Ubuntu 18.04 server.
-Kooboo CMS is a free, open source, content management system written in ASP.NET platform using the ASP.NET MVC framework.netprogram. This system is most popularly used among European companies in the creation and management of their websites.
Kooboo CMS supports Html, XML and is non-SQL. It is also sometimes used in the creation of e-commerce for businesses due to its MVC system, which can allow a user to manipulate and change a website being created. Some ASP.Net developers like to use this system because they find it easy to work with and compatible with the Microsoft Azure cloud.Kooboo CMS is available on the Windows App gallery.
Kooboo CMS is owned by Kooboo CMS (https://kooboo.com/) and they own all related trademarks and IP rights for this software.
Kooboo CMS on Cloud runs on Amazon Web Services (AWS) and Azure and Kooboo CMS helps to manage the multiple websites on cloud from just one location so that content and programs are accessible from all sites. It offers complete control of content flow and program sharing on cloud .
Cognosys provides hardened and ready to run images of Kooboo CMS on all public cloud i.e. AWS marketplace and Azure.
Secured Kooboo CMS on Windows 2012 R2
Kooboo CMS on cloud for AWS-Windows
Kooboo CMS on cloud for Azure-Windows
Features
Major Features of Kooboo CMS:
Fully featured simple UI
Our backend utilizes the Metro Style UI with intuitive menus and tooltips. The content editor uses an inline editor to edit static or dynamic content directly at the front site.
Cloud performance
We support XML, SQL and Non-SQL databases and are 100% compatible with Microsoft Azure Cloud. This provides reliable solutions for high traffic websites.
Quick learning curve
Developing a Kooboo CMS site is very similar to developing a standard website. Developing a module is similar to working on an ASP.NET MVC area.
Open source
Released under the Revised BSD License with no burden to purchase or advertising clause. Modify and use the source code as you like, so long as you comply with 3-clause in the license.
Enterprise CMS
Workflow, version control, asset relation management, multi-channeling, incremental deployment, SEO and tracking tool and content delivery. Our all-in-one package works just for you.
Multilingual solution
Enables you to create independent sites or sites that share content, pages and modules. A single database can be used for multiple front sites.
AWS
Installation Instructions For Windows
Note : 1. Please use “Kooboocms” in the place of “stack_name”
2. How to find PublicDNS in AWS
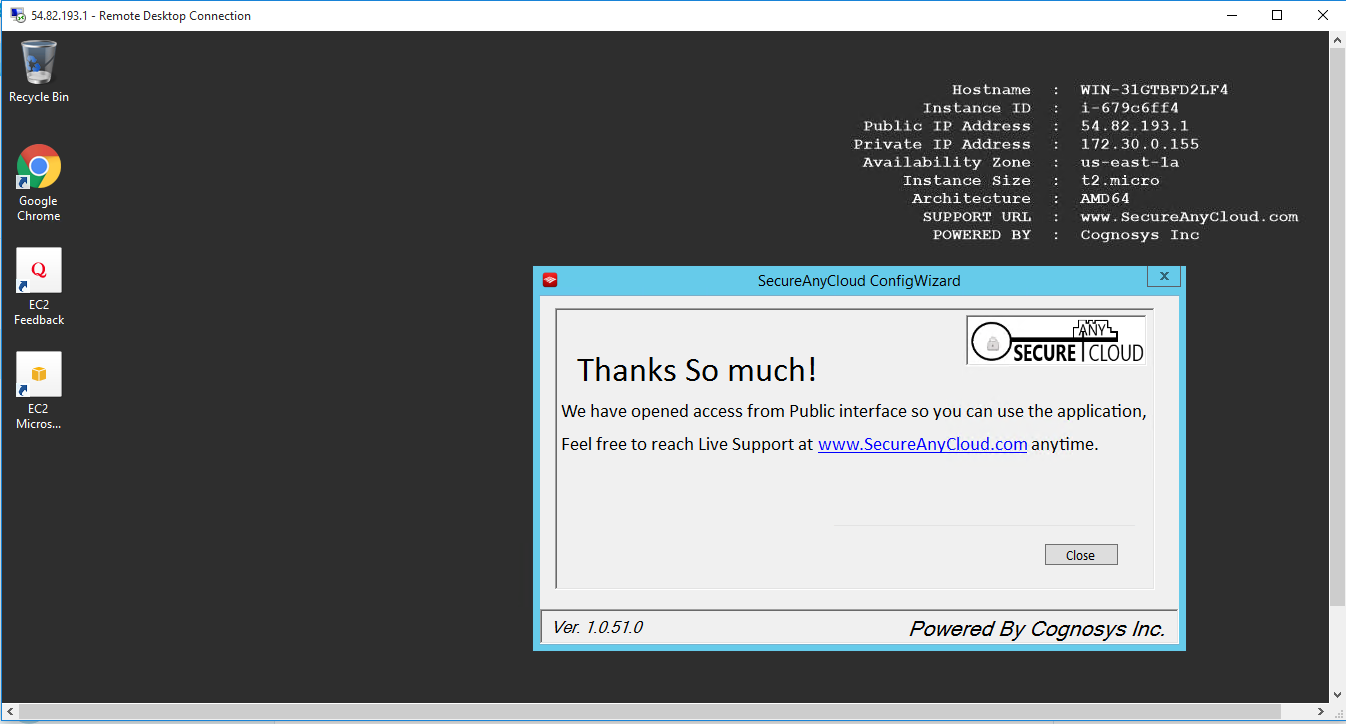
Step 1) RDP Connection: To connect to the operating system,
1) Connect to virtual machine using following RDP credentials :
- Hostname: PublicDNS / IP of machine
- Port : 3389
Username: To connect to the operating system, use RDP and the username is Administrator.
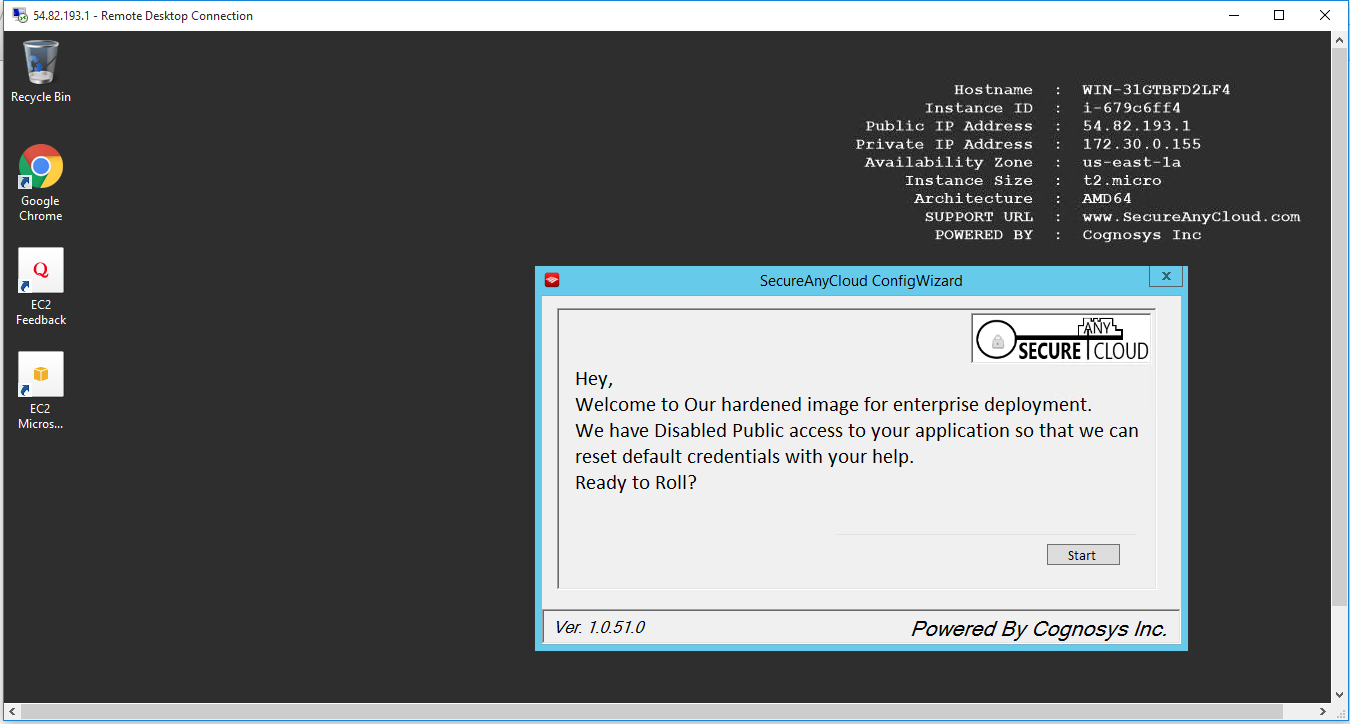
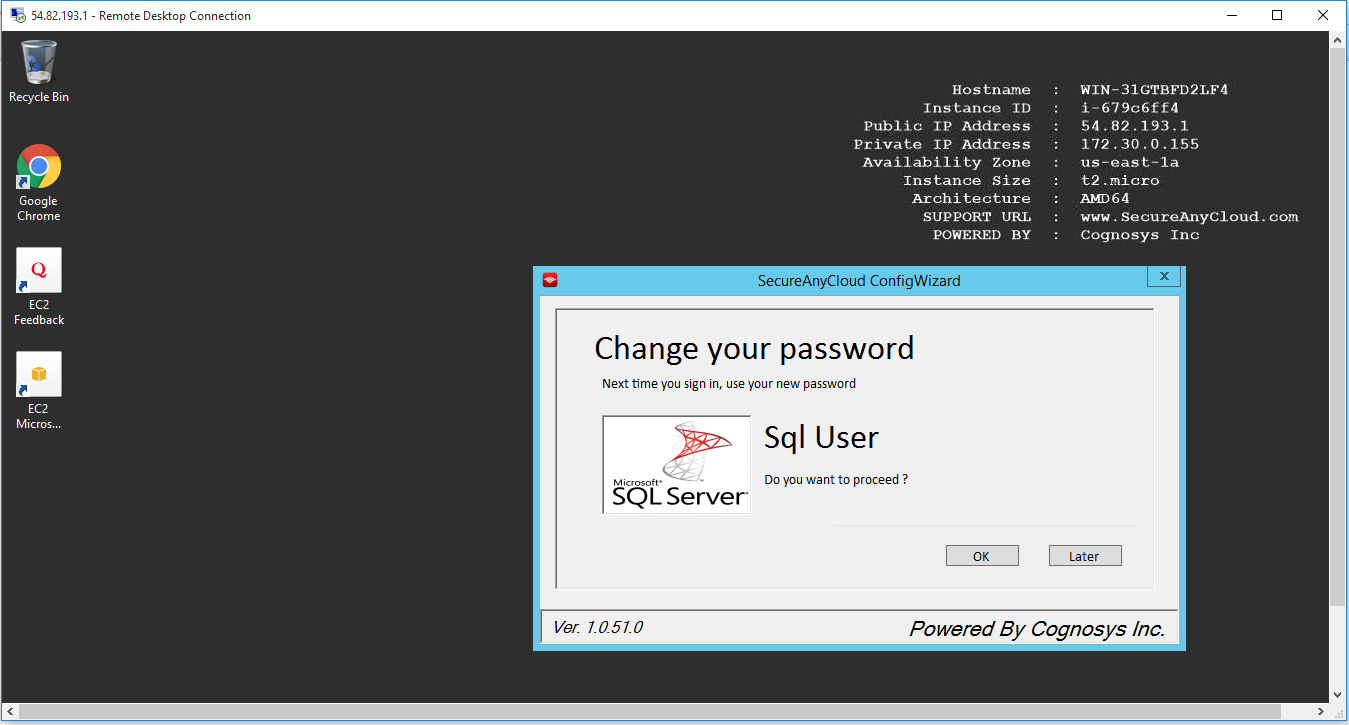
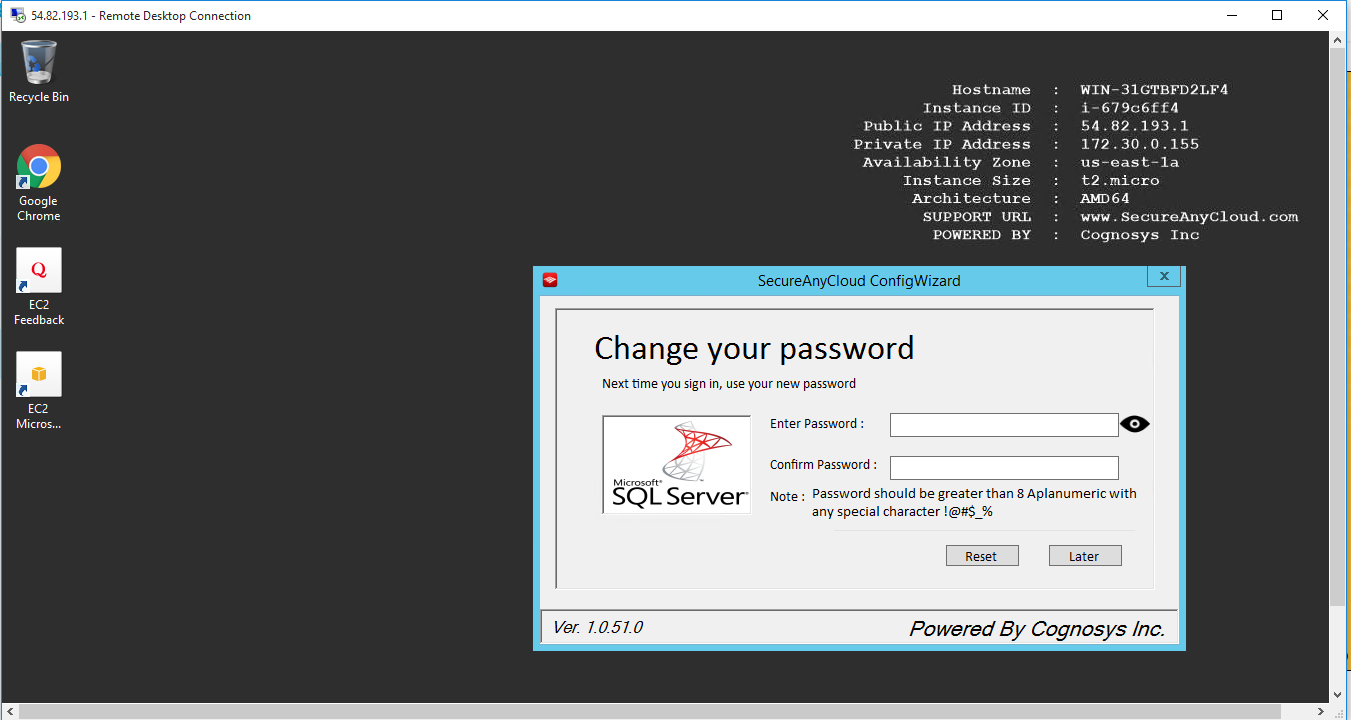
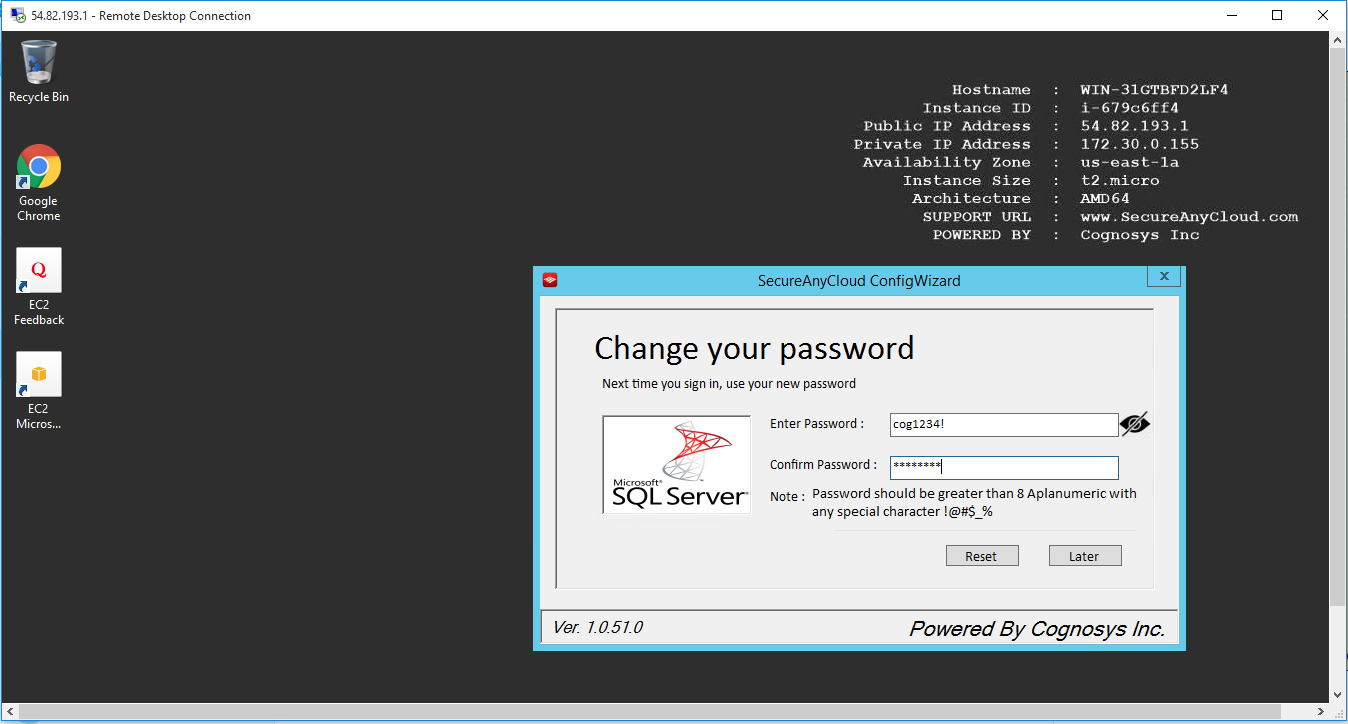
Password : Please Click here to know how to get password .
Step 2) Database Login Details:
- SQL Username : sa
- SQL Password : Passw@rd123
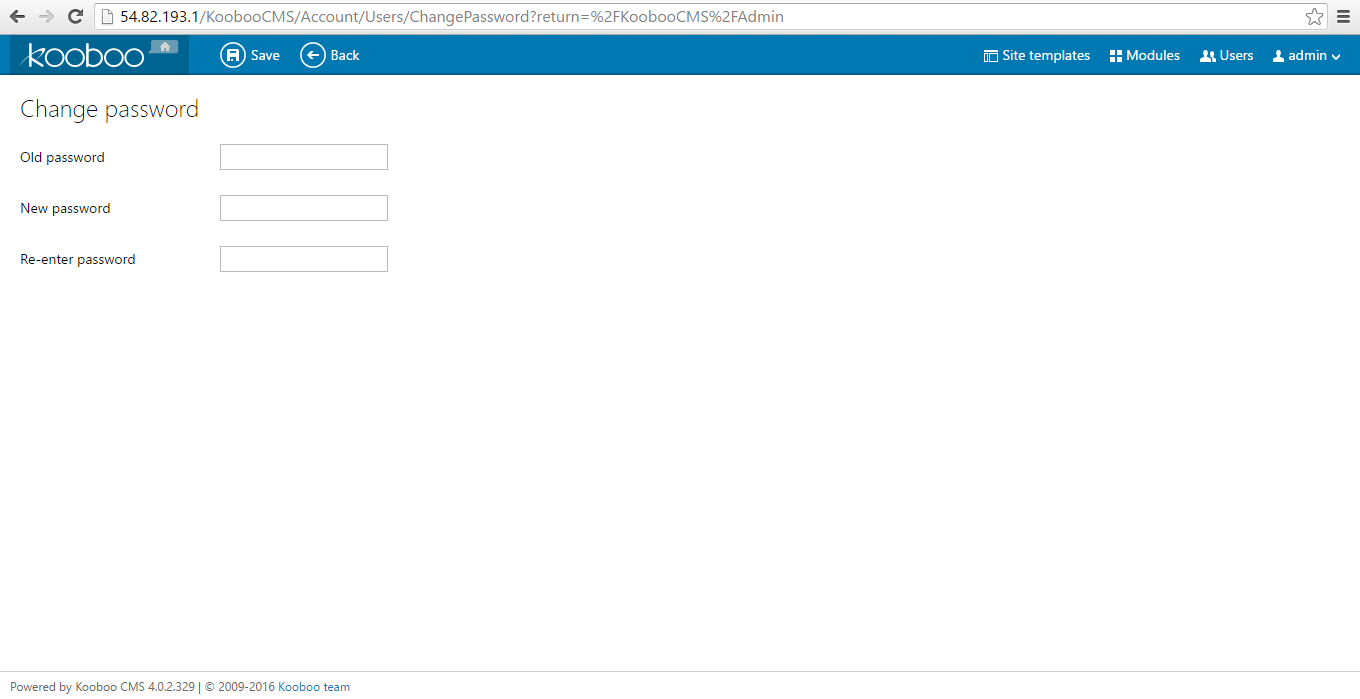
Note :-Please change password immediately after first login.
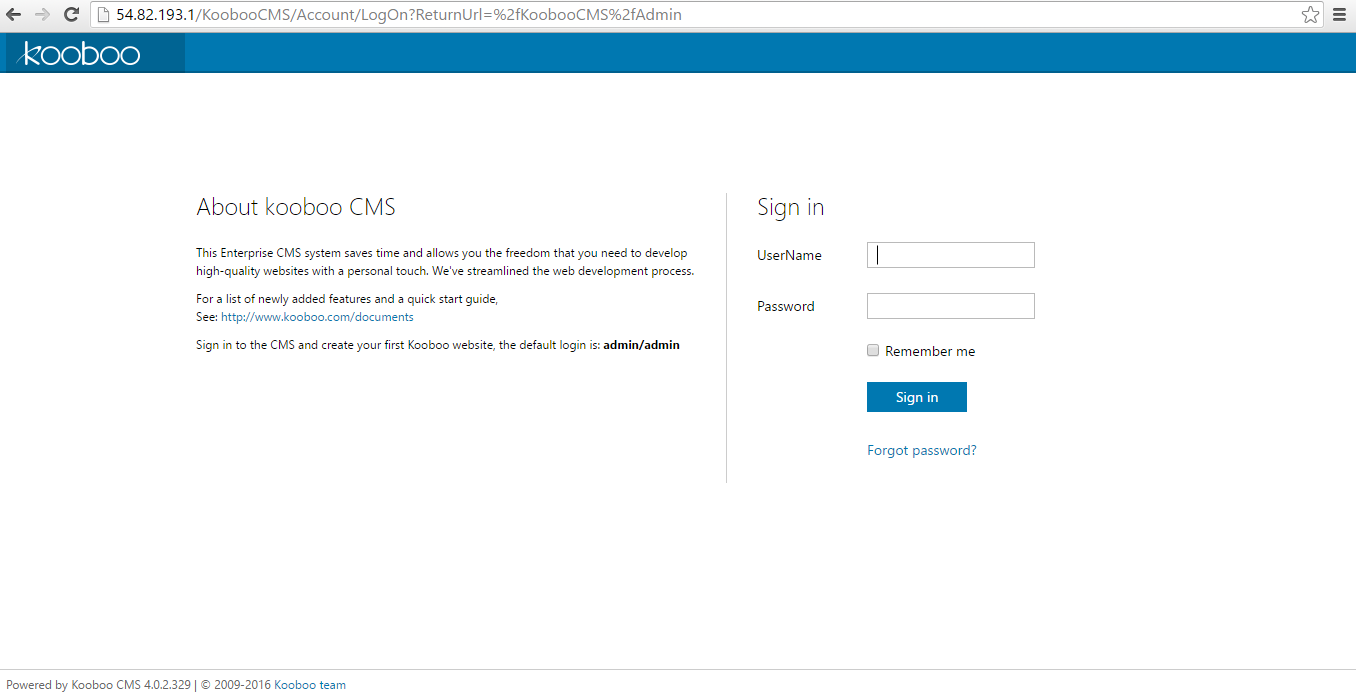
Step 3) Application URL: Access the application via a browser at http://PublicDNS/Kooboocms
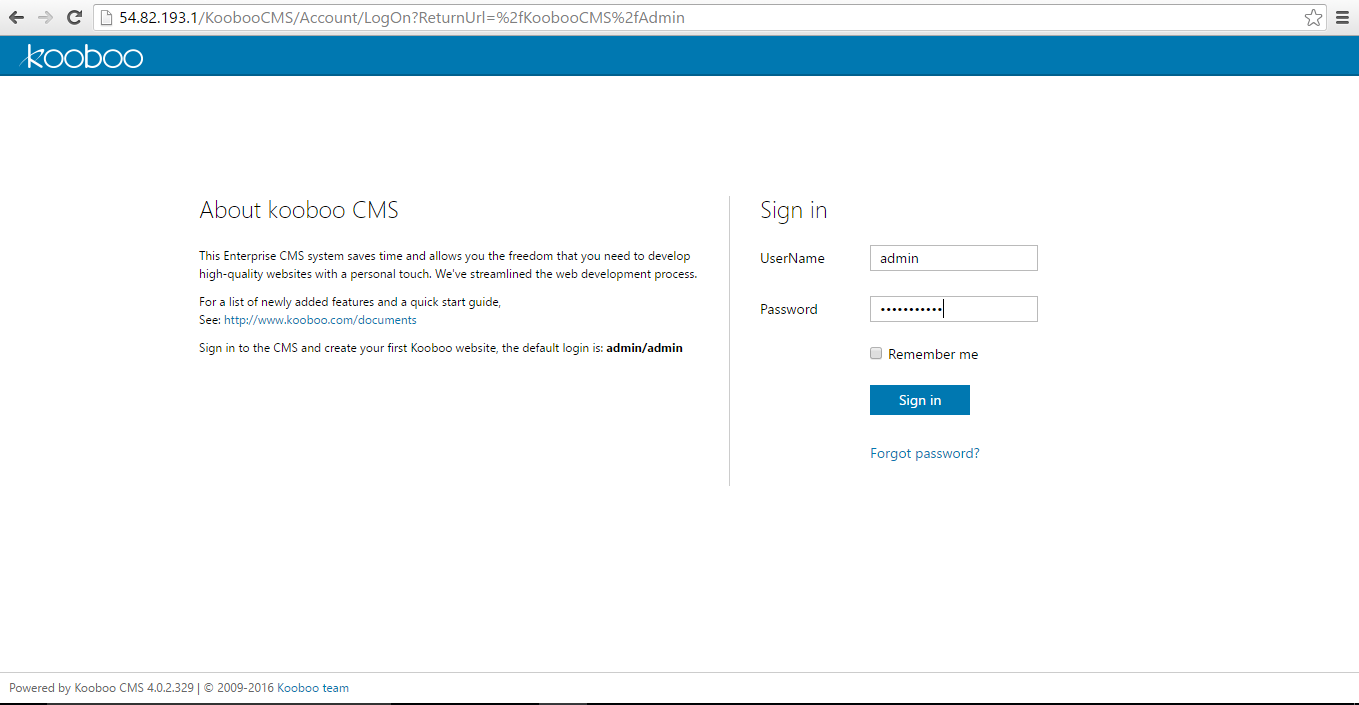
- Username : admin
- Password : Passw@rd123
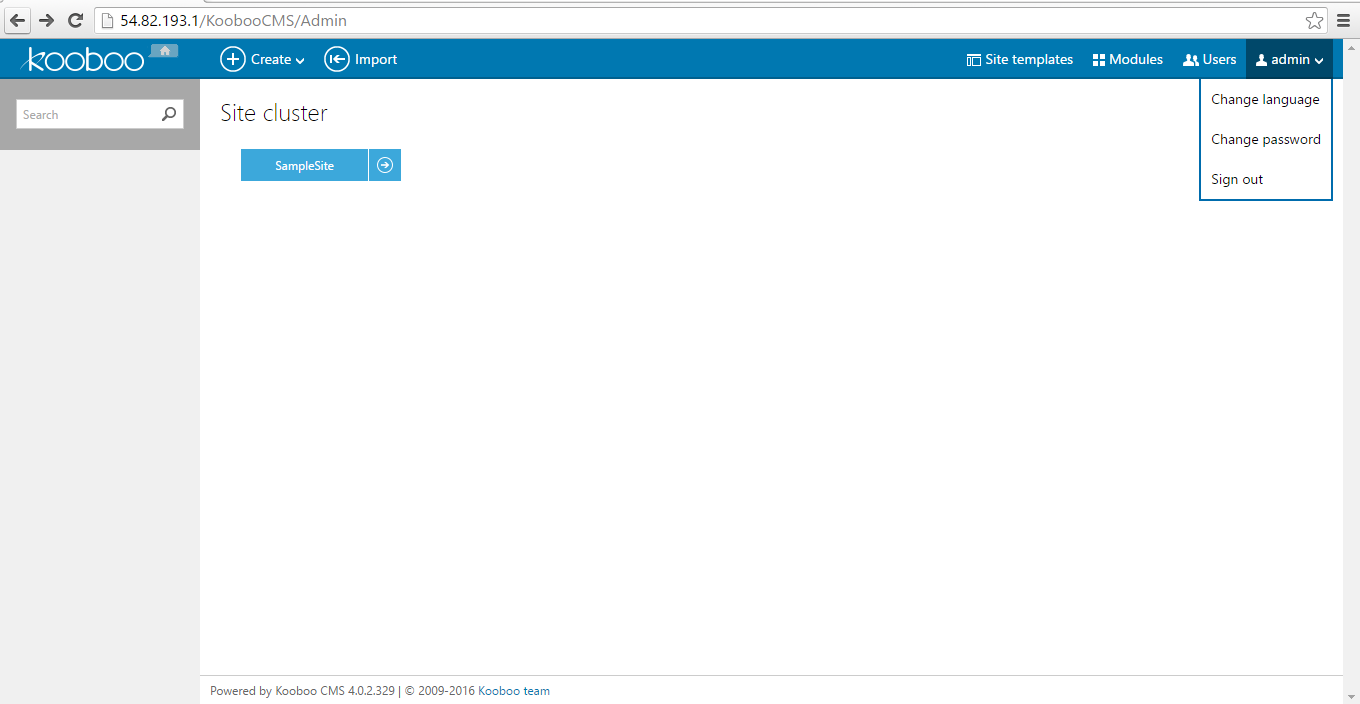
Step 4) Steps to access the Admin Panel:
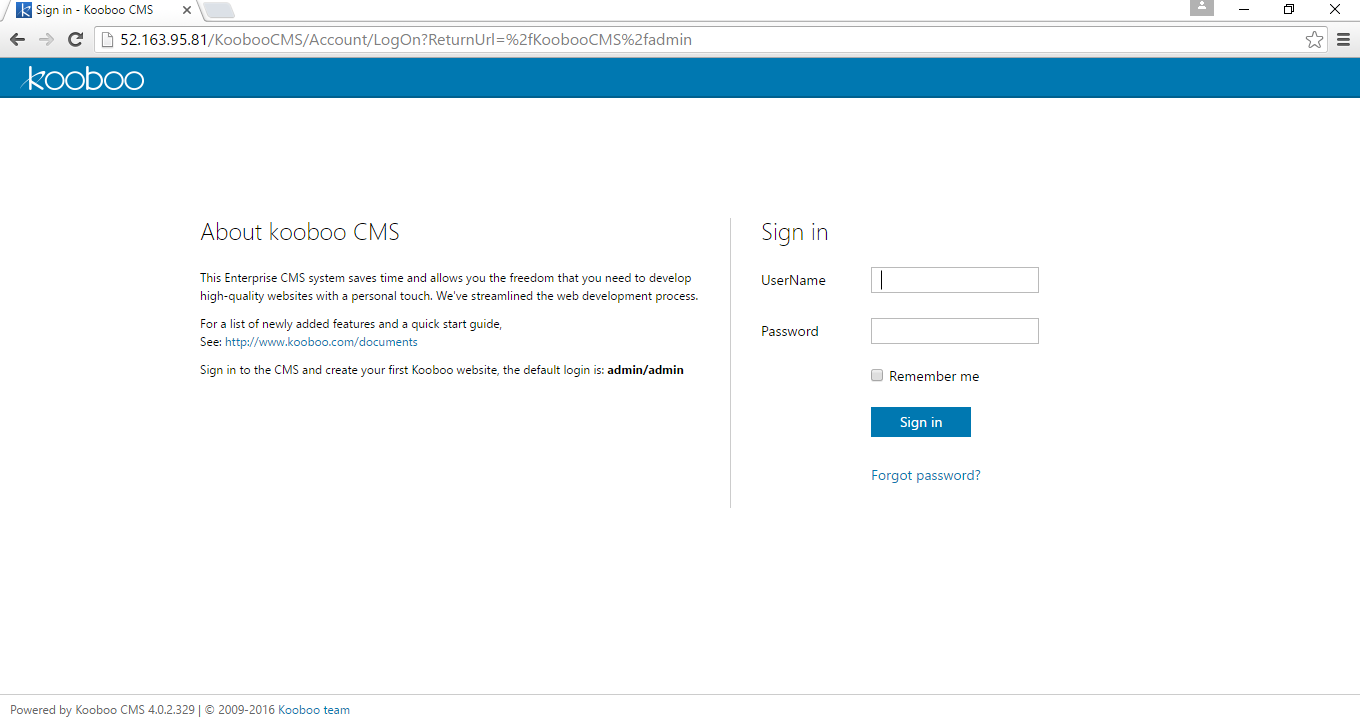
- To login to KoobooCMS Administrative Panel, you need
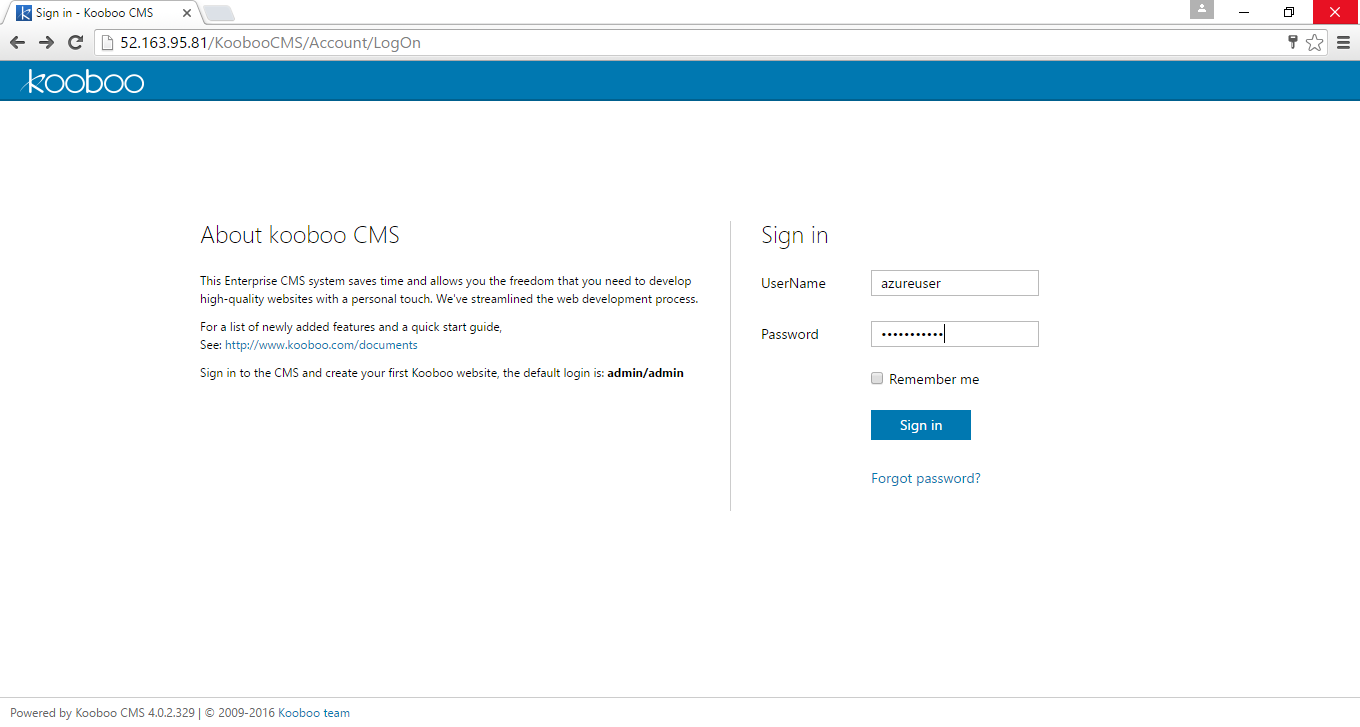
to open your browser and navigate to http://PublicDNS/KoobooCMS/admin - Enter username and password in the given fields and click on the “Login”button to access the Admin Panel.
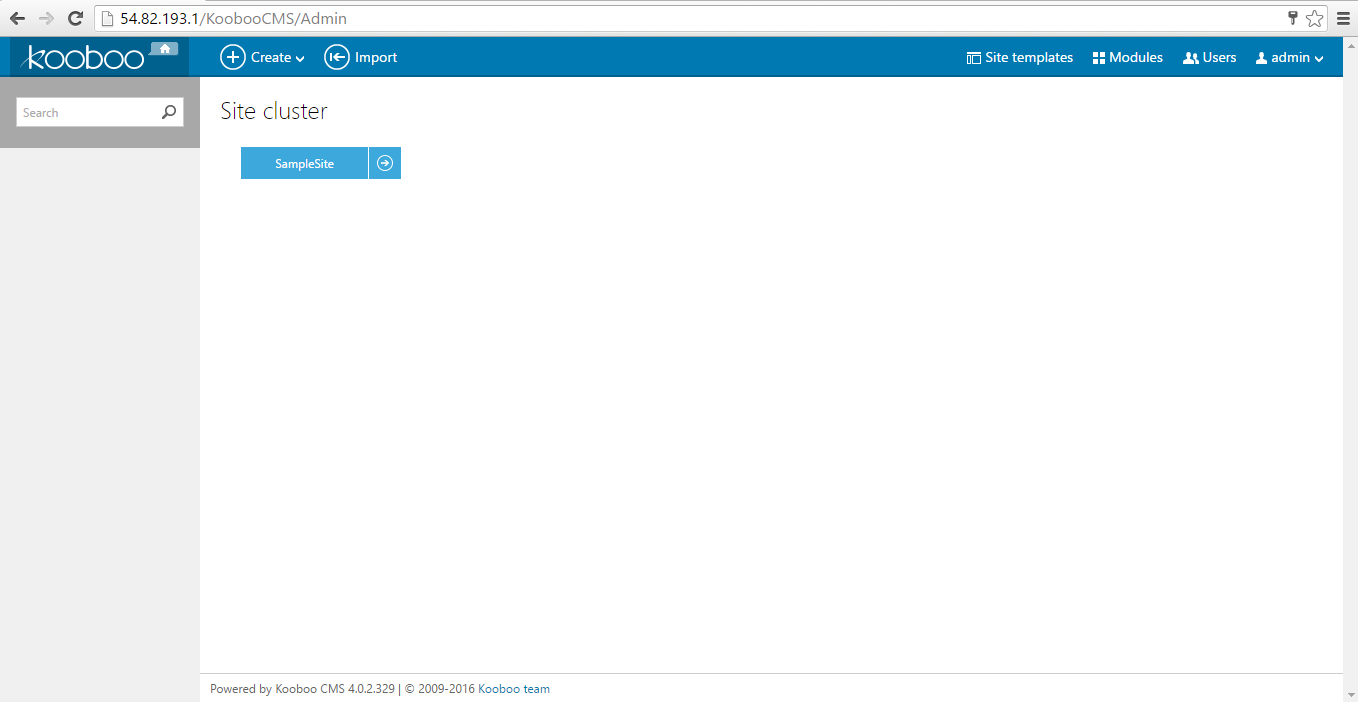
- After successful login to the Admin Panel, you will get access to KoobooCMS Dashboard.
Step 5) Other Information:
1.Default installation path: will be in your web root folder “C:\inetpub\wwwroot\Kooboocms”
2.Default ports:
- Windows Machines: RDP Port – 3389
- Http: 80
- Https: 443
- Sql ports: By default these are not open on Public Endpoints. Internally Sql server: 1433.
Configure custom inbound and outbound rules using this link
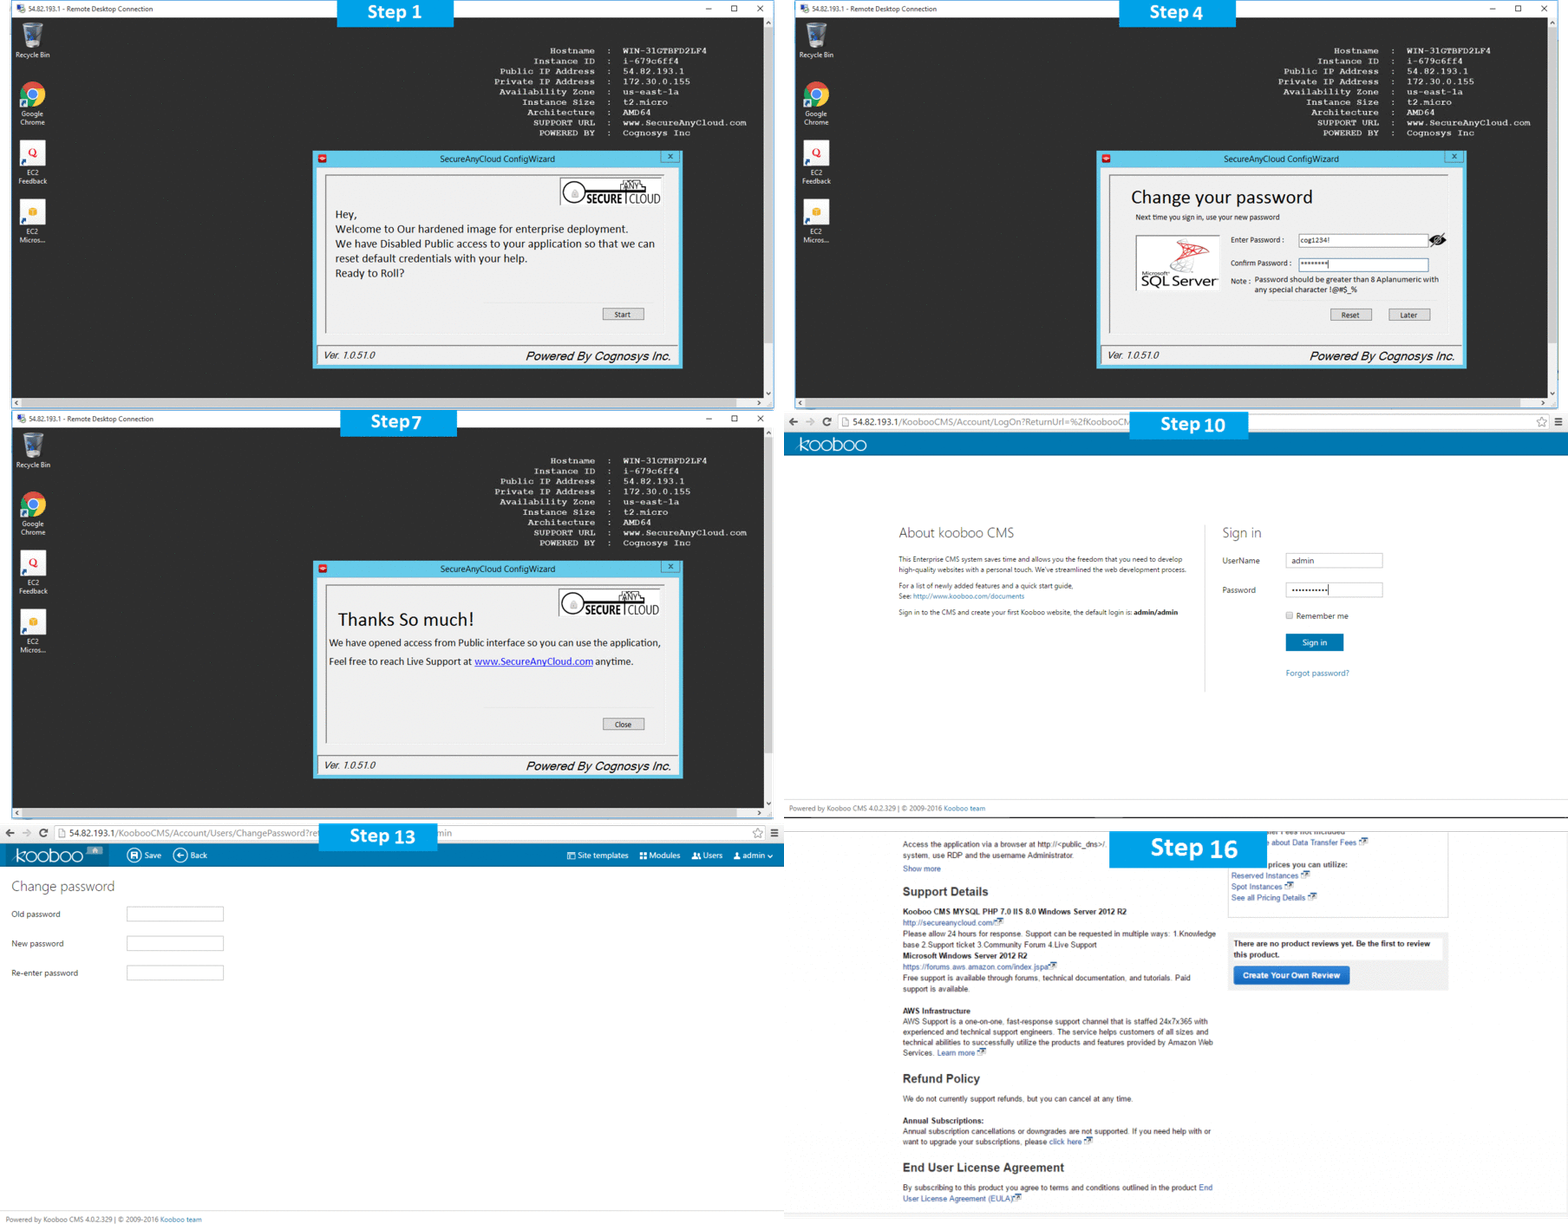
AWS Step by Step Screenshots
Azure
Installation Instructions for Windows
Installation Instructions for Windows
Note: How to find PublicDNS in Azure
Step 1) RDP Connection: To connect to the deployed instance, Please follow Instructions to Connect to Windows instance on Azure Cloud
Connect to virtual machine using following RDP credentials:
- Hostname: PublicDNS / IP of machine
- Port : 3389
Username: Your chosen username when you created the machine ( For example: Azureuser)
Password : Your Chosen Password when you created the machine ( How to reset the password if you do not remember)
Step 2) Database Login Details:
Username : sa || Password : Passw@rd123
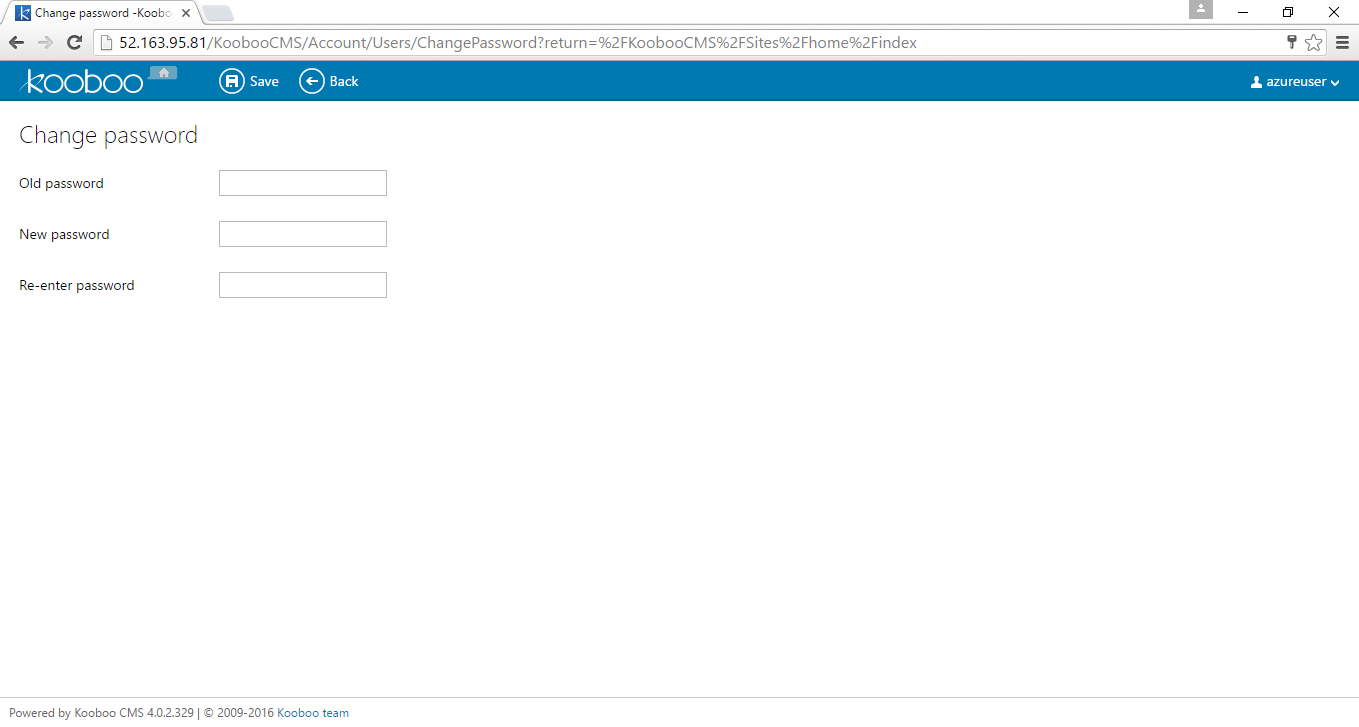
Note: Please change the password immediately after the first login.
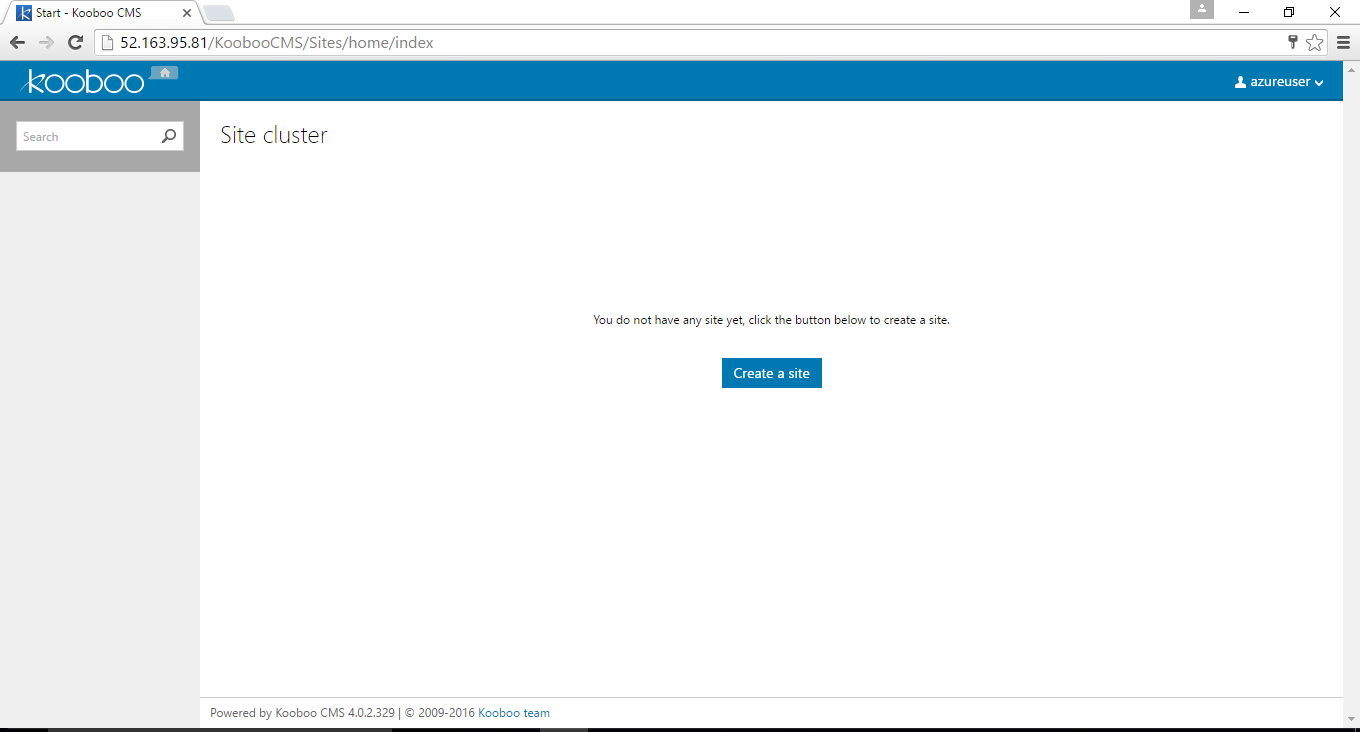
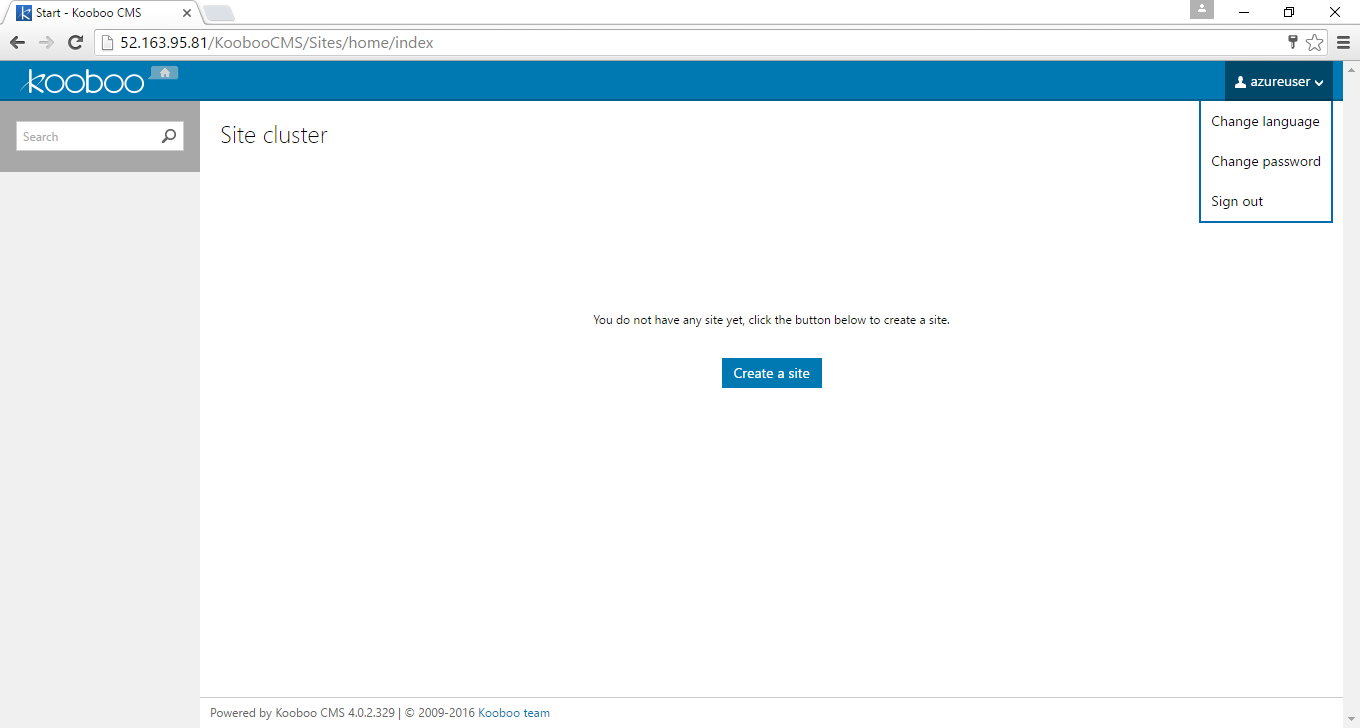
Step 3) Application URL: Access the application via a browser at http://PublicDNS/Kooboocms
- Username : admin
- Password : Passw@rd123
Step 3) Other Information:
1.Default installation path: will be in your web root folder “C:\inetpub\wwwroot\Kooboocms”
2.Default ports:
- Windows Machines: RDP Port – 3389
- Http: 80
- Https: 443
- Sql ports: By default these are not open on Public Endpoints. Internally Sql server: 1433.
Configure custom inbound and outbound rules using this link
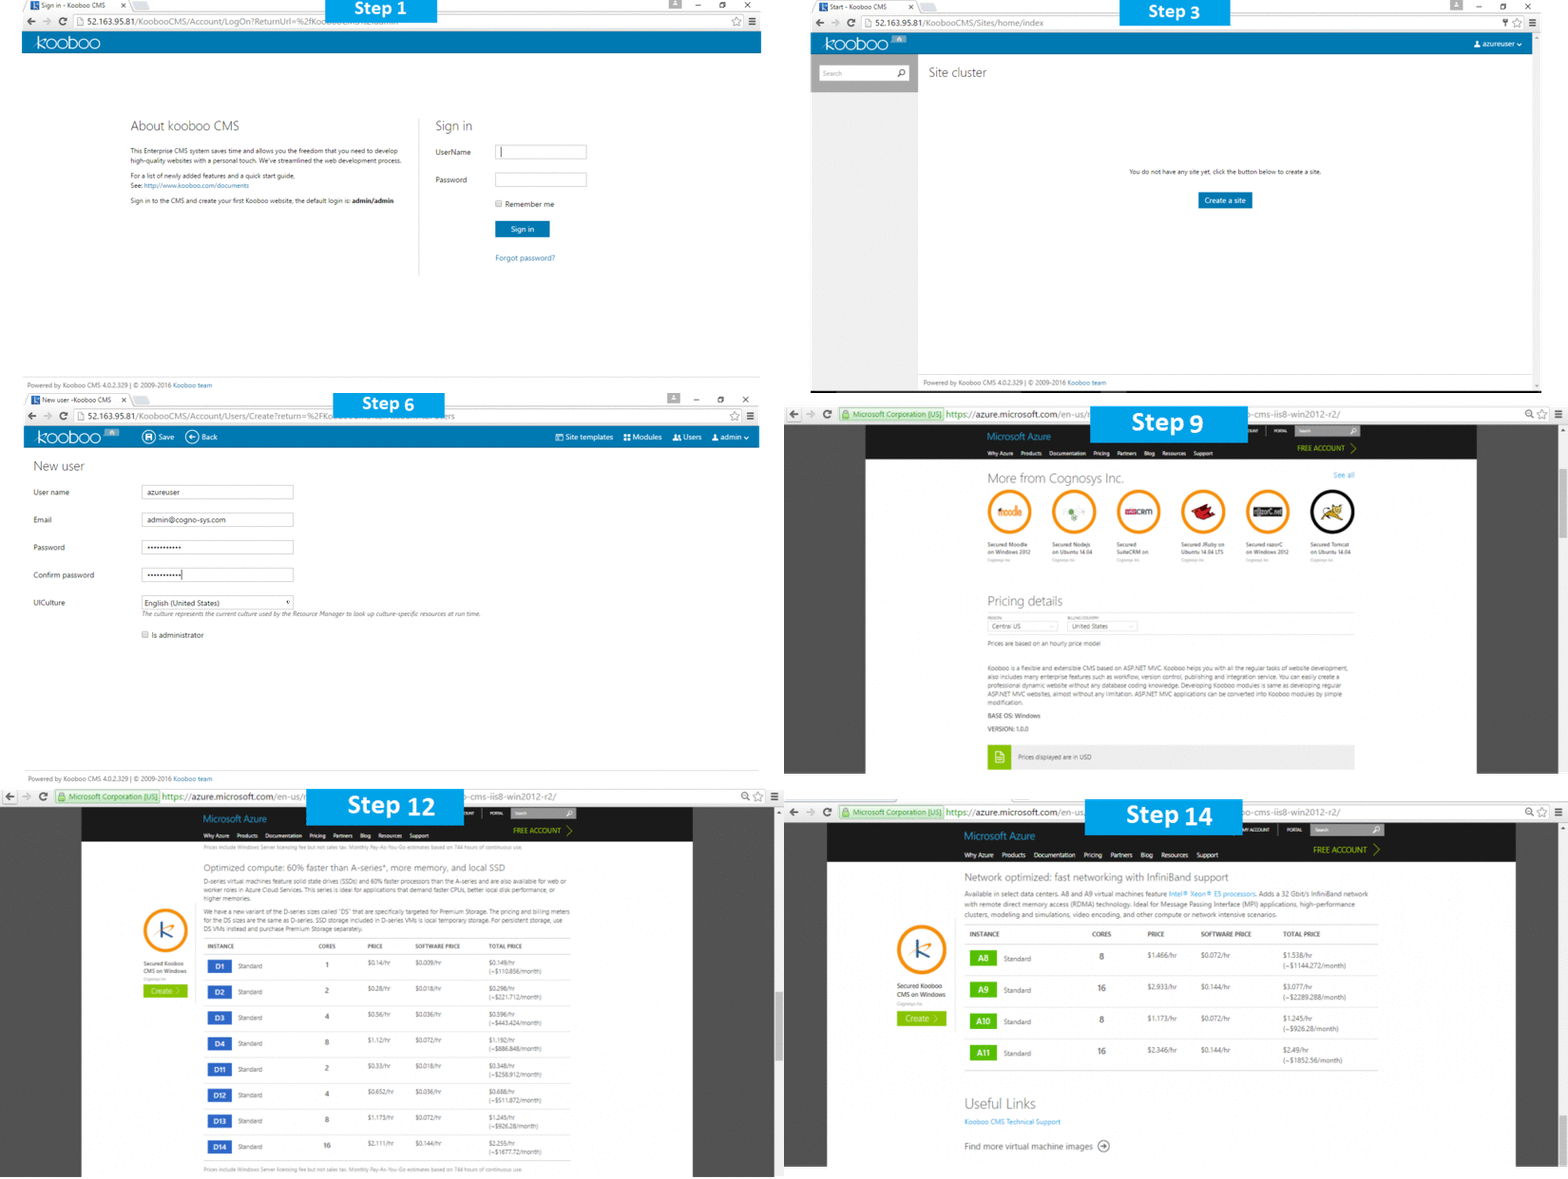
Azure Step by Step Screenshots
Installation Instructions For Windows
Installation Instructions for Windows
Step 1) VM Creation:
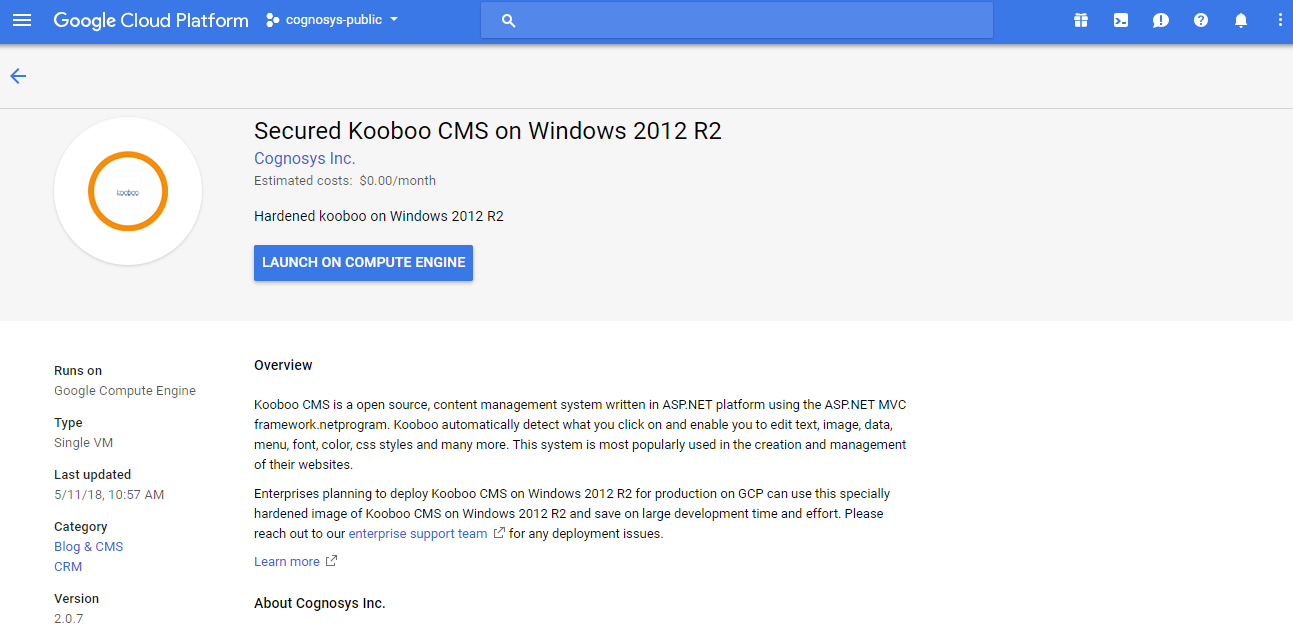
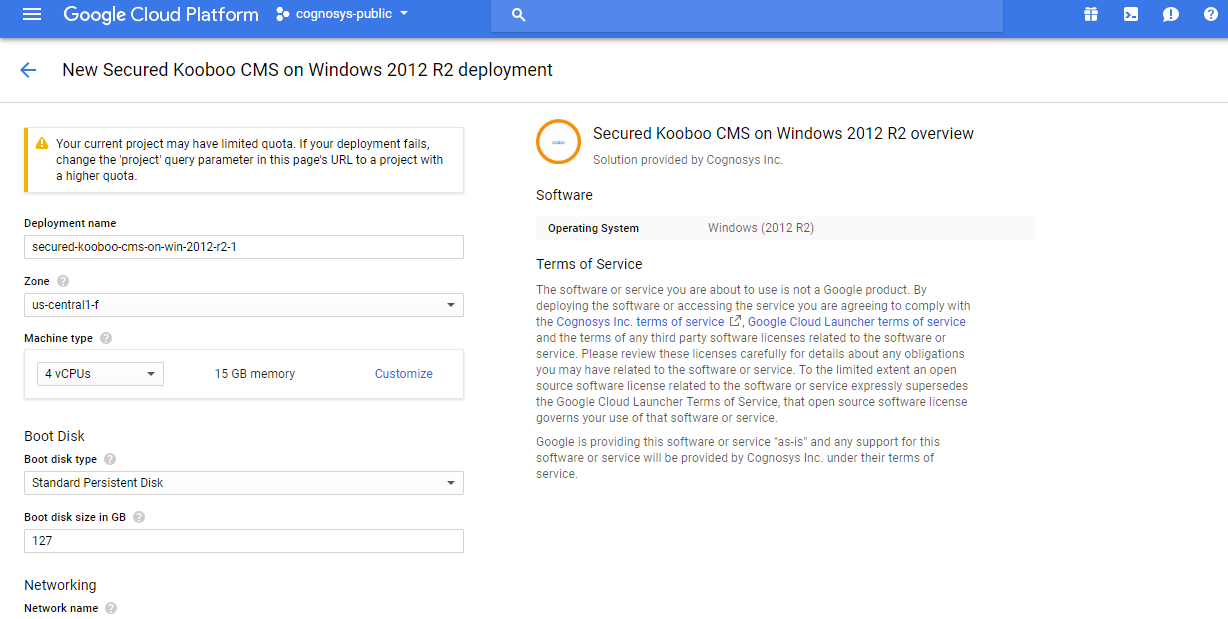
- Click the Launch on Compute Engine button to choose the hardware and network settings.

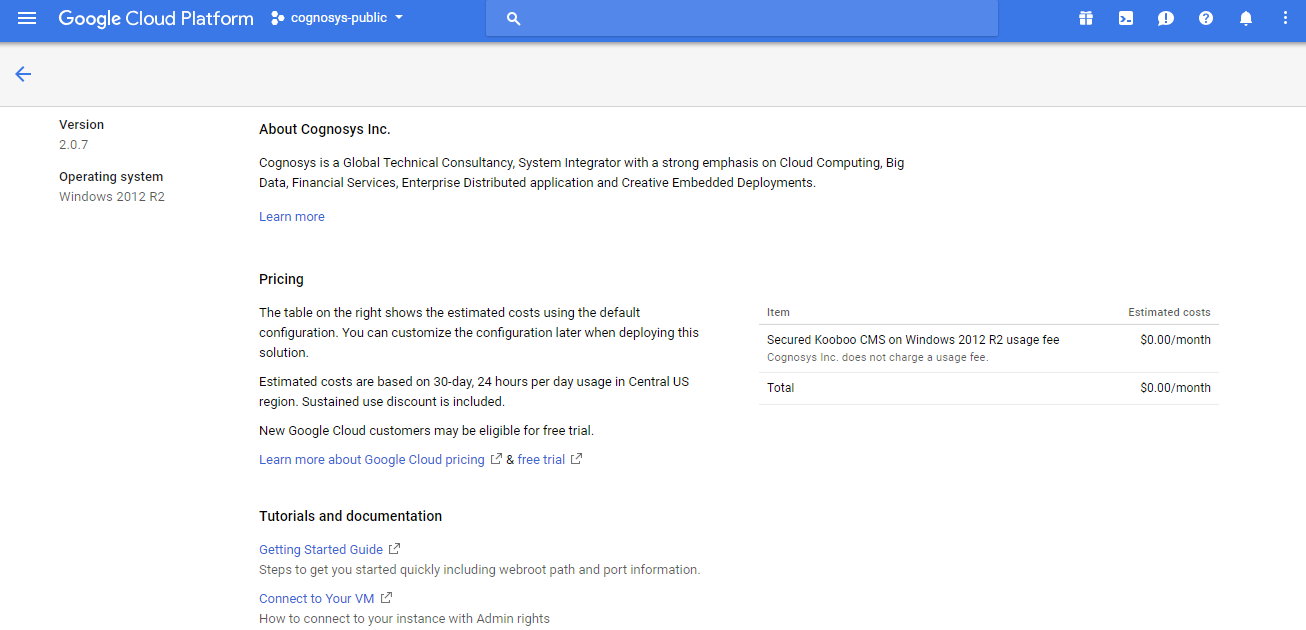
- You can see at this page, an overview of Cognosys Image as well as estimated cost of running the instance.

- In the settings page, you can choose the number of CPUs and amount of RAM, the disk size and type etc.

Step 2) RDP Connection: To initialize the DB Server connect to the deployed instance, Please follow Instructions to Connect to Windows instance on Google Cloud
Step 3) Database Credentials:
You can Login by below SQL Database credentials
SQL UserName : sa
The sa password is generated as a random string during deployment. It can be obtained from the below screen which appears after successful deployment of the image.

If you have closed the deployment page you can also get the sa password from VM Details “Custom metadata” Section.
Step 4) Application URL: Access the application via a browser at http://PublicDNS/Kooboocms
Step 5) Steps to access the Admin Panel:
- To login to KoobooCMS Administrative Panel, you need
to open your browser and navigate to http://PublicDNS/KoobooCMS/admin - Enter username and password in the given fields and click on the “Login”button to access the Admin Panel.
- After successful login to the Admin Panel, you will get access to KoobooCMS Dashboard.
Step 6) Other Information:
1.Default installation path: will be in your web root folder “C:\inetpub\wwwroot\Kooboocms”
2.Default ports:
- Windows Machines: RDP Port – 3389
- Http: 80
- Https: 443
- Sql ports: By default these are not open on Public Endpoints. Internally Sql server: 1433.
Videos
Secured Kooboo CMS on Windows 2012 R2-
Kooboo CMS – Debugging 101
Kooboo CMS Hosting

