1-click AWS Deployment 1-click Azure Deployment
Overview
NGINX (pronounced “engine x”) is a web server. It can act as a reverse proxy server for HTTP, HTTPS, SMTP, POP3 and IMAPprotocols, as well as a load balancer and an HTTP cache.
Released under the terms of a BSD-like license, NGINX is free and open source software.
NGINX can be deployed to serve dynamic HTTP content on the network using FastCGI, SCGI handlers for scripts, WSGI application servers or Phusion Passenger modules and it can serve as a software load balancer.
NGINX uses an asynchronous event-driven approach to handling requests, similar to Apache HTTP Server Event MPM model. Nginx modular event-driven architecture can provide more predictable performance under high loads.
NGINX on Cloud runs on Amazon Web Services (AWS) and Azure and is built to provide a complete, fully-integrated and ready to run PHP, MySQL and NGINX development environment.
NGINX , Inc. is the company behind NGINX , the popular open source project trusted by more than 400 million sites. We offer a suite of technologies for developing and delivering modern applications. The NGINX Application Platform enables enterprises undergoing digital transformation to modernize legacy, monolithic applications as well as deliver new, microservices‑based applications. Companies like Netflix, Starbucks, and McDonalds rely on NGINX to reduce costs, improve resiliency, and speed innovation. NGINX investors include Blue Cloud Ventures, e.ventures, Goldman Sachs, Index Ventures, MSD Capital, NEA, Runa Capital, and Telstra Ventures.
NGINX, Inc. is headquartered in San Francisco, CA, with an EMEA head office in Cork, Ireland and APAC head office in Singapore. Along with offices in Moscow; Sydney; and Tokyo.
NGINX Product Info:
NGINX is the only all-in-one API gateway, cache, load balancer, web application firewall (WAF), and web server. Use NGINX instead of your hardware load balancer and get the freedom to innovate without being constrained by infrastructure.
Cognosys Provides Hardened images of Nginx on the cloud ( AWS marketplace, Azure and Google Cloud Platform).
Deploy Nginx securely on cloud i.e. AWS marketplace, Azure and Google Cloud Platform (GCP)
Secured Nginx on Ubuntu 16-04 LTS
Feature
Major Features of Nginx
- Ability to handle more than 10,000 simultaneous connections with a low memory footprint (~2.5 MB per 10k inactive HTTP keep-alive connections)
- Handling of static files, index files and auto-indexing
- Reverse proxy with caching
- Load balancing with in-band health checks
- Fault tolerance
- TLS/SSL with SNI and OCSP stapling support, via OpenSSL.
- FastCGI, SCGI, uWSGI support with caching
- Name- and IP address-based virtual servers
- IPv6-compatible
Mail proxy features
- TLS/SSL support
- STARTTLS support
- SMTP, POP3 and IMAP proxy
- Authentication using an external HTTP server
Azure
Installation Instructions For Ubuntu
Note: How to find PublicDNS in Azure
Step 1) SSH Connection: To connect to the deployed instance, Please follow Instructions to Connect to Ubuntu instance on Azure Cloud
1) Download Putty.
2) Connect to virtual machine using following SSH credentials:
- Hostname: PublicDNS / IP of machine
- Port: 22
Username: Your chosen username when you created the machine ( For example: Azureuser)
Password: Your Chosen Password when you created the machine ( How to reset the password if you do not remember)
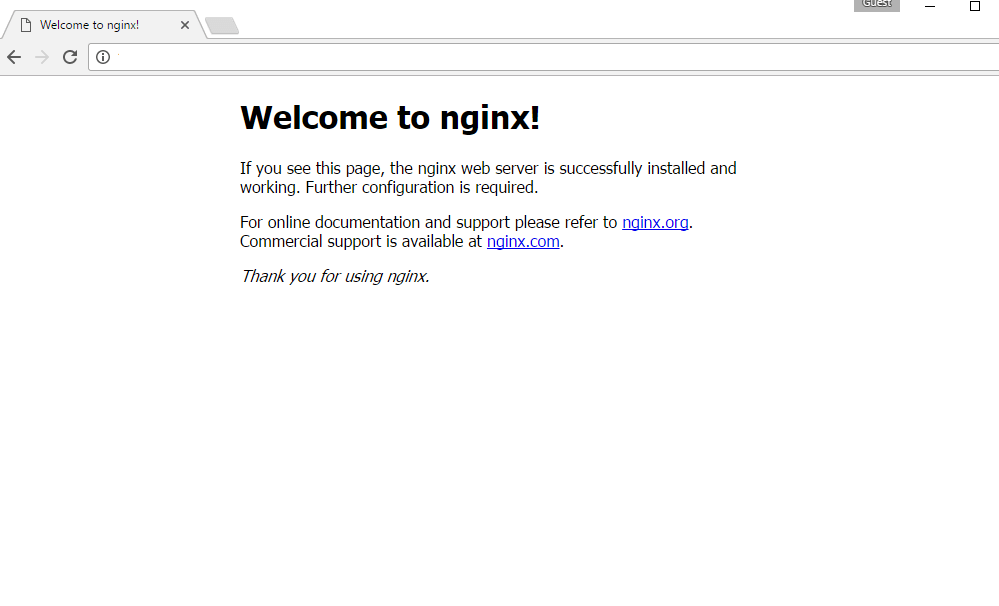
Step 2) Application URL: Access the application via a browser at “http://PublicDNS/”
Step 3) Other Information:
Note: Open http://your_server_ip for test page rendered by Nginx server
1.Default installation path: will be “/var/www/html/”
2.Default ports:
- Linux Machine : SSH Port:-22
- Http: 80
- Https: 443
3. To access Webmin interface for management please follow this link
Installation Instructions For Centos
Note: How to find PublicDNS in Azure
Step 1) SSH Connection: To connect to the deployed instance, Please follow Instructions to Connect to Centos instance on Azure Cloud
1) Download Putty.
2) Connect to virtual machine using following SSH credentials:
- Hostname: PublicDNS / IP of machine
- Port : 22
Username: Your chosen username when you created the machine ( For example: Azureuser)
Password: Your Chosen Password when you created the machine ( How to reset the password if you do not remember)
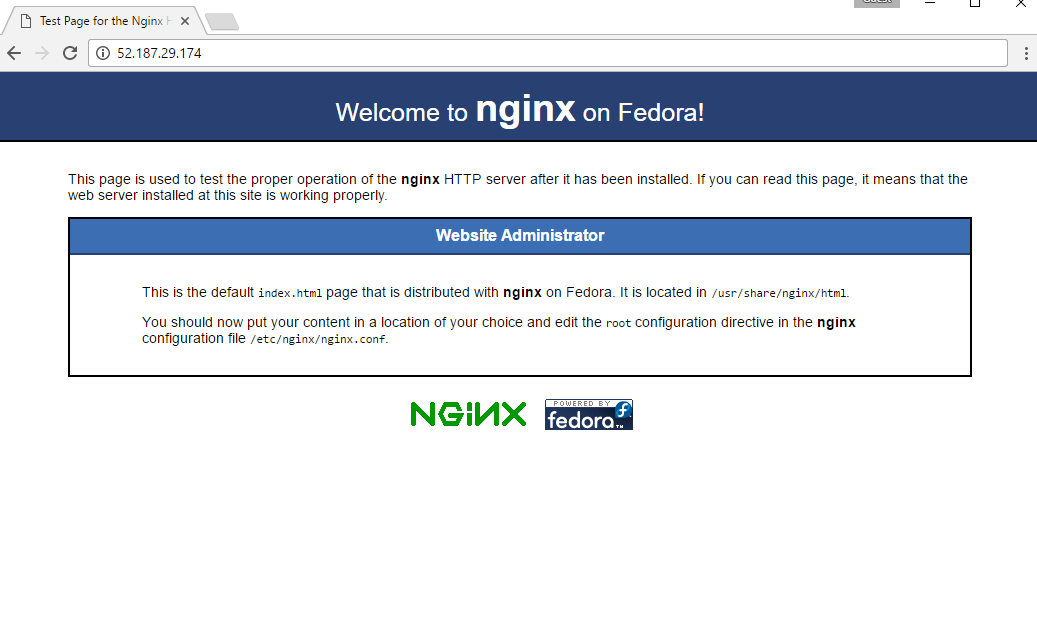
Step 2) Application URL: Access the application via a browser at “http://PublicDNS/”
Step 3) Other Information:
Note: Open http://your_server_ip for test page rendered by Nginx server
1.Default installation path: will be “/var/www/html/”
2.Default ports:
- Linux Machines: SSH Port:-22
- Http: 80
- Https: 443
To troubleshoot any SELinux issues please refer this link.
3. To access Webmin interface for management please follow this link
AWS
Installation Instructions For CentOS
Installation Instructions For Centos
Note: How to find PublicDNS in AWS
Step 1) SSH Connection: To connect to the deployed instance, Please follow Instructions to Connect to Centos instance on AWS Cloud
2) Connect to the virtual machine using SSH key Refer this link:
- Hostname: PublicDNS / IP of machine
- Port : 22
Step 2) Application URL: Access the application via a browser at “http://PublicDNS/”
Step 3) Other Information:
Note: Open http://your_server_ip for test page rendered by Nginx server
1.Default installation path: will be “/var/www/html/”
2.Default ports:
- Linux Machines: SSH Port:-22
- Http: 80
- Https: 443
To troubleshoot any SELinux issues please refer this link.
3. To access Webmin interface for management please follow this link
Installation Instructions For Redhat
Installation Instructions For Centos
Installation Instructions For Redhat
Step 1) VM Creation:
1.Click the Launch on Compute Engine button to choose the hardware and network settings.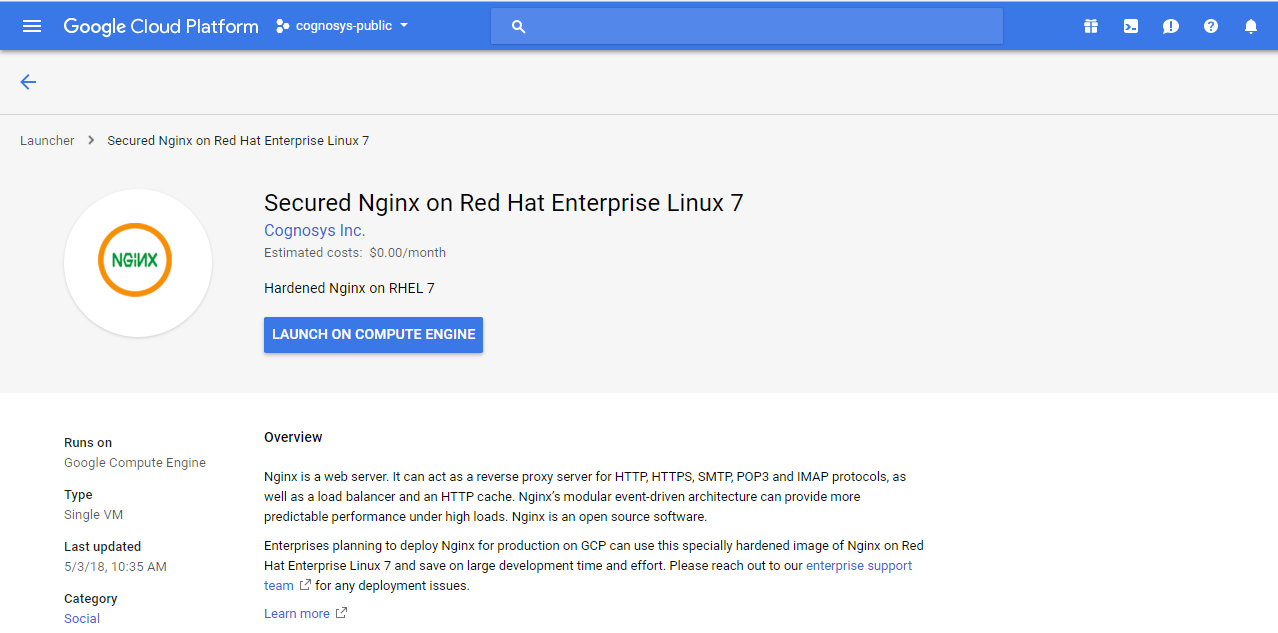
2.You can see at this page, an overview of Cognosys Image as well as some estimated costs of VM.
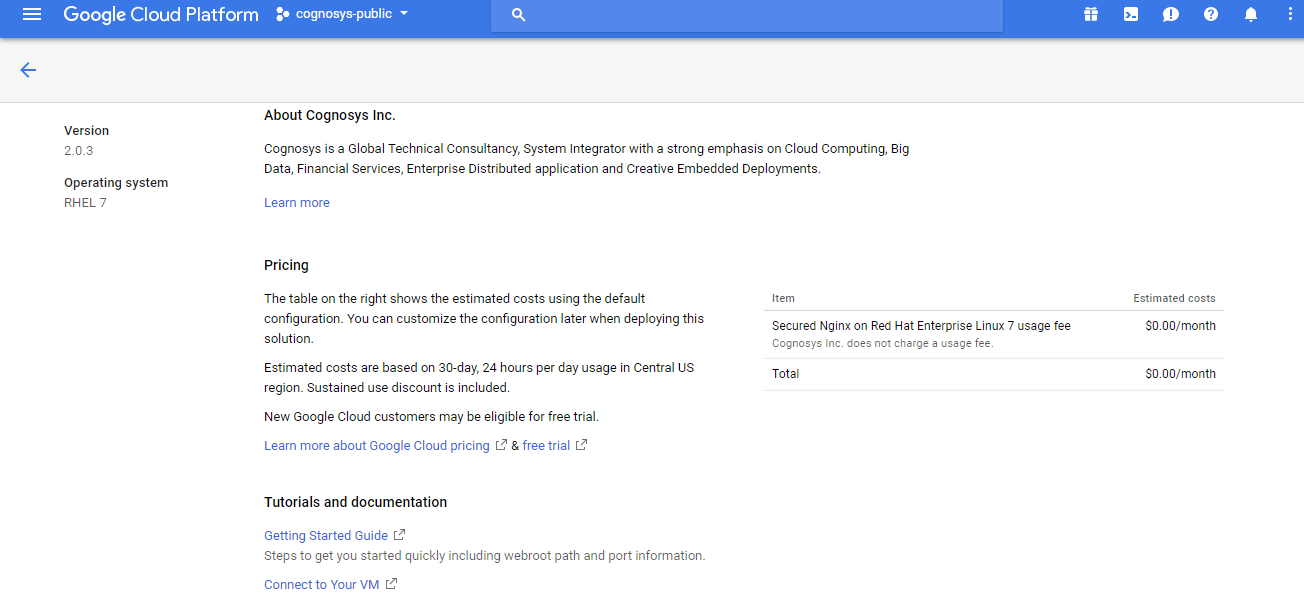
3.In the settings page, you can choose the number of CPUs and amount of RAM, the disk size and type etc.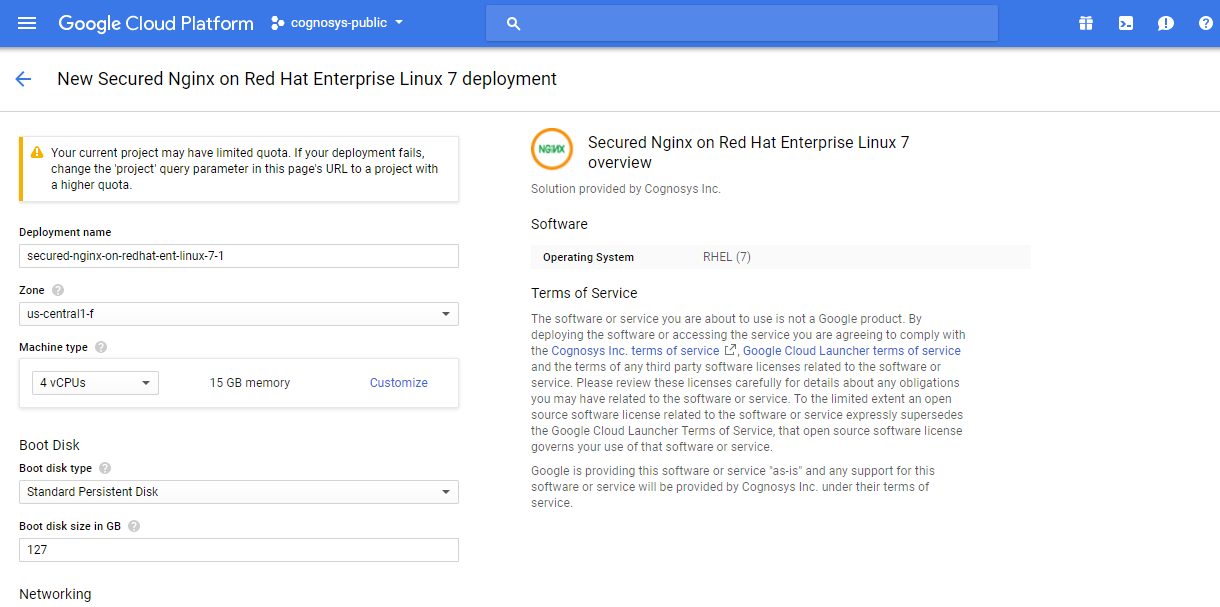
Step 2) SSH Connection: To connect to the deployed instance, Please follow Instructions to Connect to Redhat instance on Google Cloud
1) Download Putty.
2) Connect to the virtual machine using SSH key
- Hostname: PublicDNS / IP of machine
- Port : 22
Step 3) Application URL: Access the application via a browser at “http://PublicDNS/”
Step 4) Other Information:
Note: Open http://your_server_ip for test page rendered by Nginx server
1.Default installation path: will be “/var/www/html/”
2.Default ports:
- Linux Machine : SSH Port:-22
- Http: 80
- Https: 443
3. To access Webmin interface for management please follow this link
Installation Instructions For CentOS
Step 1) SSH Connection: To connect to the deployed instance, Please follow Instructions to Connect to CentOS instance on Google Cloud
1) Download Putty.
2) Connect to virtual machine using following SSH credentials:
- Hostname: PublicDNS / IP of machine
- Port : 22
Username: Your chosen username when you created the machine
Password : Your Chosen Password when you created the machine ( How to reset the password if you do not remember)
Step 2) Other Information:
1.Default ports:
- Linux Machines: SSH Port – 22
2. To access Webmin interface for management please follow this link


