
1-click AWS Deployment 1-click Azure Deployment 1-click Google Deployment
Overview
SEO Panel A complete open source seo control panel for managing search engine optimization of your websites.
SEO Panel is a seo tool kit includes latest hot seo tools to increase and track the performance of your websites.
Cognosys provides hardened images of SEO Panel on all public cloud ( AWS marketplace and Azure ).
SEO on Cloud runs on Amazon Web Services (AWS) and Azure and is built to provide submission tool that help us to submit our websites into to major free and paid internet directories. We can also track the status of each submision through periodical check using submission status checker script.
SEO is owned by SEO (https://www.seopanel.in/) and they own all related trademarks and IP rights for this software.
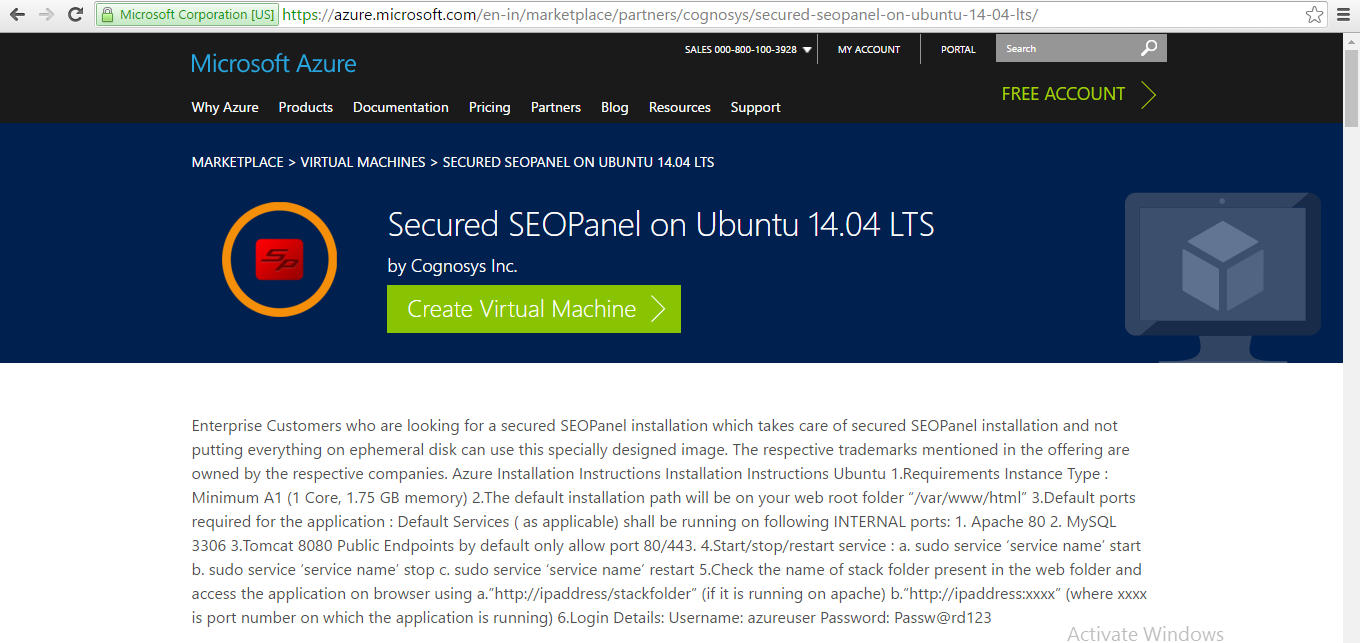
Secured SEOPanel on Ubuntu 14.04 LTS
Secured SEOPanel on CentOS 7.3
Welcome
Login
Edit My Profile
System Setting

New Website
About Us
Any one can easily develop and install required plugins for their seo panel.
Seo Panel is released under GNU GENERAL PUBLIC LICENSE V2.
Features
Major Features Of Seo Panel
- Automatic Directory Submission Tool :
Automatic directory submission tool help us to submit our websites into to major free and paid internet directories. We can also track the status of each submission through periodical check using submission status checker script. Directory manager will help us to find out whether directory is active or not. - Keyword Position Checker :
Keyword position checker will find the search engine position of targeted keywords of your website and stores it in the system. In keyword position reports section, we can see the daily positions of keywords in different search engines by beautiful graphs and detailed reports. - Site Auditor :
Site Auditor will audit all SEO factors of each pages of a site and will give a detailed report about each page. This will help us to create XML,HTML,TEXT sitemap files of our website for submit to search engines. - Google and Alexa Rank Checker :
Google and alexa rank checker will find google pagerank and alexa rank of our websites and stores it in the system. In rank reports section, we can see the daily google and alexa rank of each website by detailed reports. - Backlinks Checker :
Backlinks checker will find number of backlinks of our websites in different search engines(google,yahoo,msn etc) and stores it in the system. In backlink reports section, we can see the daily backlinks count of each website by detailed reports. - Search Engine Saturation Checker :
Search Engine Saturation checker will find number of indexed pages of our websites in different search engines(google,yahoo,msn etc) and stores it in the system. In search engine saturation checker reports section, we can see the daily indexed page count of each website by detailed reports. - Multi Language Support :
Seo panel can be used in multi languages and user can set their native language for thier session. Currently seo panel support 17 languages English, French, German, Polish, Italian, Romanian, Russian, Spanish, Dutch, Portuguese, Bulgarian, Hungarian, Chinese(traditional and simplified), Greek, Persian and Turkish . - Print and Export Reports :
You can easily print and export reports from seo panel and save it for future use.
Azure
Installation Instructions For Ubuntu
Note : How to find PublicDNS in Azure
Step 1) SSH Connection: To connect to the deployed instance, Please follow Instructions to Connect to Ubuntu instance on Azure Cloud
1) Download Putty.
2) Connect to virtual machine using following SSH credentials:
- Hostname: PublicDNS / IP of machine
- Port : 22
Username: Your chosen username when you created the machine ( For example: Azureuser)
Password : Your Chosen Password when you created the machine ( How to reset the password if you do not remember)
Step 2) Database Login Details:
Username : root || Password : Passw@rd123
Note: Please change the password immediately after the first login.
Step 3) Application URL: Access the application via a browser at http://PublicDNS/
Step 4) Other Information:
1. Default installation path: will be in your web root folder “/var/www/html/”
2. Default ports:
- Linux Machines: SSH Port – 22
- Http: 80
- Https: 443
- MySQL ports: By default these are not open on Public Endpoints. MySQL :3306
3. To access Webmin interface for management please follow this link
Configure custom inbound and outbound rules using this link
Installation Instructions For Centos
Note : How to find PublicDNS in Azure
Step 1) SSH Connection: To connect to the deployed instance, Please follow Instructions to Connect to Centos instance on Azure Cloud
1) Download Putty.
2) Connect to virtual machine using following SSH credentials:
- Hostname: PublicDNS / IP of machine
- Port : 22
Username: Your chosen username when you created the machine ( For example: Azureuser)
Password : Your Chosen Password when you created the machine ( How to reset the password if you do not remember)
Step 2) Database Login Details:
Username : root || Password : Passw@rd123
Note: Please change the password immediately after the first login.
Step 3) Application URL: Access the application via a browser at http://PublicDNS
Step 4) Other Information:
1. Default installation path: will be in your web root folder “/var/www/html/”
2. Default ports:
- Linux Machines: SSH Port – 22
- Http: 80
- Https: 443
- MySQL ports: By default these are not open on Public Endpoints. MySQL :3306
Configure custom inbound and outbound rules using this link
3. To access Webmin interface for management please follow this link
Azure Step by Step Screenshots
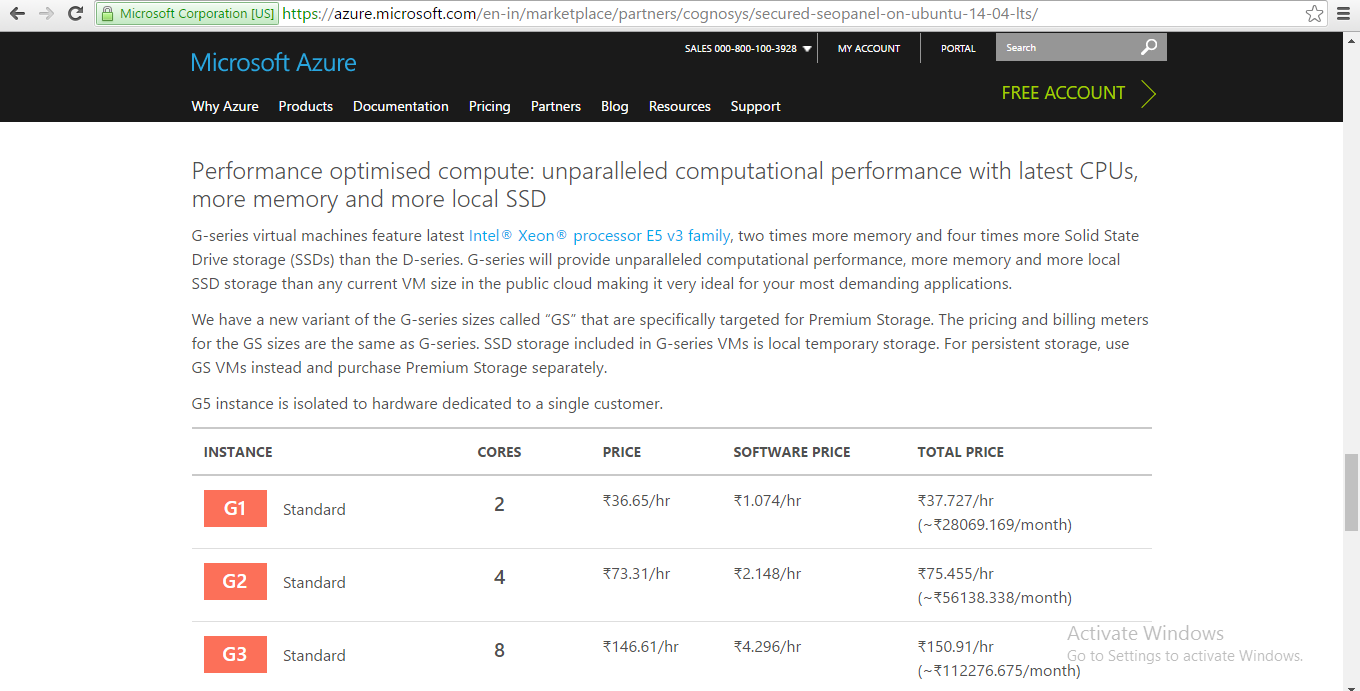
Product Name
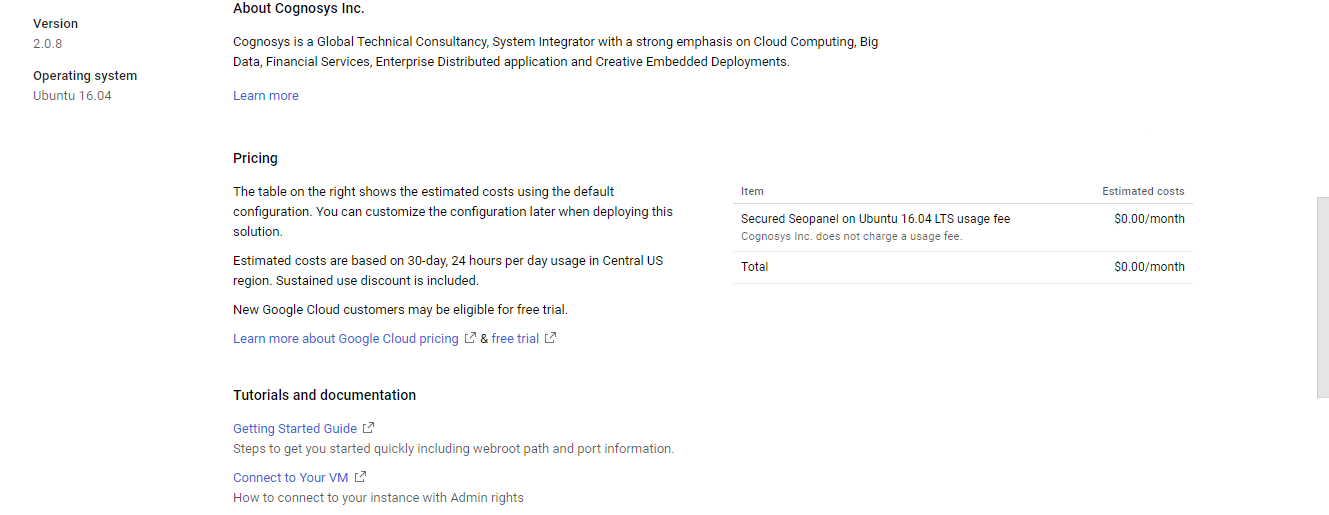
Pricing Details


Installation Instructions For Ubuntu
Installation Instructions for Ubuntu
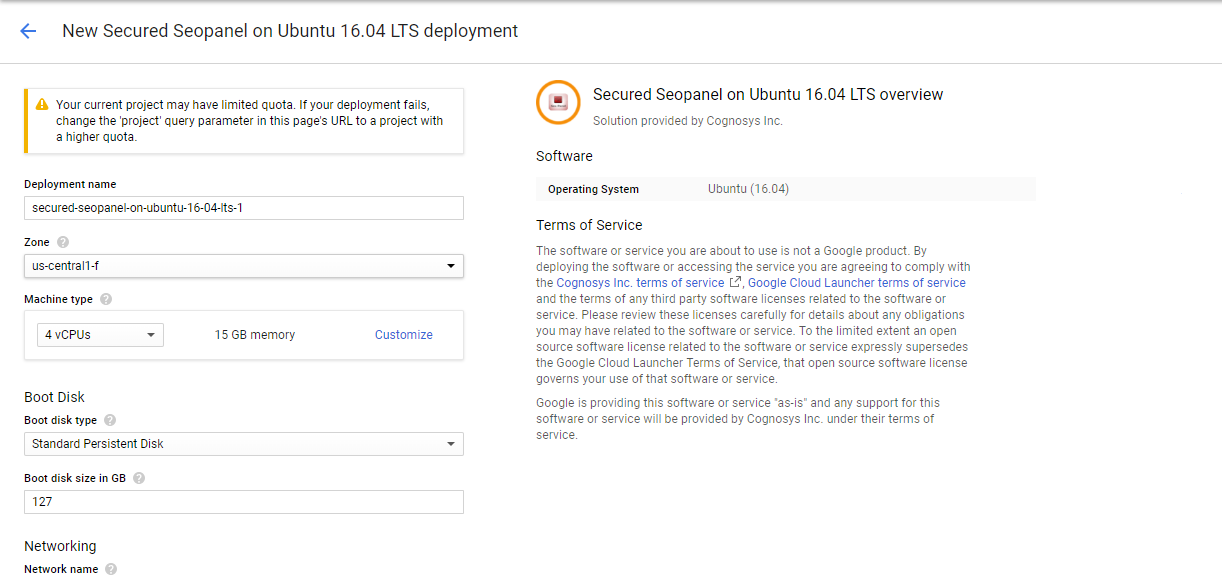
Step 1) VM Creation:
- Click the Launch on Compute Engine button to choose the hardware and network settings.
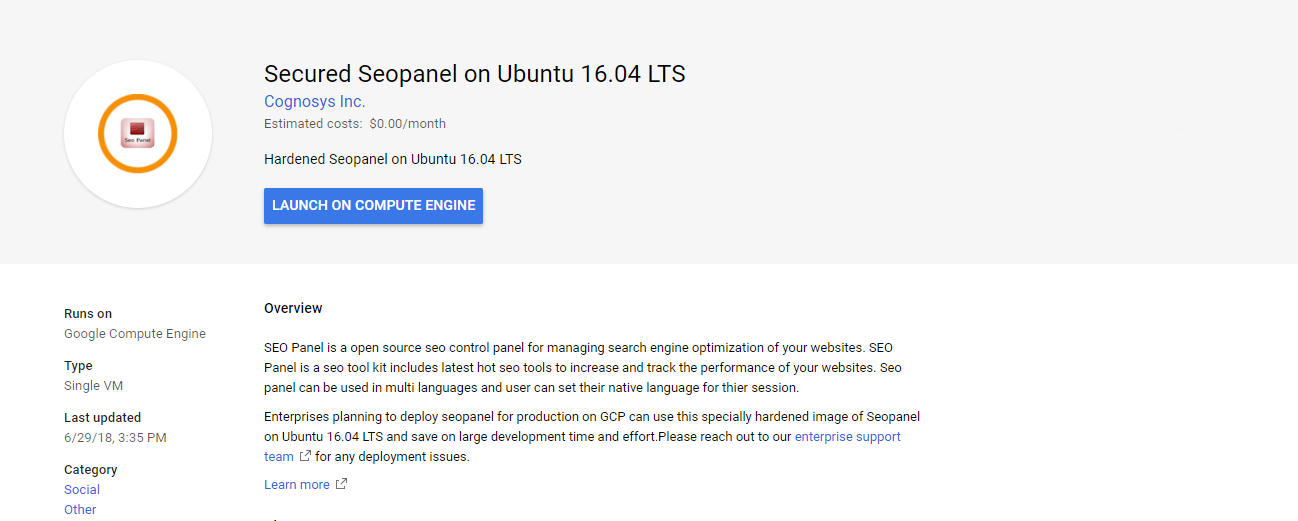

- You can see at this page, an overview of Cognosys Image as well as estimated cost of running the instance.

- In the settings page, you can choose the number of CPUs and amount of RAM, the disk size and type etc.

Step 2) SSH Connection:To initialize the DB Server connect to the deployed instance, Please follow Instructions to Connect to Ubuntu instance on Google Cloud
Step 3) Database Login Details:
The below screen appears after successful deployment of the image.

For local MySQL root password, please use the temporary password generated automatically during image creation as shown above.
i) Please connect to Remote Desktop as given in step 2 to ensure stack is properly configured and DB is initialized.
ii) You can use MySQL server instance as localhost, username root and password as shown above.
If you have closed the deployment page you can also get the MySQL root password from VM Details “Custom metadata” Section.
Step 4) Application URL: Access the application via a browser at http://PublicDNS/
Step 5) Other Information:
1. Default installation path: will be in your web root folder “/var/www/html/”
2. Default ports:
- Linux Machines: SSH Port – 22
- Http: 80
- Https: 443
- MySQL ports: By default these are not open on Public Endpoints. MySQL :3306
