
1-click AWS Deployment 1-click Azure Deployment
Overview
ASPX is an Active Server Page Extended file that’s designed for Microsoft’s ASP.NET They’re also called .NET web forms. Though they look fairly similar, ASPX files are not the same as the Web Handler files ASPX files are generated by a web server and contain scripts and source codes that help communicate to a how a web page should be opened and displayed.
Often, you’ll probably only see the extension .ASPX in a or when your web browser accidentally sends you an ASPX file instead of the one you thought you were downloading.
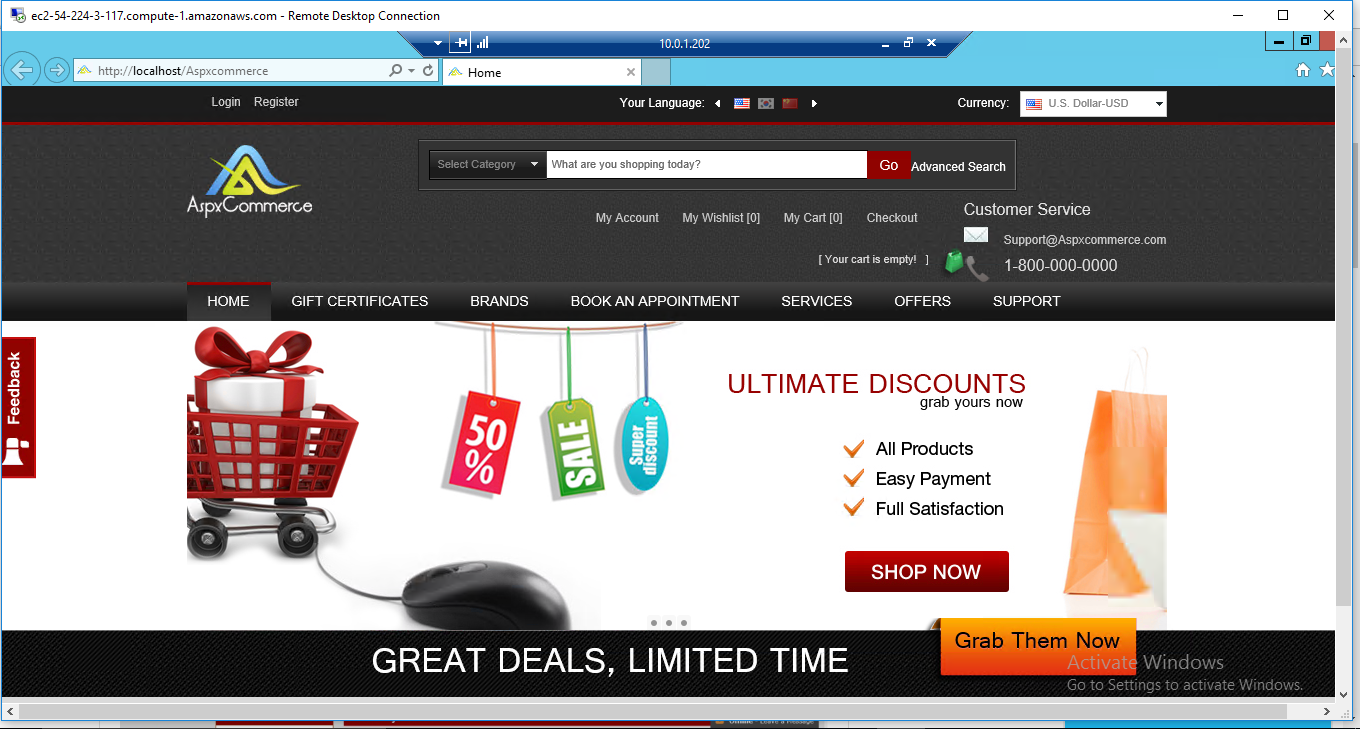
Aspx Commerce on cloud is an open source ecommerce solution that offers rich features to build attractive, secure and fully functional online stores in minutes. Built over the rigorous foundation of SageFrame, AspxCommerce lets you create a customizable storefront; manage products through categories and subcategories, accept payments through credit cards and ship the ordered products to the customers.
Aspx Commerce on cloud is an open source ecommerce solution that offers rich features to build attractive, secure and fully functional online stores in minutes. Built over the rigorous foundation of SageFrame, AspxCommerce lets you create a customizable storefront; manage products through categories and subcategories, accept payments through credit cards and ship the ordered products to the customers. AspxCommerce has everything set up for you, so that you can focus on building your fully functional online store right away.
Aspx Commerce’s appeal lies in the flexibility that it guarantees to users ranging from developers and designers to far away merchants. Its competitive features include single click installation, easily managed promotional banners, faster store performance, a wide range of varieties in template selection and accessibility to interactive modules like community poll, customer testimonials and Google map store locator.
In addition, the catalog management and browsing feature allows users to locate their desired product with a systematic search whereas; the same feature allows store keepers to display products hierarchically. Besides, the Search Engine Optimization (SEO) support ensures high customer flow to your store without you having to worry about the rankings of your site. Analytics of day-to-day performance is readily available for tracking customer behaviors and making necessary reforms to your store!
AspxCommerce is owned by AspxCommerce and they own all related trademarks and IP rights for this software.
How to Open Downloaded ASPX Files
If you’ve downloaded an ASPX file and expected it to contain information (like a document or other saved data), it’s likely that something is wrong with the website and instead of generating usable information, it provided this server-side file instead.
In that case, one trick is to simply rename the ASPX file to whatever you expect it to be. For example, if you expected a version of a bill from your online bank account, but instead got an ASPX file, just rename the file as bill.pdf and then open the file. If you expected an image, try renaming the ASPX file You get the idea.
:max_bytes(150000):strip_icc():format(webp)/aspx-to-pdf-5c114198c9e77c00019054d4.png)
The issue here is that sometimes the server (the website you’re getting the ASPX file from) doesn’t properly name the generated file (the PDF, the image, the music file, etc.) and present it for downloading as it should. You’re just manually taking that last step.
Sometimes the cause of this problem is browser or plug-in related, so you might have luck loading the page that’s generating the ASPX file from a different browser than the one you’re using now. For example, if you’re using Internet Explorer.
How to Open Other ASPX Files :
Seeing a URL with ASPX at the end, like this one from Microsoft, means that the web page is being run in the ASP.NET framework:
:max_bytes(150000):strip_icc():format(webp)/aspx-text-5c113cbdc9e77c0001b1dc2f.png)
There’s no need to do anything to open this type of file because your browser does it for you, whether it’s Chrome, Firefox, Internet Explorer, etc.
When the browser displays the page, it looks completely normal; this is what the source code behind the page looks like in that example:
ASPX Sample Text.
The actual code in the ASPX file is processed by the web server and can be coded in any program that codes in ASP.NET. Microsoft’s Visual Studio is one free program you can use to open and edit ASPX files. Another tool, although not free, is the popular Adobe Dreamweaver.
Sometimes, an ASPX file can be viewed and its contents edited with a simple editor. To go that route, try one of Many URLs end in default.aspx because that file serve
How to Convert an ASPX File
ASPX files have an explicit purpose. Unlike image files, like etc. where a retains compatibility with most image editors and viewers, ASPX files will stop doing what they’re meant to do if you convert them to other file formats.
Converting ASPX to, for example, will certainly make the HTML result look like the ASPX web page. However, since the elements of the ASPX files are processed on a server, you can’t use them properly if they exist as HTML, , JPG, or any other file you convert them to on your computer.
However, given that there are programs that use ASPX files, you can save the ASPX file as something else if you open it in an ASPX editor. Visual Studio, for example, can save open ASPX files as HTM, HTML, ASP, WSF, VBS, MASTER, MSGX, SVC,, JS, and others.
Features
The DevExpress ASP.NET File Manager is an Explorer-like control providing your end-users with the capability to manage files and folders. This control allows end-users to easily upload and select files, and even change the folder structure (by renaming, moving, copying and deleting files or folders). File and folder management capabilities are fully customizable and can be switched off, if necessary.
The ASPxFileManager control consists of the following main elements: a, ar, aand an. Element settings and common control settings can be customized from the corresponding properties such as the main features of the ASPxFileManager control are listed below (along with the corresponding control settings):
- Show the folder and file structure and.
- Automatically sort folders and files based on their names.
- Automatically generate and display thumbnails for image files and Rename, move, copy and delete files and folders);
- Create new foldersDownload a selected fileUpload files using a built-in upload panel
- Select multiple files for upload and Update the file list dynamically via callbacks.
- Respond to file selection and submission (the and server properties; the and client events);
- Quickly search for a file within a list using a built-in filter box Customizable layout (based on a built-in splitter control);
- Keyboard support for main file operations.
- Provide breadcrumbs navigation
This demo illustrates the primary features of ASPxFileManager. Use the check box options in the top panel to change the values of the corresponding ASPxFileManager properties and see the results within the control.
Code-behind in ASPX Files :
It looked like COM was going to solve all the problems associated with component software (that is, the distribution and integration of software). However, cracks began to appear in the foundation around 1997 or so. For example, COM didn’t solve the versioning problem as well as was anticipated. In addition, there were other issues; chiefly, a lack of fidelity between the data types available in code and the type information included with COM type information. While one of the main thrusts of the Microsoft® .NET platform is to make Web programming more approachable, the platform also aims to solve the problems of COM. The result is the common language runtime (CLR).
The CLR is an amazing thing. It represents the best features of component software brought together under one roof. These include garbage collection, support for interfaces, and true binary compatibility (no more weird issues with SafeArrays, variants, or IDispatch, and integrated type information). This list isn’t exhaustive, but it should give you a good idea of what the CLR is all about.
If you’ve spent some time with classic ASP, you’re undoubtedly familiar with some of its issues—most notably the problems associated with versioning and the limitations imposed by IDispatch. For example, you can use only VARIANT types if you want to support scripts in your ASP page. Another issue is that code and presentation are often mingled. Many classic ASP pages end up being a smear of HTML and script blocks. The ASP.NET solution to these problems is the code-behind model enabled by the CLR.
The code-behind model lets you write your presentation code in one source code file, usually an ASPX file, and your execution logic in another module (often a C# or Visual Basic® .NET source code file or an assembly). If you develop in Visual Basic already, you probably want to stick with the Visual Basic syntax. If you’re in the mood to try something new, C# provides a clean and rich paradigm of developing code-behind modules. While C# is a comfortable syntax for seasoned C++ developers, it does have its own format and some differences from C++ that require getting used to. If you’re experienced in using C++ and you don’t want to learn a new language syntax right away, there is a third option: using C++ to write your code-behind pages. In this month’s column I’m going to look at what it takes to write ASP code-behind pages using Managed C++.
Managed C++
Microsoft is an industry leader in backward-compatibility software. They’ve learned that the most effective way to get as many people as possible to use software is to provide smooth and painless ways of bridging the gap between current and new versions. There is a ton of C++ code out there and a huge number of developers who are comfortable using it. Software has something of a half-life; it doesn’t disappear overnight. In fact, it’s hard to discard software outright. .NET would not be very widely adopted if it required developers and companies to abandon all the work they’ve done over the years. To that end, Microsoft includes new extensions to C++ to generate code that runs under the CLR.
If you’re a seasoned C++ developer, you’re used to making sure there’s an invocation delete for every new statement. You’re accustomed to writing IDL code that is separate from your C++ source code. In addition, you’re probably annoyed by all the bugs that come from chasing down the wrong pointer or forgetting to delete a piece of memory. By using the new Managed C++ extensions from Visual C++® .NET, you get the compiler to emit an assembly that runs under the CLR. Any classes marked using the extensions become garbage collected, just like other managed code. You can allocate instances and never have to worry about deleting them. The runtime will do that for you. In addition, the C++ compiler will automatically generate type information/metadata for your assembly, so you don’t need to write separate IDL code. Finally, running under the CLR gets rid of bizarre crashes that come from accessing invalid pointers (under the CLR, you get predictable exceptions).
It turns out that writing a Managed C++ code-behind isn’t all that hard to do. It’s just that there are scant good examples using C++ out there. So, here’s the process of writing an ASP.NET code-behind page using Managed C++.
The ASPX Page
I’ll start off with the ASPX page. This one will display a list of the best features of ASP.NET. As a simple example, the page presentation will show the list of features, ask the user’s name, then ask the user to submit their favorite feature. I’ll keep all the presentation elements within the ASPX code and all the logical execution elements within the code-behind page
The Page directive at the top of the ASPX page in indicates that page should be based upon a class named ManagedCWebForm.ManagedCWebPage. ASP.NET will expect to find this class in one of the assemblies along the probing path. In this case, I’ll write the ManagedCWebForm.ManagedCWebPage class using Managed C++ and place the assembly in the \bin directory of the Internet Information Services (IIS) virtual directory hosting the page. Then the ASPX page declares a couple of server-side controls: a push button, label, textbox, and dropdown list. Notice they are all marked “runat= server.” Also notice there is a line within the ASPX code that calls the function WriteArray. The WriteArray method will be implemented within the code-behind page. Finally, notice the push button is wired up to an event handler named Sub-mitEntry. Figure 2 shows the page as it would appear in real life. Now let’s add some beef to it by developing a code-behind module.
Figure 2 Code-behind Page
The easiest way to create a Managed C++ assembly is to use the wizard that comes with Visual Studio® .NET. Select New Project and under the C++ Project templates, pick Managed C++ Class Library. The Visual Studio AppWizard pumps out some source code files. lists the files created by the AppWizard.
The Managed C++ library starts out barren. Compiling and linking the code generates an empty assembly. You need to add the code-behind class. Just as you do when writing a code-behind class in C# or Visual Basic .NET, you need to base the code-behind class on the System.Web.UI.Page class. To do that you need to make sure the managed assembly refers to the correct system modules and namespaces.
When building assemblies using Visual Basic .NET or C# within Visual Studio .NET, the project needs to point to the correct assemblies. It’s easy to do this using the Visual Studio .NET Project | References menu option. When using C++, refer to external assemblies through the #using C++ preprocessor directive. In addition, for convenience’s sake, it’s often useful to specify which namespaces to use so you don’t have to keep scoping each declaration. The following code shows the directives for referring to the System and the Web assemblies, as well as defining the default namespaces.
Copy
#using <System.Dll>#using <System.Web.dll> using namespace System;using namespace System::Web;using namespace System::Web::UI;using namespace System::Web::UI::WebControls;using namespace System::Collections;using namespace System::ComponentModel;
Note that the syntax for declaring which namespaces to use follows the standard C++ scoping syntax. The heart of the code-behind module is a class that derives from System.Web.UI.Page. I’ll take a look at that now.
The Page Class :
It shows the C++ code describing the code-behind page. While the code inlooks mostly like regular C++, it differs in several significant ways. First, notice that the ManagedCWebPage class has a public modifier preceding it. The CLR enforces visibility at the module level—not just at the class member level as in basic C++. Putting the public keyword before the ManagedCWebPage class declaration causes the whole class to be visible outside the assembly. This is important because the ASPX page will need to be able to access the ManagedCWebPage class.
There’s a key symbol called __gc immediately preceding the class keyword, which tells the C++ compiler that the ManagedCWebPage class is to be garbage collected. That is, instances of ManagedCWebPage will be managed by the runtime.
The rest of the C++ syntax should look pretty familiar. The ASPX page defines a button, dropdown list, label, and textbox. The programmatic counterparts to each of these elements are defined as member variables near the top of the class. If you’ve been writing a lot of C# code lately, you may be surprised that the member variables representing the controls are declared as pointers in this C++ code. The C++ syntax only understands the managed types when they’re declared as pointers. Remember, C# doesn’t have the natural pointer syntax that C++ does.
The ManagedCWebForm class implements a couple of event handlers: one for the Page_Load event and one for the SubmitEntry event (when the user presses the SubmitEntry button). The Page_Load event is called every time a client posts to the server. The System.Web.UI.Page class includes the member property IsPostBack for determining if the session is new or existing. If IsPostBack is true, then the user is posting back during an existing session. Otherwise, it’s a new session. SubmitEntry extracts the name of the user from the textbox, the item selected from the dropdown list, and sets the Text field of the Label control accordingly. The syntax for each of these methods appears similar to the syntax you would see in equivalent C# code. Notice the arguments are passed as pointers. That’s because the Object and EventArgs parameters are managed types.
To get the page working, just build the assembly and make sure the assembly lands in the \bin directory under the virtual directory containing the ASPX code.
If you’re an experienced ASP developer accustomed to writing COM code to get your pages working, the CLR offers a breath of fresh air. Because all the code living under the CLR automatically agrees upon such issues as data typing, parameter order on the stack, and where to find method signatures within code (it’s all described within the metadata), all the old boundary issues that COM was designed to solve disappear.
To create code that runs under the CLR, you simply need a compiler that will generate Microsoft intermediate language (MSIL), for instance C# and Visual Basic .NET. Most developers currently using Visual Basic will probably stick with Visual Basic .NET. C# offers a great curly-brace syntax for producing MSIL, and many developers are becoming enamored of C# syntax. So why would you use C++?
There are several reasons. First, you may have a huge amount of working legacy C++ code. In some cases it may be much easier to compile your DLLs as Managed C++ assemblies. For example, you might have code that represents particularly obfuscated logic that you have to keep running in your system. Another reason is that you just may not be ready to make the jump to C#. By and large, C# represents a cleaner syntax than C++ does; for example, it doesn’t have any funny pointer syntax. However, C# does take a little bit of getting used to. The final, and perhaps most compelling reason to use Managed C++, is that the Microsoft C++ compiler is optimized. It’s the most evolved and best-tuned compiler available for generating code to run under the CLR.
This month I looked at what it takes to write a code-behind page in Managed C++. In later columns I’ll revisit the topic of using Managed C++ in other parts of an ASP.NET page.
Aspx Commerce on cloud is an open source ecommerce solution that offers rich features to build attractive, secure and fully functional online stores in minutes. Built over the rigorous foundation of SageFrame, AspxCommerce lets you create a customizable storefront; manage products through categories and subcategories, accept payments through credit cards and ship the ordered products to the customers. AspxCommerce has everything set up for you, so that you can focus on building your fully functional online store right away.
Aspx Commerce’s appeal lies in the flexibility that it guarantees to users ranging from developers and designers to far away merchants. Its competitive features include single click installation, easily managed promotional banners, faster store performance, a wide range of varieties in template selection and accessibility to interactive modules like community poll, customer testimonials and Google map store locator.
In addition, the catalog management and browsing feature allows users to locate their desired product with a systematic search whereas; the same feature allows store keepers to display products hierarchically. Besides, the Search Engine Optimization (SEO) support ensures high customer flow to your store without you having to worry about the rankings of your site. Analytics of day-to-day performance is readily available for tracking customer behaviors and making necessary reforms to your store!
AspxCommerce is owned by AspxCommerce (http://aspxcommerce.com/) and they own all related trademarks and IP rights for this software.
Cognosys Provides Hardened Images of Aspx Commerce on all public cloud ( AWS marketplace and Azure).
Deploy your Aspx Commerce securely on cloud i.e. AWS marketplace and Azure with Reliable Services offered by Cognosys at one-click with easy written and video tutorials.
Secured AspxCommerce on Windows 2012 R2-
Aspx Commerce on Cloud for Windows
Aspx Commerce on Cloud for AWS
Aspx Commerce on Cloud for Azure

Features
Major Features of Aspx Commerce:
- KPI (Key Performance Indicator)-Key Performance Indicator (KPI) is a performance measurement module that evaluates the success of your ecommerce site by defining a set of values used to measure against. Be it to measure financial performance, understand your customers, gauge your market and marketing efforts, measure tour operational performance, understand your employees and their performance or measure your social sustainability performance, KPI helps evaluate your overall ecommerce site.
- A/B testing-A/B testing is a simple randomized experiment with the two statistical hypothetic designs to bring out the preferred one. Working to be a controlled experiment with the two variants A and B, this split testing identifies the changes to your web pages that increase or maximize the outcome of interest. Thus A/B testing brings in the evidence based practice for the improvement of your entire ecommerce site
- Personalization-As a process of aligning pages to individual users’ characteristics or preferences, personalization enhances customer service and general e-commerce sales by making your web page personalized to a specifically targeted individual consumer. Ensuing an increased customer satisfaction, the possibility of your customers visiting your e-commerce page continually gets higher when their needs are effectively met with personalization.
- Performance Optimization-Performance Optimization is the practice of increasing the speed in which web pages are downloaded and displayed on the user’s web browser. Faster website download speeds help increase visitor retention, loyalty and user satisfaction. Thus, leading to the less data travelling across the web in order to lower your ecommerce-site’s power consumption, AspxCommerce here optimizes your overall performance with re-architecture of stored procedure and tables Index Management, Database and CSS Optimization.
- Responsive Design- Assisting your ecommerce site to dynamically adapt to different screen sizes across desktop, tablet, phablet and smartphones using one set of code, AspxCommerce is now armed with Responsive Design from its central core. Following the 100 grid system to cope with an absolute fluid grid viewing experience, the design is furthermore extended to the adaptive techniques which can largely give a boost to mobile commerce too.
- User-Friendly Interface- With a much friendlier user experience design and interface, AspxCommerce highly facilitates its wide variety of users ranging from novice to experts. Even the beginners don’t require any trainings or hours of their time to figure out how AspxCommerce functions. Since your website is a doorway to the products and services, a smooth user interface in AspxCommerce easily helps invite your customers in.
AWS
Installation Instructions For Windows
Note: How to find PublicDNS in AWS
Step 1) RDP Connection: To connect to the deployed instance, Please follow Instructions to Connect to Windows instance on AWS Cloud
1) Connect to virtual machine using following RDP credentials :
- Hostname: PublicDNS / IP of machine
- Port : 3389
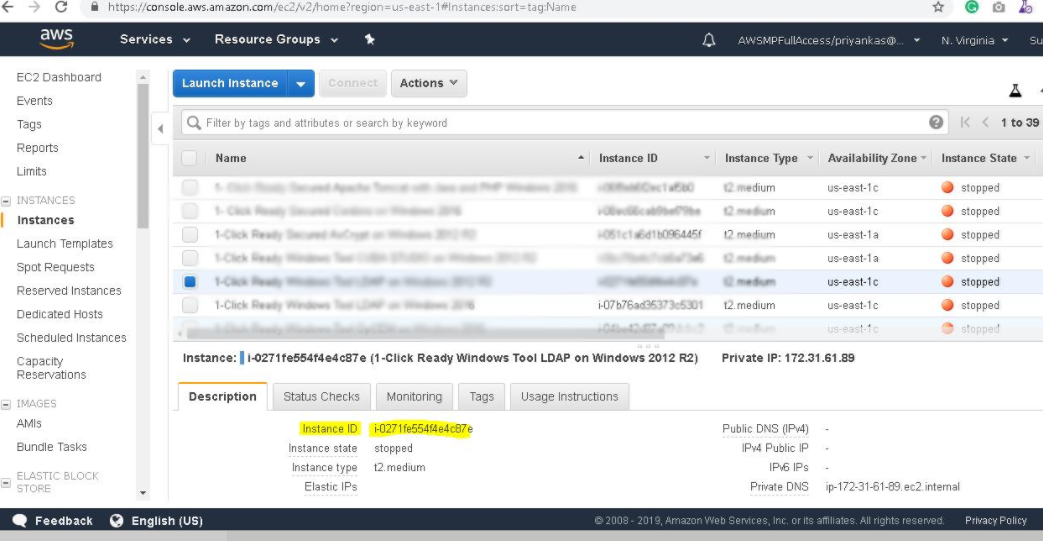
Username: To connect to the operating system, use RDP and the username is Administrator.
Password : Please Click here to know how to get password .
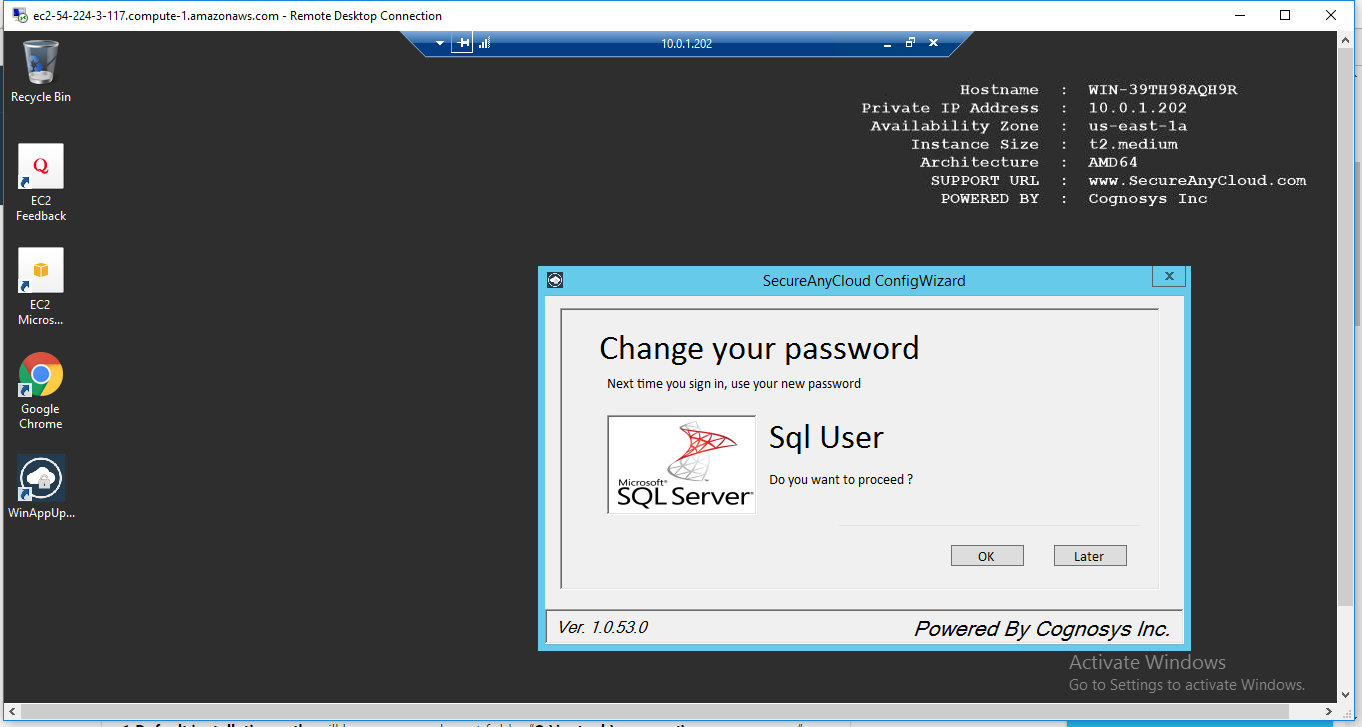
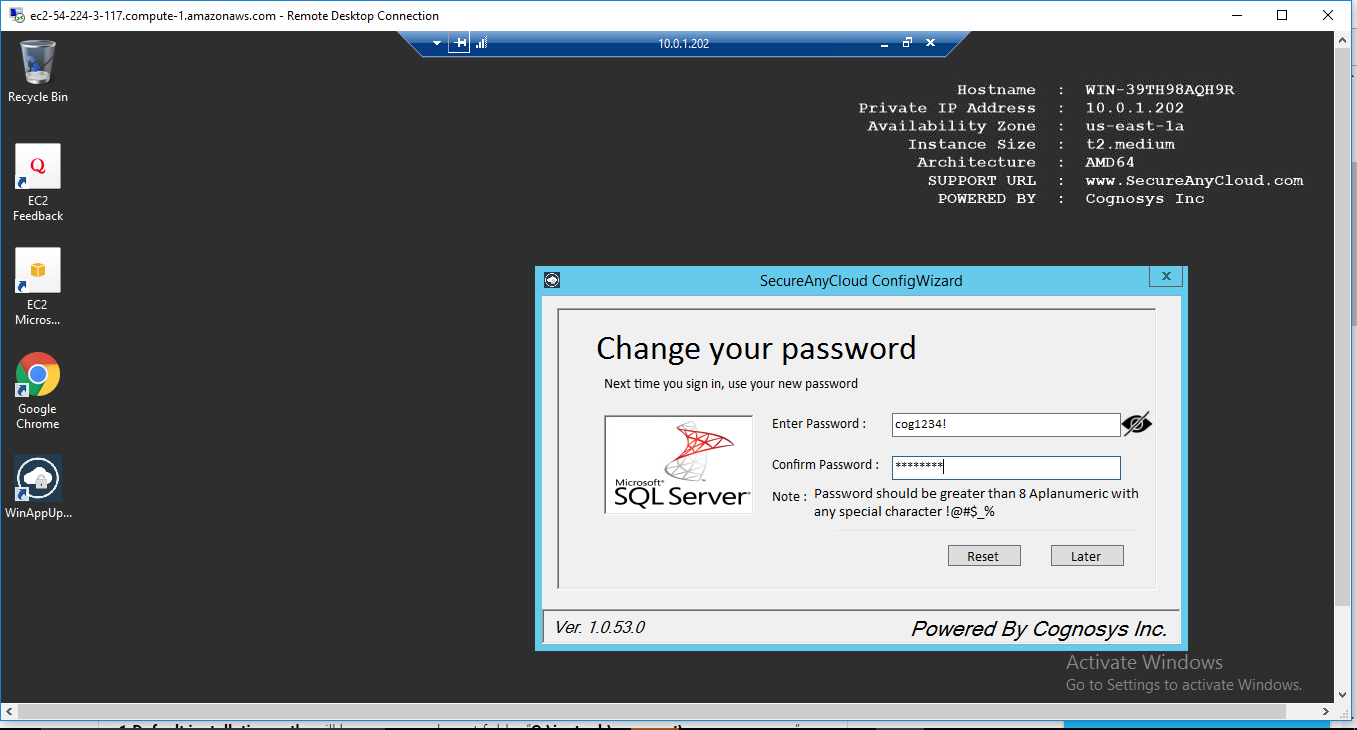
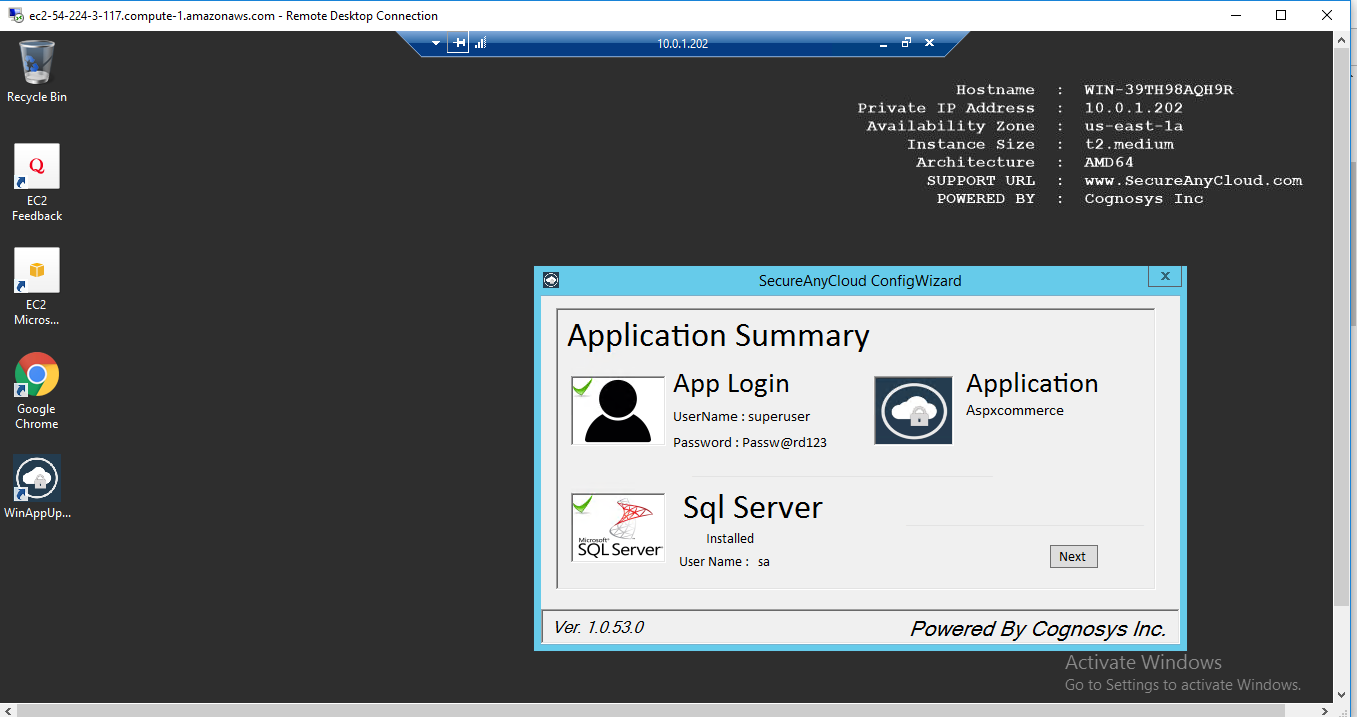
Step 2) Database Login Details :
- SQL Username : sa
- SQL Password : Passw@rd123
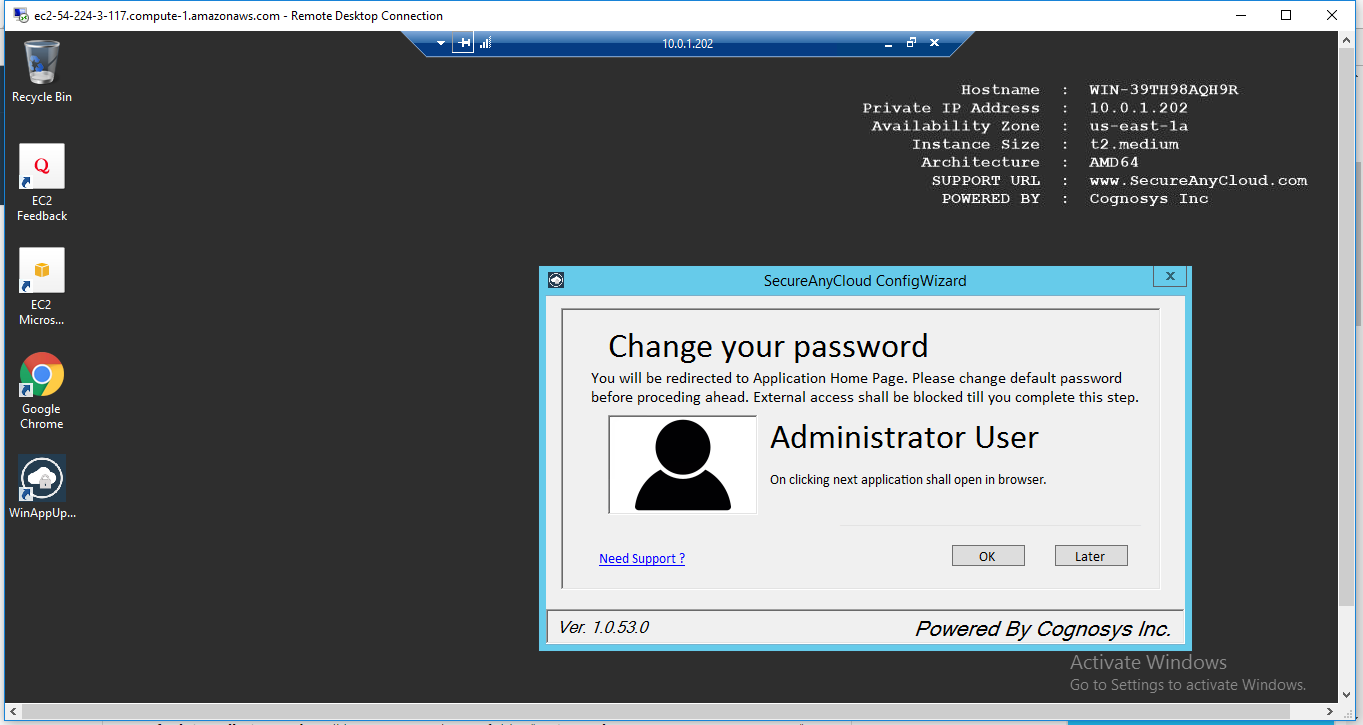
Note :-Please change password immediately after first login.
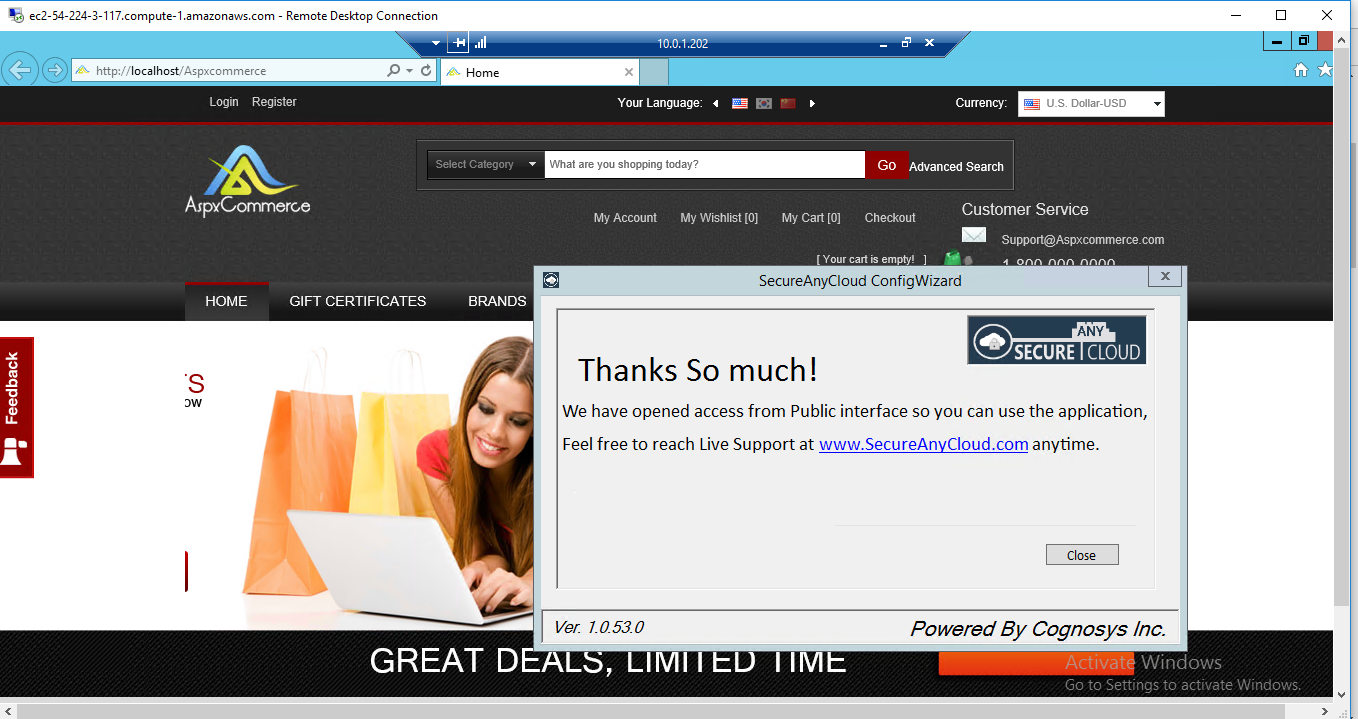
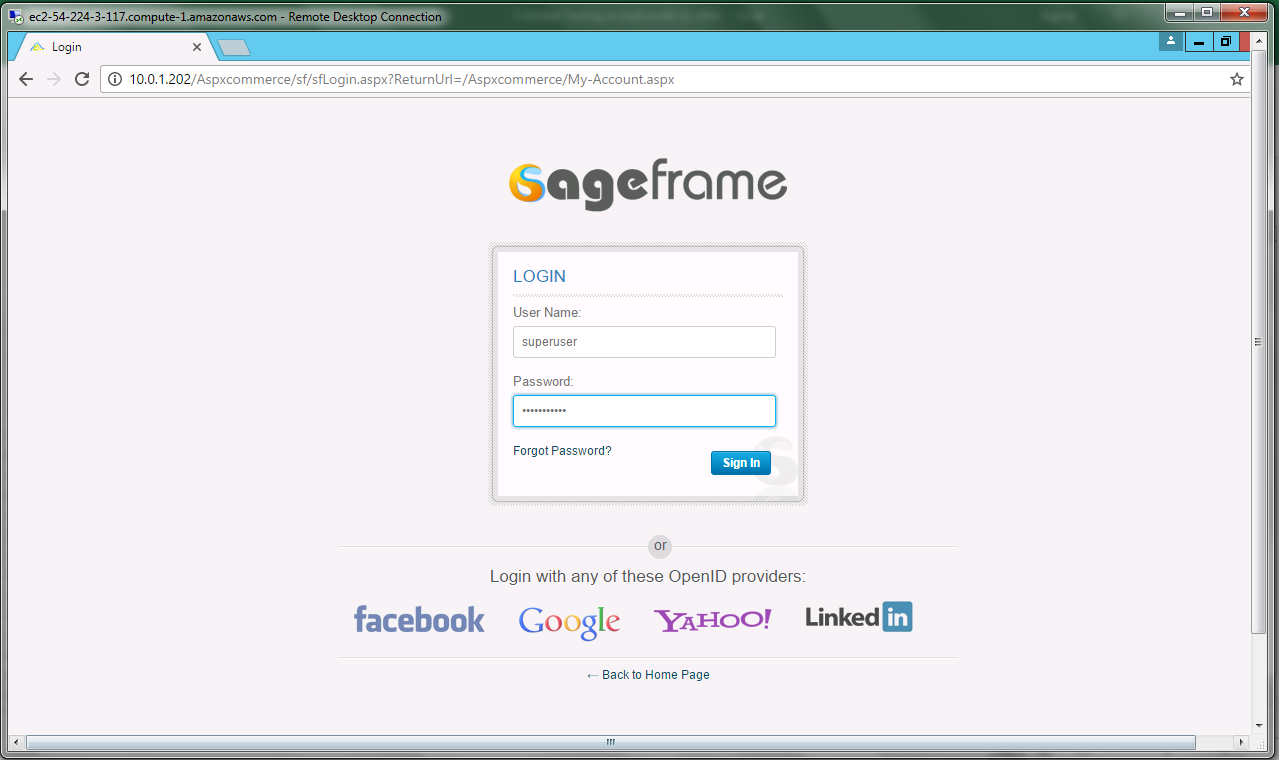
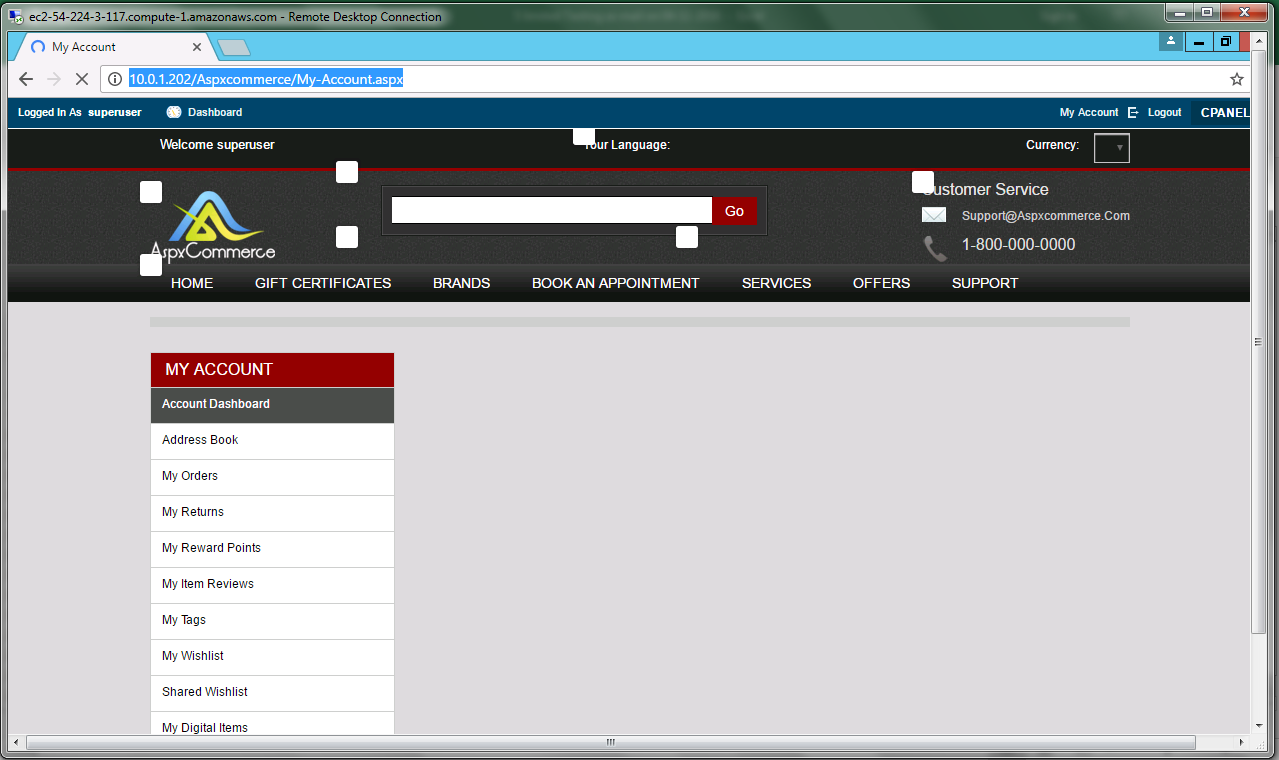
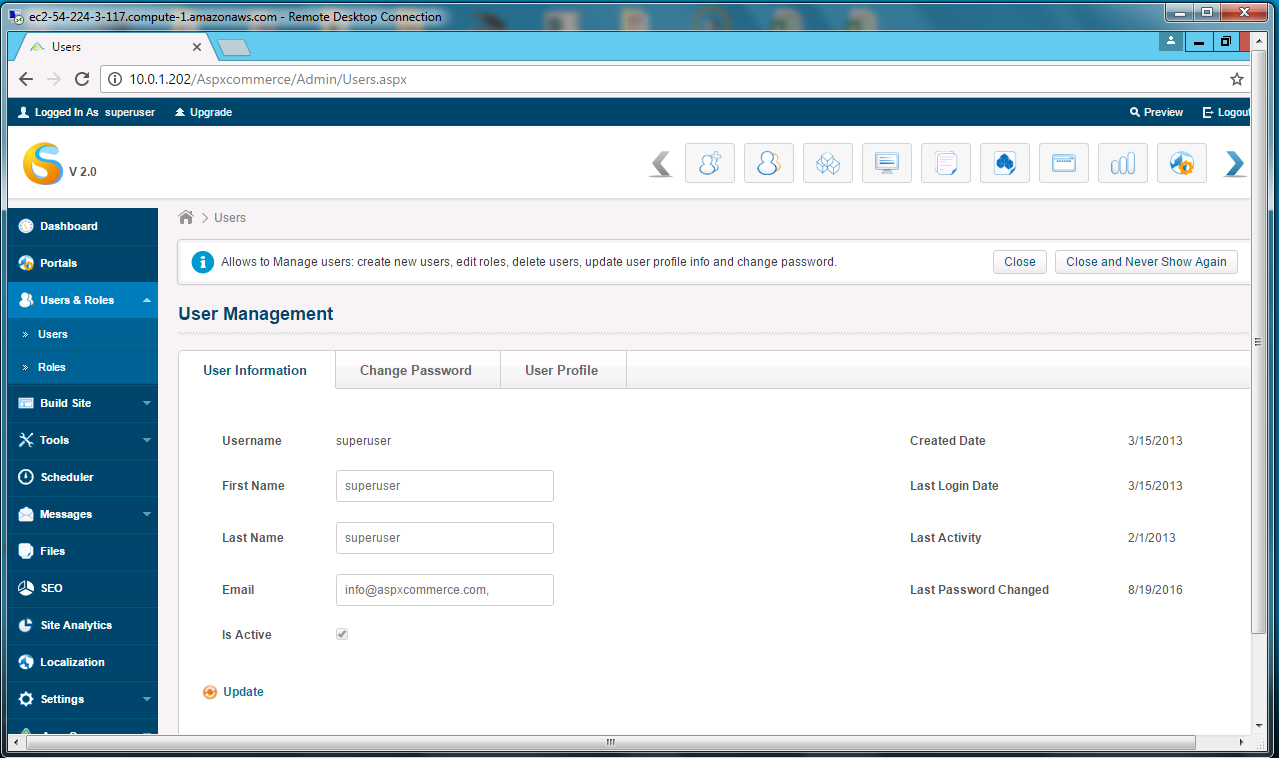
Step 3) Application URL: Access the application via a browser at http://PublicDNS/AspxCommerce
- User Name: superuser
- Password: Passw@rd123
Step 4) Other Information:
1.Default installation path: will be on your web root folder “C:\inetpub\wwwroot\aspxcommerce”
2.Default ports:
- Windows Machines: RDP Port – 3389
- Http: 80
- Https: 443
- Sql or Mysql ports: By default these are not open on Public Endpoints. Internally Sql server: 1433. Mysql :3306
Configure custom inbound and outbound rules using this link.
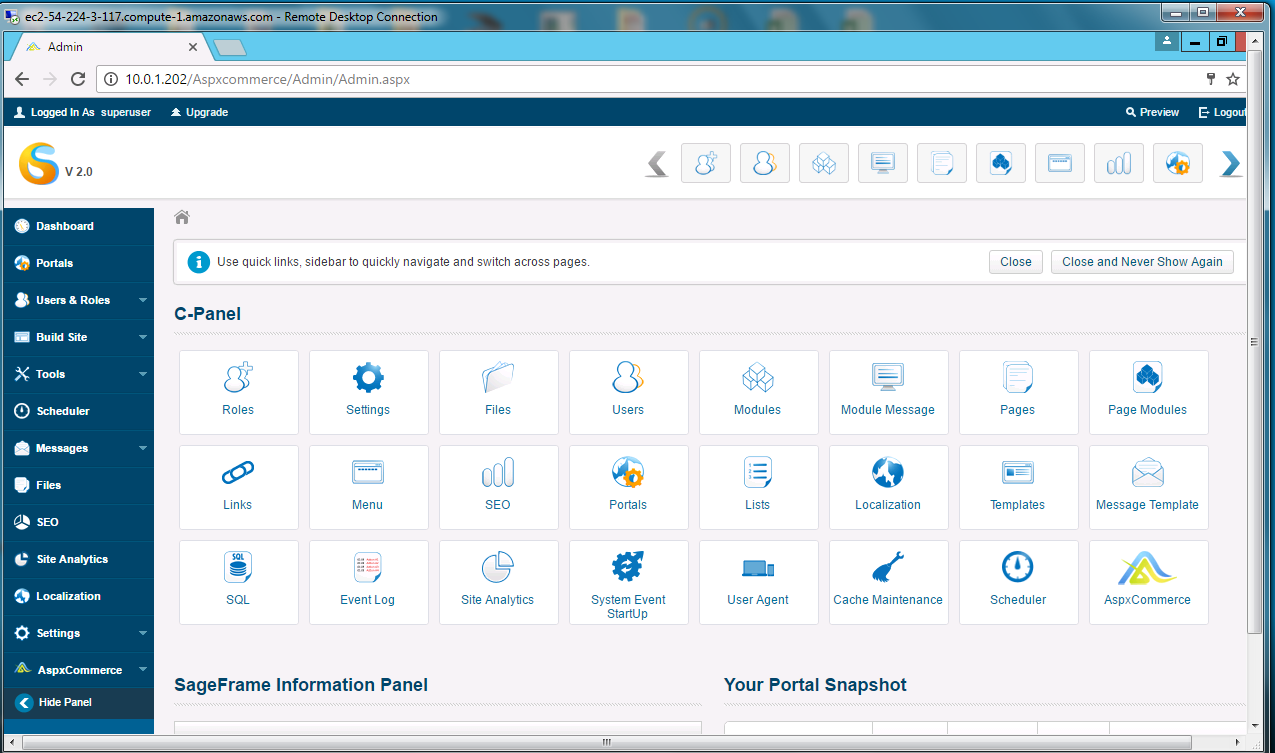
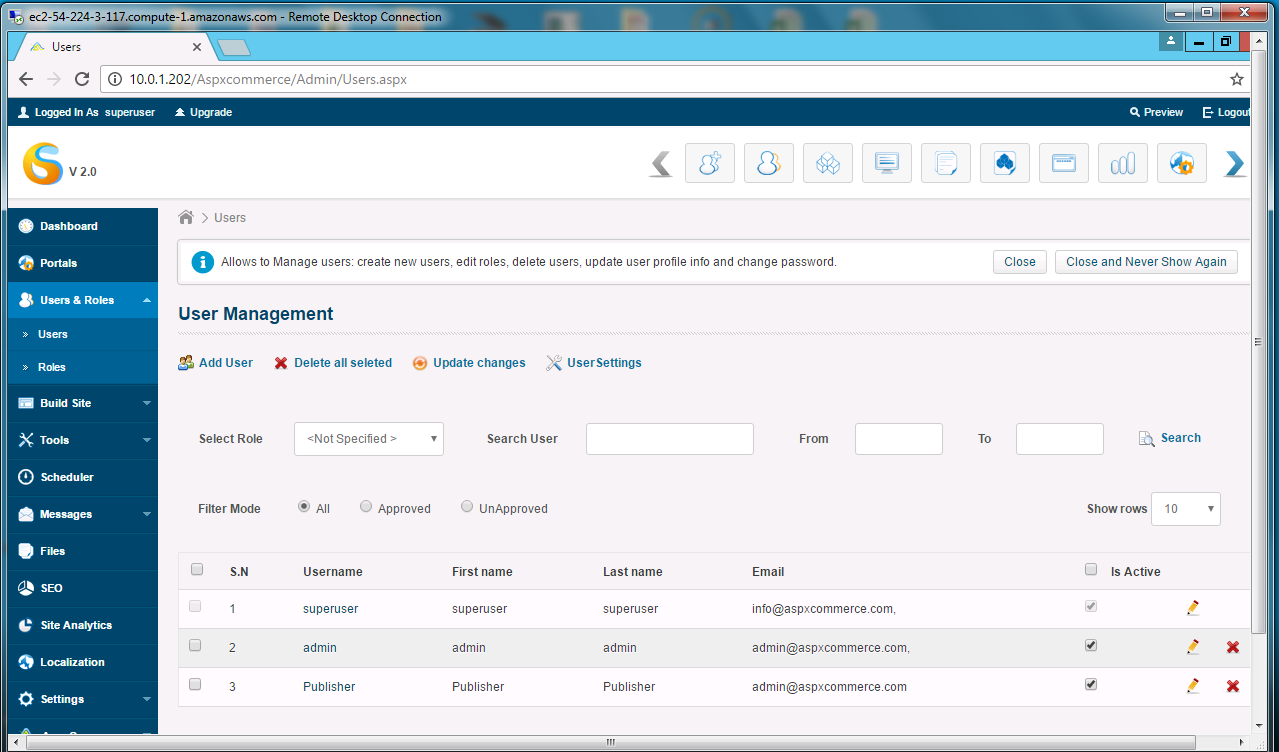
AWS Step By Step Screenshots

.
Azure
Installation Instructions for Windows
Note: How to find PublicDNS in Azure
Step1 ) RDP Connection: To connect to the deployed instance, Please follow Instructions to Connect to Windows instance on Azure Cloud
1) Connect to virtual machine using following RDP credentials :
- Hostname: PublicDNS / IP of machine
- Port : 3389
Username: Your chosen username when you created the machine ( For example: Azureuser)
Password : Your Chosen Password when you created the machine ( How to reset the password if you do not remember)
Step 2) Database Login Details :
- SQL Username : sa
- SQL Password : Passw@rd123
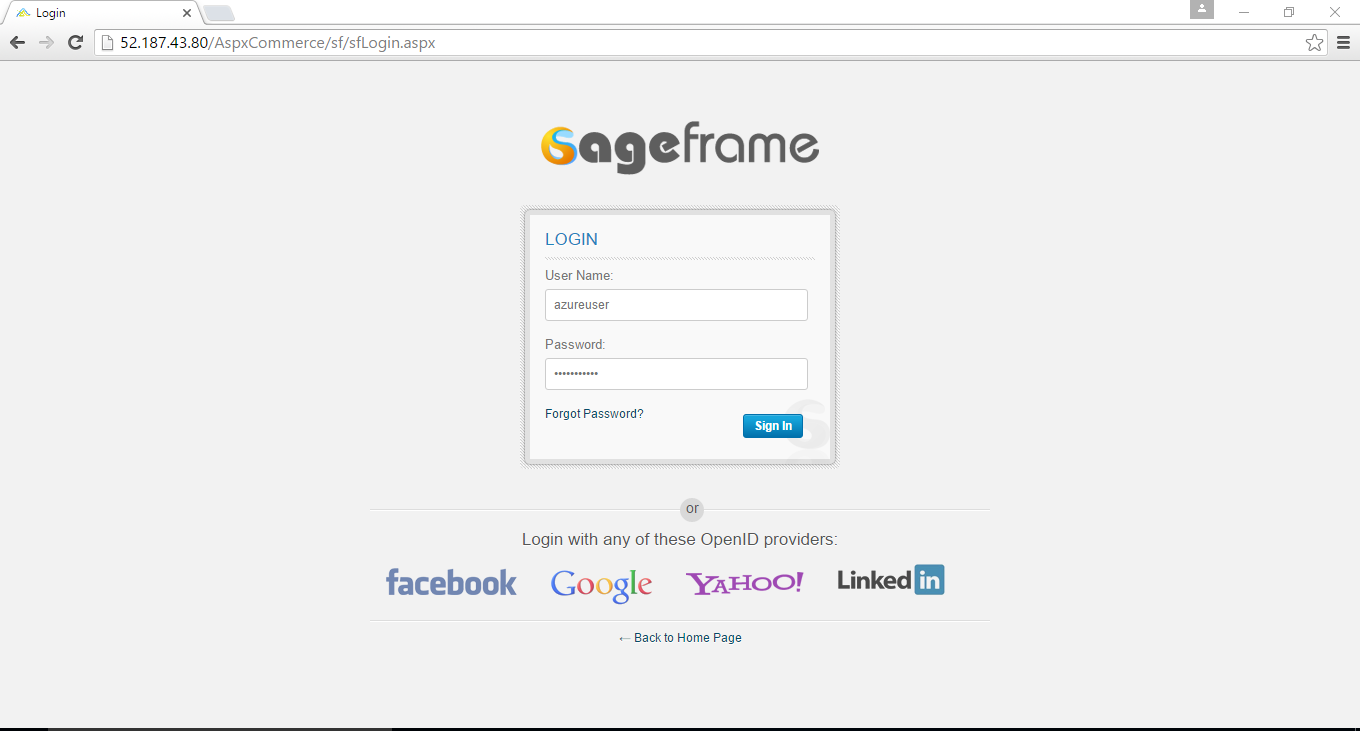
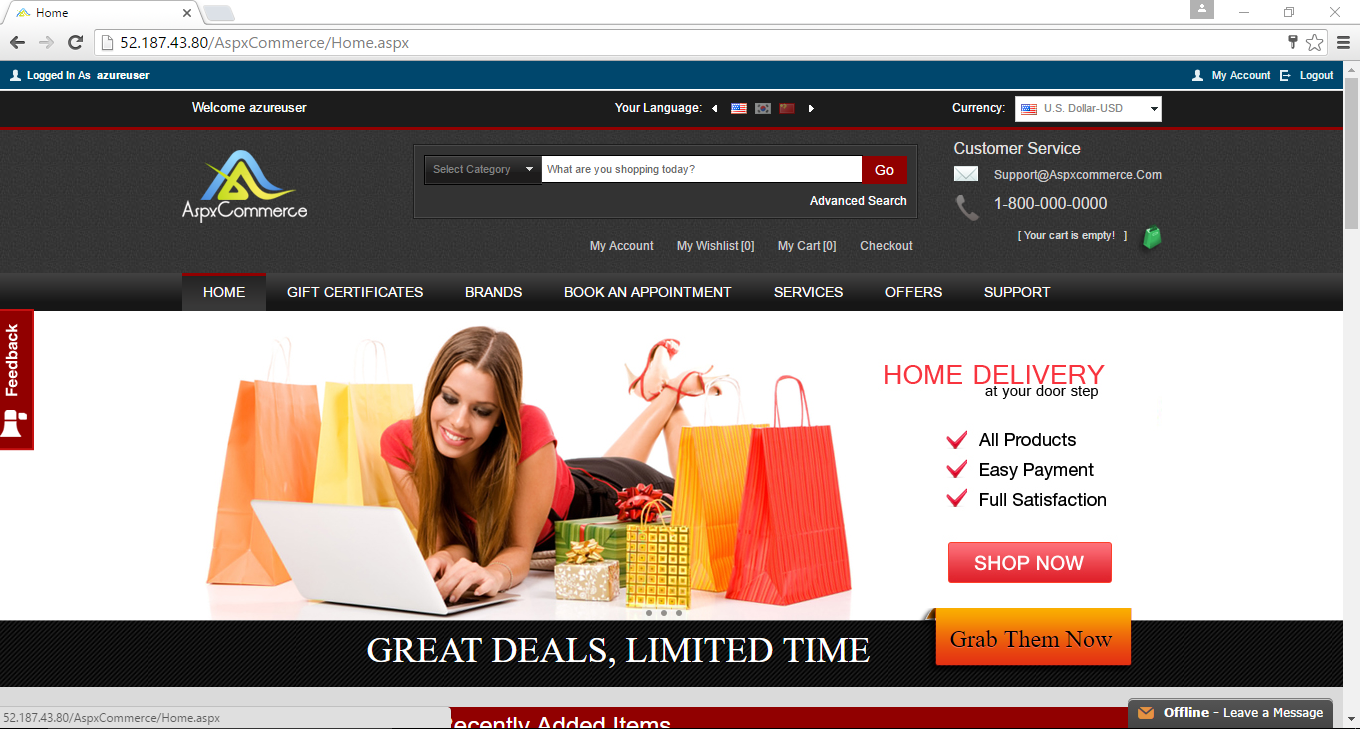
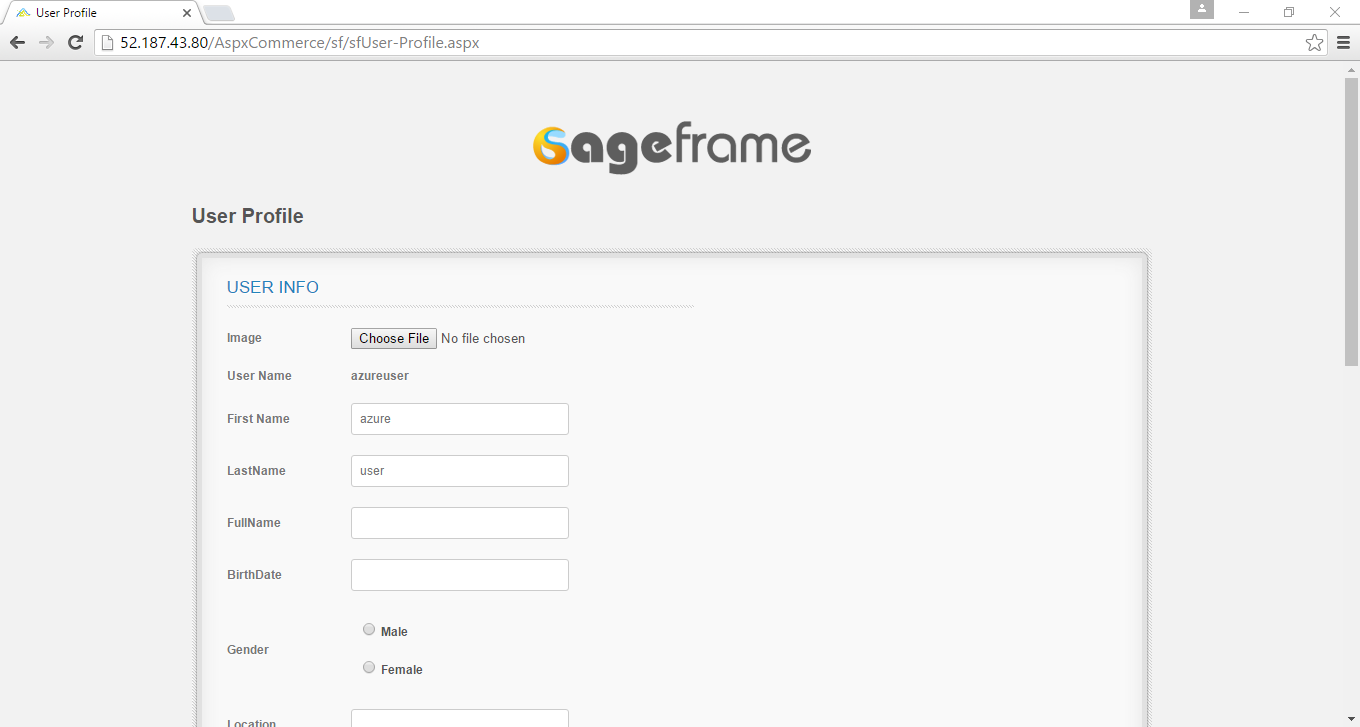
Step 3) Application URL: Access the application via a browser at http://PublicDNS/AspxCommerce
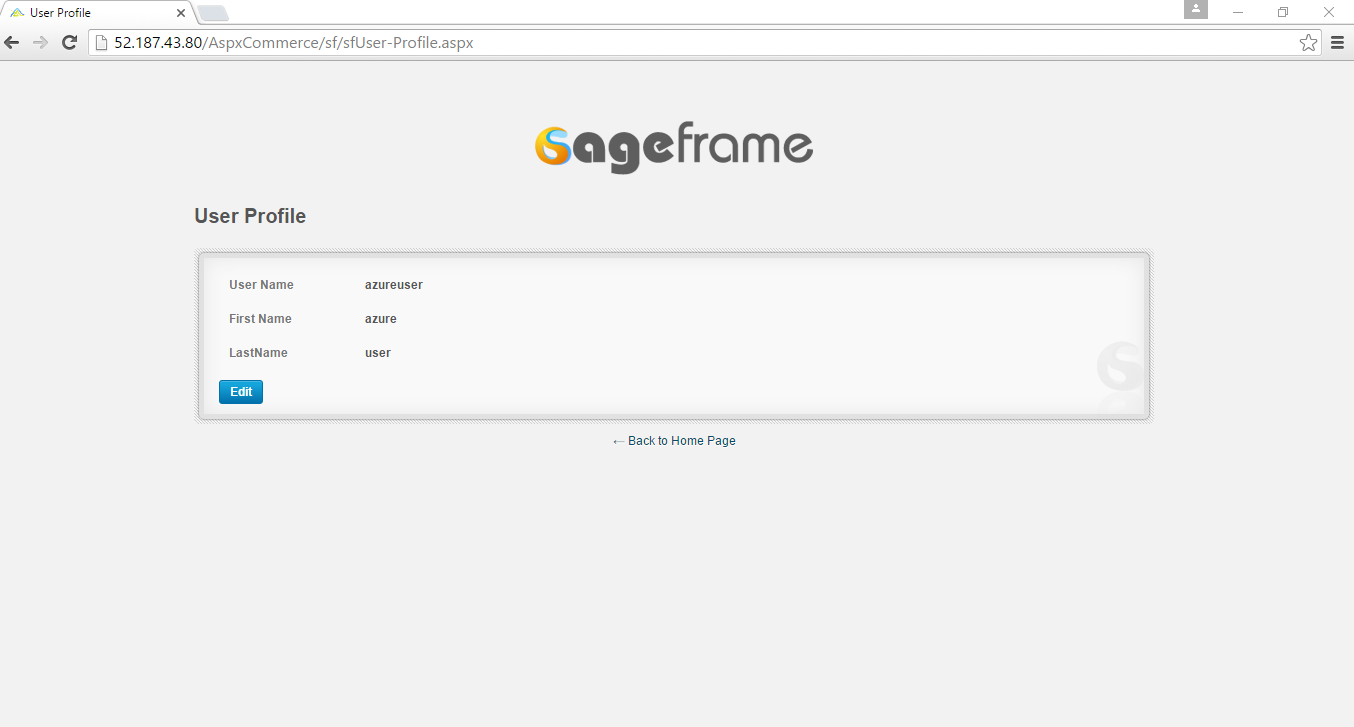
- User Name: azureuser
- Password: Passw@rd123
Step 4) Other Information:
1.Default installation path: will be on your web root folder “C:\inetpub\wwwroot\aspxcommerce”
2.Default ports:
- Windows Machines: RDP Port – 3389
- Http: 80
- Https: 443
- Sql or Mysql ports: By default these are not open on Public Endpoints. Internally Sql server: 1433. Mysql :3306
Configure custom inbound and outbound rules using this link
You can get more details about Aspx Commerce.
Azure Step by Step Screenshots


Installation Instructions For Windows
Installation Instructions for Windows
Step 1) VM Creation:
- Click the Launch on Compute Engine button to choose the hardware and network settings.
- You can see at this page, an overview of Cognosys Image as well as estimated cost of running the instance.
- In the settings page, you can choose the number of CPUs and amount of RAM, the disk size and type etc.
Step 2) RDP Connection: To initialize the DB Server connect to the deployed instance, Please follow Instructions to Connect to Windows instance on Google Cloud
Step 3) Application URL: Access the application via a browser at http://PublicDNS/AspxCommerce
Step 4) Other Information:
1.Default installation path: will be on your web root folder “C:\inetpub\wwwroot\aspxcommerce”
2.Default ports:
- Windows Machines: RDP Port – 3389
- Http: 80
- Https: 443
- Sql or Mysql ports: By default these are not open on Public Endpoints. Internally Sql server: 1433. Mysql :3306
Videos
Secured AspxCommerce on Windows 2012 R2-
Introduction to AspxCommerce .Net E-Commerce
